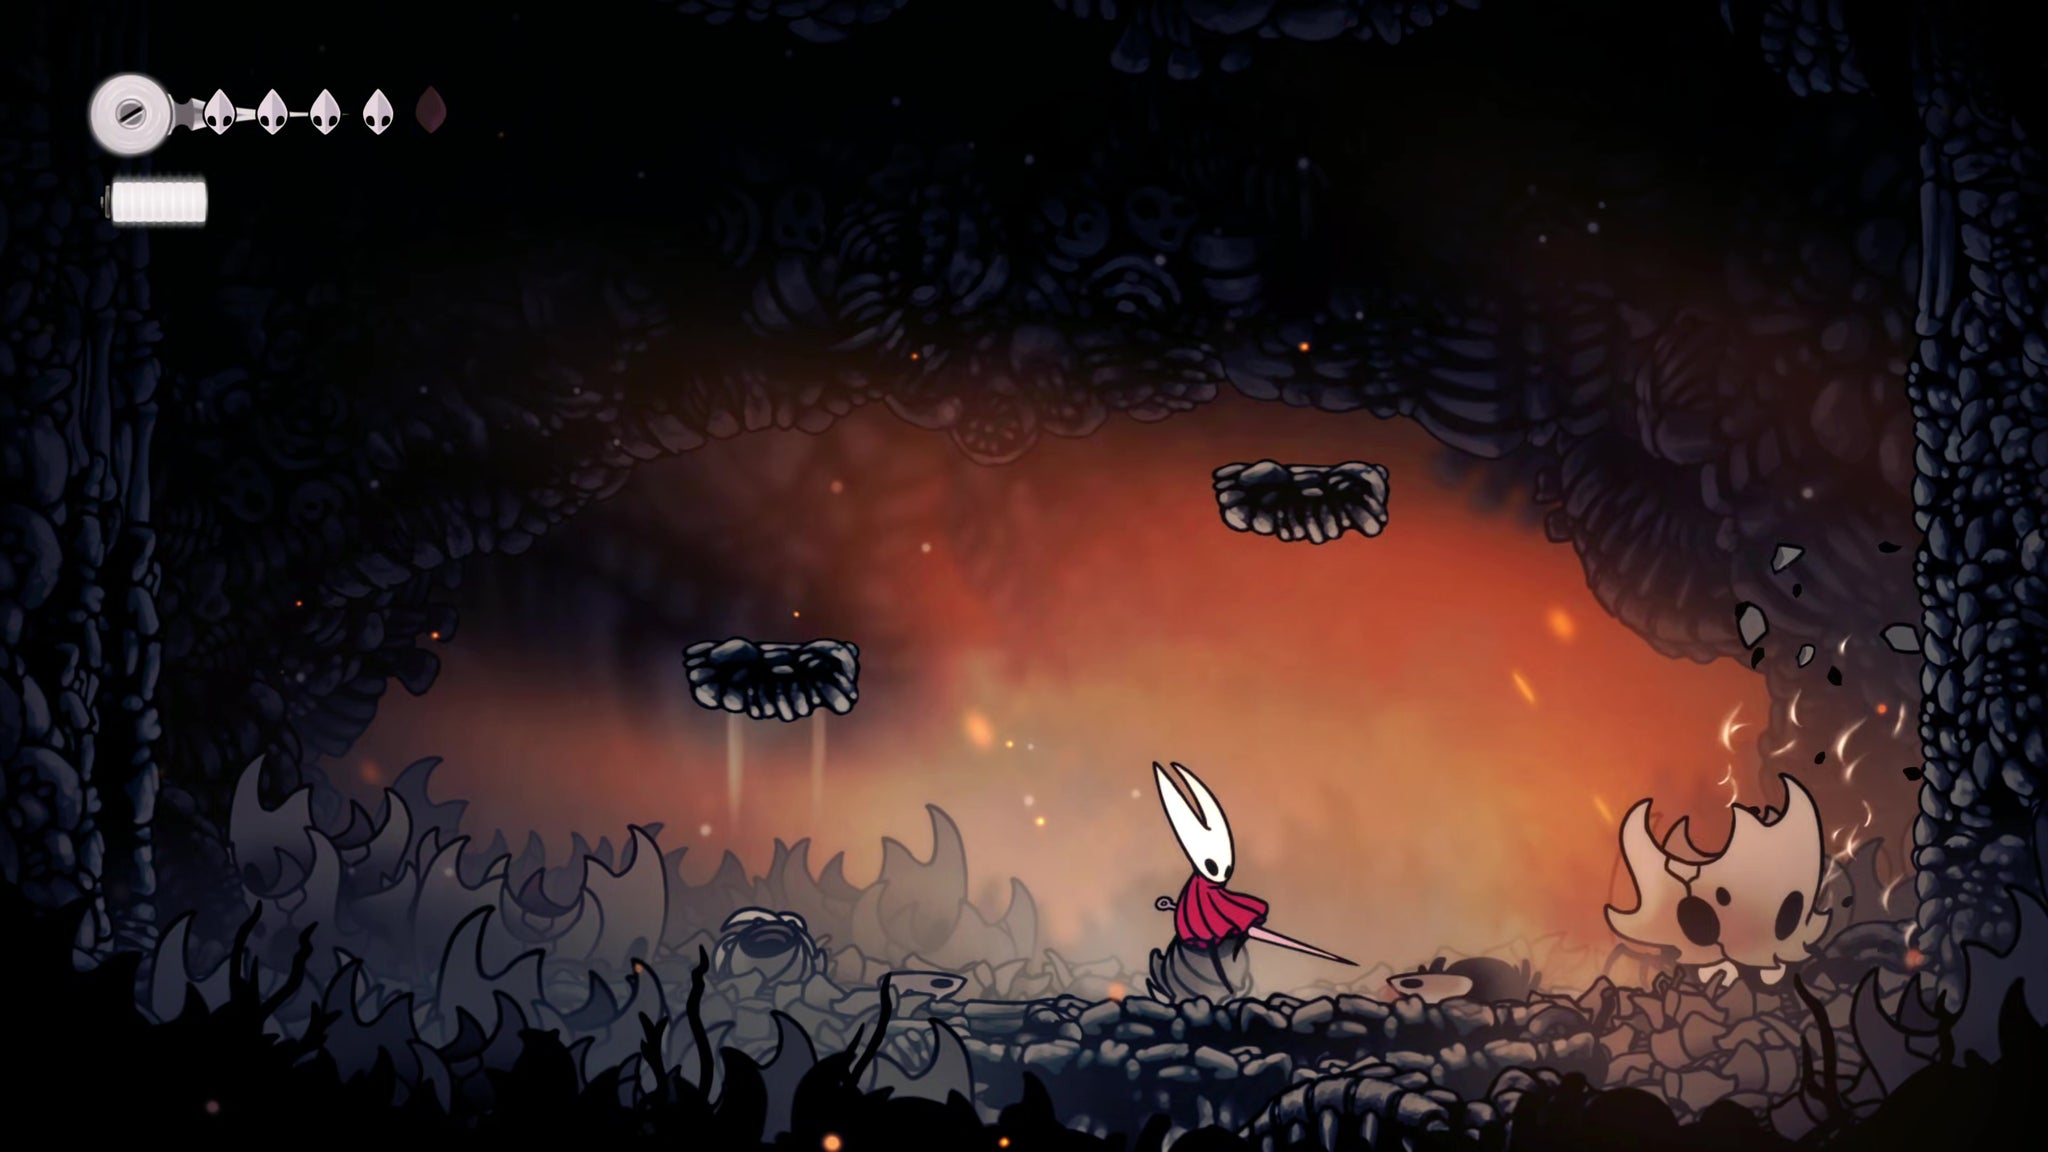
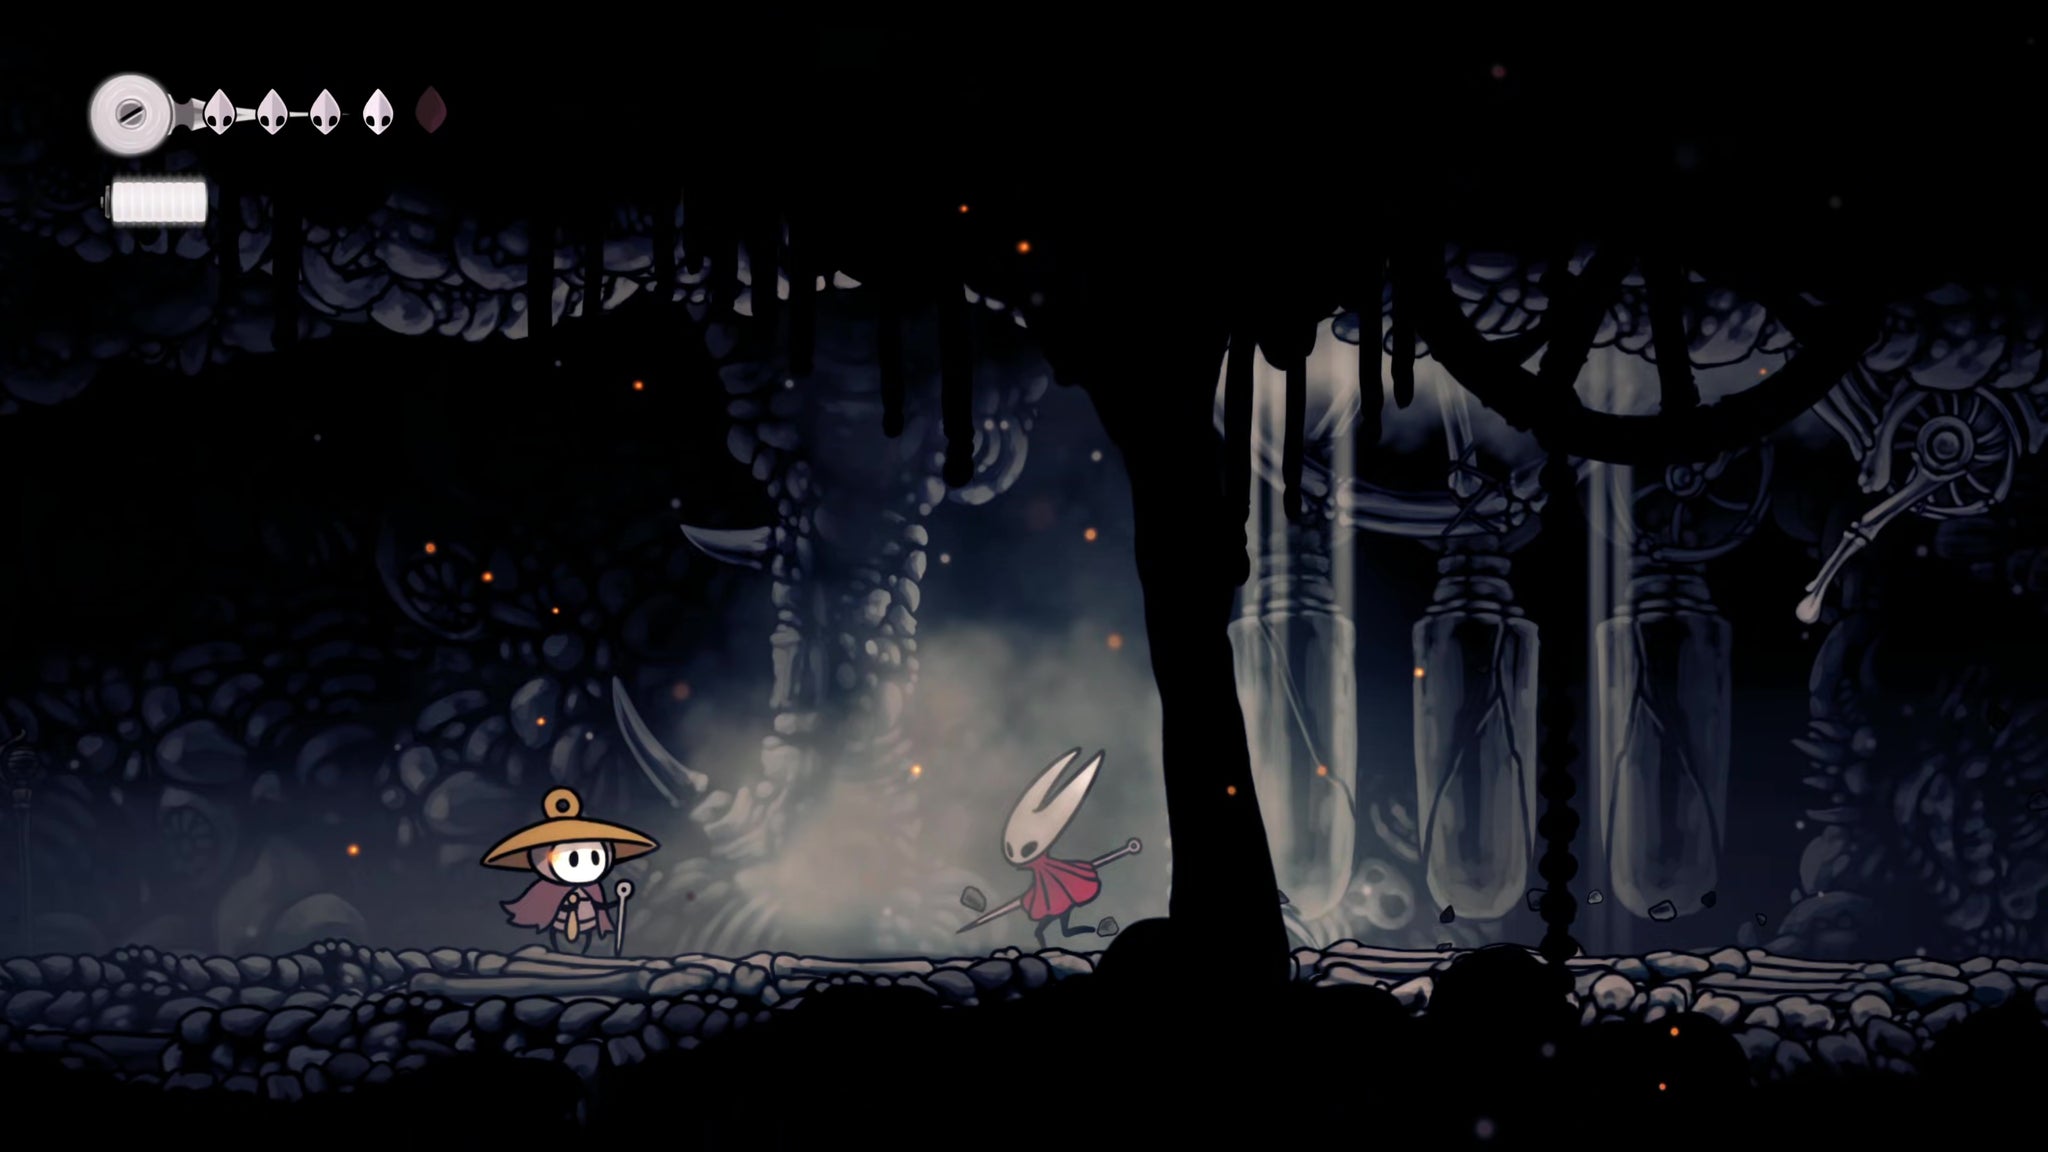
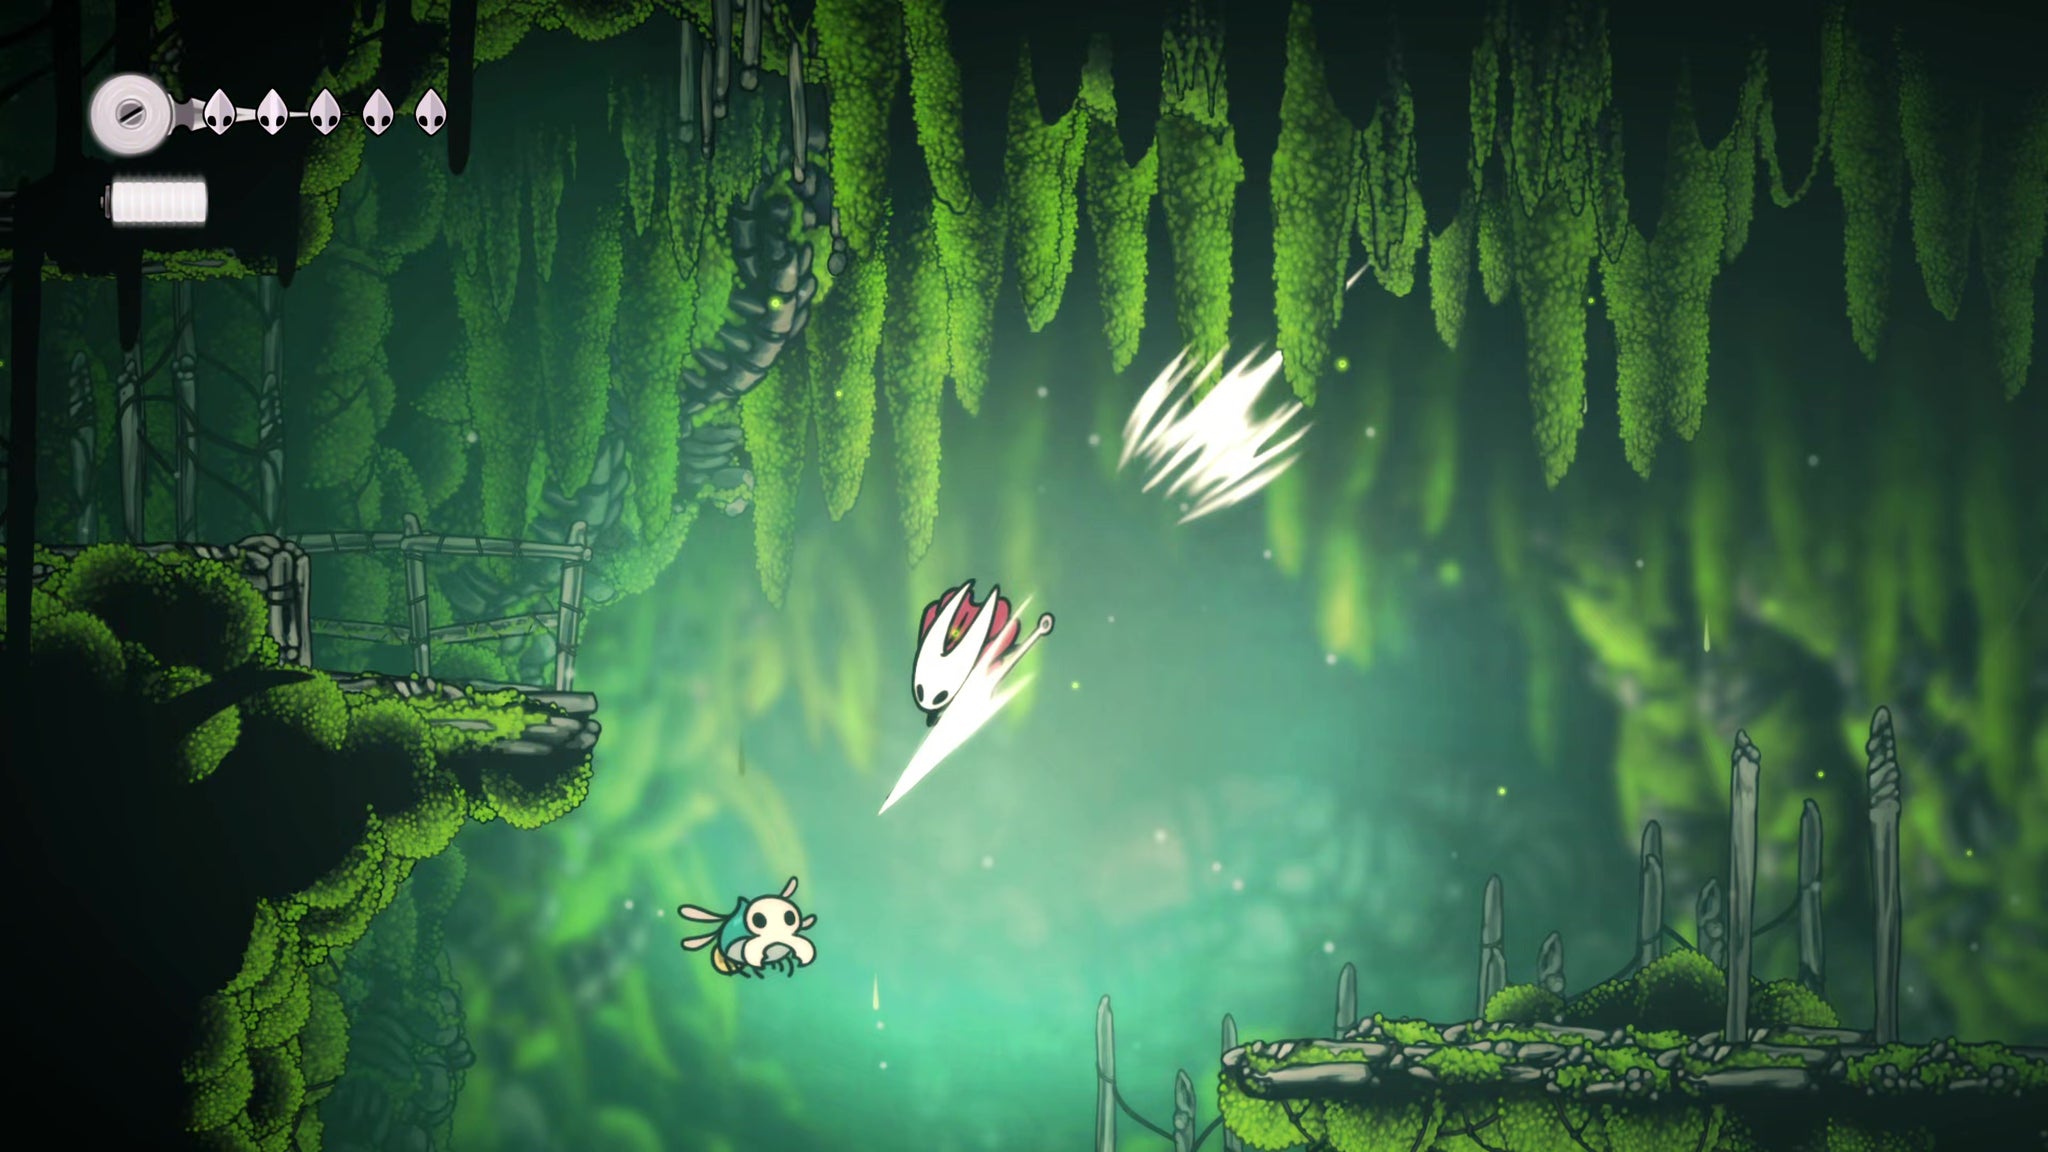
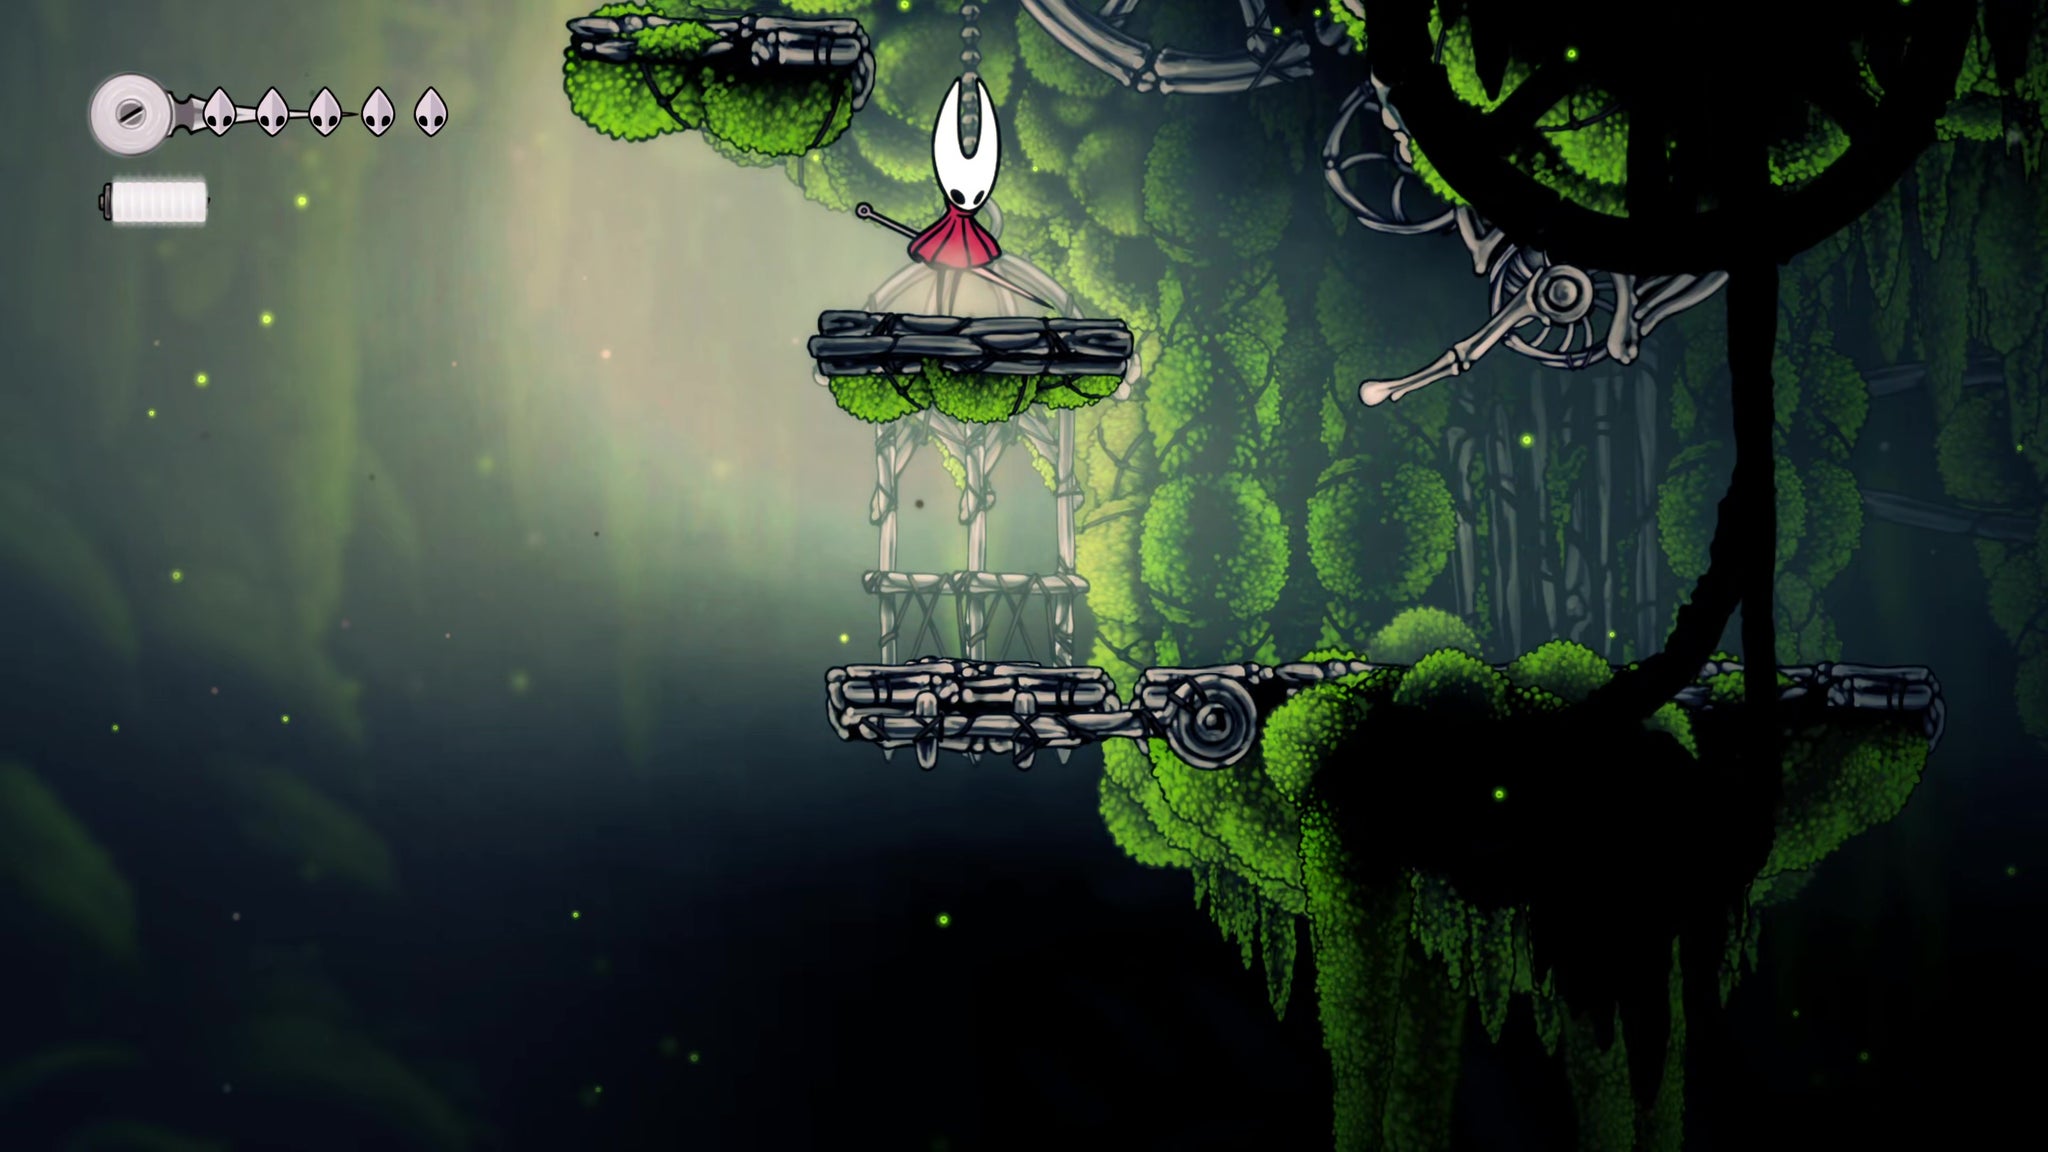
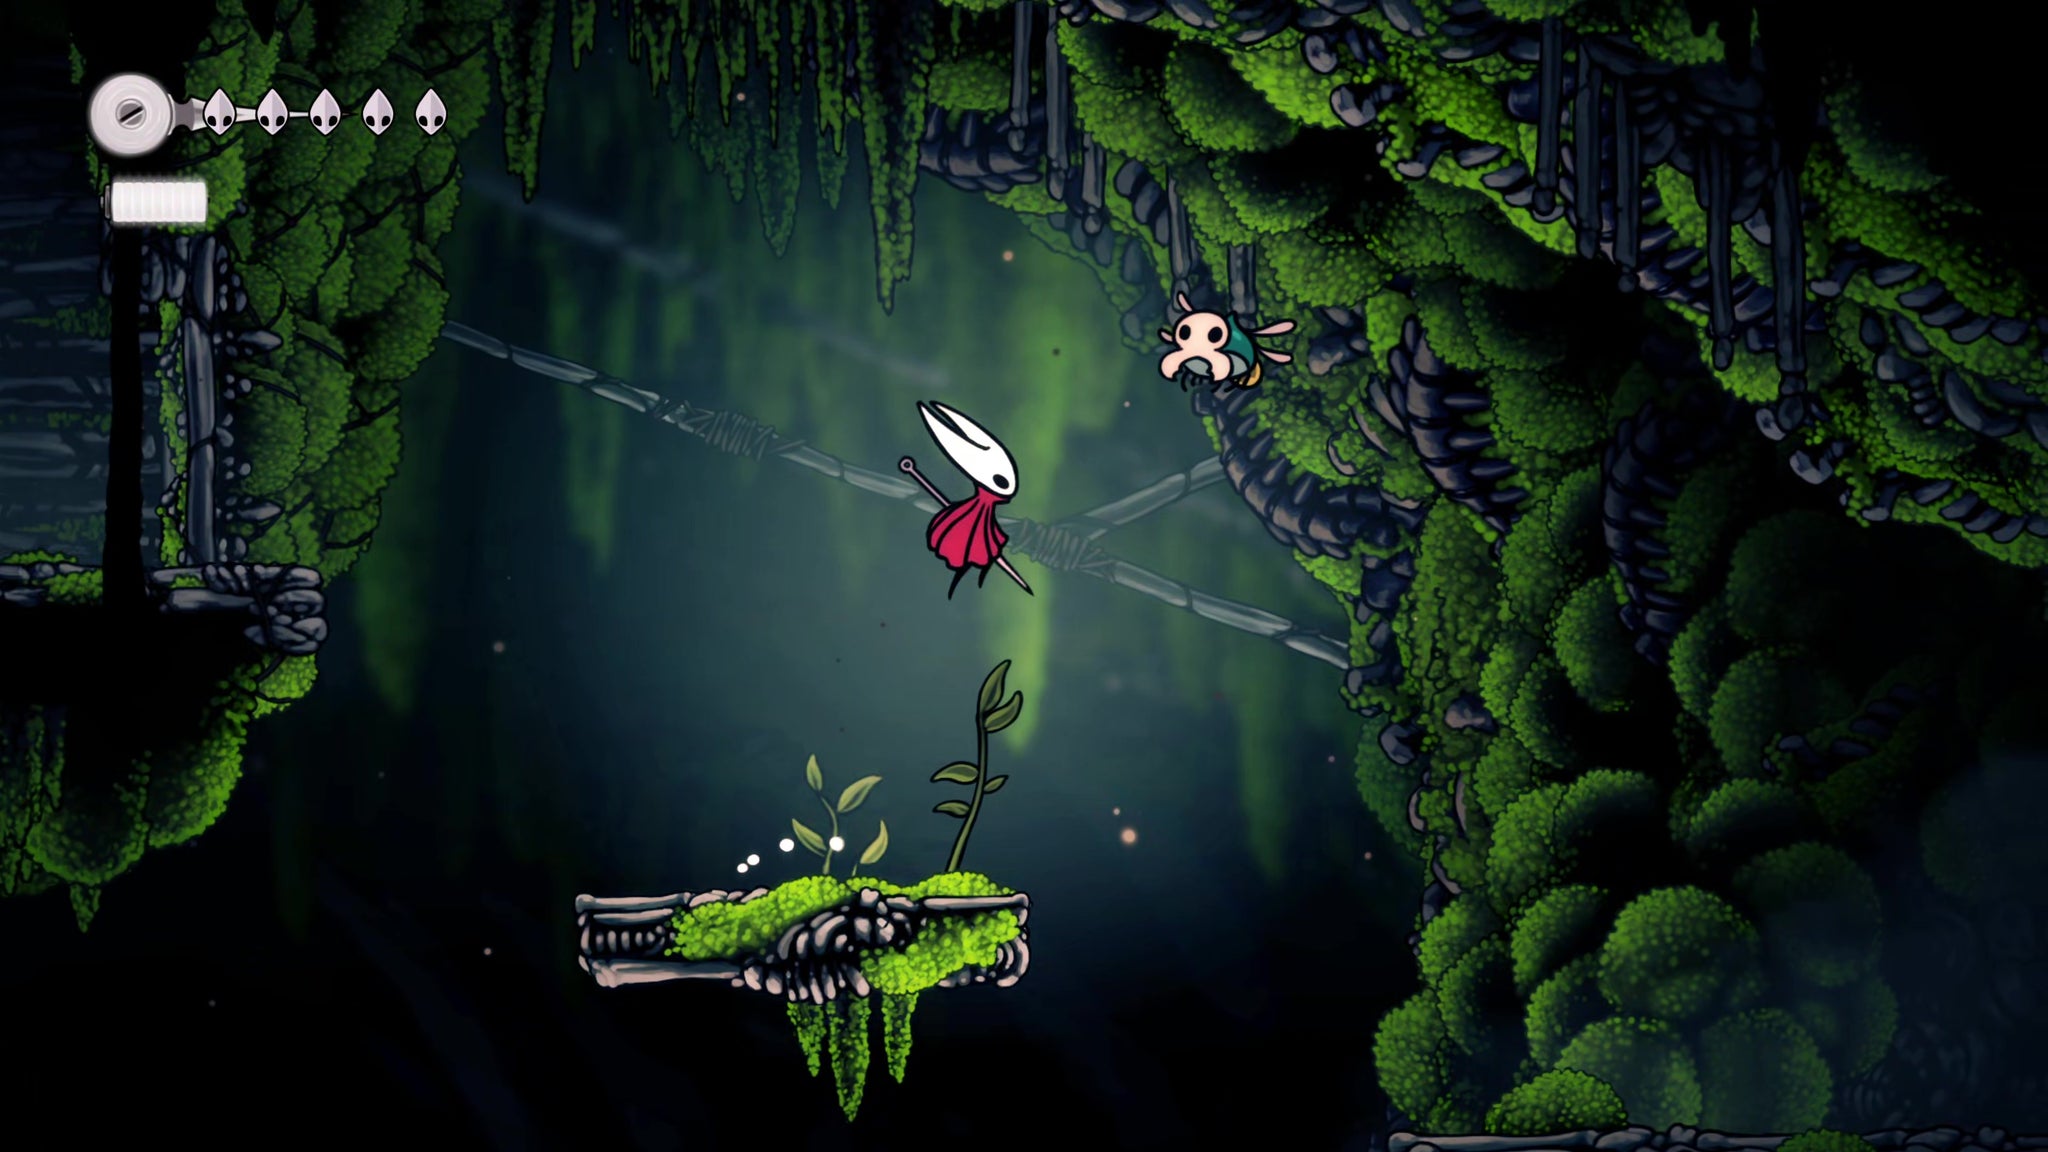
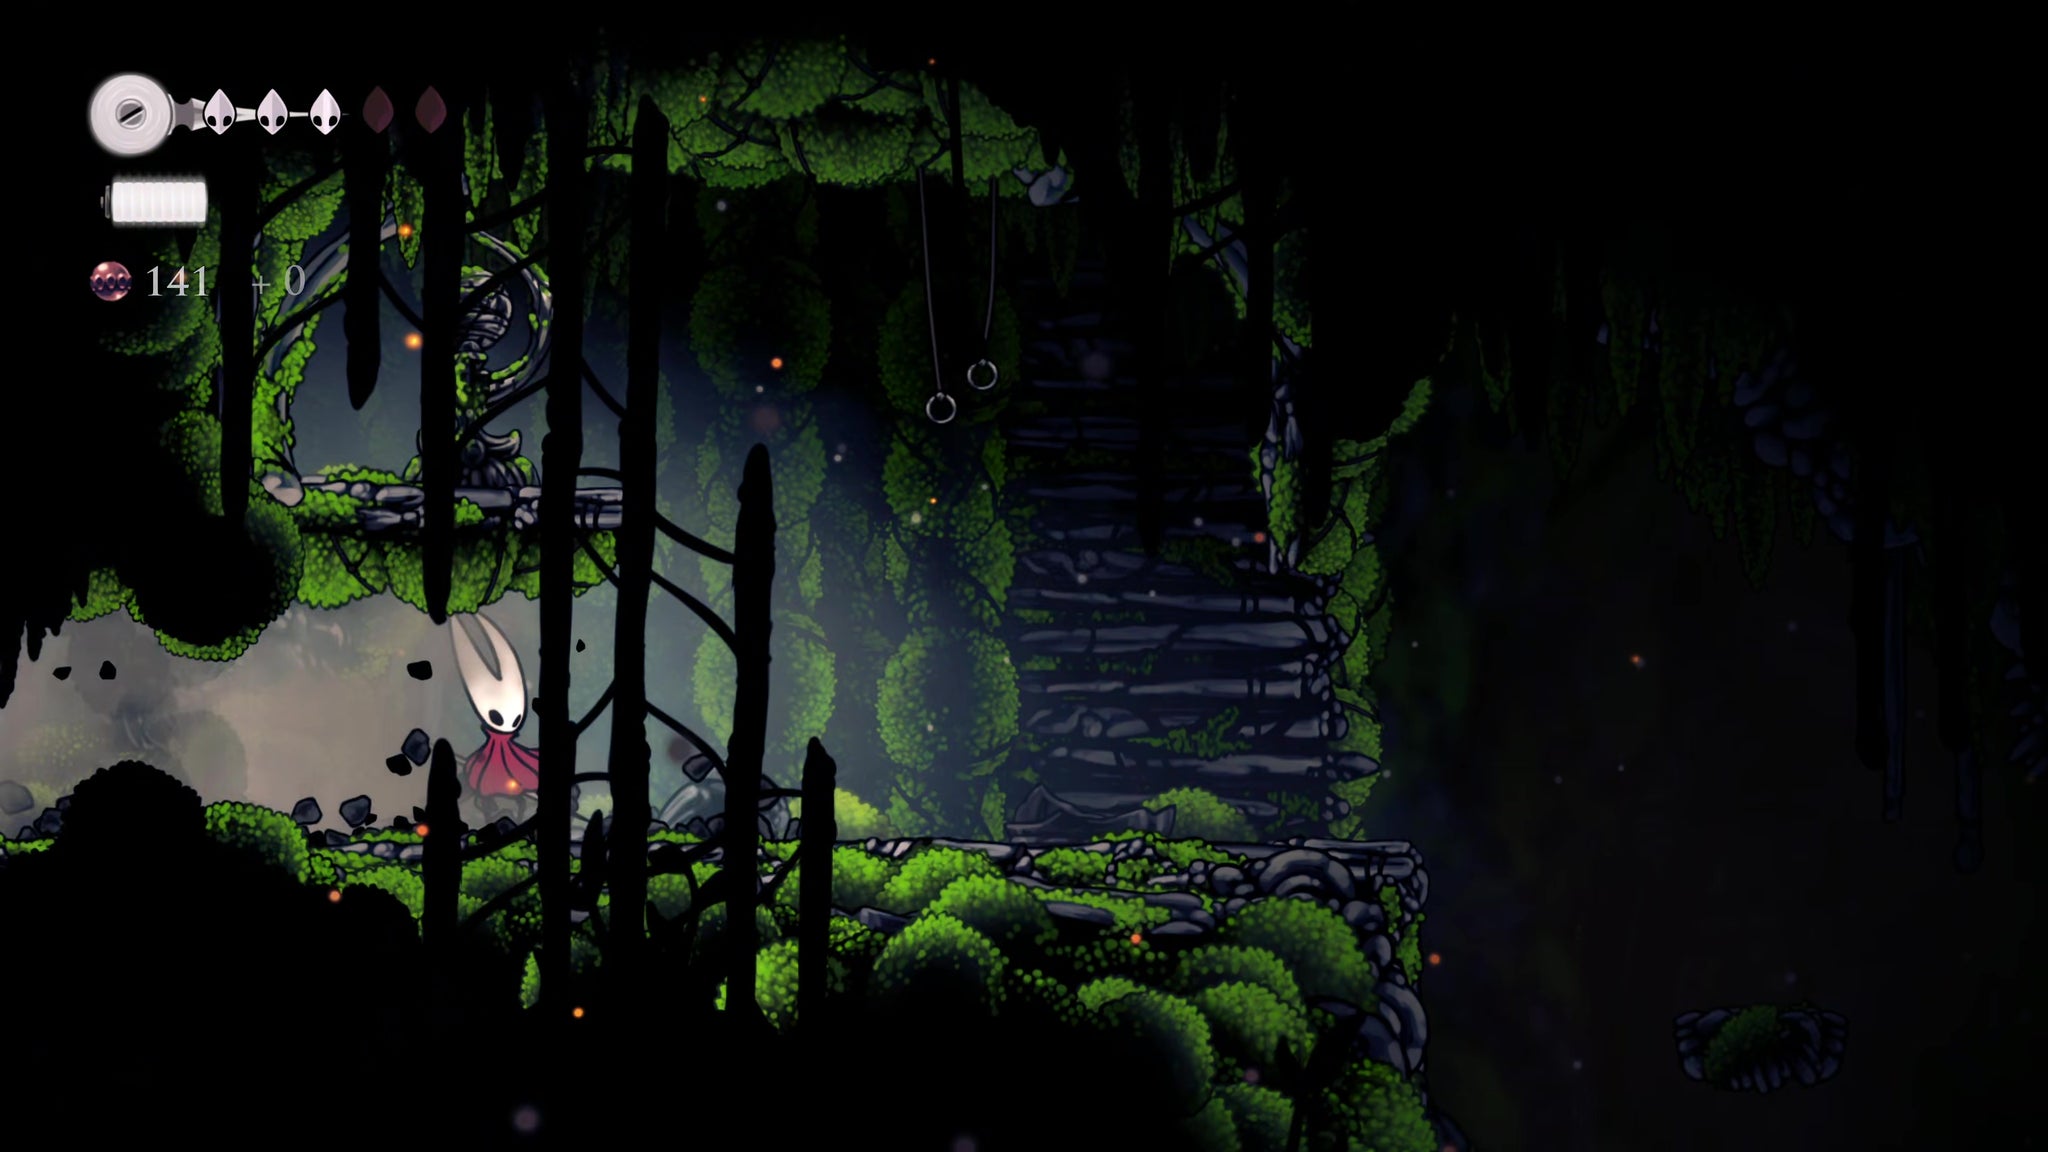
Wondering what to do after reaching Bone Bottom in Hollow Knight: Silksong? By this point, our already-iconic protagonist Hornet has escaped capture and fought her way out of Moss Grotto in Part 1 to reach the small village at the base of the aptly named Bone Bottom. But where to go next?
Some of the upcoming areas can get pretty confusing, so stick to our Part 2 Silksong walkthrough, and we'll guide you through both the Marrow and the dangers of Mosshome as you reach ever closer to Hornet's first Skill unlock. Exciting!
To see this content please enable targeting cookies.
Image credit: Rock Paper Shotgun/Team Cherry
1. Exit the village and meet Sherma.
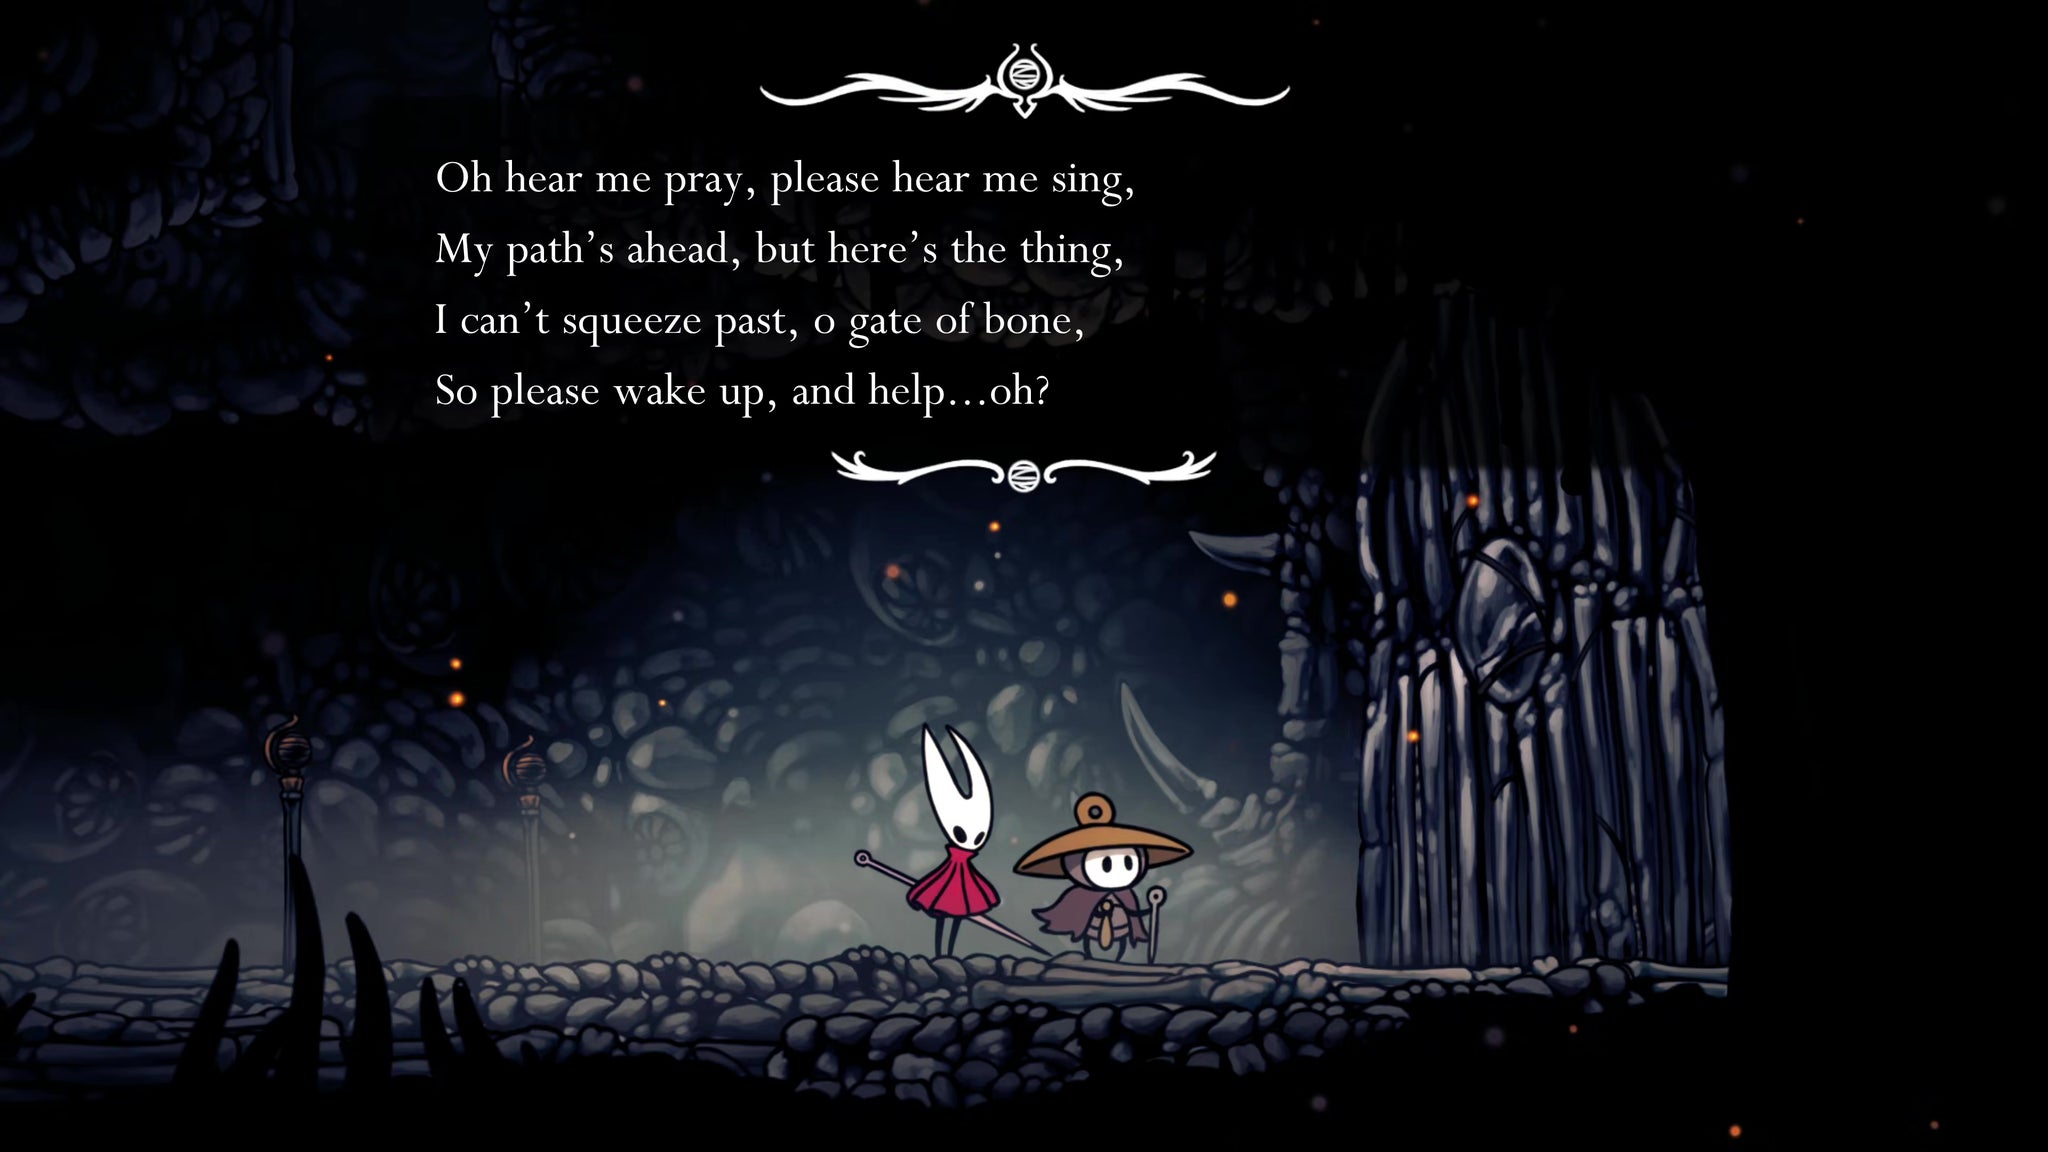
Once you've rested the village Bench and spoken to everyone, exit to the right. In the next room, just keep plowing all the way to the right, and you'll encounter another friendly NPC.
I would die for Sherma already. | Image credit: Rock Paper Shotgun/Team Cherry
This is Sherma. He wants that gate open, and is convinced that singing to it will open it. Hornet's less convinced, so it's up to you to find a way around and unlock the gate for Sherma (and to give yourself a nice little shortcut back to the village for later on).
Go back to the start of the room, and this time climb the ledges above you.
Mark step as completed.
2. Complete the gauntlet to unlock the gate.
Image credit: Rock Paper Shotgun/Team Cherry
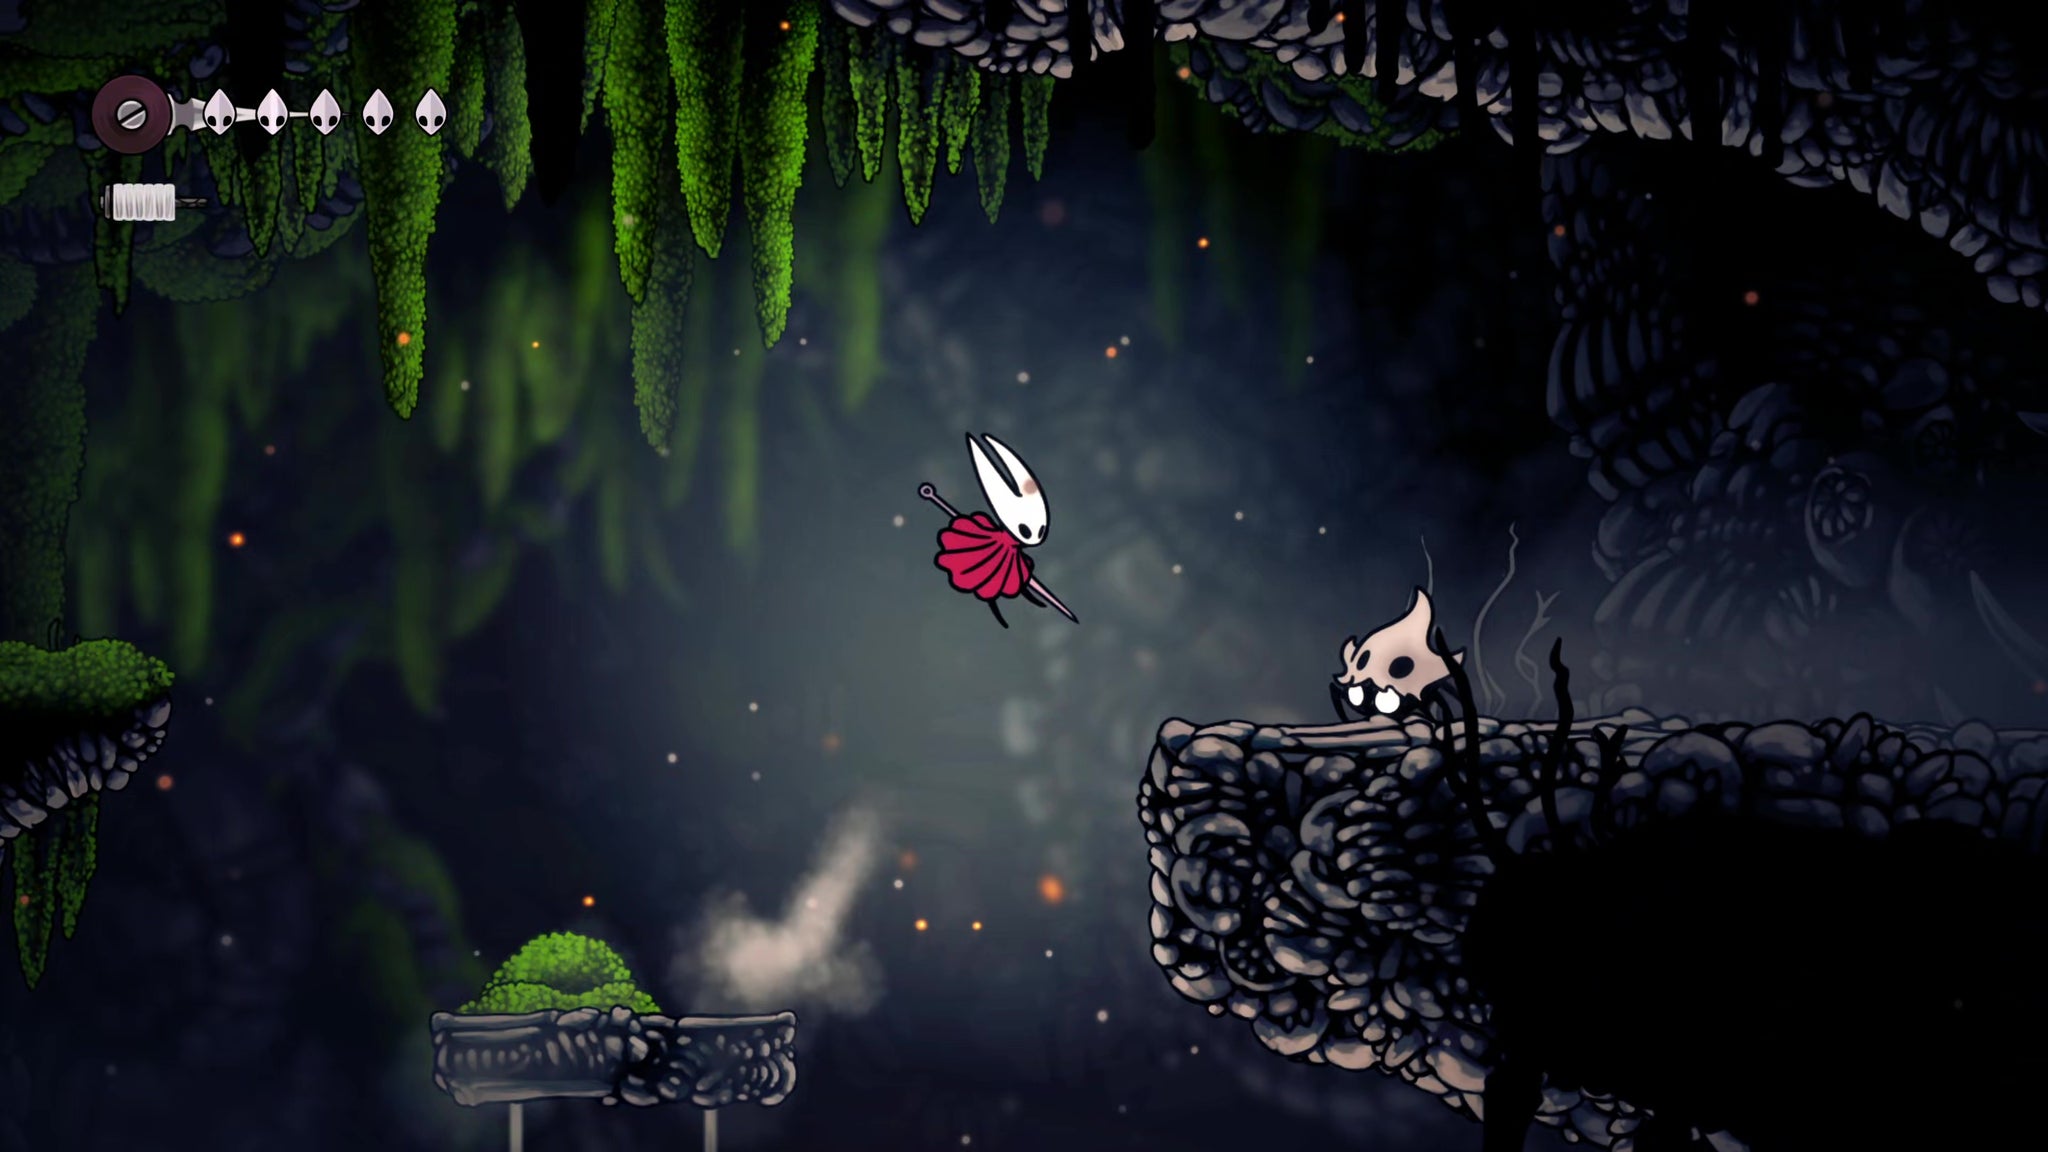
The path goes upward and then to the right. At this point you can either drop down to land by Sherma, or head upwards. Choose the latter option, keeping an eye out for the little crawly skull creatures on the way. There's a bigger charging one at the top that you'll need to jump over a few times to kill it.
Follow the path down to the right, until you see a tiny ground-level ledge with a skull atop it. Hit the wall here to open a passage into a darkened area.
Image credit: Rock Paper Shotgun/Team Cherry
There's some simple platforming ahead, but don't stop until you've reached the end because there are boulders waiting to fall on you. At the end of the path are a couple of Rosary Bead caches to loot (again, watch out for the falling boulder here). That done, exit back out into the previous room again.
This time, head left, past the little flying insect, and drop down the hole. You'll arrive in an enclosed arena and must defeat a mini-gauntlet of enemy waves to proceed. They're all low-level enemies, so just take your time and don't panic.
Image credit: Rock Paper Shotgun/Team Cherry
With all enemies defeated, two exits will appear - one in the floor, and one to the left. The left-hand exit simply leads back to where you were, as a handy shortcut. So drop down the hole, and head left to reach the other side of Sherma's gate. Attack the lever on the ceiling to open the gate, and speak to Sherma if you wish.
Image credit: Rock Paper Shotgun/Team Cherry
Now head to the right into the next room.
Mark step as completed.
Image credit: Rock Paper Shotgun/Team Cherry
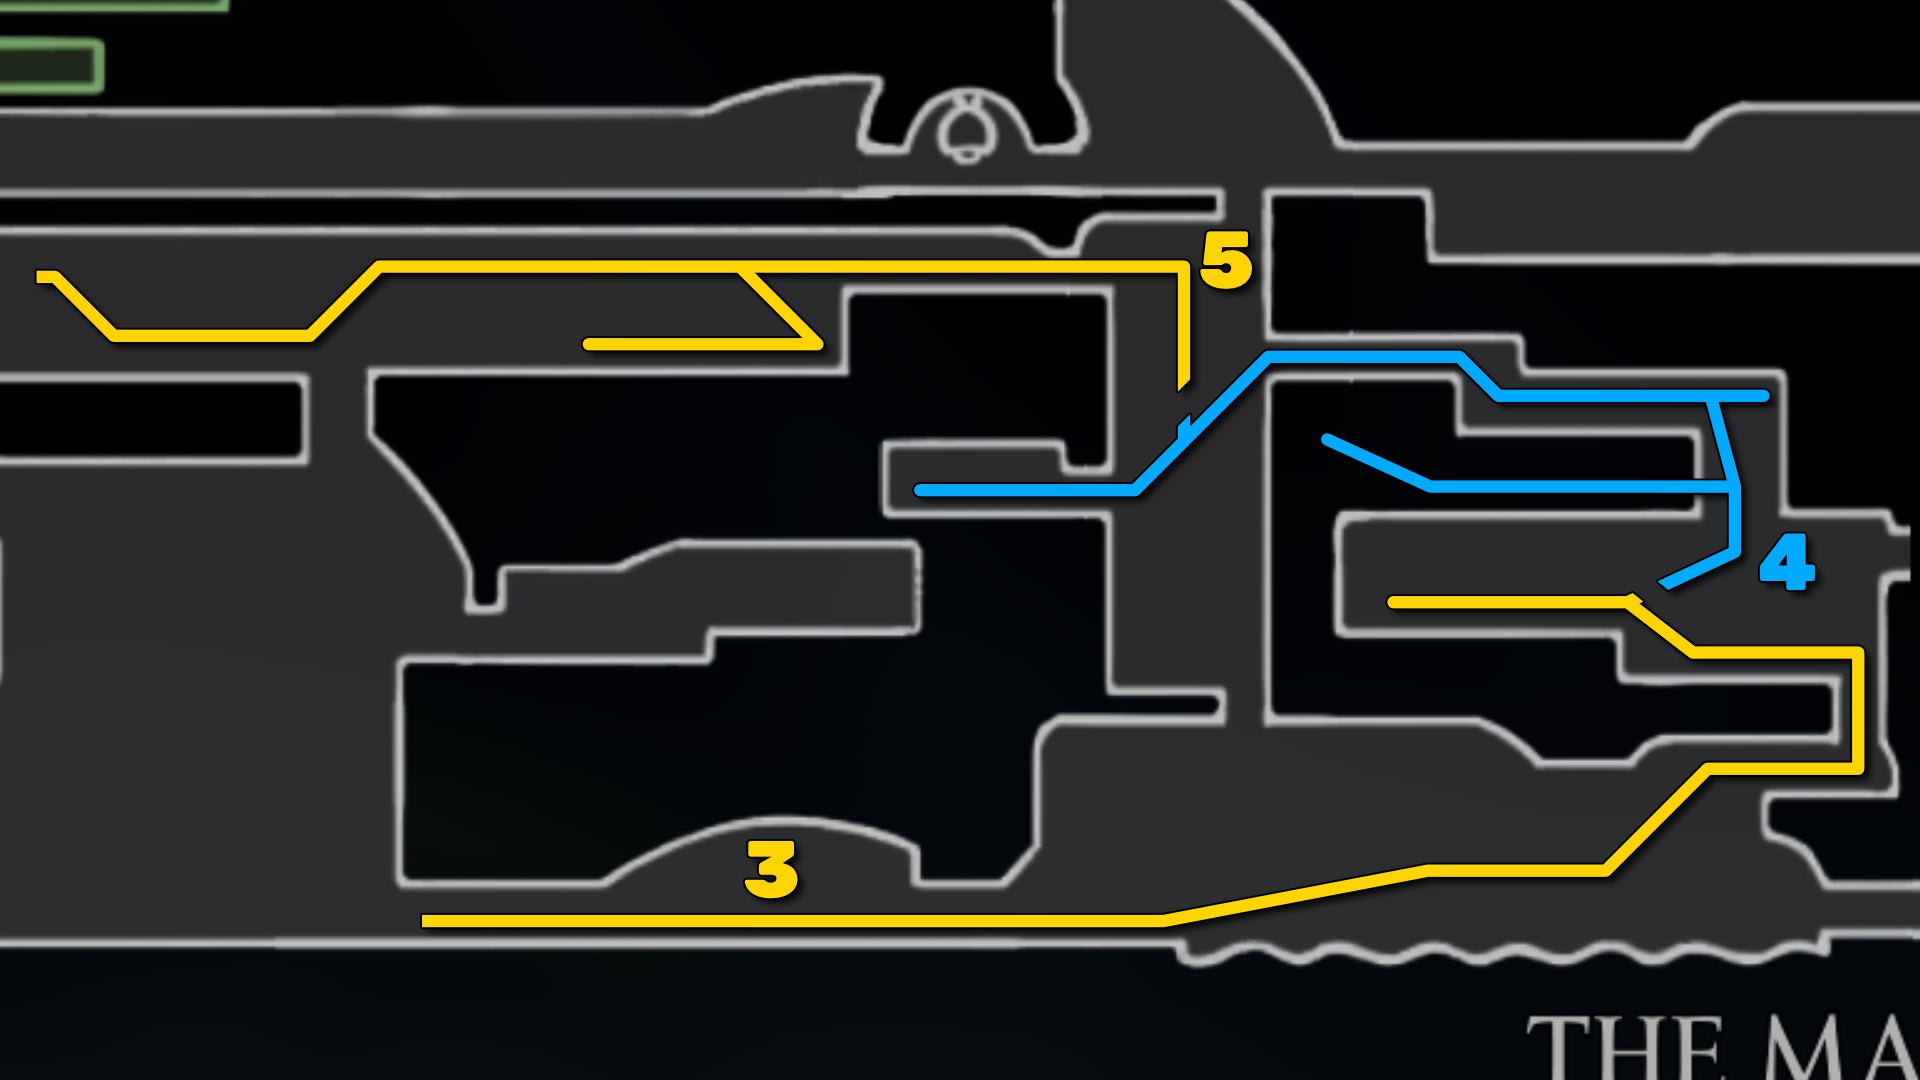
3. Enter the Marrow and meet the Fleas.
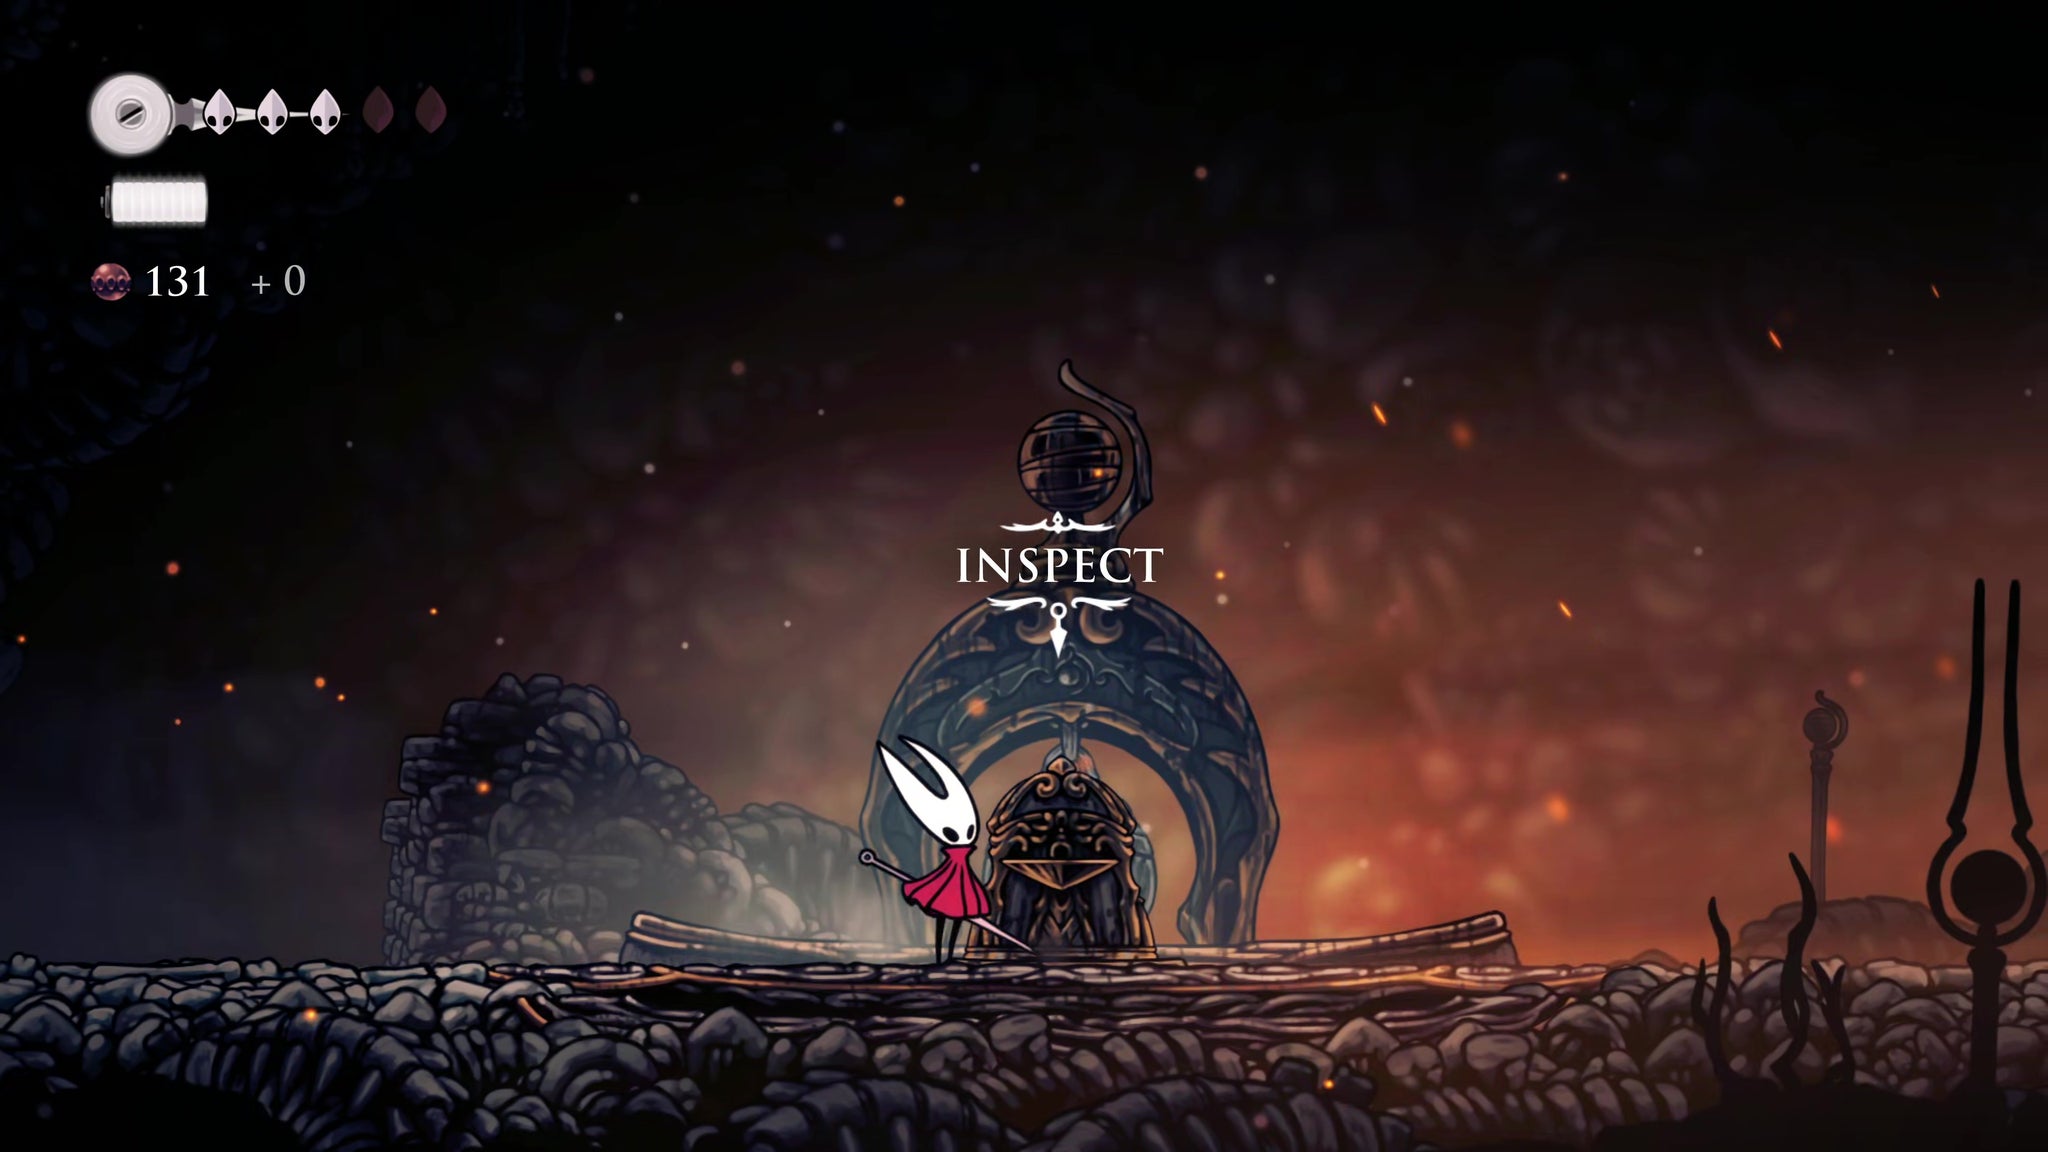
In the next room, inspect the strange ornament and pay the toll of 30 Rosaries to activate a Bench to rest at. There's also a bit of lore inscription to the right of the bench. Head on into the next room when you're ready.
Image credit: Rock Paper Shotgun/Team Cherry
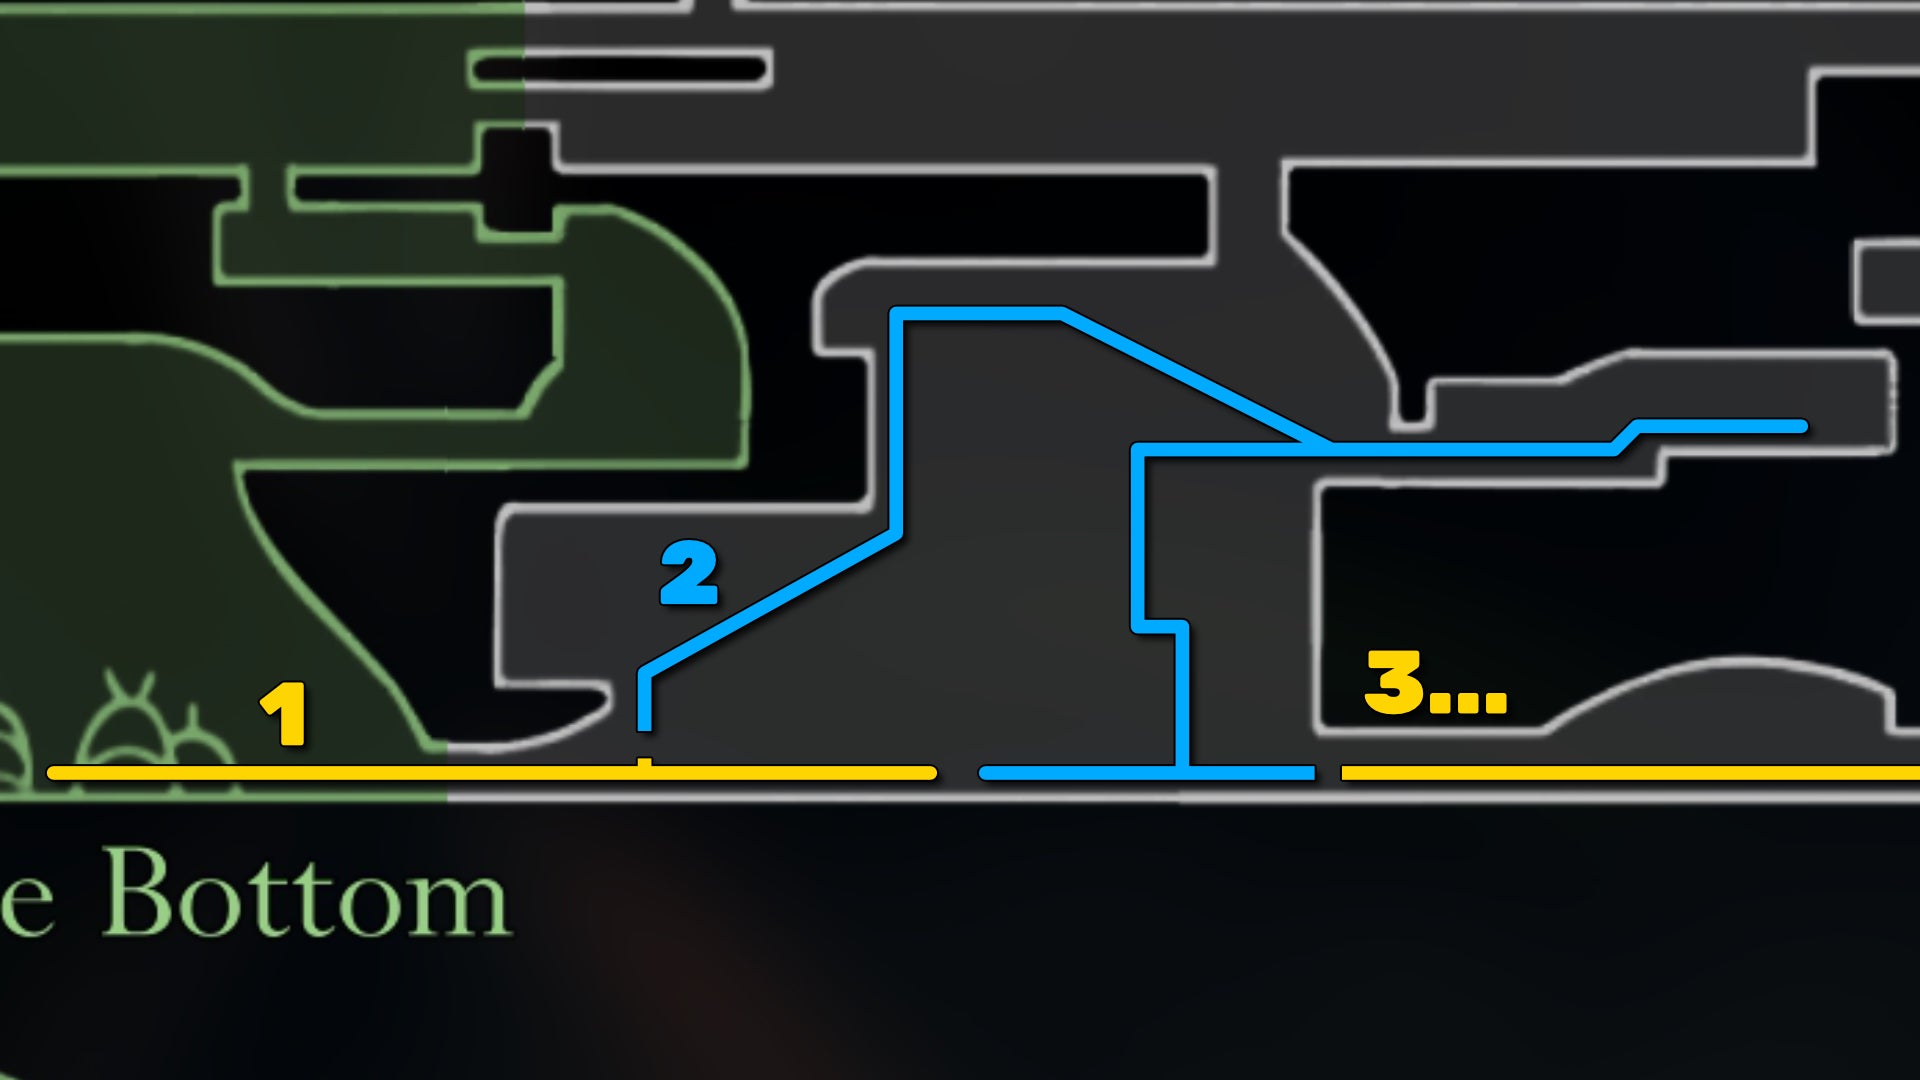
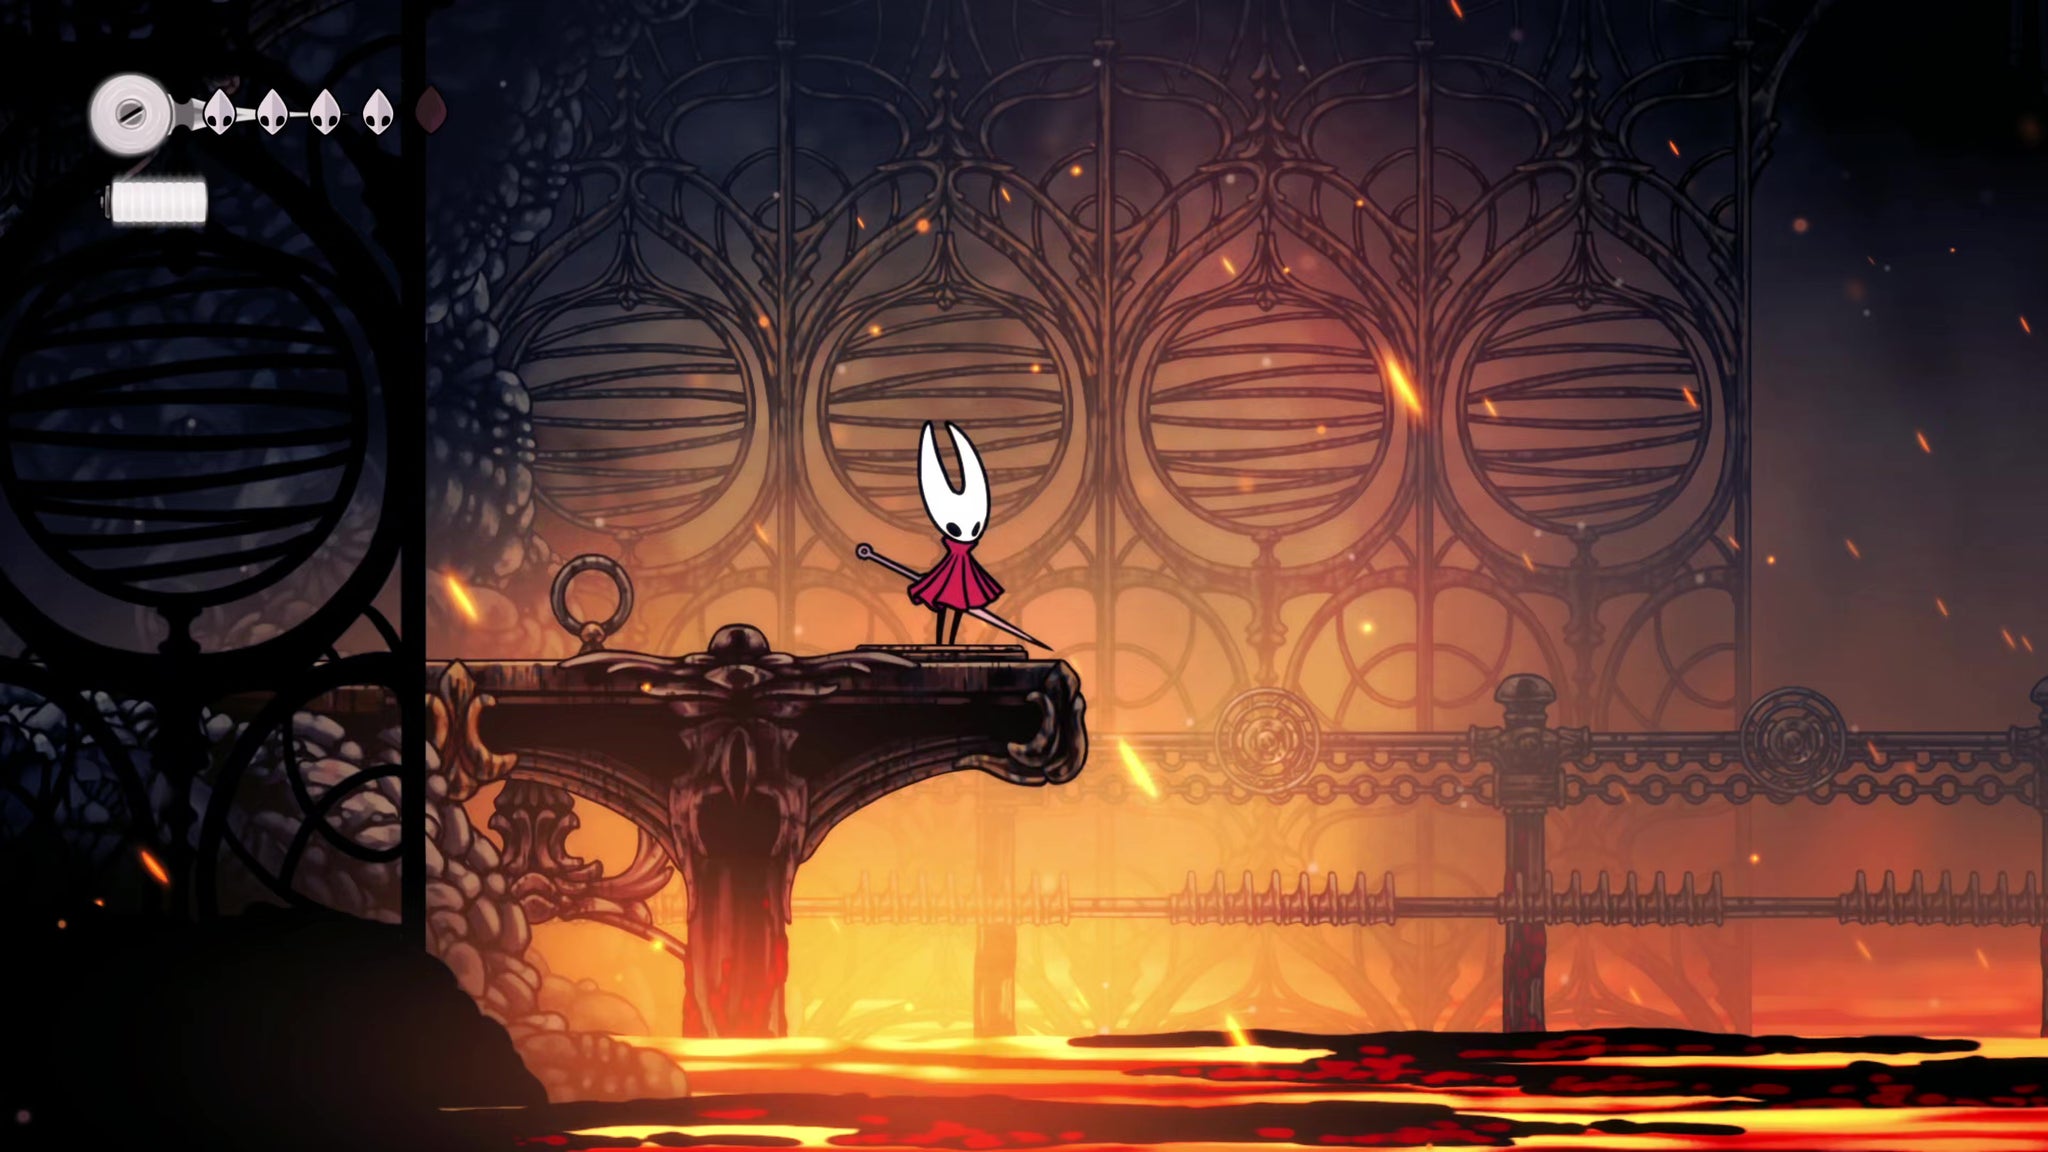
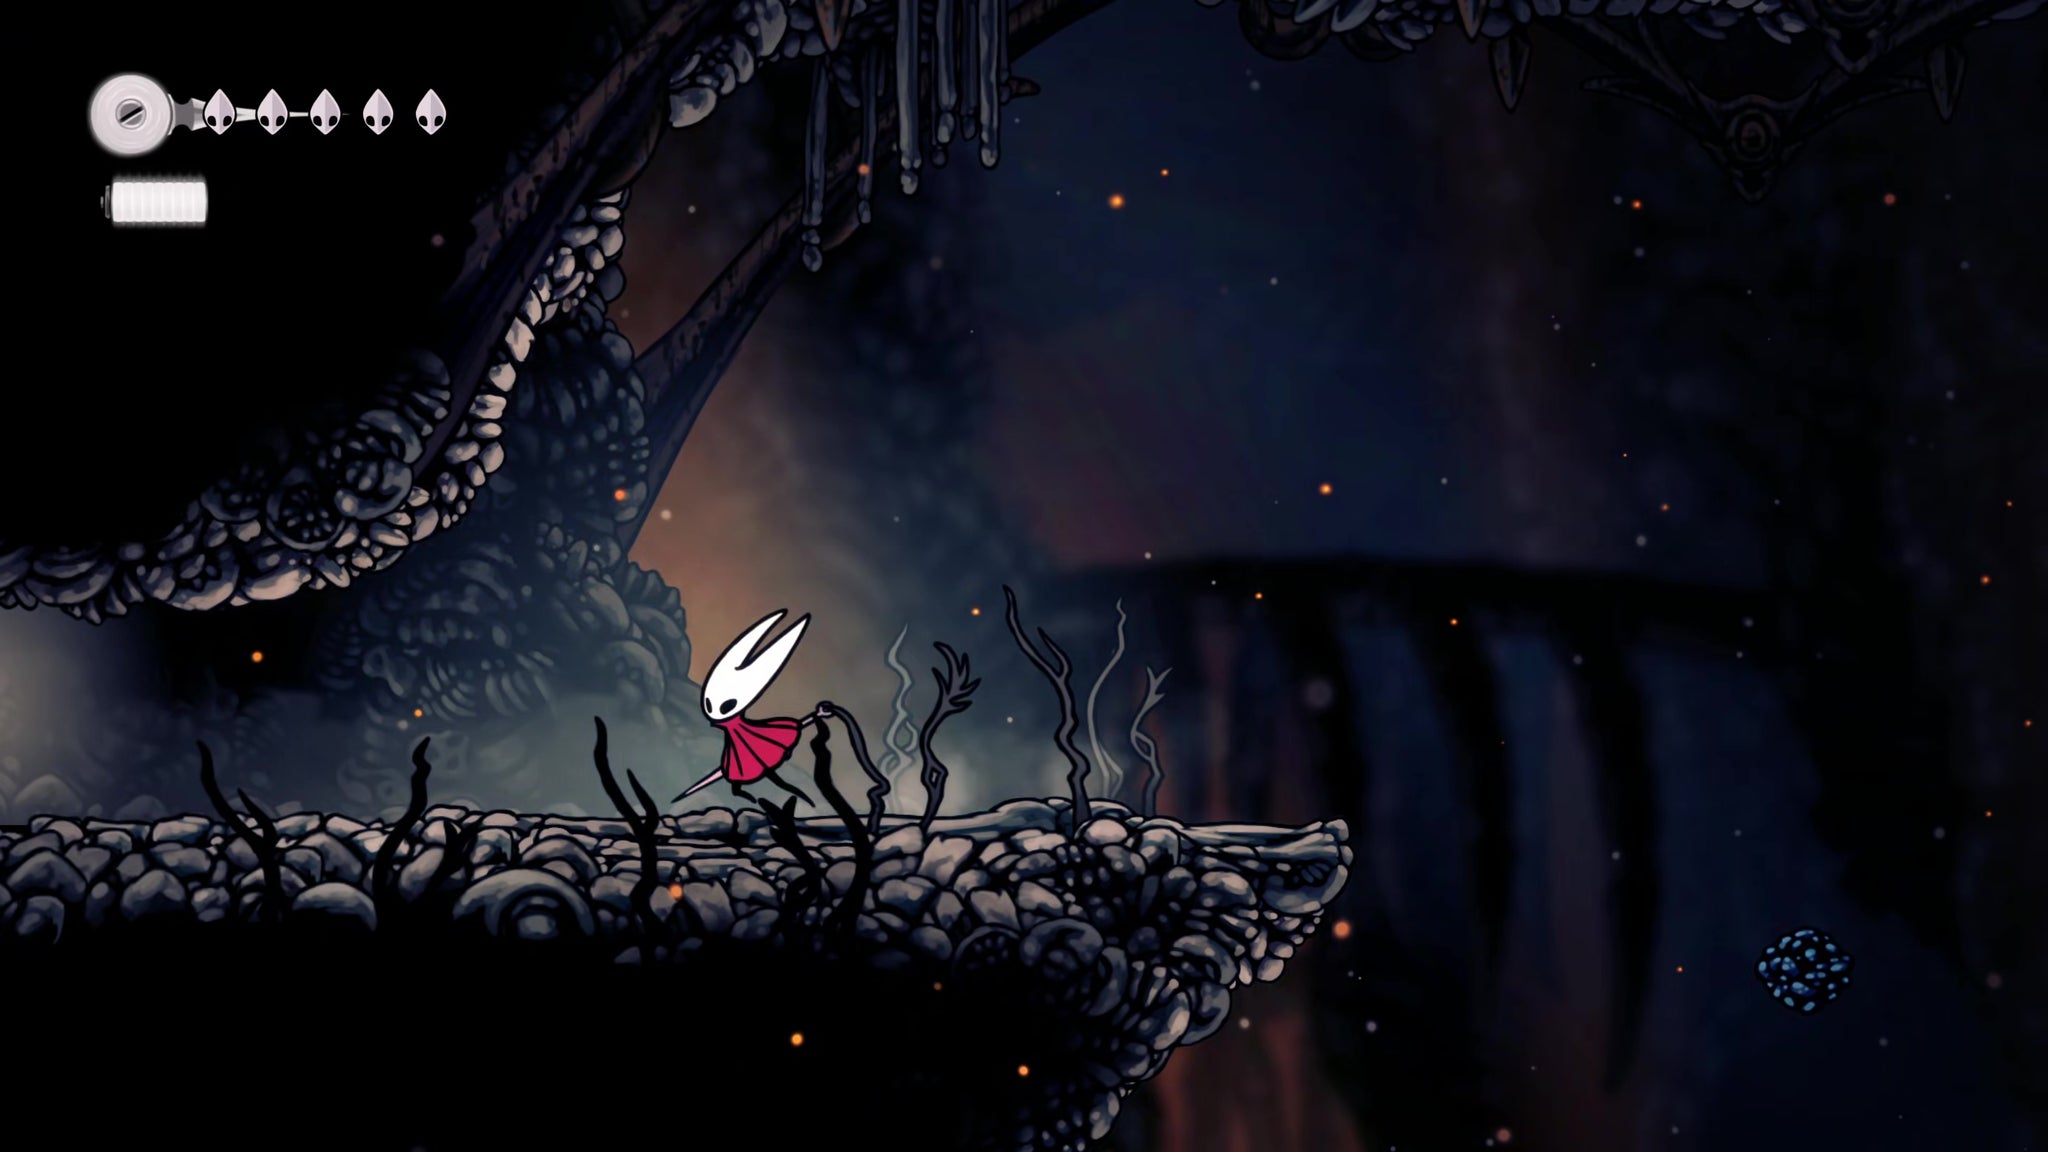
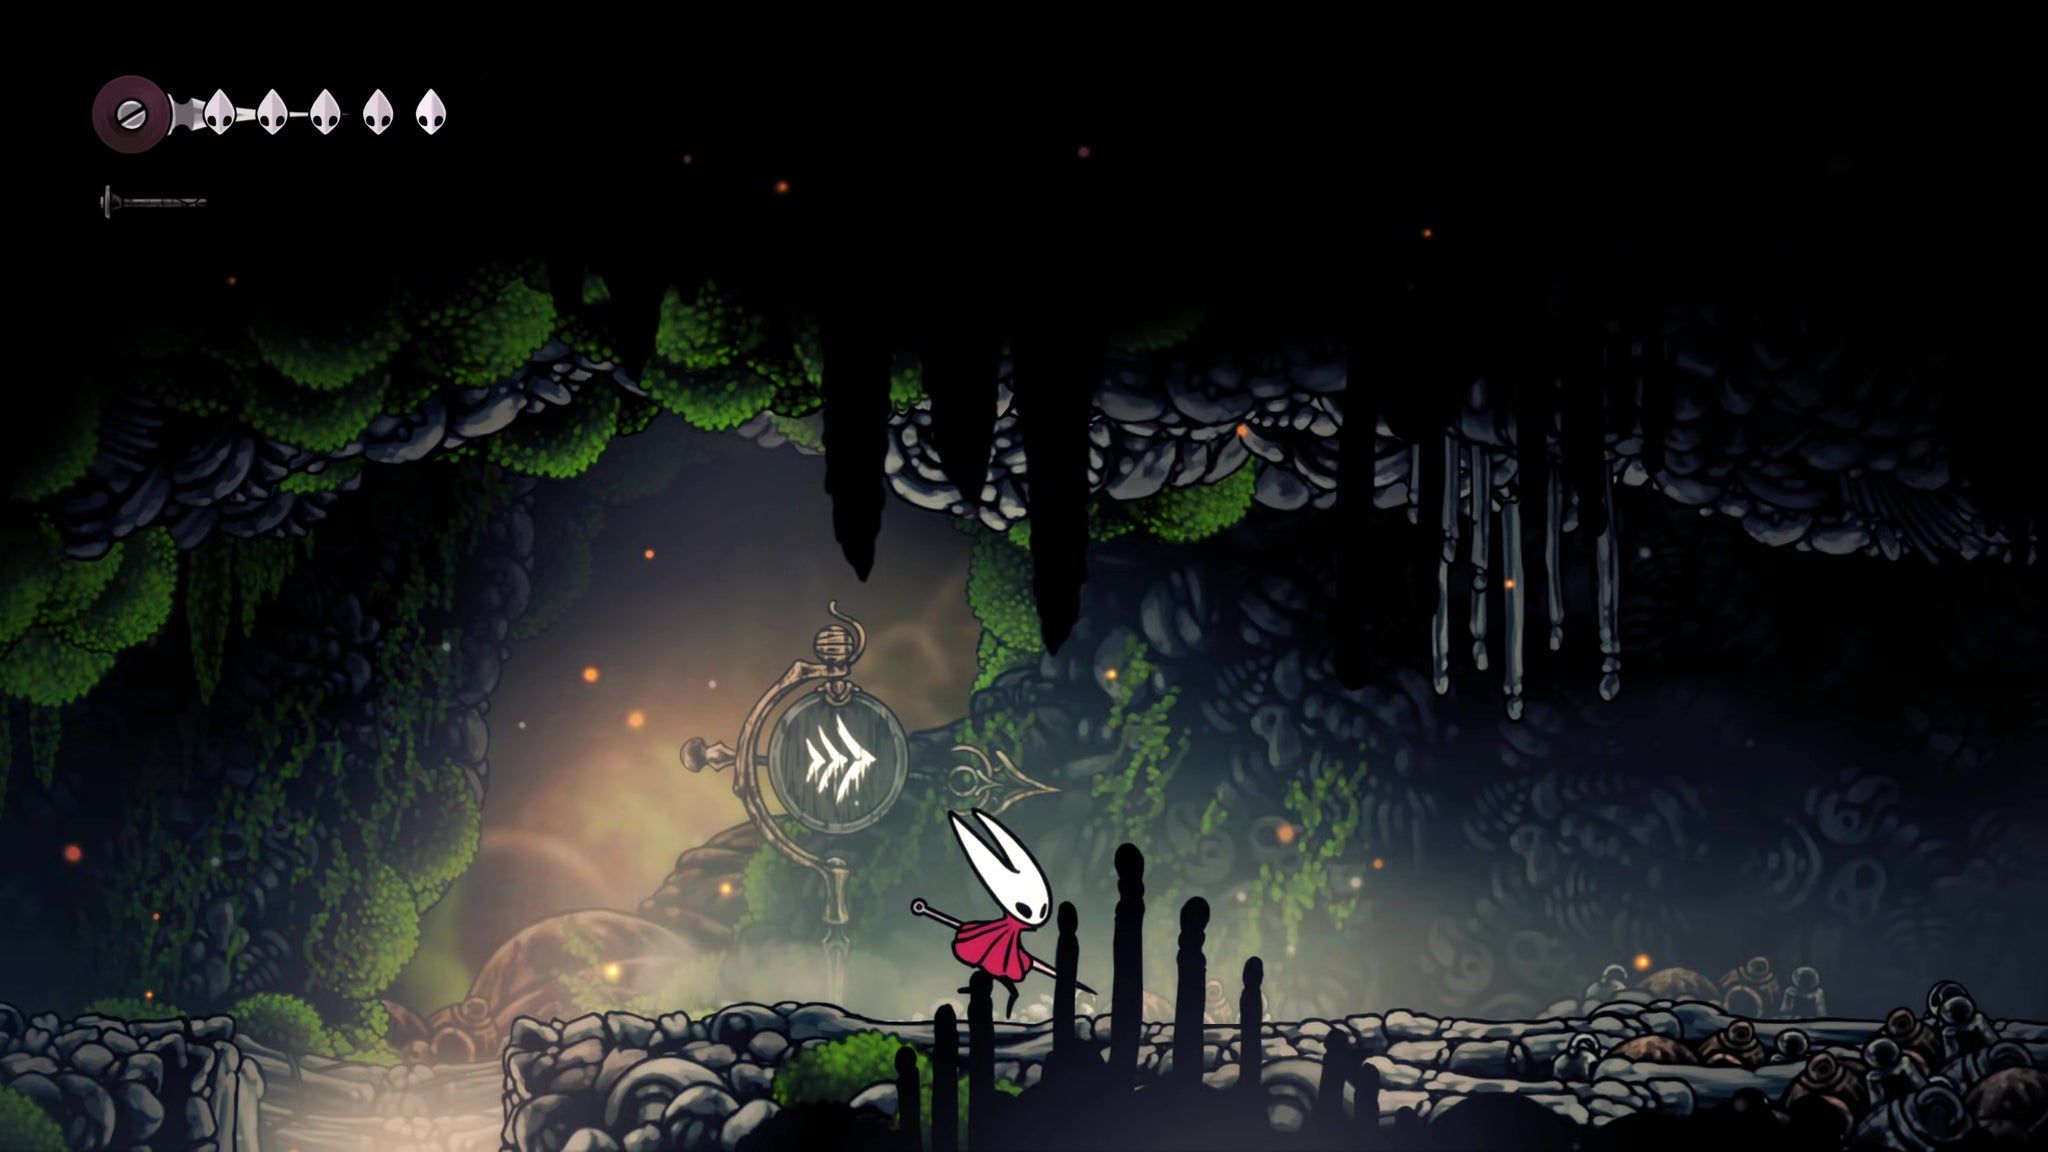
With these next steps, you enter a new region: The Marrow. The lava here deals 2 damage per dunk, so be careful. This room has a slightly confusing layout. There are three exits, but the one to the far right on ground level doesn't yet go anywhere, which makes things simpler. Still, feel free to check it out so you know what it looks like.
This path is untraversable, for now. Bit too much lava. | Image credit: Rock Paper Shotgun/Team Cherry
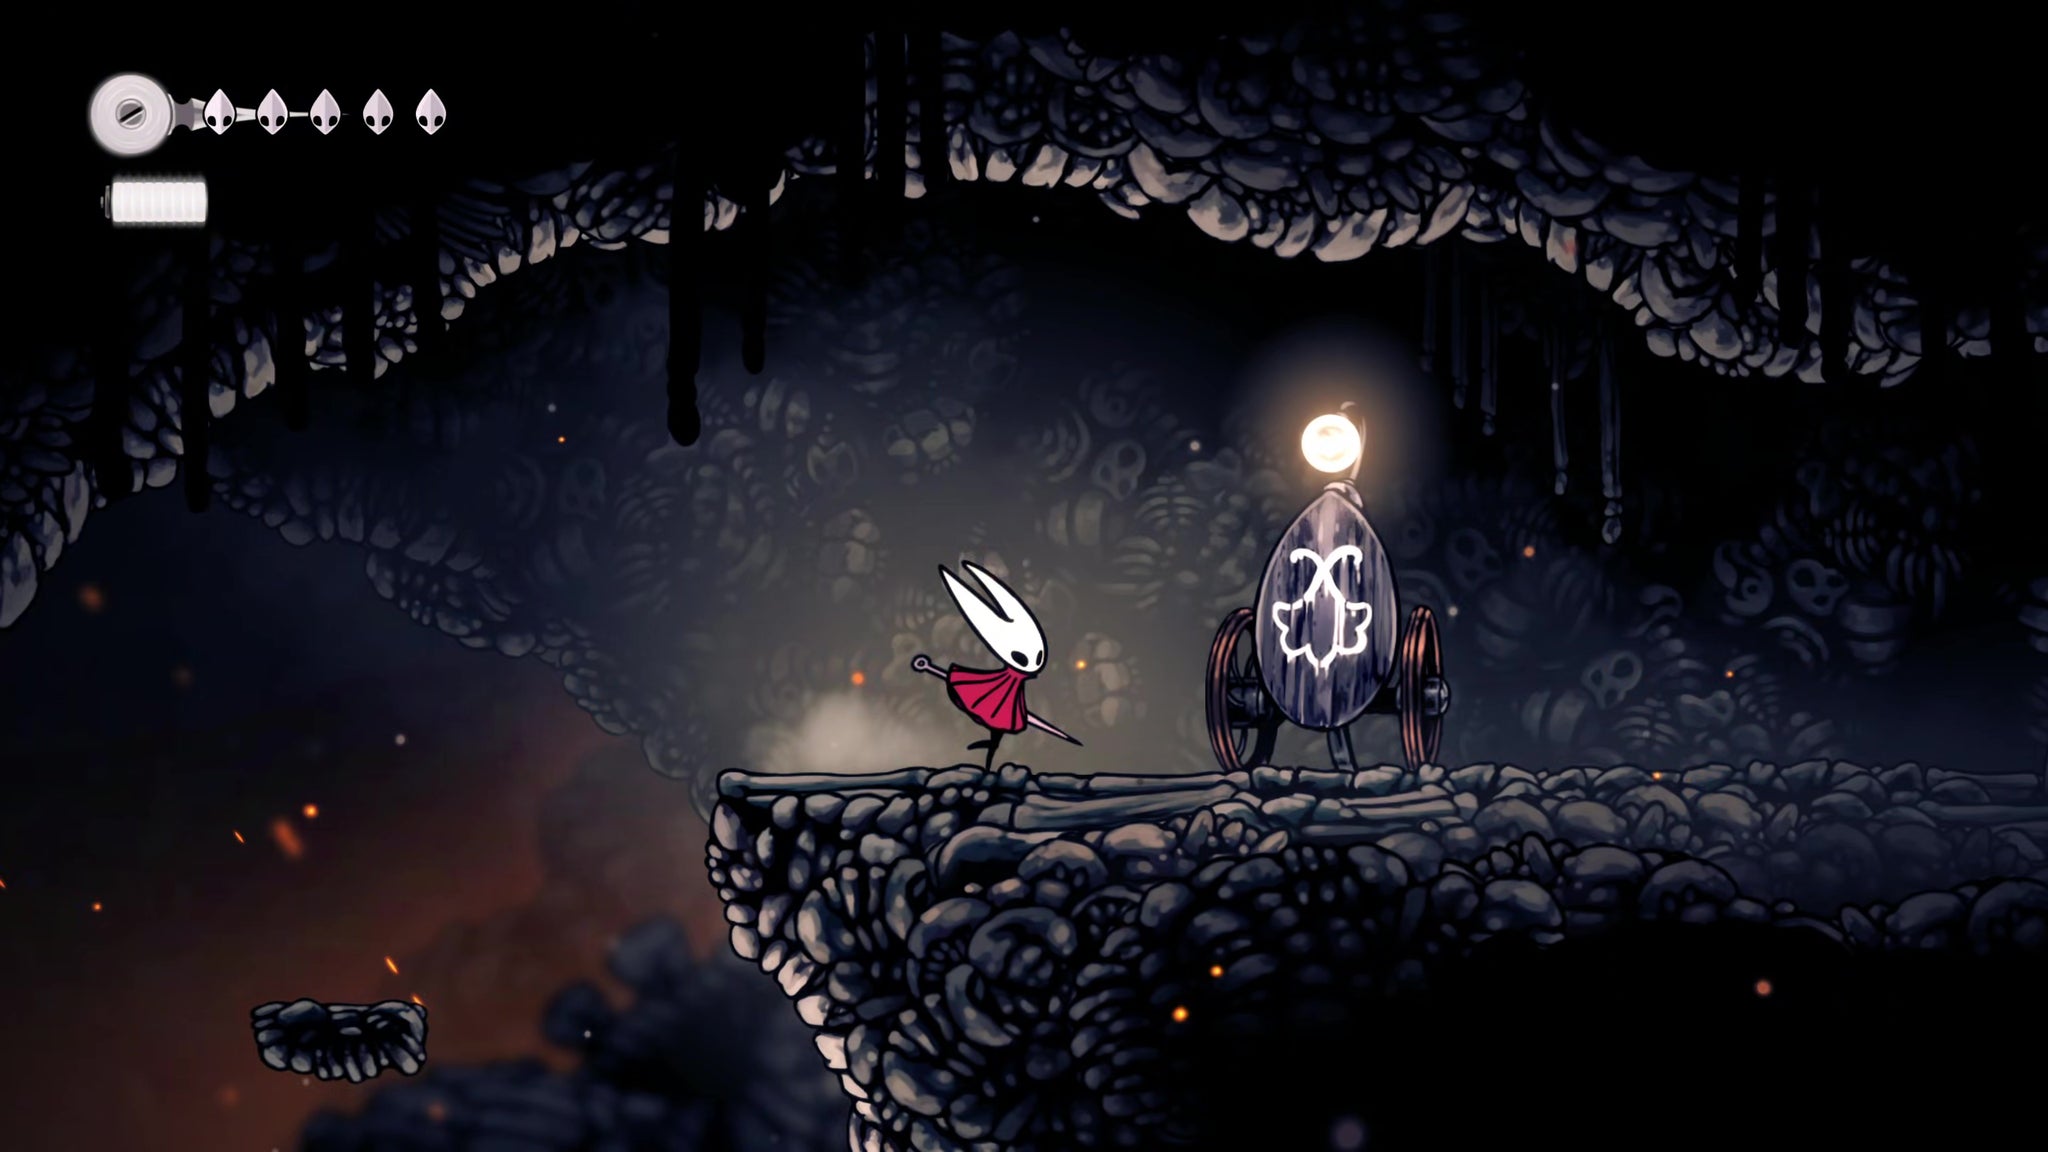
Back in the main room, the other two exits are to the far top-left, and the far top-right. Use the ledges to climb and head for the right-hand exit first. If you see a lit wooden sign on wheels, you're on the right path. Head up into the next room from there.
Image credit: Rock Paper Shotgun/Team Cherry
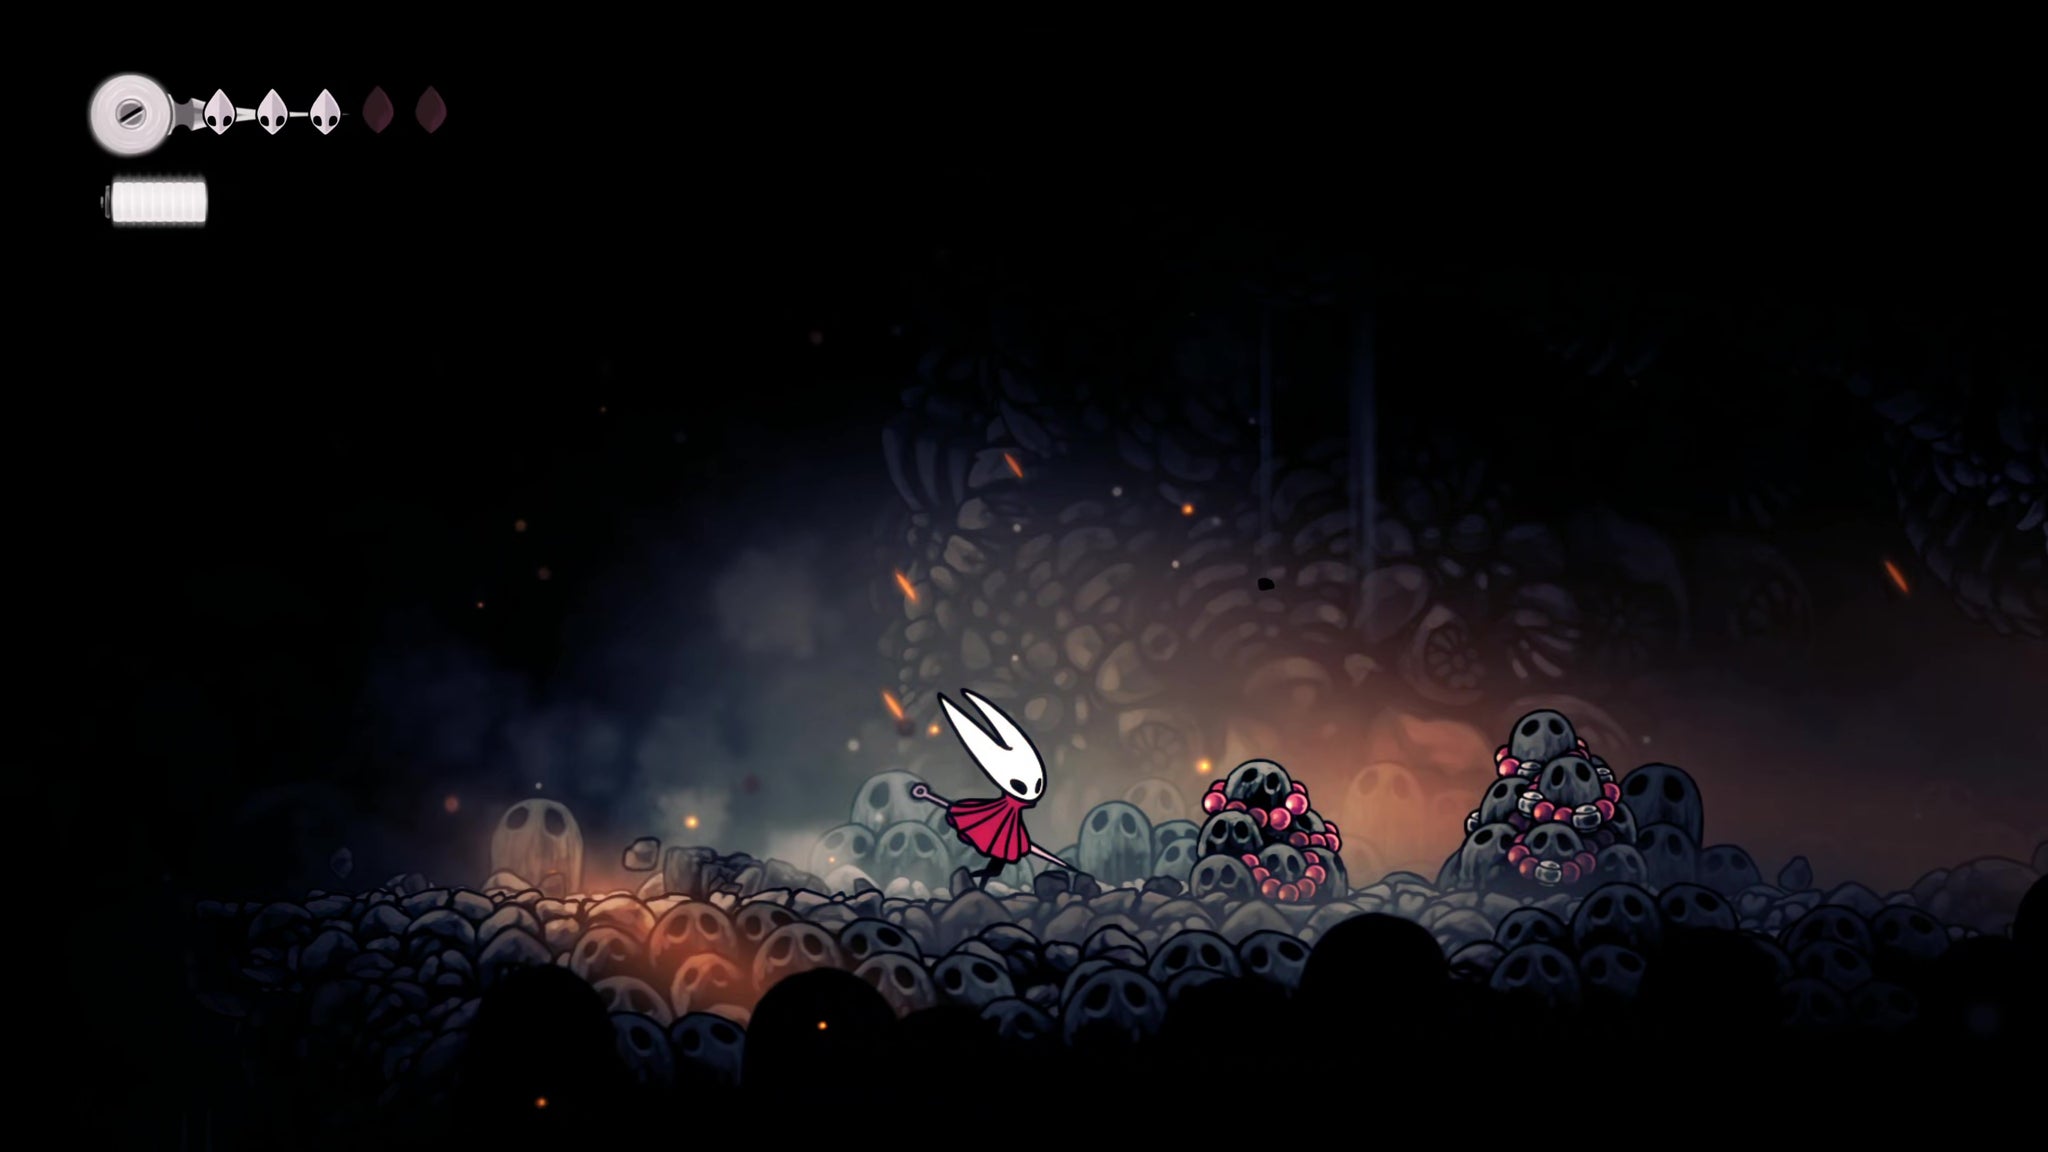
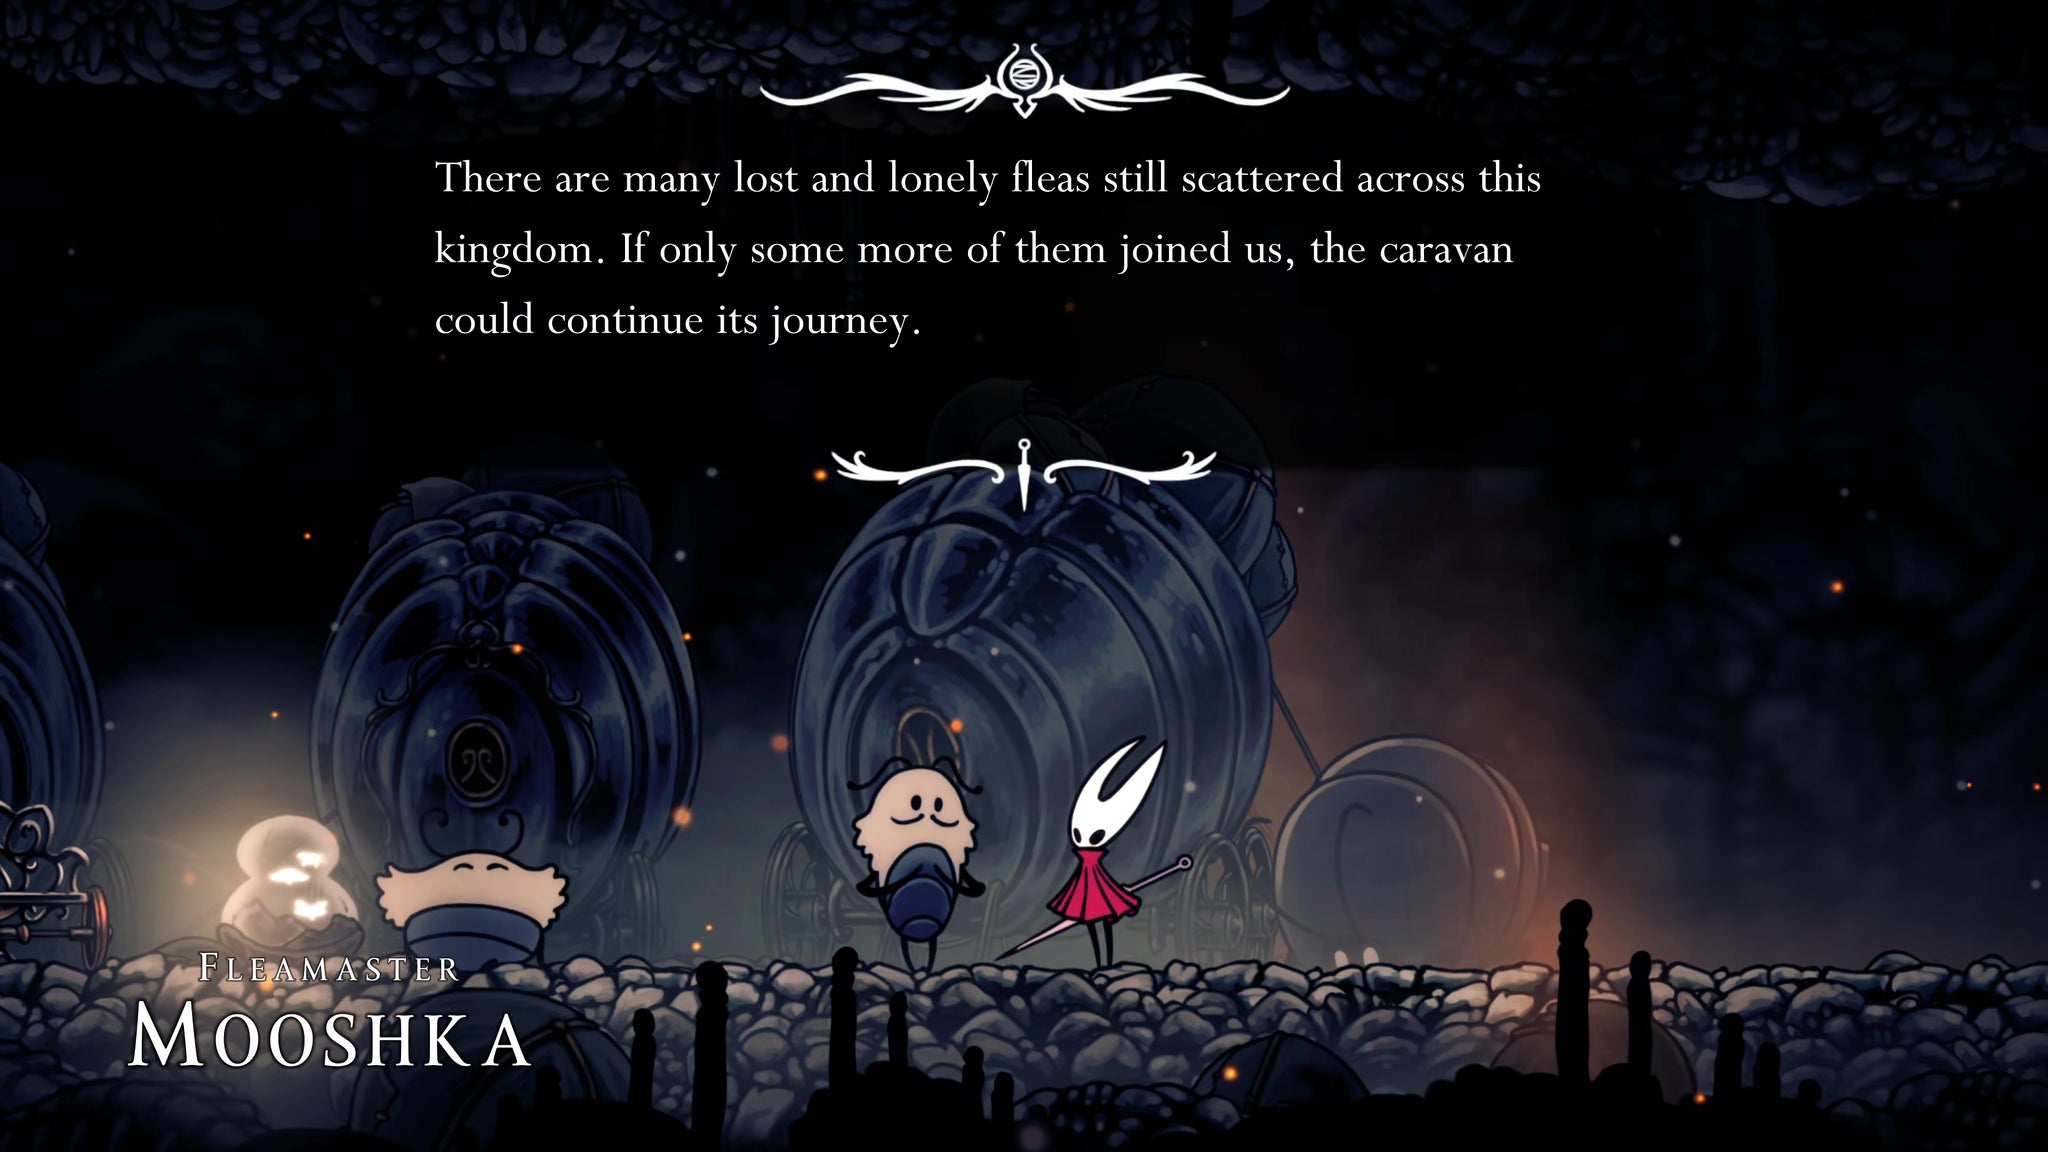
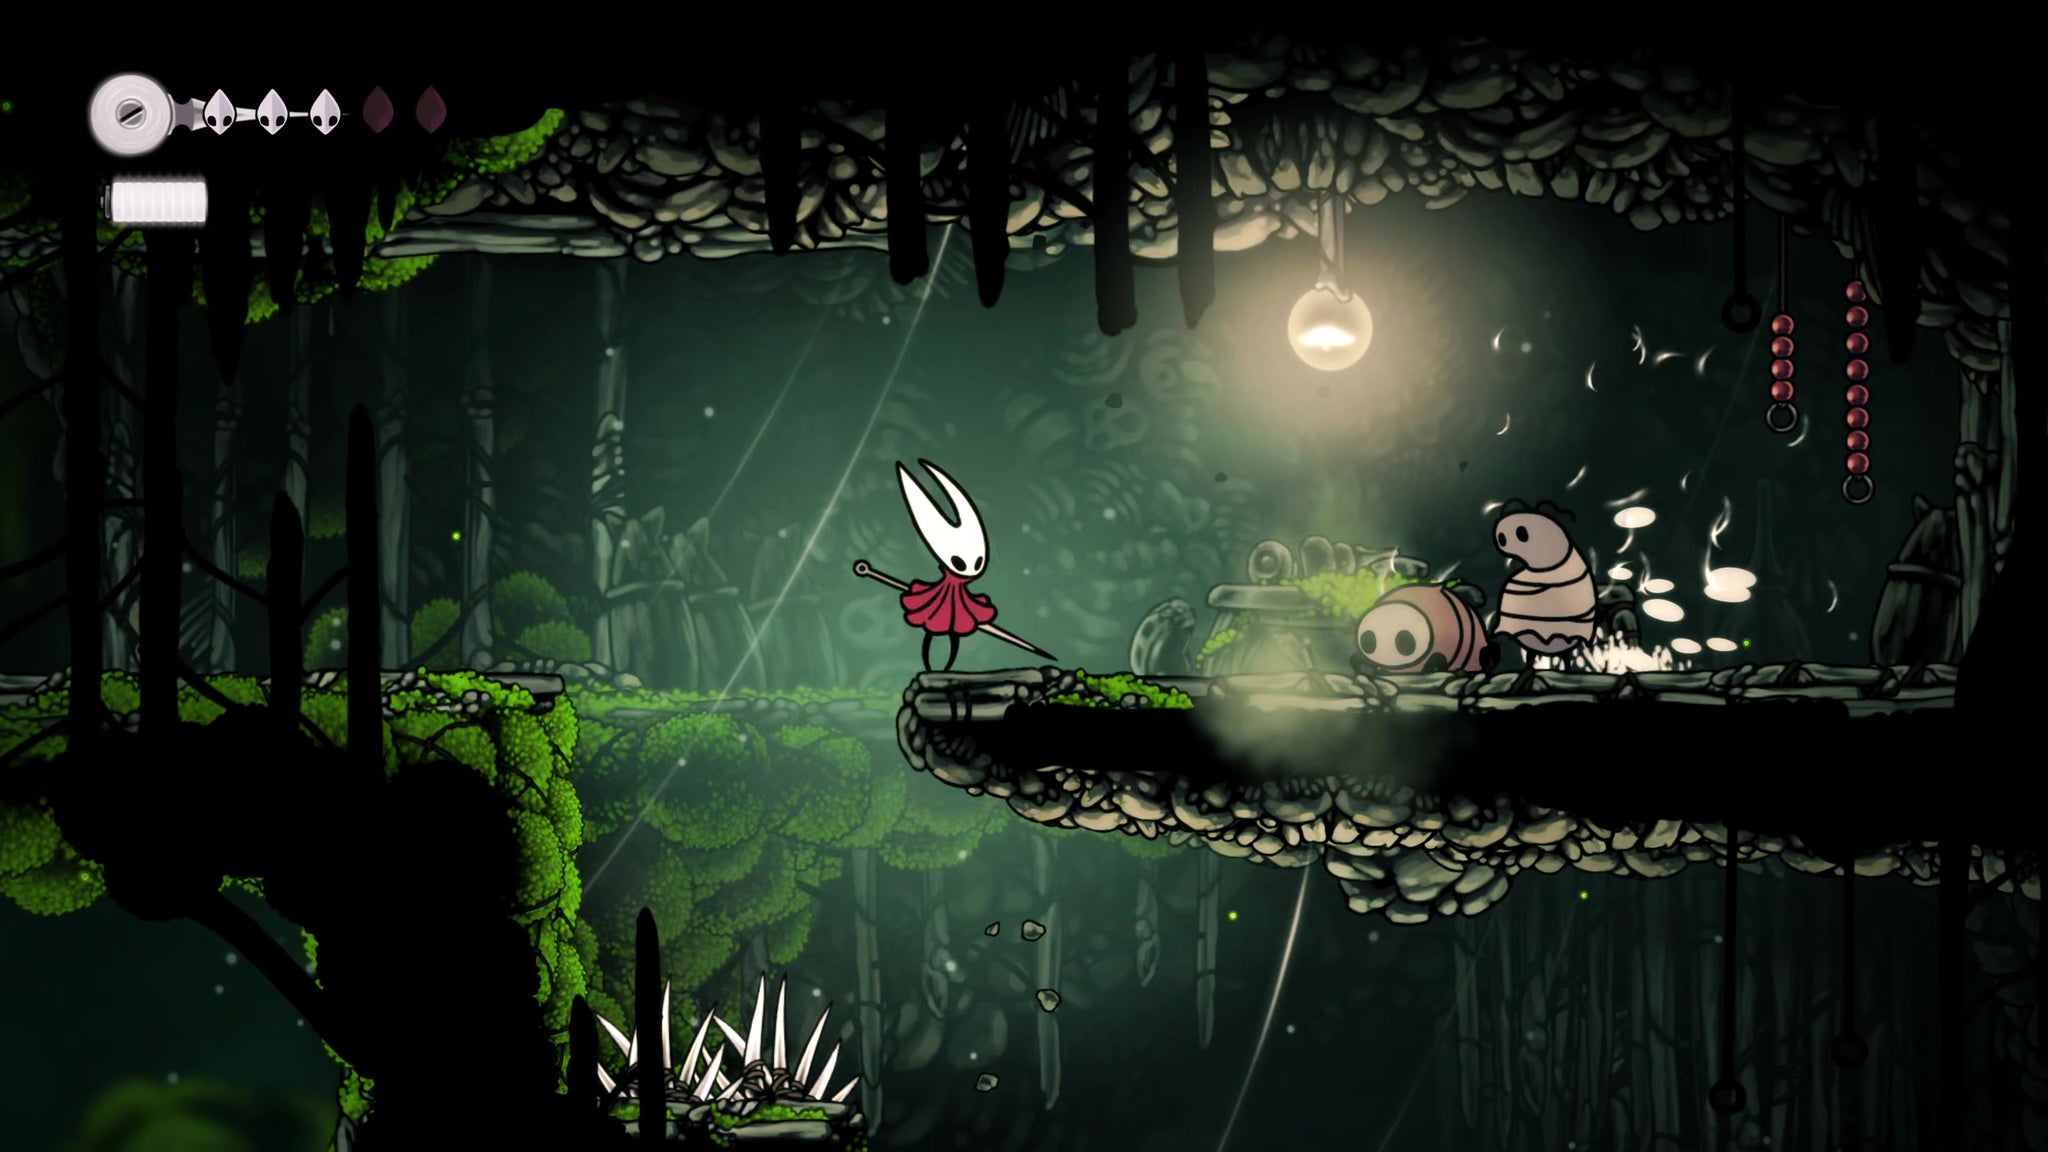
In the dark skull-filled room beyond, carefully dispatch the spike-happy porcupine creature, and then climb to the left ledge where, unexpectedly, you'll find some friendly faces. Here waits a caravan of Flea people, headed by Fleamaster Mooshka.
Image credit: Rock Paper Shotgun/Team Cherry
Speak to him and he'll give you a quest to track down and return the lost Fleas scattered about the land. There's also a bench here where you can rest before venturing on.
Mark step as completed.
4. Acquire the Shard Pendant.
Image credit: Rock Paper Shotgun/Team Cherry
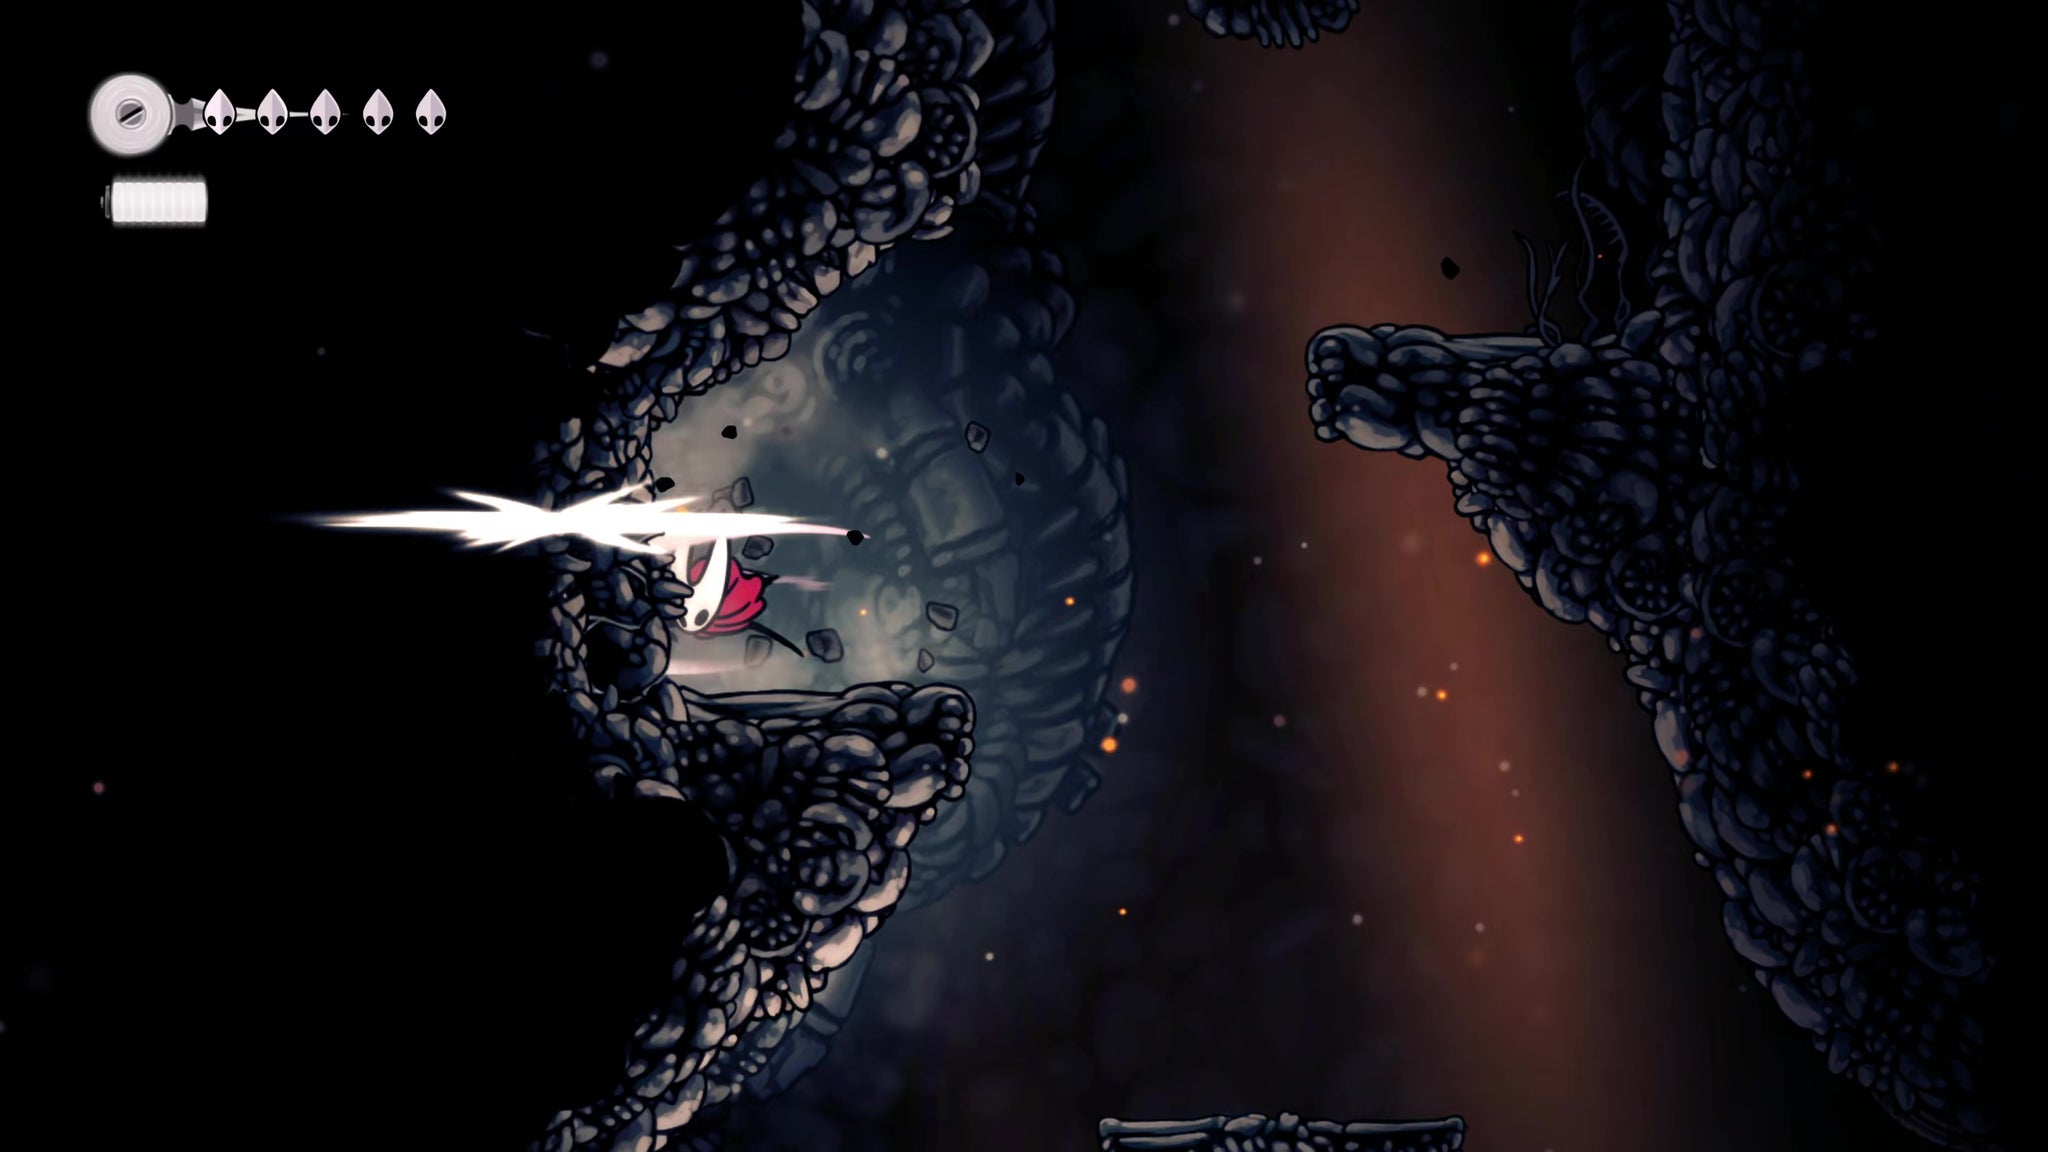
From the caravan, use the platform to the right and climb upwards until you reach a ledge on the left-hand wall. Attack the wall here to reveal a secret passage. Kill the enemies within and reach the end to loot a cache of Rosaries, then return and continue climbing upwards.
Once you reach the top, head right a short way until you reach the end of the path. Right at the end, next to the spikes, you can loot a Frayed Rosary String.
Image credit: Rock Paper Shotgun/Team Cherry
That done, head left into the next room, and you'll emerge halfway up a long vertical passageway. In the interests of getting your bearings - if you'd taken the top-left exit instead of the exit that led you to the Fleas, then you would have emerged at the bottom of this vertical passage.
Image credit: Rock Paper Shotgun/Team Cherry
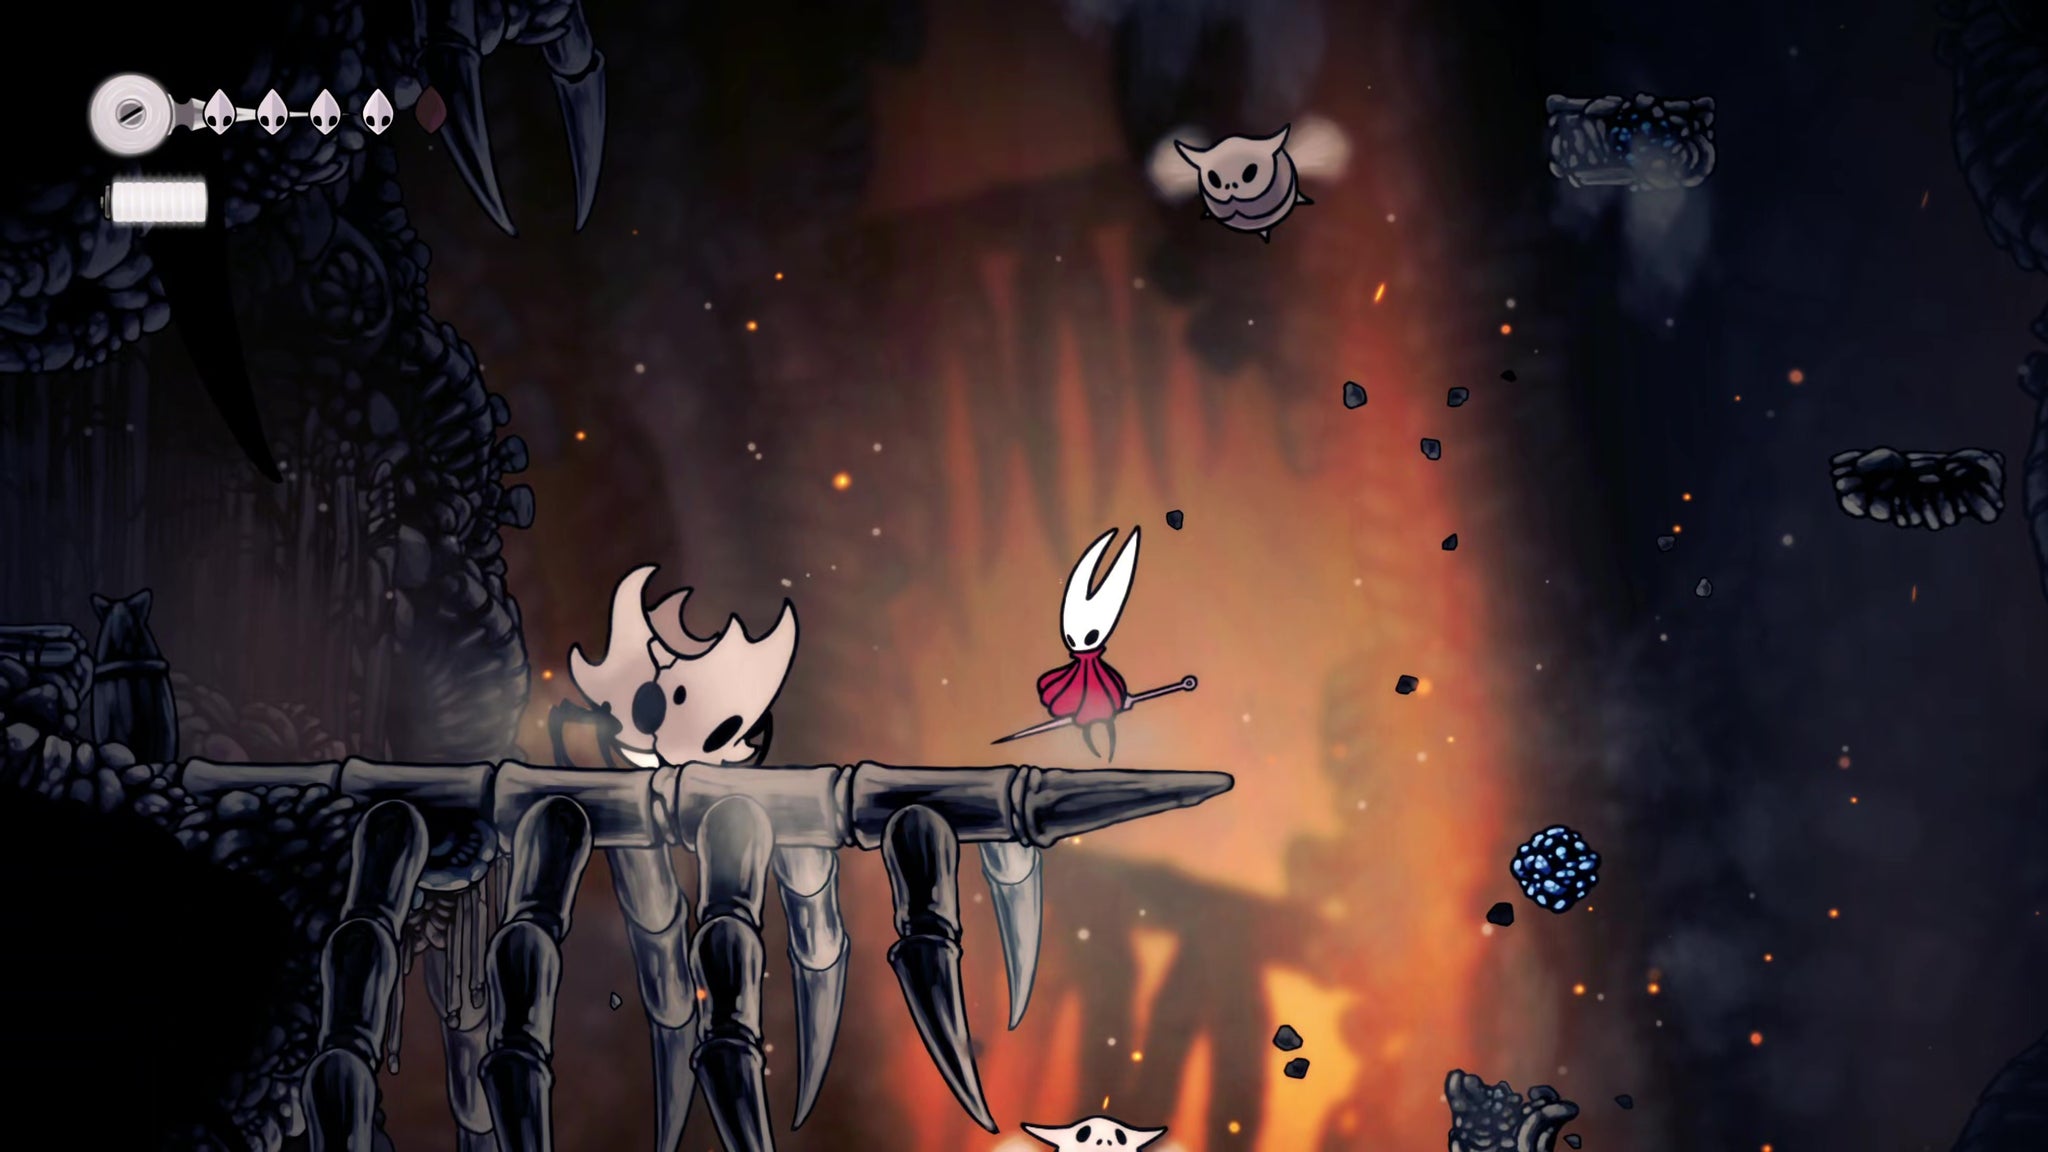
Drop down a couple of ledges, until you see another bone-y platform guarded by a large charging skull enemy. Get past the creature and exit left into a small dark room where you can loot the Shard Pendant tool from the ground.
What does the Shard Pendant do?An extra tip from Ollie
The Shard Pendant is the first of many tools that you can equip Hornet with while resting at any Bench. This particular tool increases the number of Shell Shards dropped by defeated enemies whenever you have it equipped. It's a good starting tool, but bear in mind that you have limited tool slots, so you'll likely want to swap it out for something better later on.
Mark step as completed.
5. Meet Shakra and buy your first Maps.
Exit back out into the vertical passageway, and climb up as far as you can go using the (crumbling) platforms. Pass through the exit to the left and into a new room.
Image credit: Rock Paper Shotgun/Team Cherry
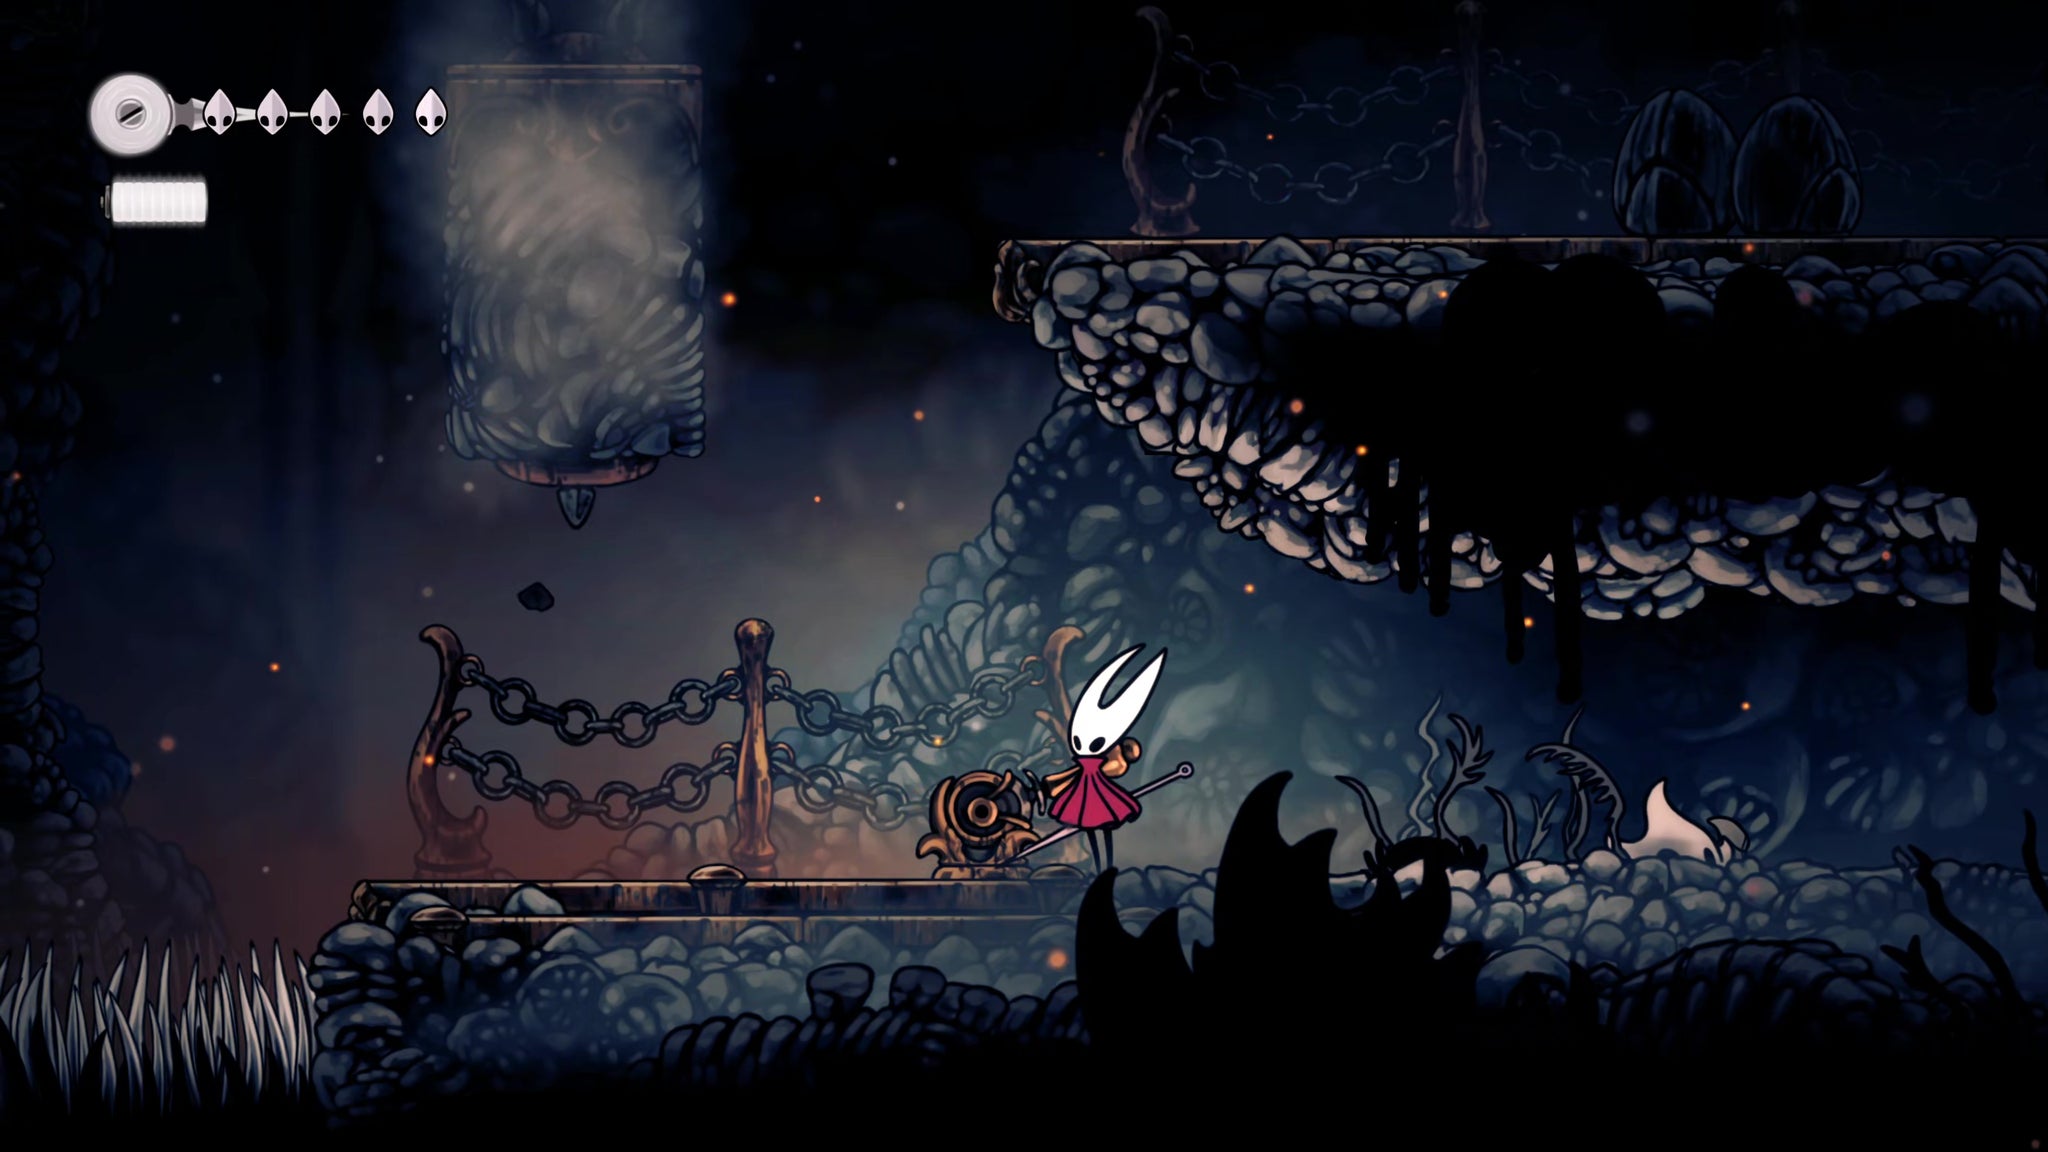
From the platform hanging by a chain, drop down to the right to break open a Rosary cache. Then head along the ground to the left and hit the lever there to lower a hanging platform above you.
Image credit: Rock Paper Shotgun/Team Cherry
Now backtrack and this time take the upper ledge to the left. Use the newly lowered platform to reach an even higher ledge with yet another lever, which drops another platform. This platform drops all the way into the room below, but don't bother following it. It just leads back to where you came from, and the dropped platform serves as a shortcut back up here.
Image credit: Rock Paper Shotgun/Team Cherry
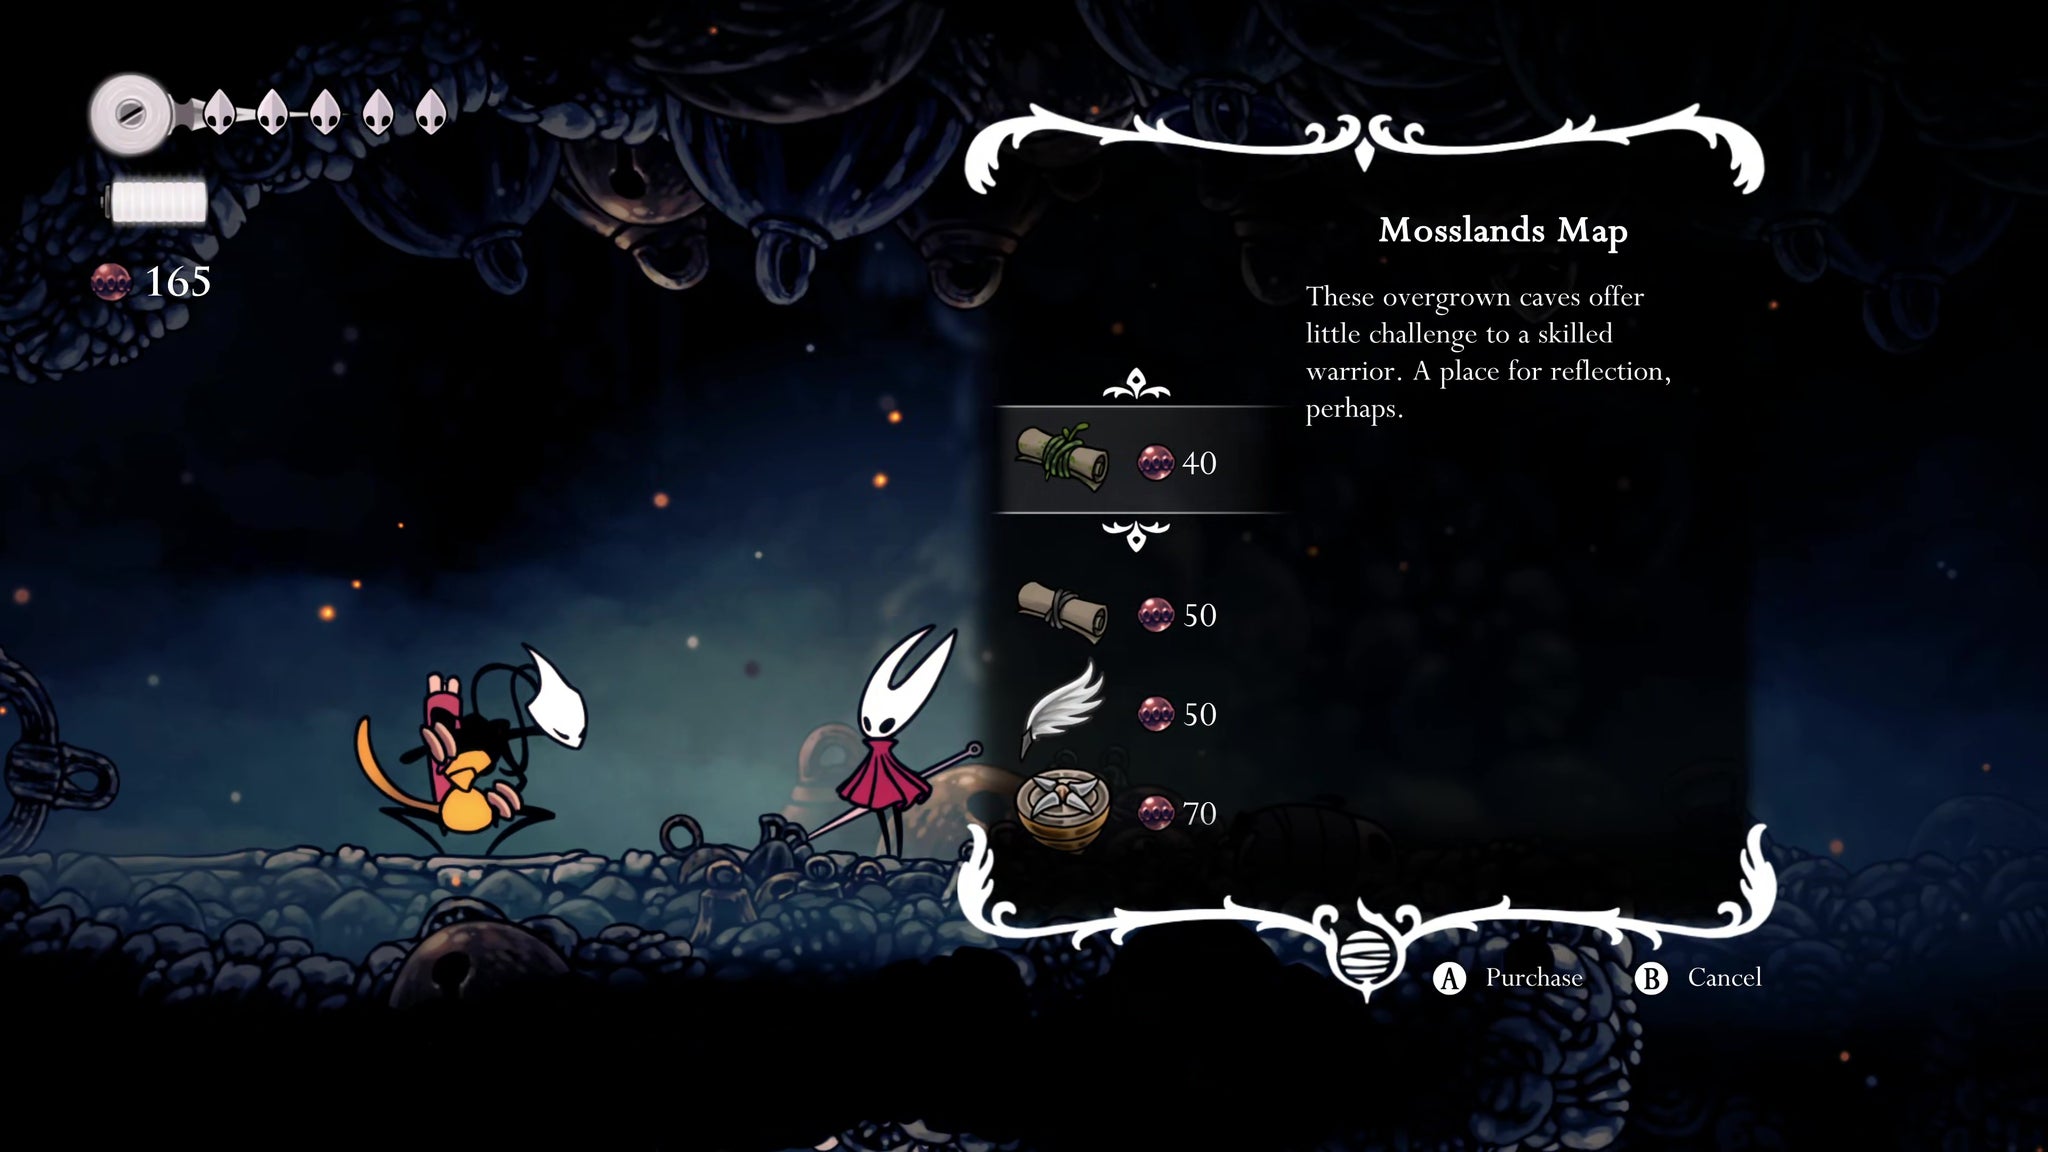
Head to the left of the room, and you'll hear the sounds of singing. Approach the source of the singing, and - after a rather fearsome introduction - you'll meet Shakra. She's a fellow warrior, and - crucially - a creator of maps.
At last, a map! | Image credit: Rock Paper Shotgun/Team Cherry
By this point you should have enough Rosaries saved up to purchase both the Mosslands Map and the Marrow Map. If you can, also purchase the Quill so you can add to these maps. And if you've really been hoarding, purchase the Compass too, which displays your position on the map. Otherwise you can come back for them later, but do make it a priority as these tools are exceptionally useful.
Mark step as completed.
Image credit: Rock Paper Shotgun/Team Cherry
6. Venture left to unlock the nearby Bench.
Image credit: Rock Paper Shotgun/Team Cherry
From Shakra's location, there's an exit upwards and an exit to the lower-left. Take the lower-left exit first, as it'll unlock a nearby Bench for you with a little exploring.
This next room looks like we're back in Moss Grotto; in fact, we're above it. The Haunted Pilgrim enemies here like to jump-attack you, so be wary. Fight your way to the far side of the room, and you can loot a dangling string of Rosary Beads. Then climb the platforms up and to the right, and follow the path all the way out of the room.
Oh look, it's a Bench! How about that. Rest at it, and then hit the lever above and to the right, to open up access back into the rest of Shakra's room.
Mark step as completed.
7. Activate the elevator back to the village.
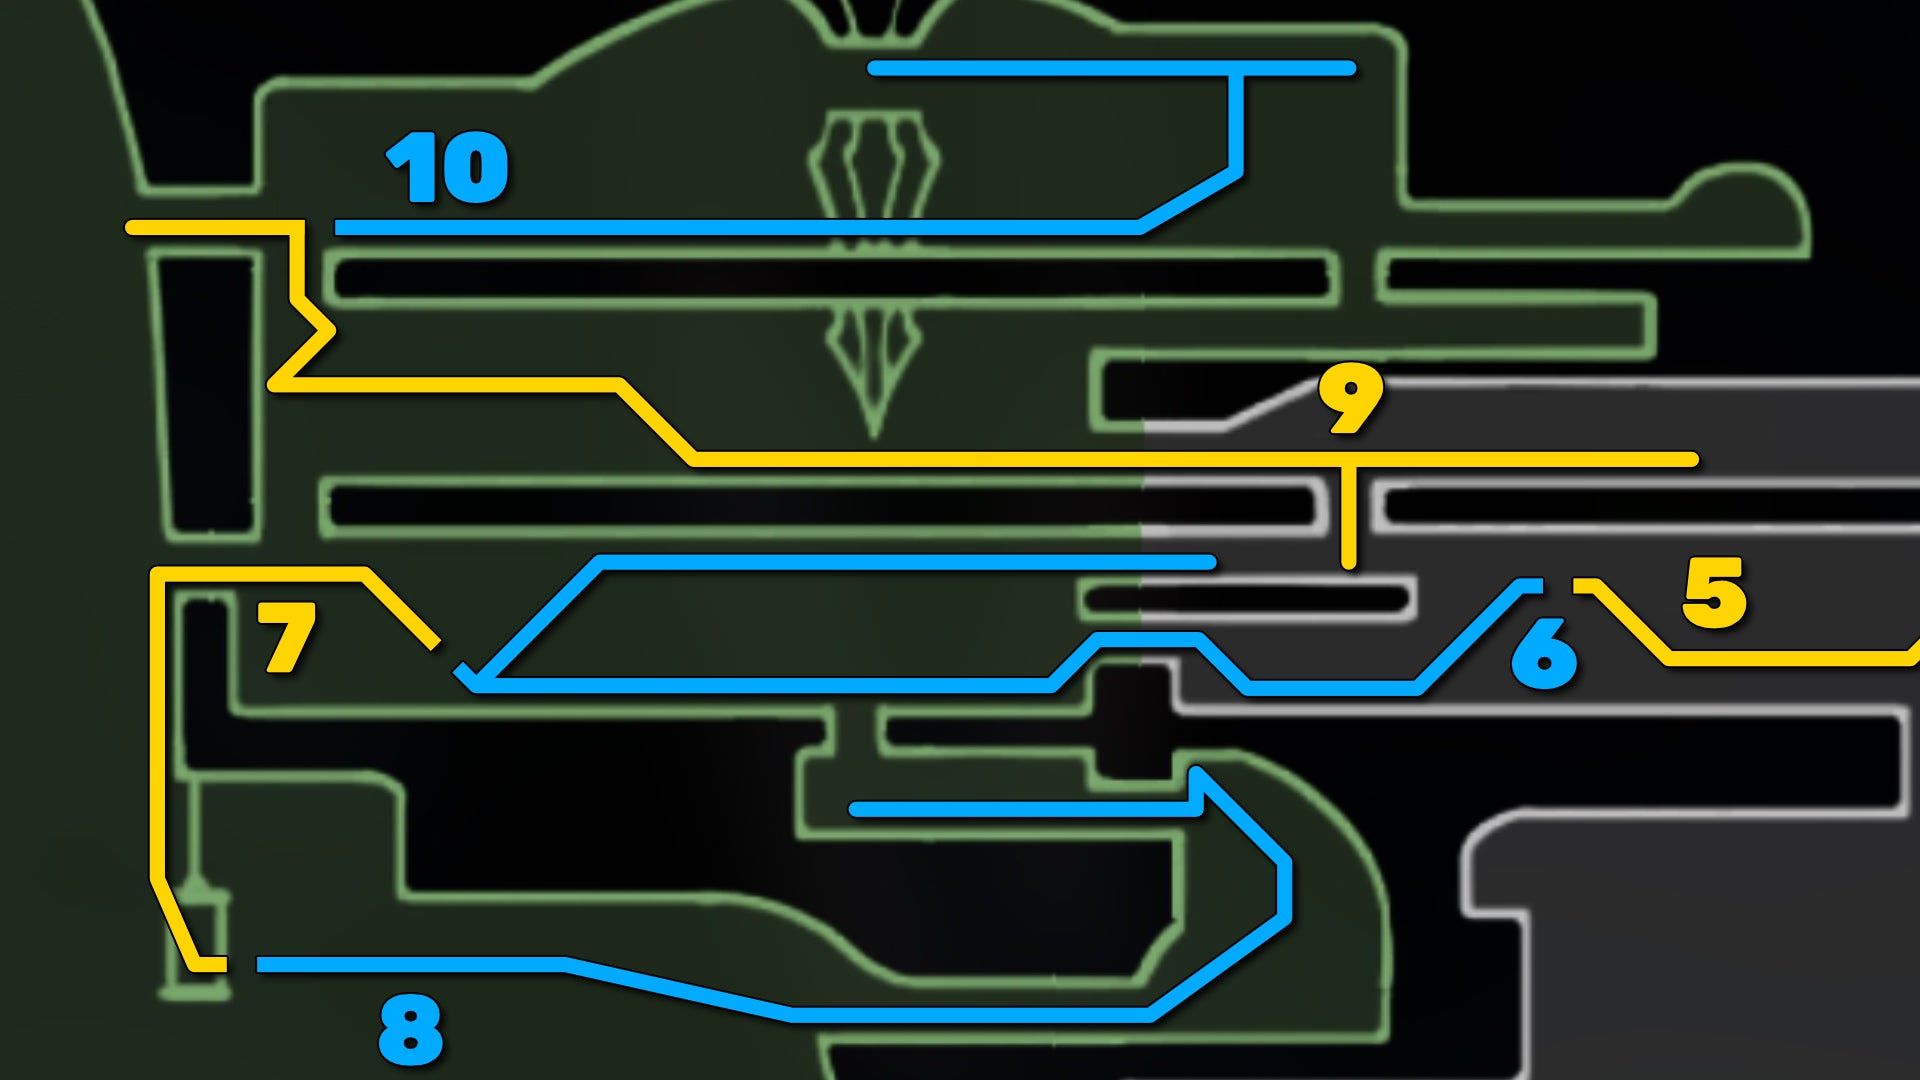
Before we head upwards, there's a very handy shortcut you can unlock by heading back to the left from the Bench. Return to the upper section of those ledges you climbed to get here, and you'll see an upper ledge to the top-left of the room. The only way to get up here is by Pogo-ing off the top of the flying insect enemy there. This may take a few attempts; if you get it wrong, just exit out of the room and back in again to respawn the enemy and try again.
Practice makes perfect with this finicky manoeuvre. | Image credit: Rock Paper Shotgun/Team Cherry
Once you're on that ledge, exit the room and drop down the first hole, by the village signpost. There are some Rosaries to loot on the right, but keep going after that until you reach an elevator. Hit the lever next to the elevator to unlock it. Henceforth, you can ride this elevator from this location to the village below, and vice versa.
Ride the elevator down to the village whenever you like. | Image credit: Rock Paper Shotgun/Team Cherry
Mark step as completed.
8. Collect the hidden Spool Fragment.
From the elevator (at its top level, not at village level), head to the right, killing the flying insects you encounter along the way. Exit into the next room on the right, then follow the path up to find a cache of Rosaries. Also be careful as you enter, because cutting the ropes activates a spike trap on the floor.
Image credit: Rock Paper Shotgun/Team Cherry
Before you leave, attack the wall beneath the Rosary cache, and enter the secret room to loot your first Spool Fragment. On its own it does nothing, but combine it with another, and you'll permanently increase your maximum amount of Silk, for more effective Skill-casting.
Image credit: Rock Paper Shotgun/Team Cherry
Mark step as completed.
9. Explore above, into Mosshome.
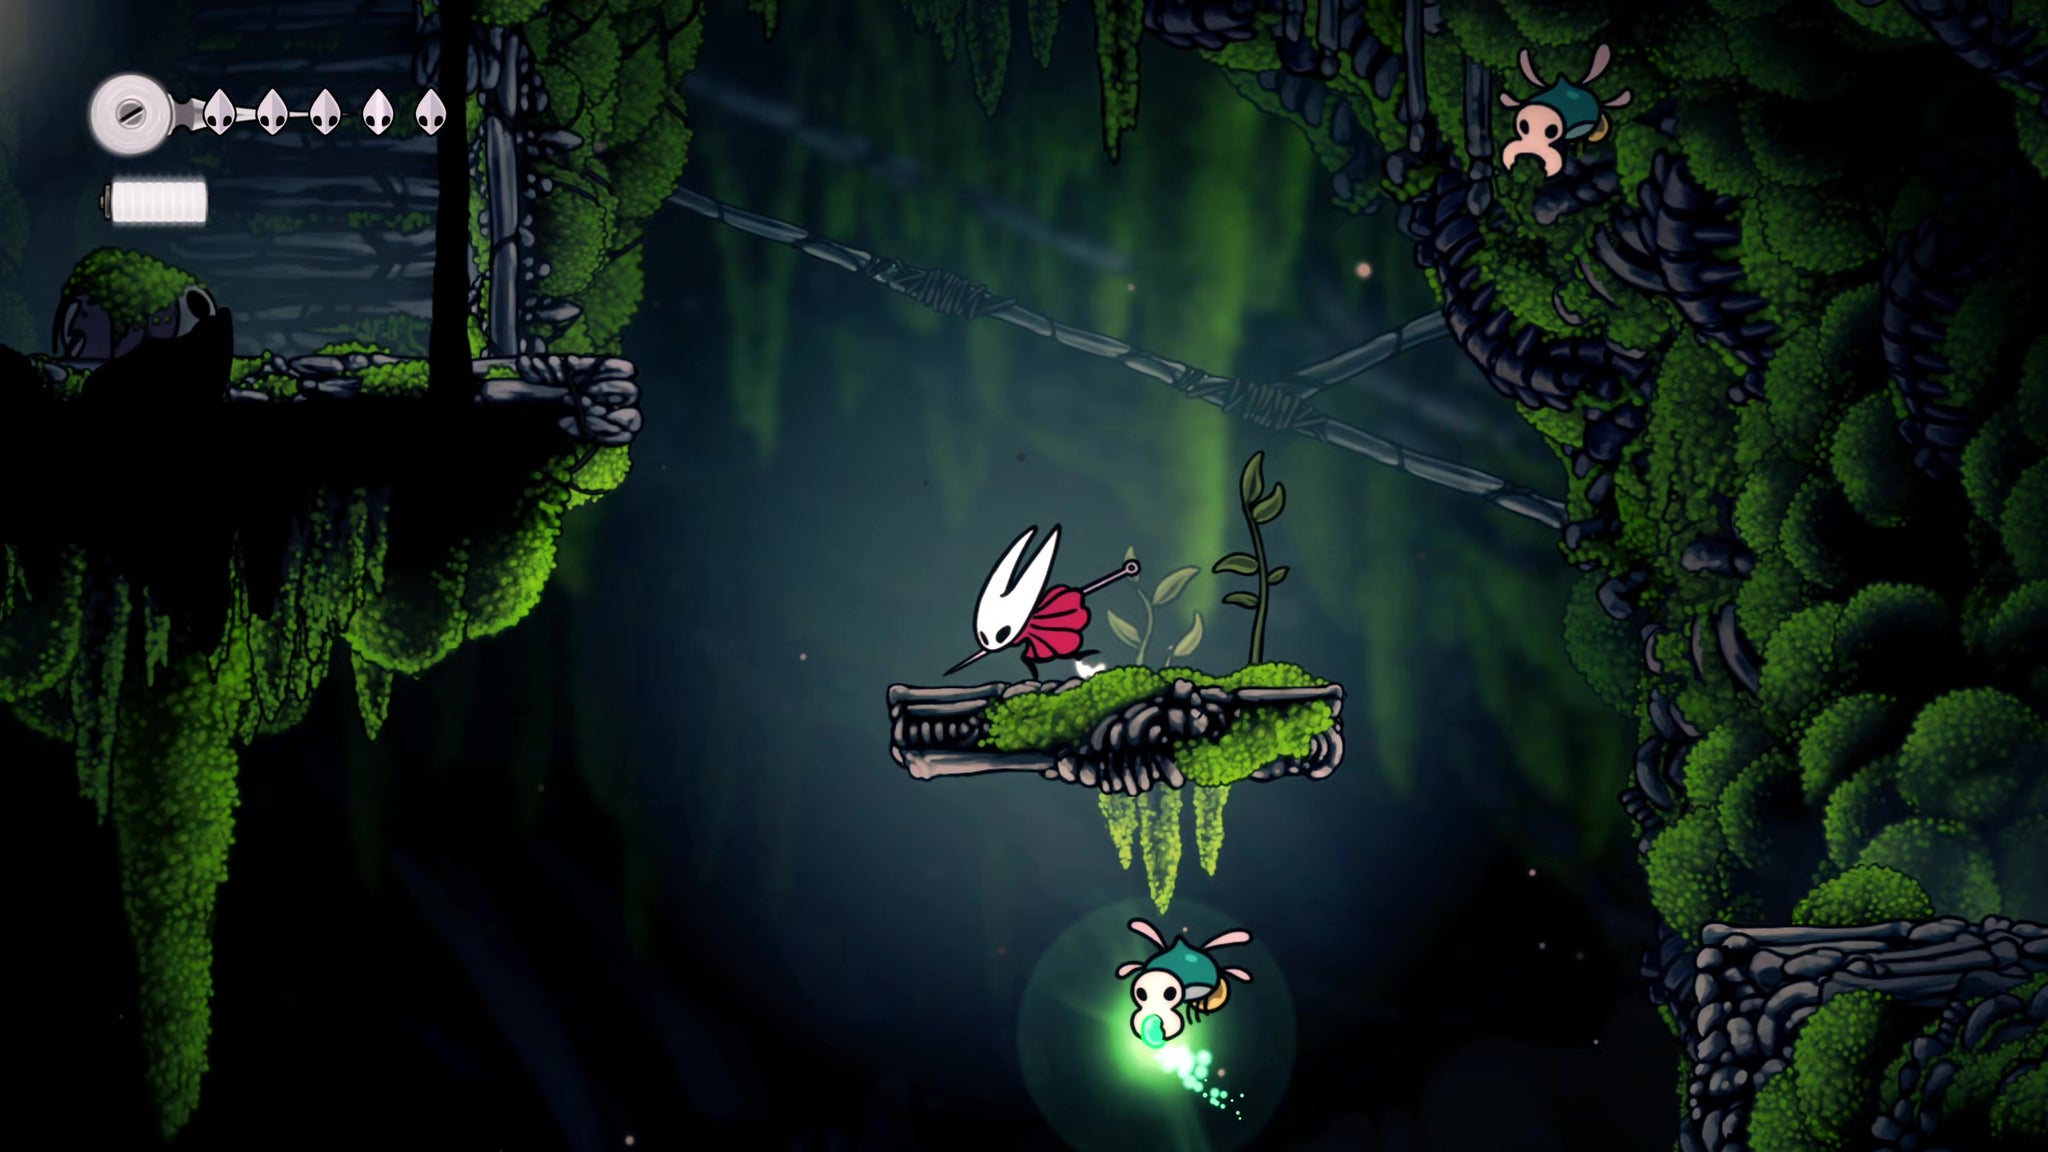
Now it's finally time to explore the room above where you found the map-maker, Shakra. Head back towards the elevator. On the way, you might see a flying bug holding something green and glowing. If you like, you can try to attack it, because it will drop a Mossberry when it dies. Just be prepared to fall down into the village a few times and make your way grumblingly back to the top via the elevator.
Try to lure the glowing insect onto a ledge, or otherwise just keep attacking it from above and climbing back up via the elevator if you fall. | Image credit: Rock Paper Shotgun/Team Cherry
Either way, head upwards from the elevator when you're ready, and retrace your steps all the way to the latest Bench you unlocked. Rest at the Bench again if need be, and then go through the hole in the ceiling.
Image credit: Rock Paper Shotgun/Team Cherry
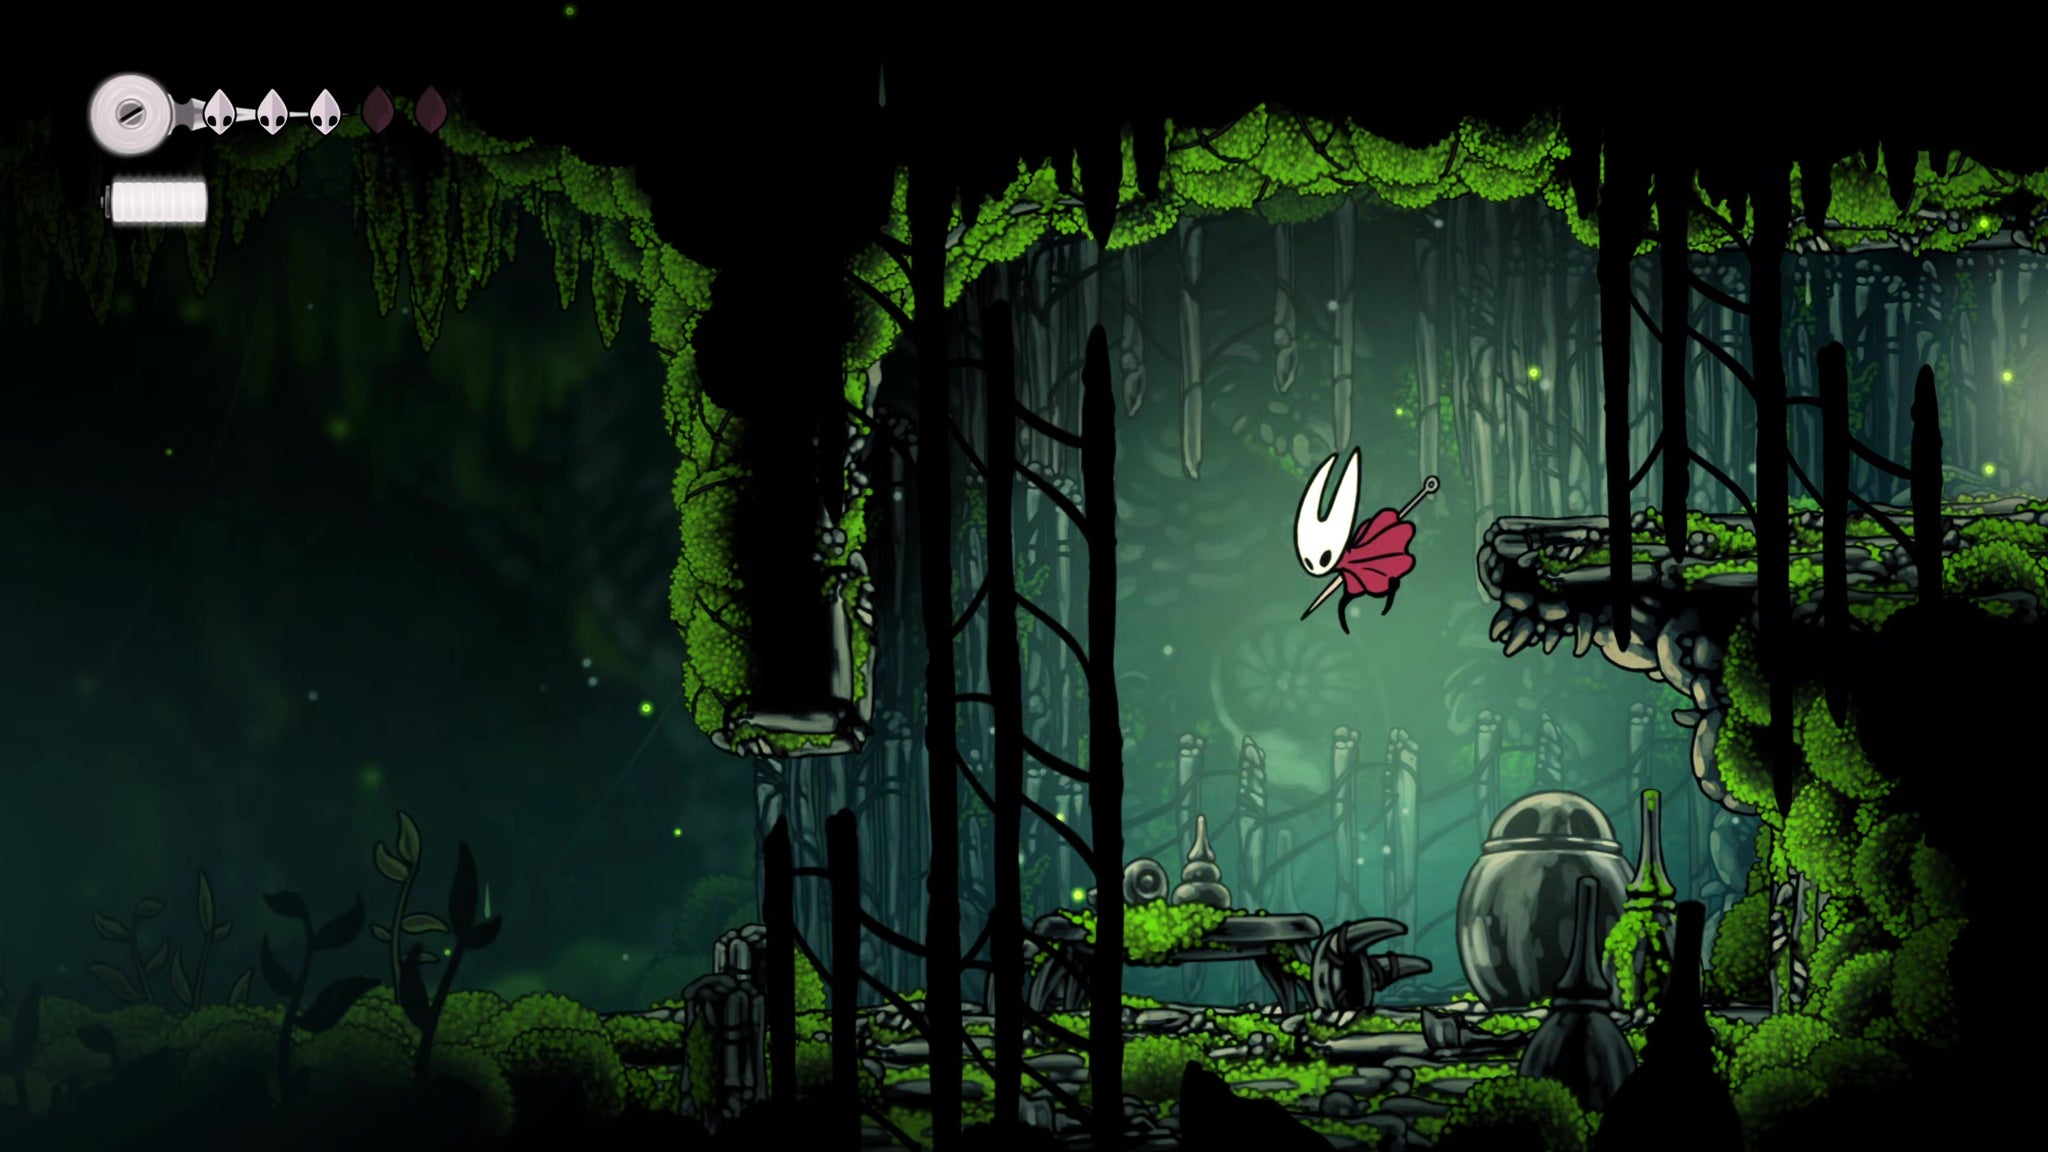
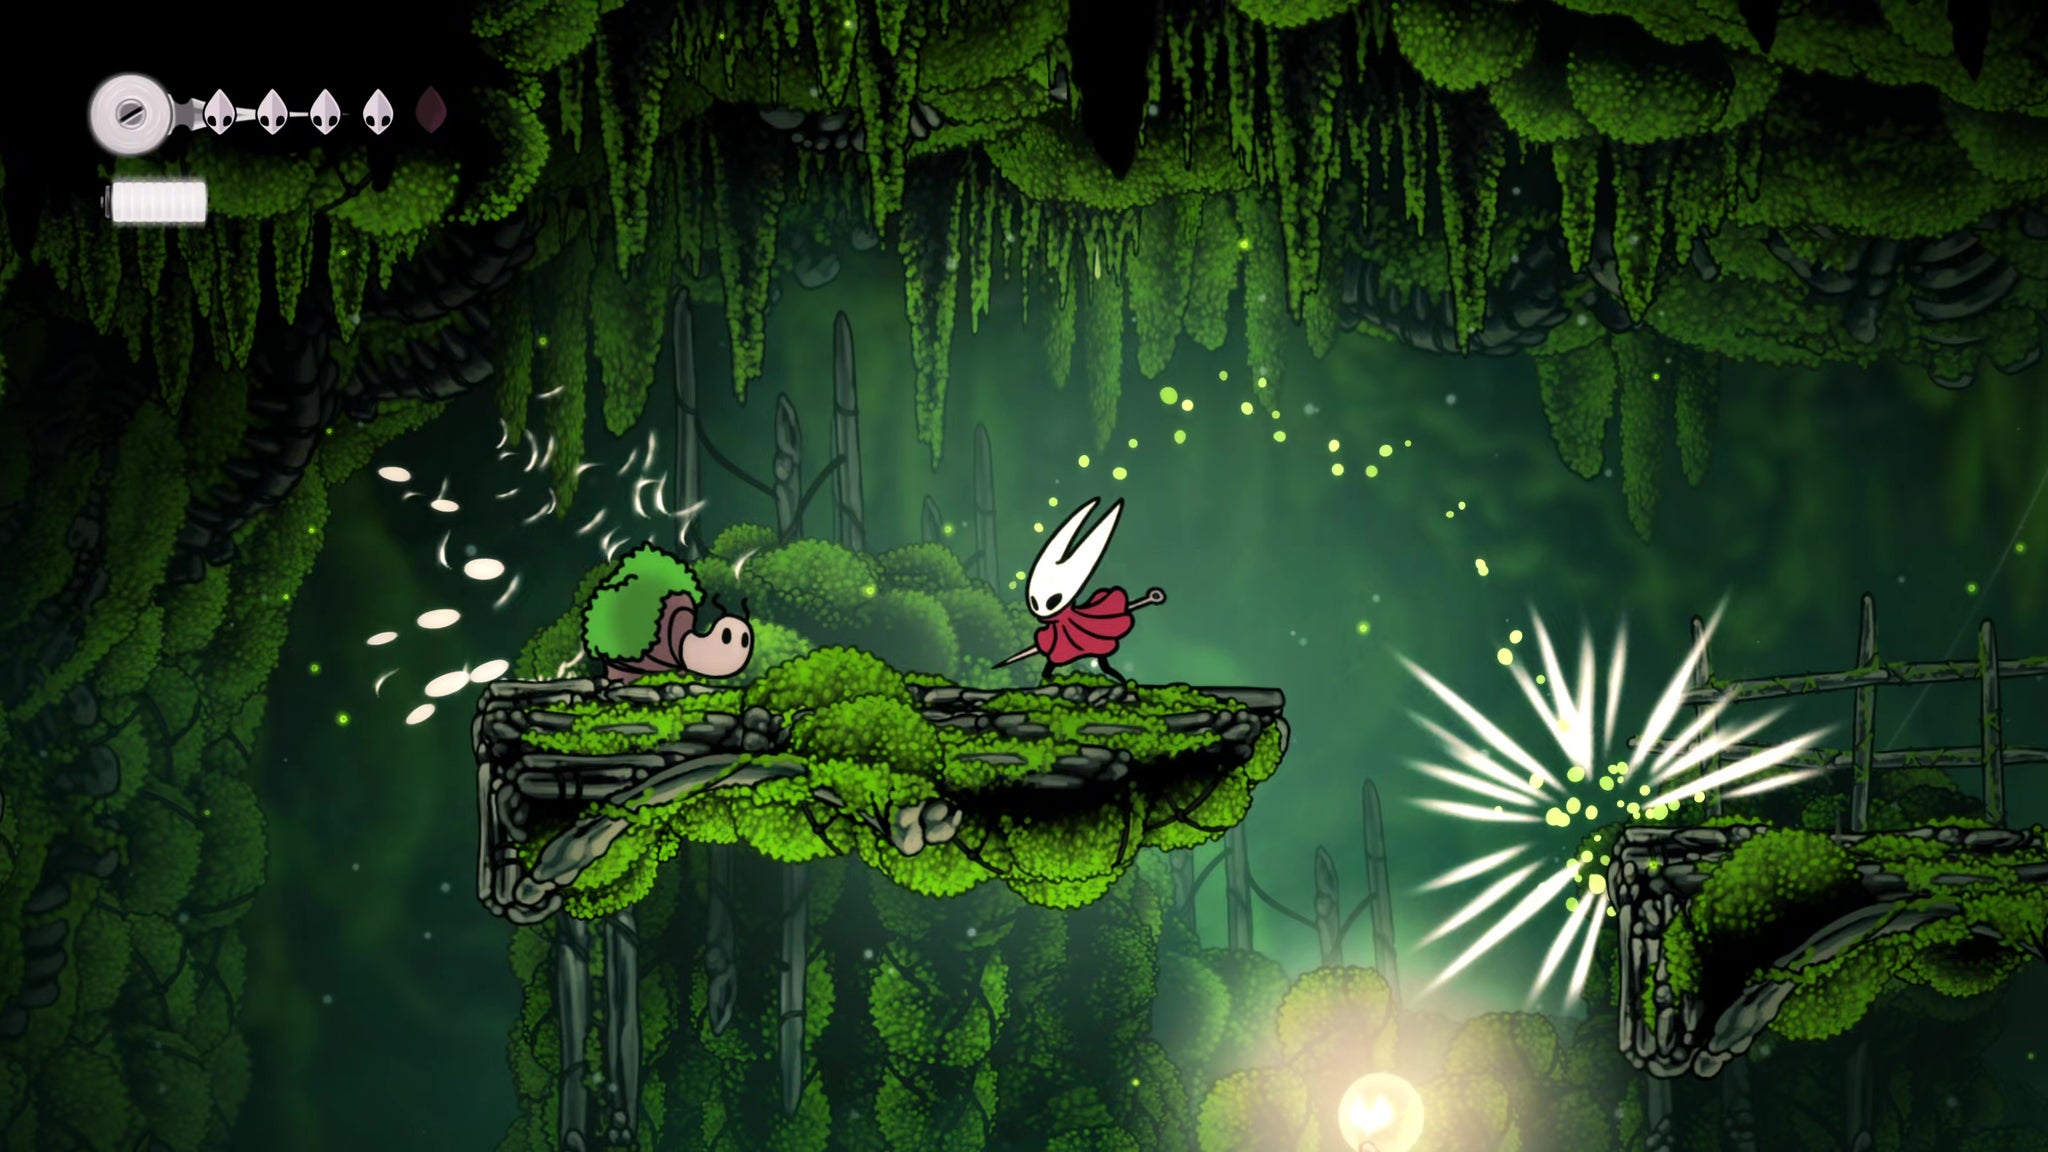
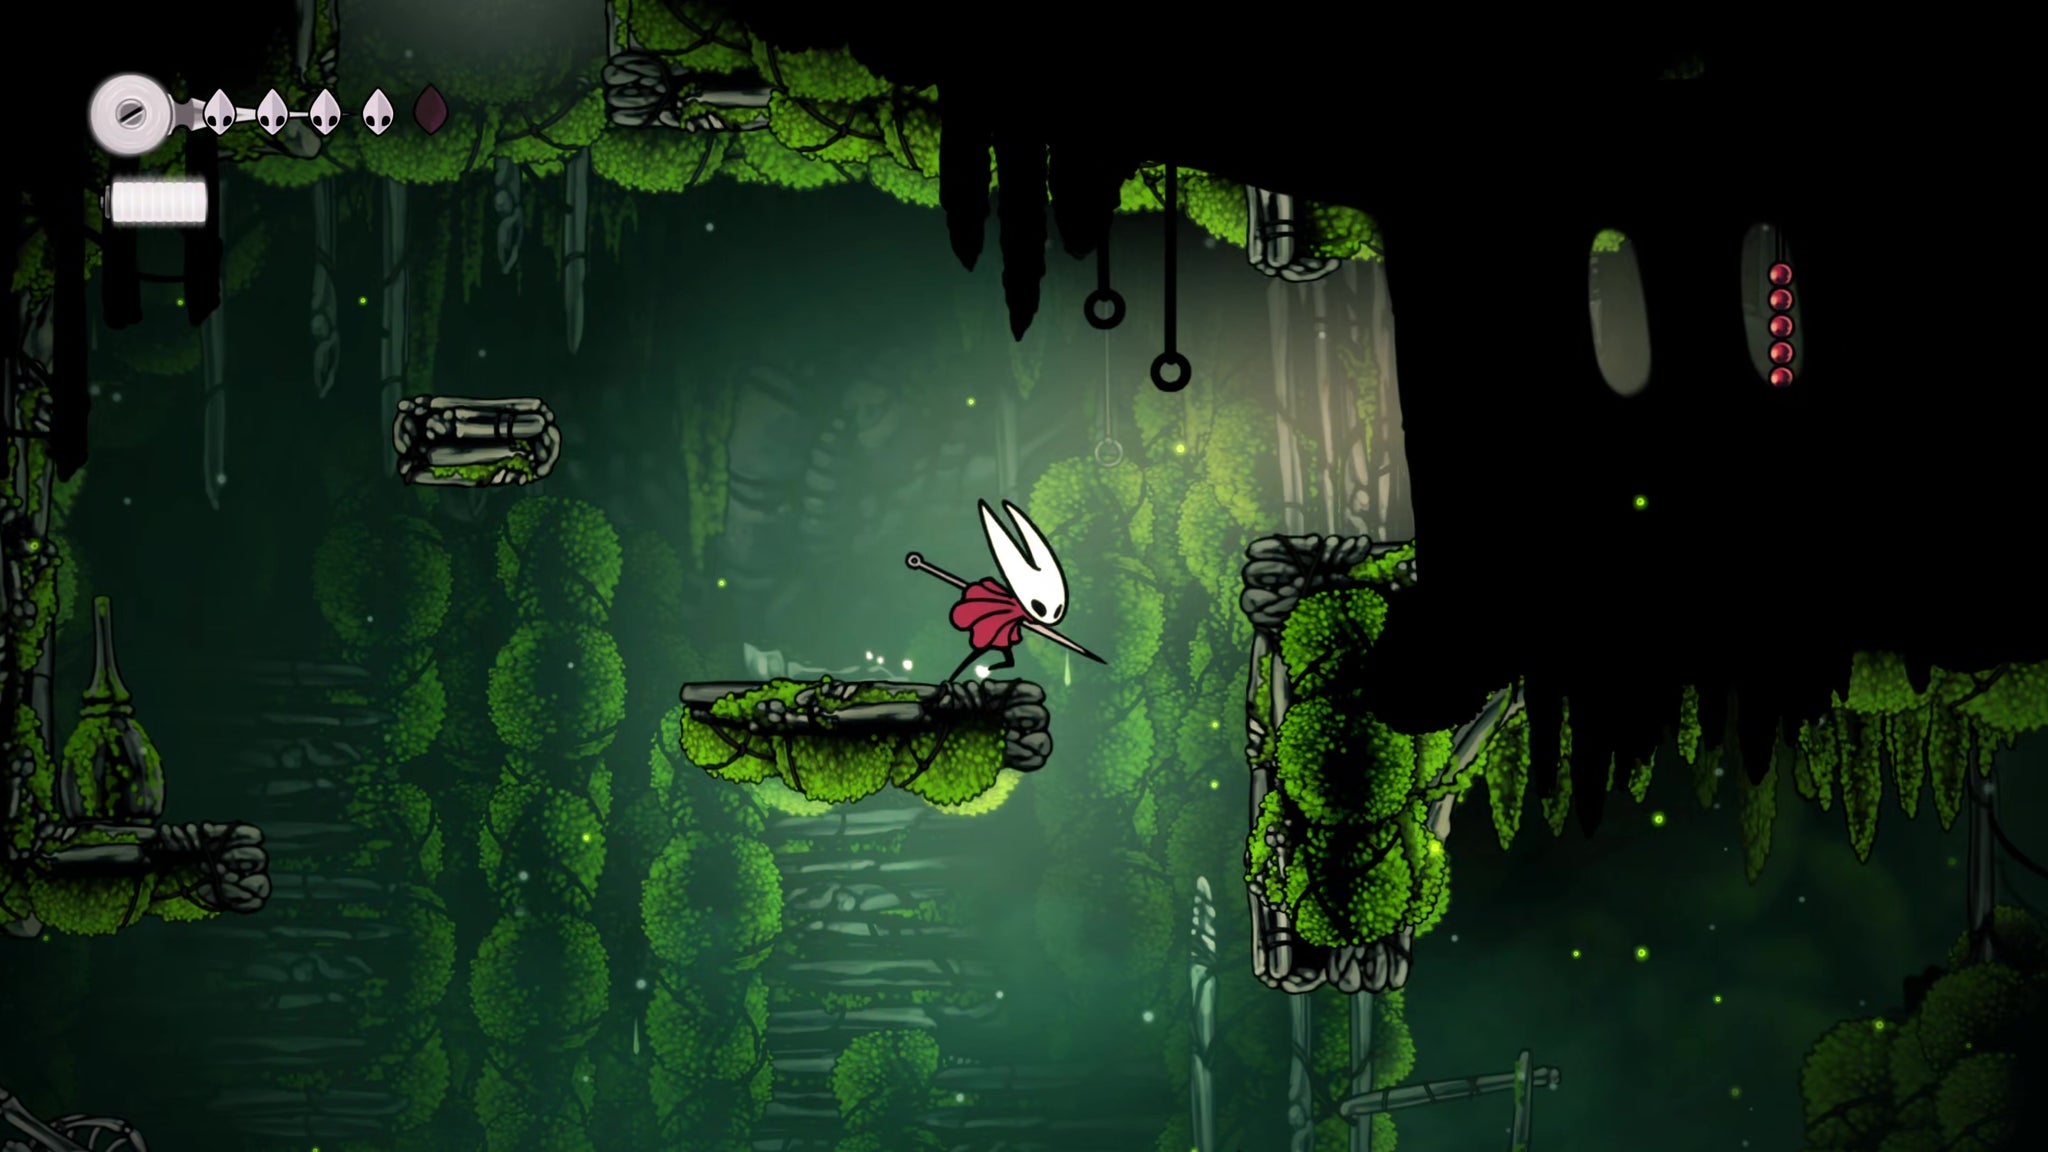
This is Mosshome. It looks like Moss Grotto, but it's filled with rather more annoying enemies. Head right to begin with, and you'll come across an unusual sight - a very large creature, trapped in thick webbing. You can attack the webbing to refill your Silk, but it won't free the creature. If you return to this spot later (and you will), you may find Sherma there, singing to attempt to free it. For now, leave it and head left instead, into Mosshome proper.
Image credit: Rock Paper Shotgun/Team Cherry
Make your way along the upper ledges of Mosshome, paying particular care to the projectile-throwing Pilgrim enemies, because they're quite nasty when you're not used to them.
Image credit: Rock Paper Shotgun/Team Cherry
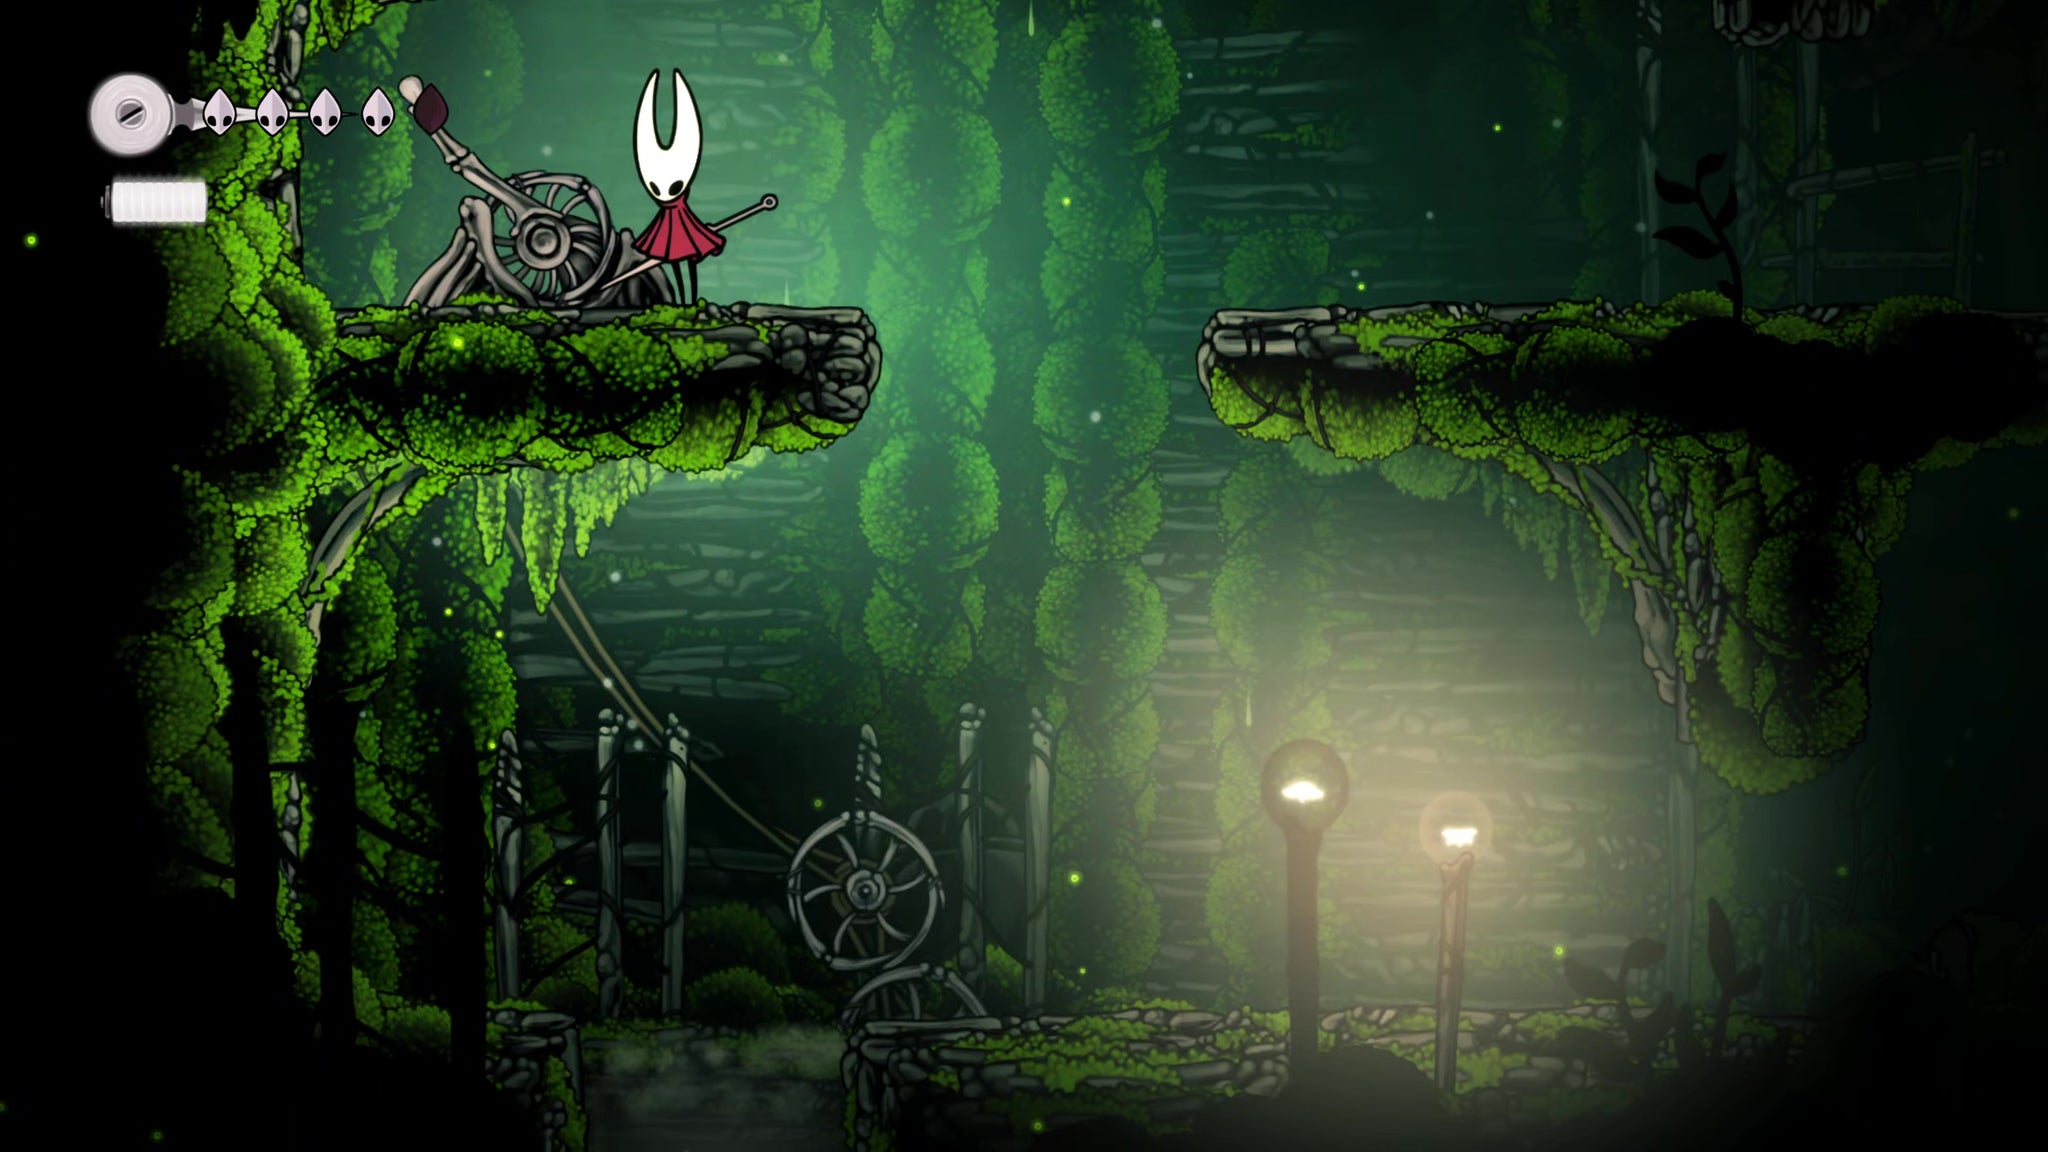
On the far left of the room is a lever you can hit to open a shortcut hole below. Investigate if you wish to see where it leads back to, but then return, and loot the Rosary Beads slightly above and to the right of the lever. Then climb up and exit the room.
Image credit: Rock Paper Shotgun/Team CherryImage credit: Rock Paper Shotgun/Team Cherry
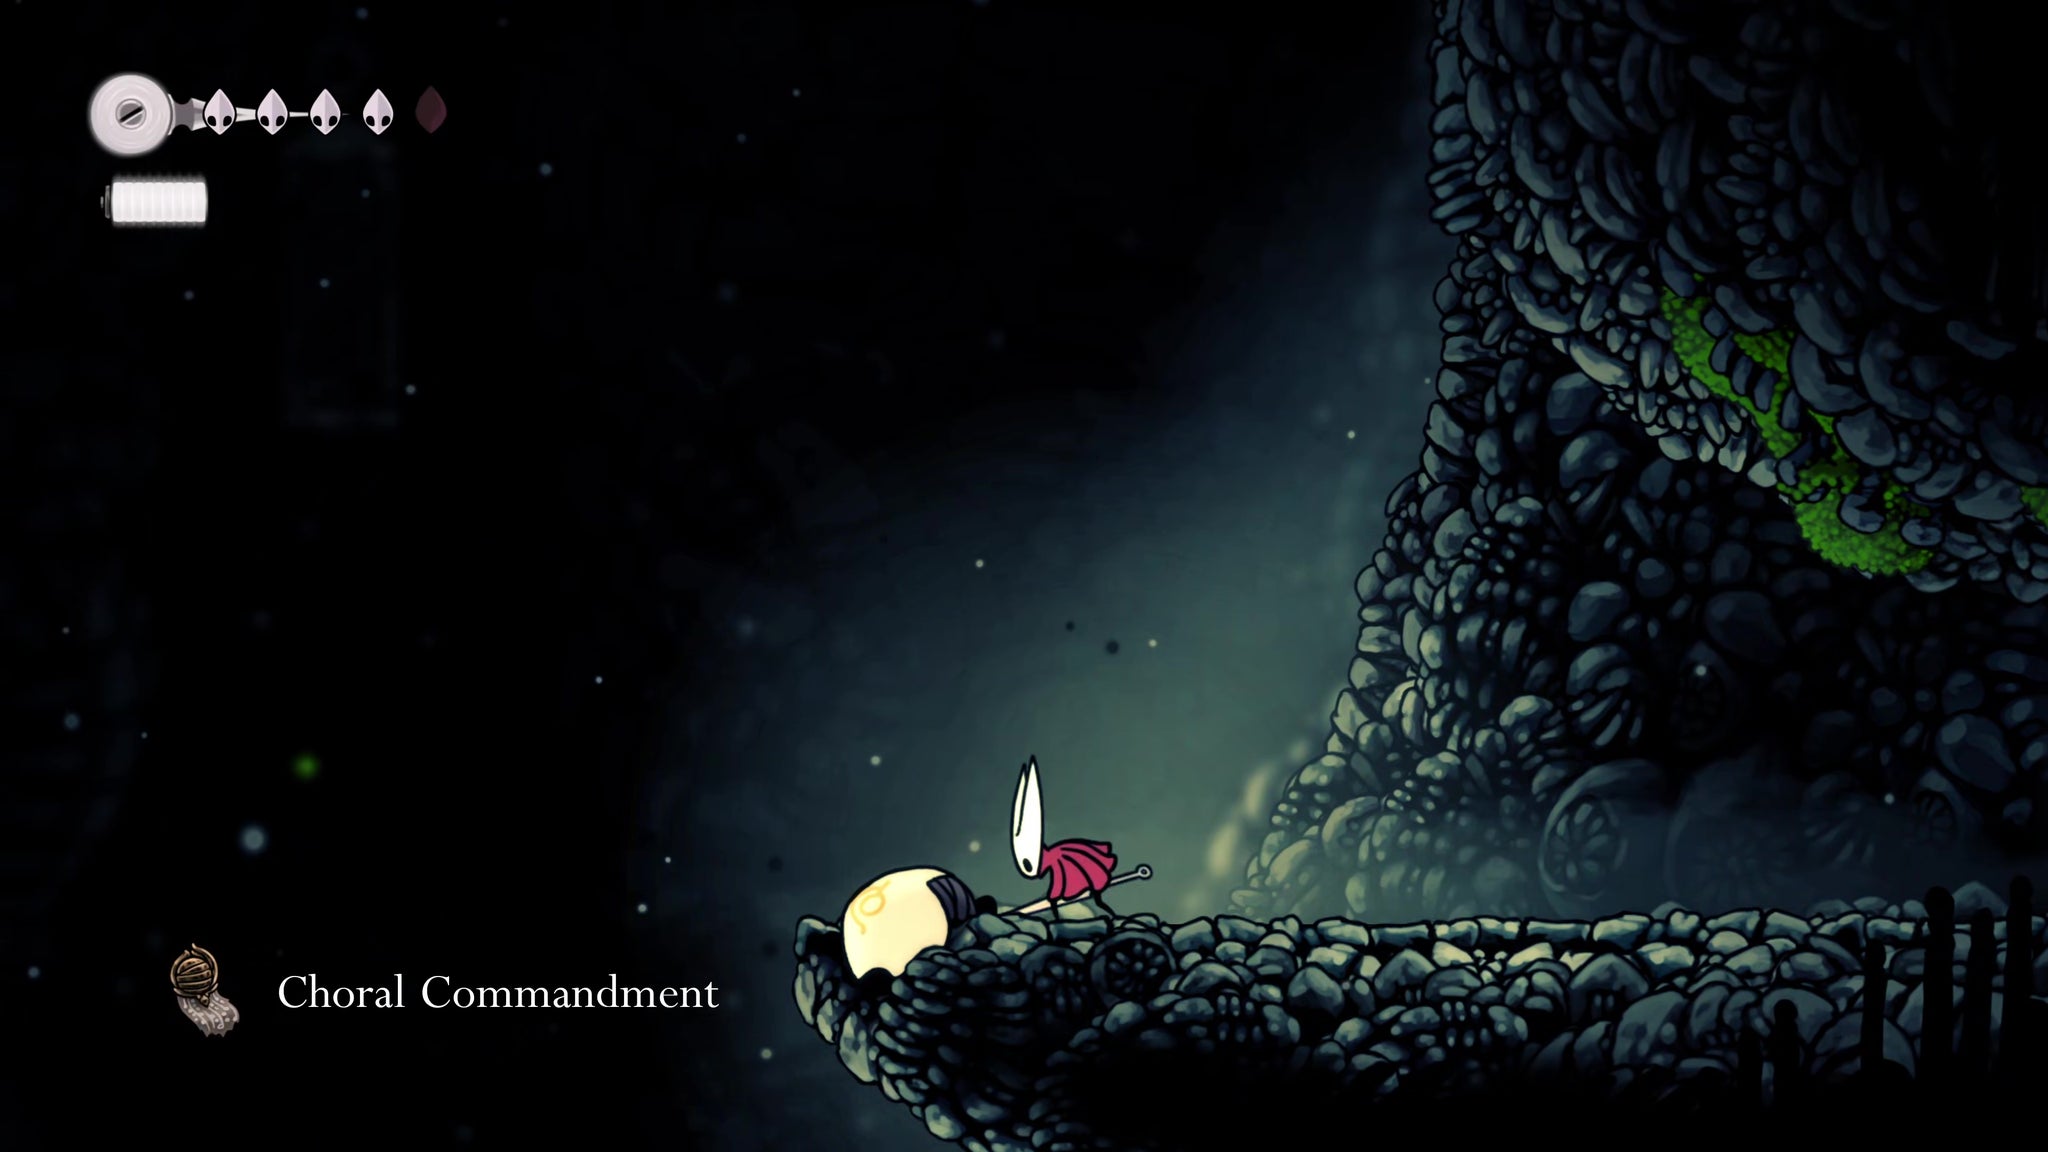
In the next room, attack the wall to your left to find a hidden secret ledge, where you can loot a Choral Commandment.
Mark step as completed.
10. Acquire the Silkspear skill.
Image credit: Rock Paper Shotgun/Team Cherry
Head back to the right from the cliff edge, and jump over the cliff trap on your way into the next room. A little further right, on the ground, you'll find another inscribed plaque with a tidbit of lore.
Image credit: Rock Paper Shotgun/Team Cherry
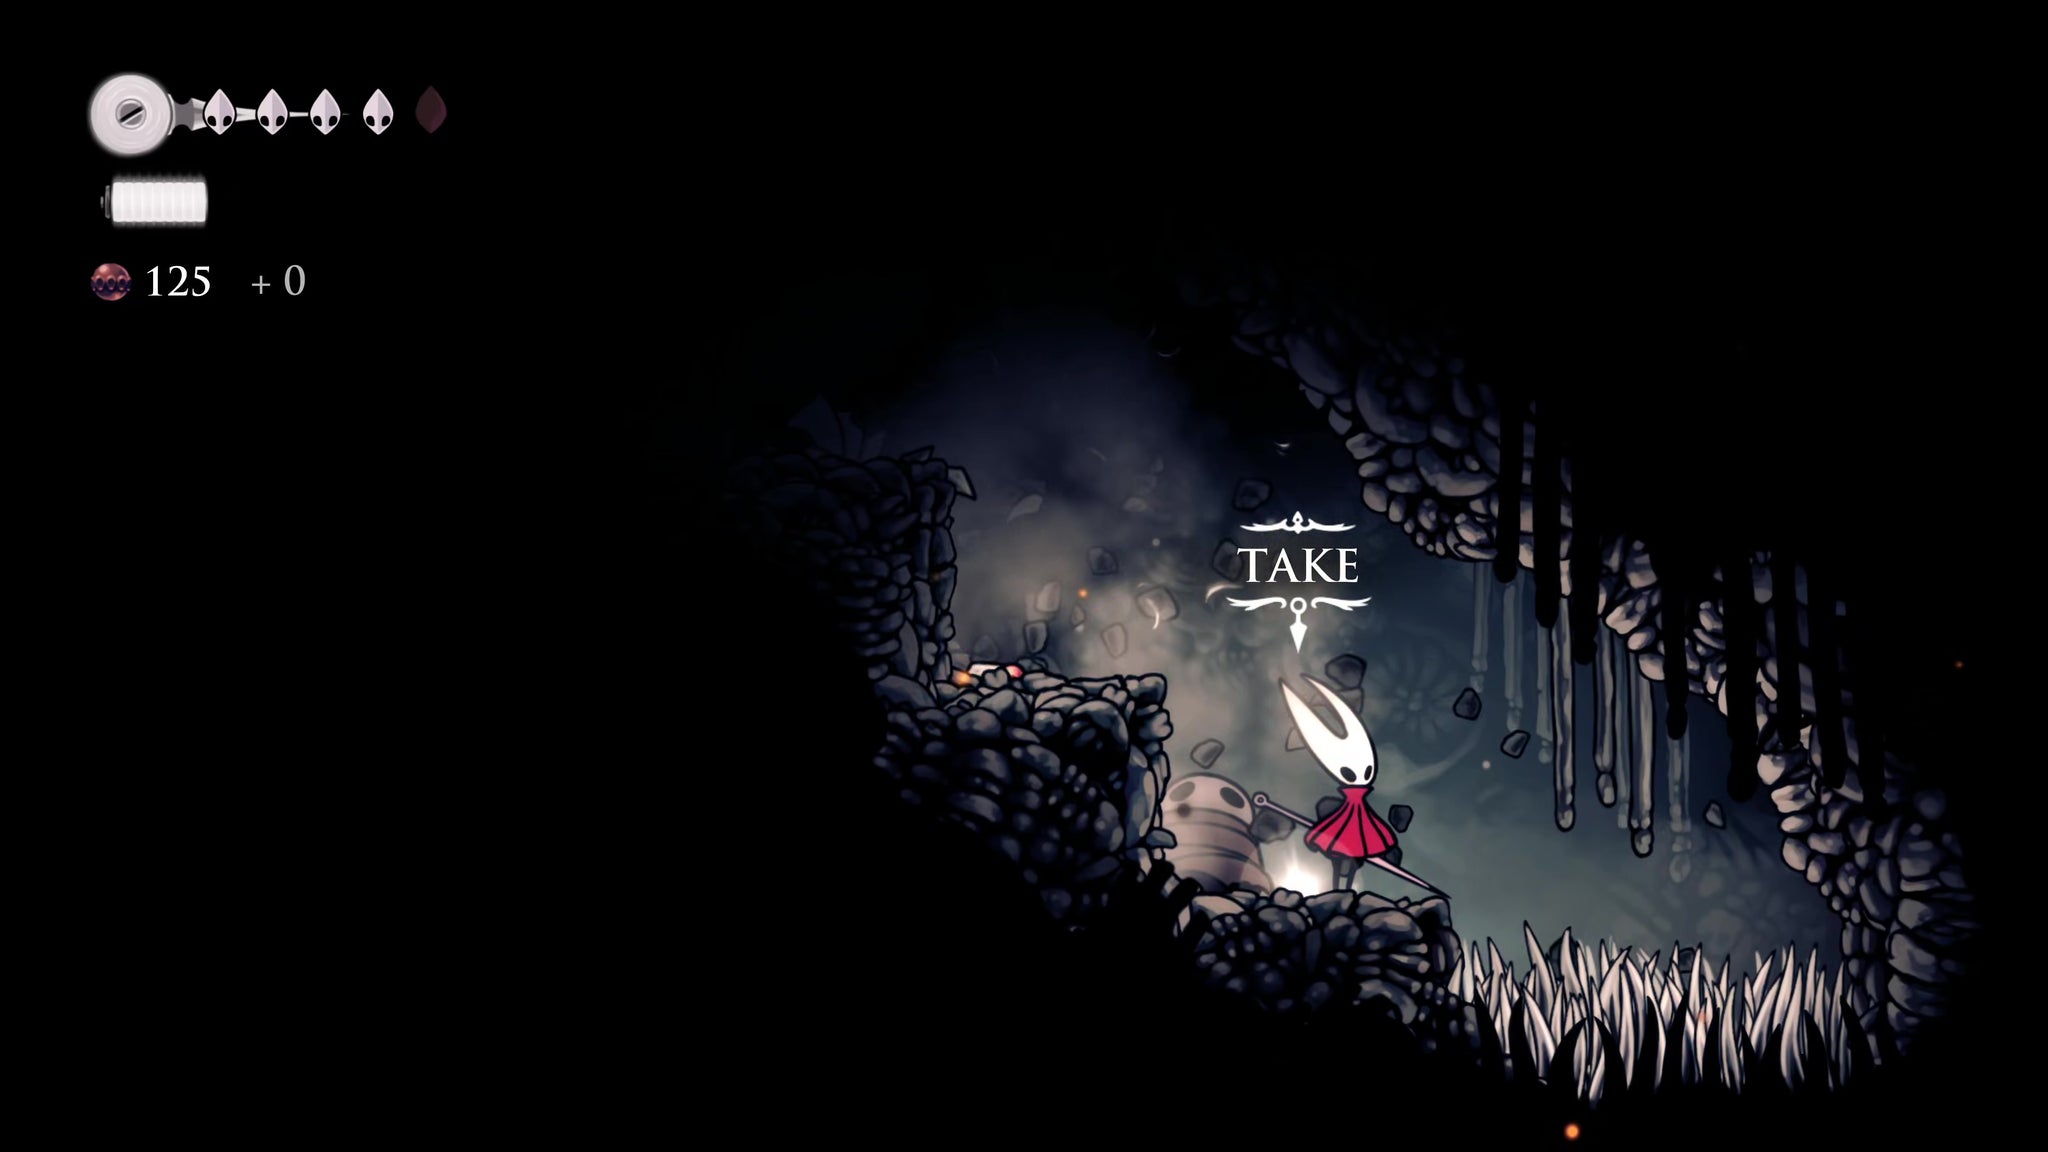
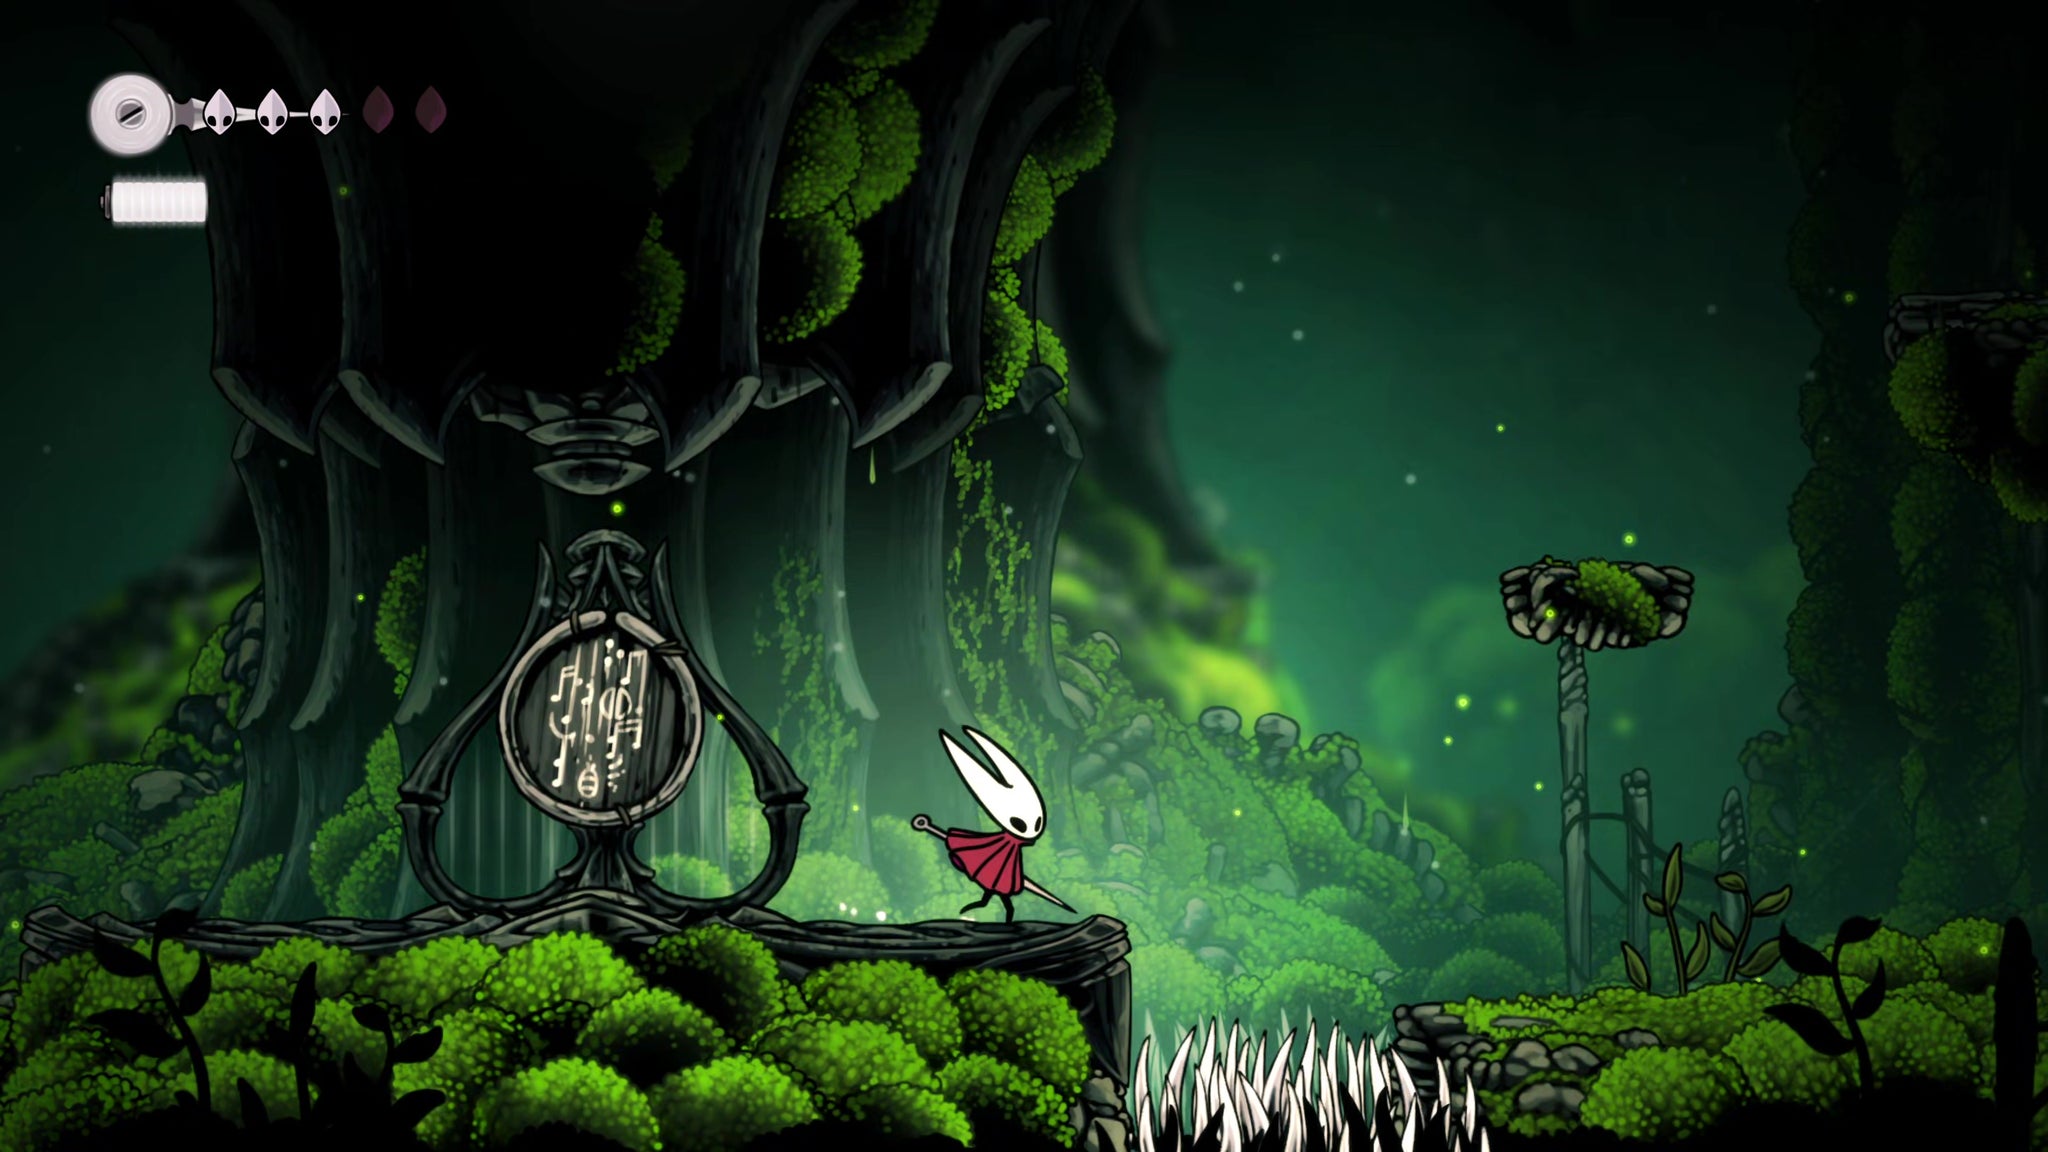
Climb to the far top-right corner for some Rosary Beads, then head left along the top of the room until you reach a strange monument which you can inspect. Interact with it, and then hold Bind when it prompts you to unlock Hornet's first Skill: Silkspear.
With Silkspear, you can use up some of your stored Silk to throw a powerful ranged projectile a limited distance across the screen. This will also allow you to tear through any thick webbing you find... But we'll come to that in the next part of our walkthrough!
Phenomenal cosmic power. | Image credit: Rock Paper Shotgun/Team Cherry
Mark step as completed.
That's all for Part 2 of our Silksong walkthrough, but - you'll never have guessed this - there's plenty more ahead! Keep track of your progress and stay on-path with our Part 3 Silksong walkthrough.