
Hollow Knight Silksong: Far Fields walkthrough (Part 6)
Learn to soar with our Far Fields walkthrough


Need some help finding a path through the Far Fields in Hollow Knight: Silksong? In the previous section of our Silksong walkthrough, we forged a path through the Deep Rocks, defeated a troublesome combatant in Lace, and ventured even further east into the brand new (and sprawling) region of Far Fields.
There's a lot to discover in the Far Fields, and more than a few hidden compartments and secret areas containing lots of handy collectibles, from Fleas to Mask Shards. The Far Fields are also home to an important NPC and questline, which gives you access to one of Silksong's most enjoyable movement abilities. Follow along with our Part 7 Silksong walkthrough to learn every step of the path through the Far Fields.
Want the walkthrough for a different area of the game? Check out our Hollow Knight: Silksong walkthrough hub!
Far Fields walkthrough steps:
- Find Shakra and buy the Far Fields map.
- Unlock the Bench and Bellway to the North.
- Rescue your fourth captive Flea.
- Make your way up to Pilgrim's Rest.
- Explore south down the main shaft.
- Obtain the Warding Bell.
- Explore the secret passage back into Deep Docks.
- Head East and accept the Seamstress' quest.
- Gather 25 Spine Cores from Hokers.
- Return to the Seamstress for the Drifter's Cloak.
- Ride the wind upwards for a Mask Shard.
- Defeat the Fourth Chorus.
- Return to Pilgrim's Rest.
- Ride the air vents up to Greymoor.
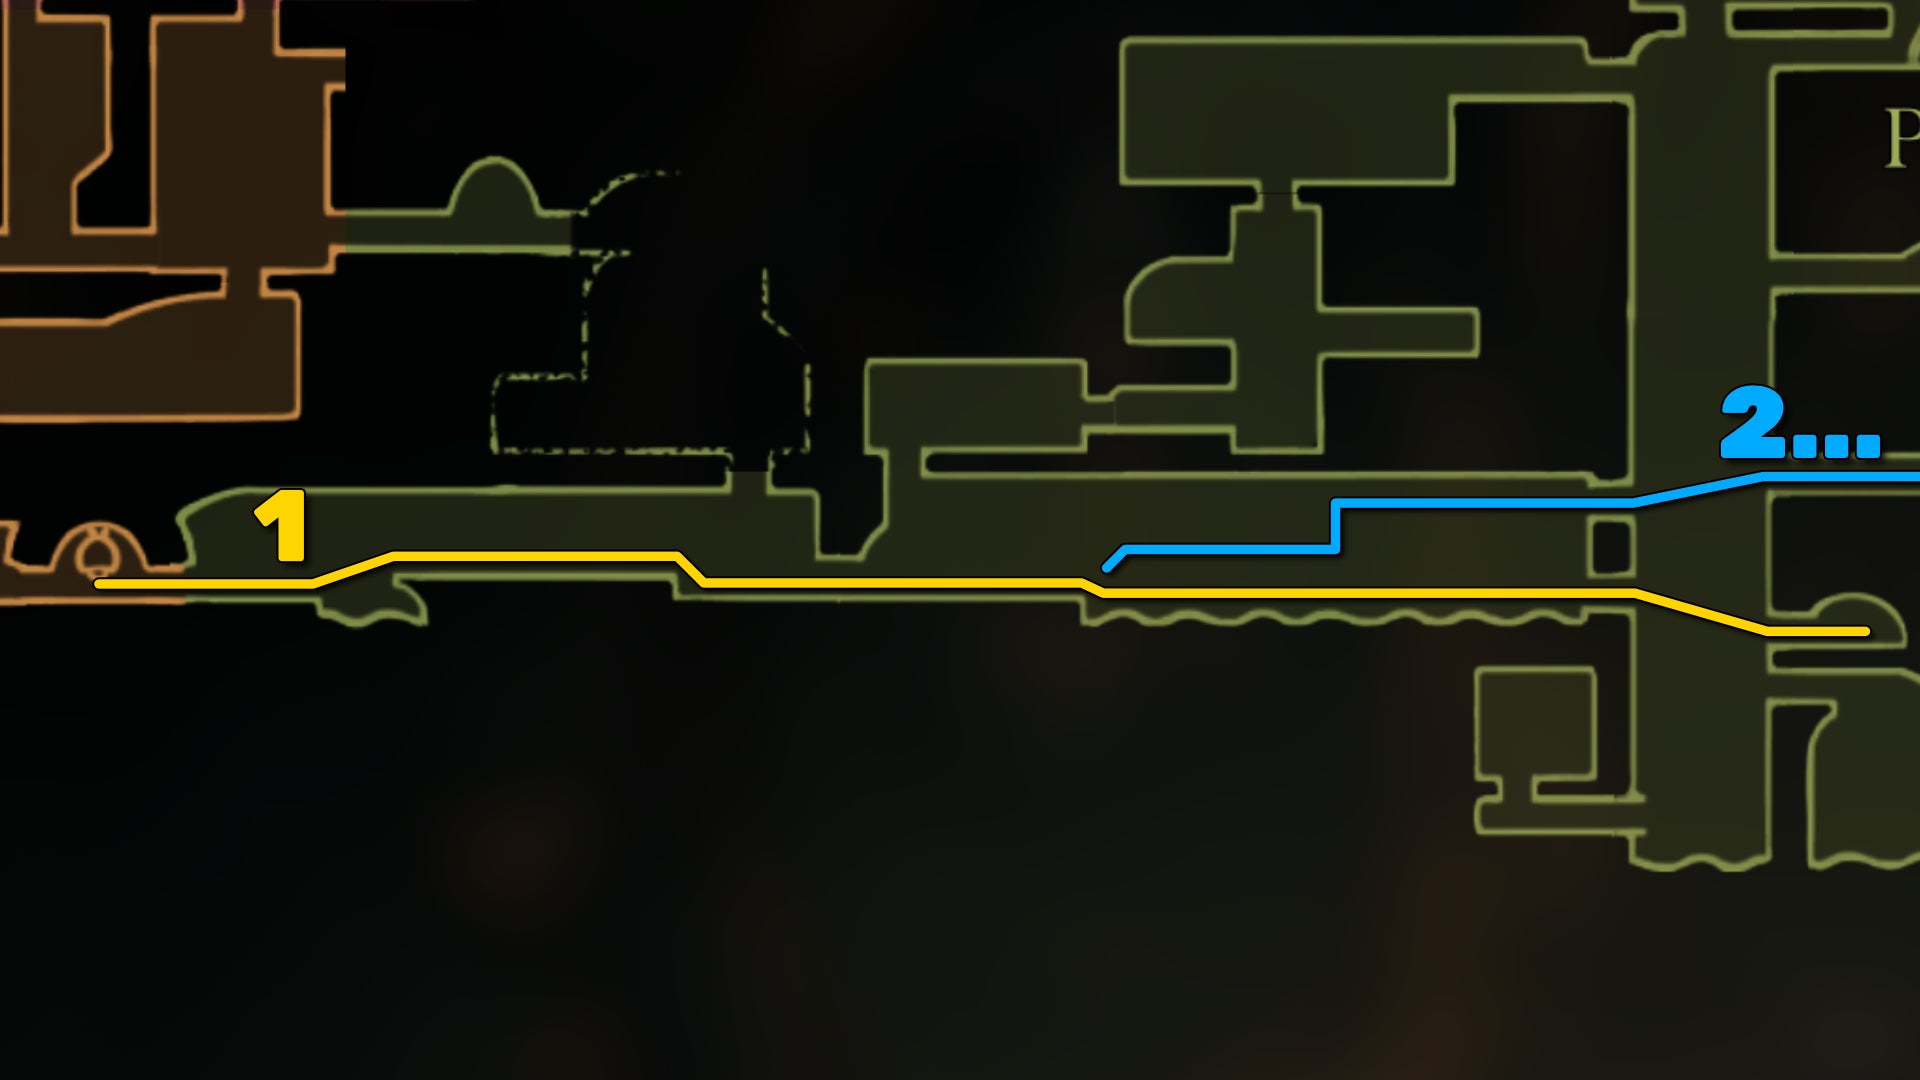
1. Find Shakra and buy the Far Fields map.
What you'll immediately notice in the Far Fields is the unusual fauna. The black leafy creatures in this region aren't aggressive; in fact, they generally try to avoid you. But when cornered, they have a habit of quickly turning and running into you, so exercise some caution when dealing with them.
The path to Shakra and the map of Far Fields is nice and simple. From the entrance, head right across the first room and into the next one. Halfway along the second room, take the lower path to avoid a potentially tricky fight against two ant enemies above.
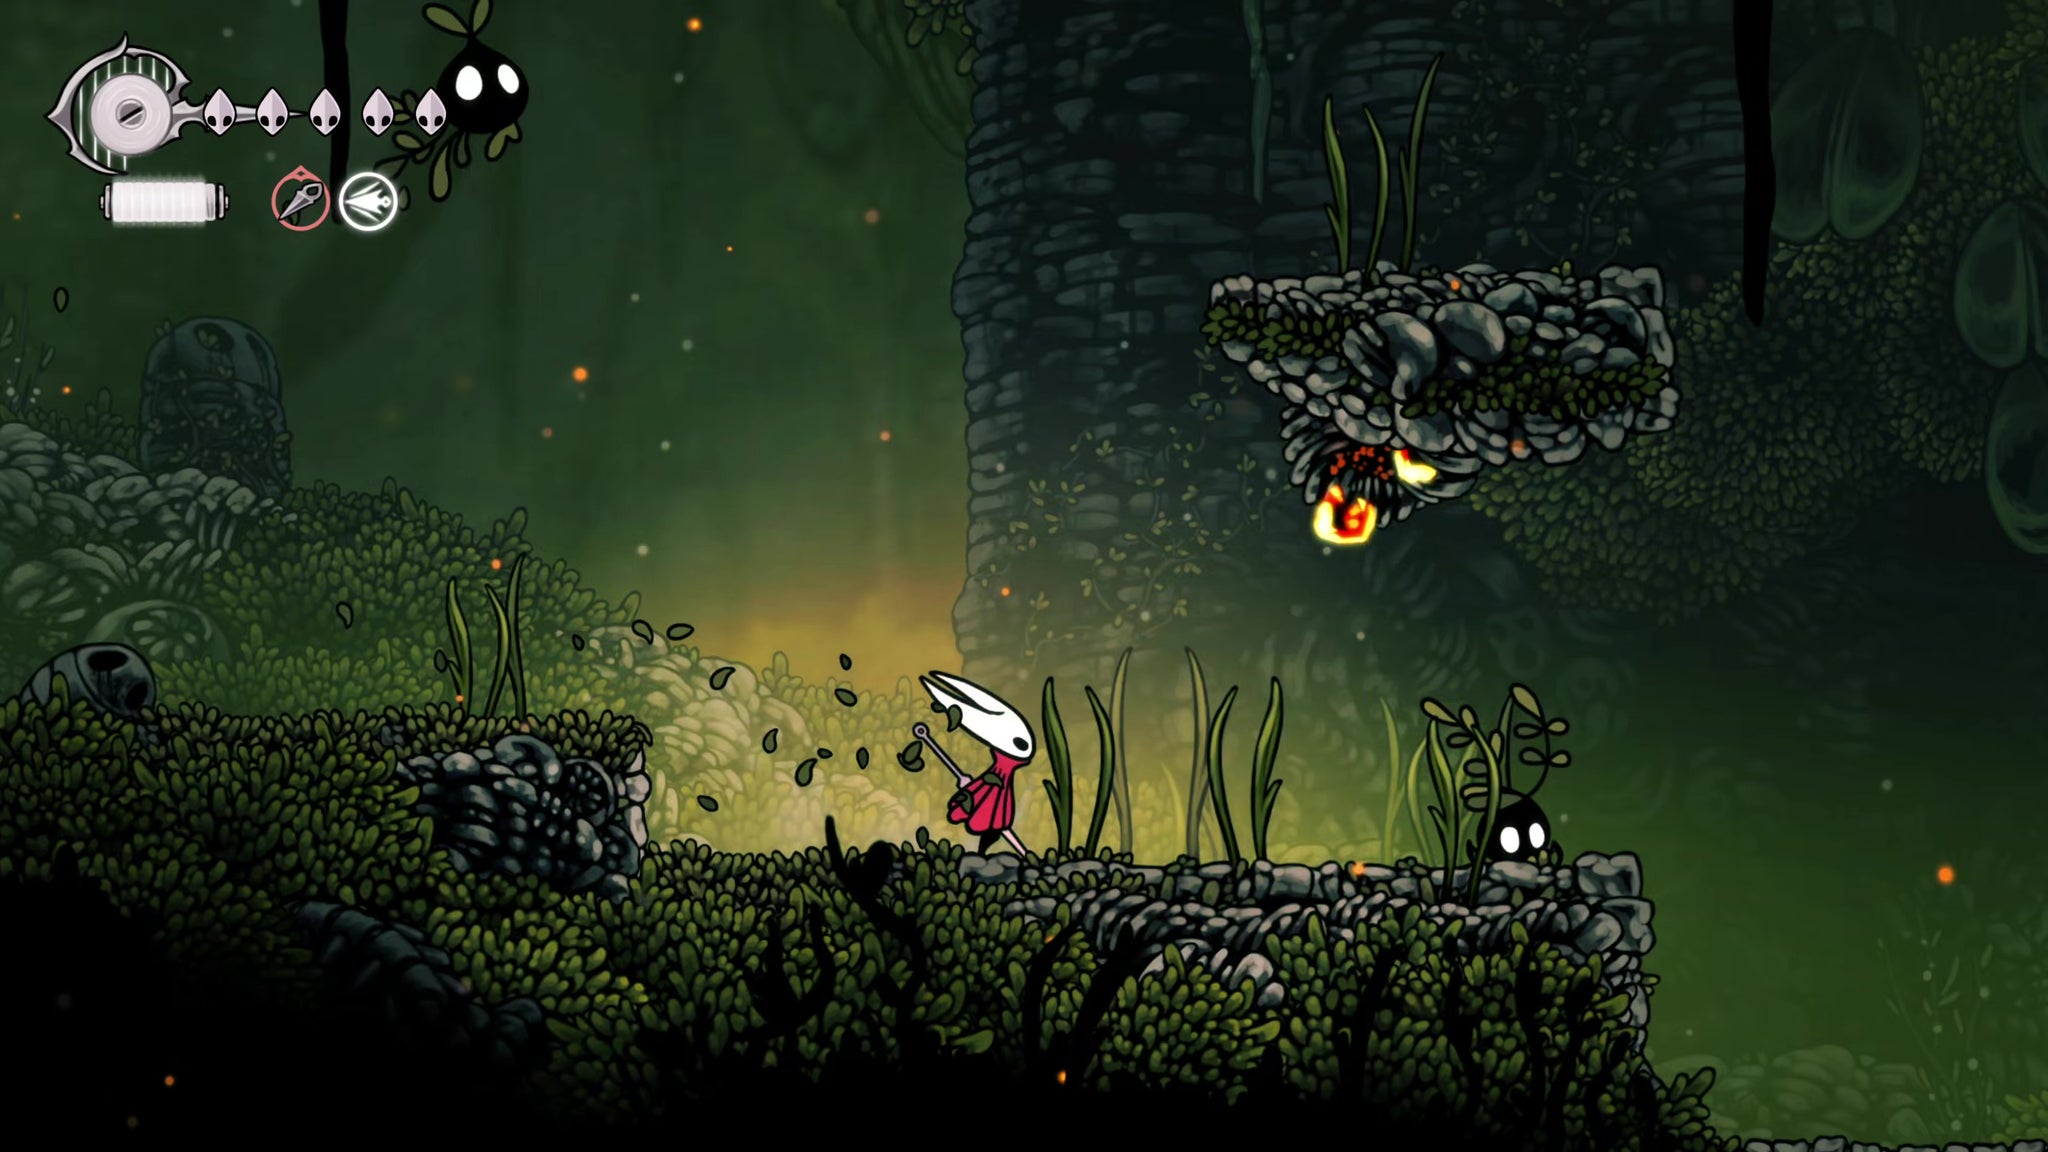

Once you get to the ant corpse near the lava, jump onto the platform above so you can reach the ledge on your left for a Shell Shard statue. Then head to the end of the room on your right.
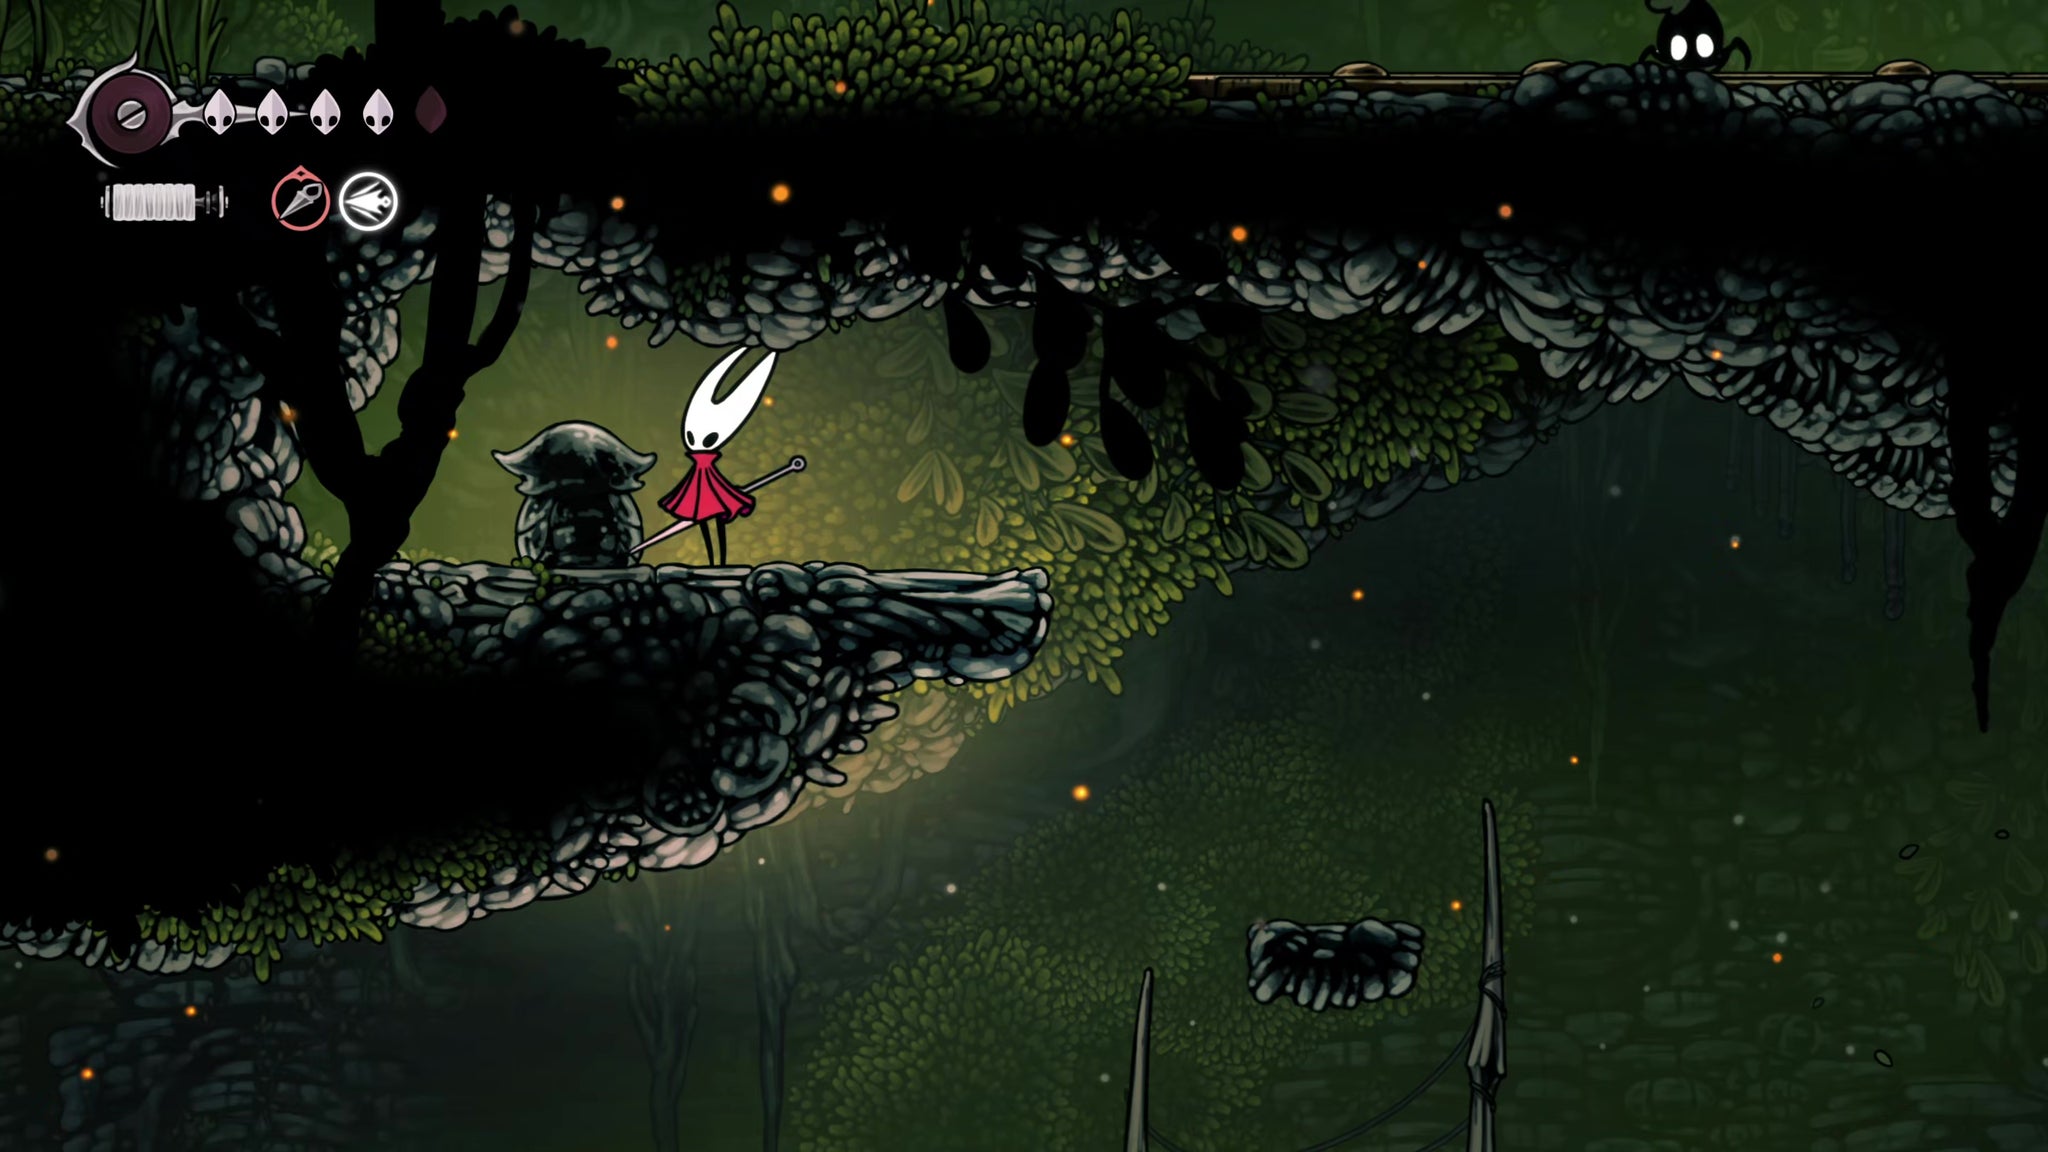
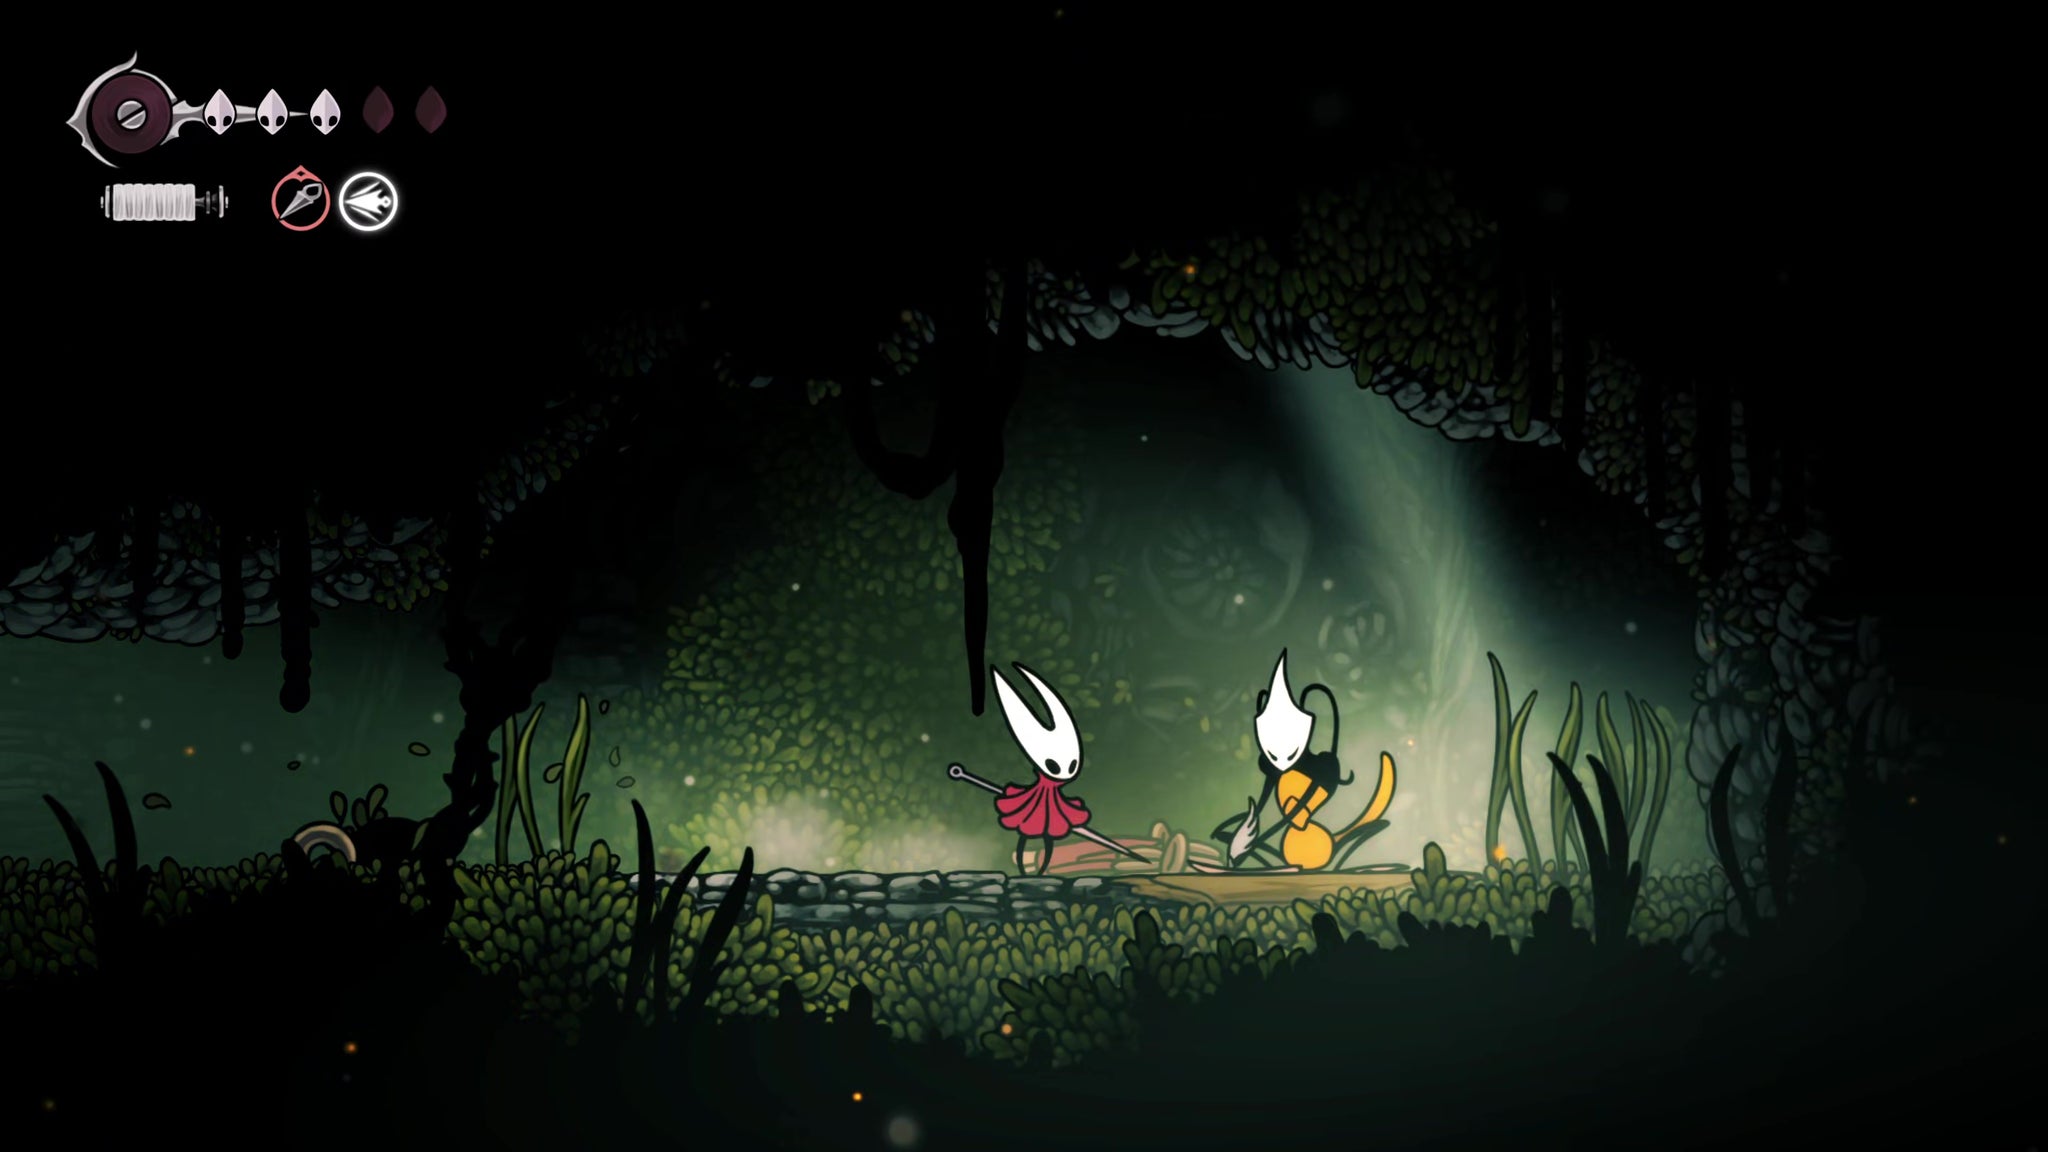
The next room is a tall vertical shaft filled with various wind vents. Jump over to the ledge on the other side of you and enter the small room beyond, where you'll find Shakra busily drawing her next map. Speak with her and purchase the Far Fields map for 50x Rosaries.
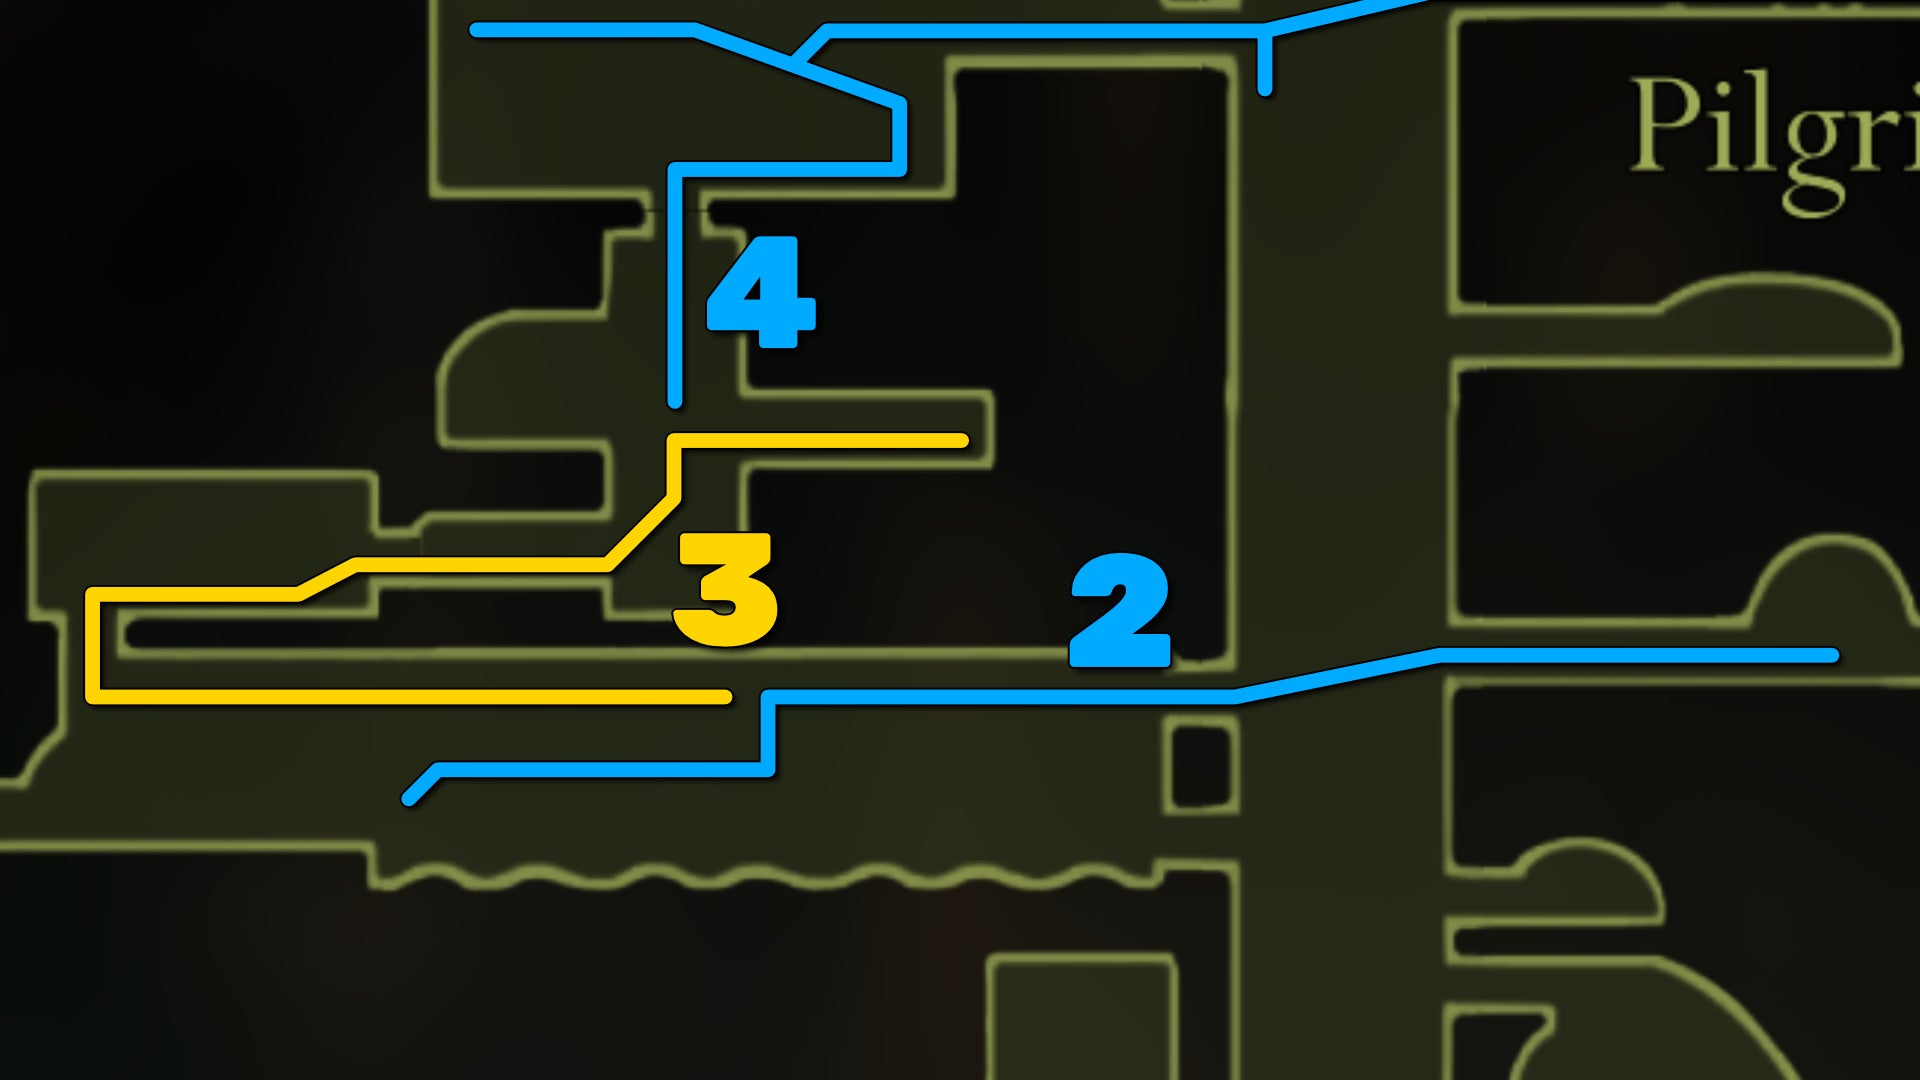
2. Unlock the Bench and Bellway to the North.
Exit Shakra's room, and jump back to the doorway you came from. Head through, and this time go up to the higher ledge with the two ant enemies that you avoided the first time. Kill or bypass them, and jump-dash over to the ledge on your right, then climb up to the ledge above you via the wooden platform.
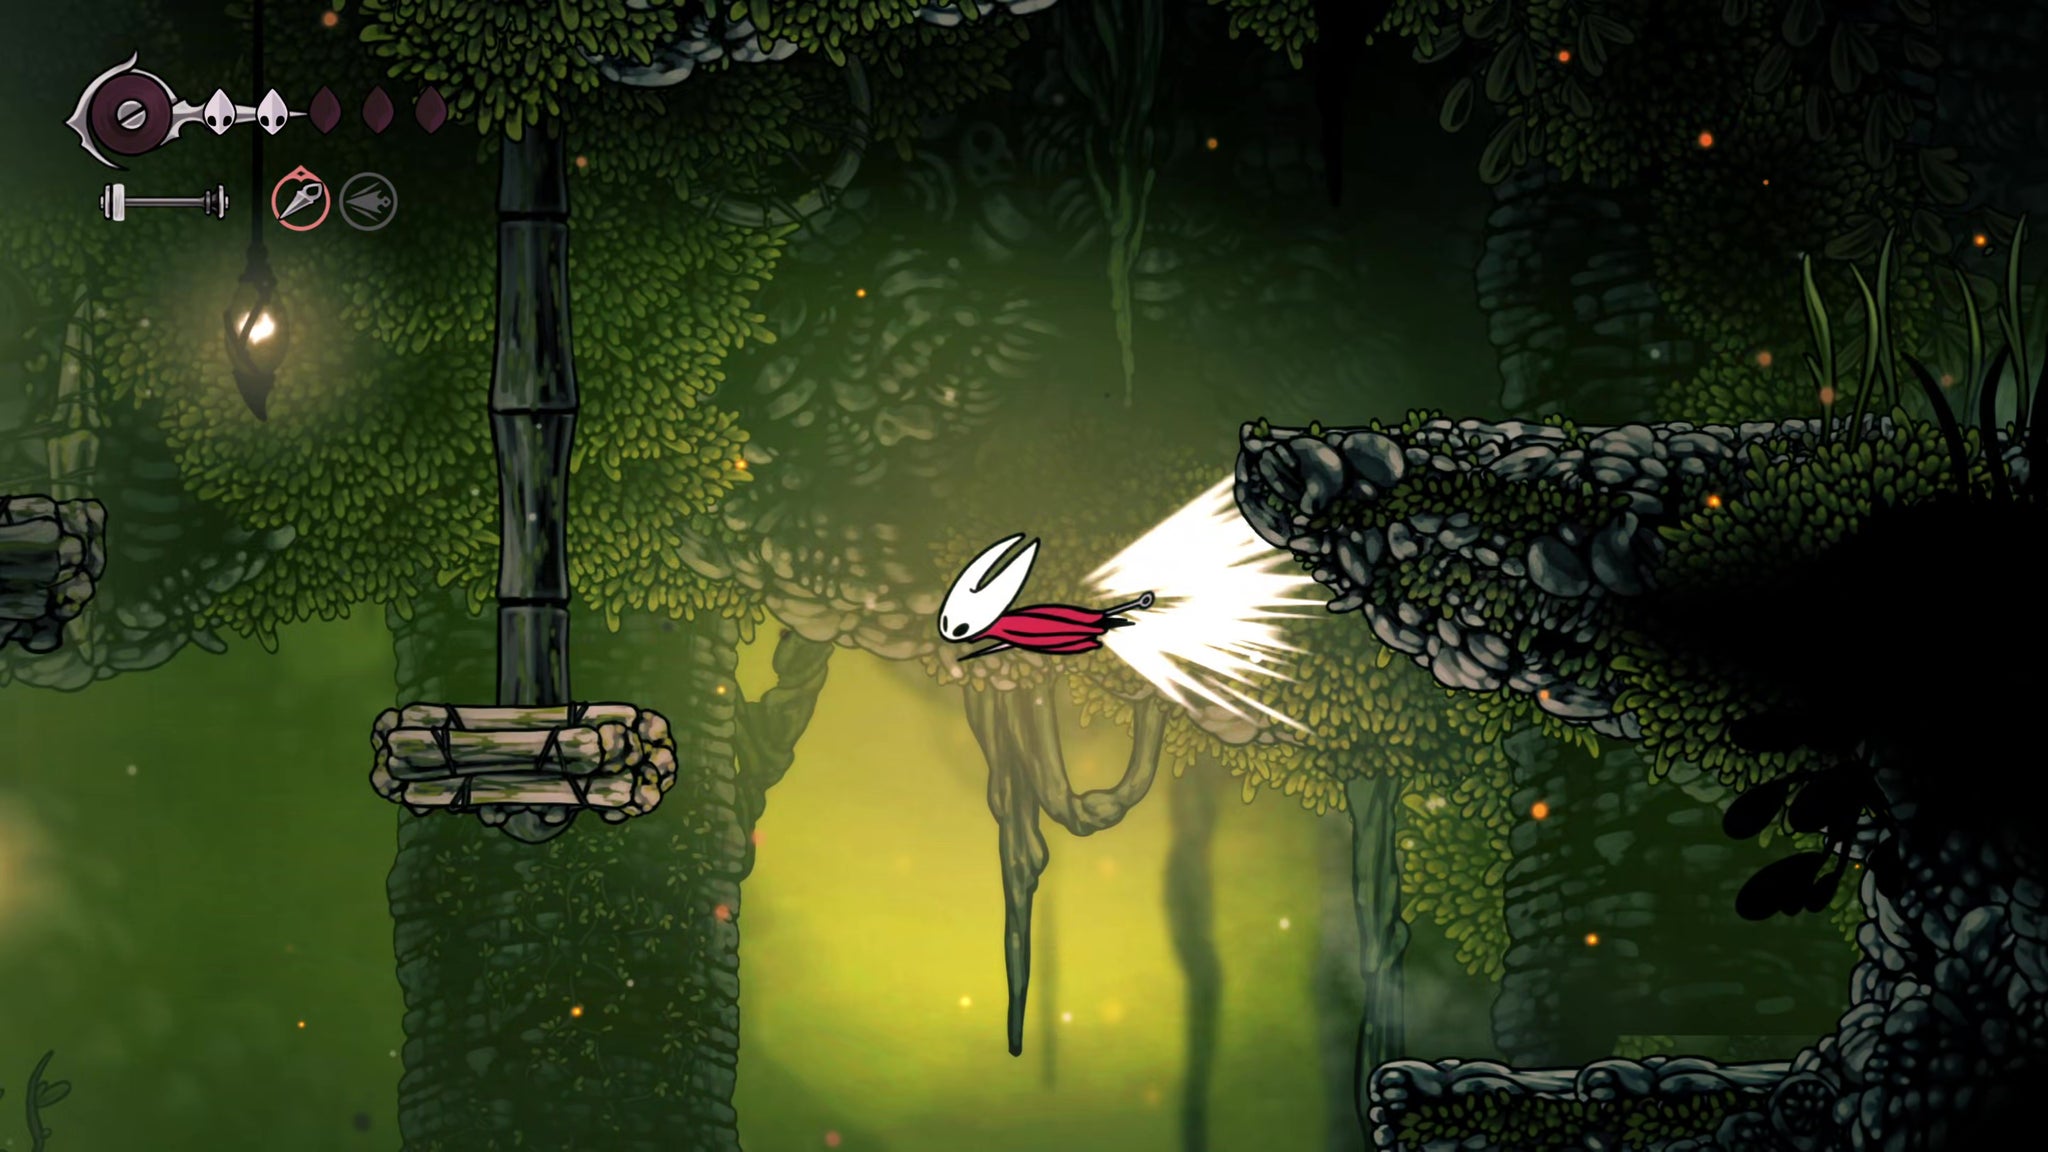

Head right, minding the small black creature on your path as you go, and exit into the next room. This time you're higher up the vertical shaft than before. Follow the signpost to the right to find a room containing a Bench and Bellway. If you have the Rosaries, go ahead and unlock both. If you have to choose, pick the Bench for now.
3. Rescue your fourth captive Flea.
Next comes a fair trek north to reach the top of the vertical shaft, but you can't just scale the room; you have to find another route.

Head back into the previous room to the left of the shaft, and follow the upper path left until you find a way off-screen above you. Hit the wall at the far right side of the next room to unlock a new way forward.
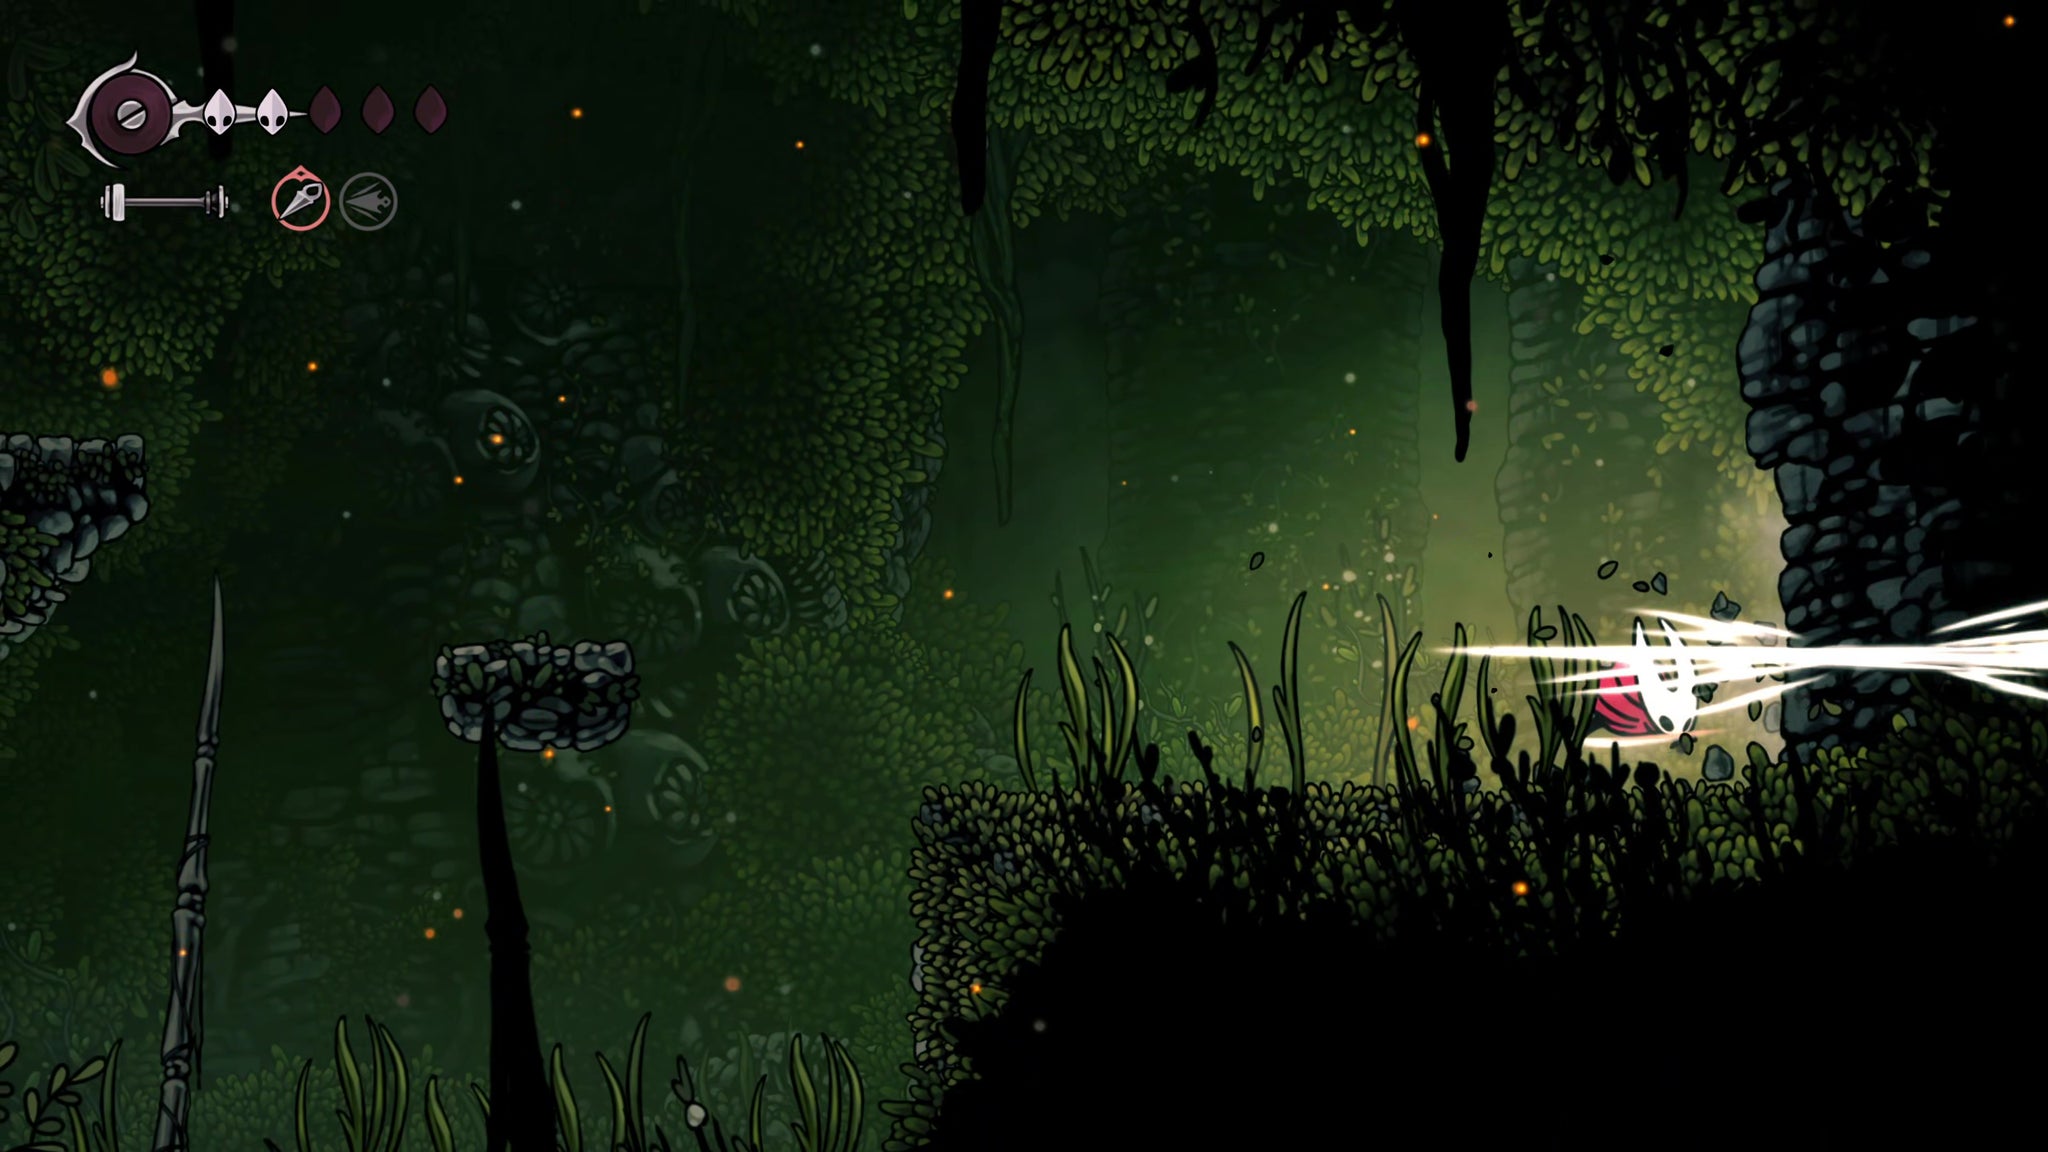
Use the platforms to climb this new room, exploring every corner as you arrive at it. When you come to the first path to the right, be wary as there is a white pressure plate barely visible on the ground. If activated, it will snare you in a trap while an ant enemy unburrows and attacks you from behind.
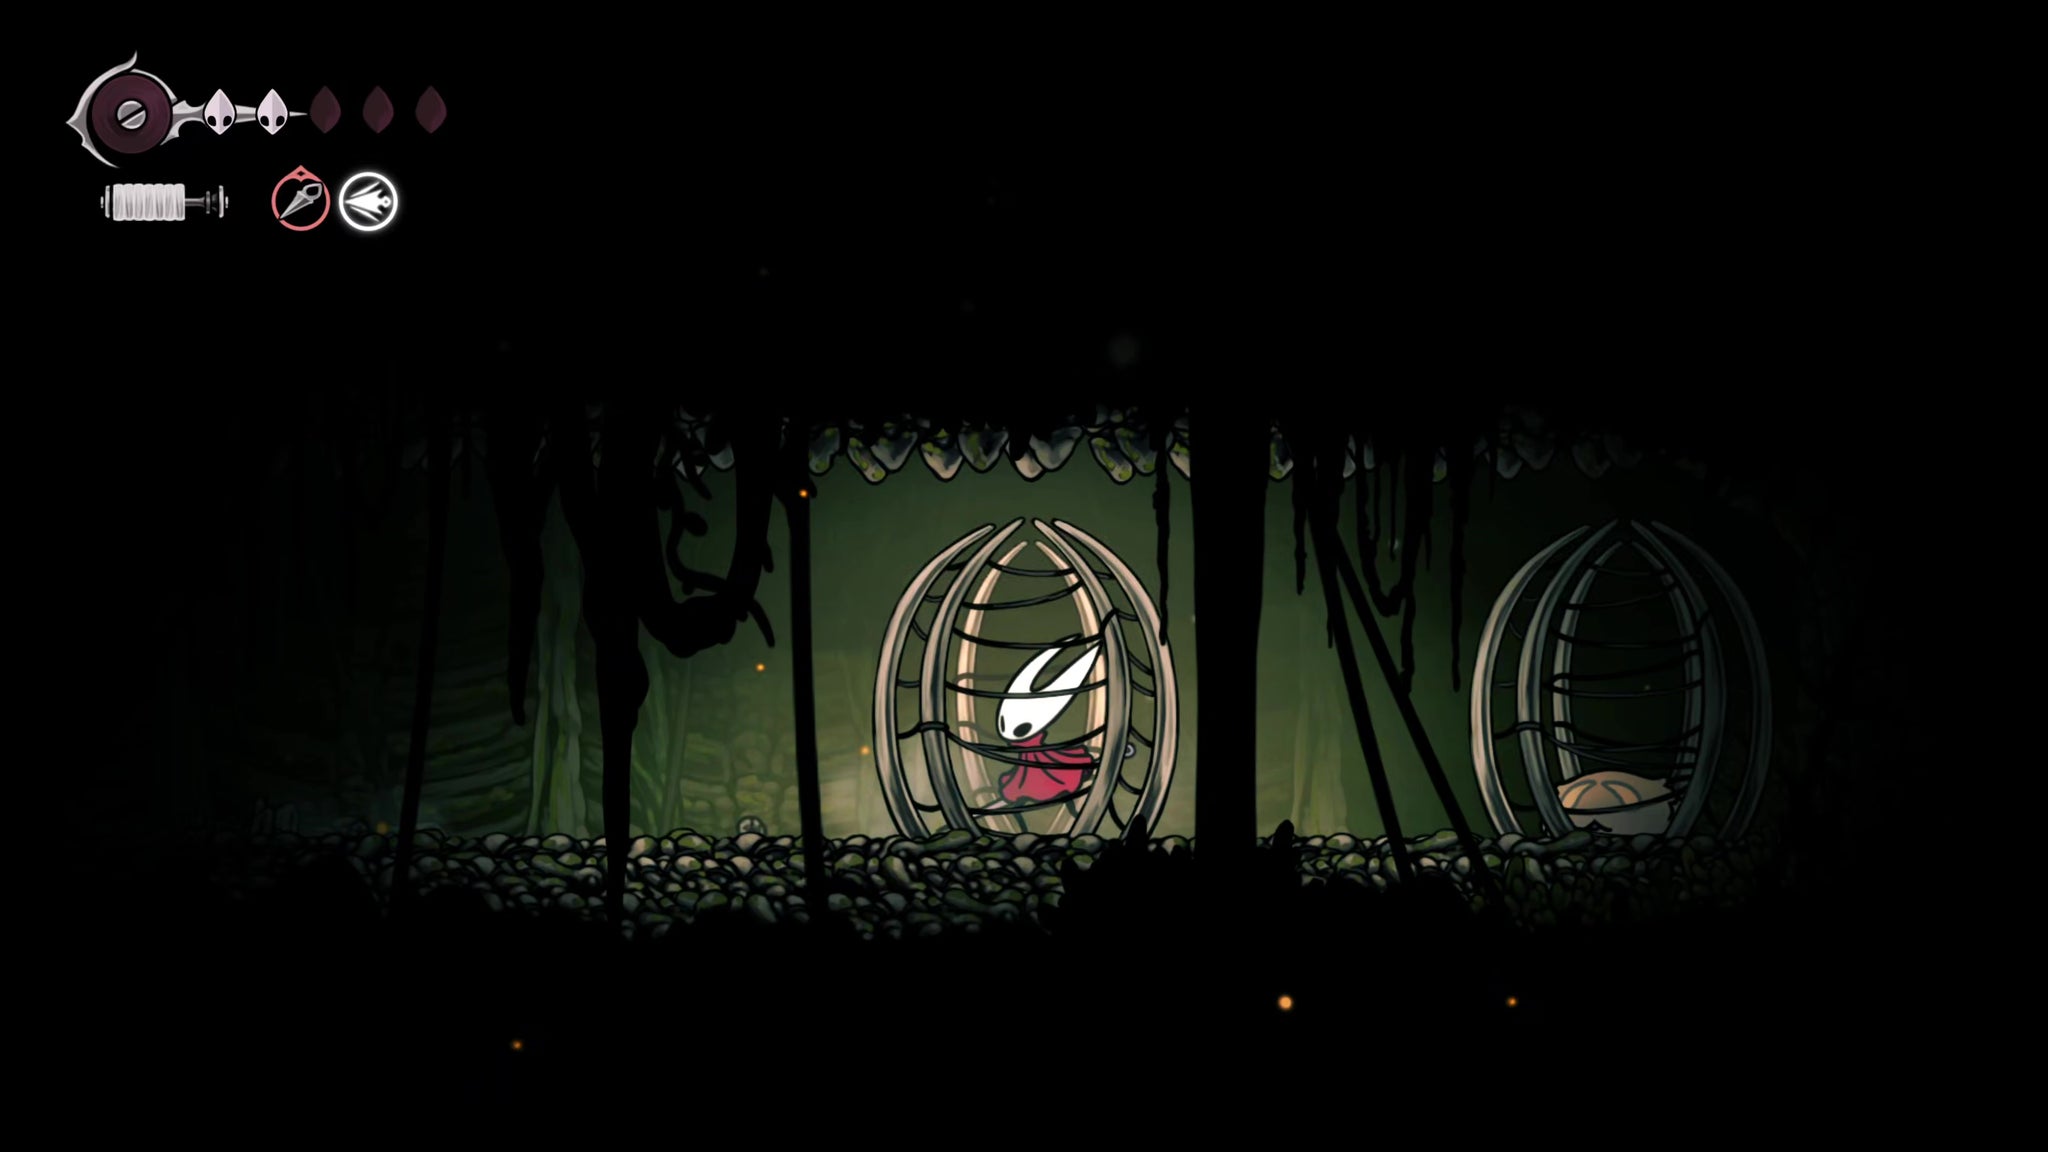

Avoid the trap, dispatch the ant, and then free the Flea trapped in the cage at the end of the pathway.
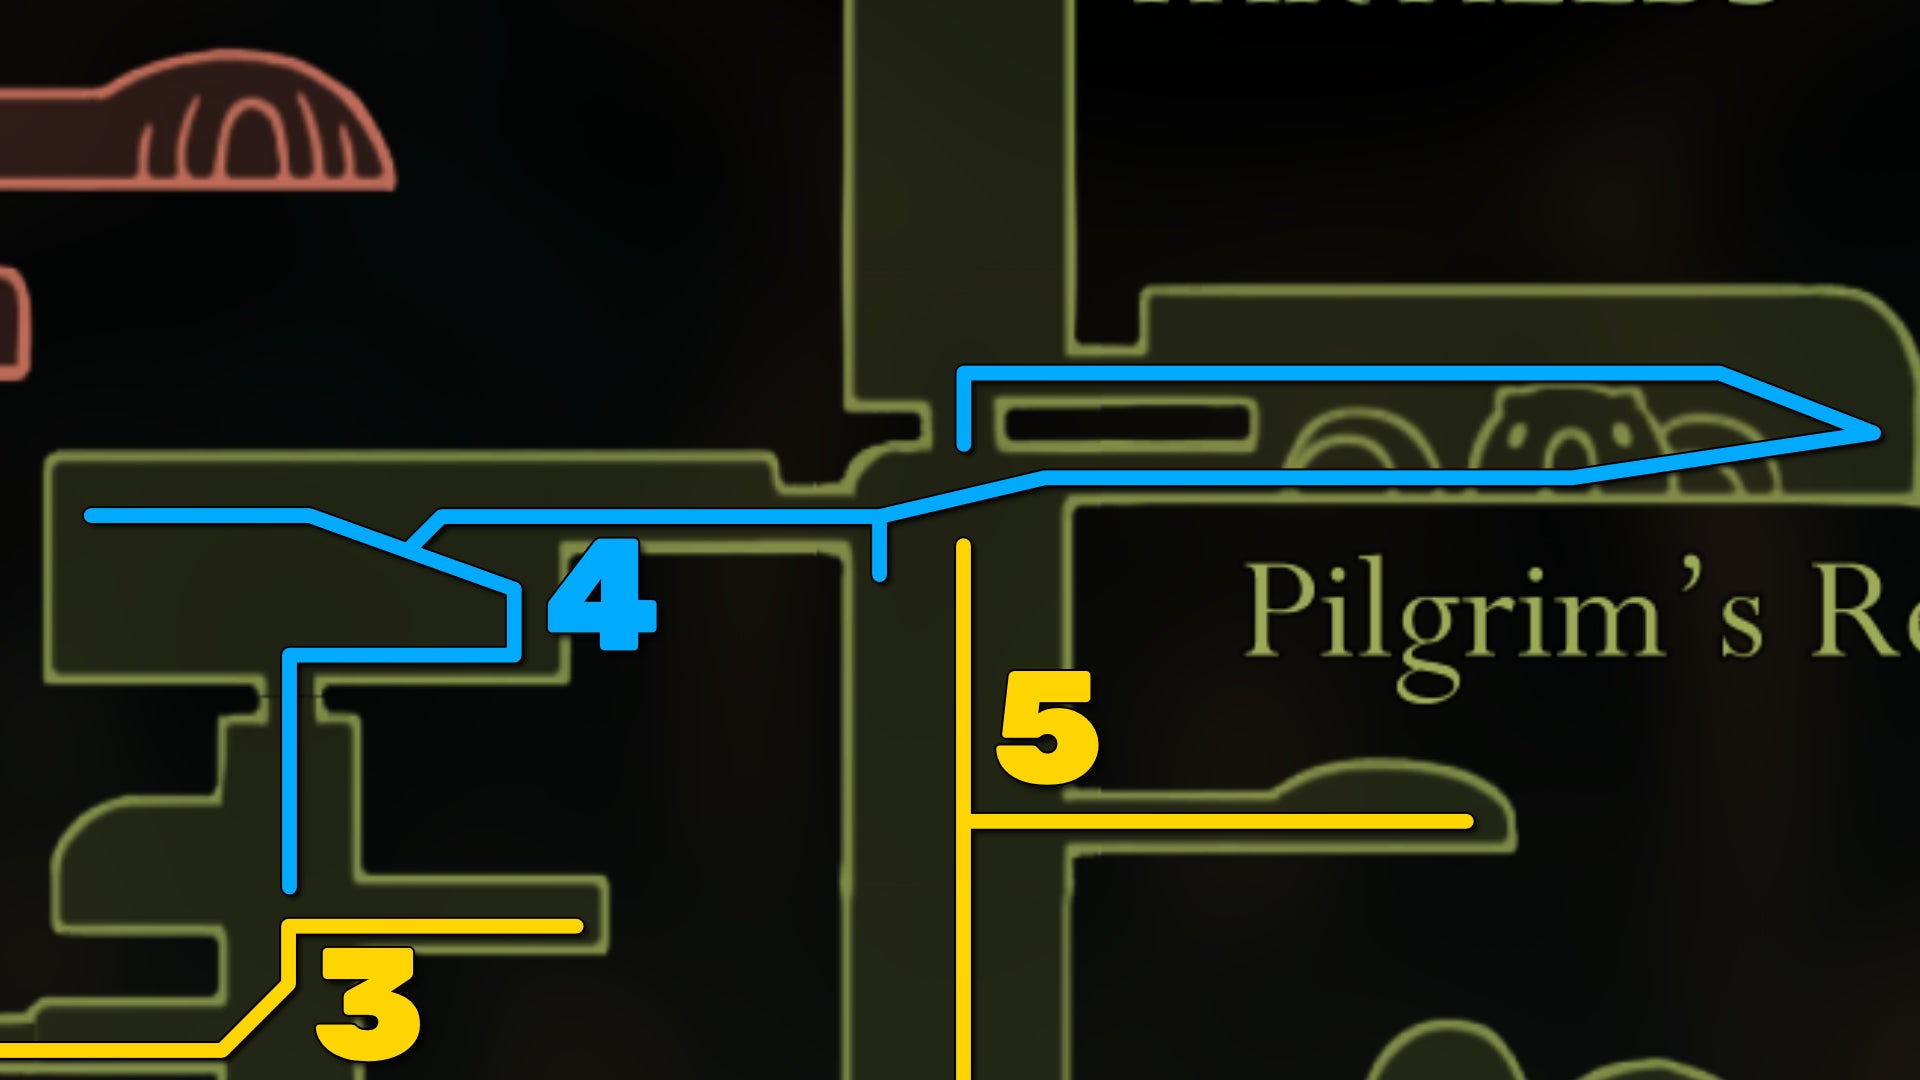
4. Make your way up to Pilgrim's Rest.
Keep climbing to the top of the room, and you'll reach a new wider room above. Take the right-hand path, and then use the upper ledges to reach the far left side for some Rosary Beads. Be careful when you drop down to collect them if any fall, because an ant soldier is waiting at ground level to ambush you.

Then make your way to the upper-right section of the room, and exit off-screen. Drop to the lower ledge for a few more Rosaries, then climb up to the very top-right corner exit, with the Bench signpost.
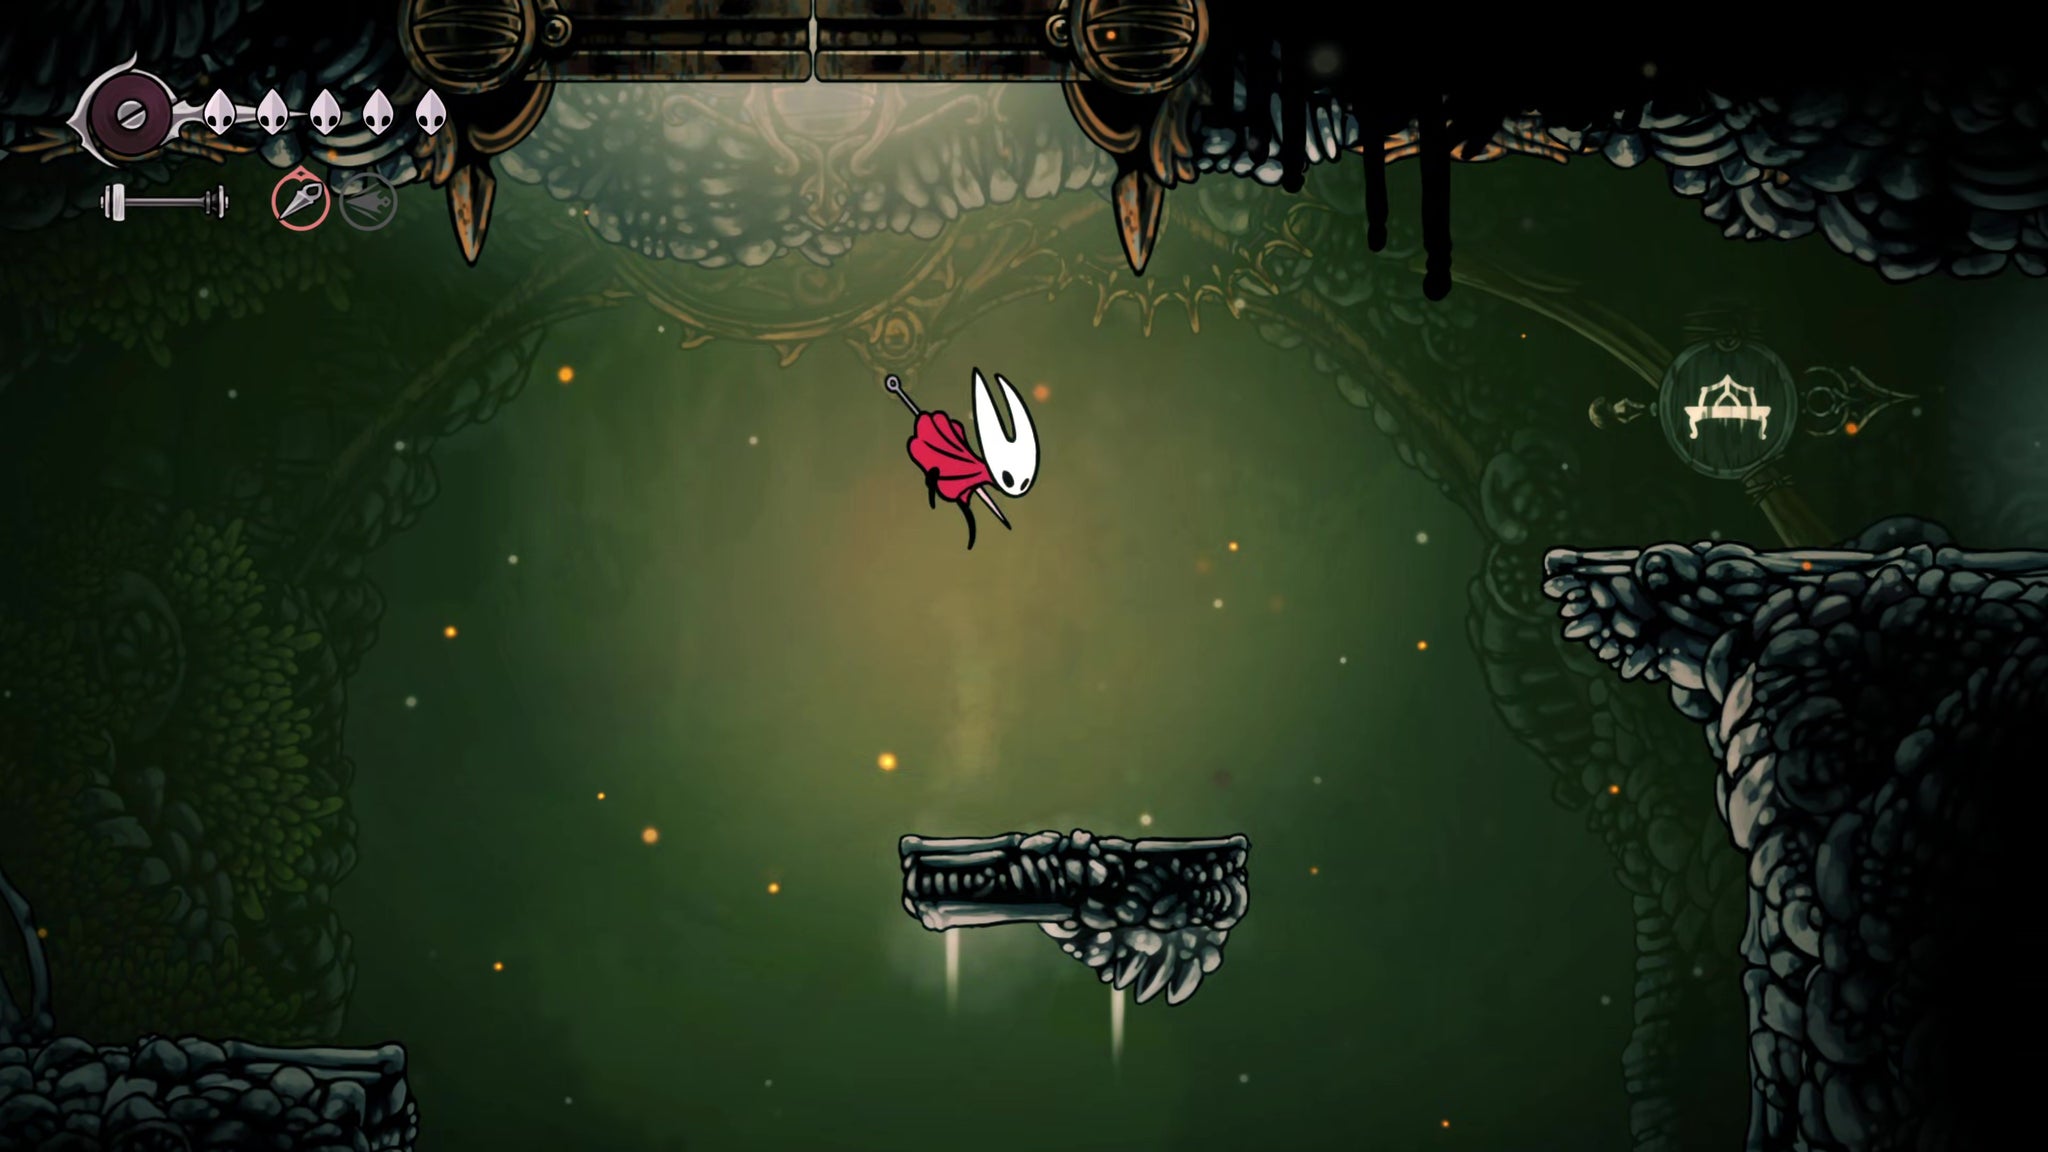
Welcome to Pilgrim's Rest. This area offers some respite, where you can speak first to the Weary Pilgrim outside, and then pay 30 Rosaries to enter the building for a Bench, and a chat with a new NPC trader: Mort. His wares are useful, but expensive, so best to leave them for now. If you're really swimming in Rosary Beads, then you can take the Weighted Belt or a Memory Locket as you prefer, but it's not required.
Before you leave Mort's home, attack the mechanism above the door to break it. If you don't do this, you'll have to pay 30 Rosaries every single time you want to enter the home. But with the mechanism destroyed, you can enter for free for the rest of your playthrough - no strings attached! Mort doesn't even mind!
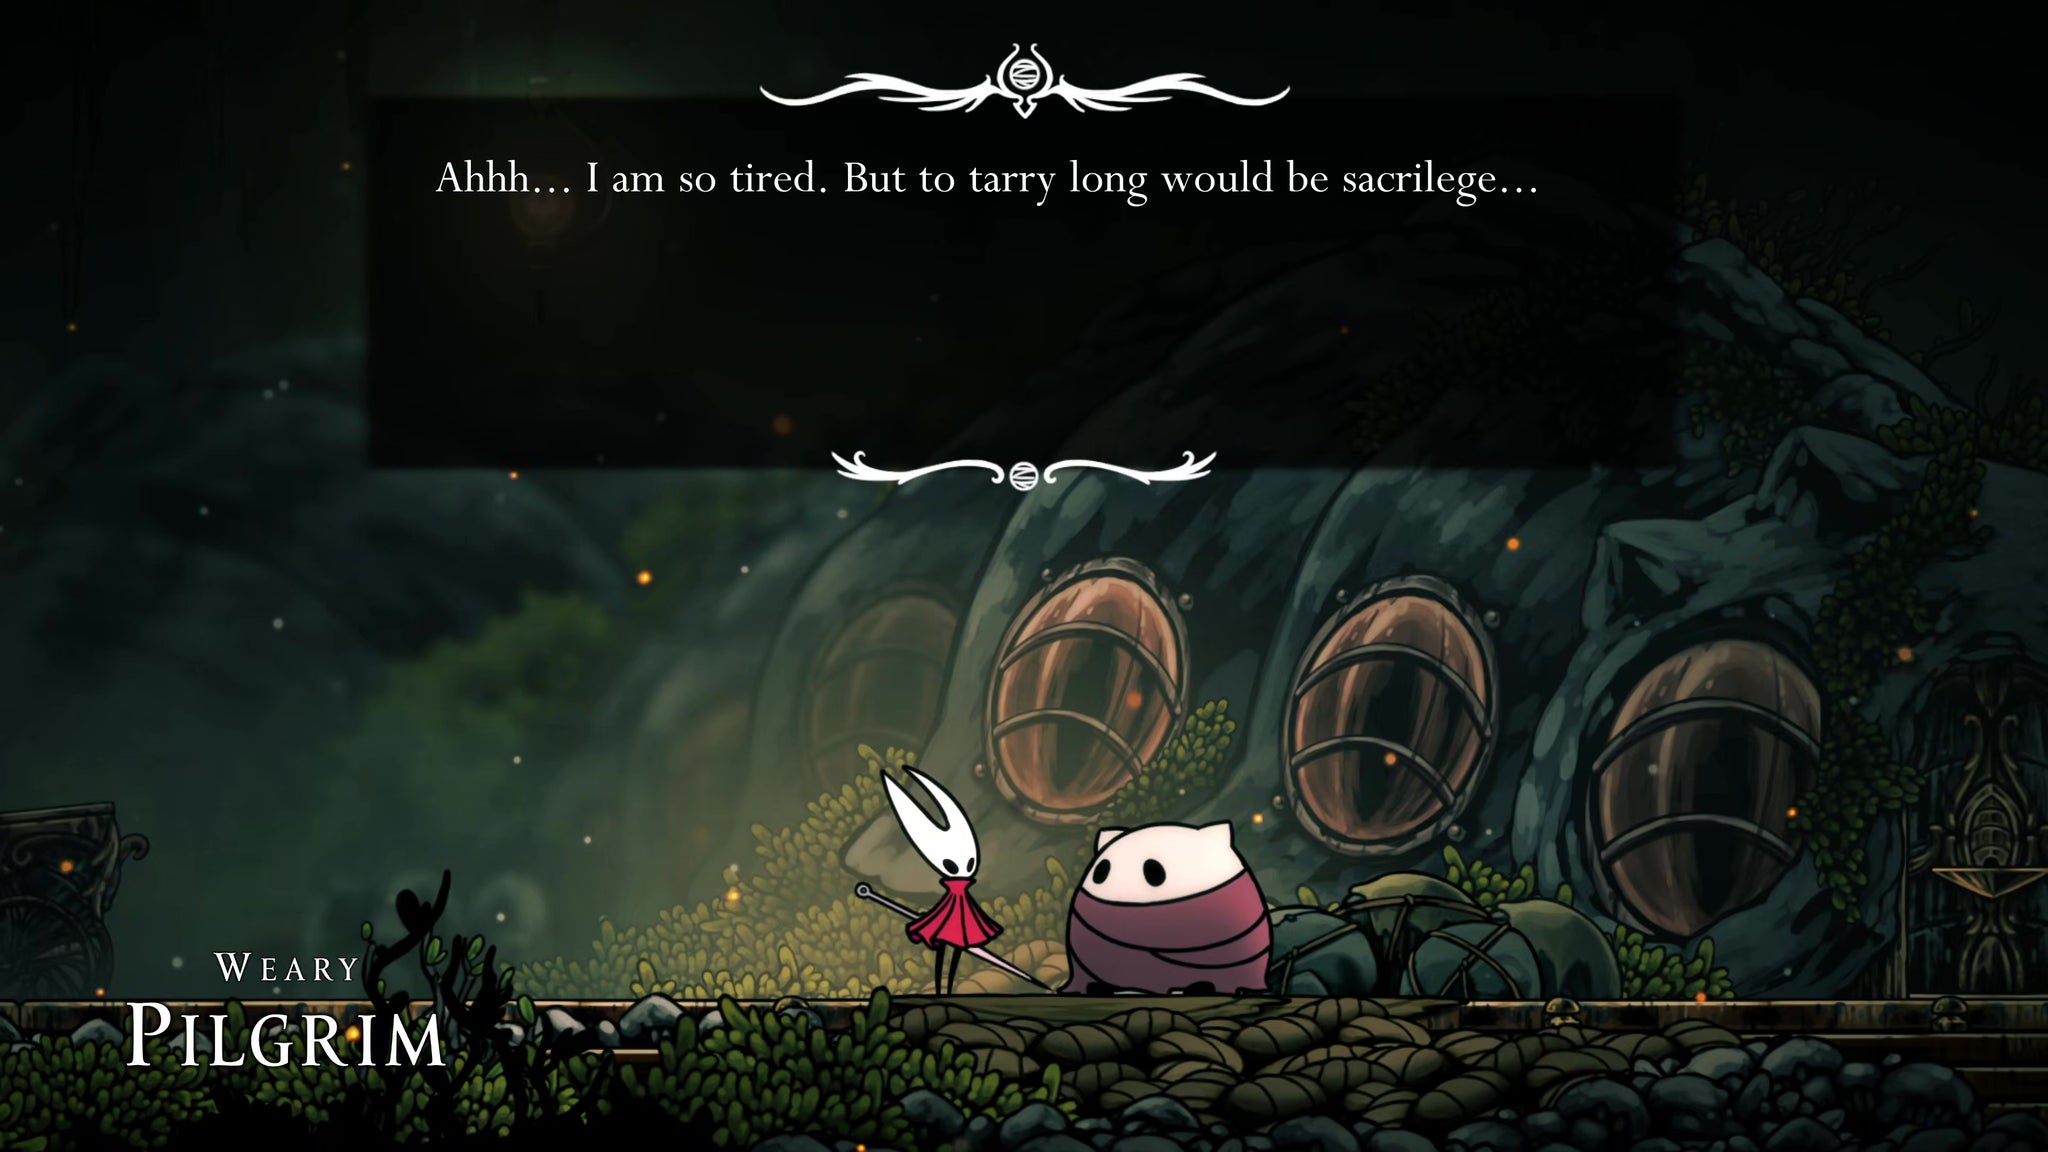

Once you've finished socialising, you can explore the room a bit more, though there's nothing to do here. There's a door on the right-hand side which is being pummelled angrily by something on the other side, but you can't interact with it for now.
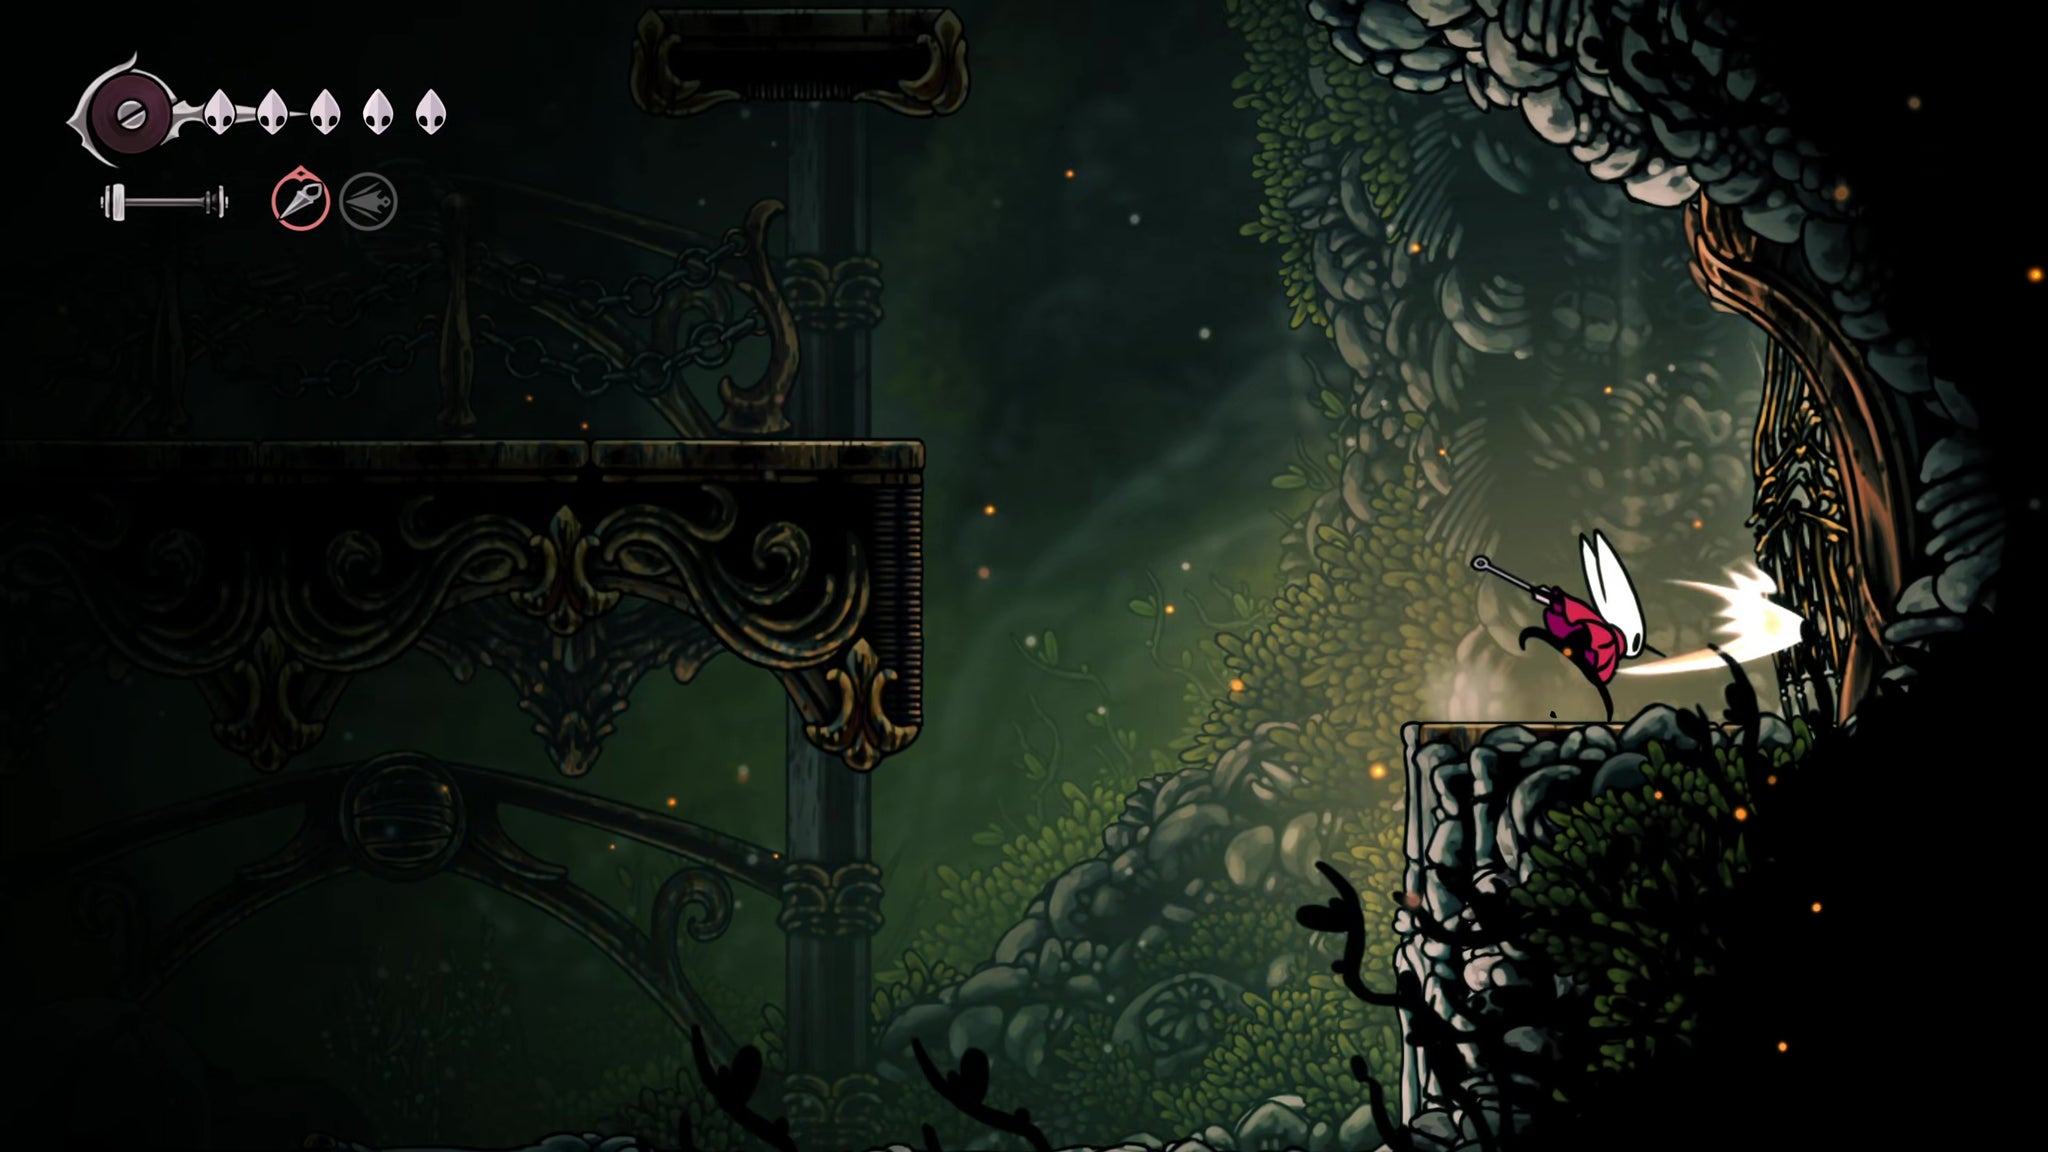
Instead, use the platforms to reach the upper-left side exit, above where you came in. Hit the lever in the next room to open a passage back down through the top of the central shaft.
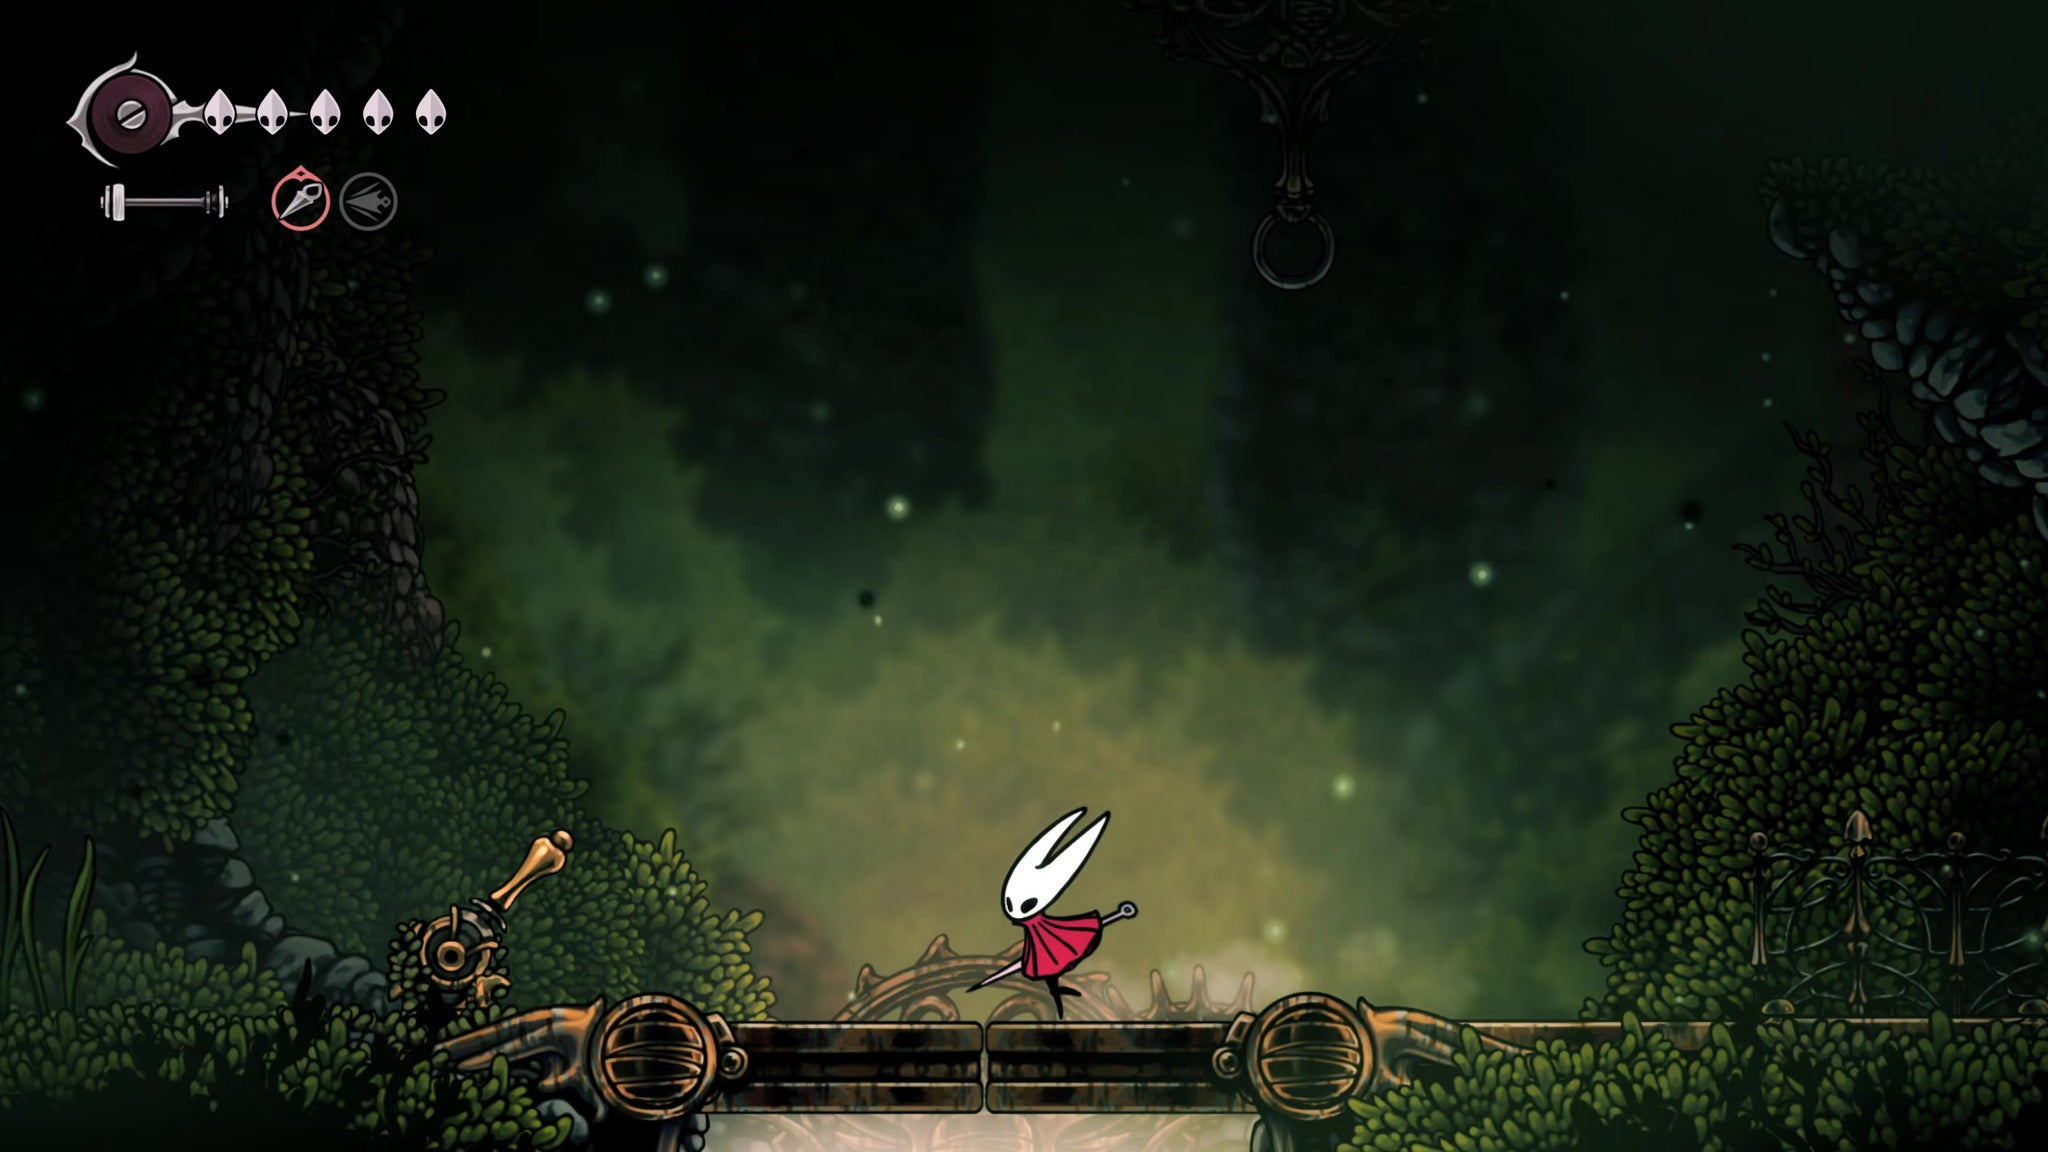
5. Explore south down the main shaft.
Drop down to the bottom of the shaft. There's a passage to the right, which leads to a small training area for the ants. Two ants will attack you in there, but there's nothing to collect except some Shards and Rosaries from their bodies. Back in the main room, hit the orange rock in the centre of the ground to explode it open and descend further down.
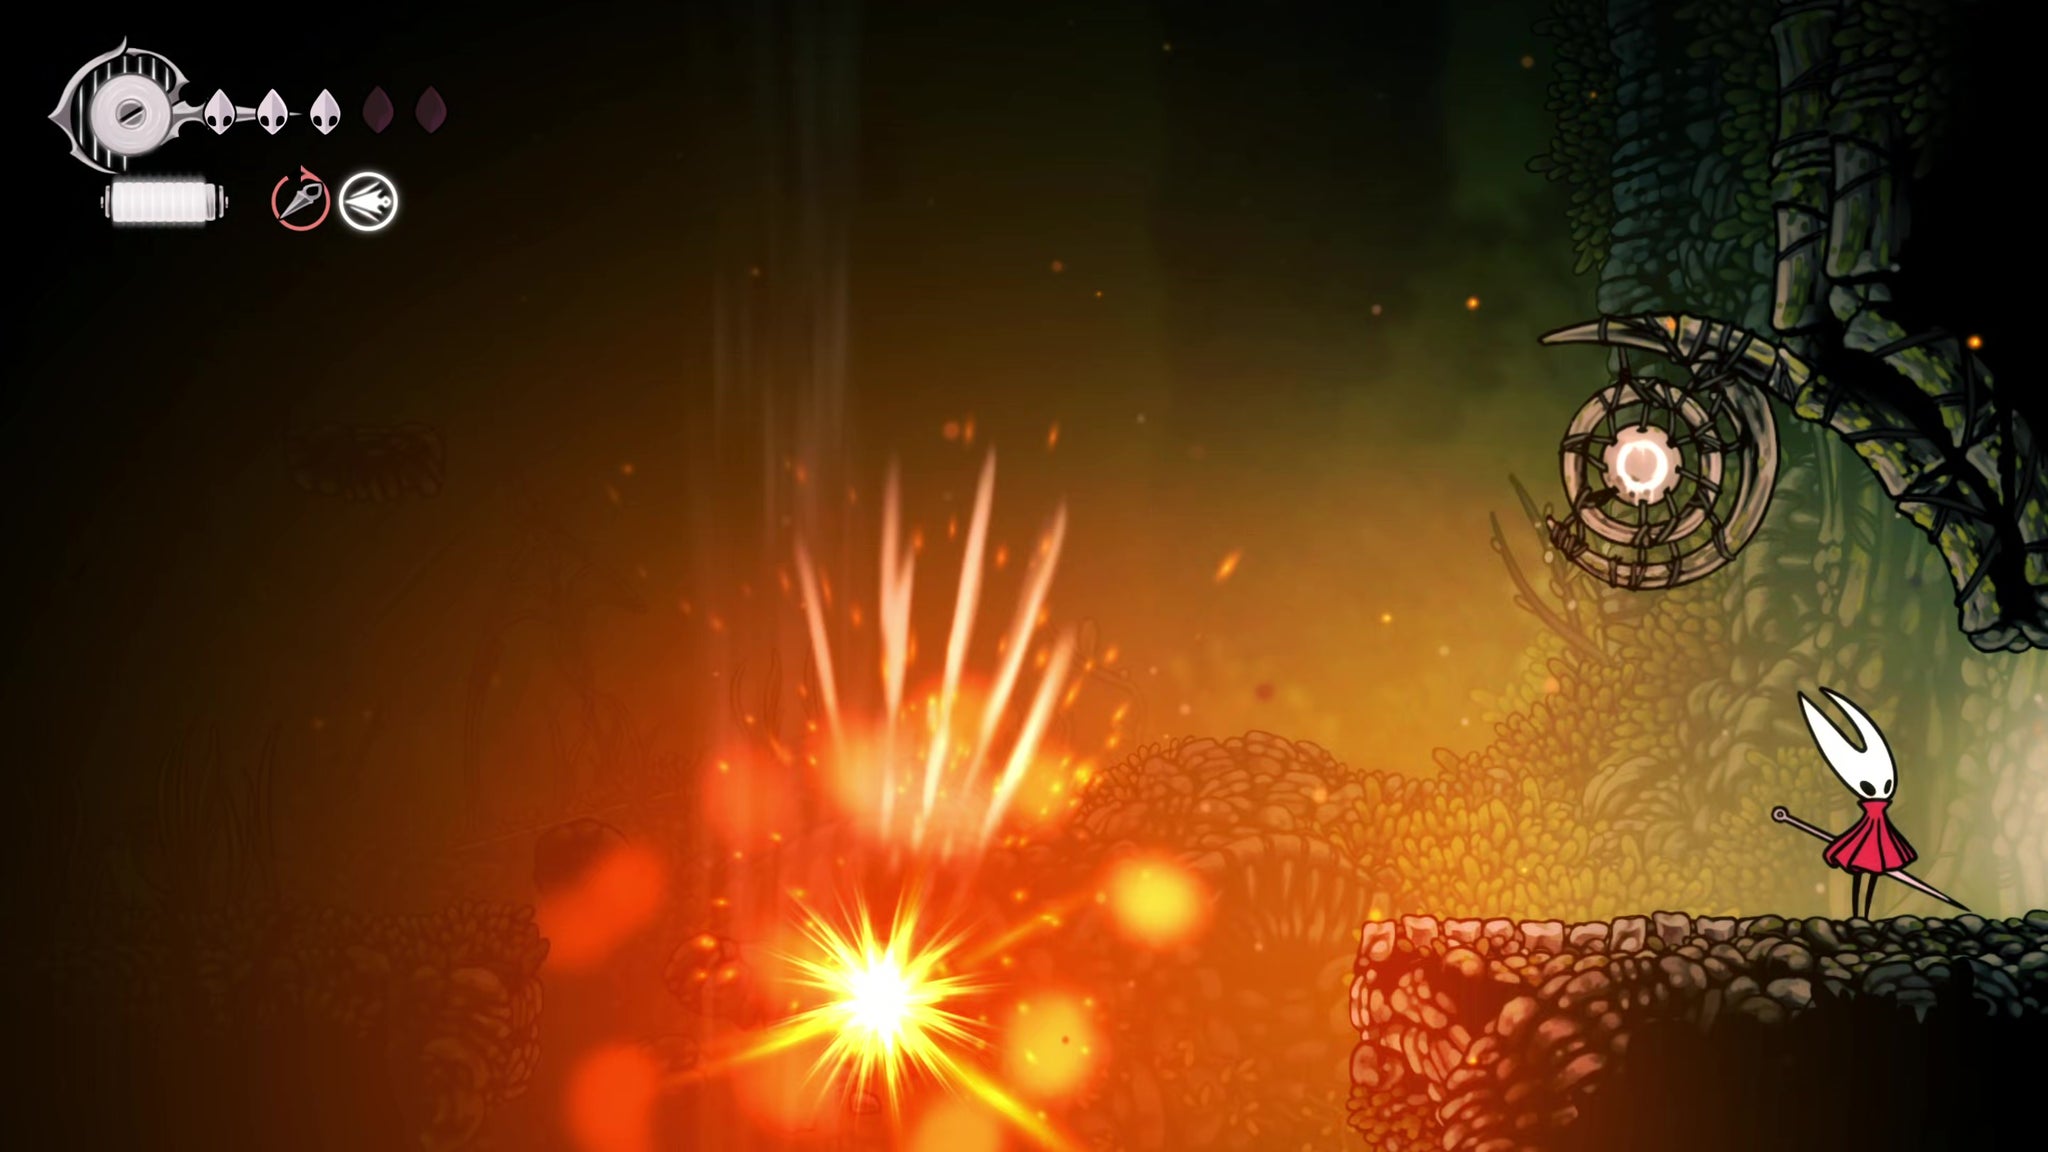
Make your way down to the very bottom of the shaft, hitting more orange rocks as you go - they open up wind vents that you'll be using later on.
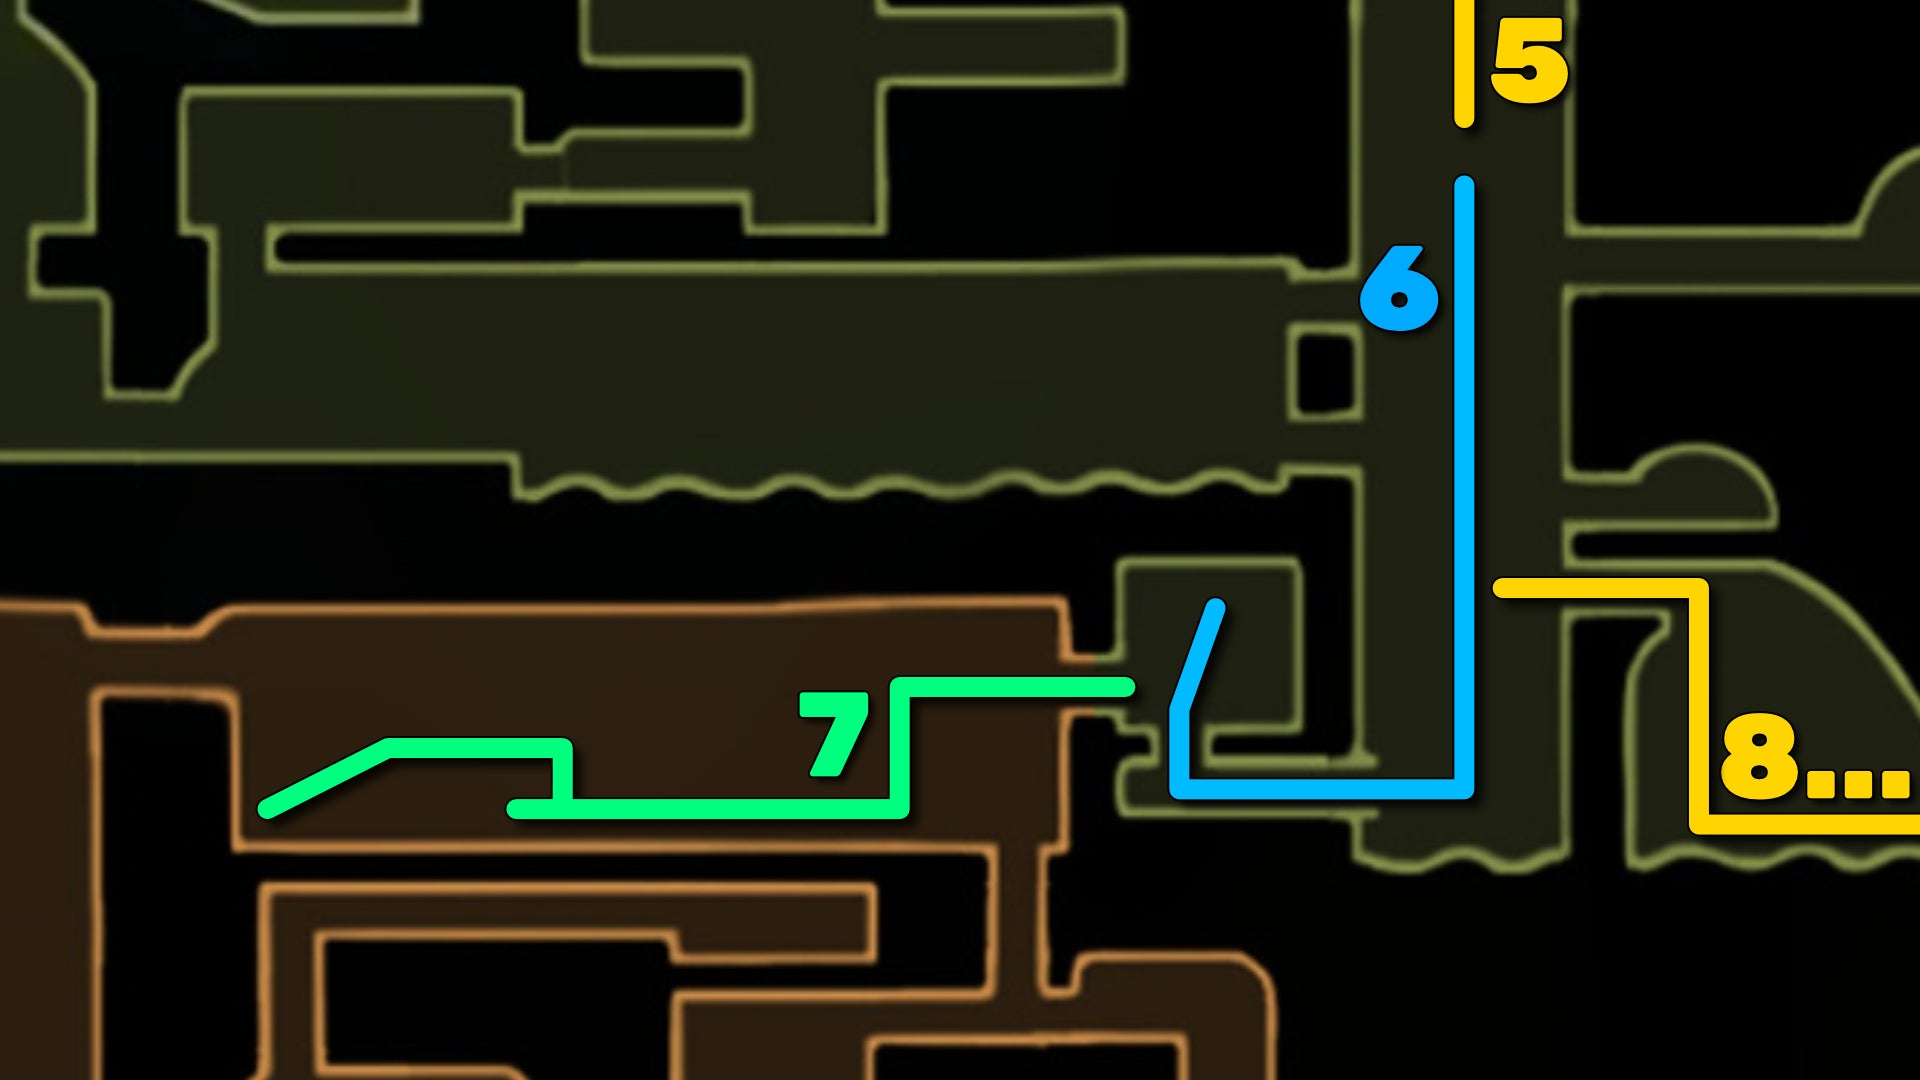
6. Obtain the Warding Bell.
Drop down to the very bottom of the shaft (but mind the lava). Exit through the doorway on your left, walk to the end of the path where the light rays are being cast, and jump upwards to reveal a secret area.

Climb to the top platform and loot the item on the ground to obtain the Warding Bell. This handy tool, once equipped, renders Hornet invulnerable while she Binds to heal herself. If you're using the Wanderer Crest then you won't have a blue slot for this tool, but if you prefer the longer-ranged attacks of Hornet's default Hunter Crest, the Warding Bell is a great extra advantage.
7. Explore the secret passage back into Deep Docks.
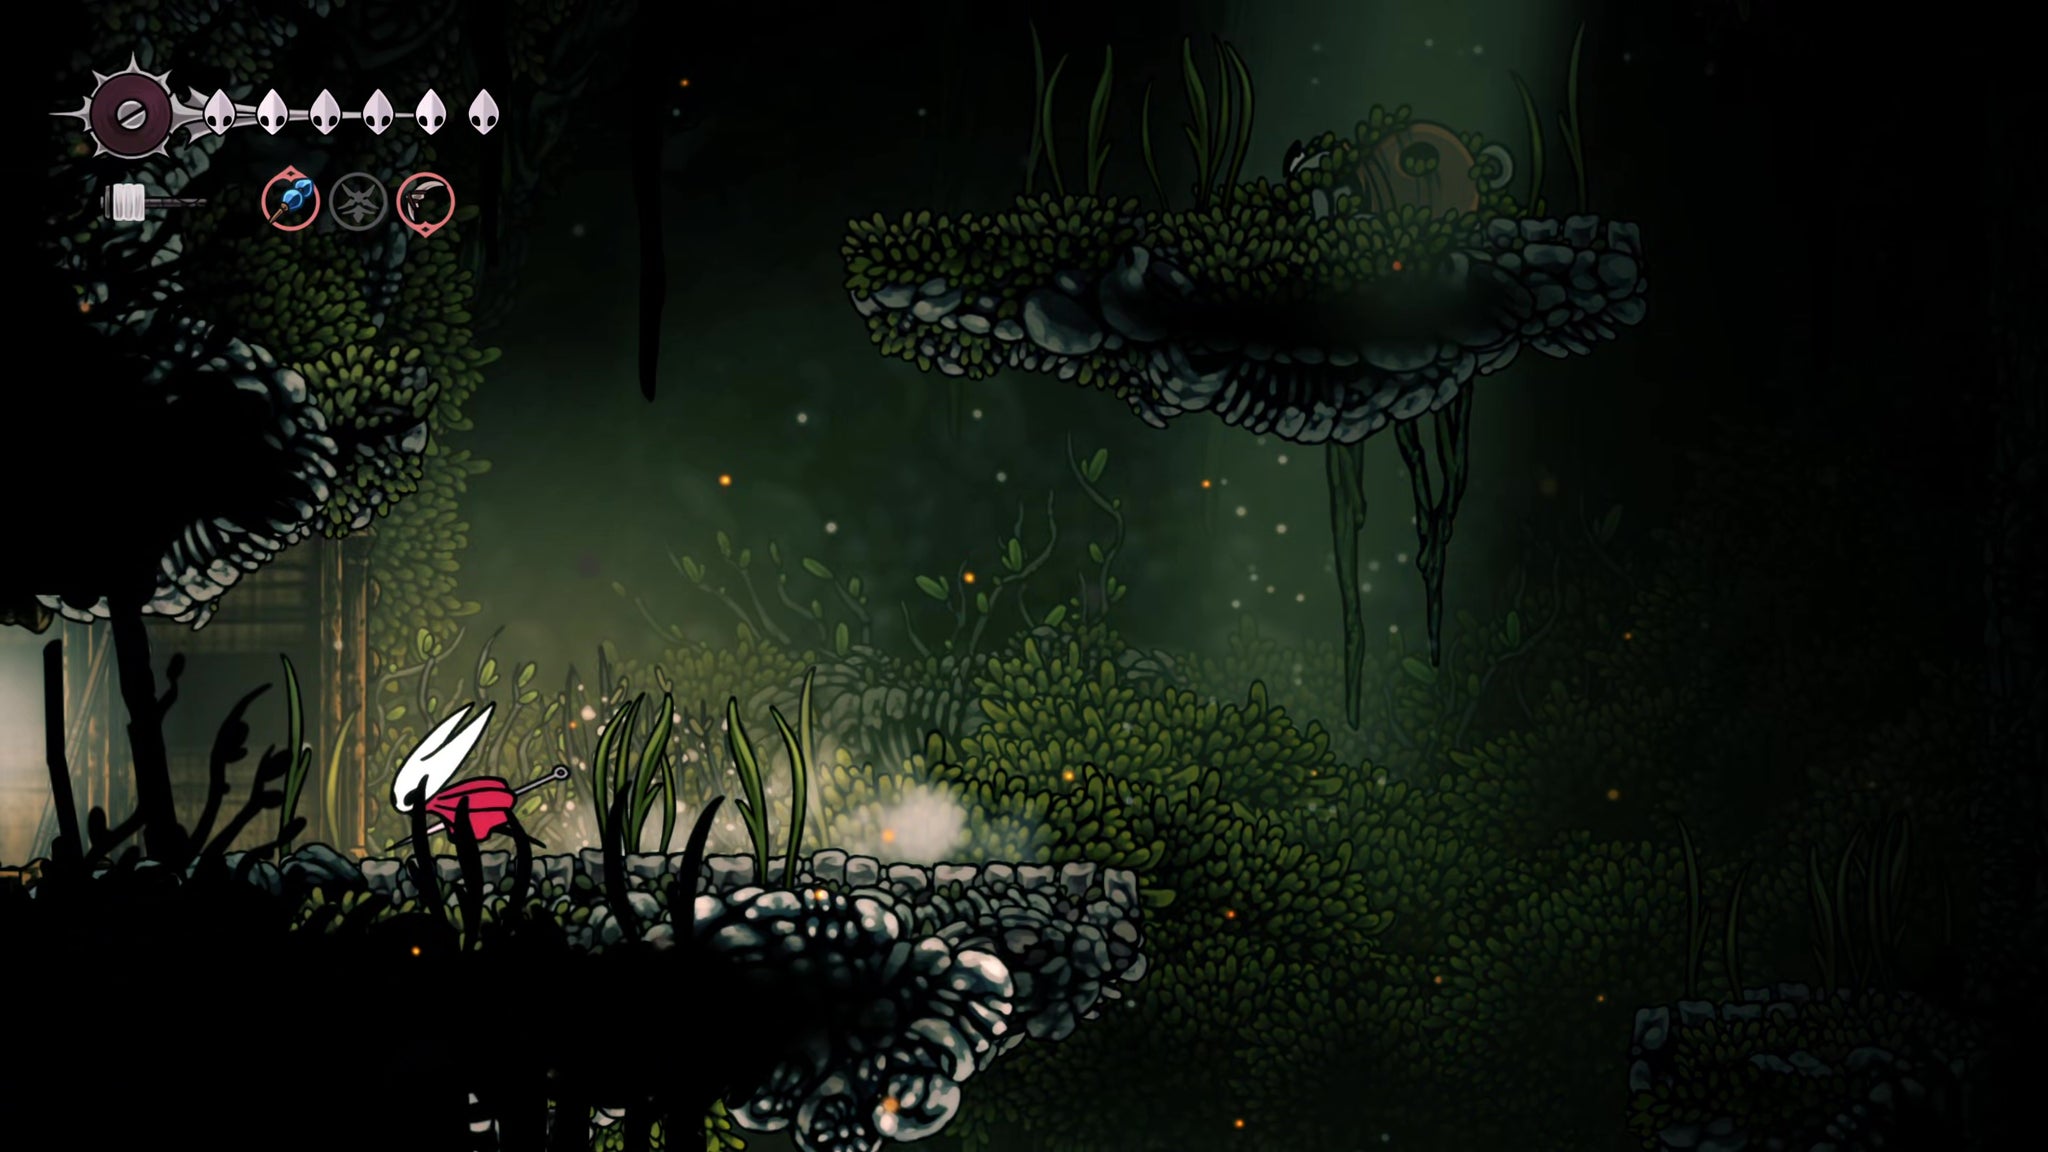
Before you duck back down from the secret area with the Warding Bell, drop down and attack the breakable wall on your left. That's right, it's a secret area within a secret area. Those scamps.
Enter the new room and you'll find yourself back in Deep Docks momentarily. Drop down to the bottom, past the slime-patrolled ledges, and you'll see a currently locked door on your right. We'll return later for that. For now, head left to find a new bomb-throwing bell enemy, and don't underestimate the blast radius of those explosives.
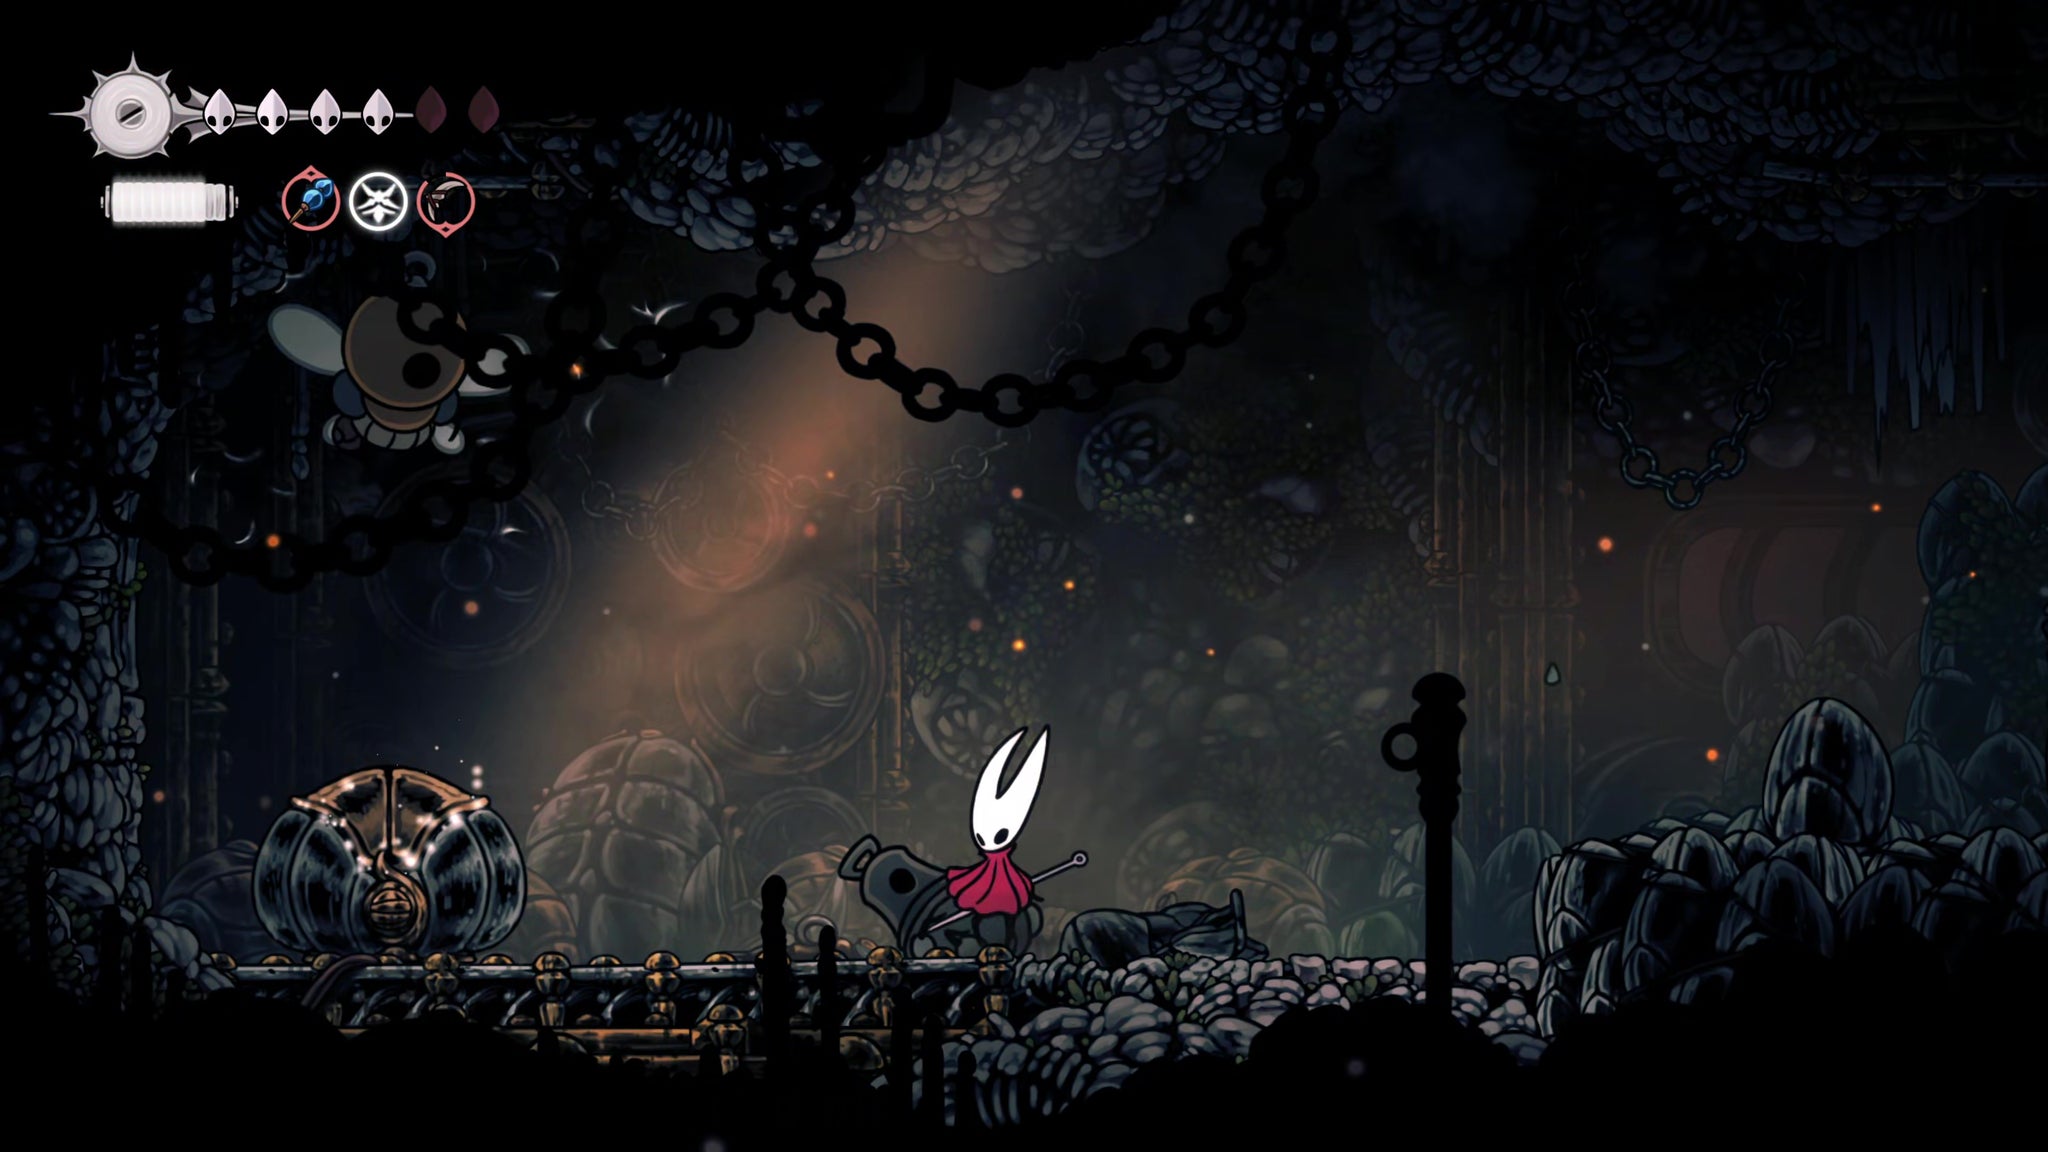
Kill it, and then attack the wooden pillars on ground level to the left to open a passage further on. Be aware that another enemy spawns behind you as you do this. Then head to the very end, where you'll find a chest - and another ambush of two enemies. Kill them, and loot the chest for some Craftmetal - a worthy prize for a relatively short detour.
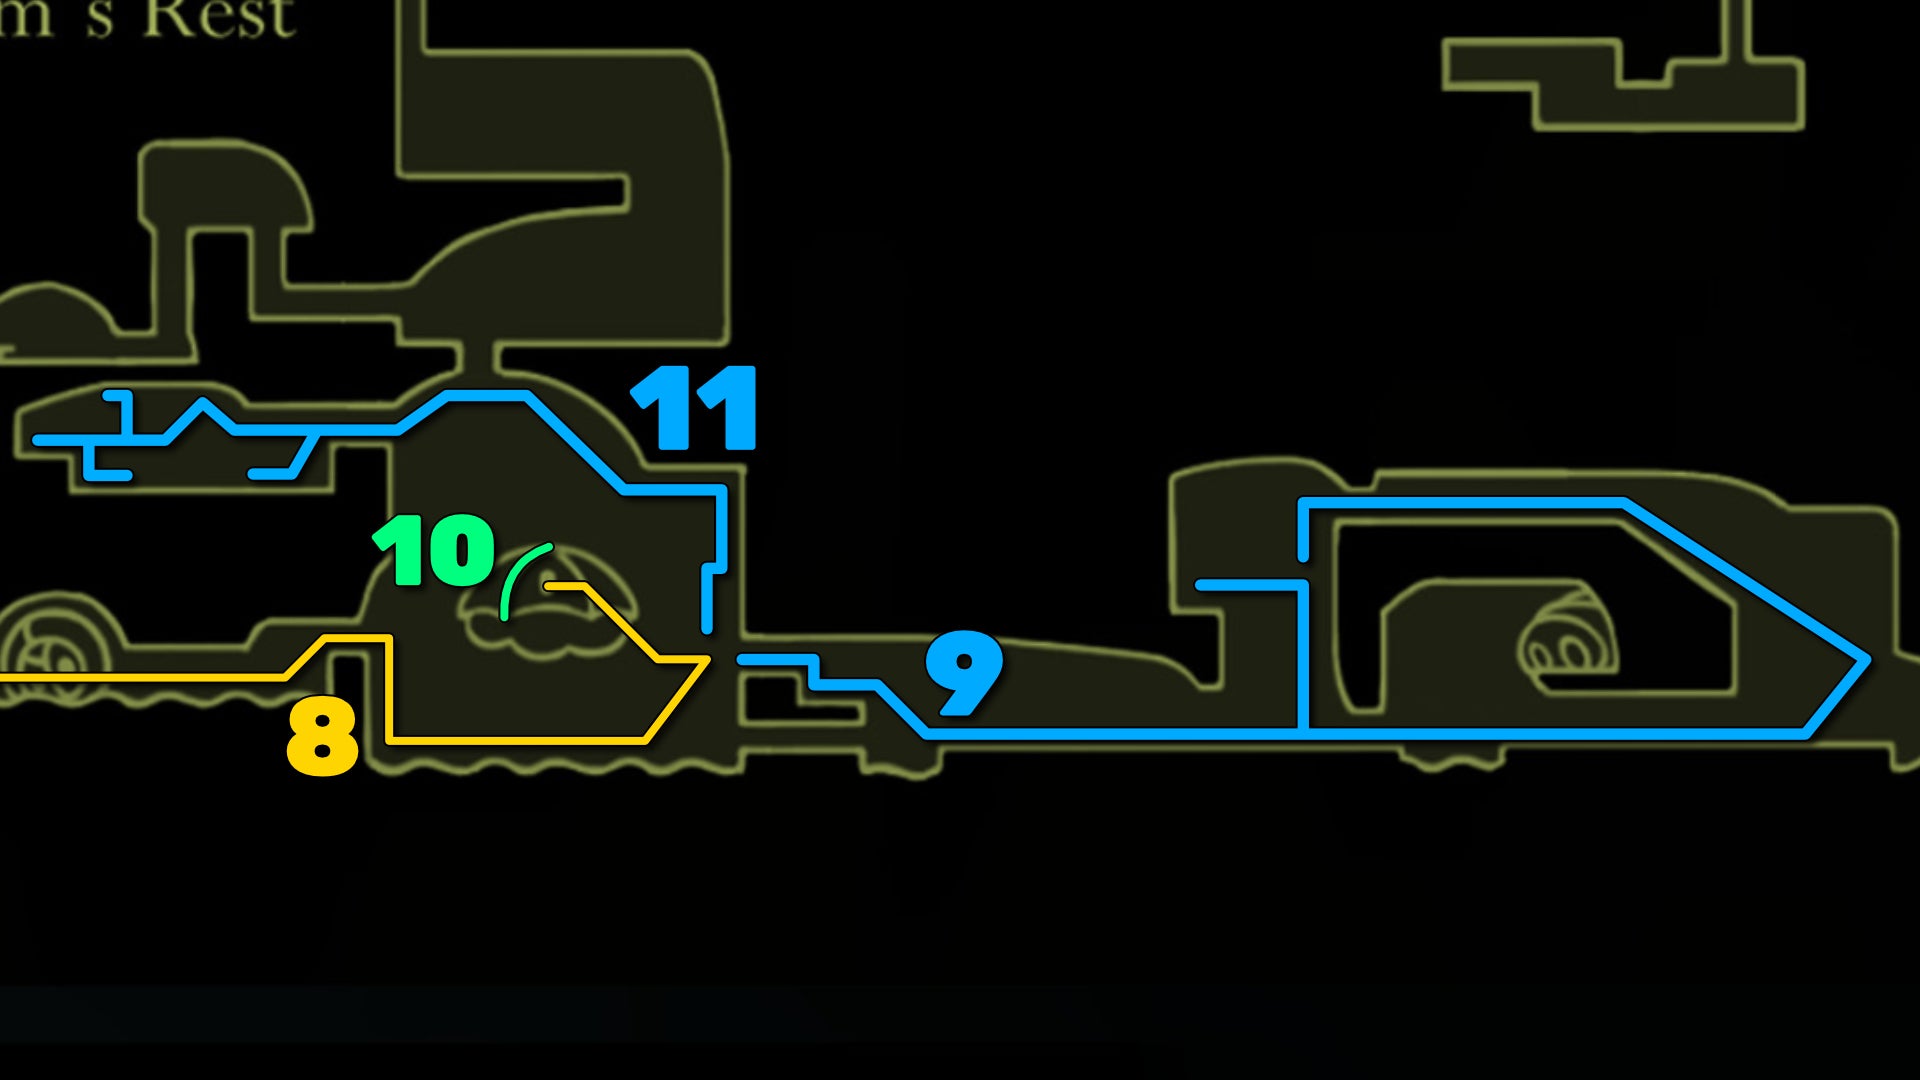
8. Head East and accept the Seamstress' quest.
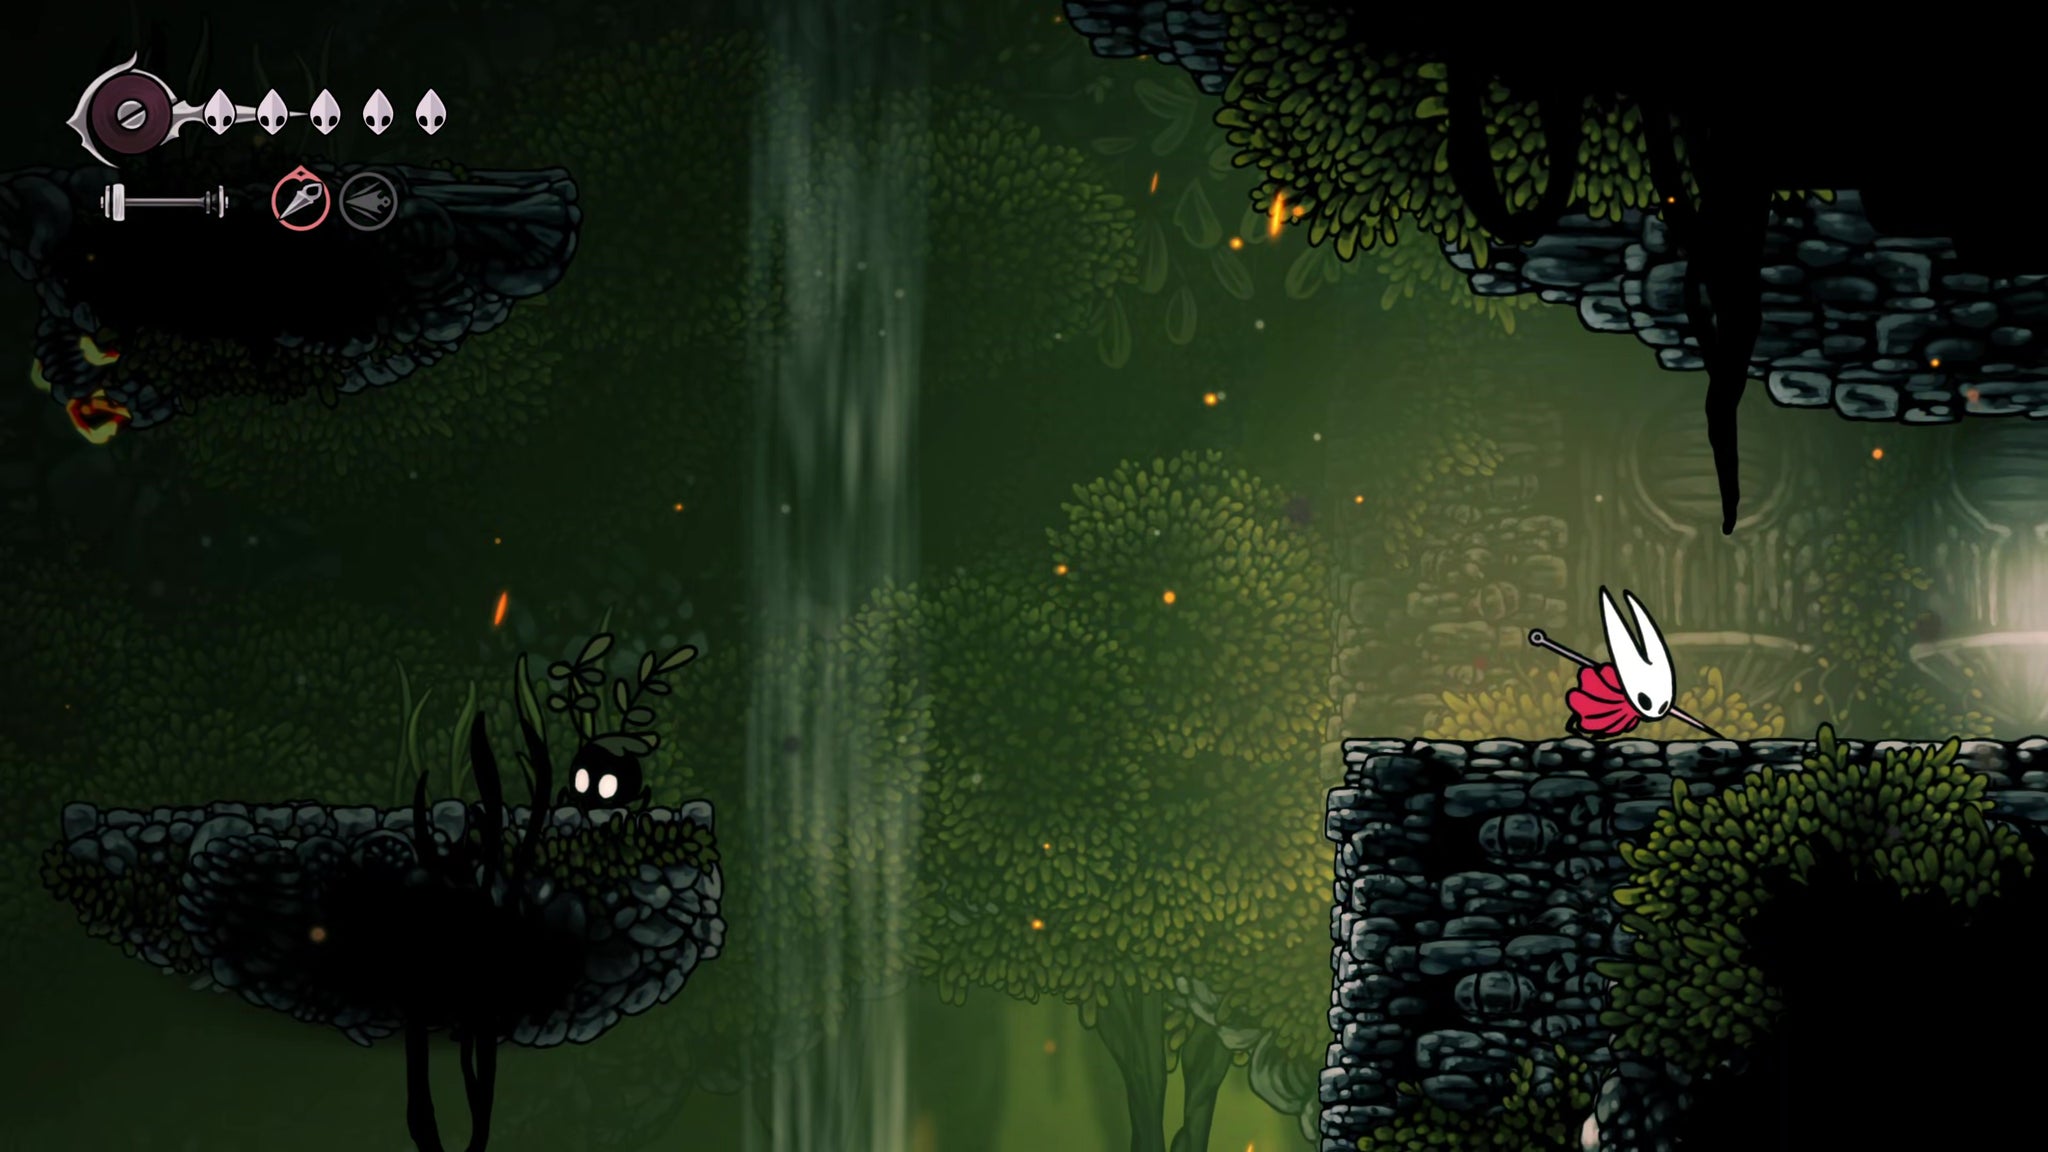

Head back into the main shaft. Climb partway back up the shaft, and then drop down into the right-hand exit, just below the room where you found Shakra. Cross the next lava-filled room (nothing will attack you... yet), and exit into another much larger room filled with hanging platforms.
This room is dominated by a large balloon-like structure in the centre. Drop to ground level (mind the lava), head to the other side, and then use the platforms to reach the entrance to this balloon structure. Inside you will meet a new NPC: the Seamstress.

Exhaust the Seamstress's dialogue and accept her quest to gather 25 Spine Cores. This quest is the whole reason you're here, because the reward unlocks the ability to use those vertical air currents everywhere you find them in Silksong.
9. Gather 25 Spine Cores from Hokers.
Exit the Seamstress's home and head down the ledges to your right. You can either just exit off-screen partway up, or dive down the air current and attack the wall on your right just above the lava to open a different passageway through on the ground level. Both lead to the same caves beyond.
These next two rooms are where you'll find those 25 Spine Cores. The enemies you're after are Hokers - the furry floating balls which throw spikes in all directions. You can either kill them, or just bait one into firing off its spines again and again. Attack the spines when they land to gather the Spine Cores!
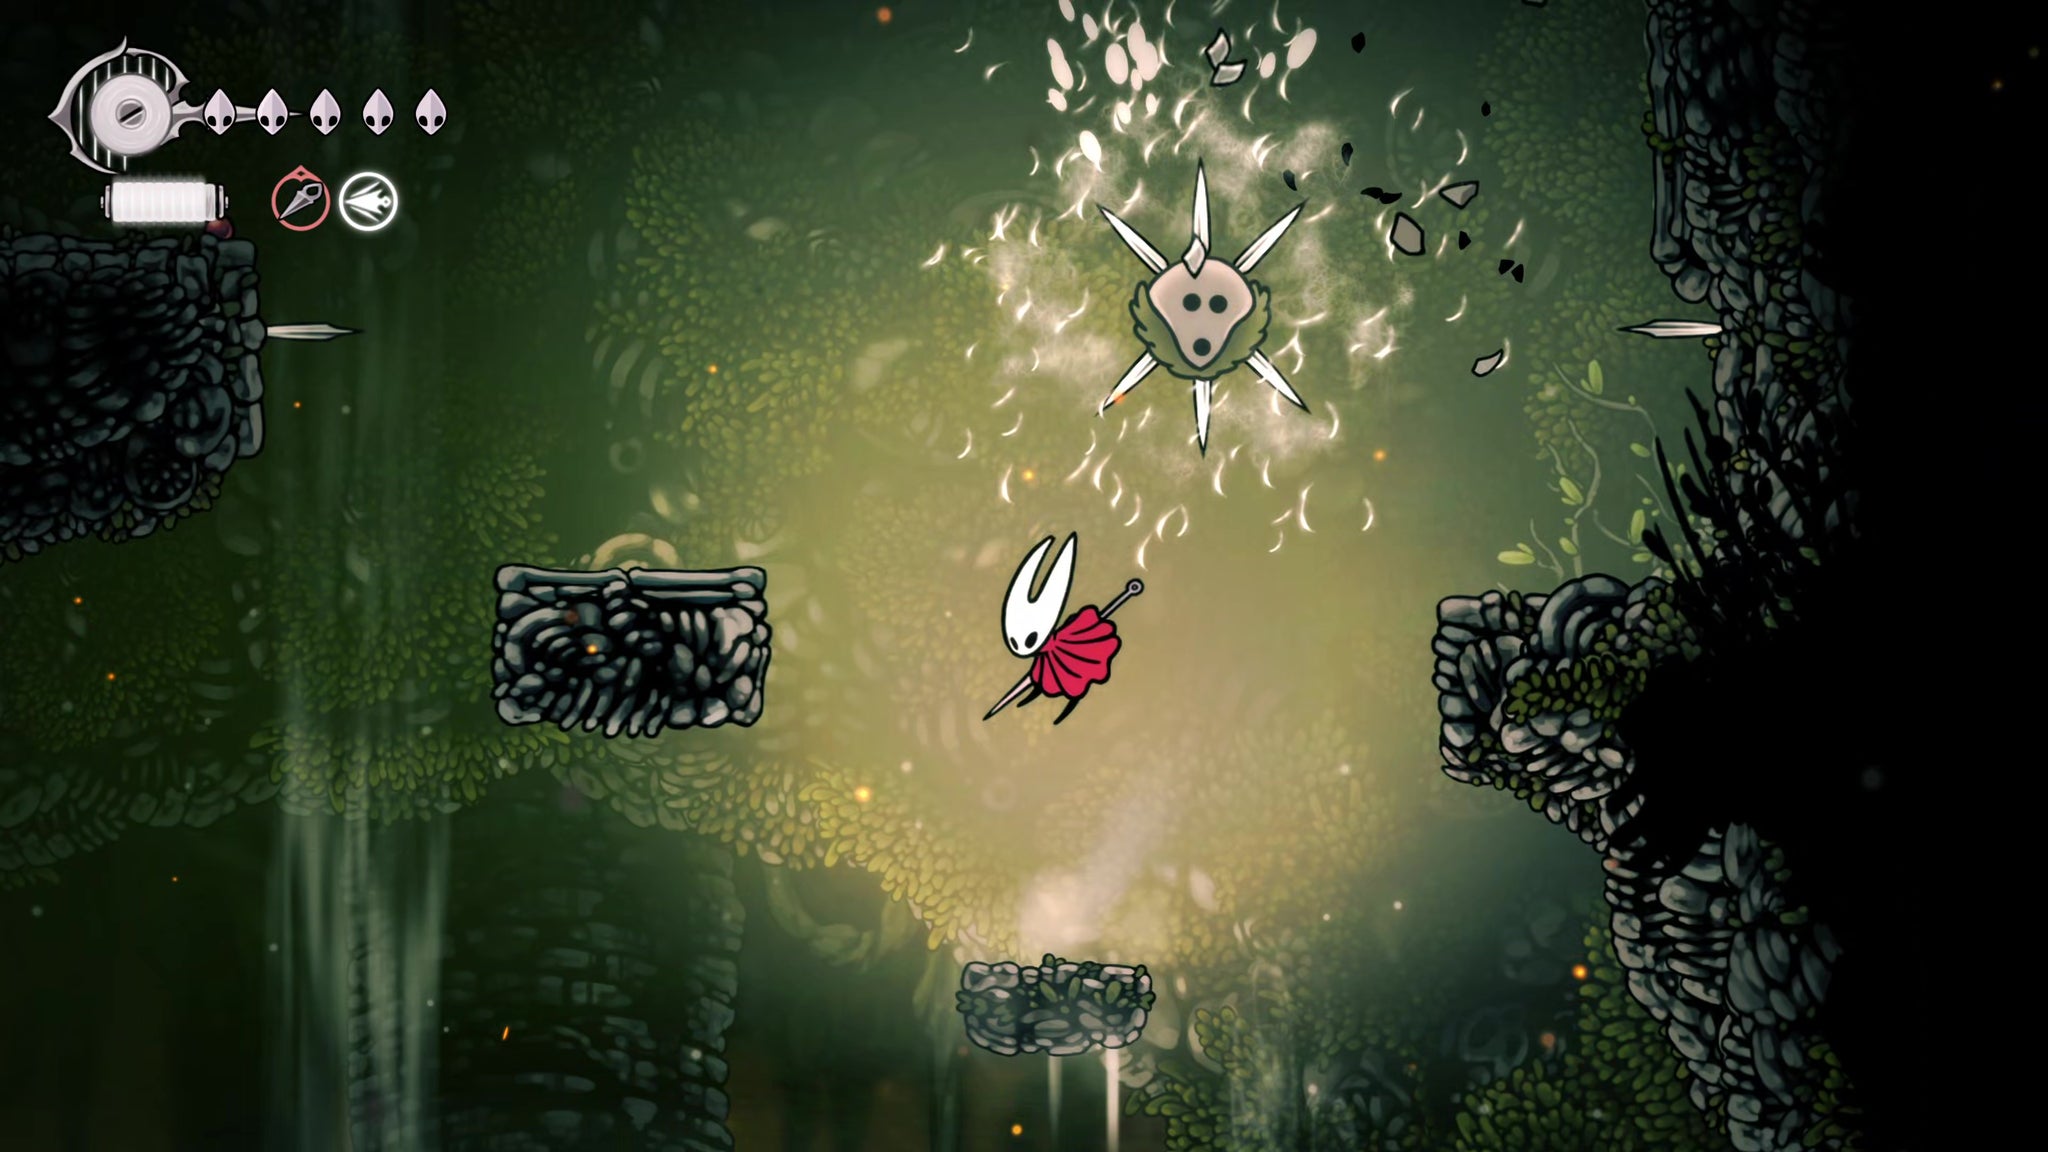
Continue exploring these rooms and gathering Spine Cores until you have 25 of them, which shouldn't take long. Remember to hit the orange rocks when you see them; the lower-right one in the first room opens the passage to the next room.
Eventually the path wraps back around to the start of the cavern, so just exit when you've finished exploring and gathered all the Spine Cores you need.
10. Return to the Seamstress for the Drifter's Cloak.
Return to the Seamstress inside her hot air balloon home, and she'll fashion for you a fantastic reward: the Drifter's Cloak.
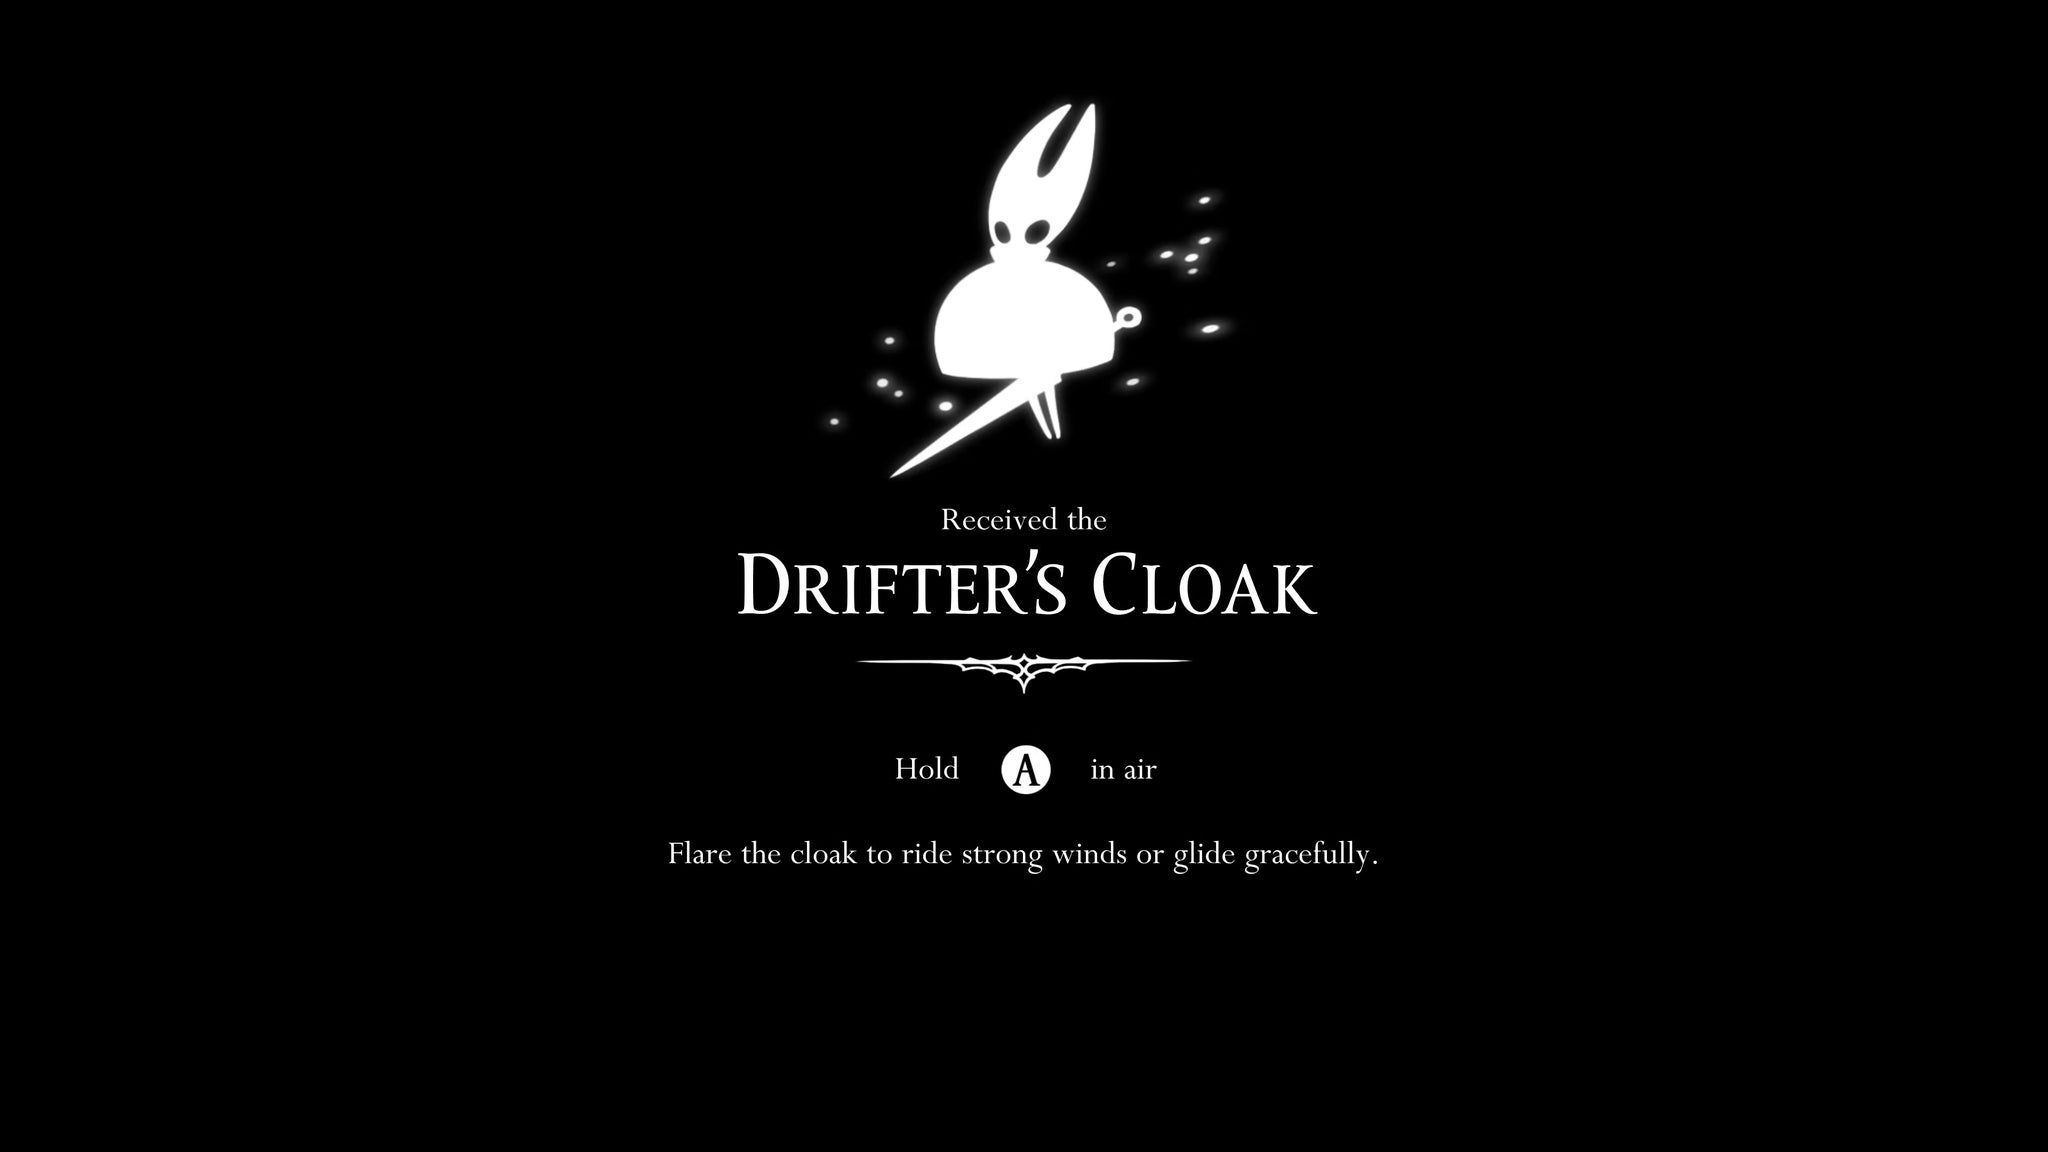
Now, holding jump while in the air allows you to ride the wind currents. Even if there's no wind current, you can also hold jump to float gracefully, slowing your descent and reaching otherwise inaccessible areas. It's almost as revolutionary a movement mechanic as Swift Step.
11. Ride the wind upwards for a Mask Shard.
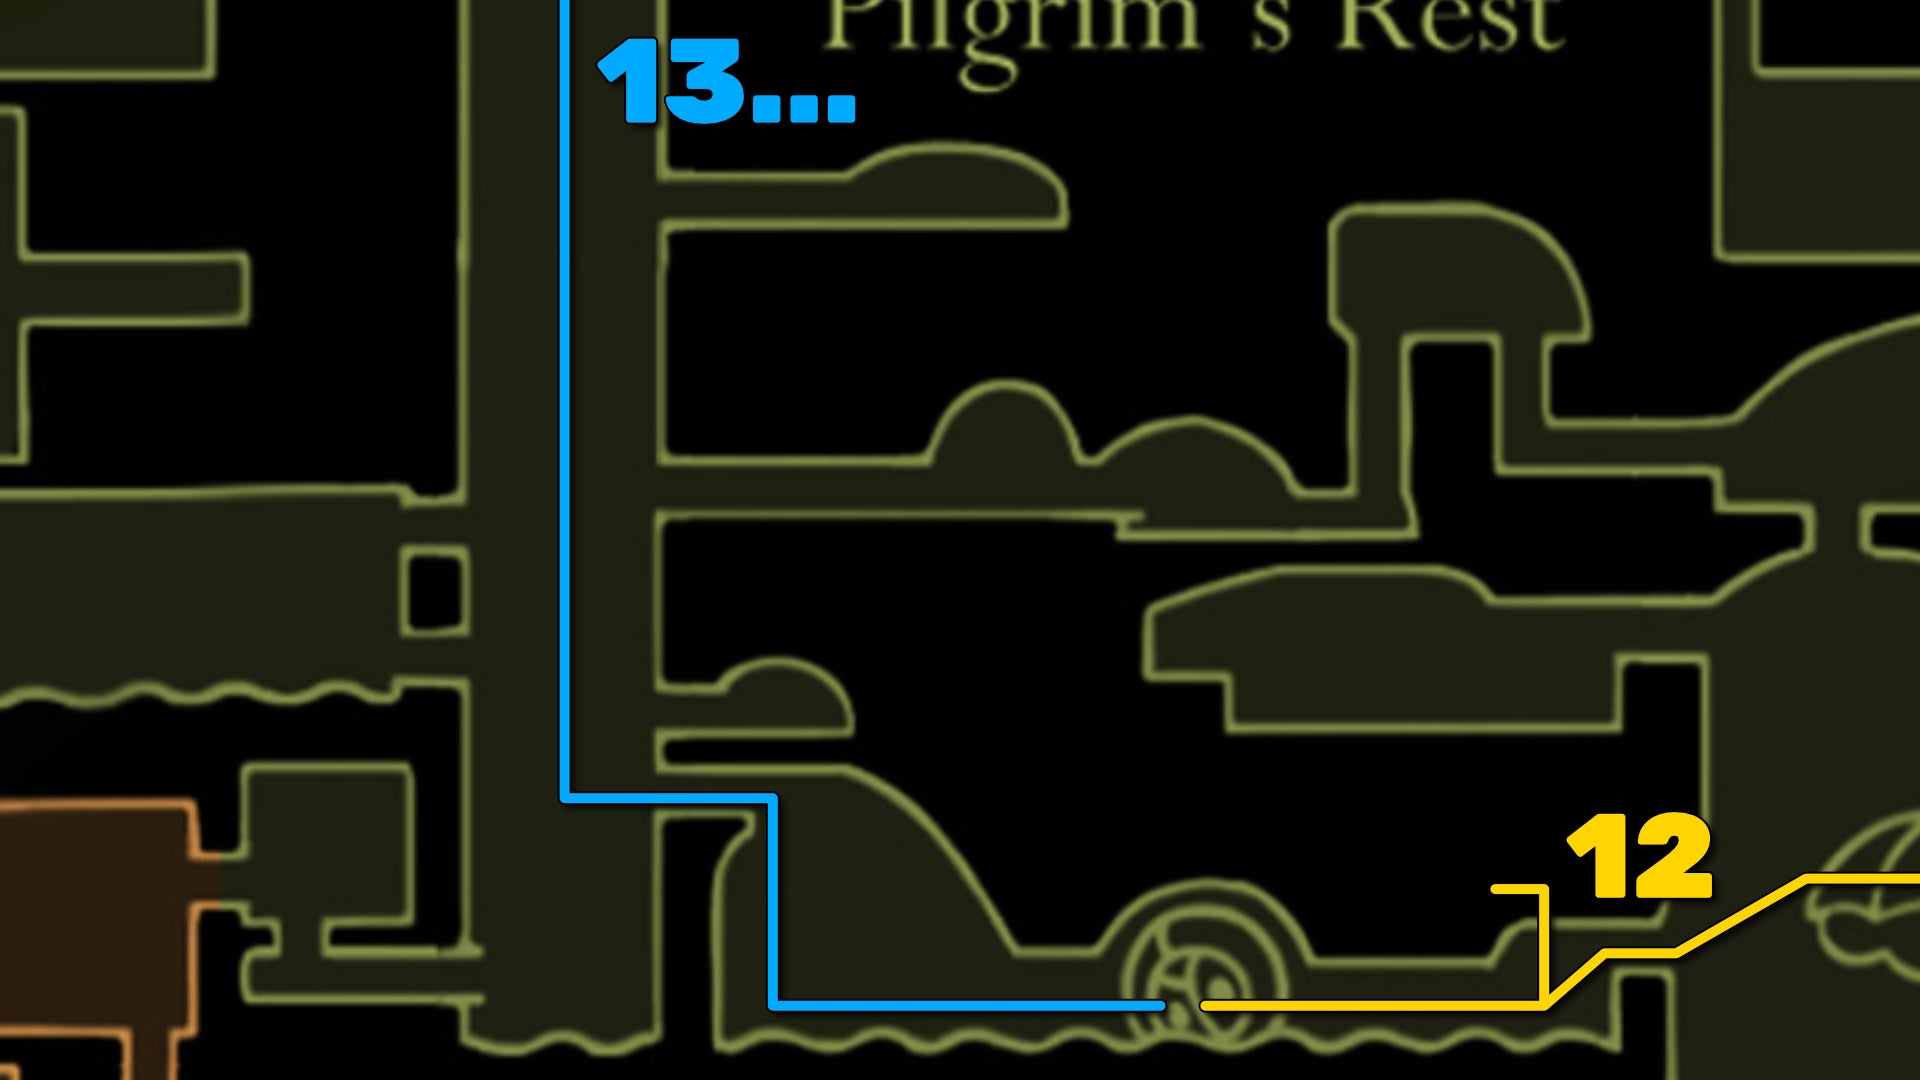
Before you go back into the rest of the Far Fields, ride the wind current down the steps to your right as you exit the Seamstress's home. Ride the second current above the spikes into a hidden passageway. From here, you can hit the orange rock on the nearby floating platform to unlock another wind current taking you even higher.

Ride the current to the ceiling, and float to your left to find another couple of currents you can activate. Ride these to the very top-left exit. The next room is filled with red spikes, so step carefully. Hit the orange rock below, then ride the wind current above past the spikes.
Collect the webs on your left for some Silk if you need it, then drop down and activate the next two wind currents. Head back up to the higher ledge, and ride the wind current up to the ceiling. From here you can reach the large orange explosive ball. Attack it to drop it down to the ground, blasting open a secret compartment containing a Mask Shard.

That done, head back the way you came until you arrive back at the Seamstress's home.
12. Defeat the Fourth Chorus.
Make your way back out the left exit that brought you to the Seamstress's building in the first place. On your way back, ride the second wind current through the ceiling for a secret area with lots of webs to destroy for Silk.
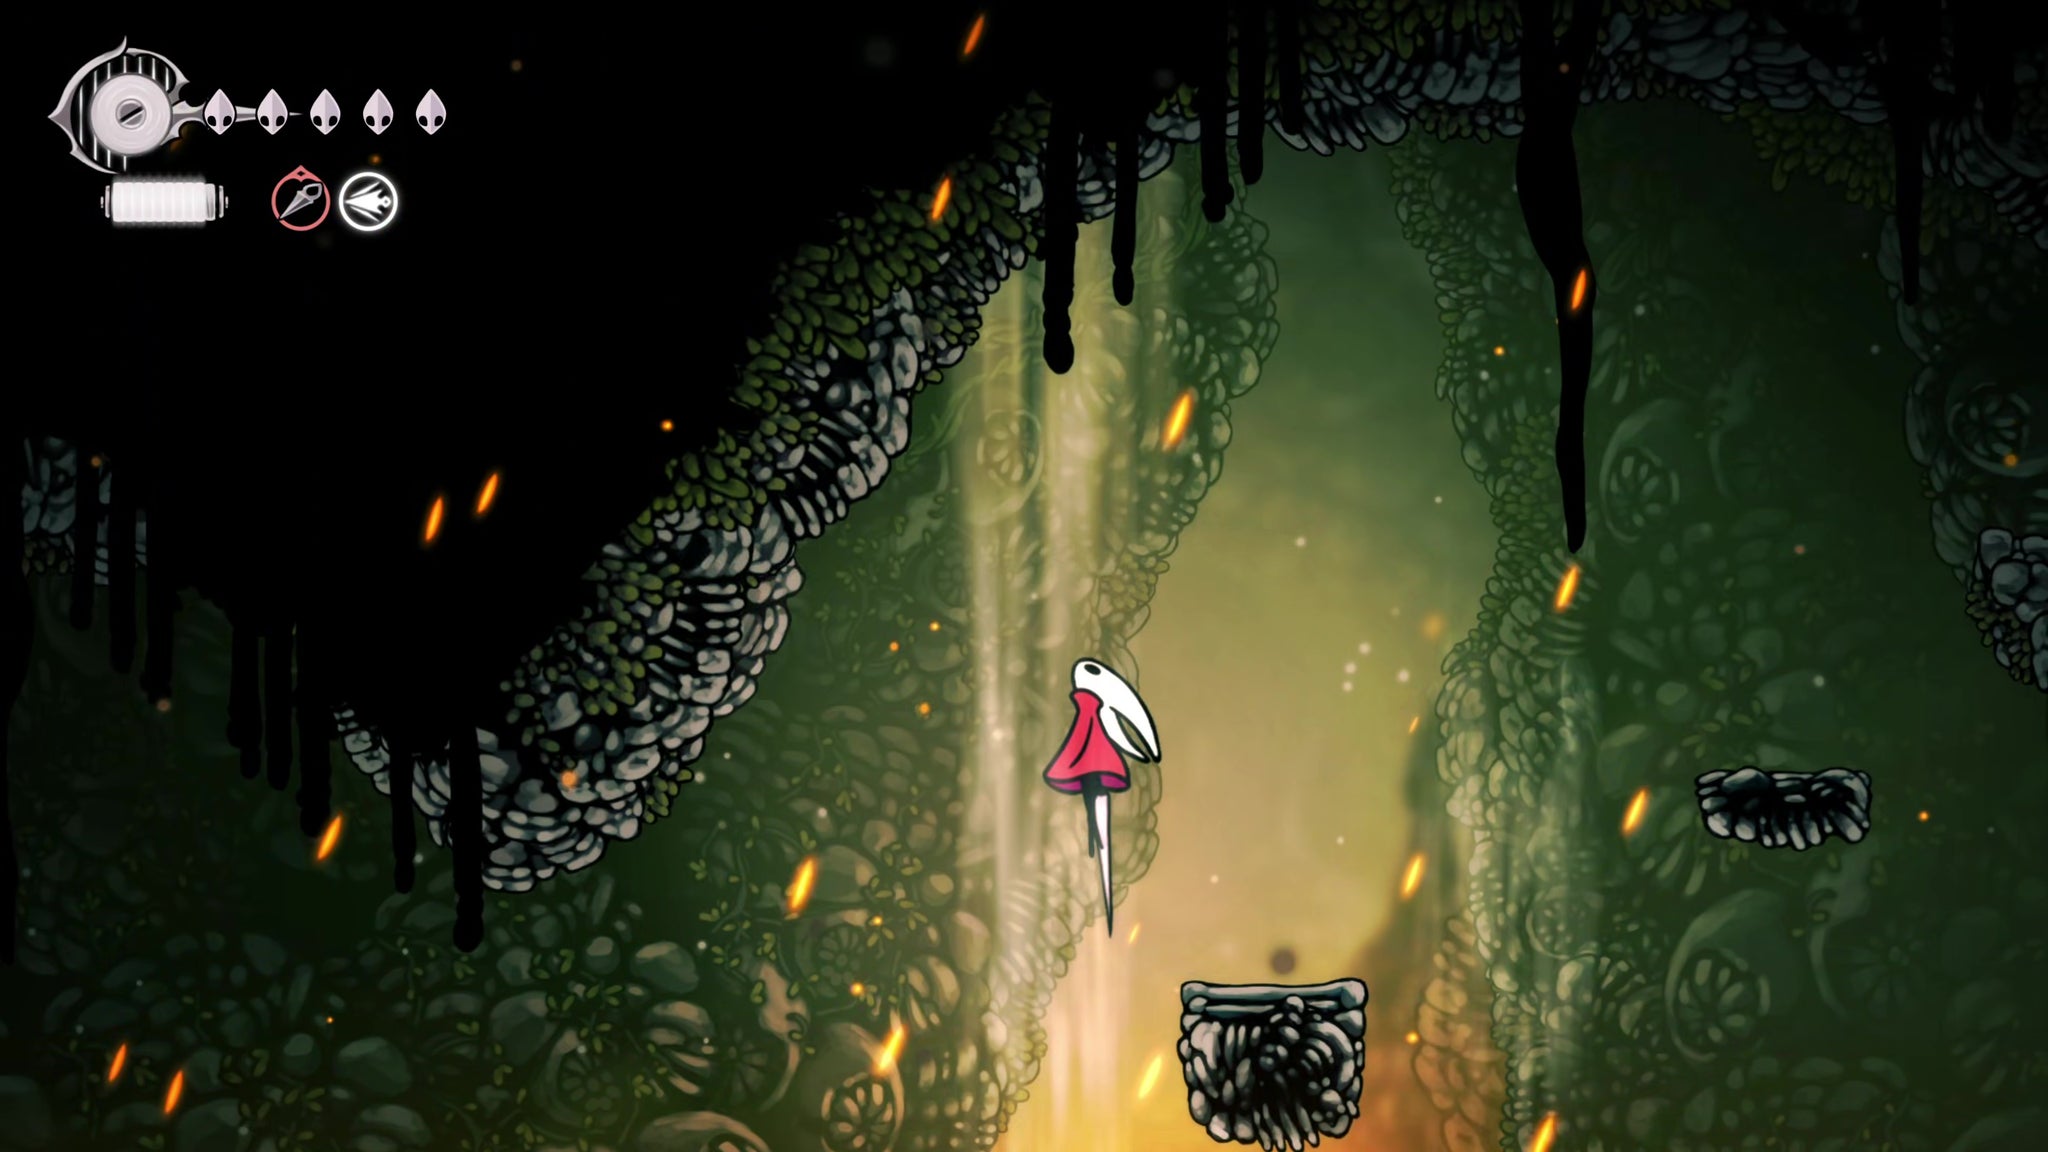

Make your way left, across the lava. And prepare for a fight. As you pass by the giant background figure in the rock, it will awaken and attack. This is the Fourth Chorus.
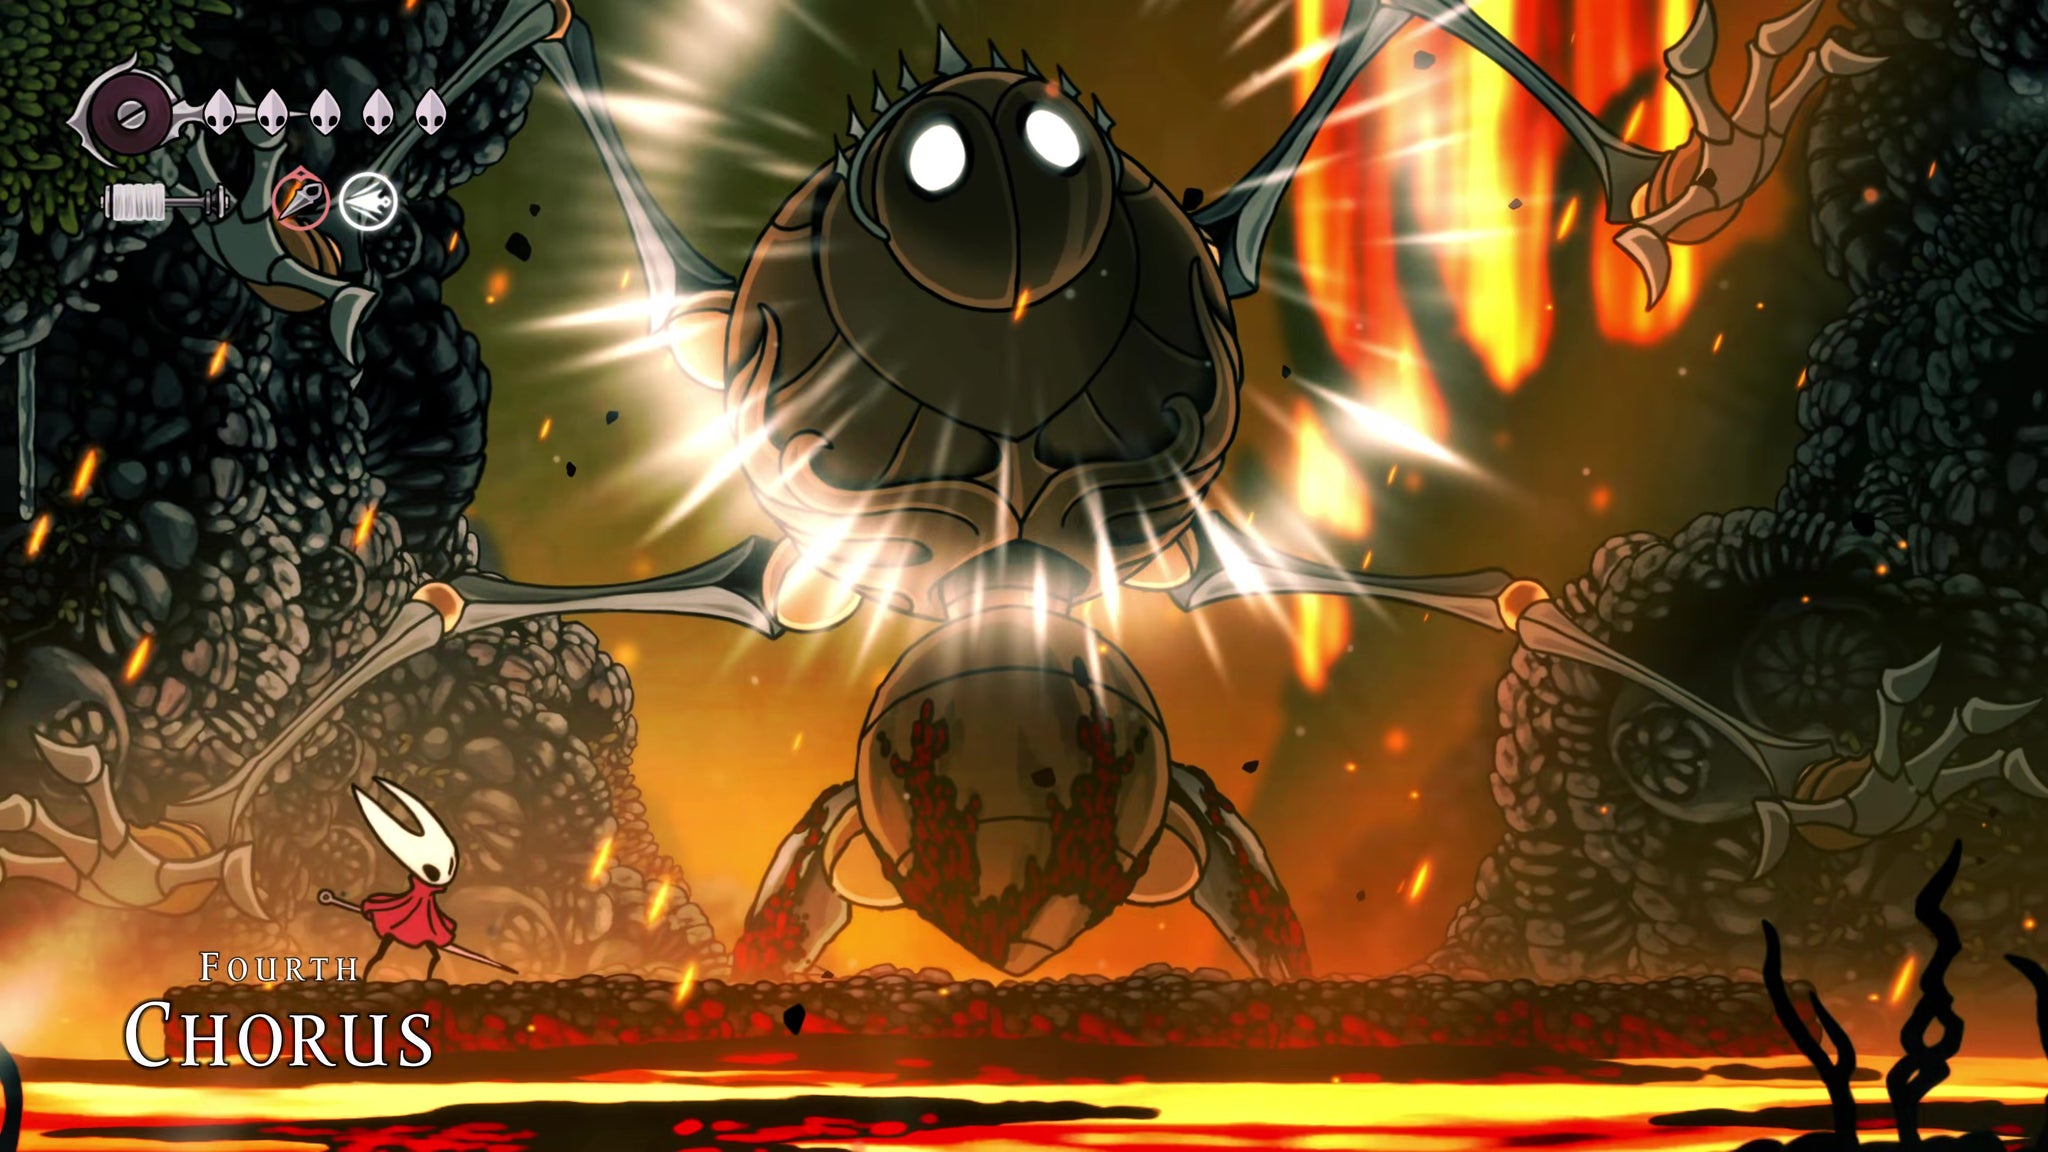
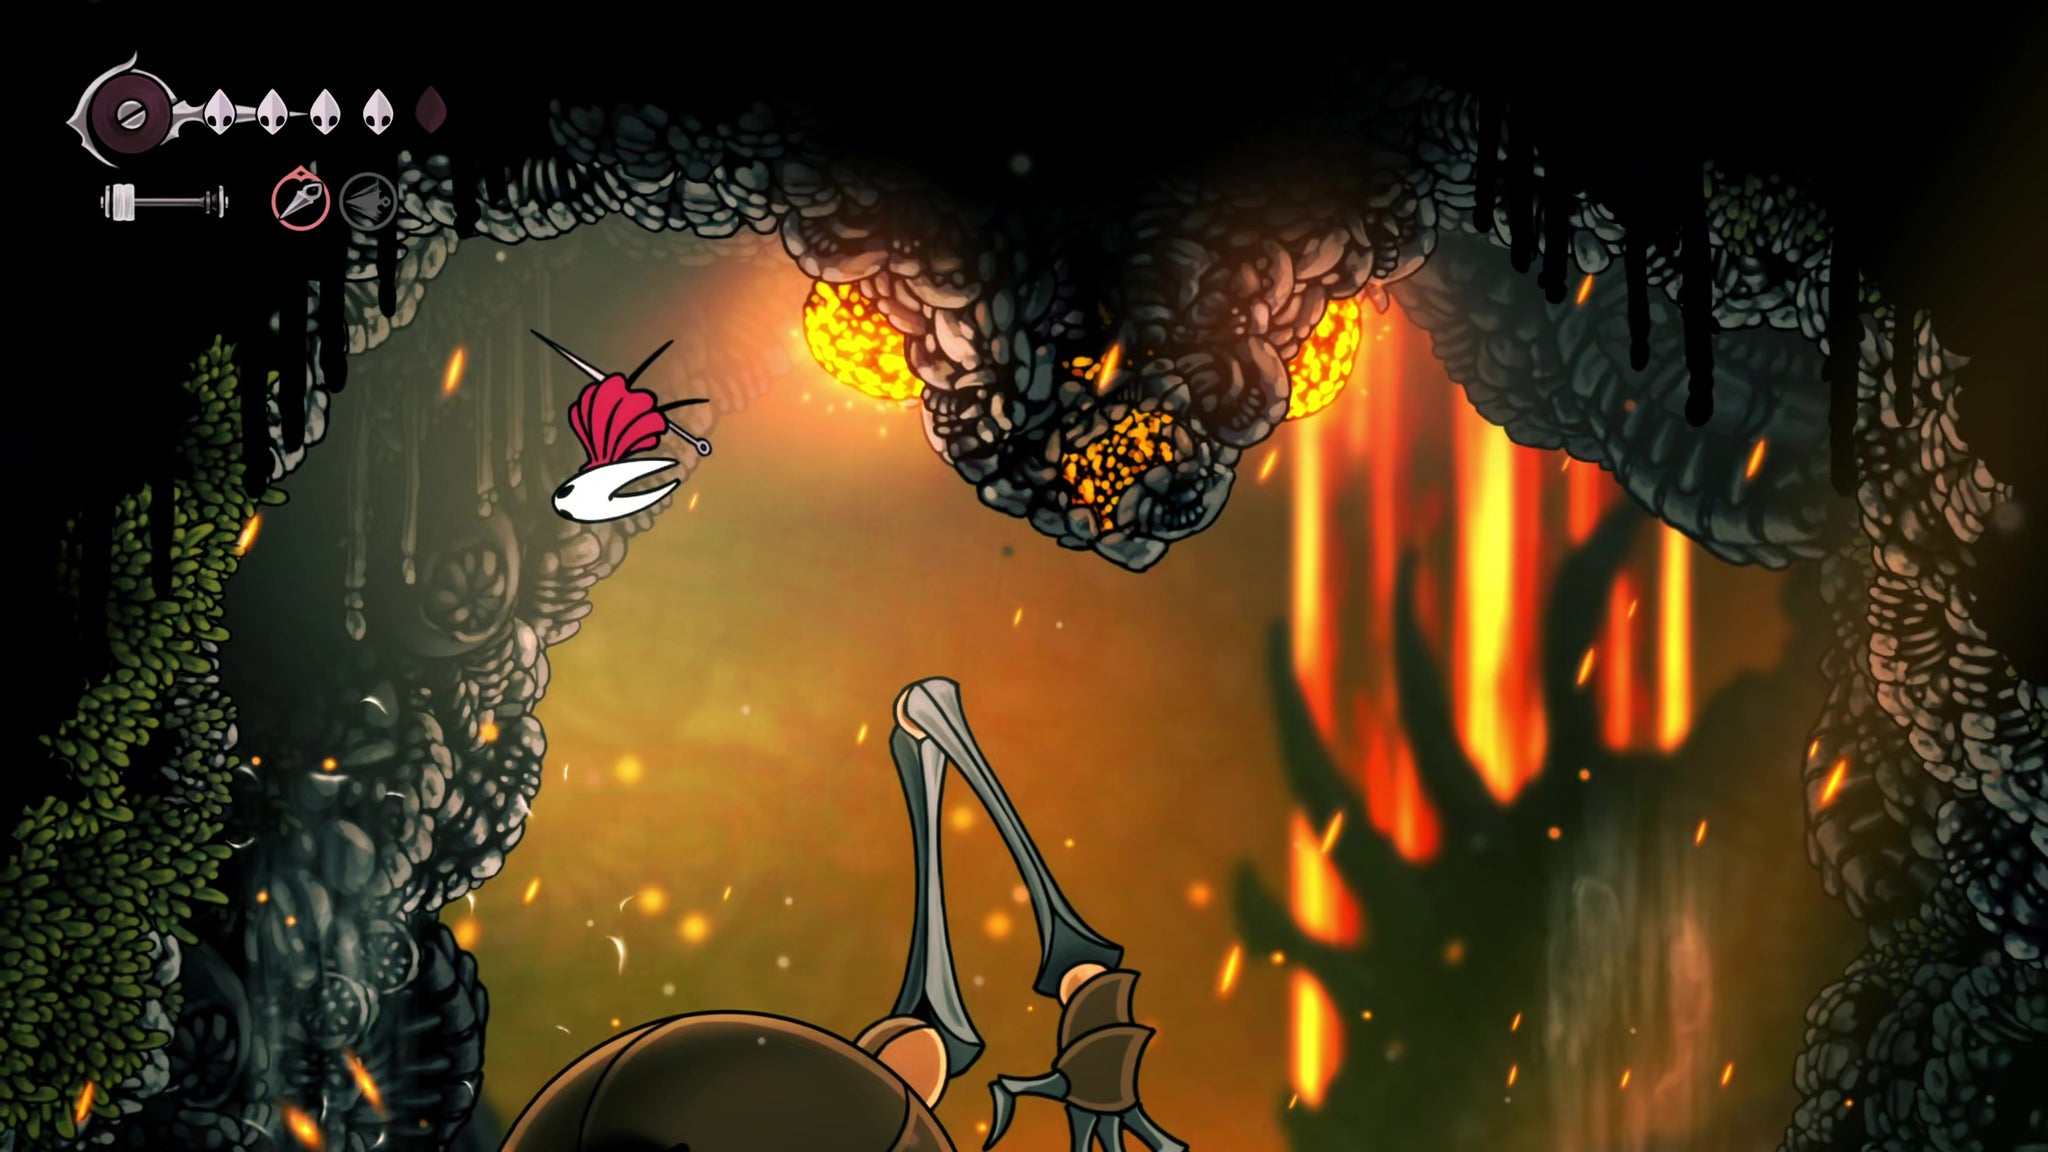
Fighting the Fourth Chorus requires you to make good use of your new floating abilities. If it attacks with its upper limbs, it will be a slam that takes out some of the platform you're standing on. If it attacks with its lower limbs, it's a sweep you need to jump and float over.
All the while, jump up and attack its head as often as possible. In its second phase, the Fourth Chorus will augment its attacks with ceiling smashes that loosen magma boulders that you'll need to avoid.
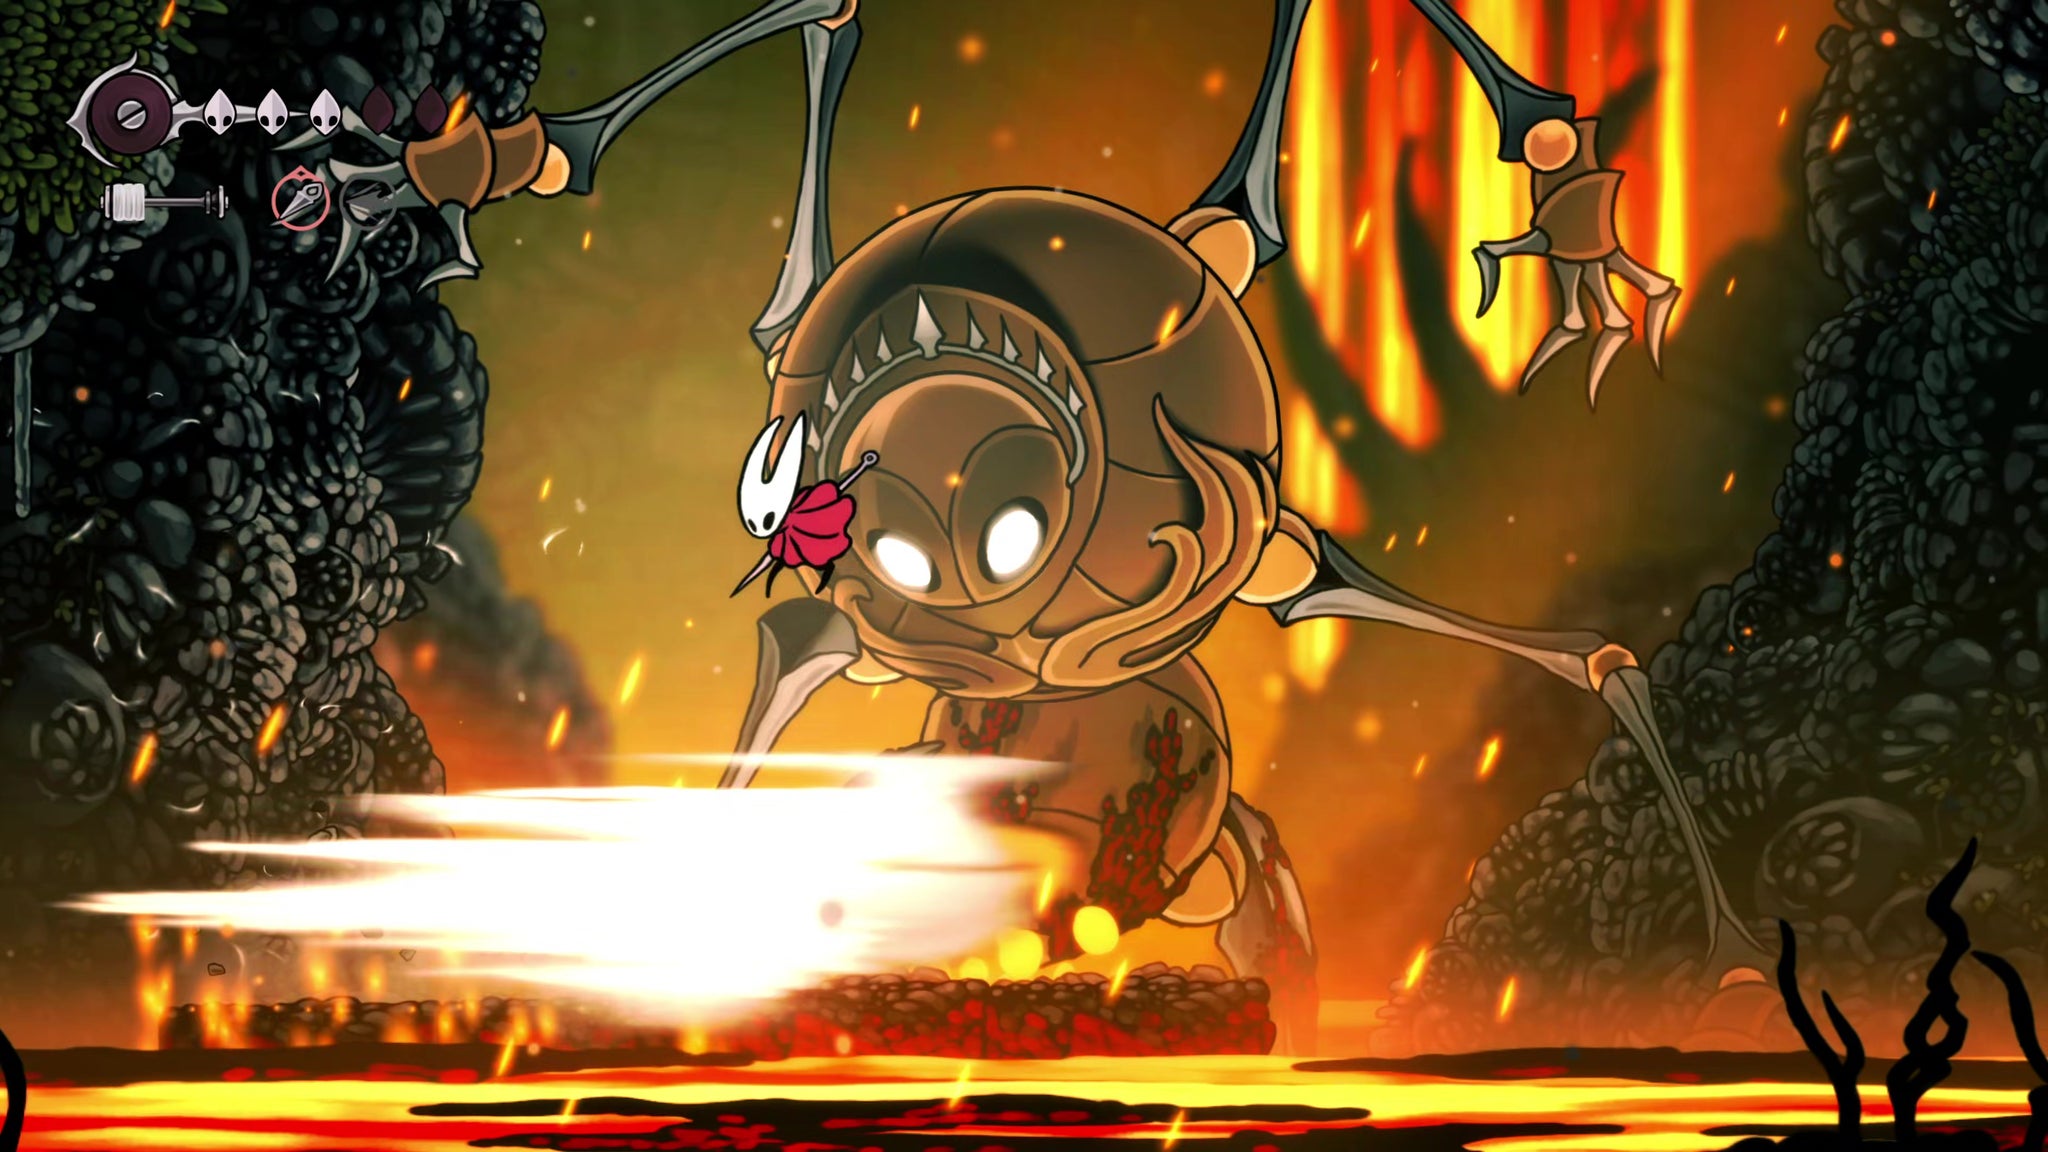
In its final phase, two wind currents will open up either side of the Fourth Chorus. Ride each wind current to destroy the orange rocks in the ceiling, bringing down a boulder that will crush the boss and win you the fight.
13. Return to Pilgrim's Rest.
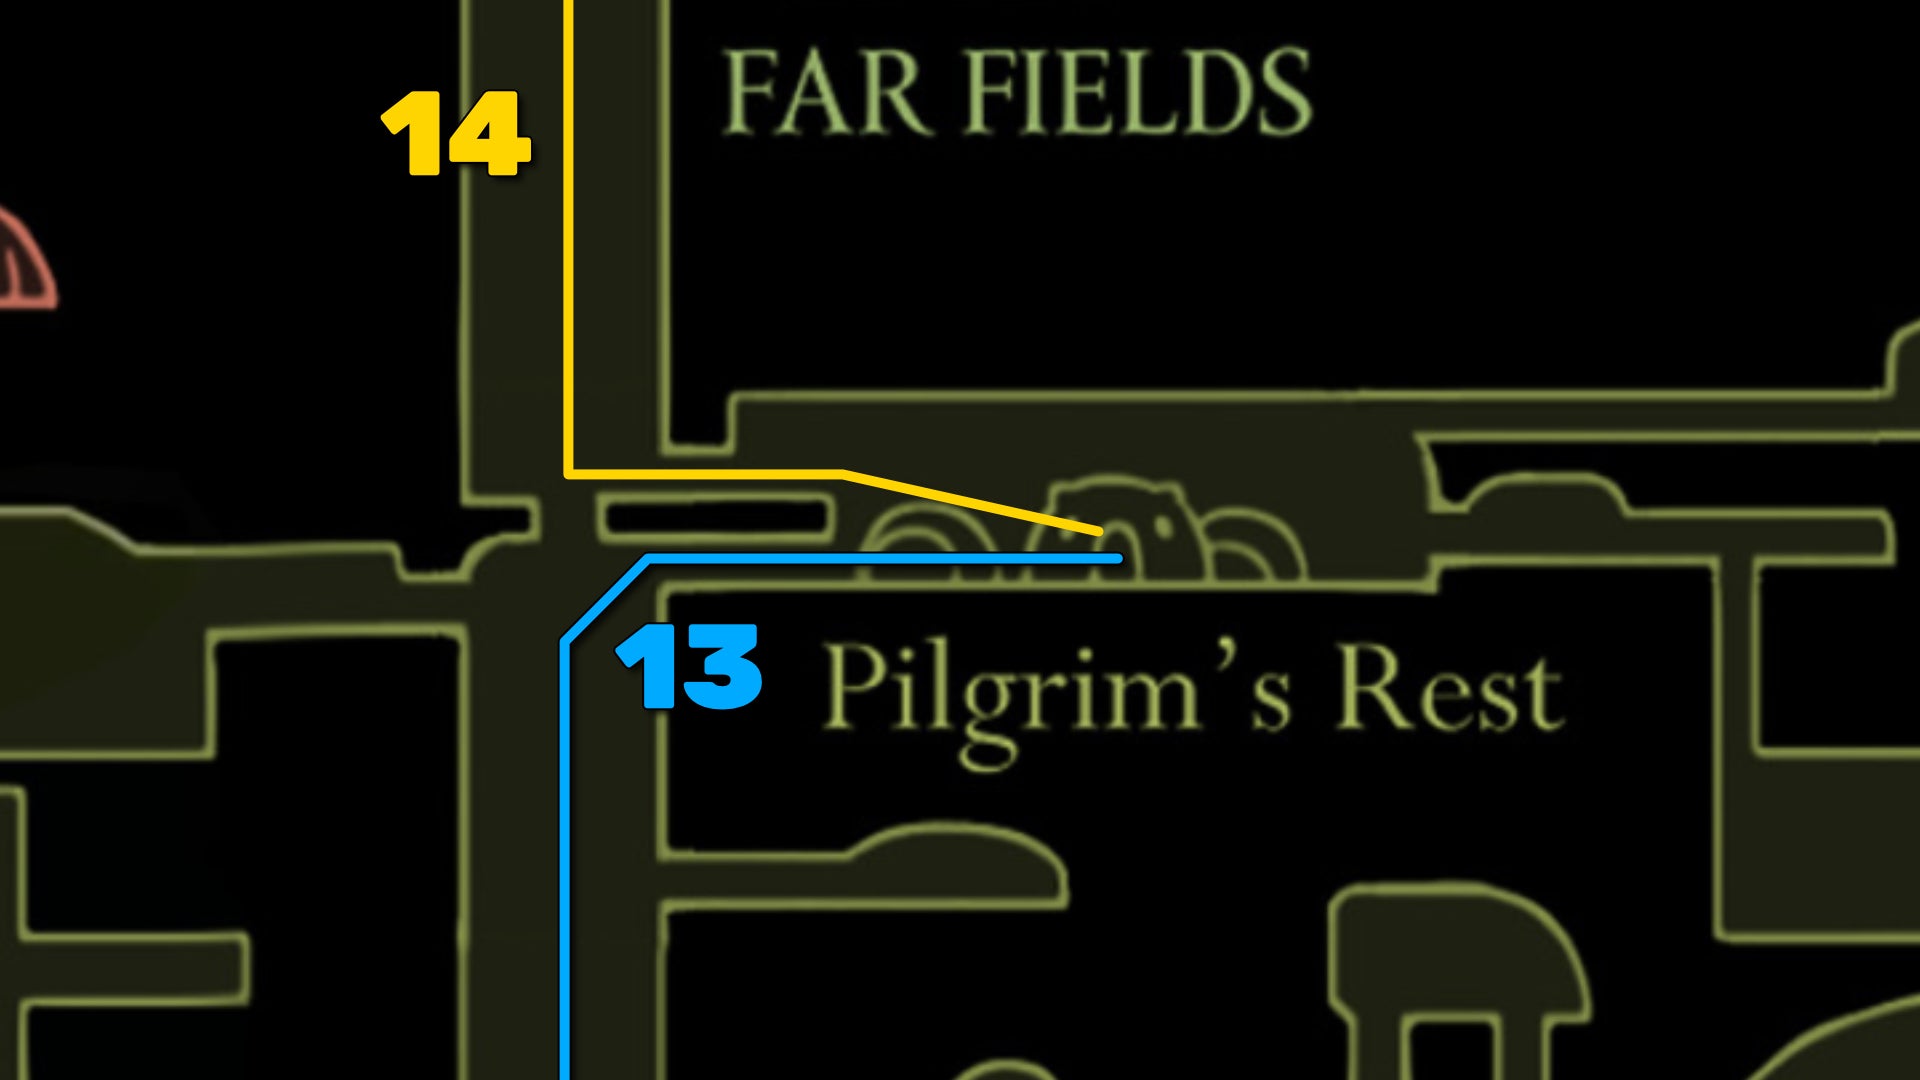
With the Fourth Chorus defeated, continue heading left until you re-enter the main vertical shaft of Far Fields. Ride the wind currents to the top where the ceiling gates are, and head right to return to Pilgrim's Rest.
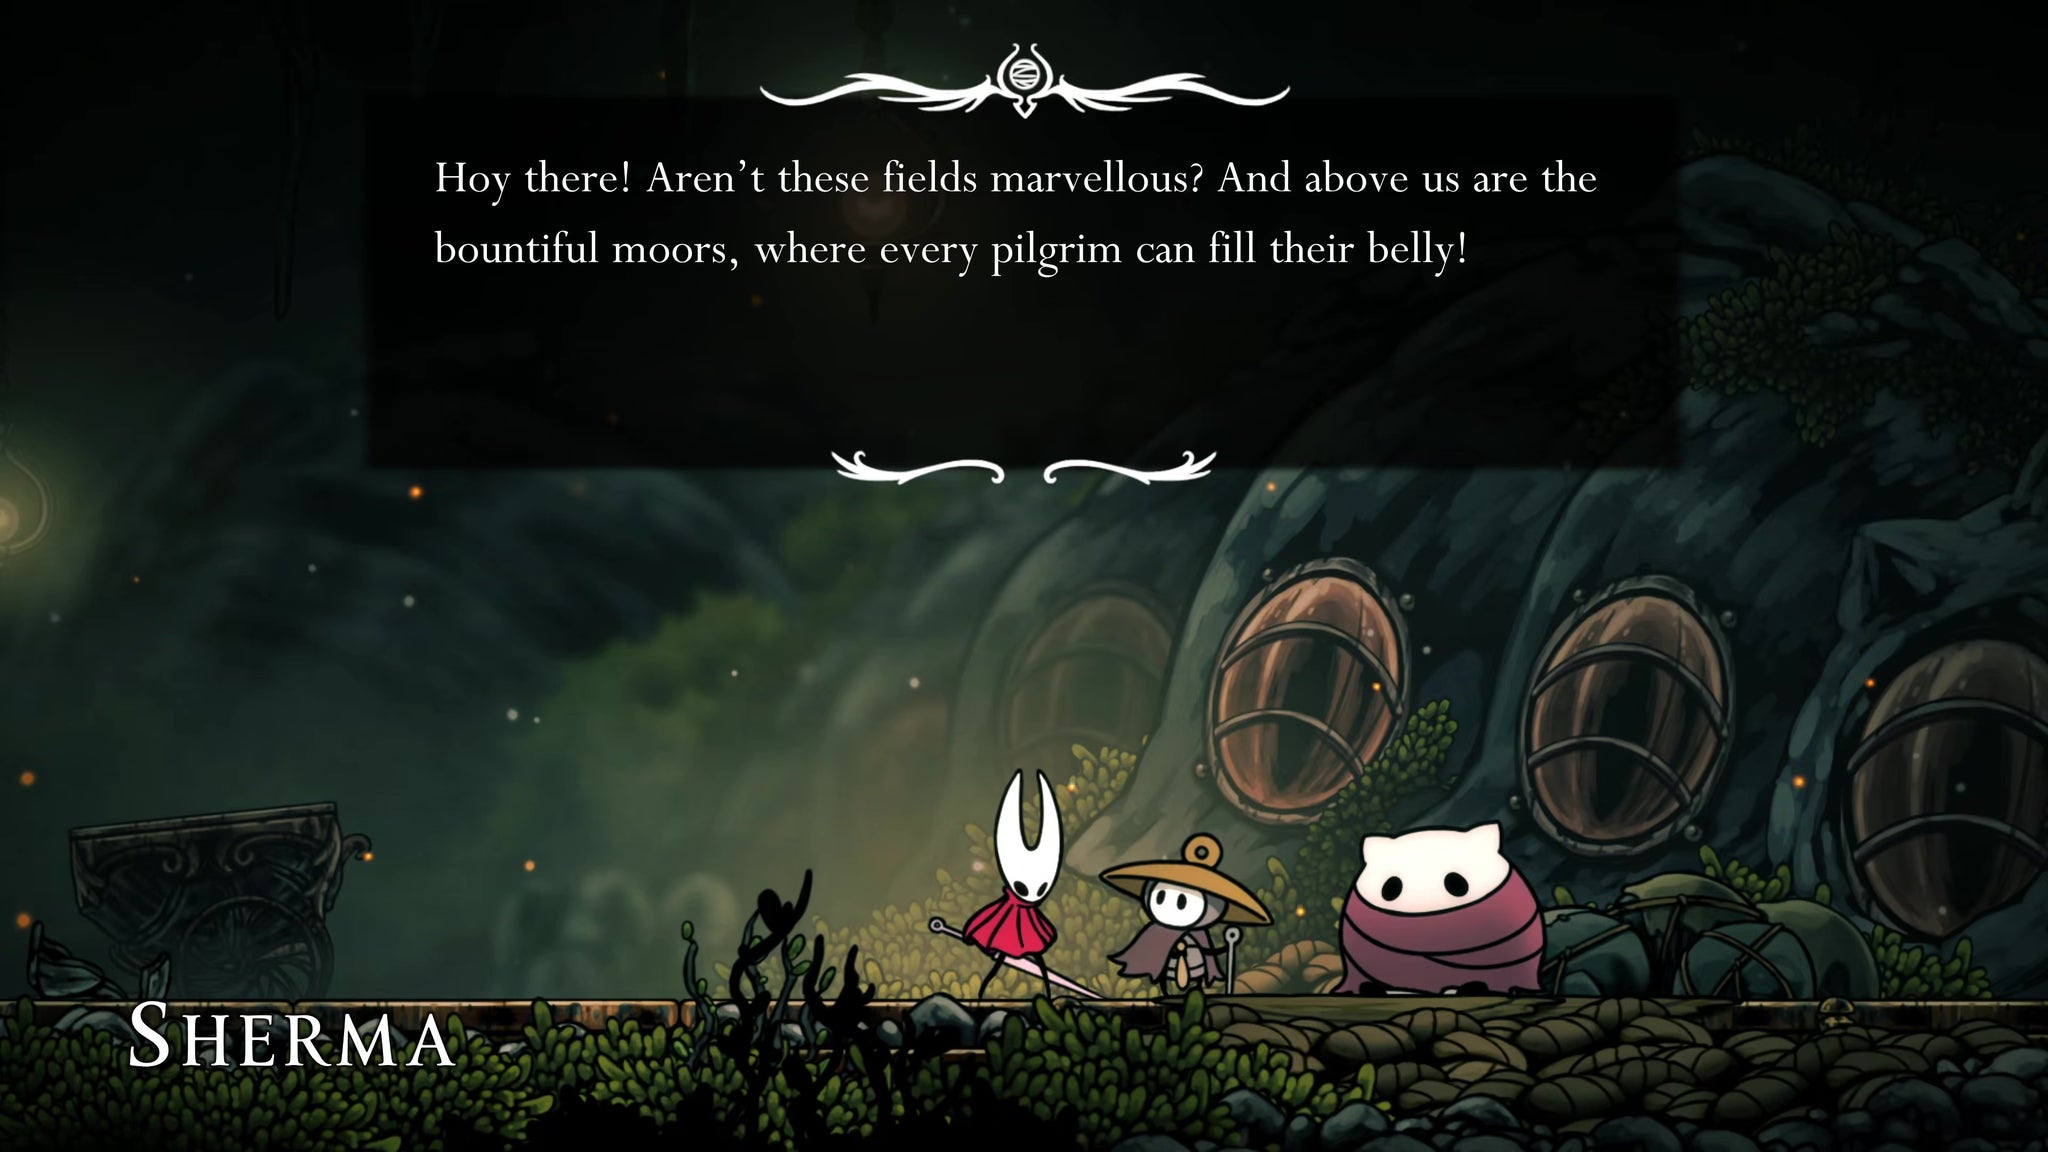
Nothing much has changed here, although you may find local-singing-lad Sherma trying to boost the resolve of the Weary Pilgrim in his own special way. You can also rest here and speak with Mort the trader again.
14. Ride the air vents up to Greymoor.
When you're ready, the last thing to do in Far Fields is open up the path to Greymoor. We're not actually going to explore Greymoor next, but it's good to see it now. Exit Pilgrim's Rest via the upper left doorway, and then ride the wind currents all the way up.
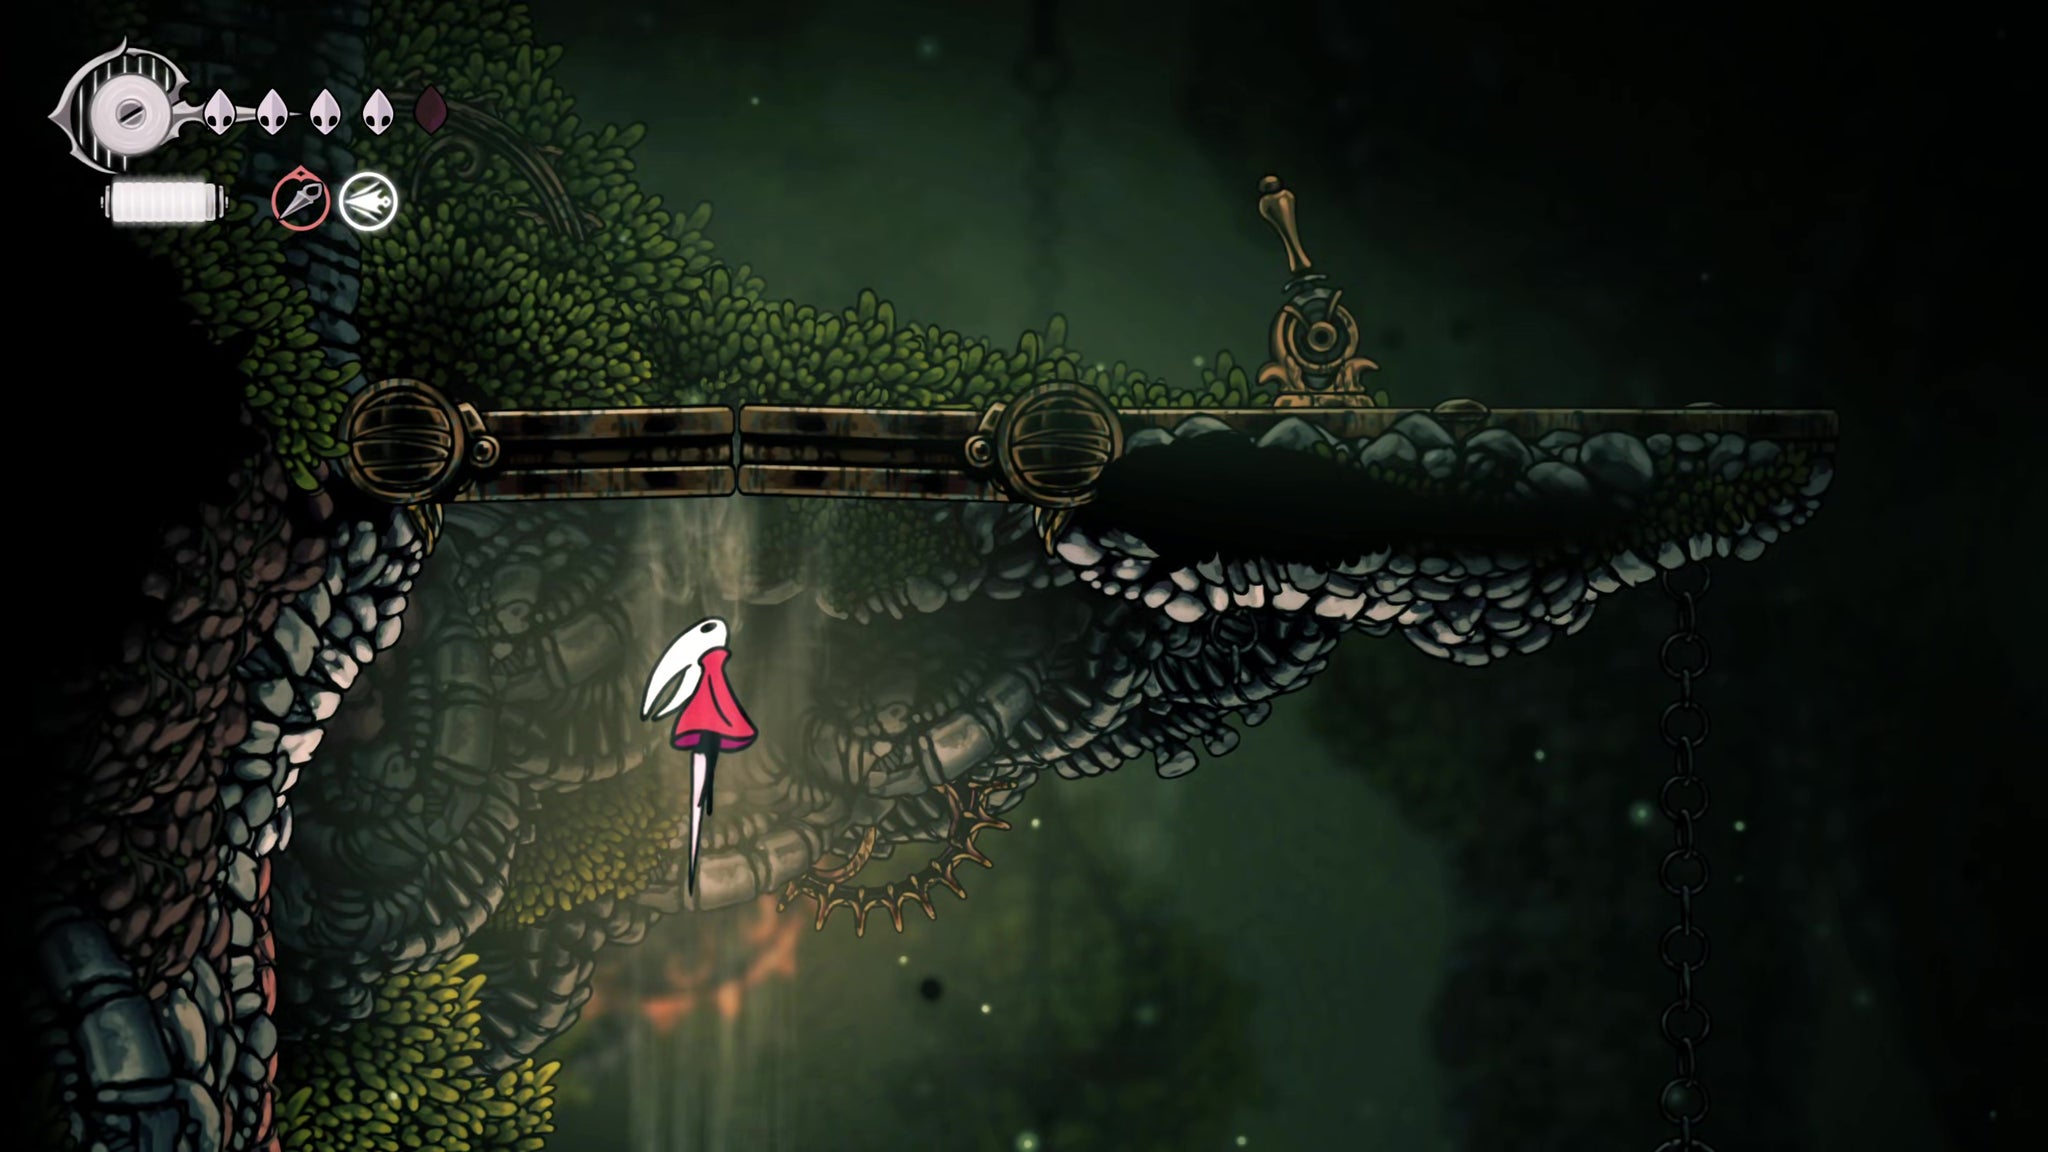

There are various rocks to destroy and levers to pull along the way to open up more wind currents, but it's all fairly self-explanatory. Once you reach the top there'll be a final orange rock which opens up a large central wind current. This current takes you far higher, all the way up into the outside world and the dreary region of Greymoor.
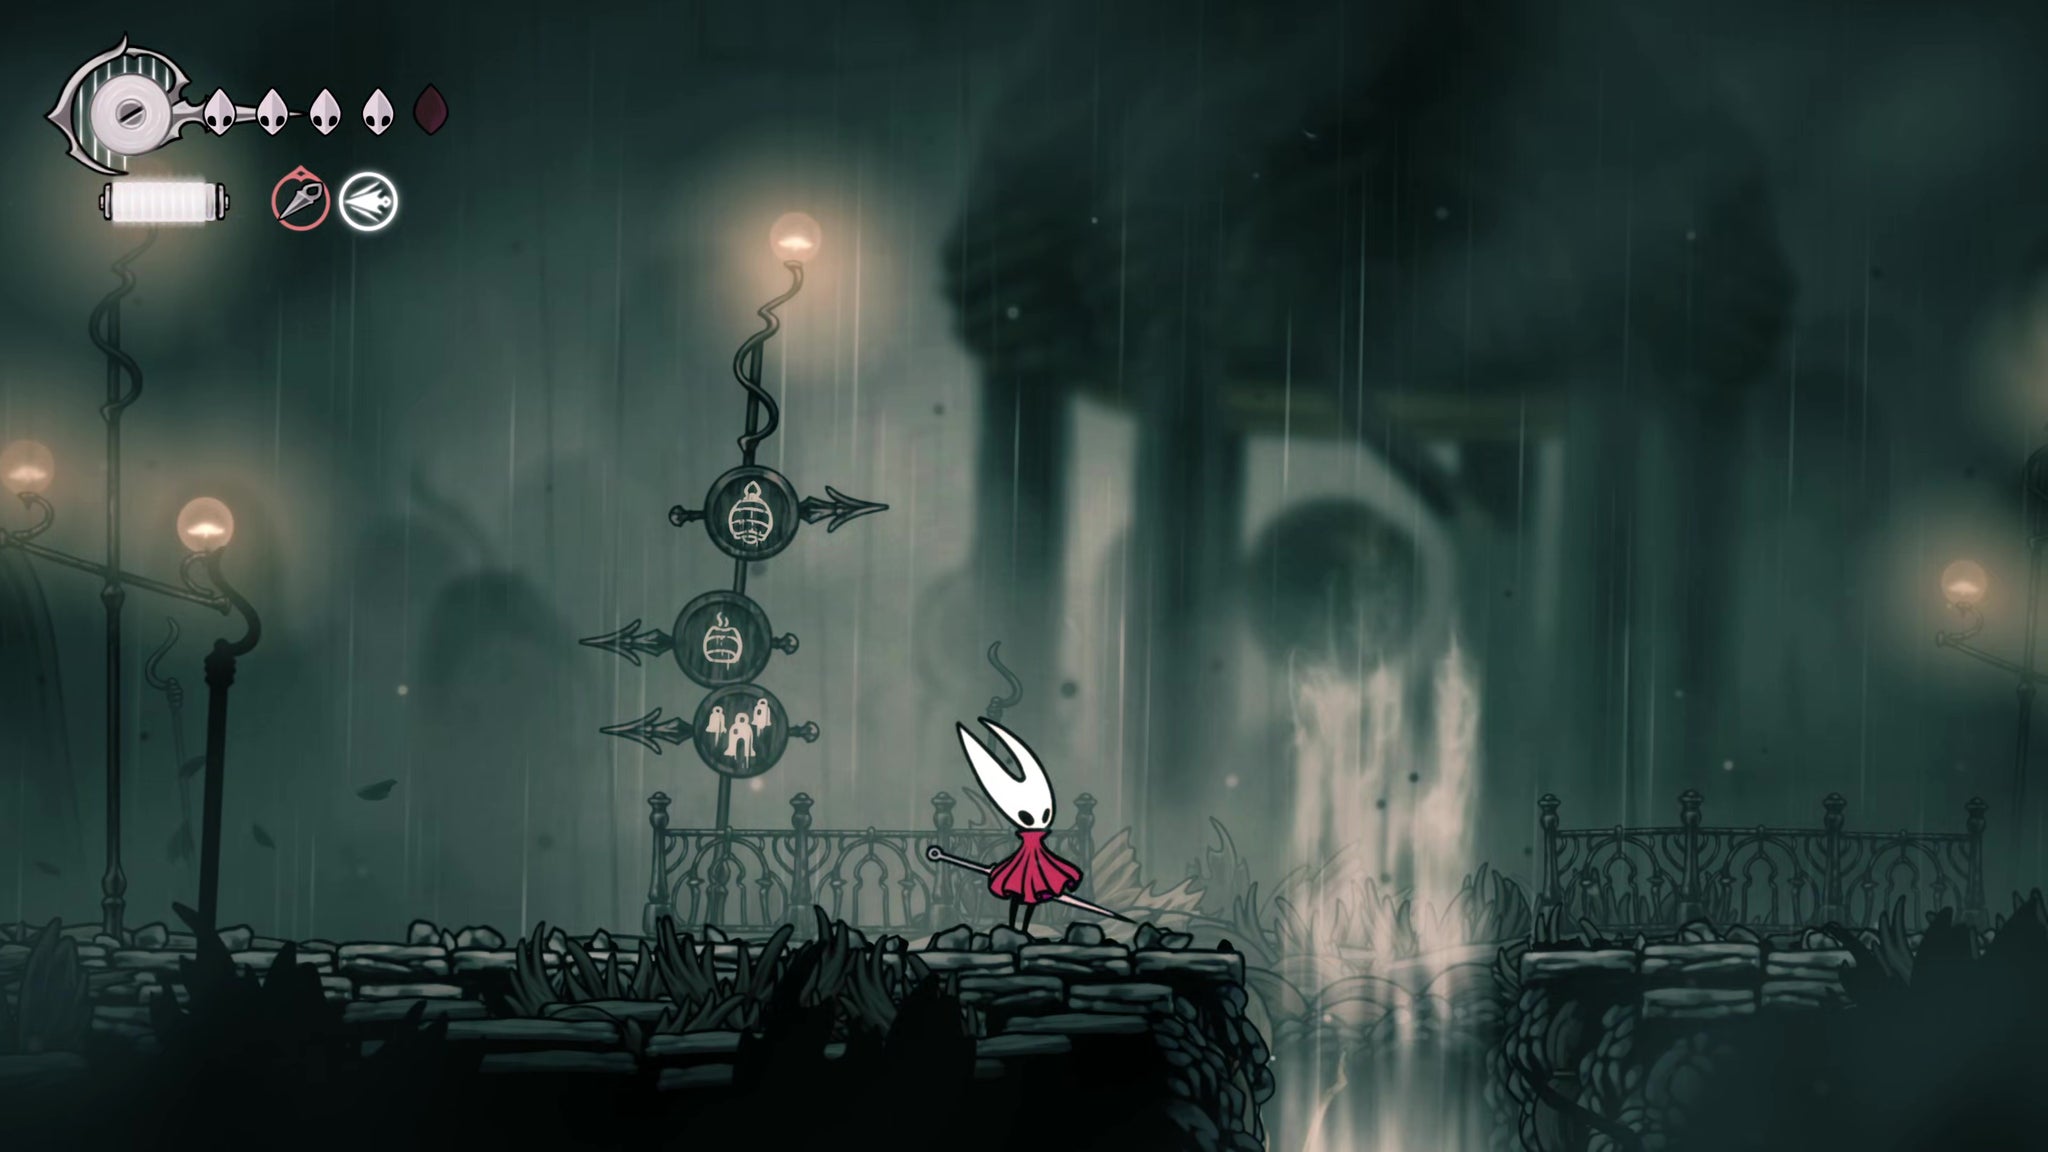
That's all for the Far Fields section of our Silksong walkthrough! I know you're itching to explore Greymoor, but I'd advise leaving it for now. Follow along with our Hollow Knight: Silksong Part 7 walkthrough to learn where we'd advise going next!
Read this next
- Ahead of Hollow Knight: Silksong's Sea of Sorrow expansion, Team Cherry have gotten their Traditional Chinese and German translation ducks in a row
- We may have glimpsed Silksong's Sea of Sorrow expansion in a six-year-old trailer
- Hollow Knight: Silksong's first big expansion, Sea of Sorrow, flows into our lives for free next year
