
Hollow Knight Silksong walkthrough: Part 12 (Greymoor)
Find your way through the Craw-ridden bleakness of Greymoor with this region guide


Wondering where to go once you reach Greymoor in Hollow Knight: Silksong? To those of you who entered Greymoor and thought to yourself, my goodness, this is bleak - well, I'm afraid you wouldn't be saying that if you've seen some of the later regions in the game. Still, there's a lot to do in Greymoor, and its rainy rooms and incessant birds can get you down unless you have a strong progression path to follow.
In Part 12 of our Silksong walkthrough (the longest part so far), I'll show you a great path through the expansive region of Greymoor, allowing you to find just about everything on offer, from the Halfway Home to the two (yes, two) ways up into Sinner's Road; and - most importantly - the Chapel Of The Reaper, where you can gain a powerful new Crest.
Want the walkthrough for a different area of the game? Check out our Hollow Knight: Silksong walkthrough hub!
Greymoor walkthrough steps:
- Enter Greymoor via Far Fields for Shakra's map.
- Raise the balloons in Craw Lake.
- Rest at the Bench nearby.
- Gain the Thread Storm skill.
- Obtain the Threefold Pin.
- Rescue the trapped Flea.
- Obtain the hidden Bone Scroll.
- Explore above the Bench for the Spool Fragment.
- Discover Sinner's Road and meet Styx.
- Meet Creig and Nuu at the Halfway Home.
- Complete the gauntlet to the west.
- Unlock the Greymoor Bellway.
- Meet Garmond and Zaza.
- Activate the Halfway Home elevator.
- Rescue Kratt.
- Discover the main Sinner's Road entrance for later.
- Rescue another Flea atop the tower.
- Craft the Pimpillo tool.
- Enter the Chapel Of The Reaper.
- Complete the Gauntlet to claim the Reaper Crest.
- Visit the Flea Caravan again.
1. Enter Greymoor via Far Fields for Shakra's map.
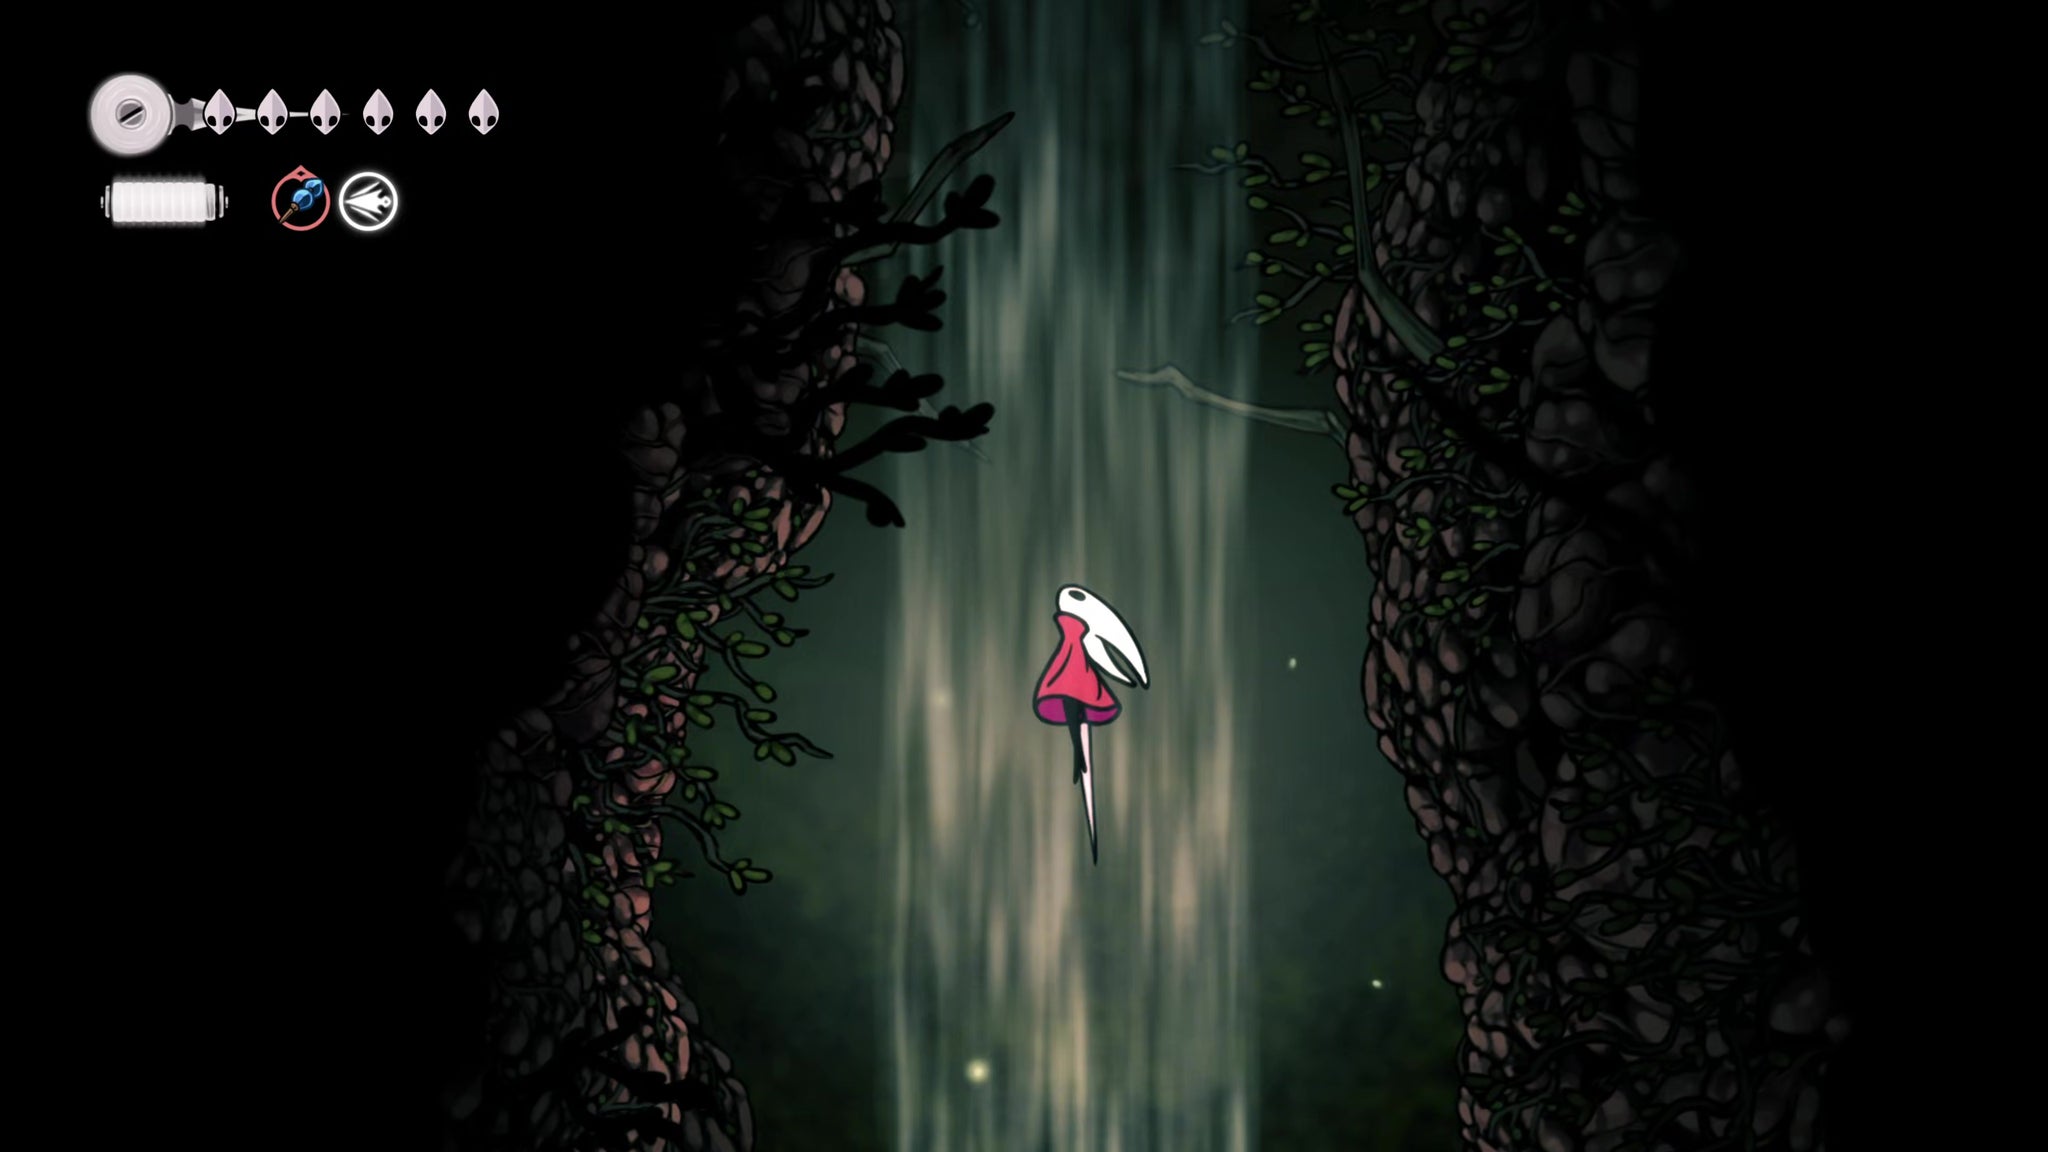

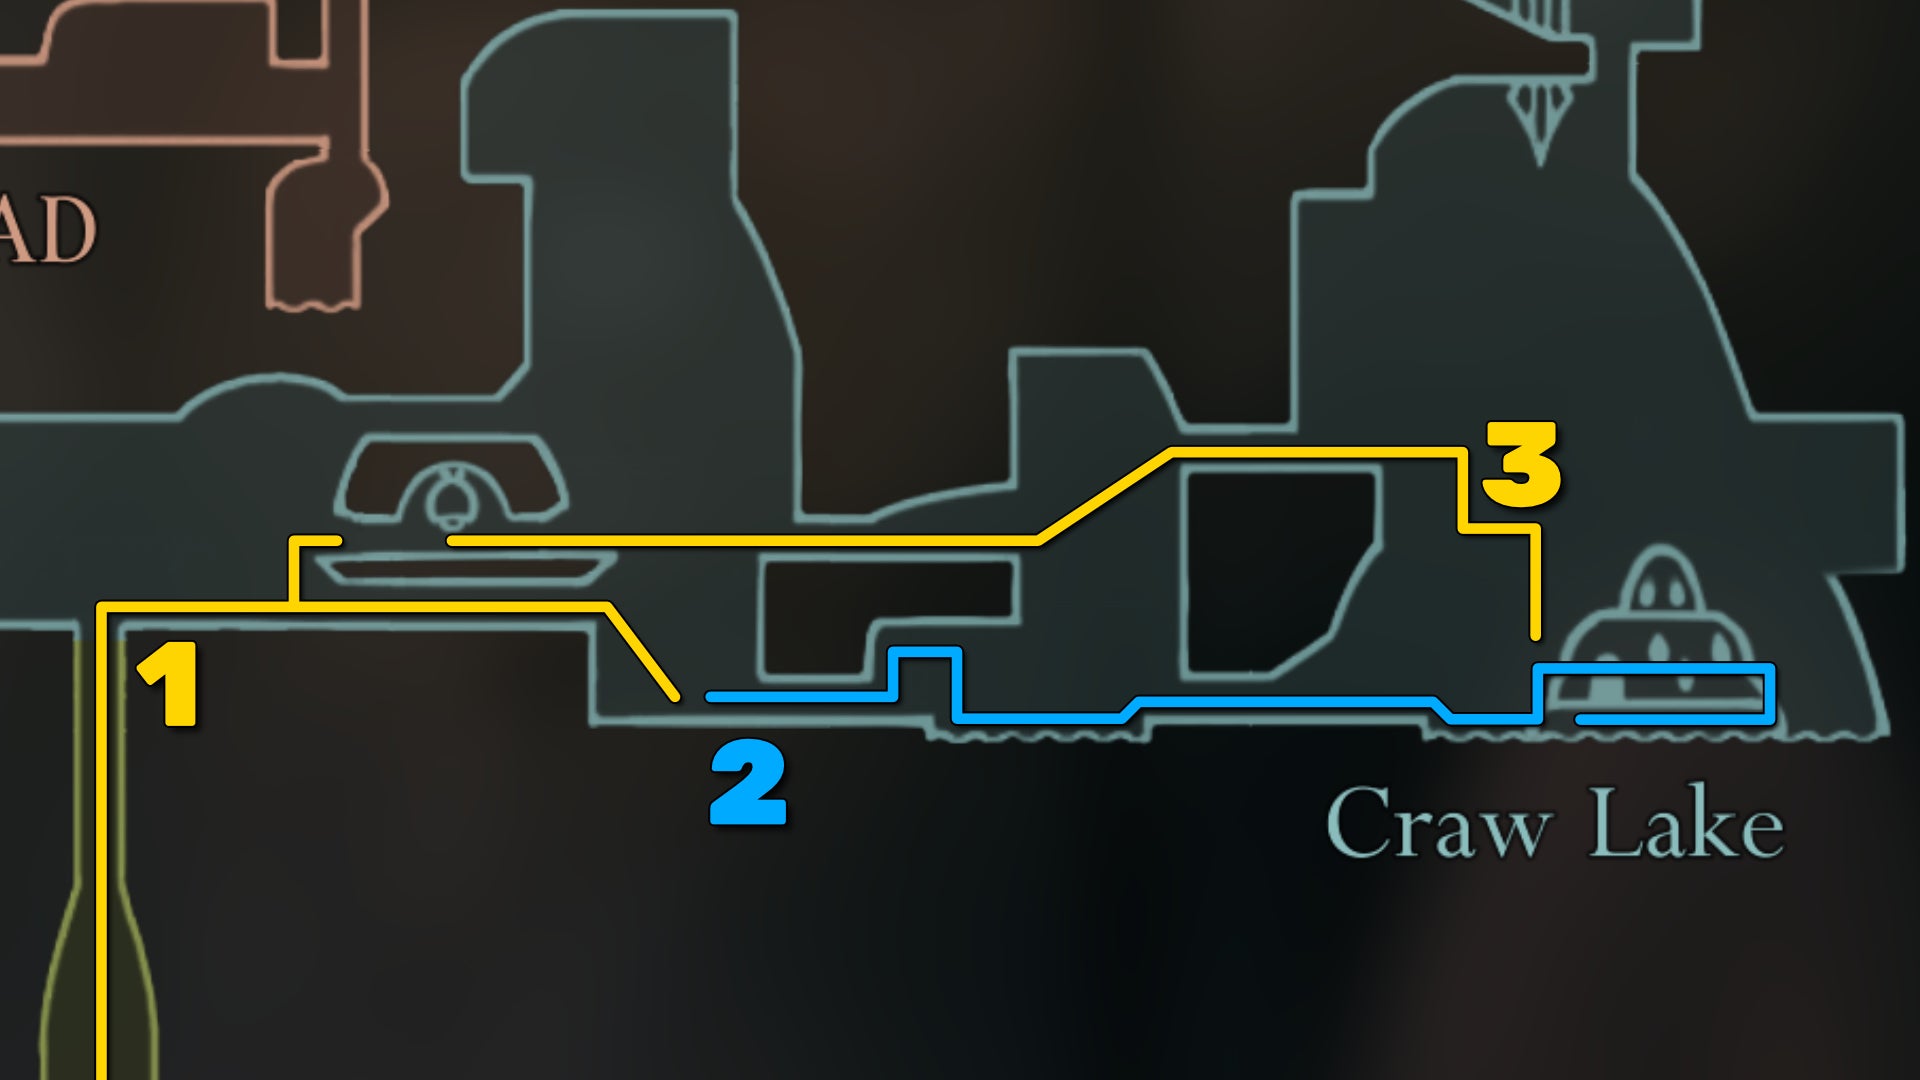
It's always best to get the map of a region as early as possible, and the best way to do that for Greymoor is to enter via the Far Fields air current. Ride the Bellway to Far Fields, and exit into the main shaft; then ride it all the way to the top to enter the drab and dreary Greymoor.
What are the other ways to reach Greymoor?
From there, it's a very simple trek to the right. As you go, you can climb the hanging boulder and flick the lever on the ledge above to lower the boulder a little bit, but that's more just for people who haven't yet got the Claw Grip skill (unlike us!). Drop down the steps in the next room to meet Shakra, and purchase her map for 70 Rosaries.
2. Raise the balloons in Craw Lake.
During your conversation, Shakra warns you that the right-hand path is harder than the left. But we don't listen to such nonsense! We've got all the tools we need for the right-hand side, and it houses a delightful reward at the end of its path.
Exit right, and ride the air current to follow the path. You'll encounter your first enemies here - pesky birds called Craws. Familiarise yourself with their sweeping dive attacks, as you'll be facing them often.
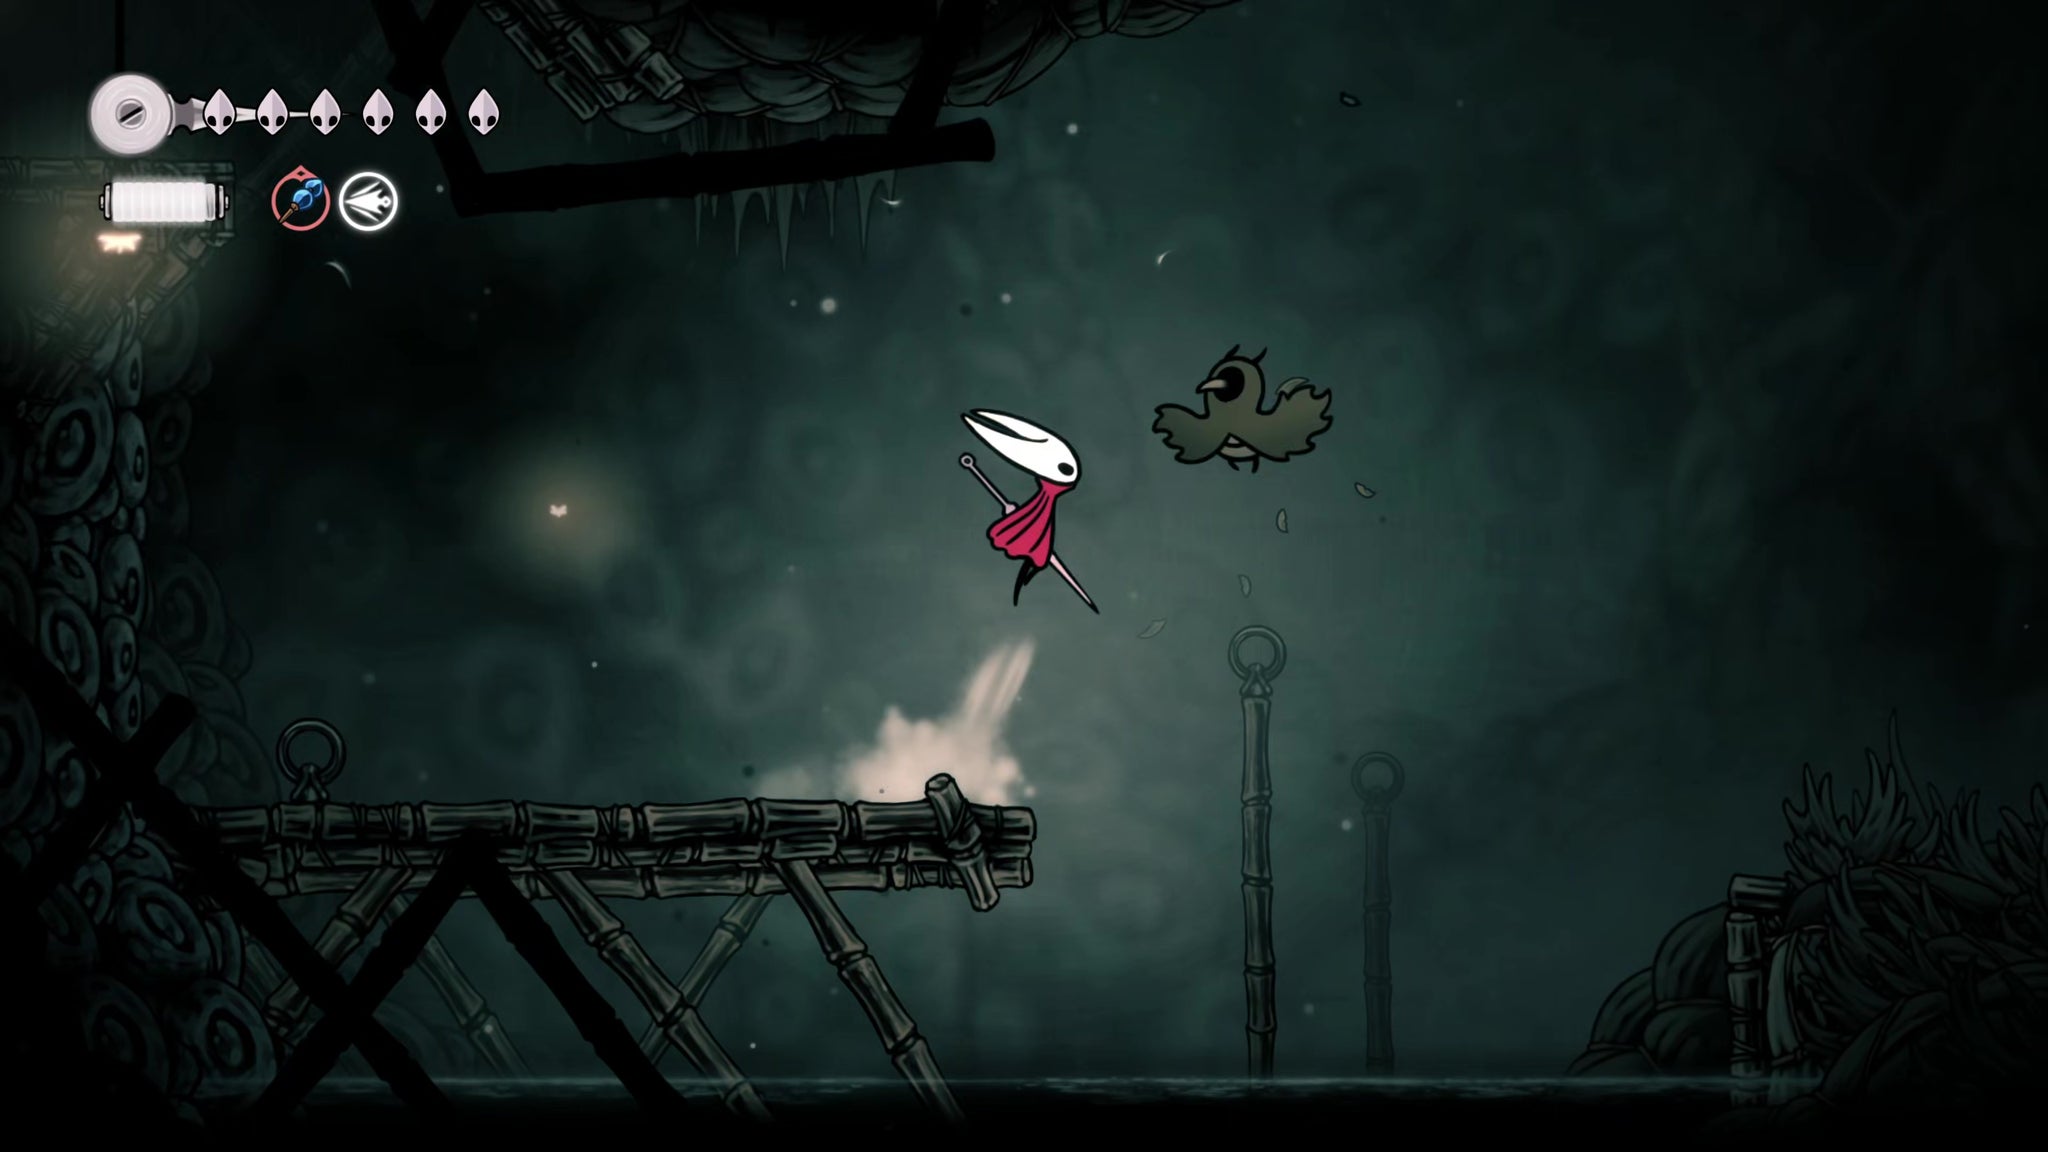
The room beyond is a very large one - this is Craw Lake, and as you can imagine, there's a lot of birds nesting here. Swim over to the locked gate, jump above it, and kill the cane-wielding Tallcraw. Then you can drop down and open the gate from the other side.
After that, enter the building next to the gate. Drop to the bottom and kill the Mites on the ground. Then make your way up the right-hand ledges to face a gauntlet of Greymoor enemies. Watch out in particular for the Squatcraws, with their shotgun attack of three pin projectiles at once. Try to keep yourself directly beneath them to evade their attacks.
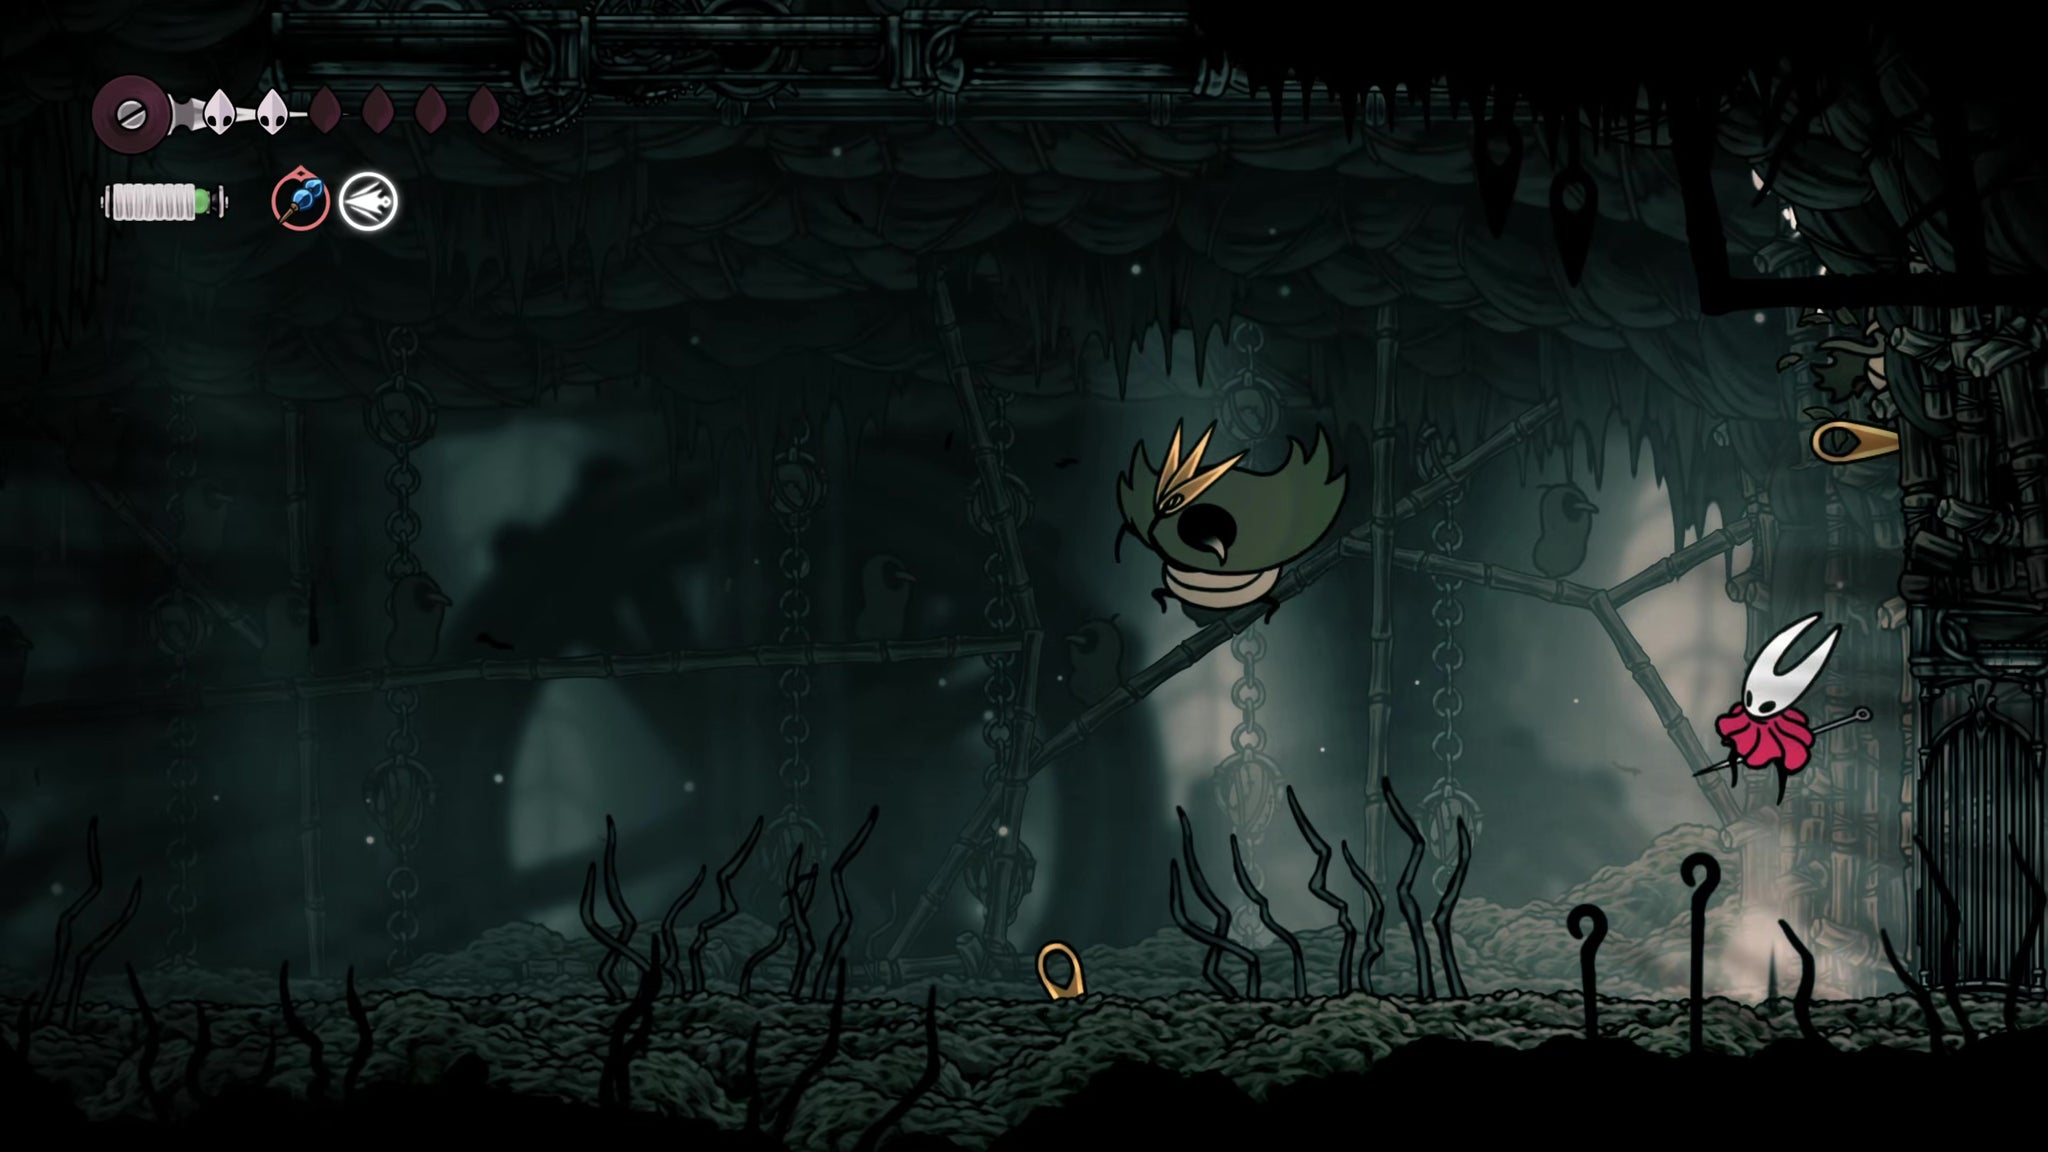

Once the gauntlet is complete, Pogo upwards off the balloon that appears in the arena, and hit the lever on the ceiling. This will raise a great many similar bouncy balloons, not just in this building but far above Craw Lake.
3. Rest at the Bench nearby.
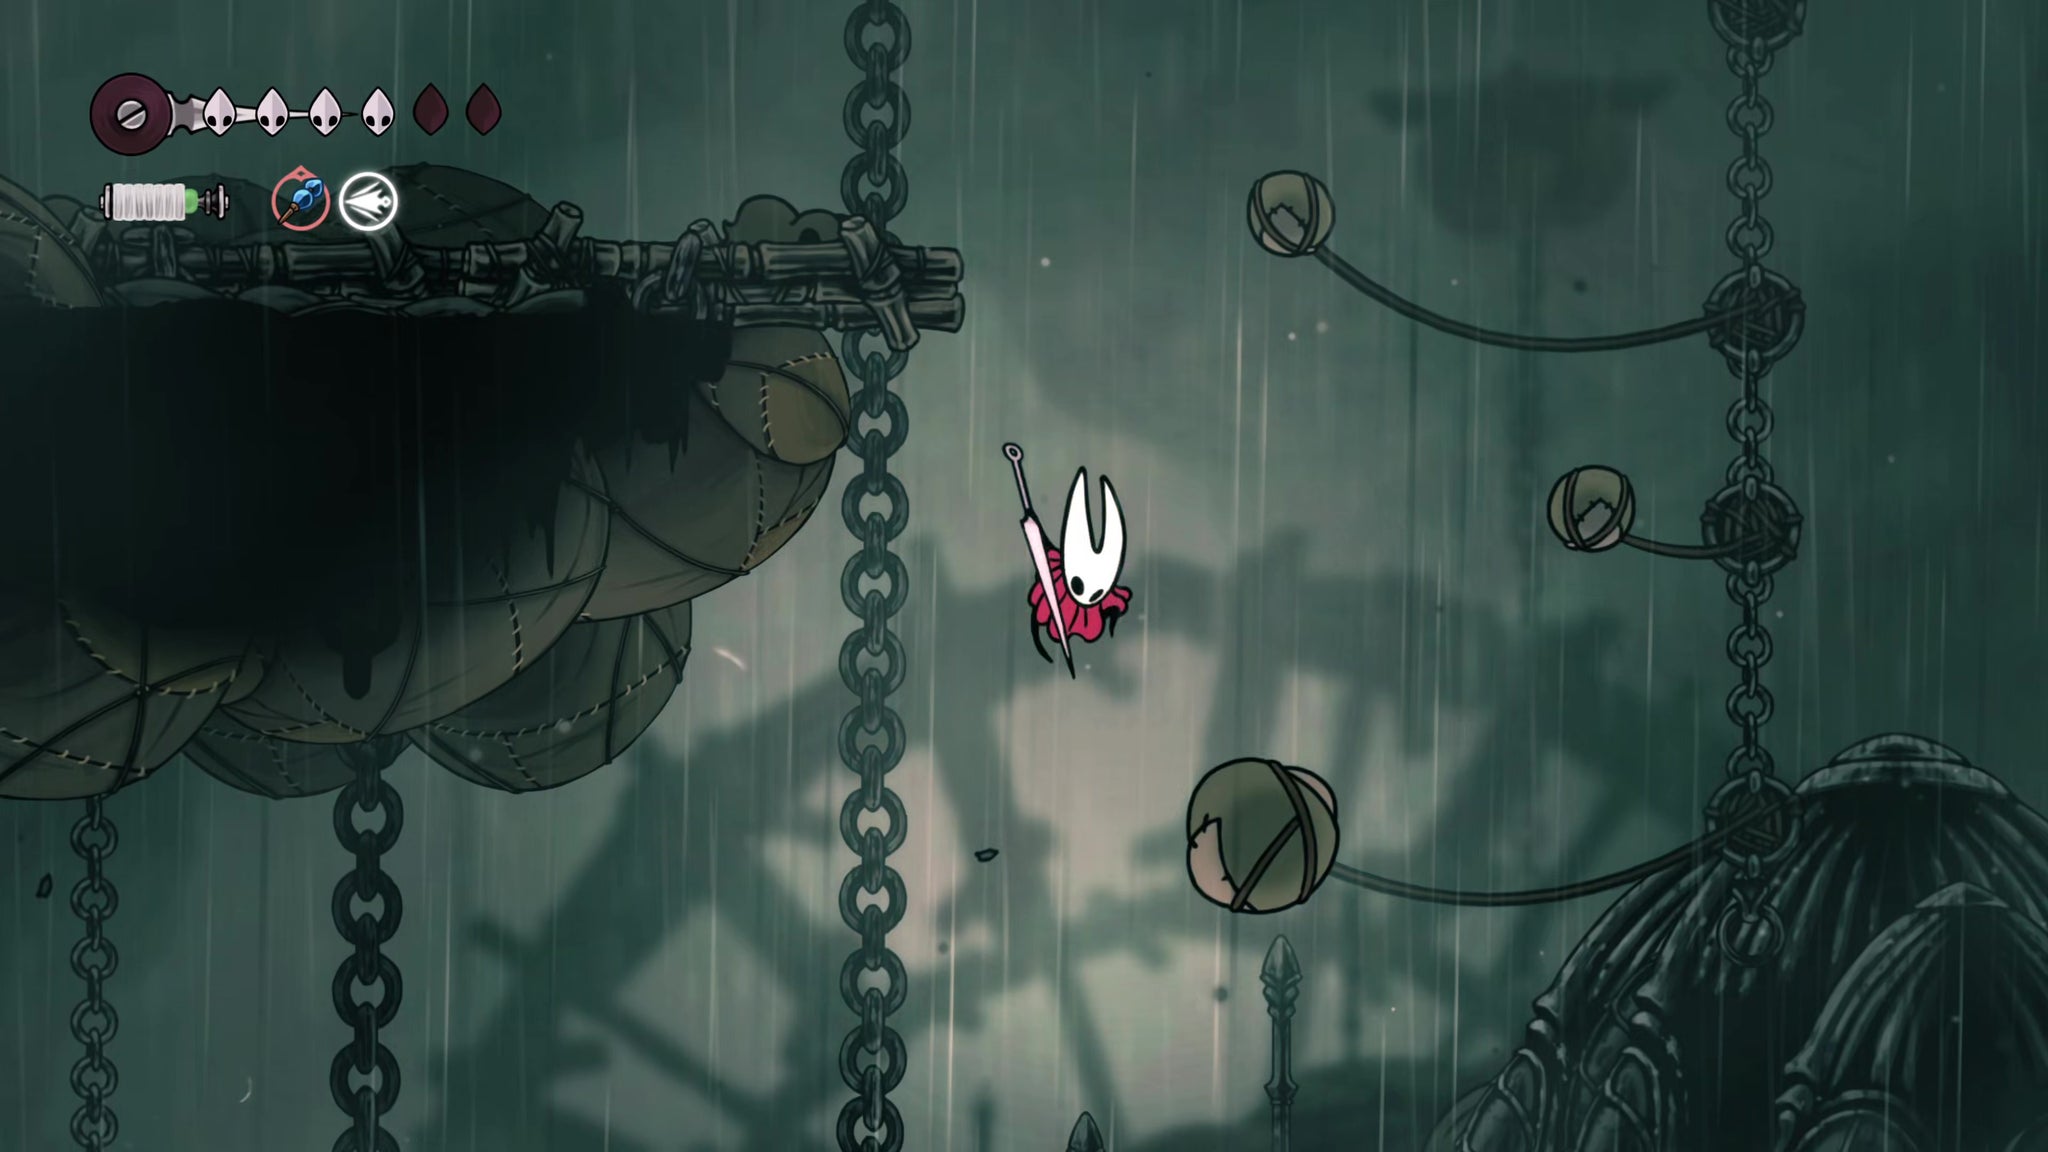

Exit out of the building, and use the balloons to your left to climb up beyond the building roof, to the ledge above. There's an exit on the left-hand side with a sign pointing towards it.
In this next room, hit the lever to open the gate in front of you, and then follow the metal platforms down and to the left for another signposted exit. On the cliff edge beyond, hit the lever to drop a "stepladder" of balloons as a shortcut back to Shakra, but instead of going down it, jump across to the left-hand side. Here you can ring one of those large bells to summon a Bench you can rest at.

4. Gain the Thread Storm skill.
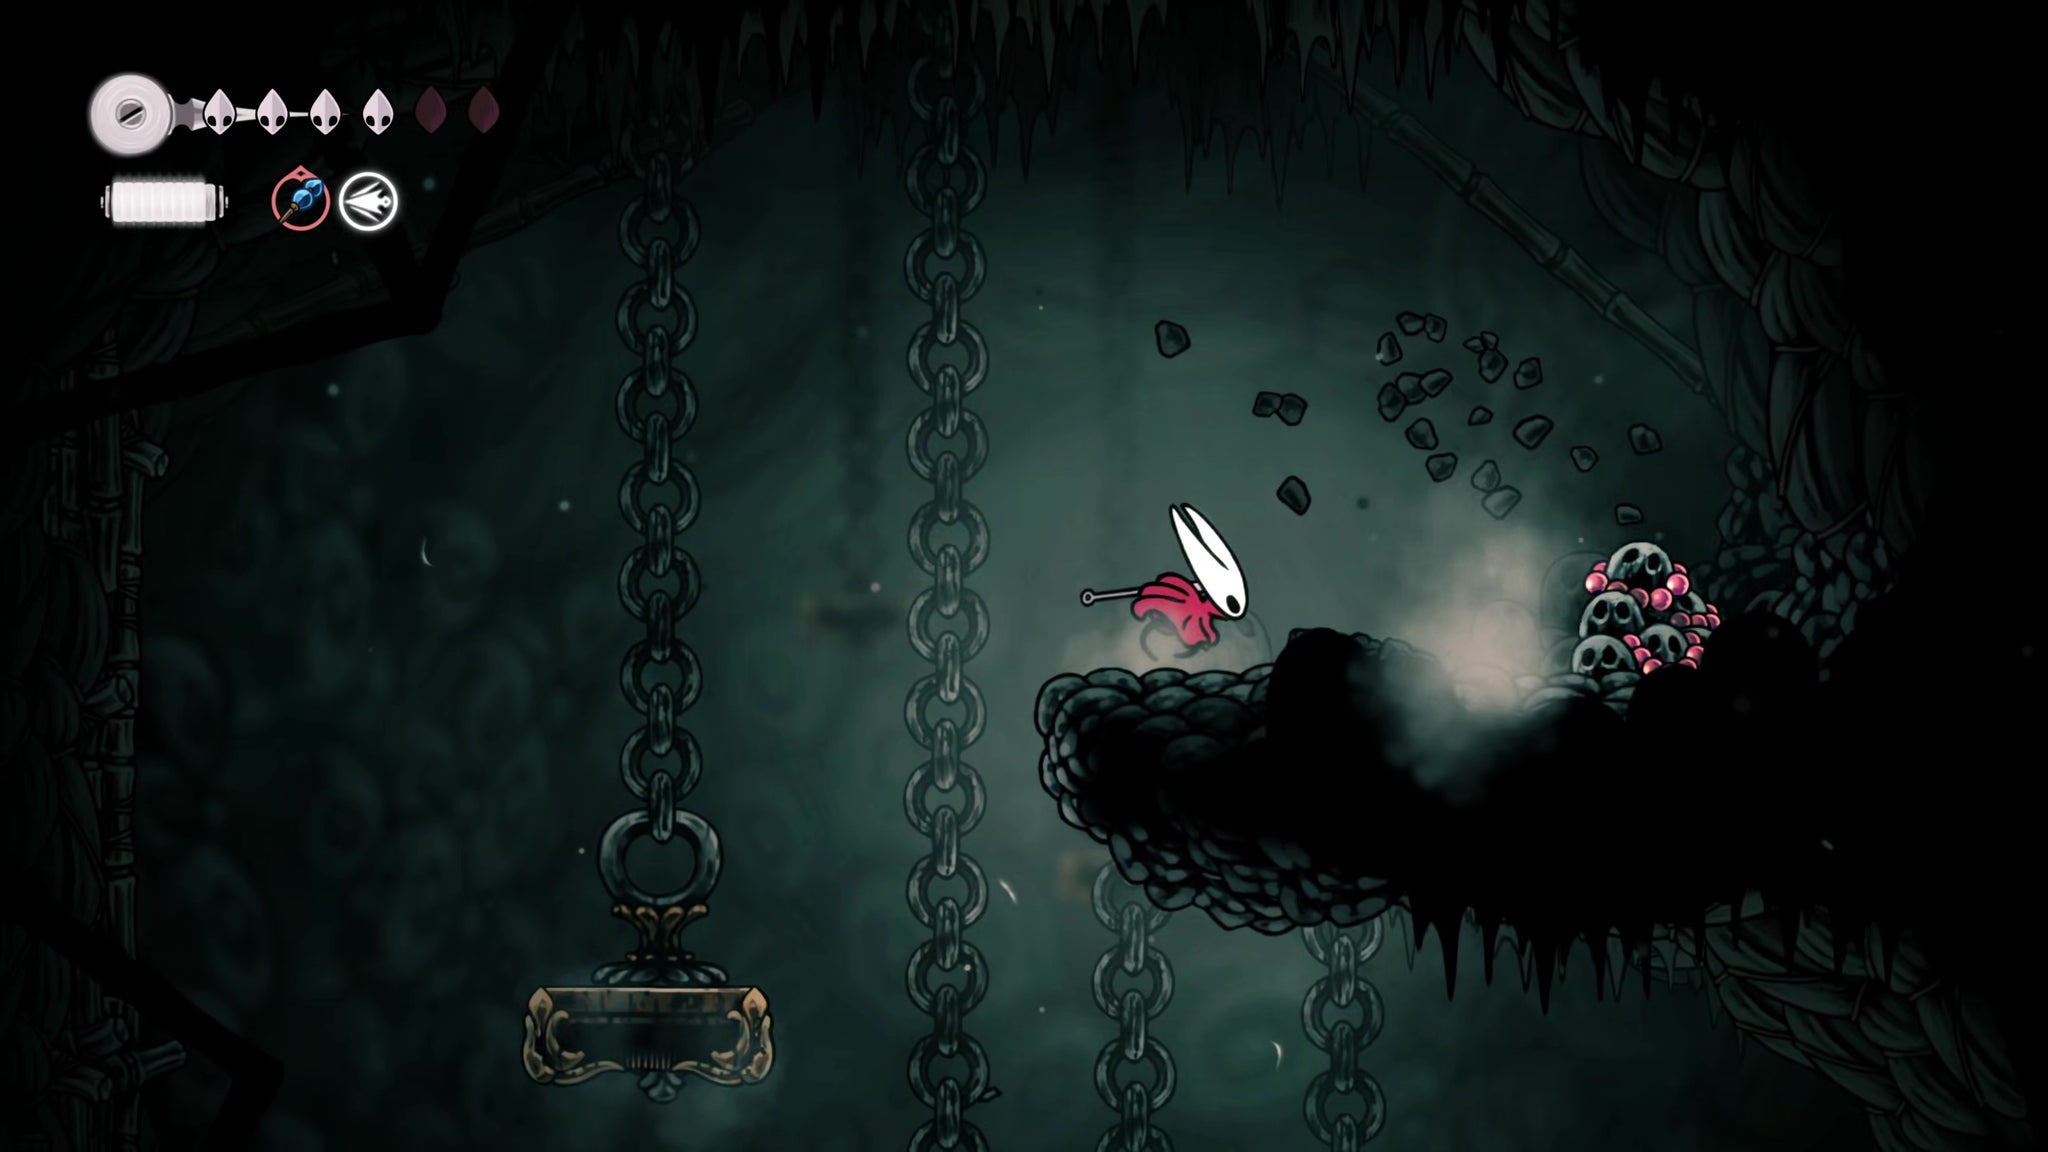
Once you're rested, head back to the right. Once you reach the metal platforms, head down to the lower ledge to loot a Frayed Rosary String; then climb the ledges to the top for a Rosary cache. After that, head back into Craw Lake.
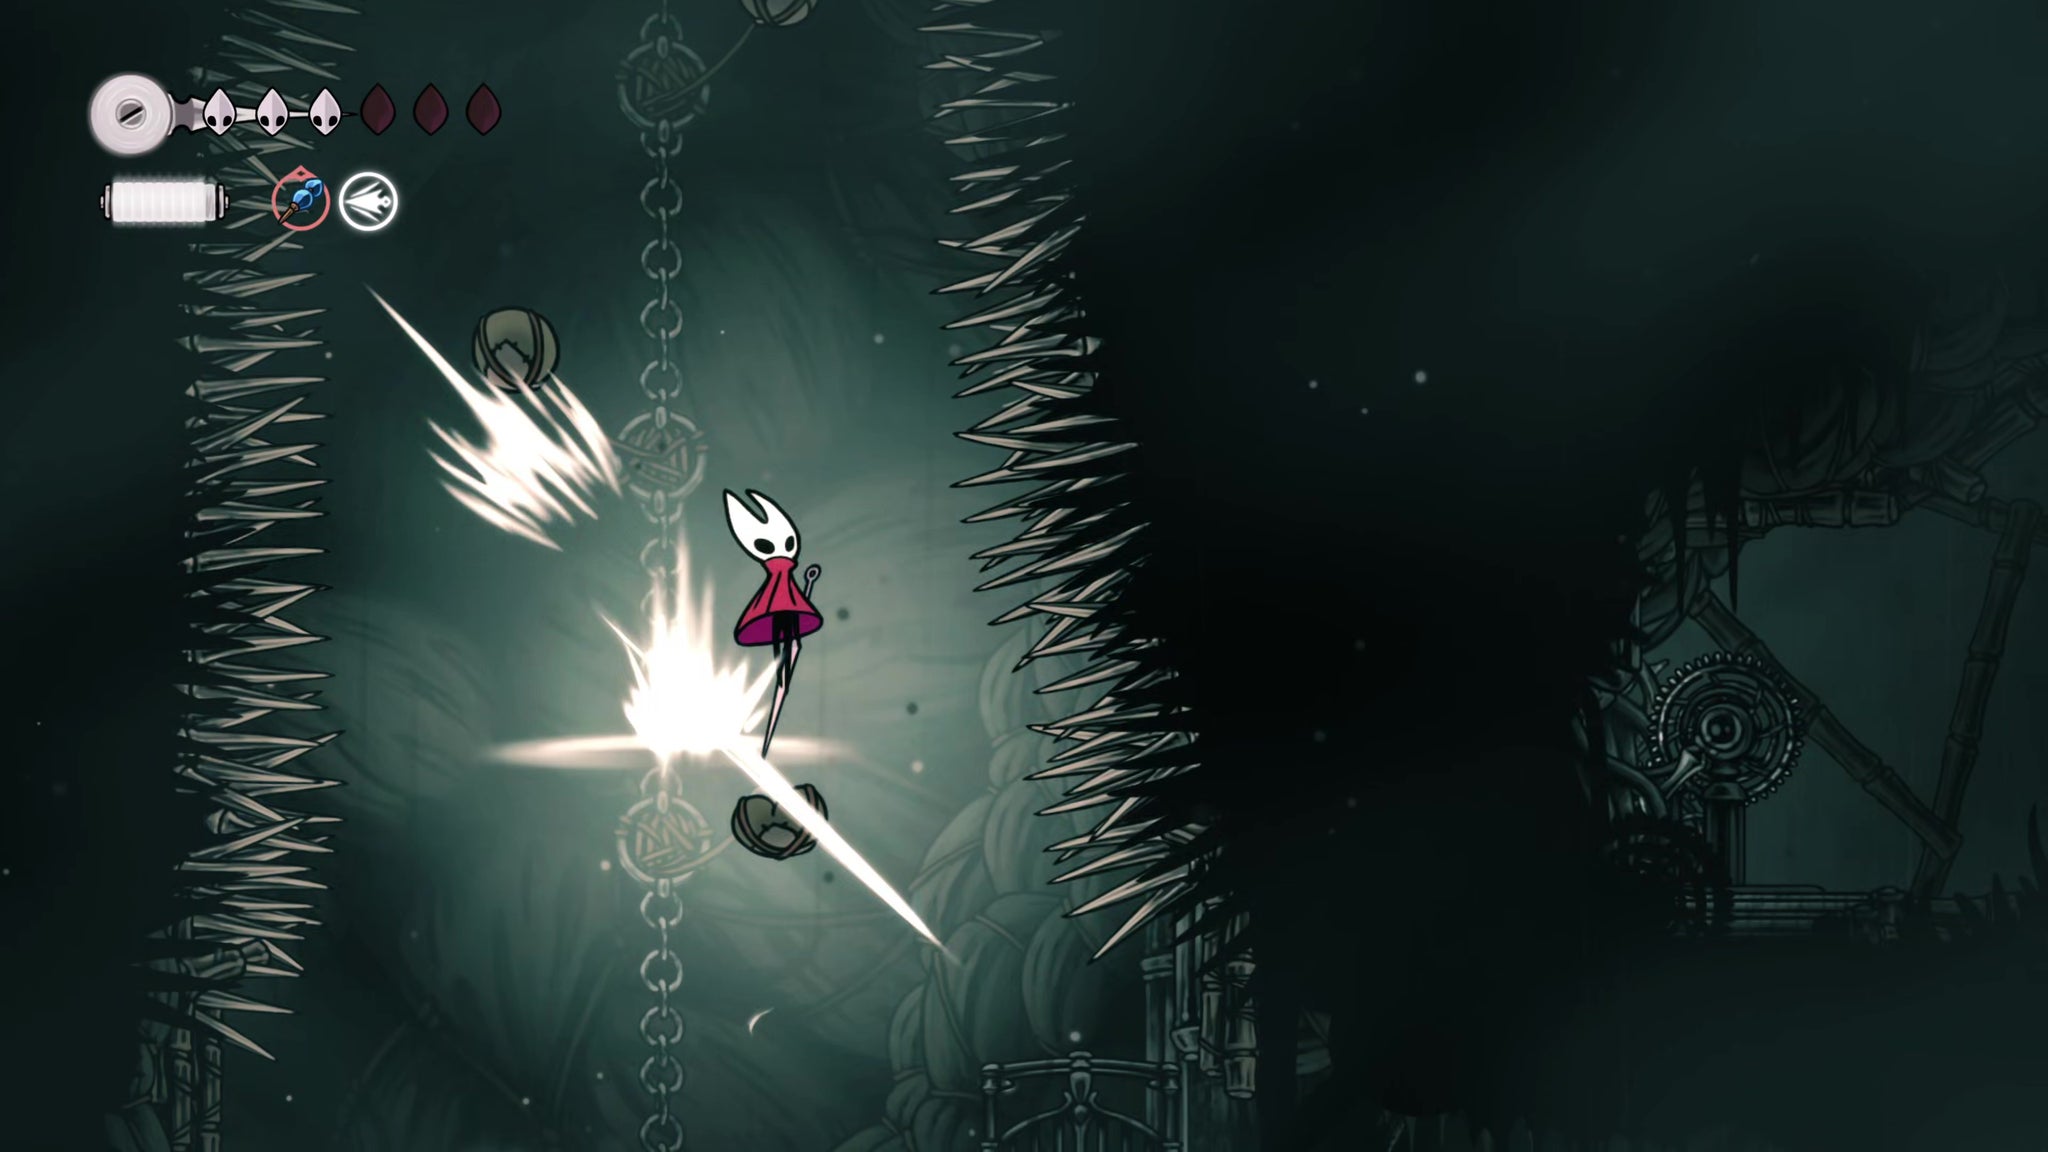

Make your way further up the balloons, and aim for the ledge on your left with the lever. Pulling this lever unlocks a gate just below; you can dip back down slightly and Pogo up the balloons again to reach it. Follow the path of balloons and spikes, and kill the Squatcraw at the top. Now keep bouncing off the balloons until you reach the exit at the very top.
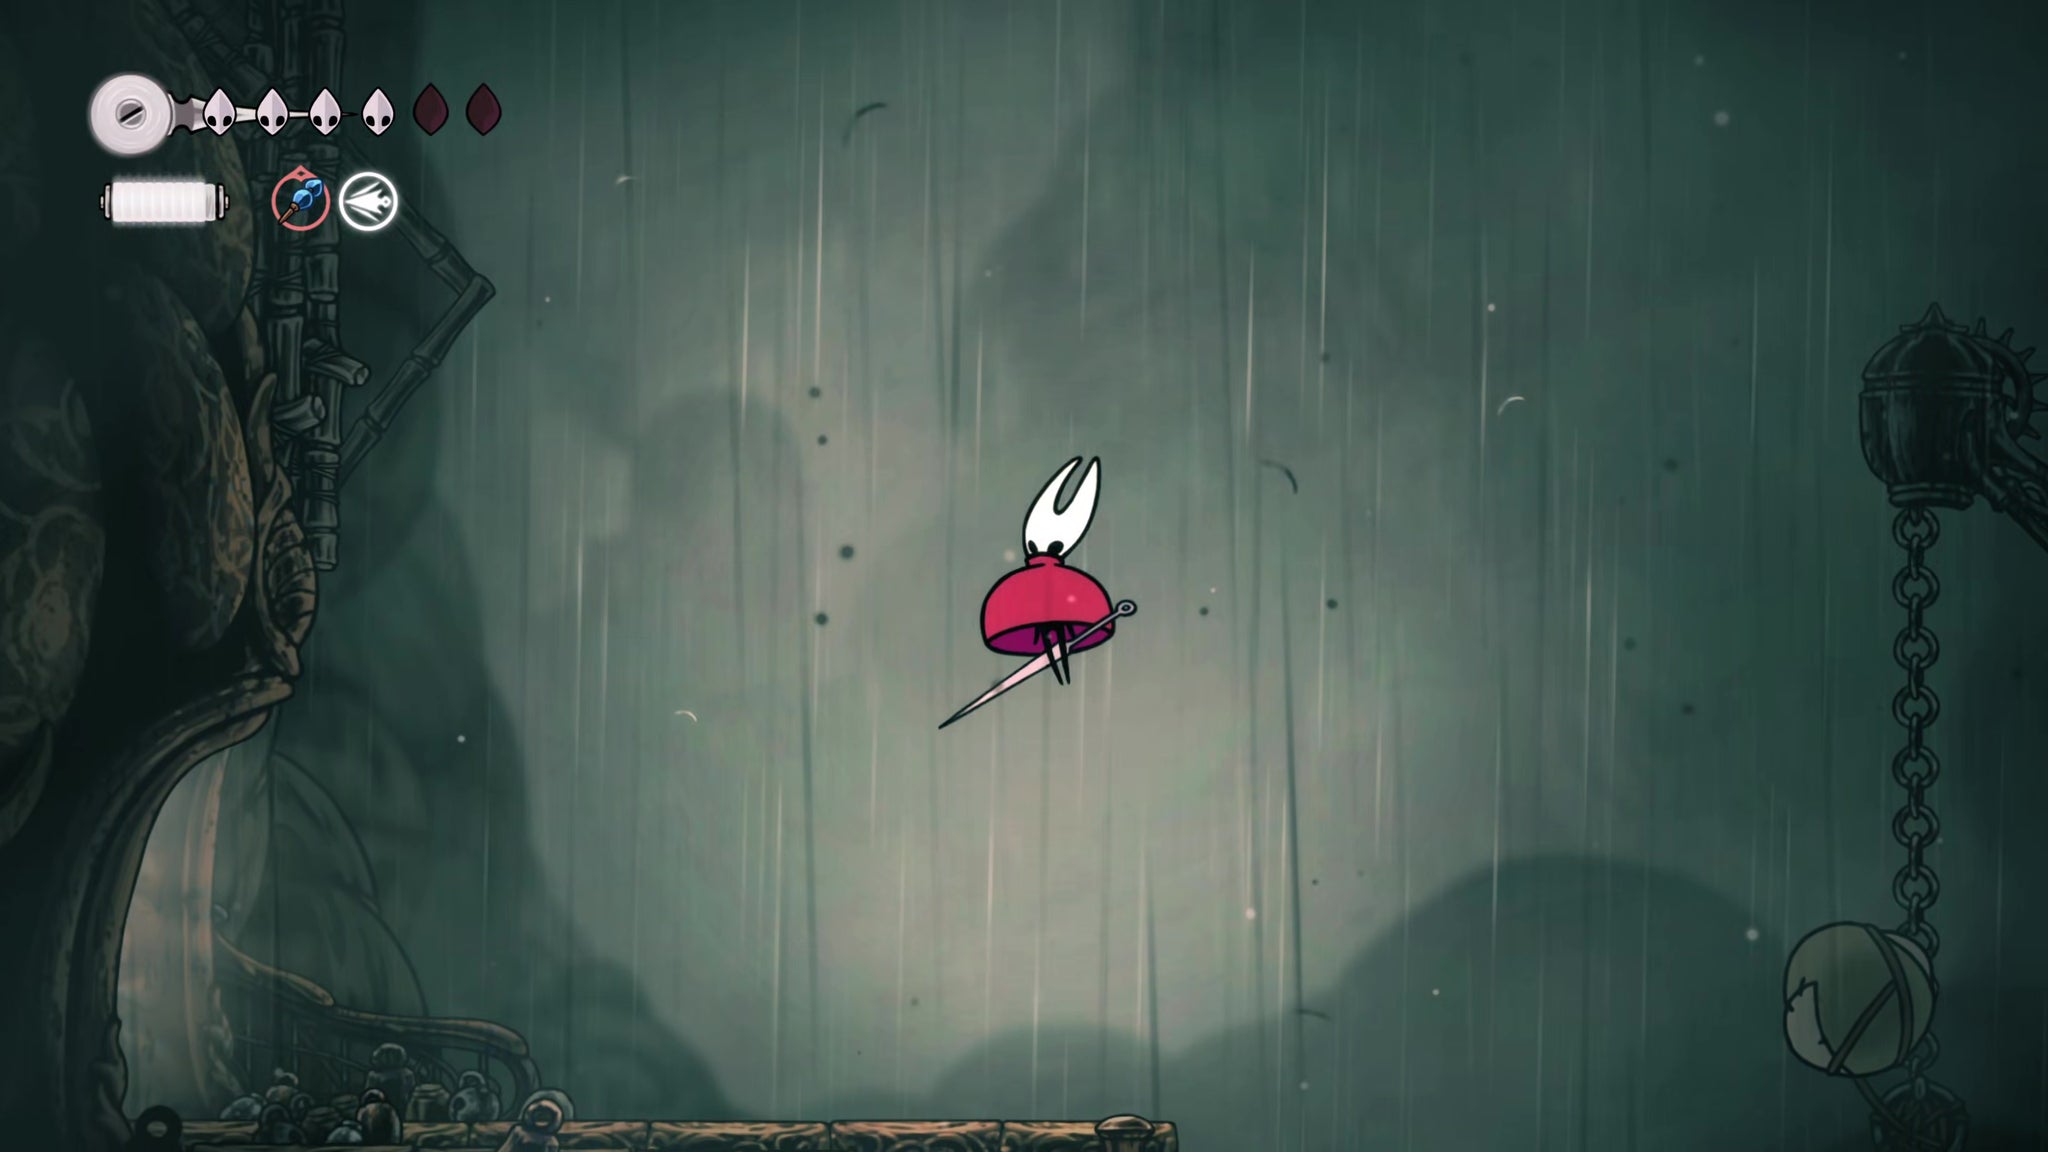
From here, it's a simple matter of Pogo-ing up to the ledge above, where you can interact with the monument to unlock your newest attack skill: Thread Storm.
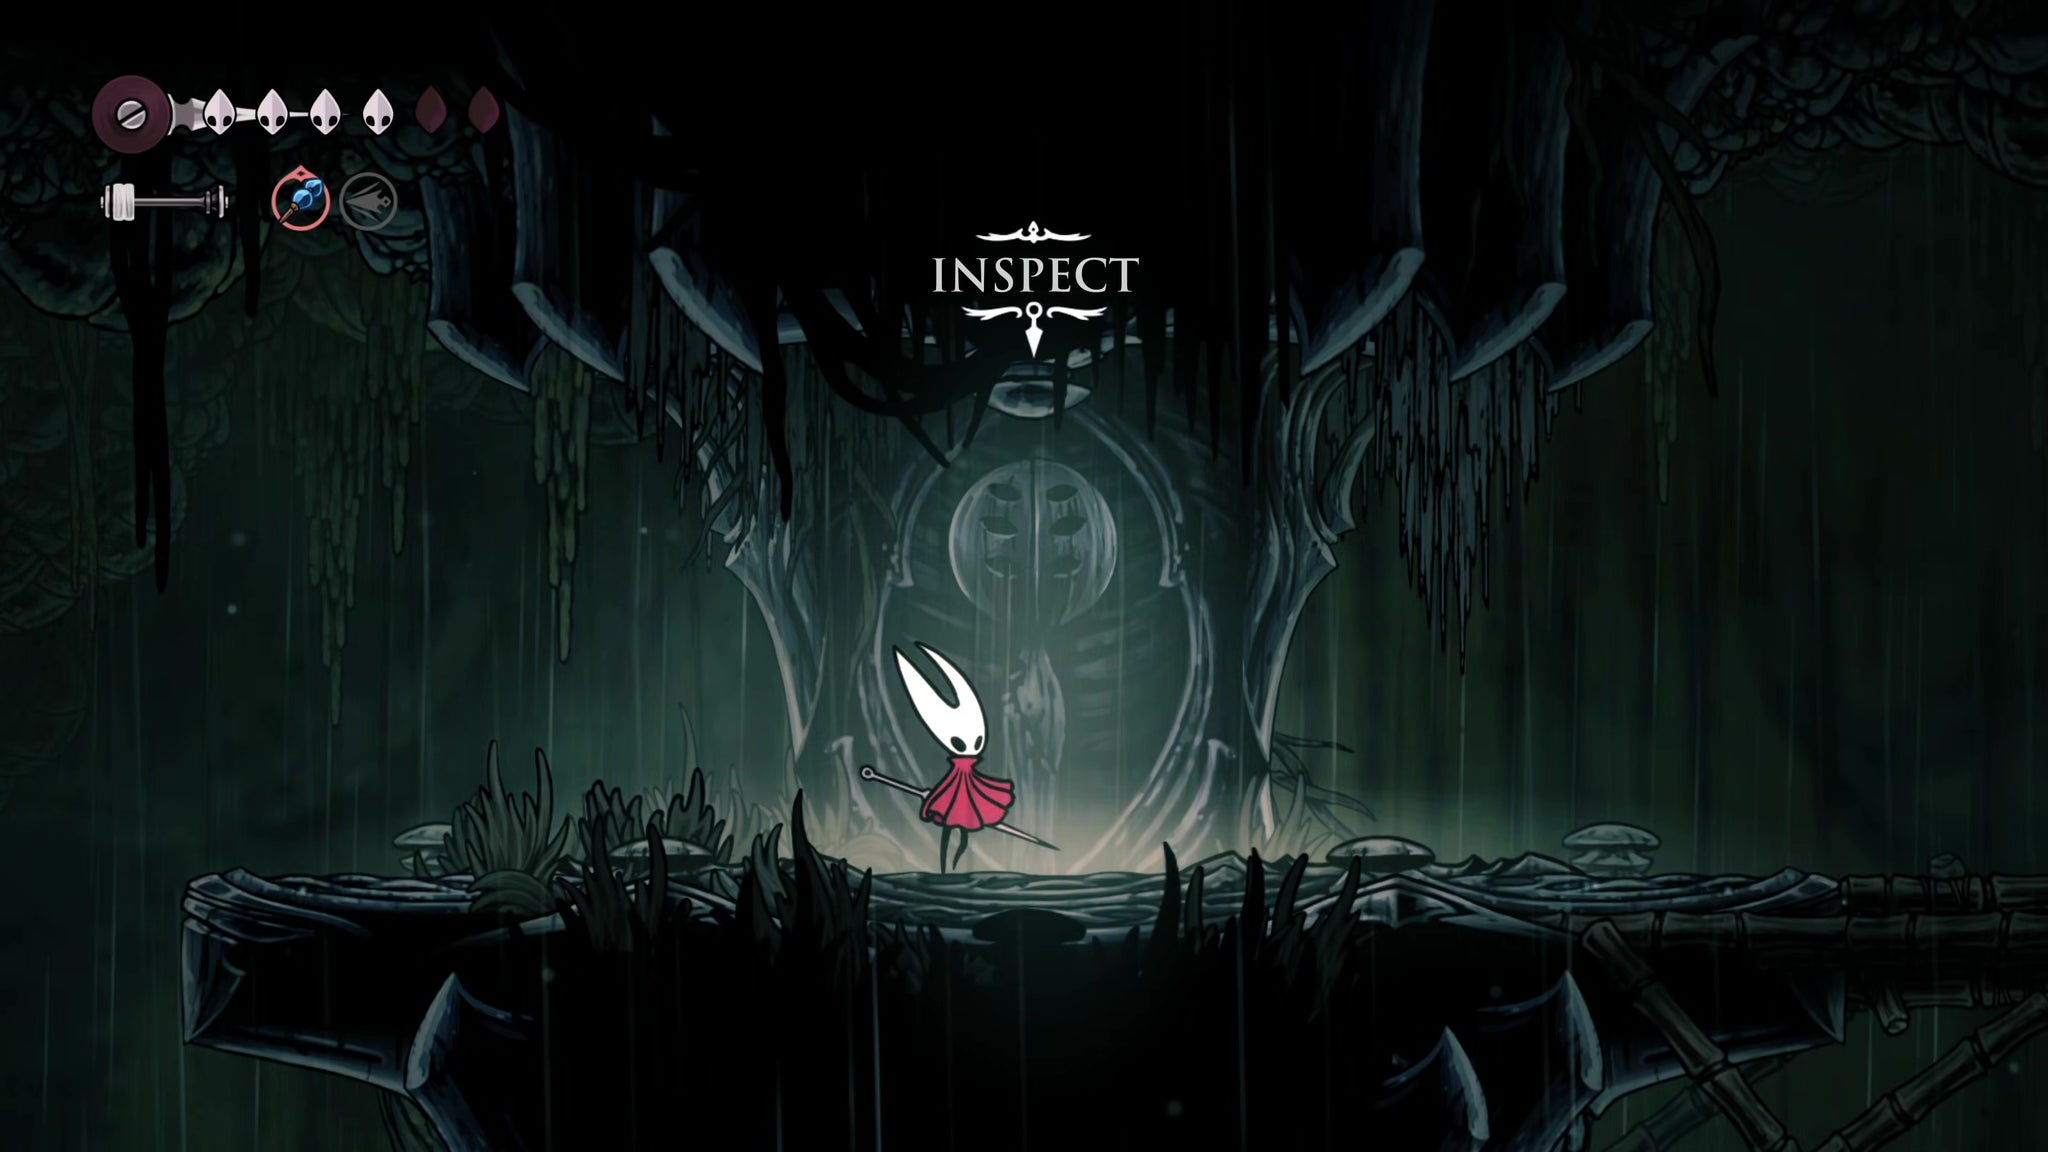
This is a replacement for your Silkspear (you can't have both at once). Silkspear is great for attacking ground-level enemies from afar, but Thread Storm - a signature move of Hornet's from the first game - offers you a great area-of-effect attack that's very handy against the various flyers of Greymoor.
5. Obtain the Threefold Pin.
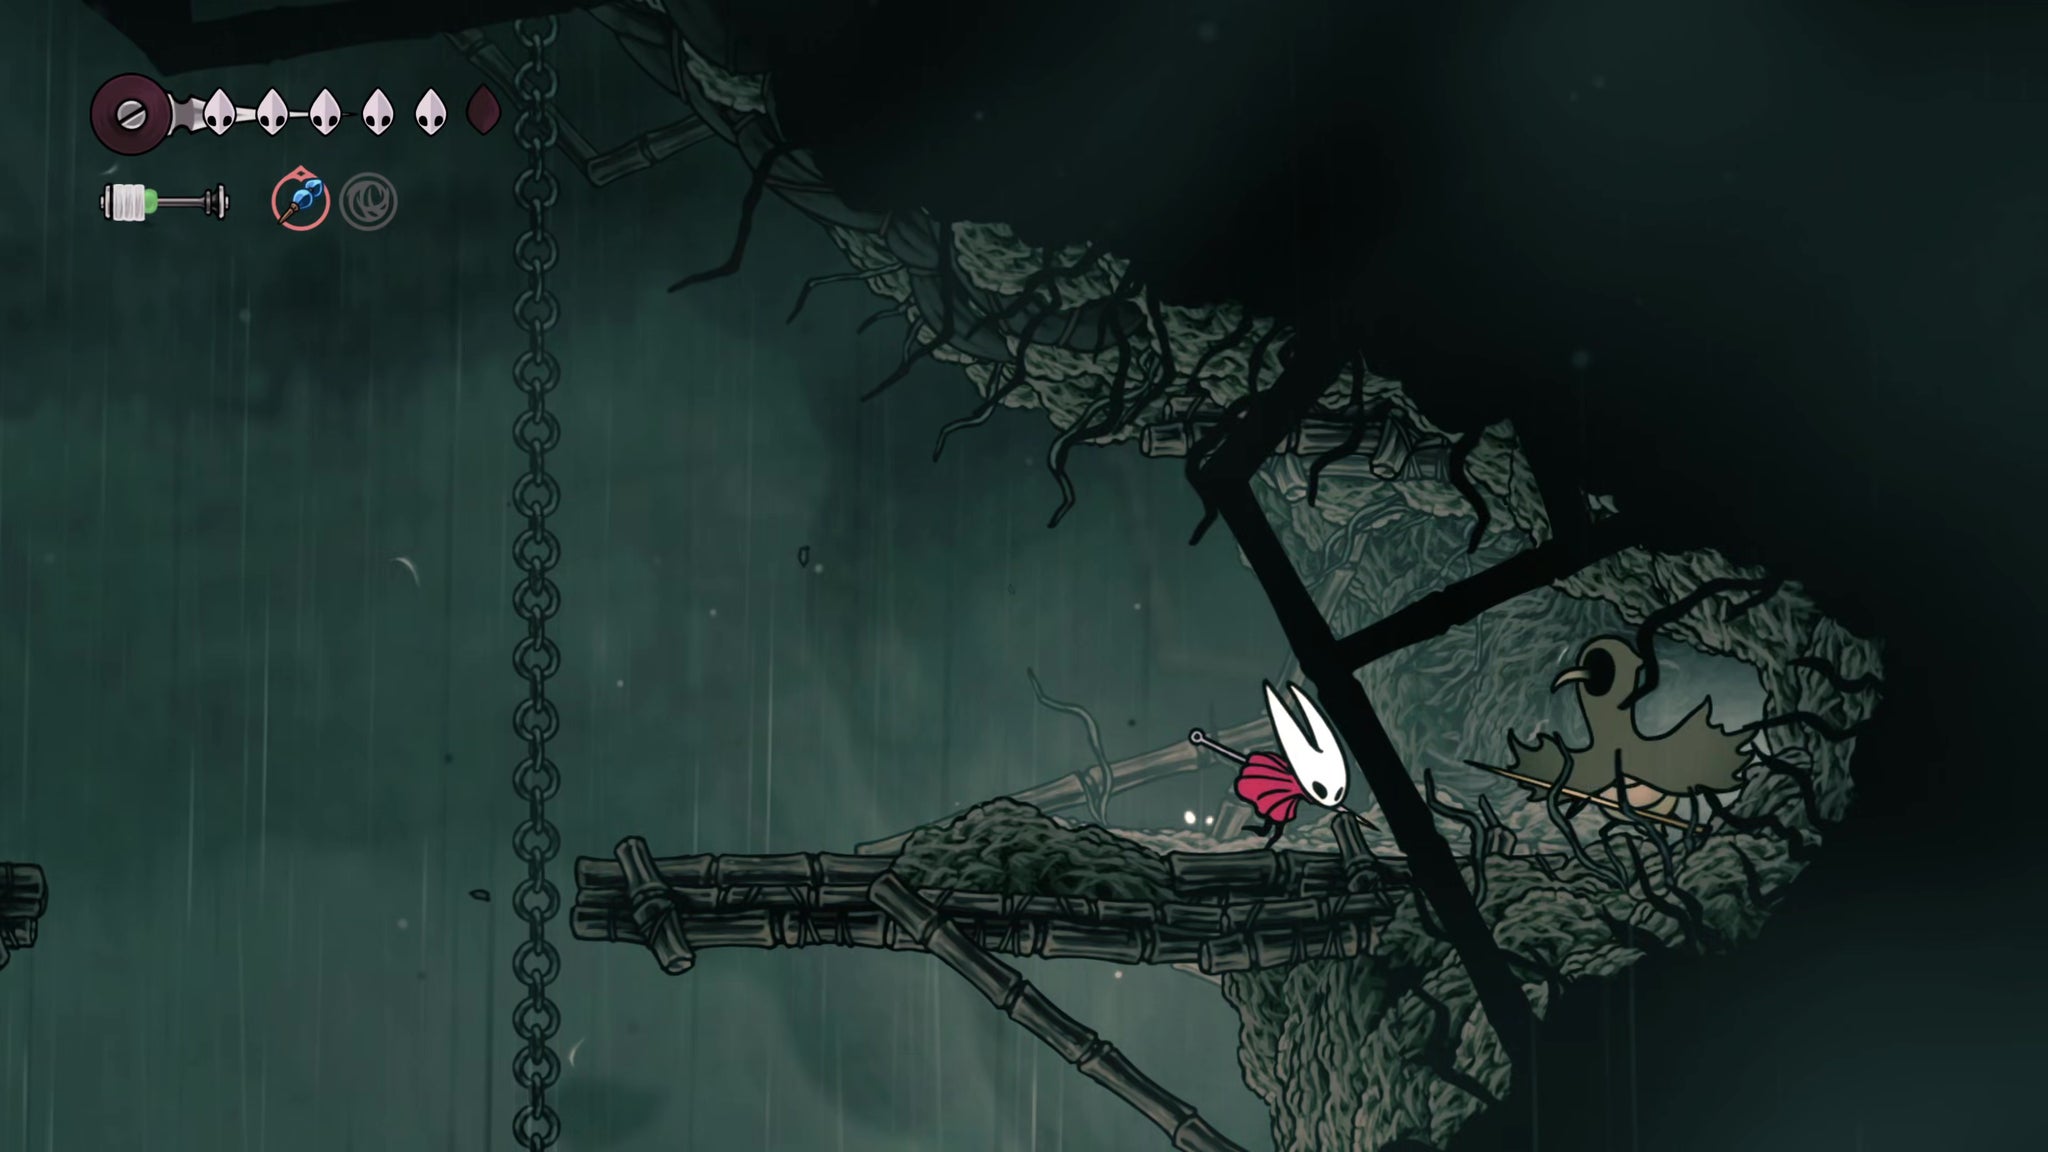

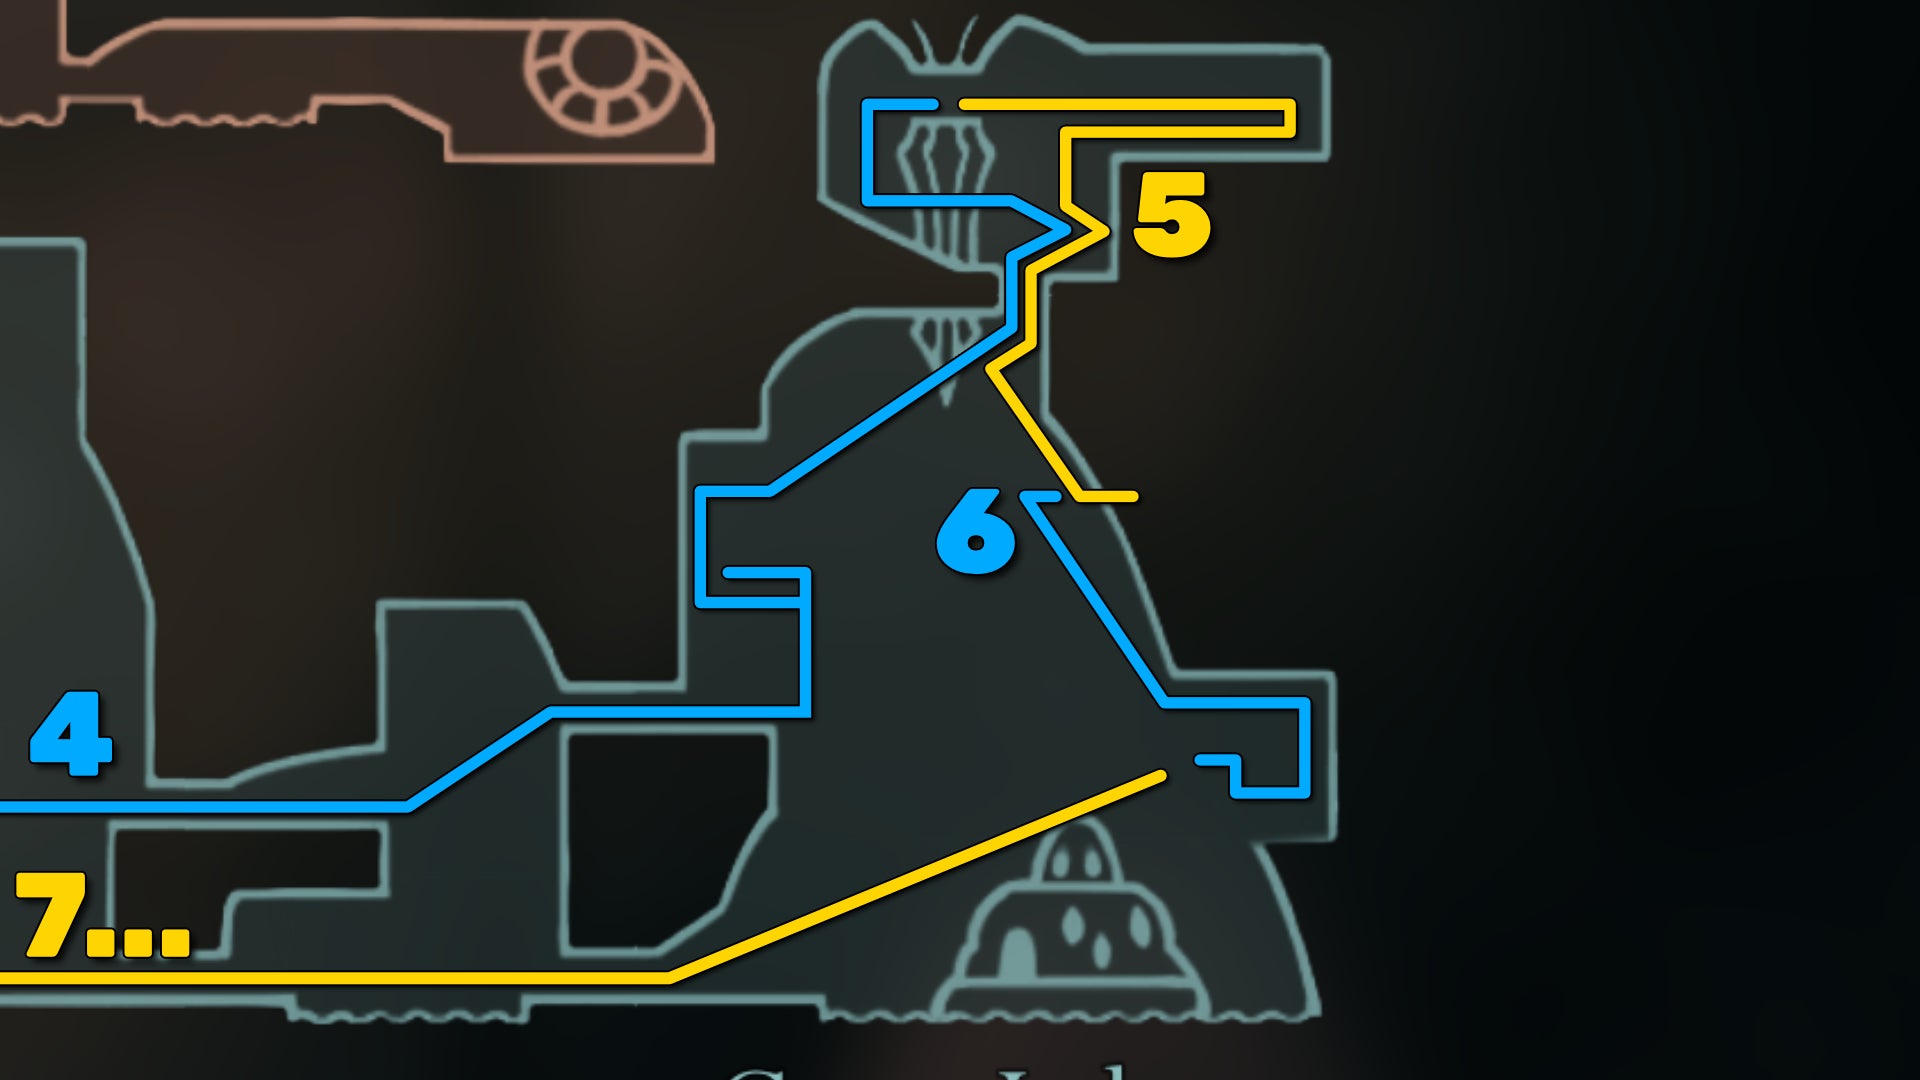
Try out your new Thread Storm ability on the Craws to the right, then follow the path back down onto the lower screen. From the right-hand ledge below you, drop off the edge and float to the right to reach a secluded ledge guarded by a Tallcraw.
Kill the Tallcraw and pass through the wall to your right to pick up a new tool - the Threefold Pin. This tool gives you an attack which works similarly to the three-way attacks of those Squatcraws, and it's very good at picking off Craws. Consider equipping it at your next Bench.
6. Rescue the trapped Flea.
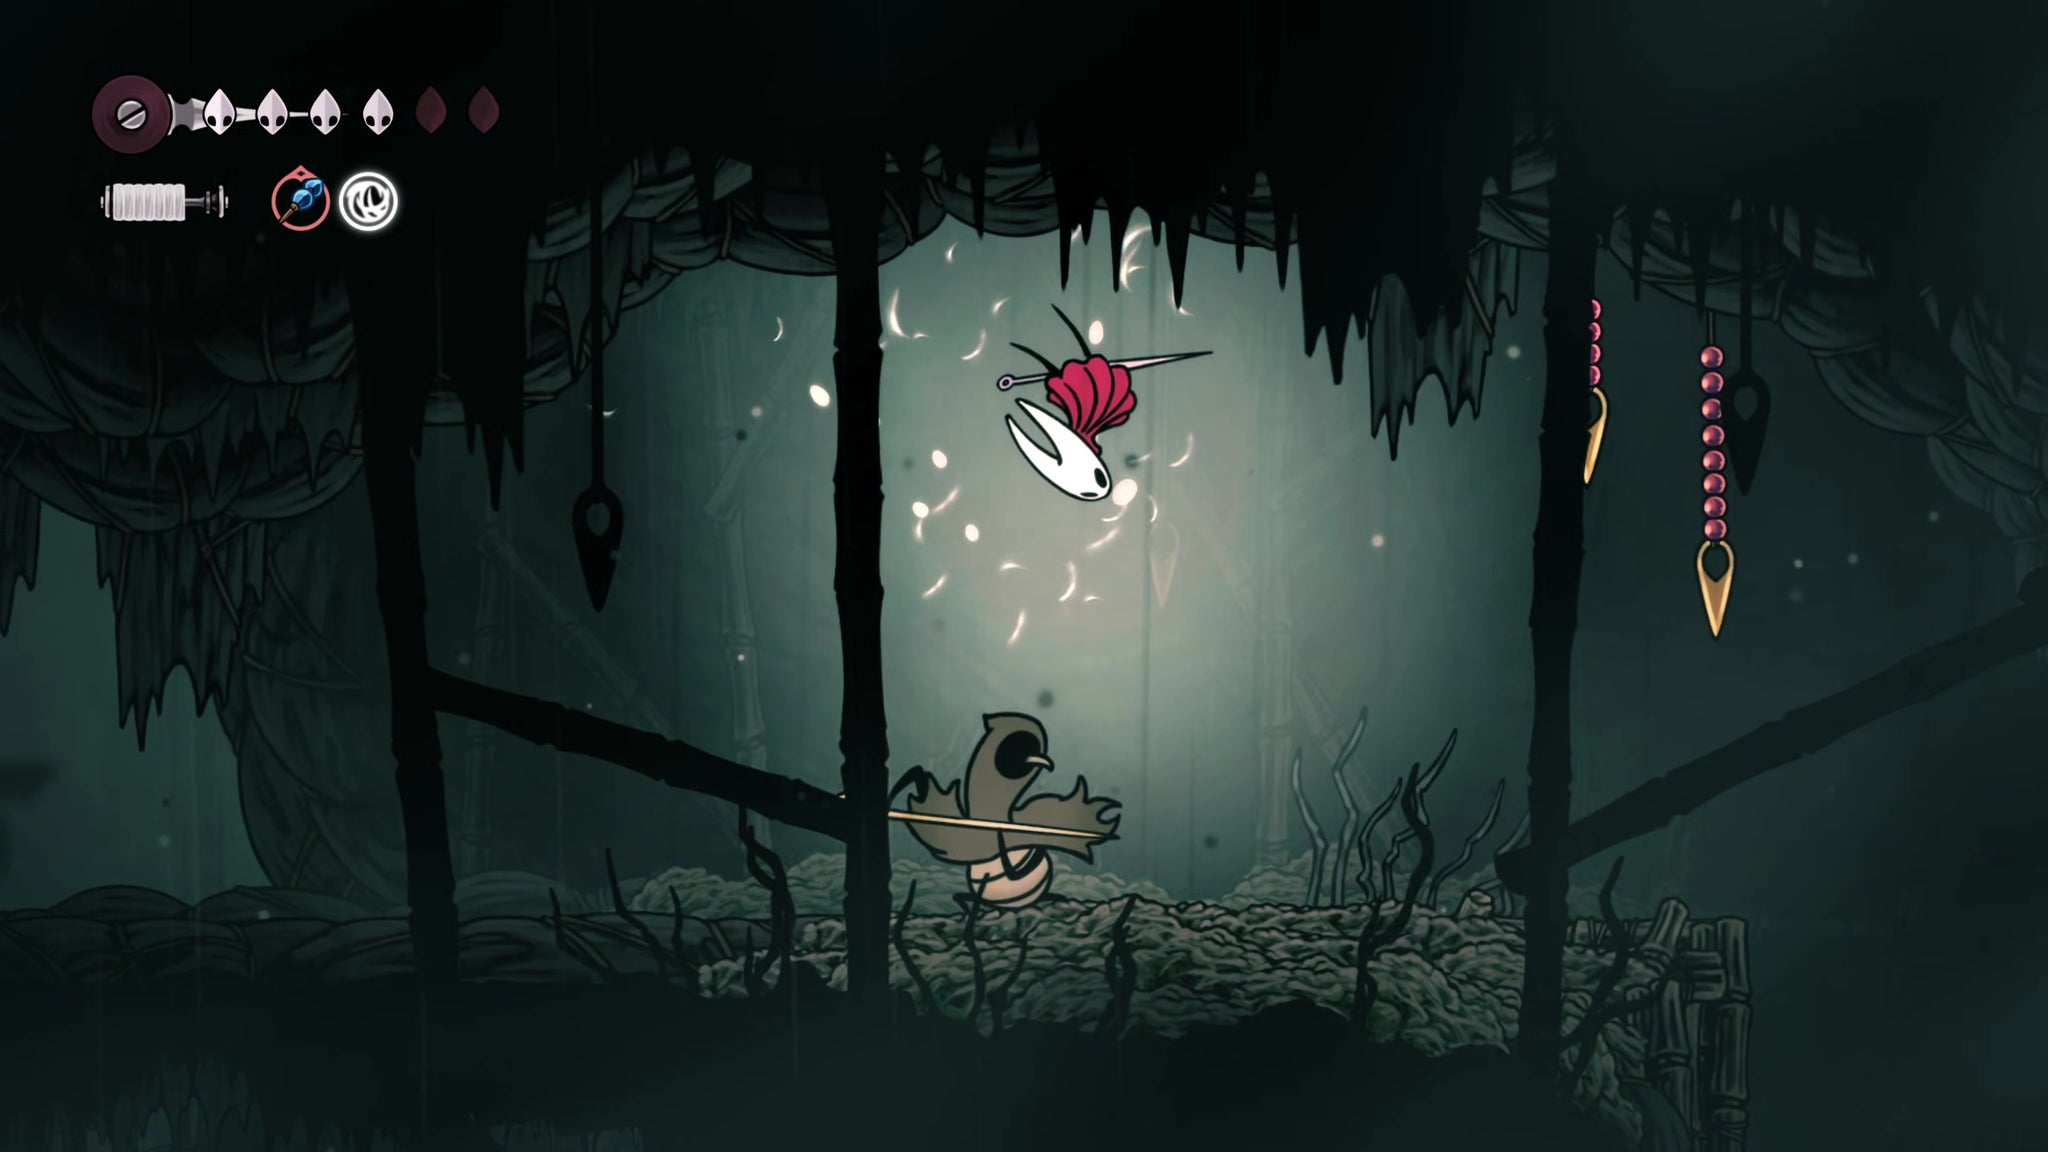
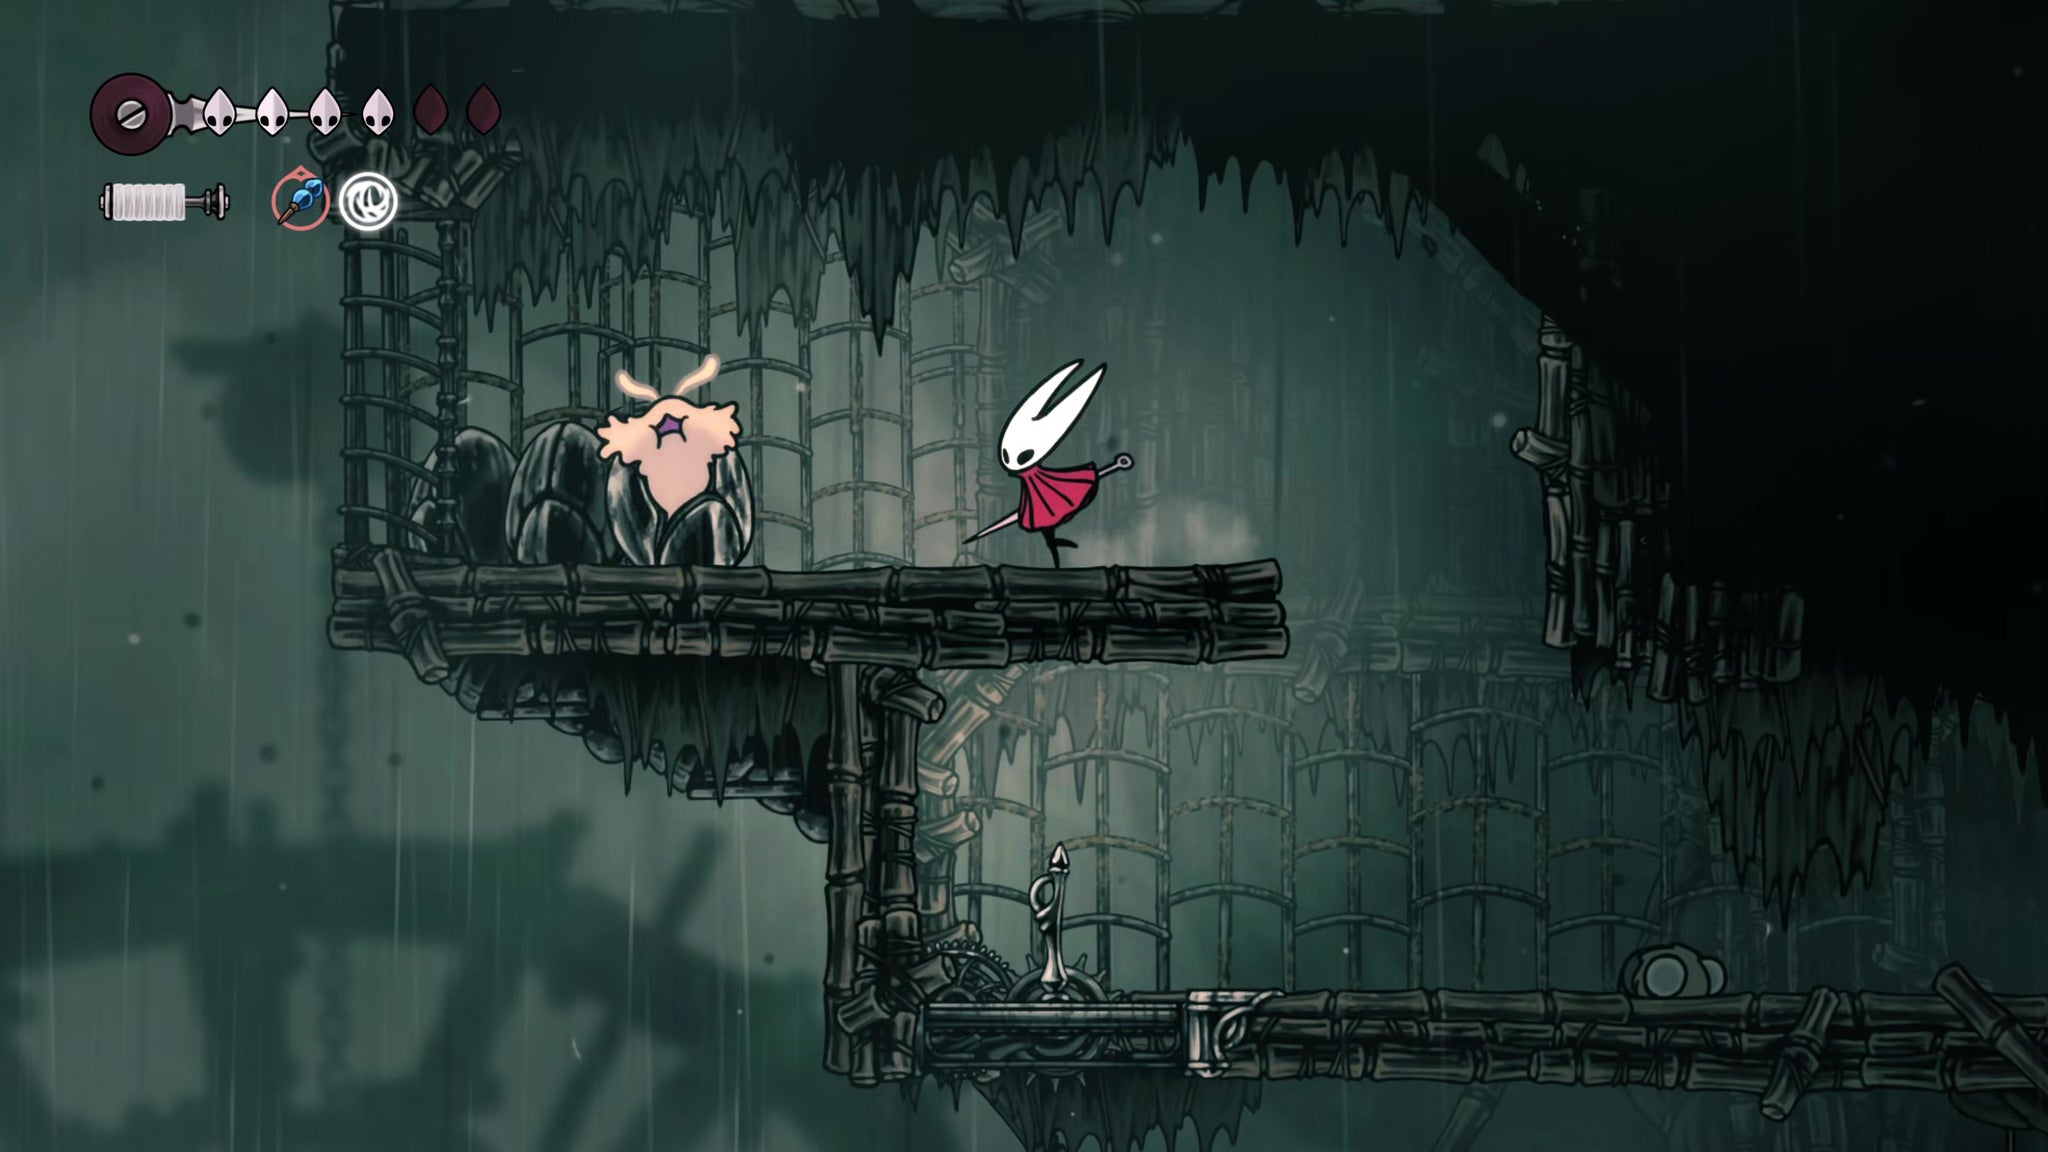
Now jump off the cliff again and float down to the right to find another ledge guarded by another Tallcraw. Follow this short path, and you'll soon see a Flea trapped in a rock in the rafters above you. Attack the rock to rescue the Flea, then hit the lever below you to drop down and make your way back onto the roof of the building at the bottom of Craw Lake.
7. Obtain the hidden Bone Scroll.
We're done with Craw Lake now - that wasn't so hard, was it, Shakra? Head back to same Bench as before and rest. Then soldier on to the left. This time we'll jump over the hole back down to Far Fields, and explore the west side of Greymoor.

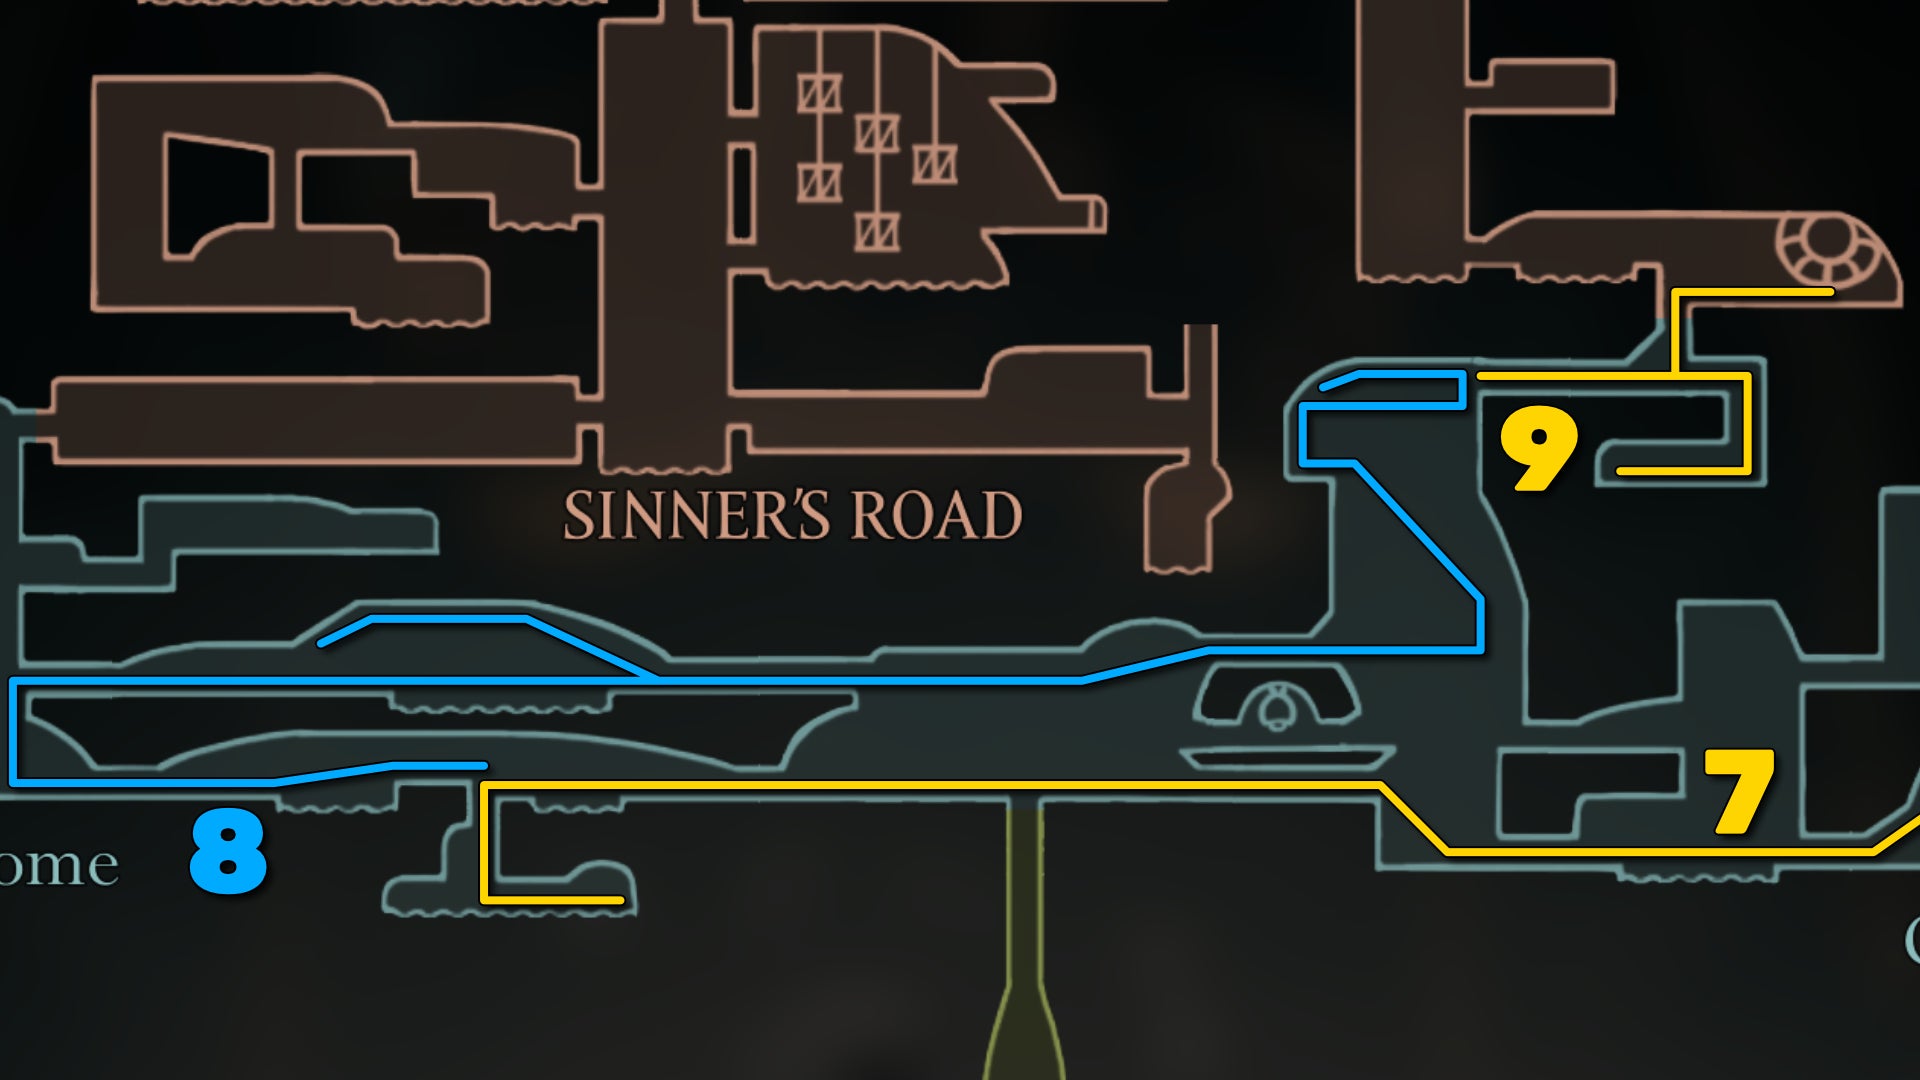
In the first room to the west is a bunch of Pilgrim enemies to kill. Stay at water-level as you head to the left, and you'll come across a little hidden passage lower down. At the bottom of this passage, on the right-hand side, you can loot a Bone Scroll from a Pilgrim's body.
Then head back up and exit to the left, killing the remaining enemies in your way.
8. Explore above the Bench for the Spool Fragment.
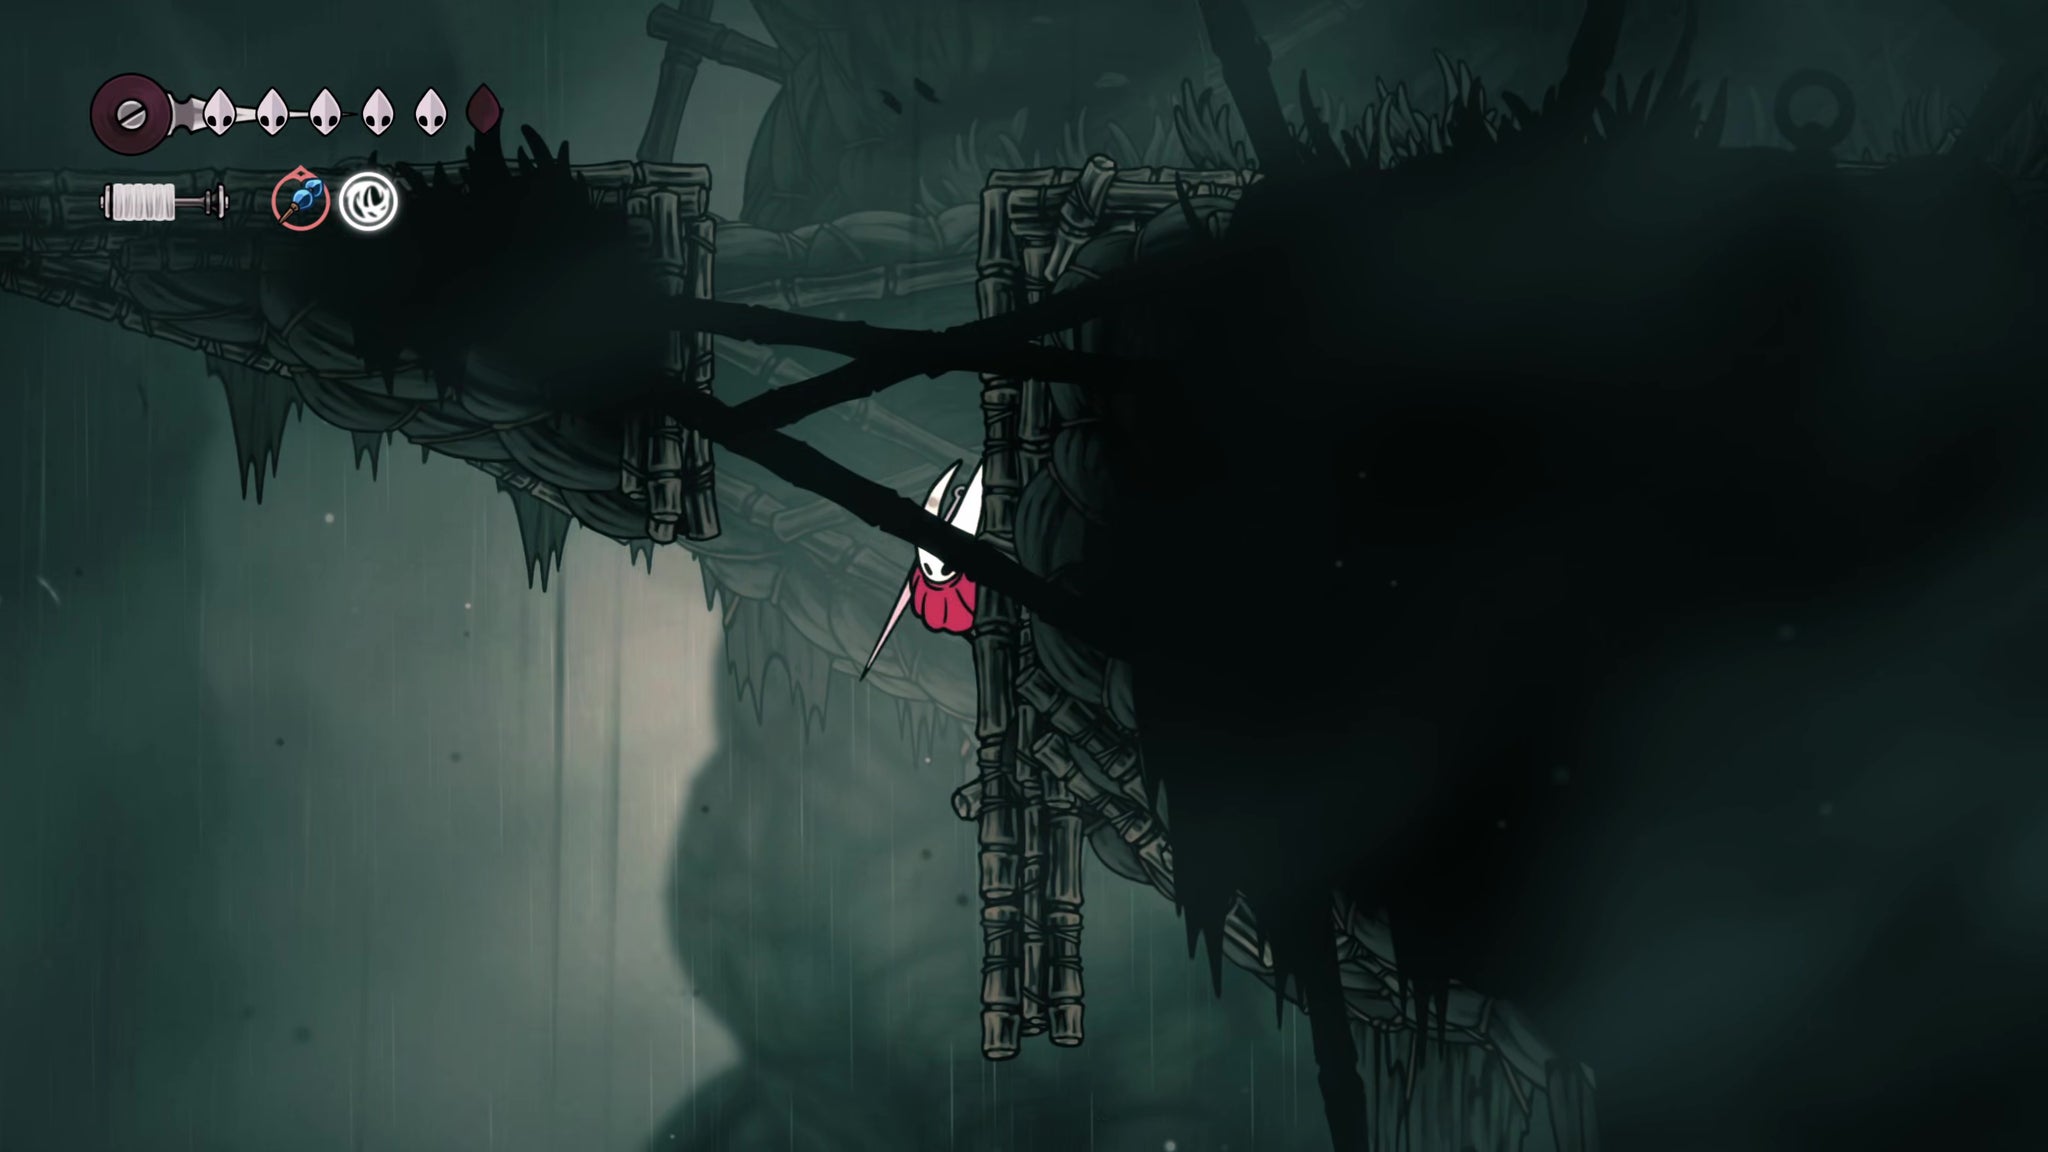

In the next room, take note of the lit building to your right - we'll return here momentarily. For now, jump onto the wooden ledge above you, and then wall climb further up to reach a new room above where you were before. You'll encounter a nasty new enemy - the Roachcatcher - which throws a pair of spiked projectiles at you. Stay at a distance and hit the projectiles as they reach you to send them back at your attacker.
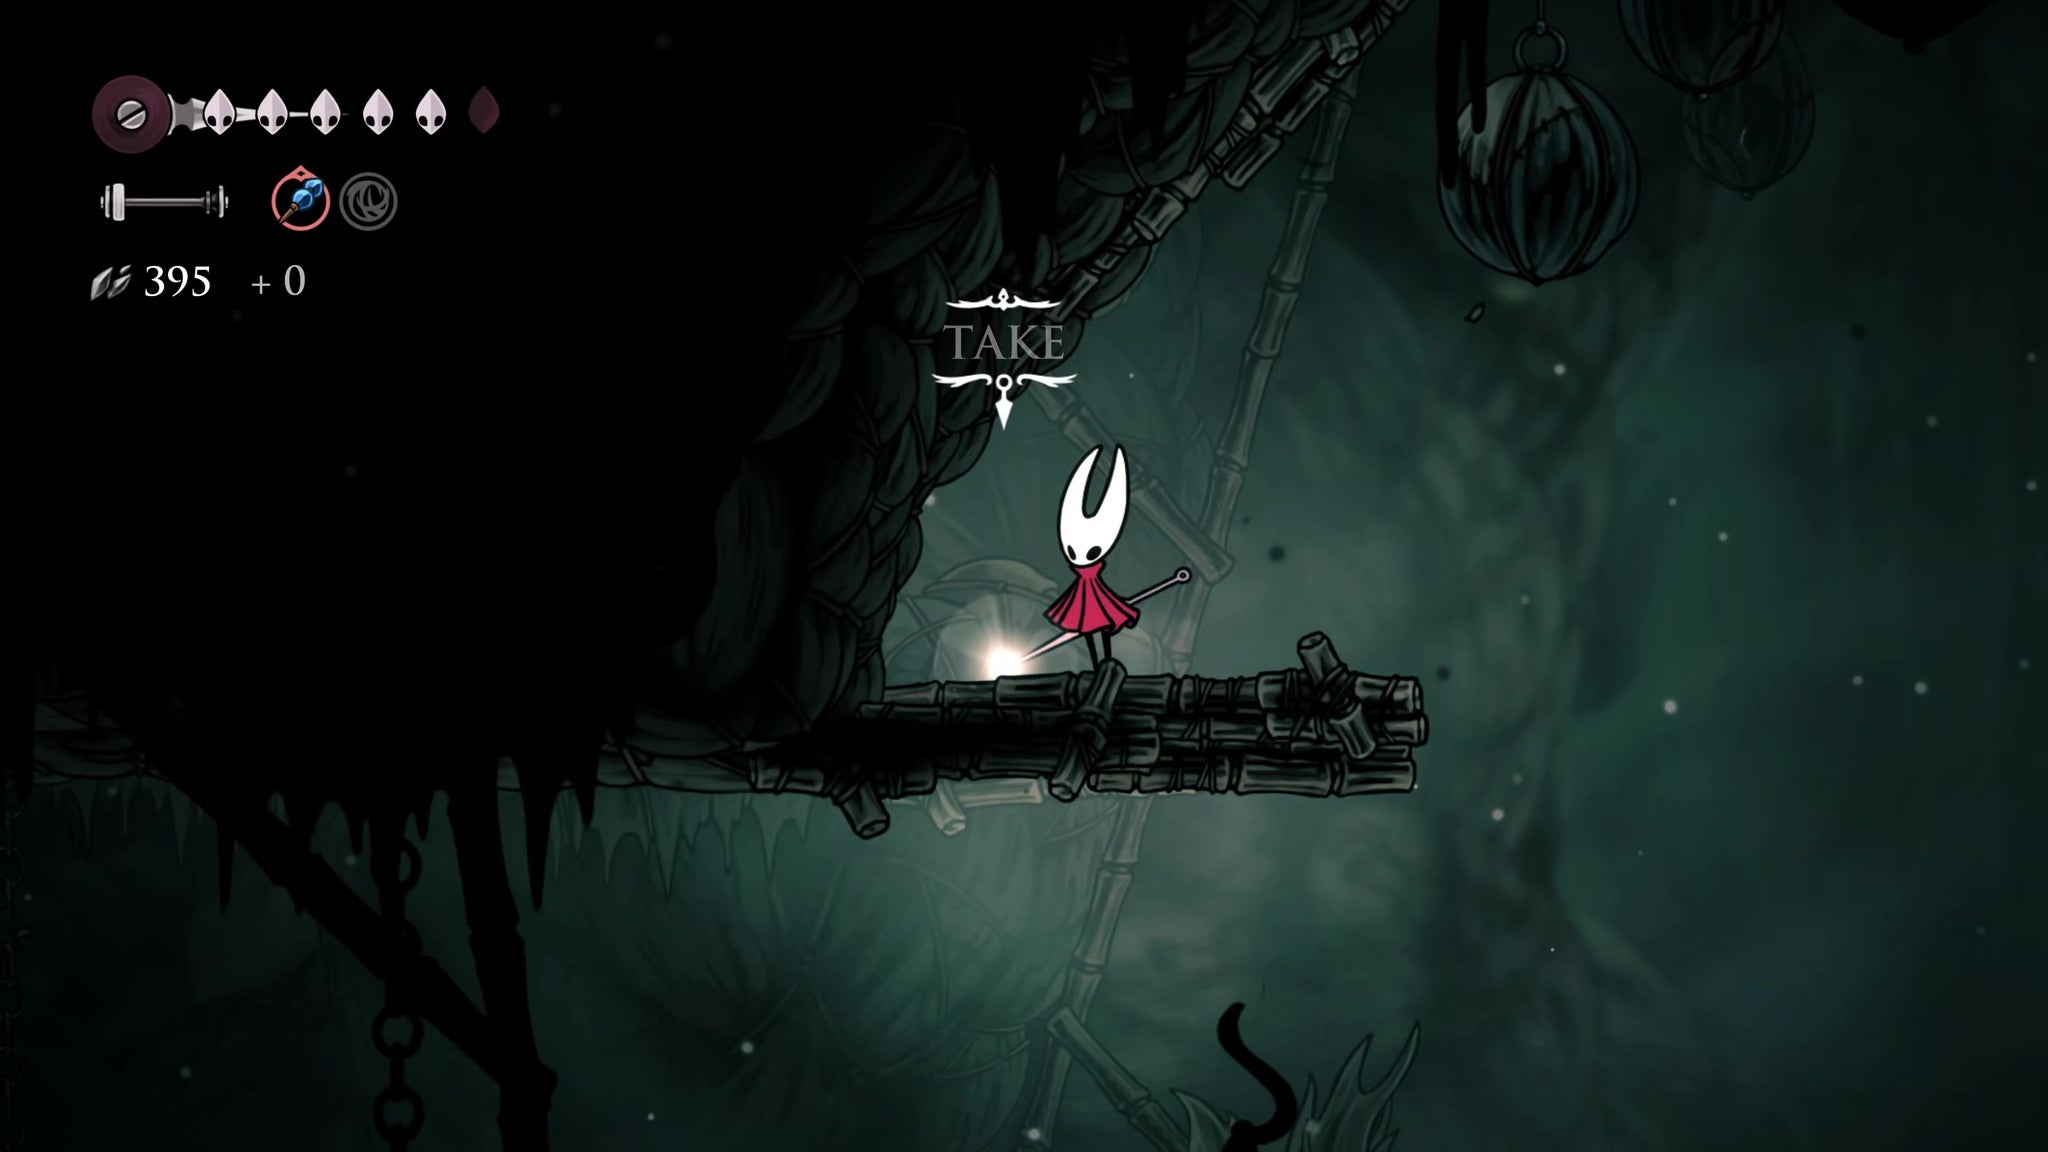
Make your way to the right-hand side of the room, and then turn back around and take the upper ledge path all the way back to the left to reach the Shard Bundle at the end. Then turn round again and exit to the right.
Jump the ledges in front of you to make your way across this room and exit off-screen. Then cross the bridge in the next room (don't hit the lever yet), and Pogo upwards into the higher reaches of the room. You'll face several Craw enemies along the way, but eventually you'll reach a path on the left-hand side which you can follow upwards and to the right.

At the end of the path, jump-dash over to the wall above the spikes on the far right, and climb up to the ledge above you. From here, you can jump down to the left to obtain a Spool Fragment.
9. Discover Sinner's Road and meet Styx.
From the Spool Fragment, jump back down to the right-hand ledge, and then make the same wall-climb manoeuvre up to the top. This time, once you're at the top, turn around and attack the wall to your right to reveal a secret passage.

There's a Mite in the next room; kill it, and then plow straight through the right-hand wall at ground level to reveal a secret passage within the secret passage. Drop to the bottom and attack the second breakable wall to reveal an area of fossilised shells.
You can attack the various shells to get Shell Shards, but the topmost one is actually a new enemy - a Shardillard. This is the only place one spawns, so kill it now if you want the Hunter's Journal entry on it (more on this momentarily...).
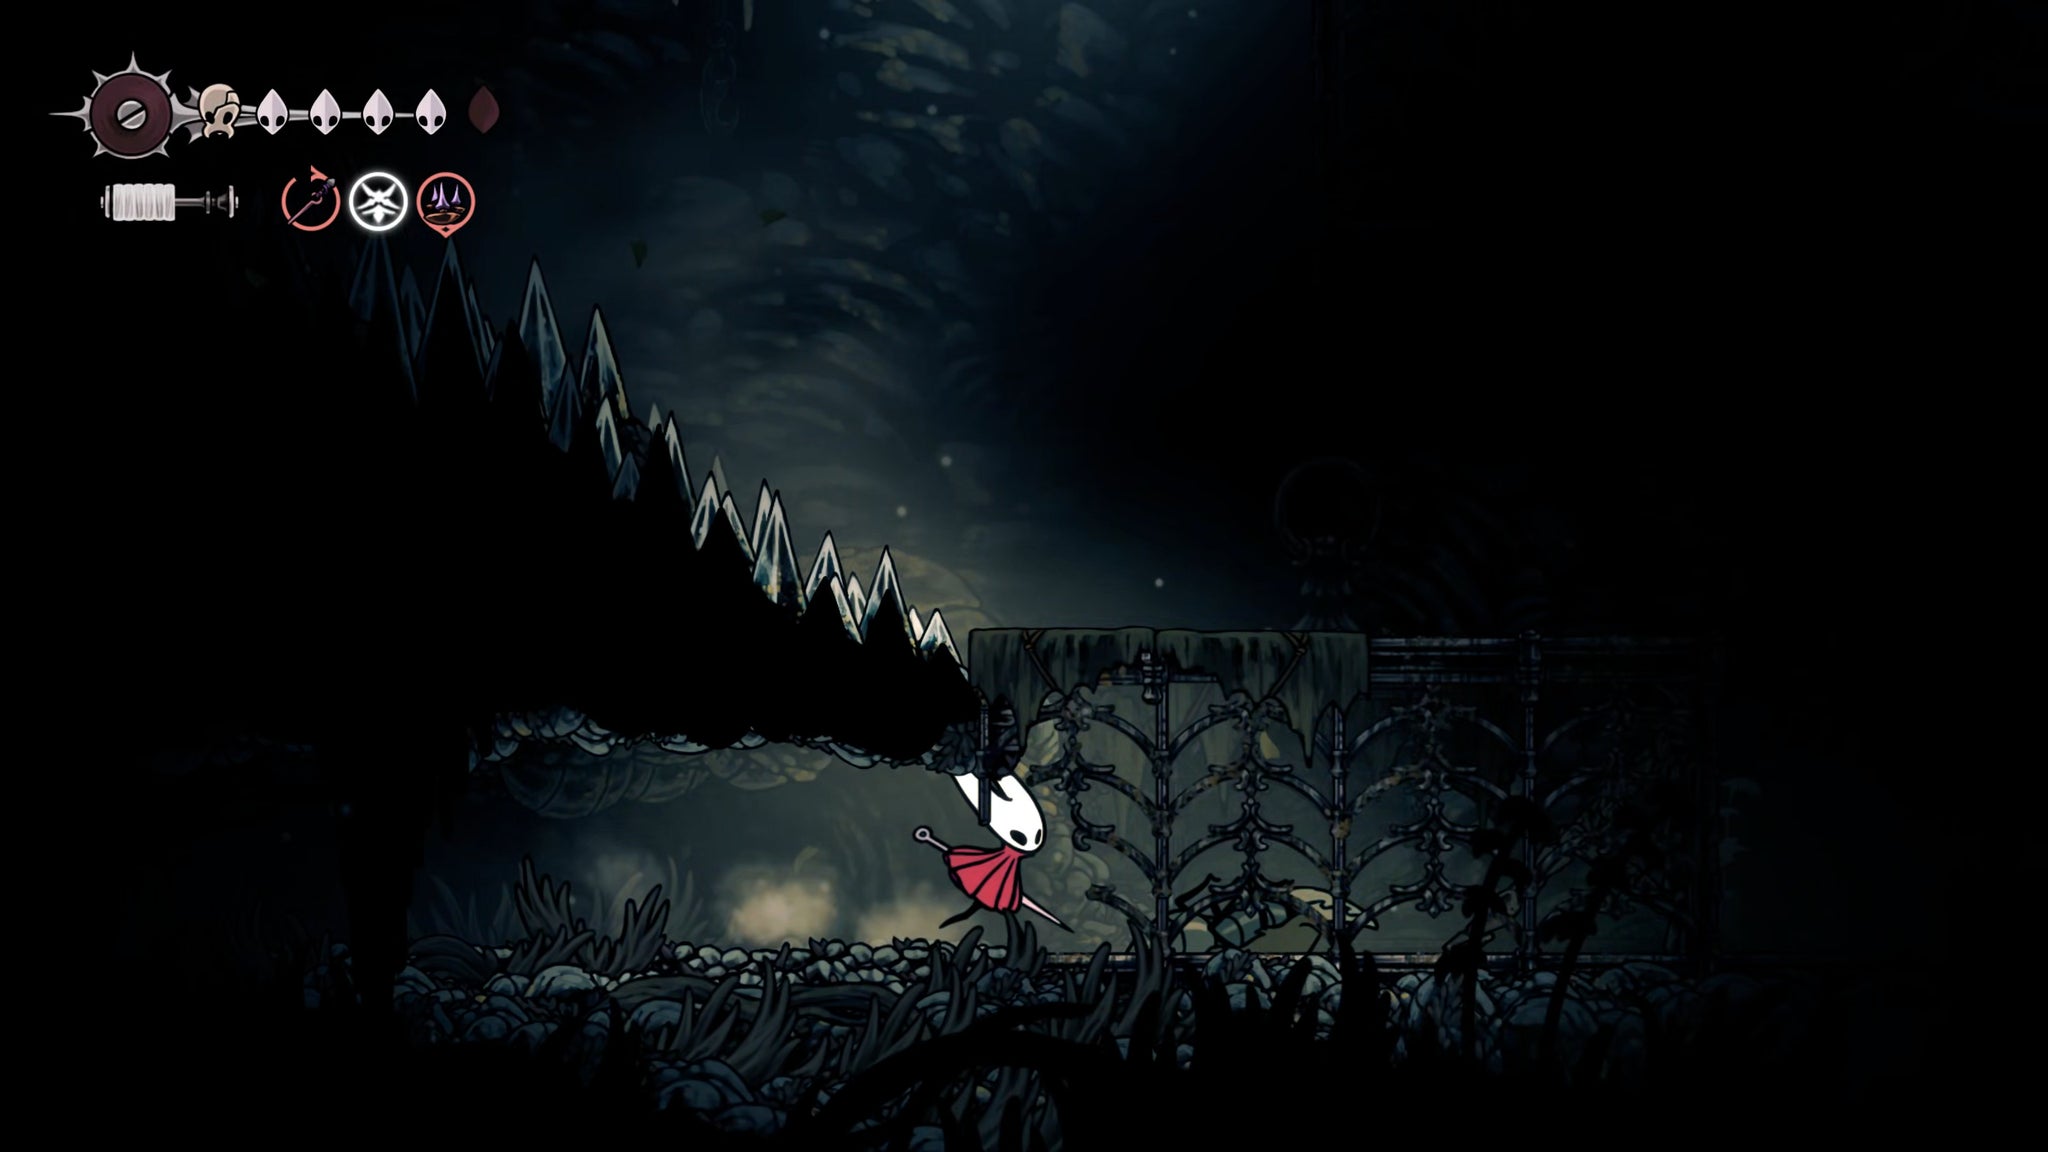

Climb back up to where that first Mite was, and jump up into the room above. You'll find yourself in a cage, in a brand new (tougher) region - Sinner's Road. Don't worry, we're not staying. Break its right-hand side open, and then kill the two Muchroaches (brand new enemies) in front of you. They're very aggressive, so back off after each attack to avoid retribution.
Once they're dead, rest on the strange "Bench" of silk ahead, and a large bug will drop from the ceiling. This is Styx! Exhaust his dialogue to learn that he considers himself your everlasting servant.
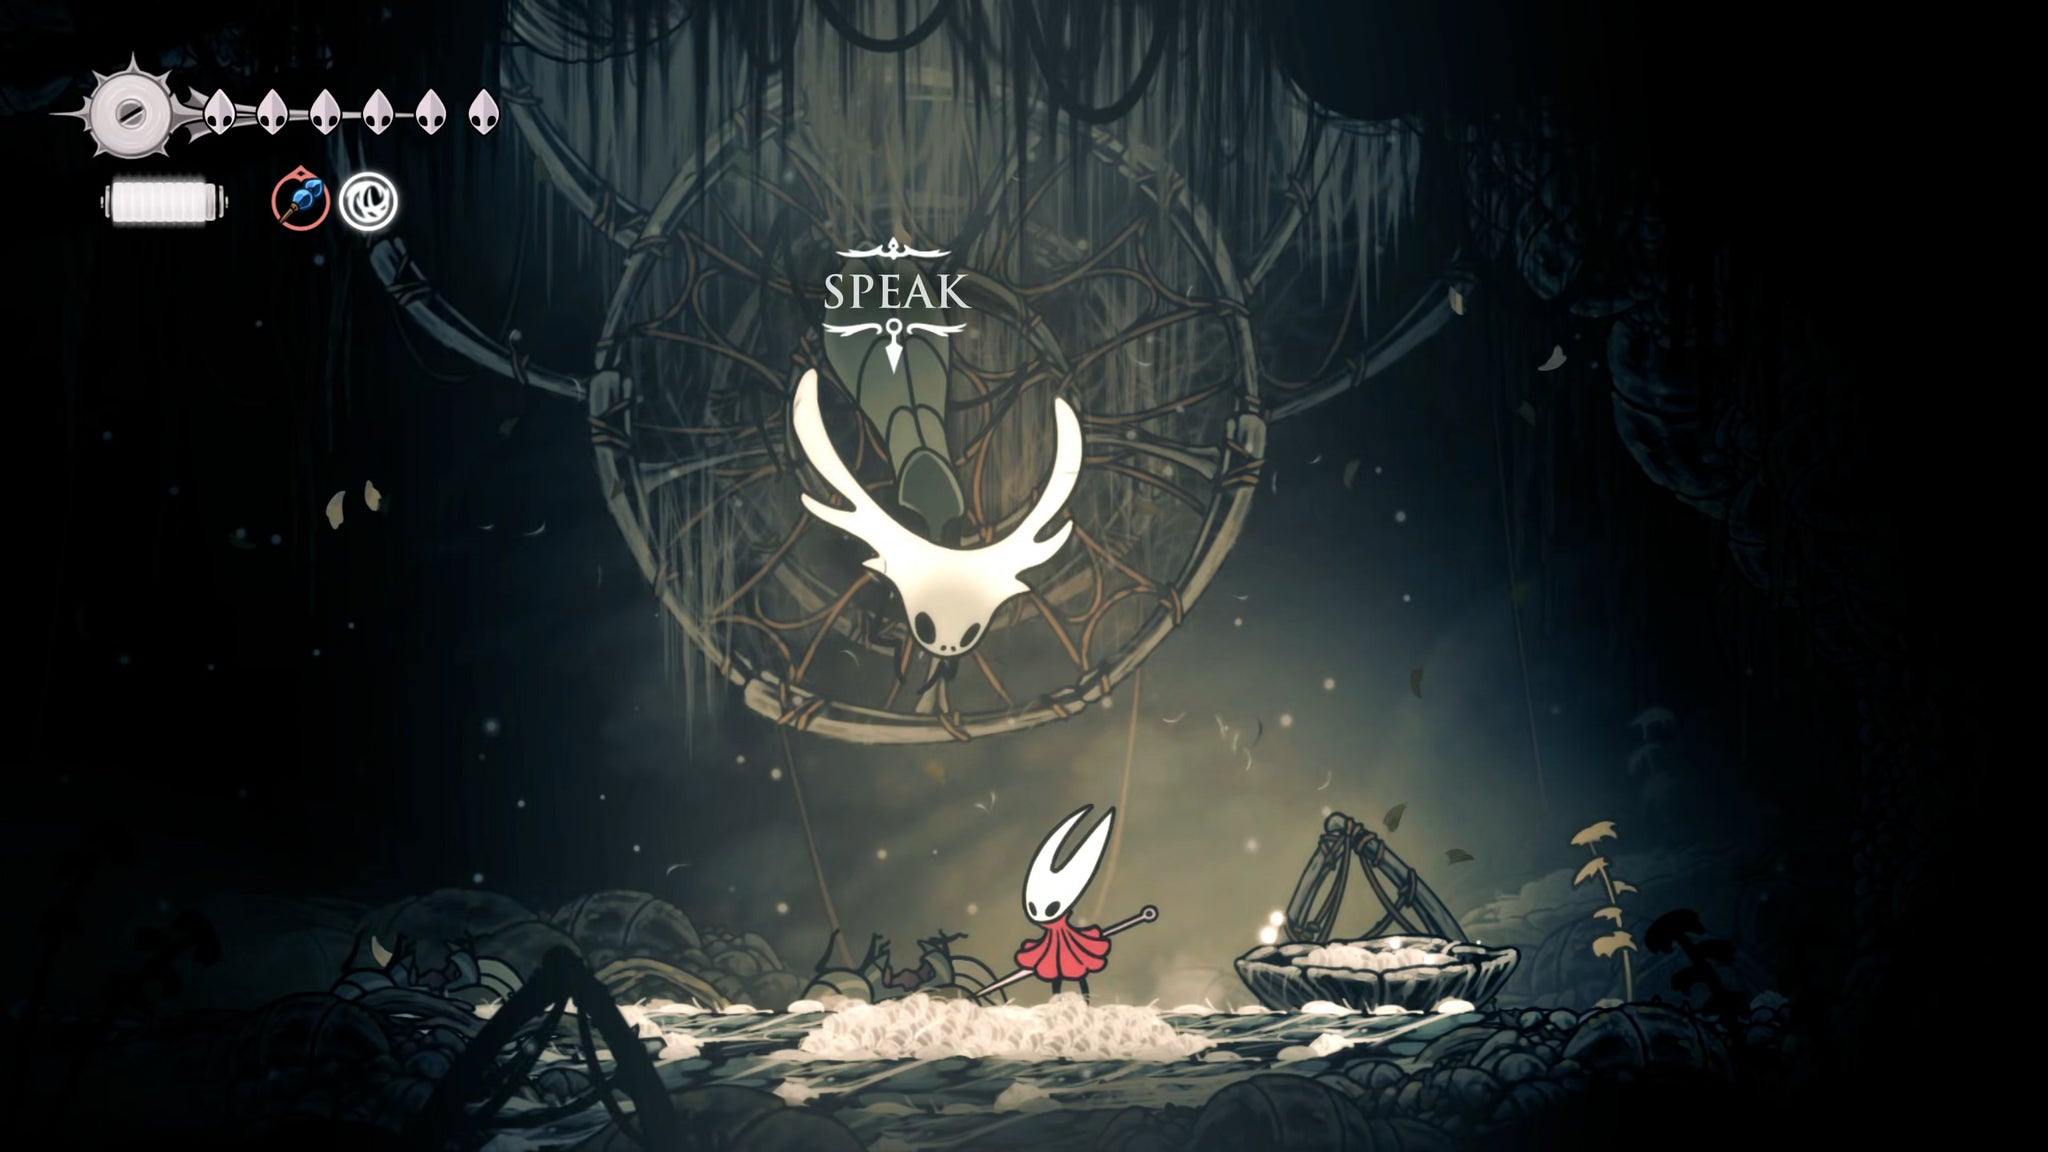
Come back to Styx whenever you like; he periodically creates spider eggs you can break for a Silkeater - a one-use item which retrieves your lost Silk (dropped after death) from afar. Handy, but only use it when you really need to save those Rosaries.
Don't proceed further through this room. Sinner's Road is a region to conquer later. Head back through the cage and out of the secret area you found.
10. Meet Creig and Nuu at the Halfway Home.
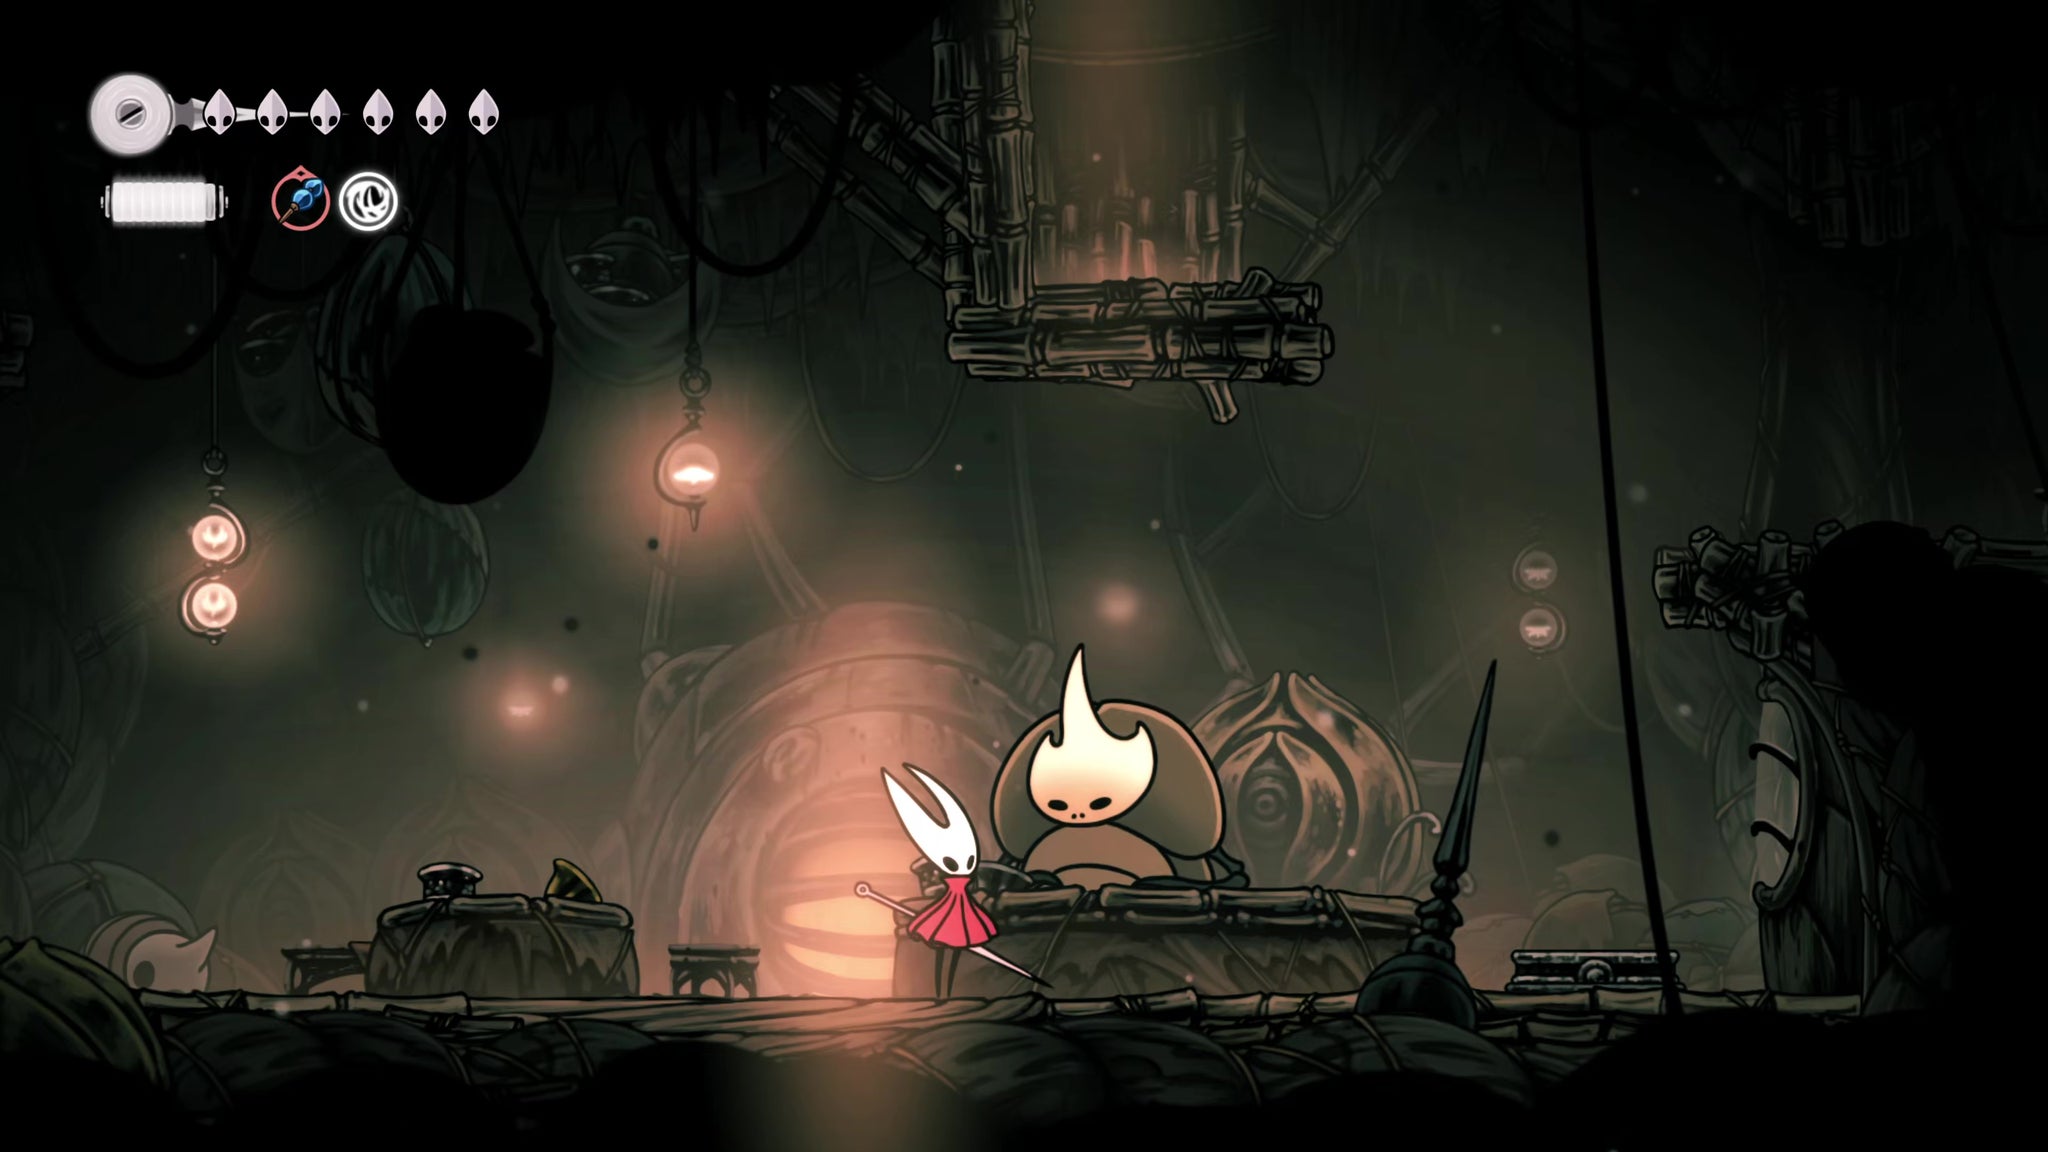
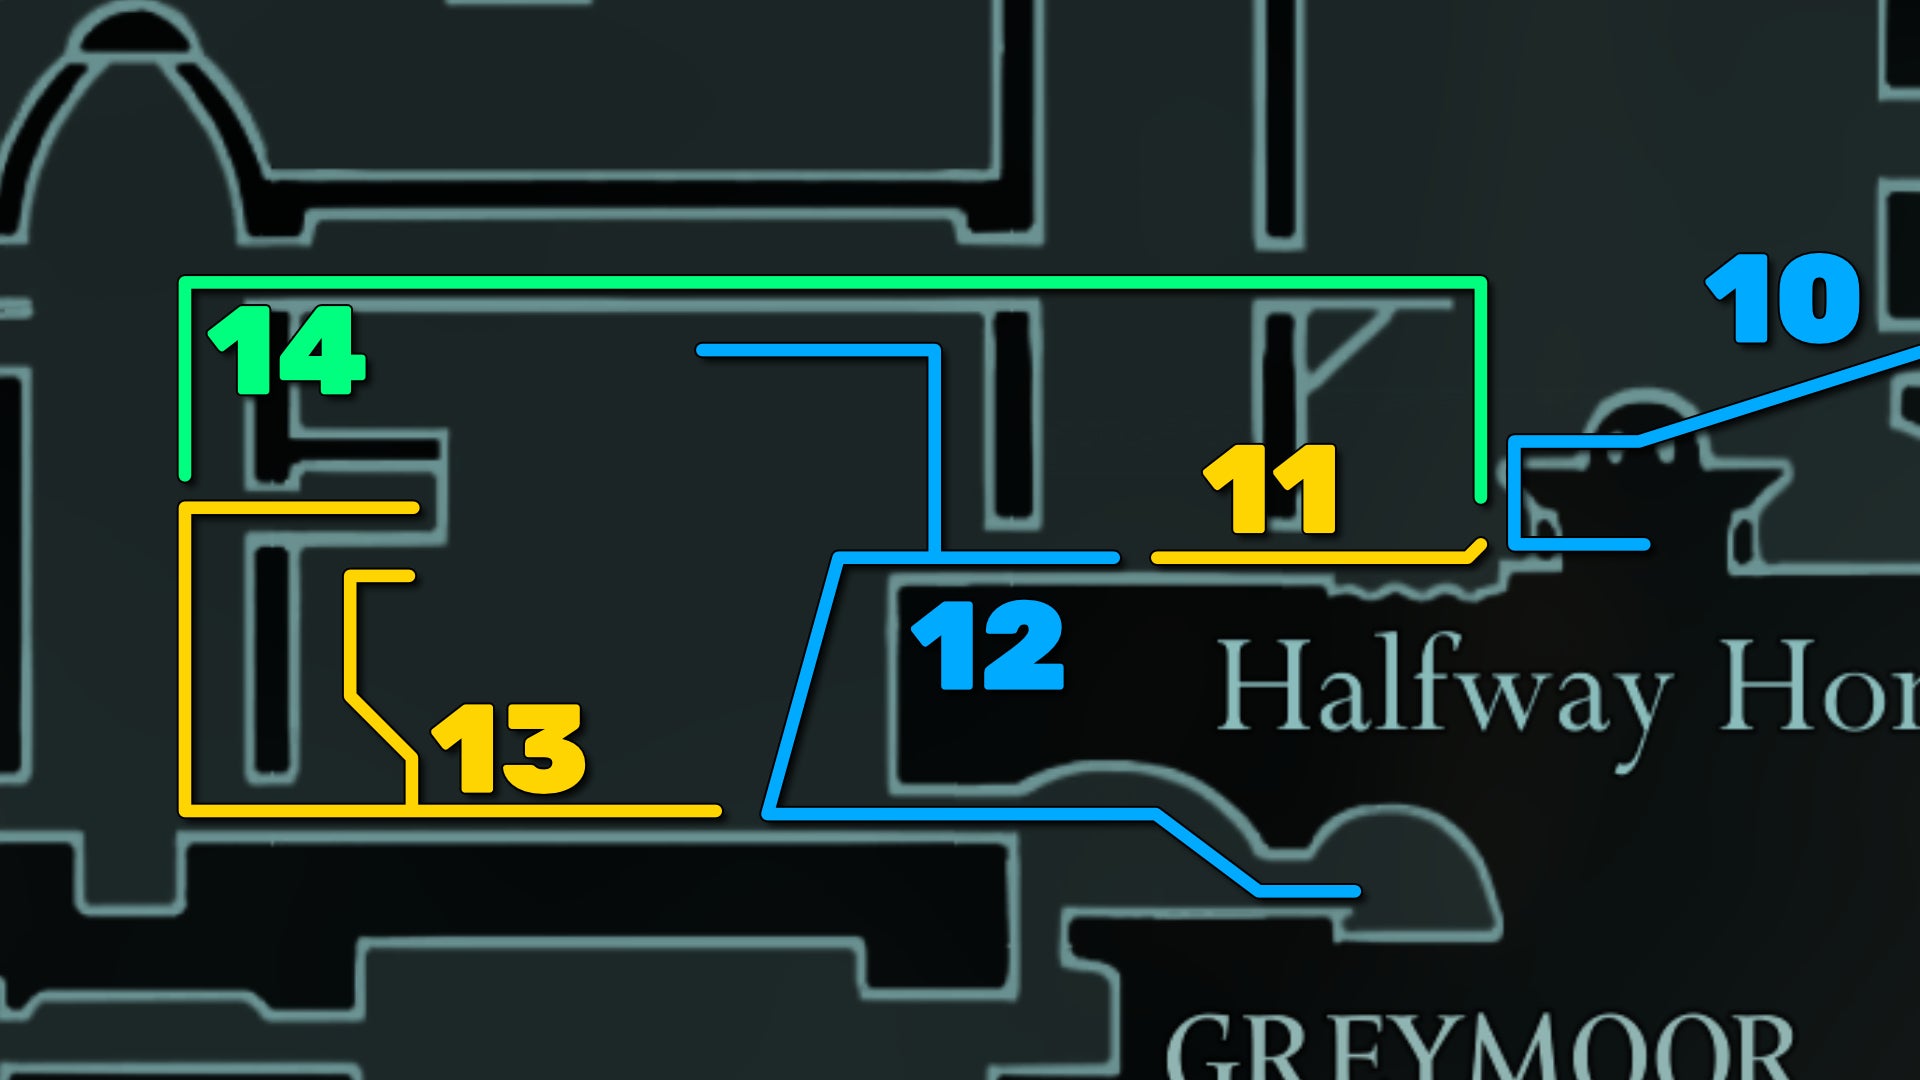
Retrace your steps until you're back in the outdoor area with the lit building. Jump onto the roof (beware the Craws that spawn here), drop down the left side, and enter the building. This is the Halfway Home - a brief moment of respite amongst the dangers of Greymoor.
Speak with the proprietor - a bug named Creig. If you've followed this walkthrough, you'll already have seen his name written on the Wishwall in Bellhart, so exhaust his dialogue to get a new quest to harvest Ragpelts from the Craw enemies in the region. I won't explore this simple quest further in this walkthrough; just return to him once you've got the Ragpelts for your reward.
While you're here, you can stand on the pressure plate beside Creig to open the shortcut out to the right. But there's another to meet in the Halfway Home! Jump to the upper levels (there's also a Bench here you can rest at), and you'll meet the brightly coloured Nuu.
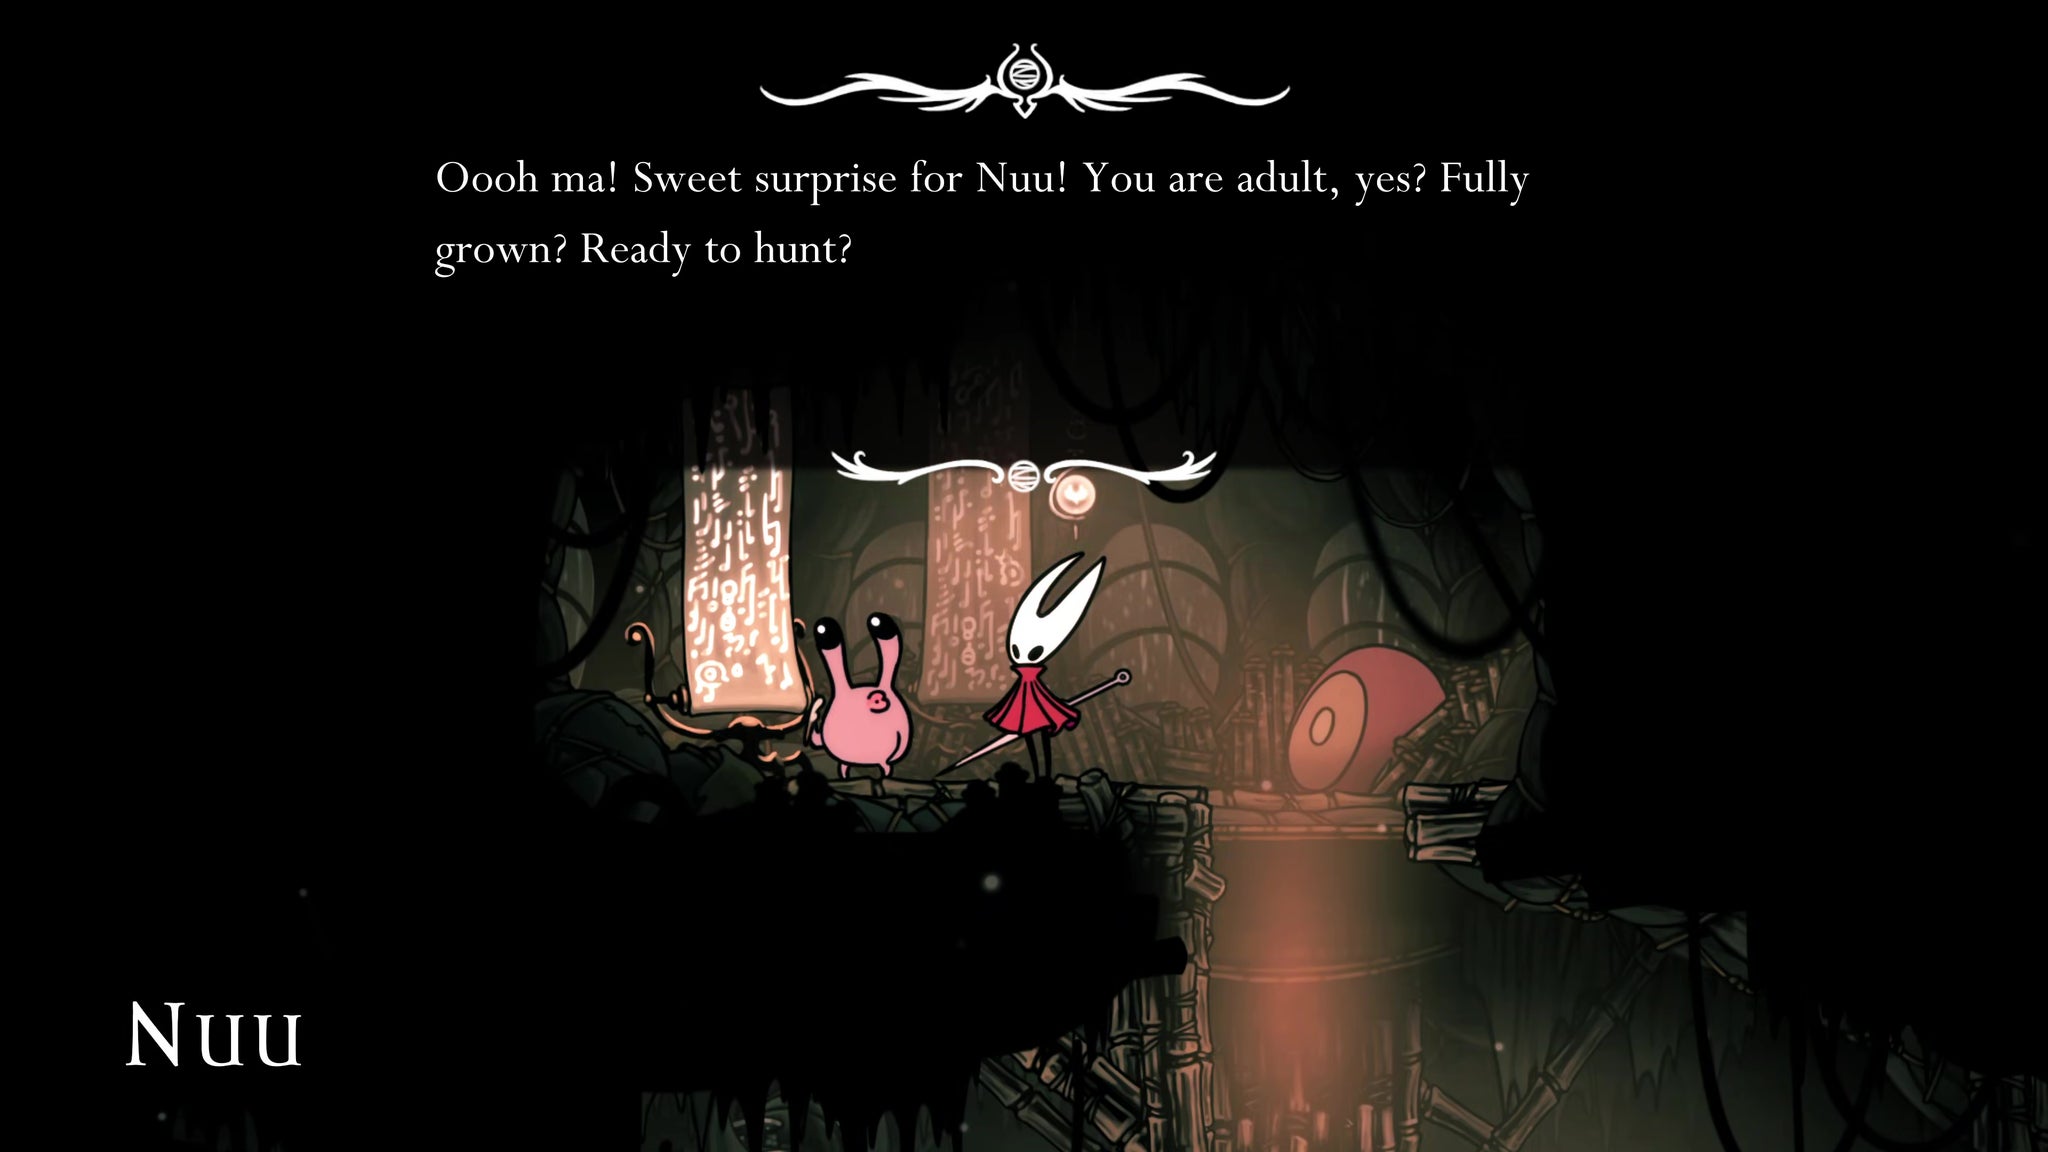
Accept Nuu's quest, and she'll give you the Hunter's Journal - an encyclopaedia of enemies that you can fill in throughout your travels.
11. Complete the gauntlet to the west.
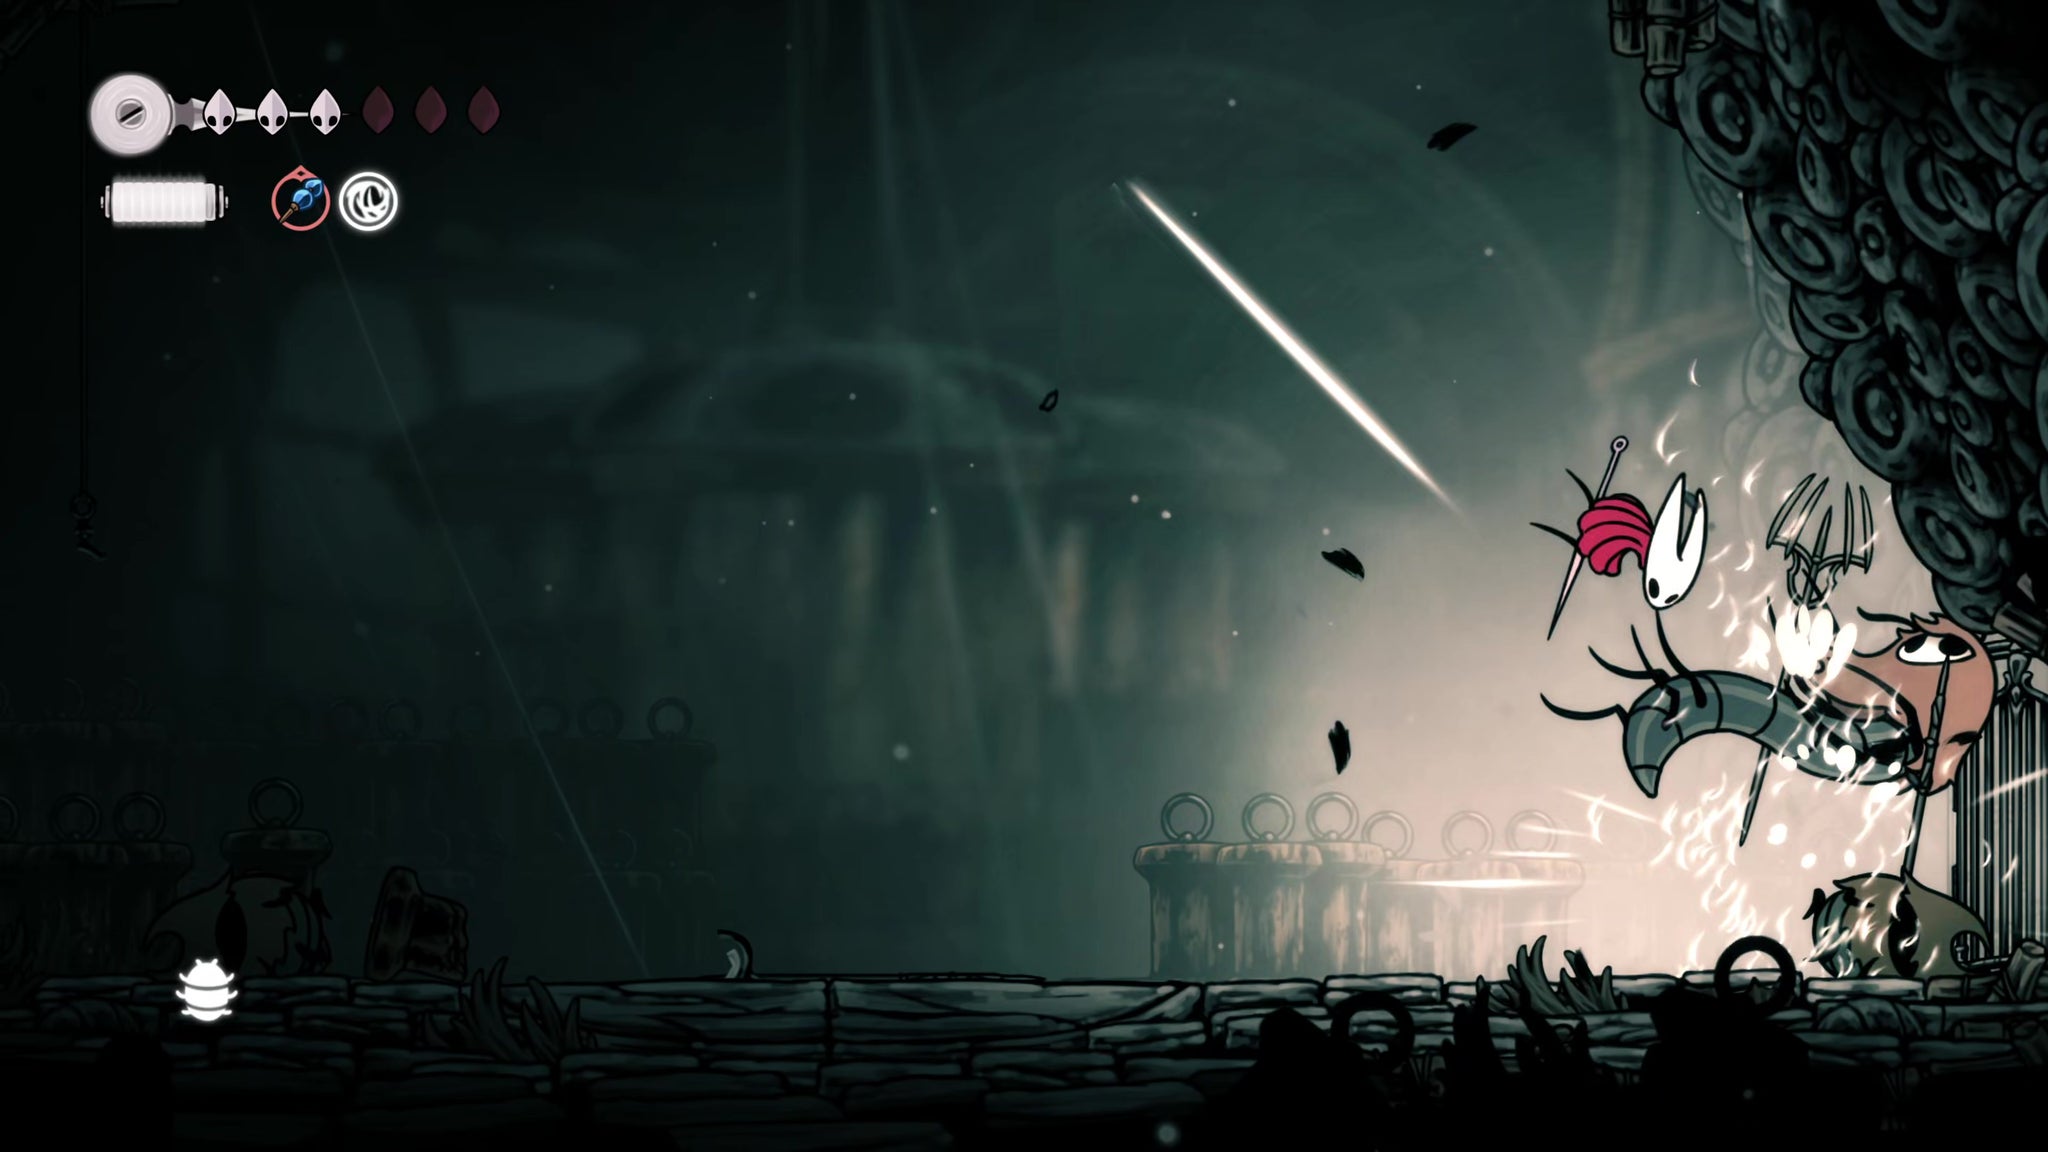
When you're ready, exit out of the Halfway Home and into the next outdoor room to your left, where you'll immediately come across another gauntlet. This is a simpler gauntlet than the previous one, although it does feature a new enemy - the serpentine Thread Raker (which is quite weak to repeated Pogo attacks, just so you know).
Once the gauntlet is cleared, exit to the left.
12. Unlock the Greymoor Bellway.
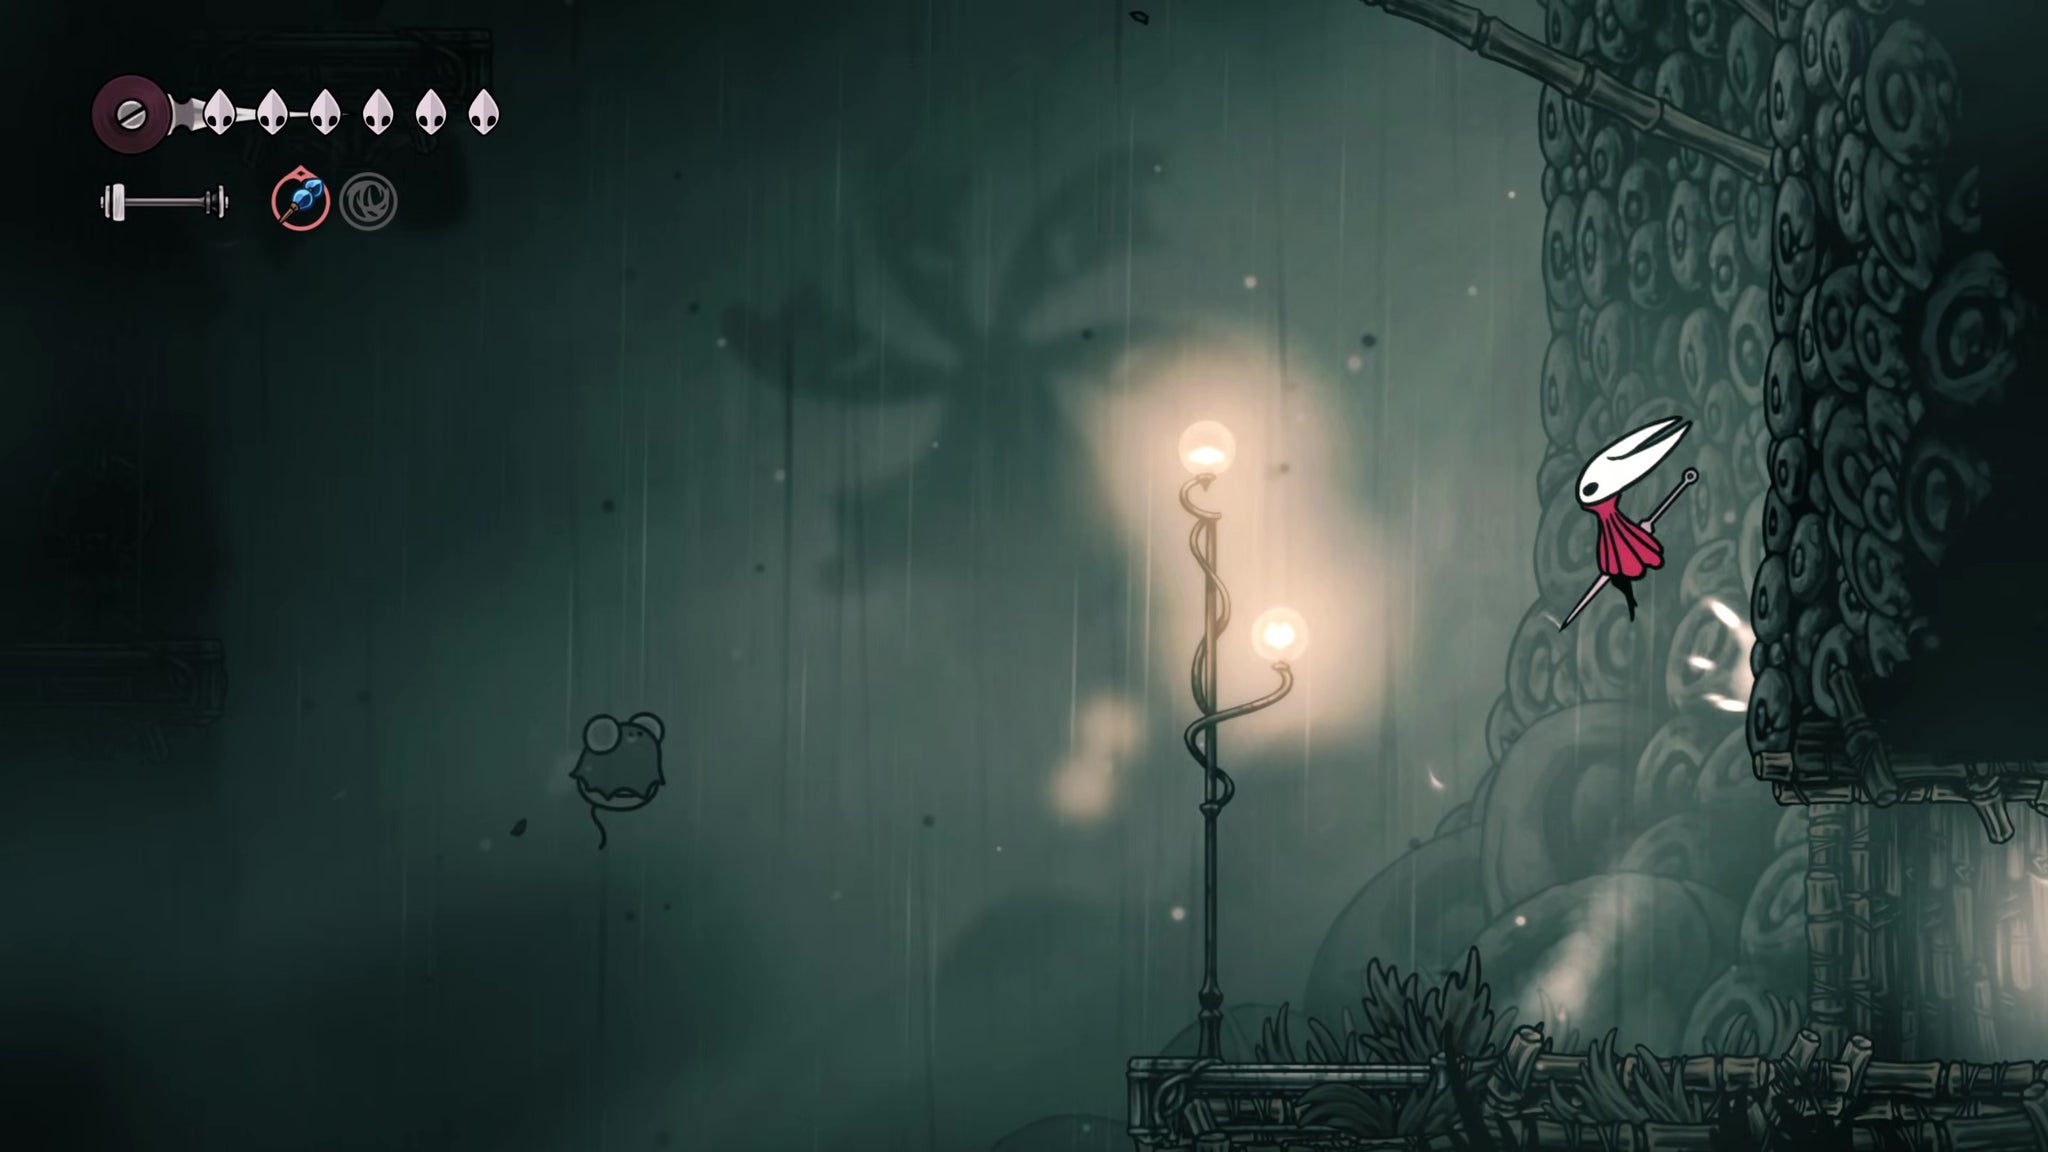

In the next room patrolled by those blind Fluttermites, wall-climb above you for a Rosary cache, and then follow the path along the ceiling to reach a little alcove guarded by a Silk Snipper wielding a giant pair of scissors. Slay it and loot the Shard Bundle at the end.
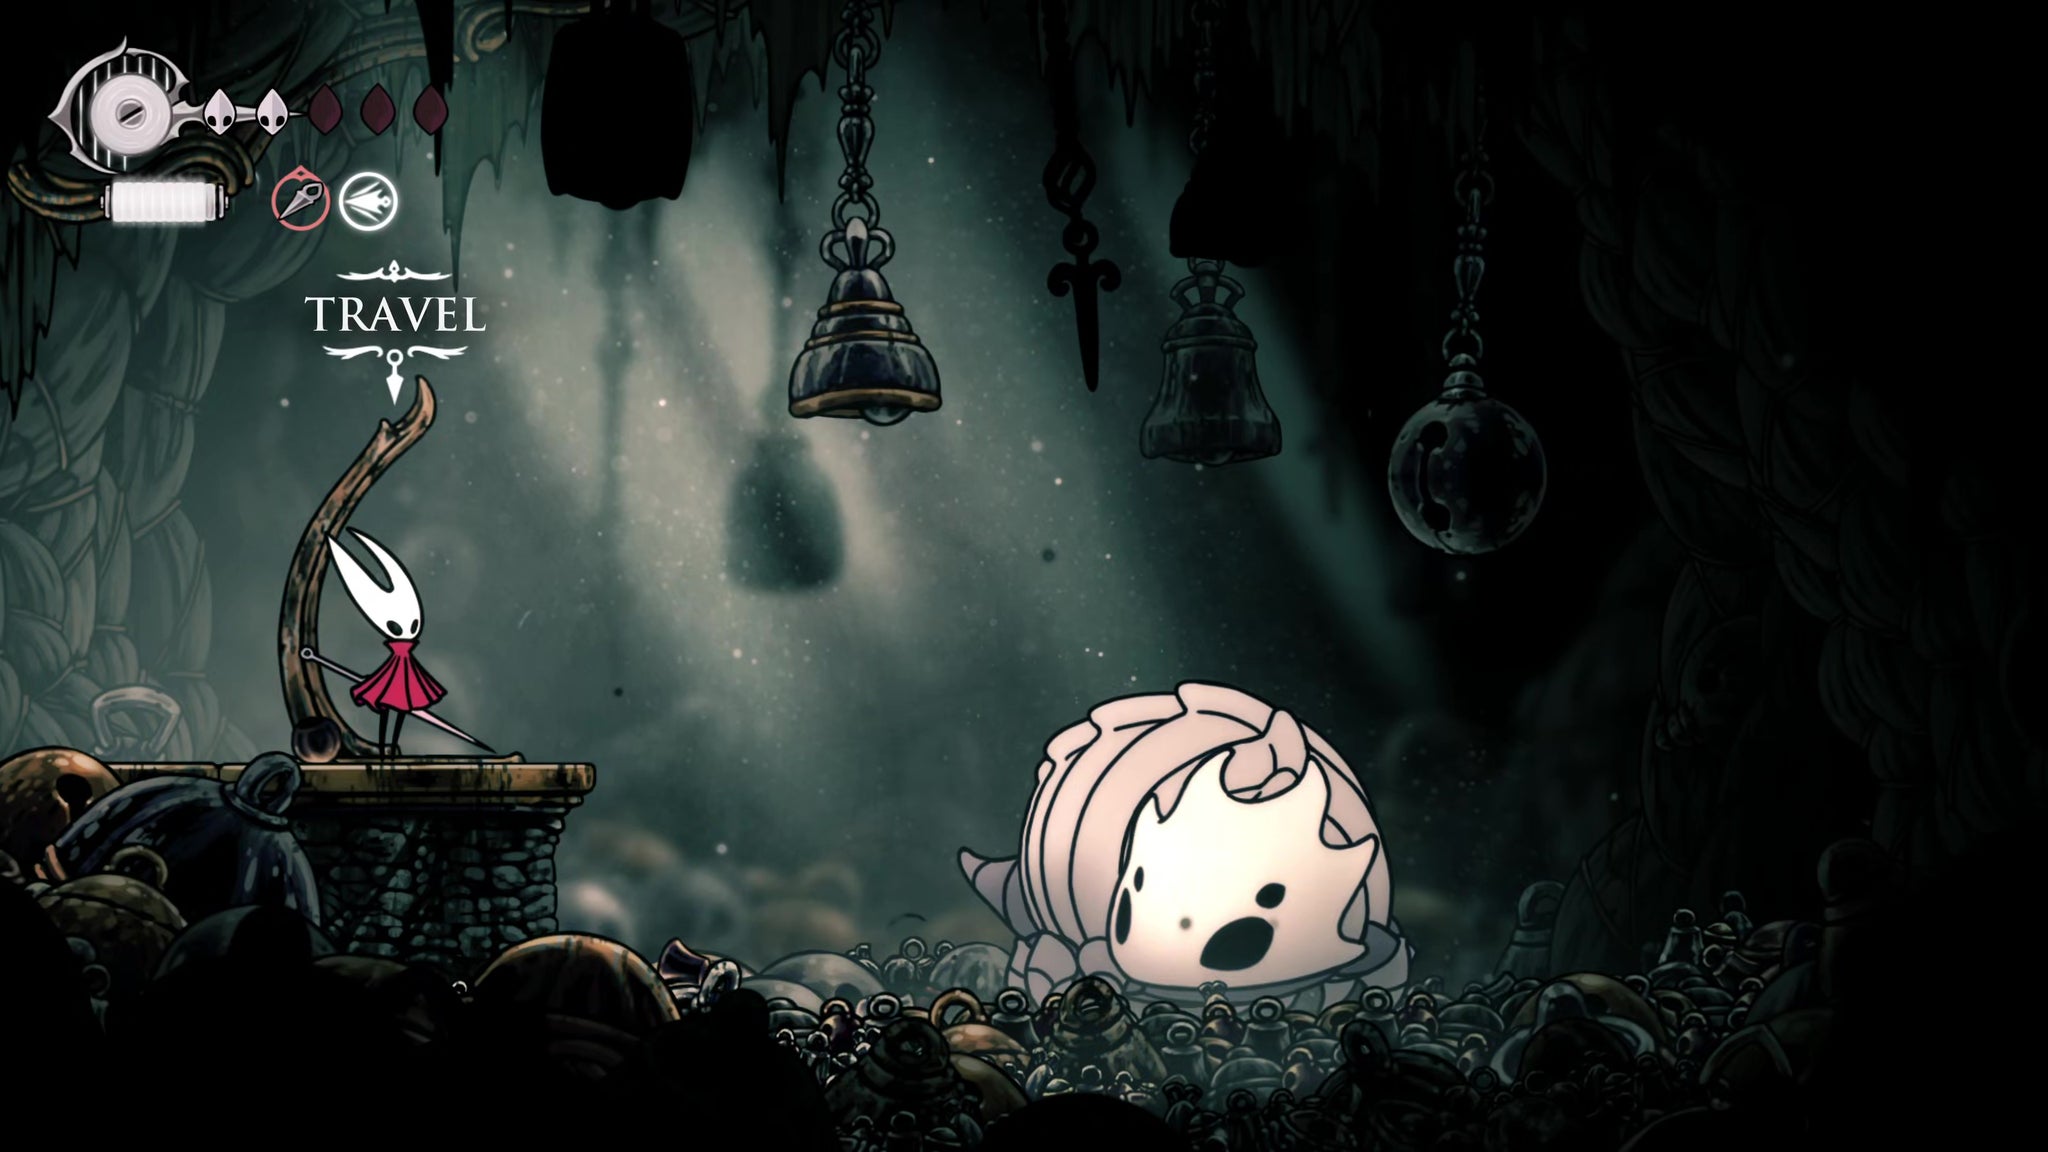
Then drop back down past the Fluttermites to the very ground level of the room and exit to the right. Follow the path to the right, and you can pay 80 Rosaries to unlock the Greymoor Bellway at last.
13. Meet Garmond and Zaza.
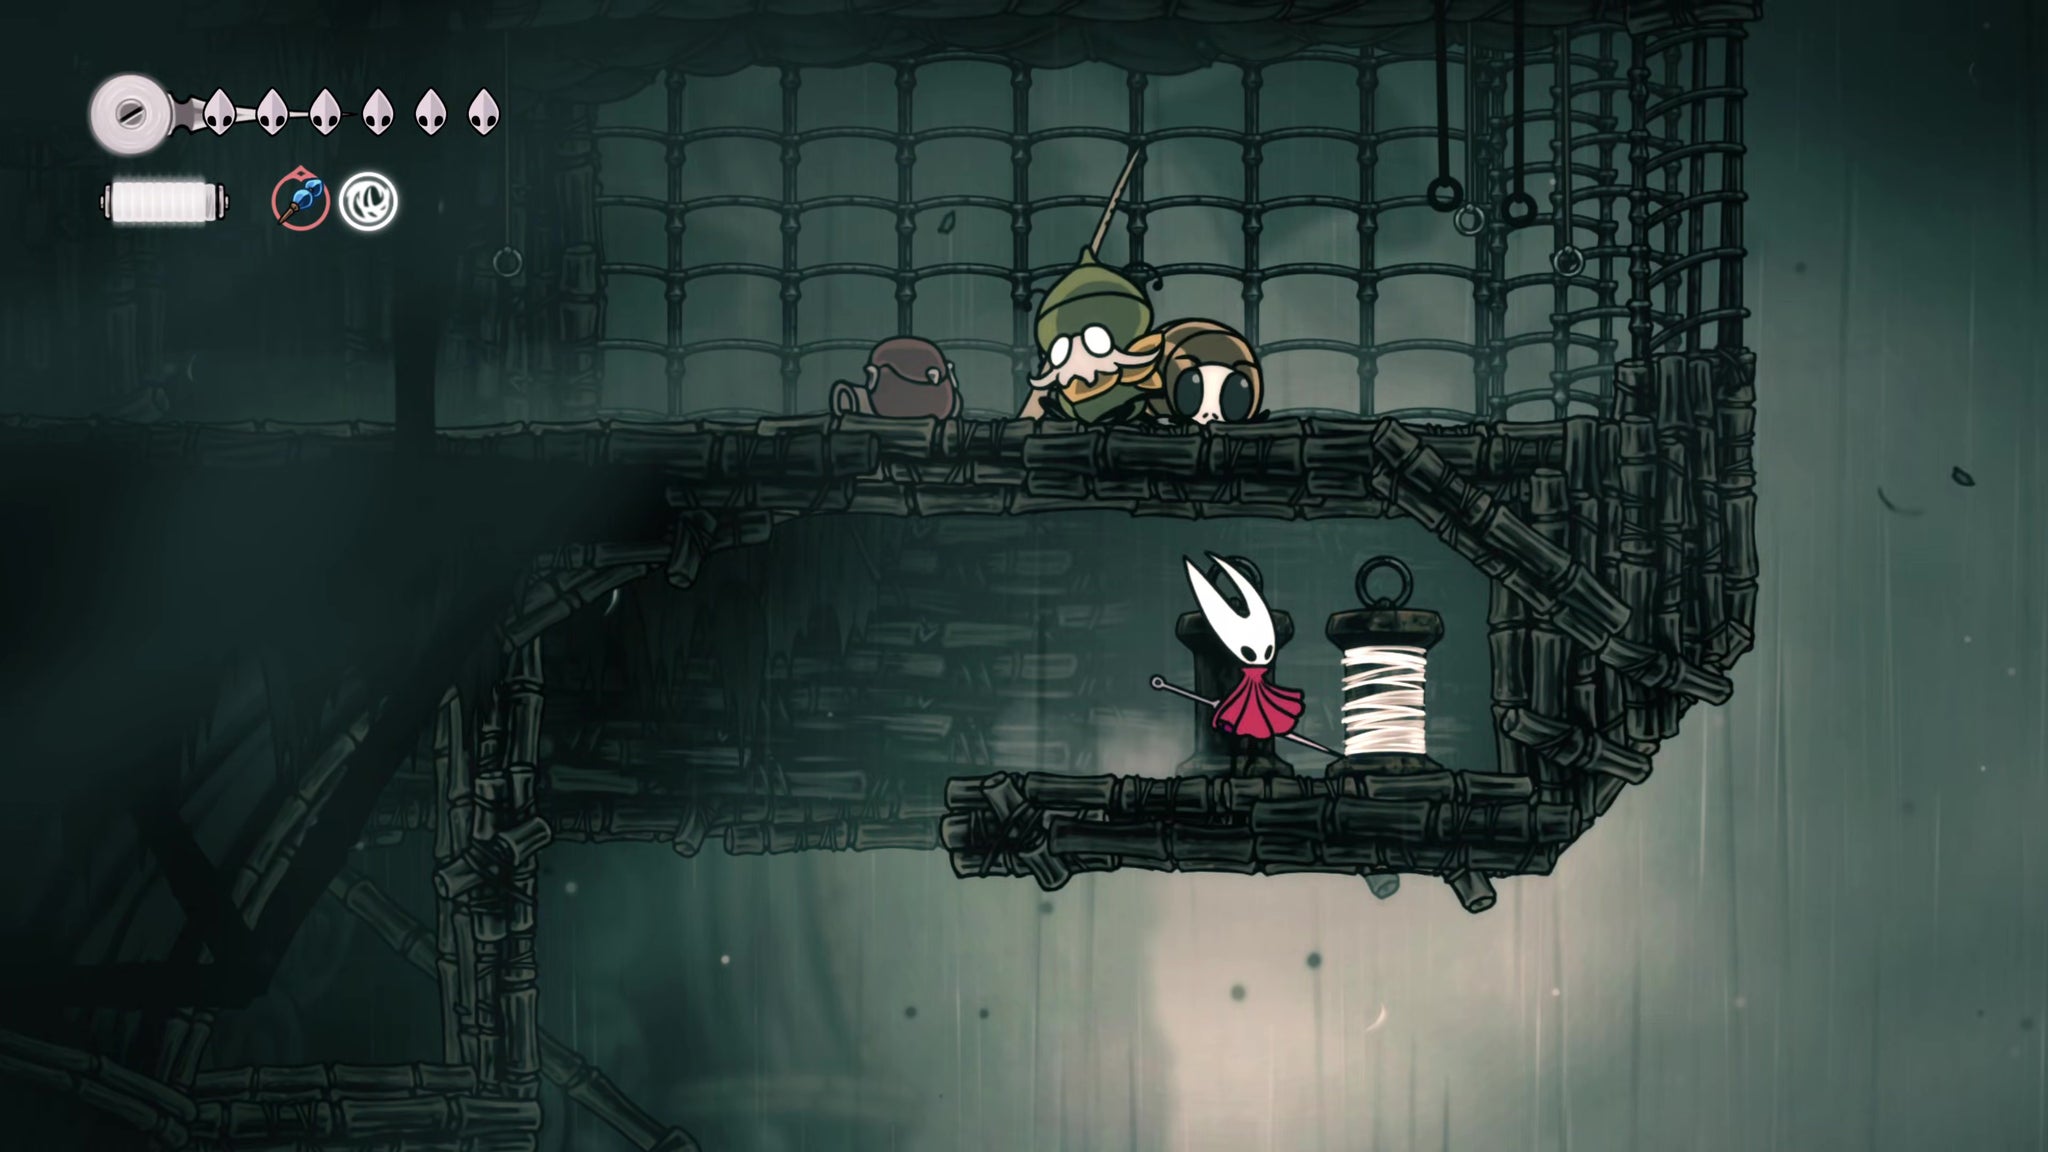
Head back outdoors and climb above the wooden walkway to your left. Follow the platforms upwards for some Silk. Just above the Silk you'll see an NPC resting. To get to him, drop back down to the ground, and this time go through the wooden walkway to the next room.
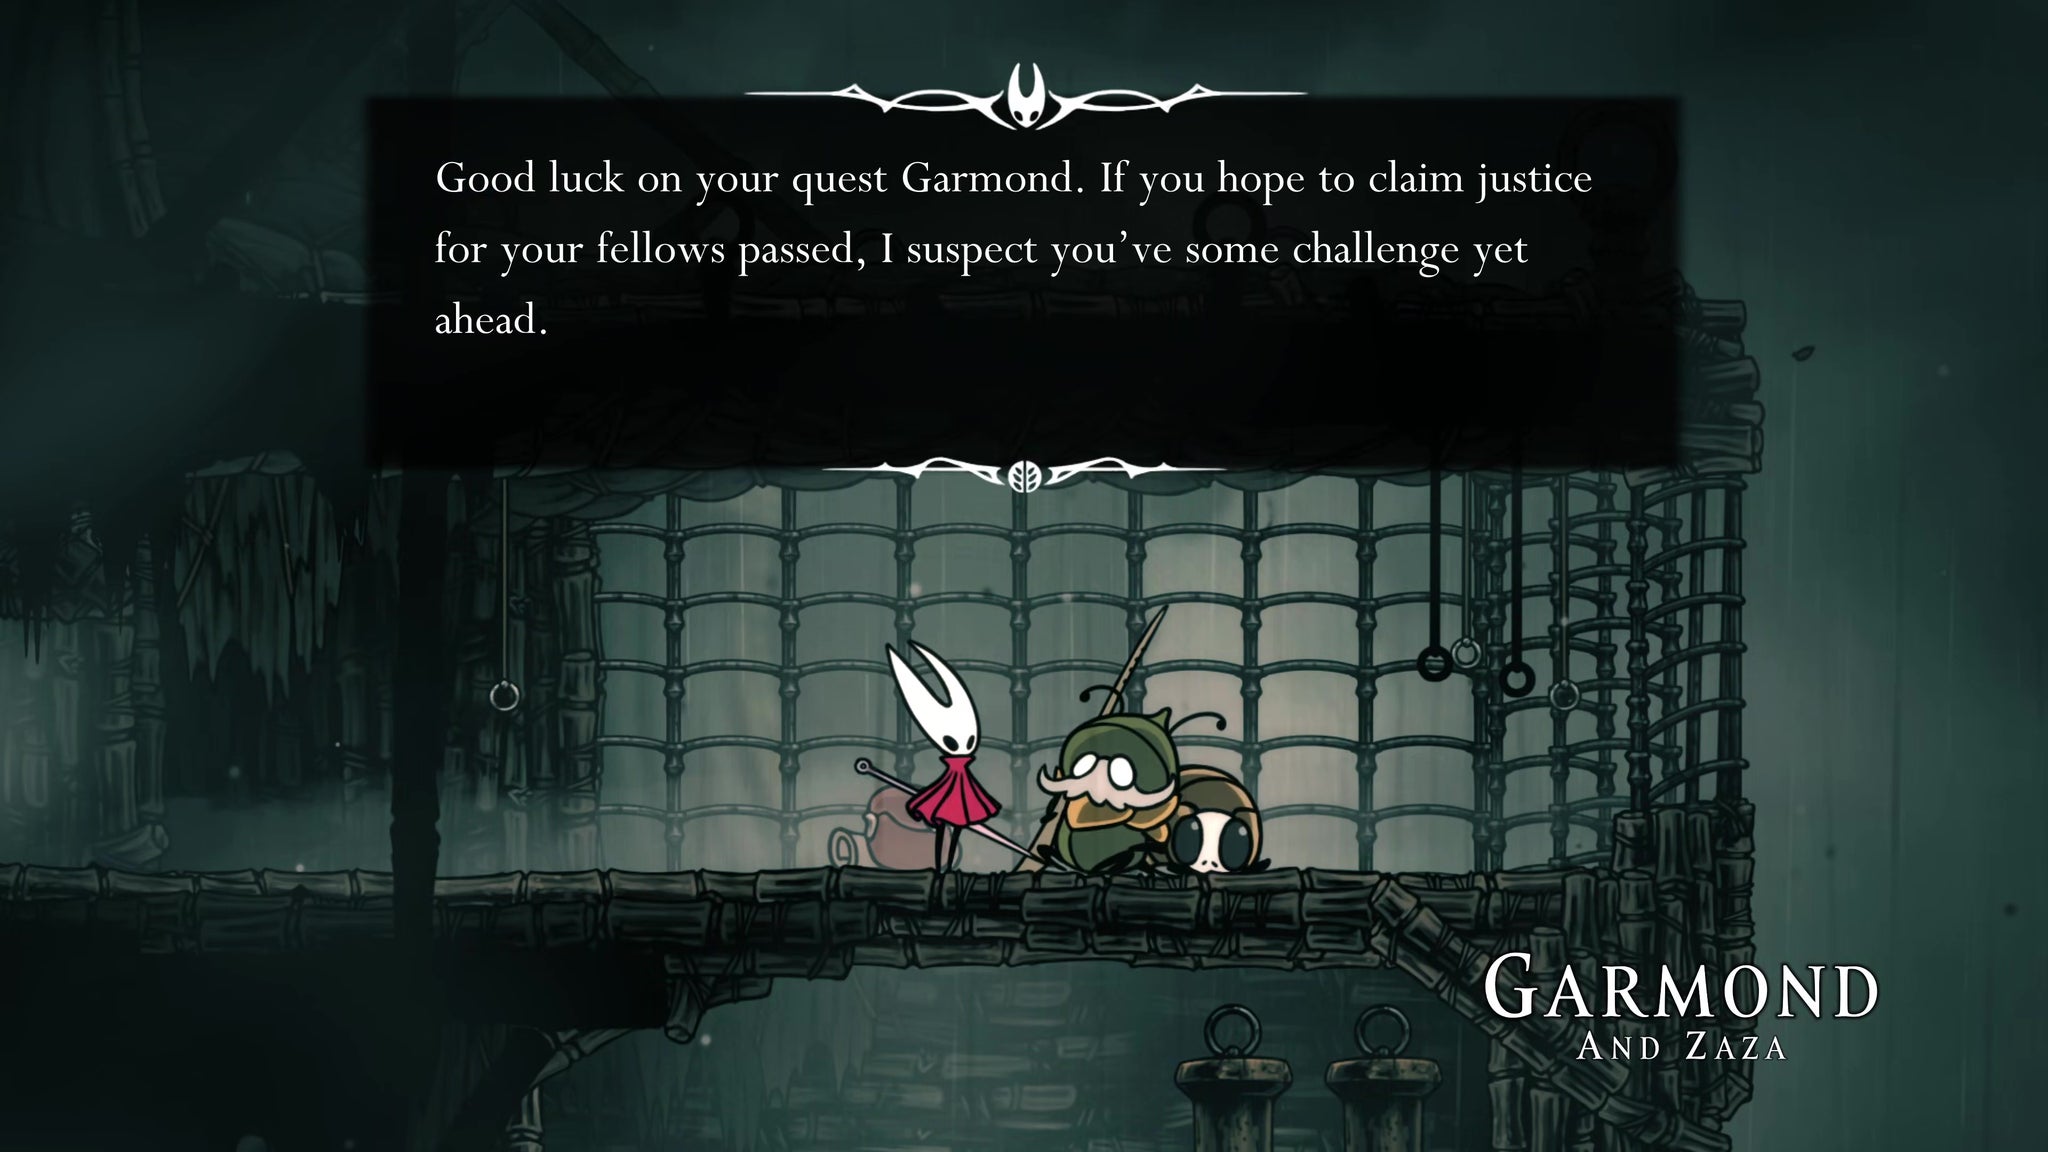
In this next room, climb up the ledges until you get to the spinning spiked saws at the top, then pass through the exit on the right just beneath them. At the end of the path you can speak with the NPC - Garmond - and his companion, Zaza.
14. Activate the Halfway Home elevator.
Go back into the spiked saws room, and cross over to the left-hand side for a Rosary cache. Then keep climbing upwards - you can Pogo off the saws for greater height.

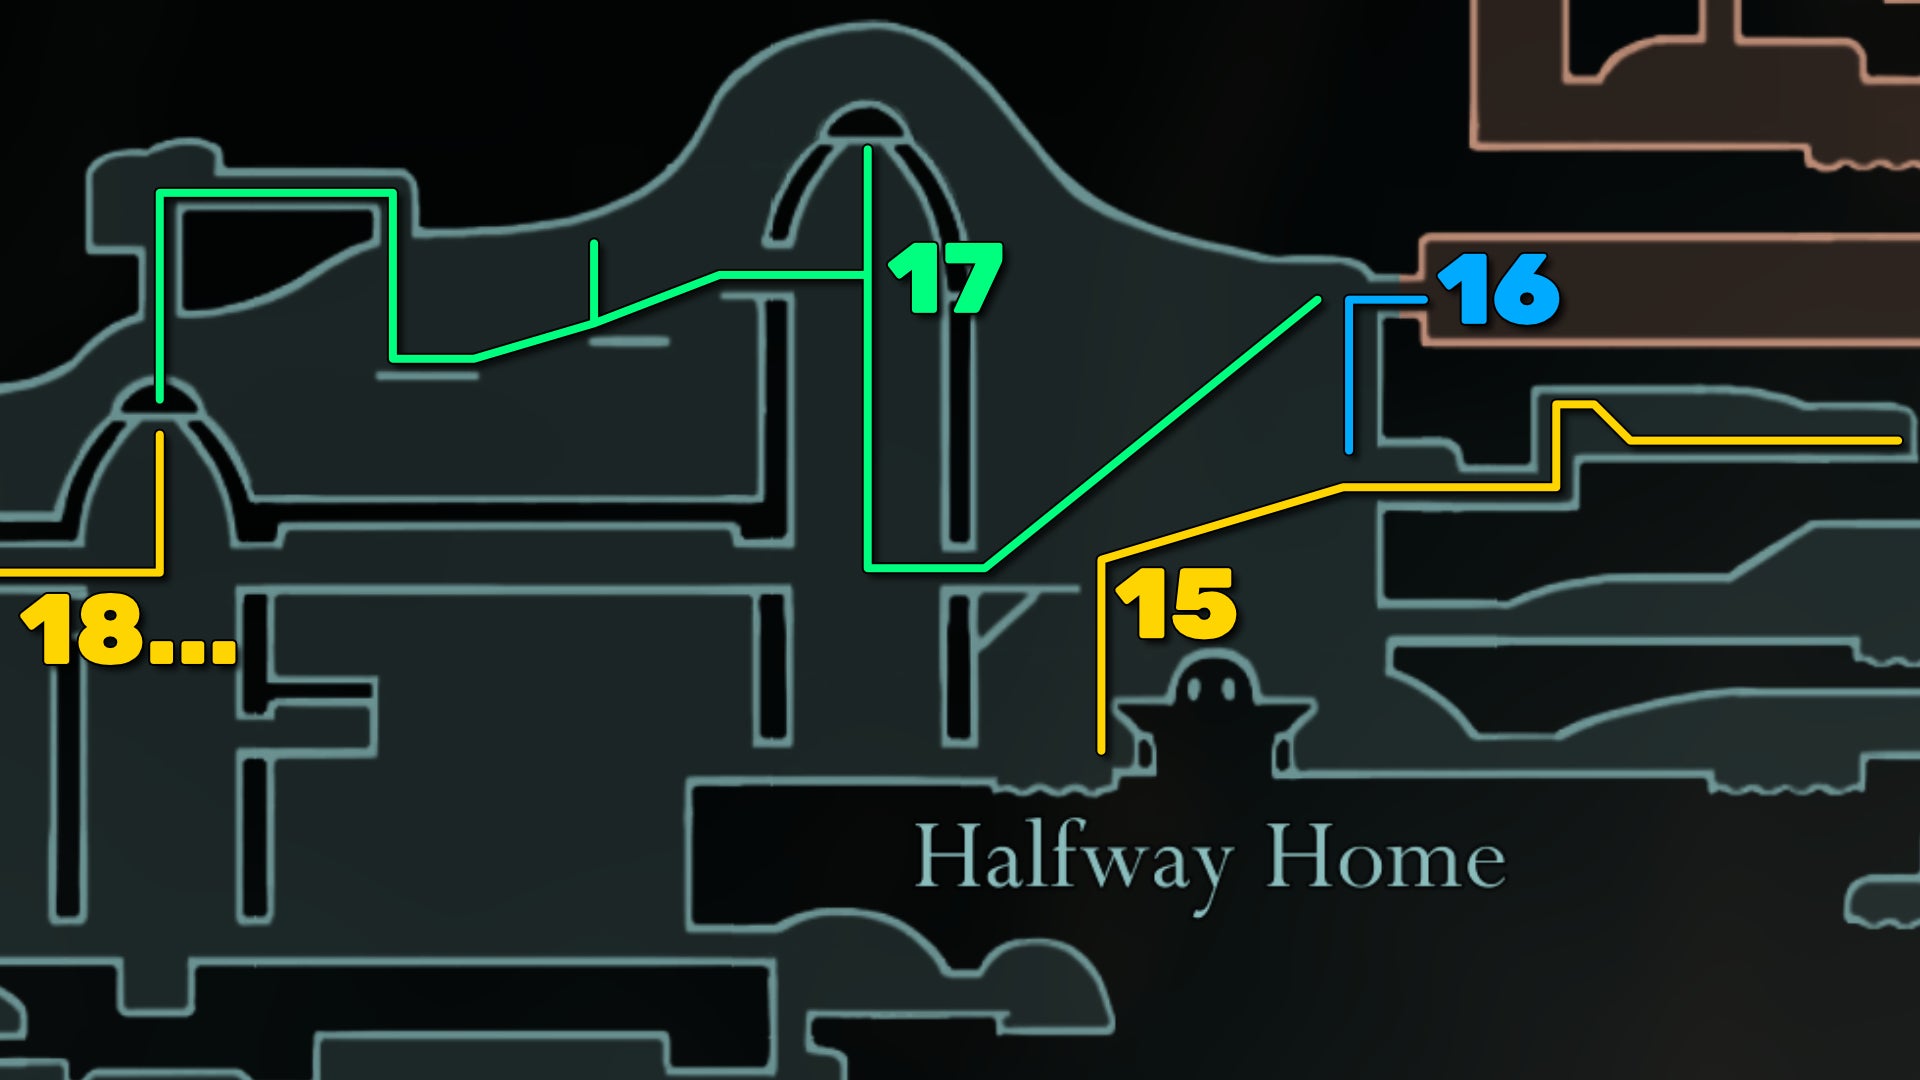
Climb up to the high-up right-hand exit, and go through it. In the corridor beyond, defeat another Thread Raker and keep heading all the way right until you reach an elevator. Stand on the pressure plate to activate it. It can now take you back to the Halfway Home whenever you like (you can go back now and rest at the Bench if needed).
15. Rescue Kratt.
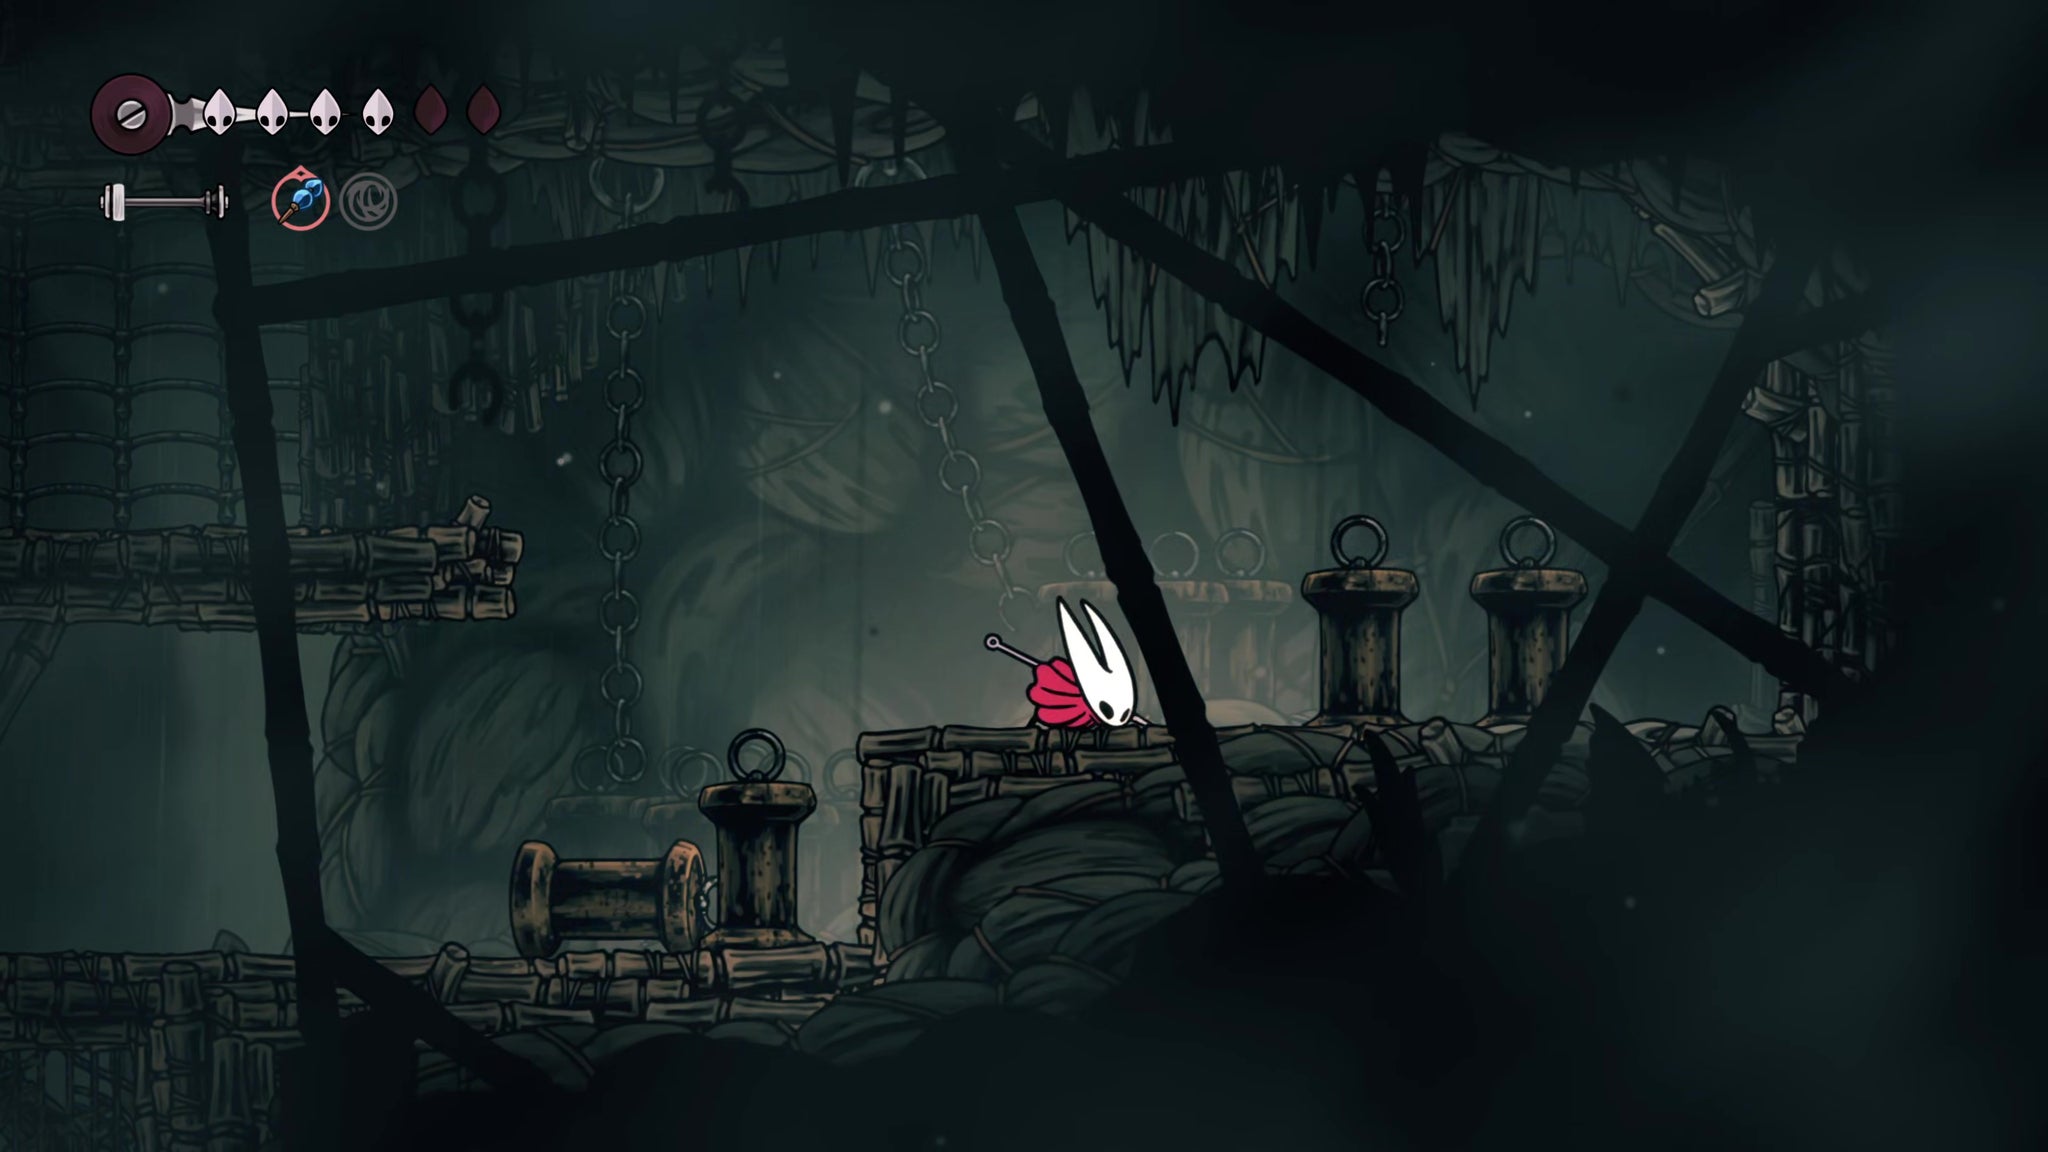
Ride the elevator back to the top, and jump over it to the right to reach a new set of platforms. On the far right-hand side, about halfway up, you'll find a little alcove with a number of large yarn spools. Hit the wall at the end to open a secret passage.
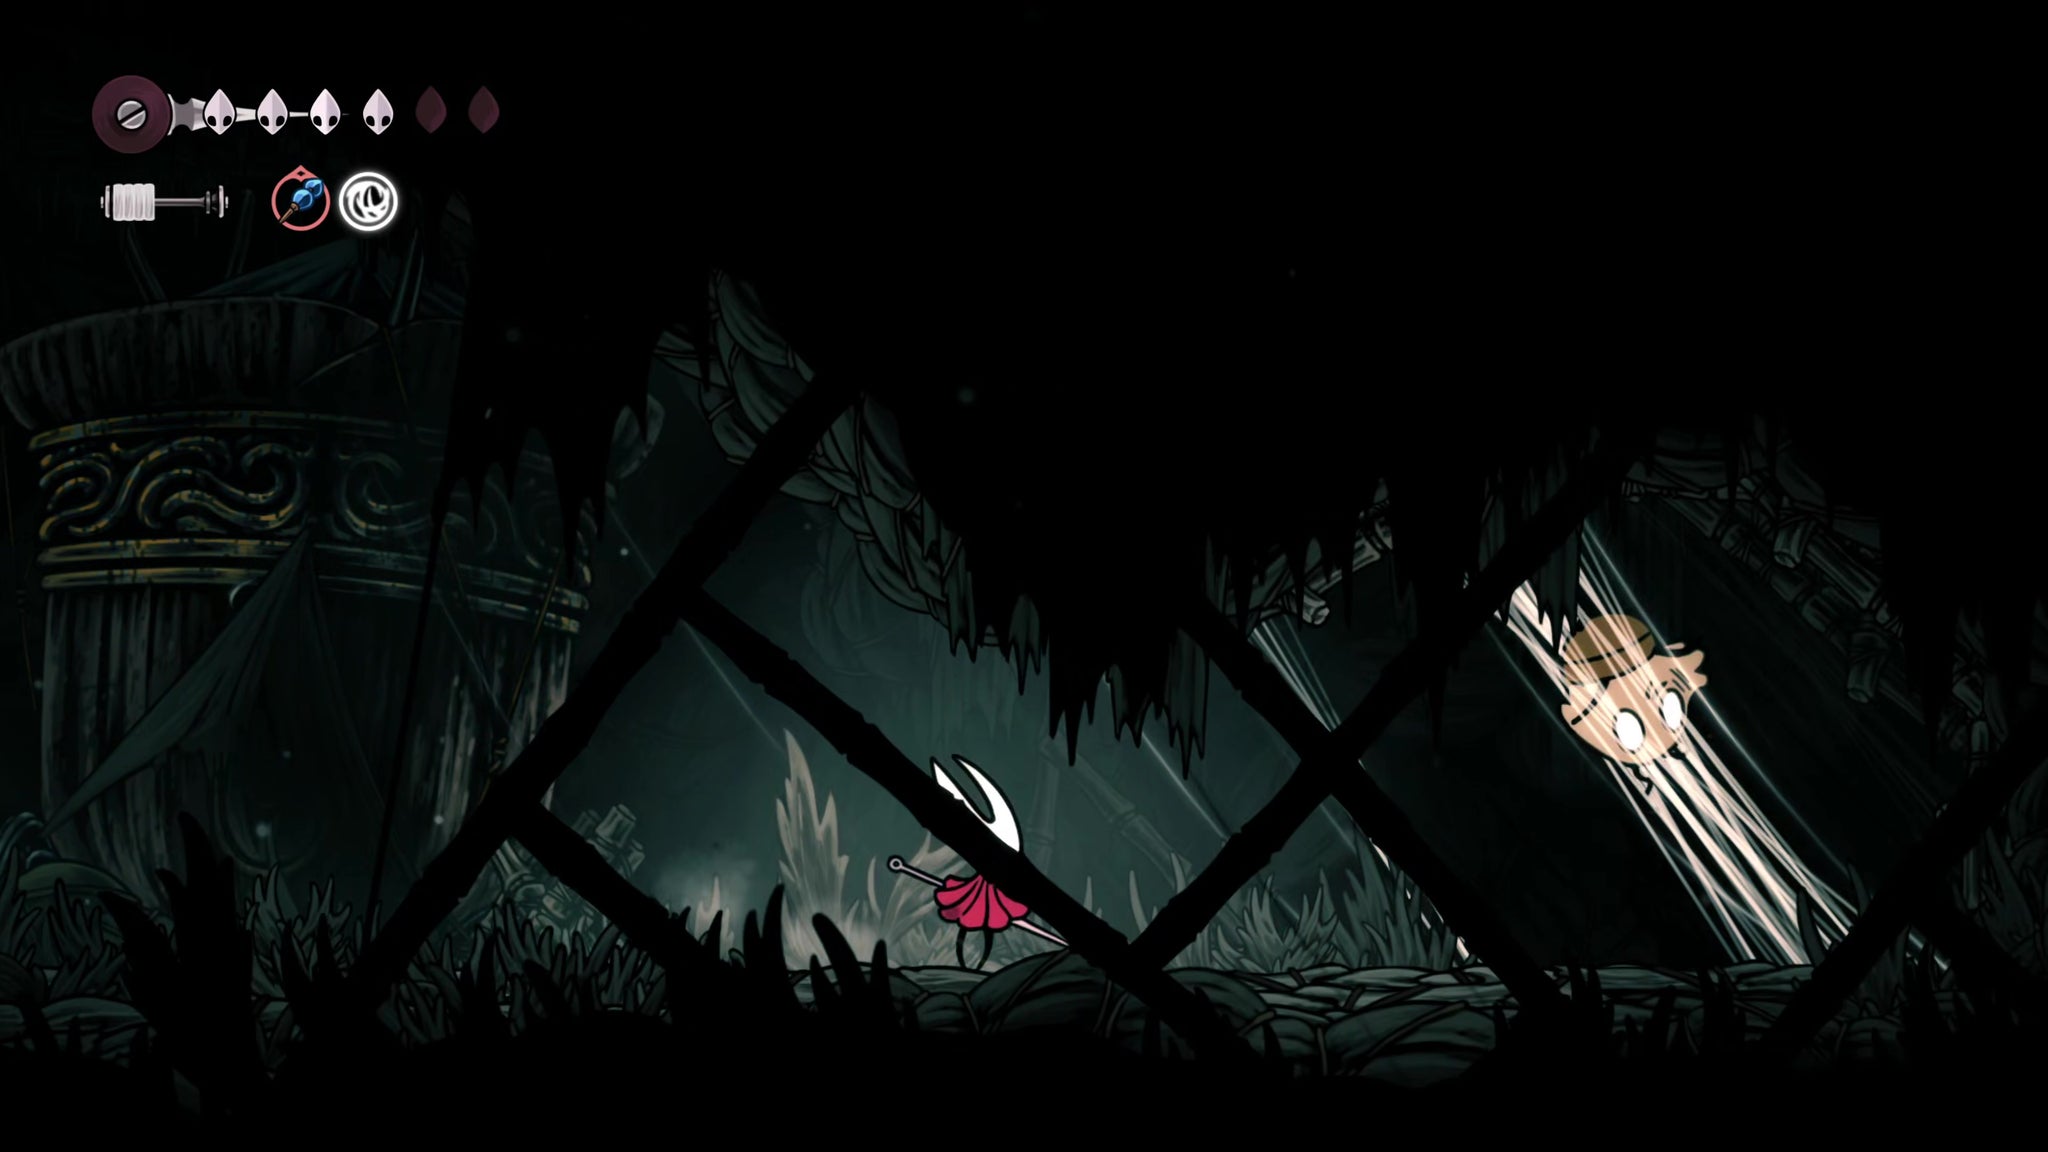

Cross the next room, and you'll find an unusual Flea trapped in some webbing. Attack the webbing to free the Flea. Unusually, this one's a full-fledged NPC named Kratt, who tells you he'll see you back at the Flea Caravan.
16. Discover the main Sinner's Road entrance for later.
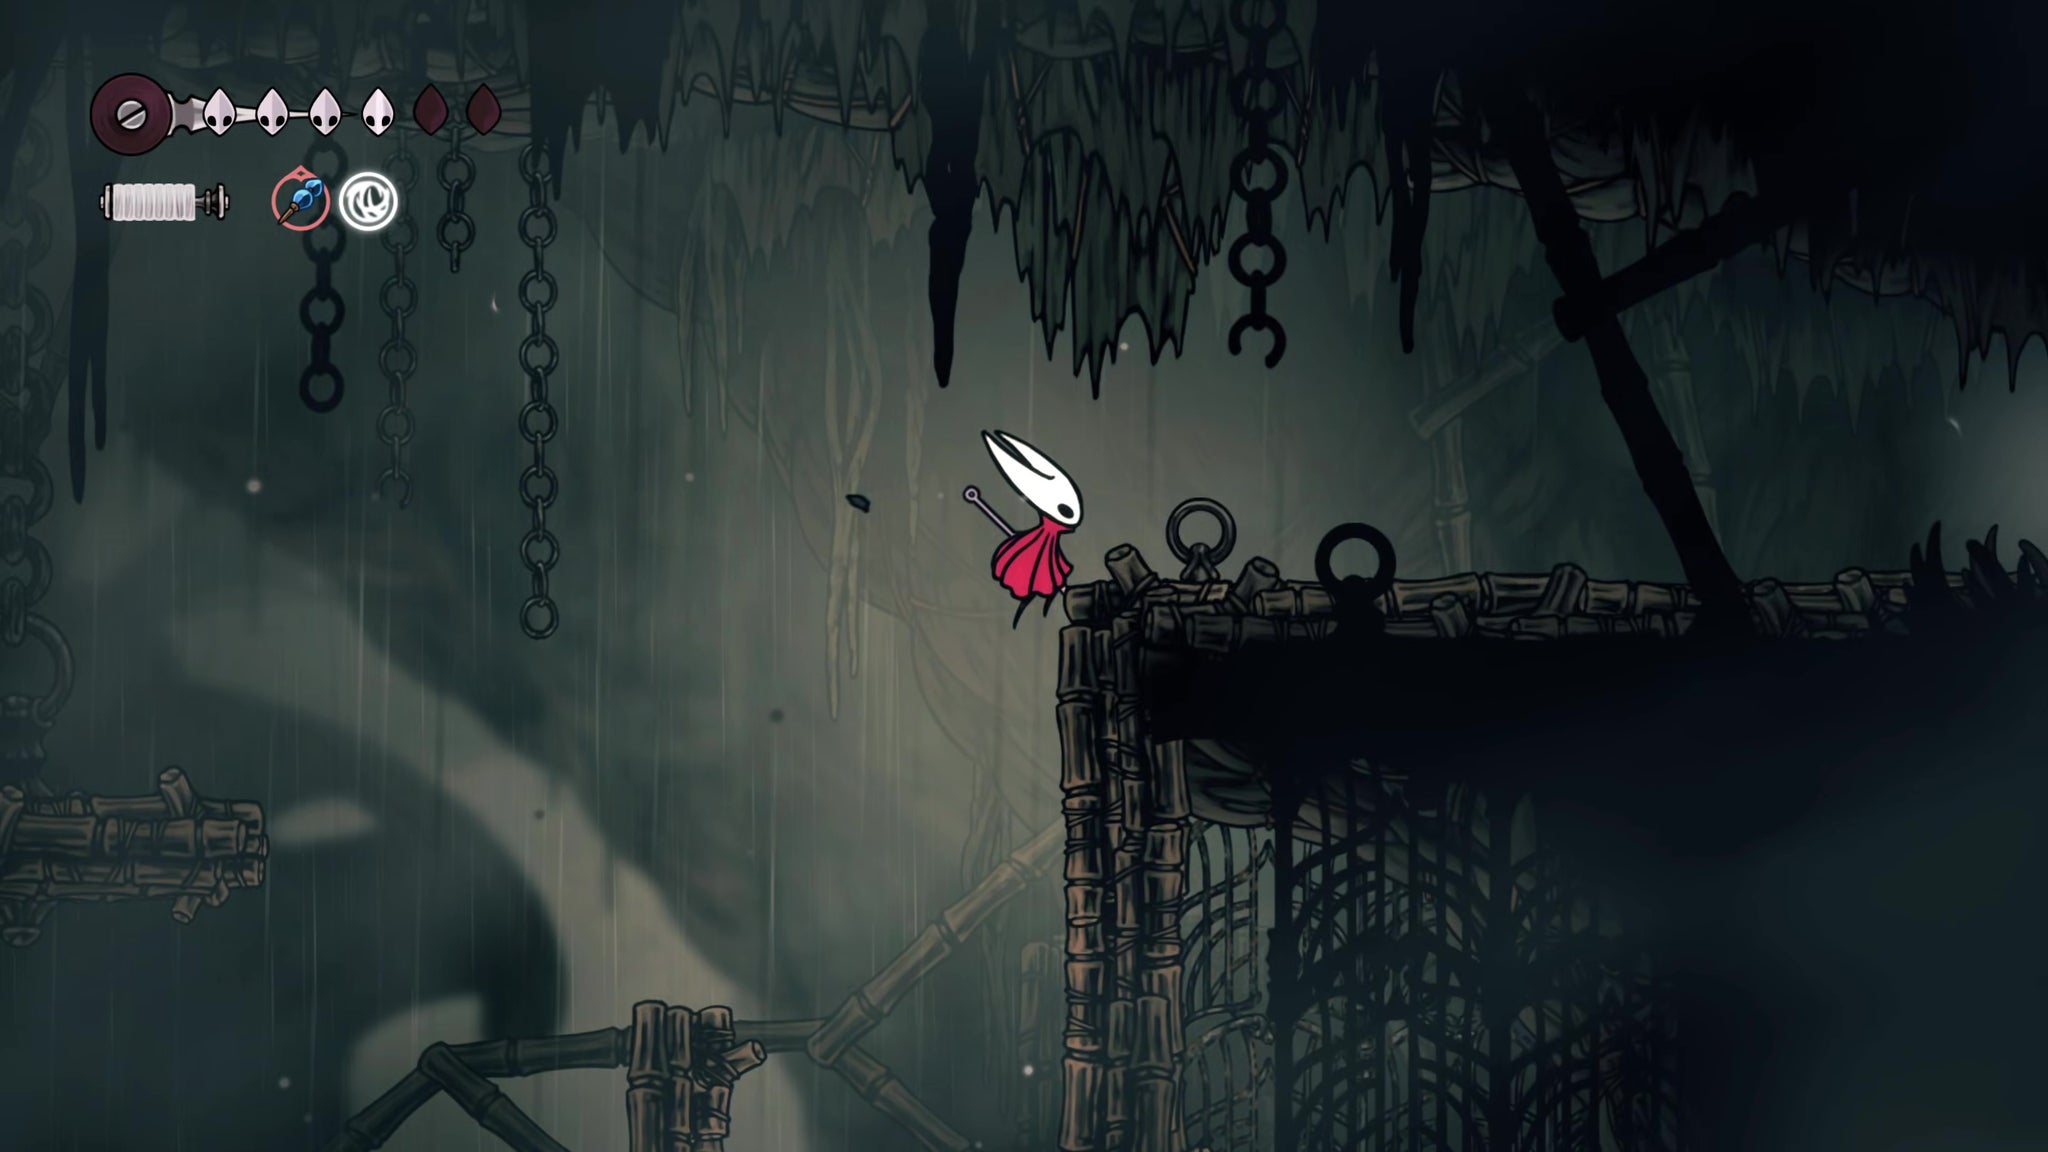
Head back out of the secret room, and then wall-climb all the way up to the top of this right-hand section of ledges. There's an exit in the very top-right corner. Peek your head in for now - this is the main entrance to Sinner's Road, which we'll be exploring it from later.
Again, it's a sizeable step up in difficulty from anything you've faced so far, so we won't go there now. But make a mental note - this is how to get there properly.
17. Rescue another Flea atop the tower.
Head back into the relative safety of Greymoor, and make your way back to the top side of the elevator. You can do some tricky Pogo-ing to get to the ceiling far above the elevator for a tablet of lore, but it's entirely optional.
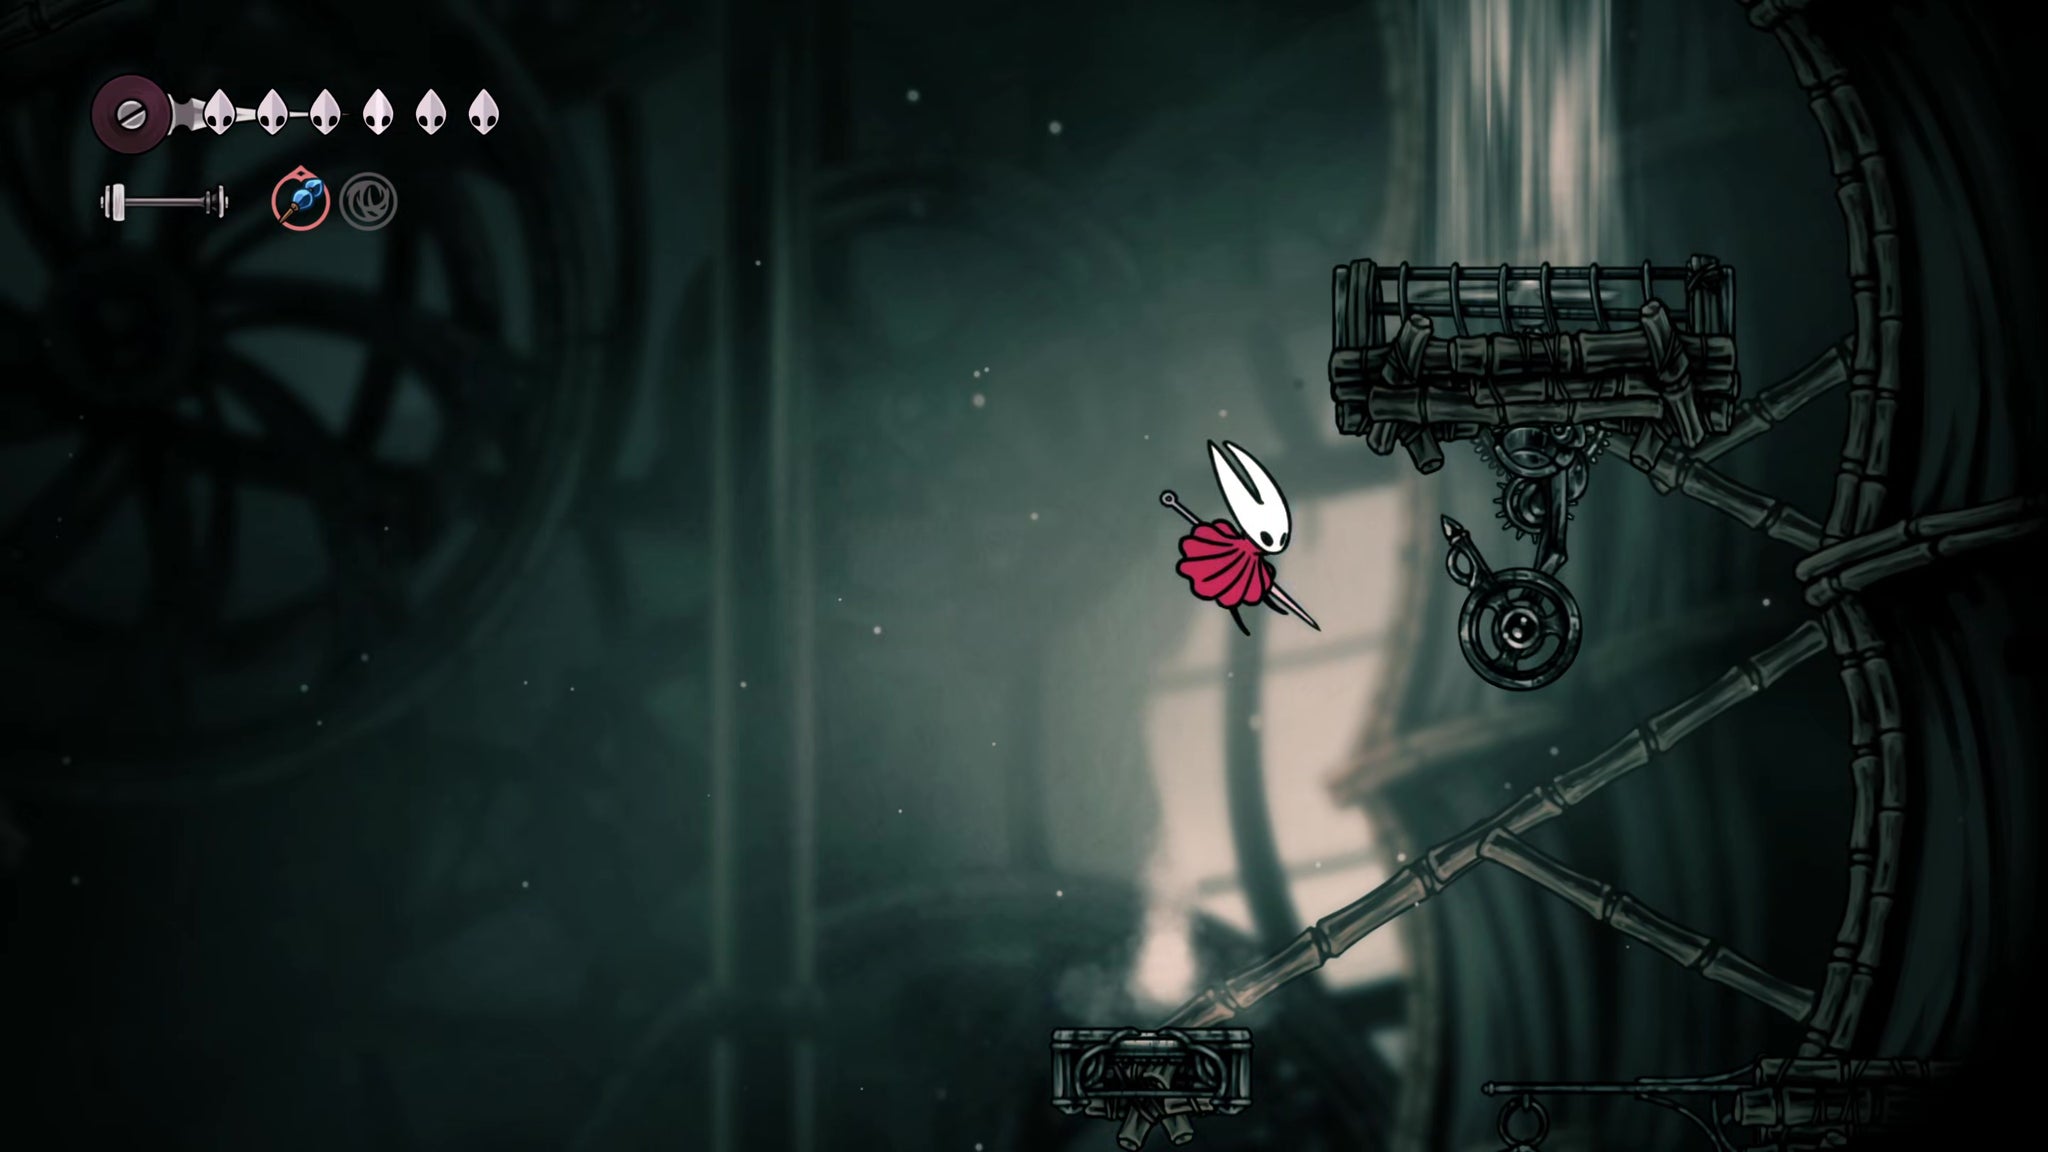

Back at the elevator, exit out the left passage, then climb up and repeatedly attack the lever above you until it locks in place to create an air current. Then drop down through the hole in the floor, and do the same with the lever below guarded by Fluttermites. There are also some Rosaries to collect at this level and just below it on the left.
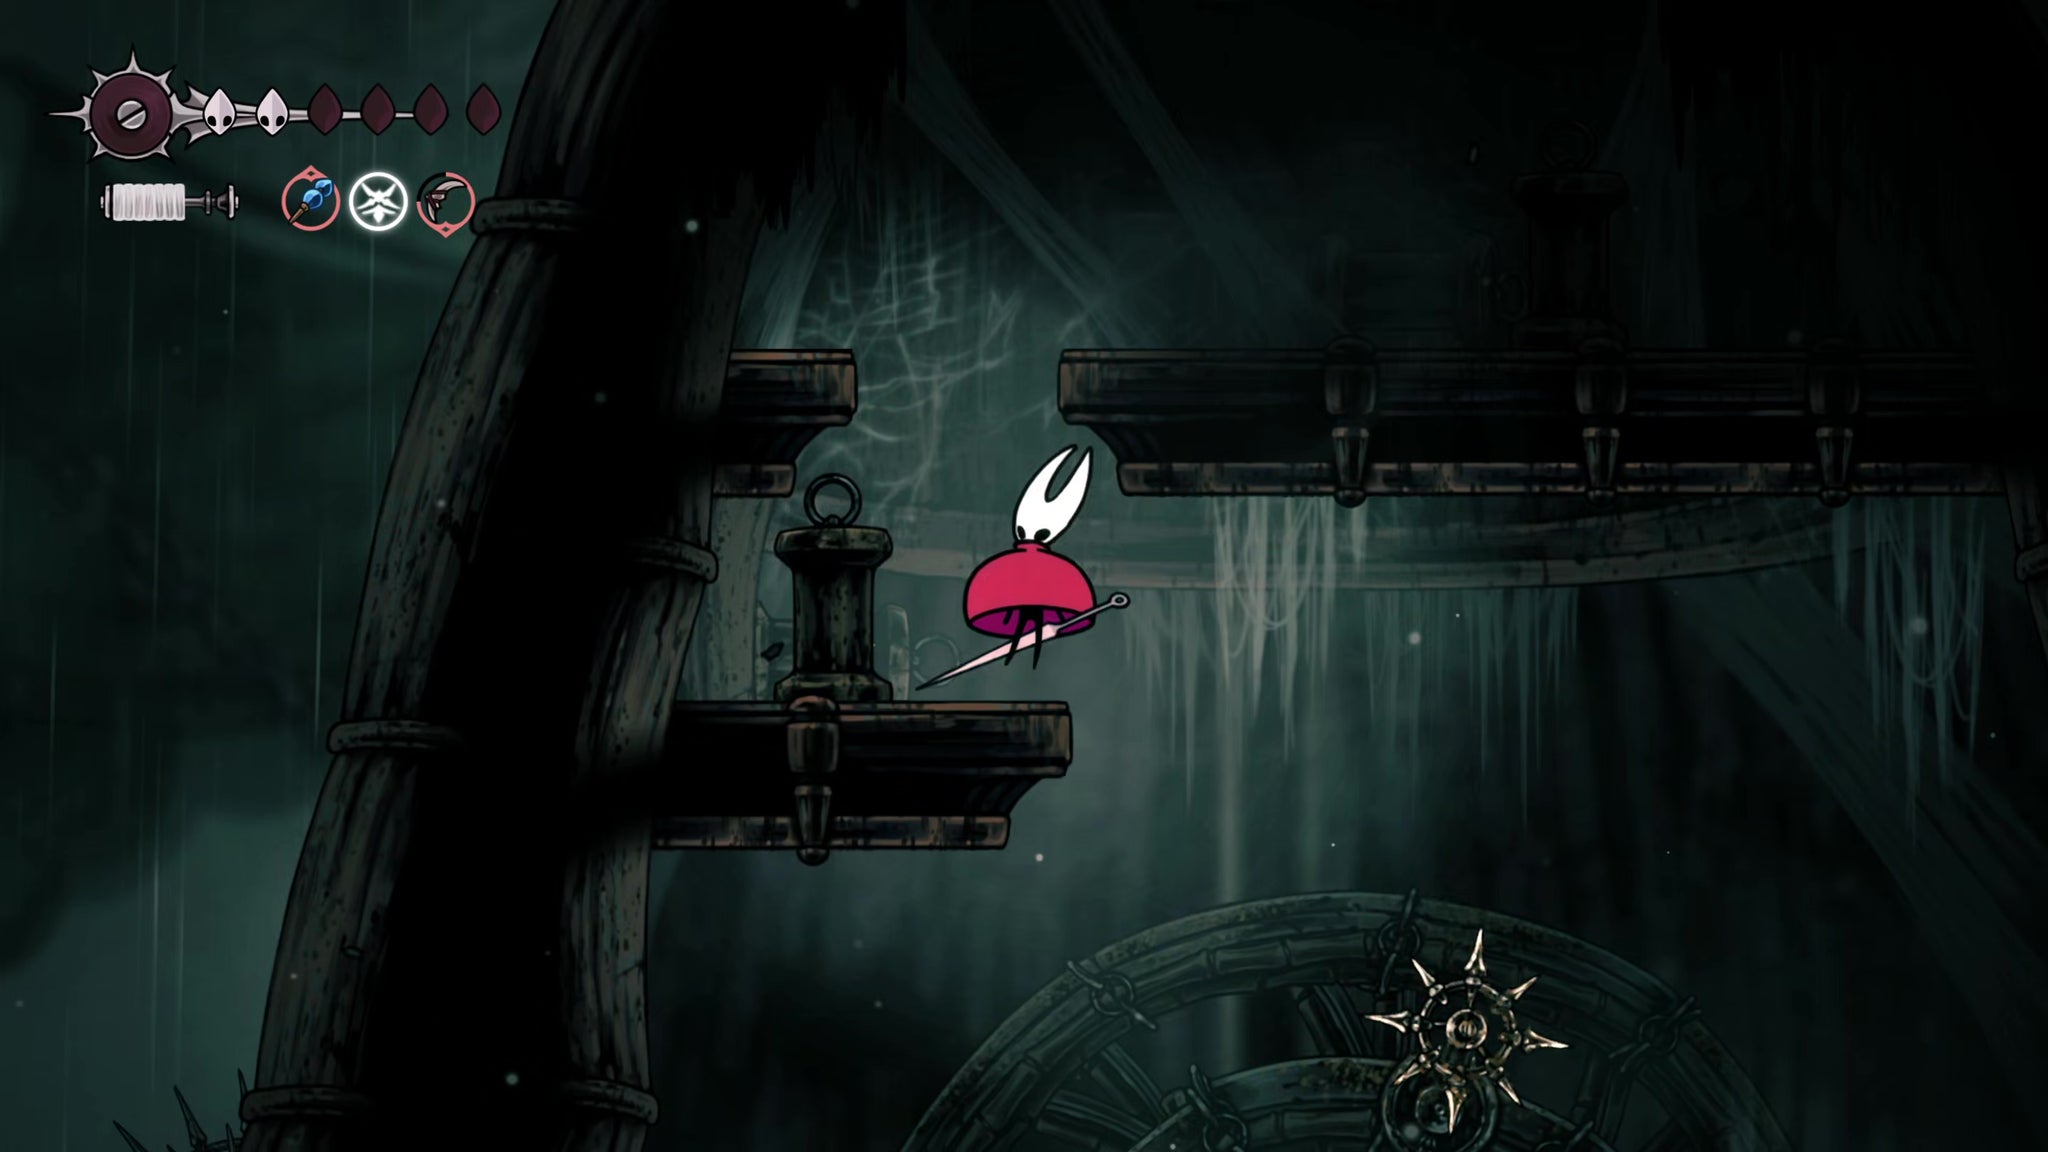
Now ride the air currents to the top, and you'll find a third lever to pull, guarded by a Silk Snipper. Pull the lever to activate the third air current, and then ride it to the very top. You can Pogo off the saws here to reach a little enclosed space containing a large spider egg. Break the egg to receive a Silkeater.
Now drop down a little to the ledge to the left of the saws, and pass into the next room. Pogo off the balloons to avoid the spikes, and hit the lever to create another air current upwards, which simply leads to some Silk. Then continue Pogo-ing to the left, and clear the platform of enemies. Below is another lever to activate, for yet another air current.

Use the air current to gain enough height to reach the balloons further to the left. These will allow you to reach the wall at the top of the screen, which leads to an upper exit.
Drop down the hole in the next room, and you'll find a sleeping Lost Flea to rescue. That done, hit the lever next to you to drop down to the start of this whole path again.
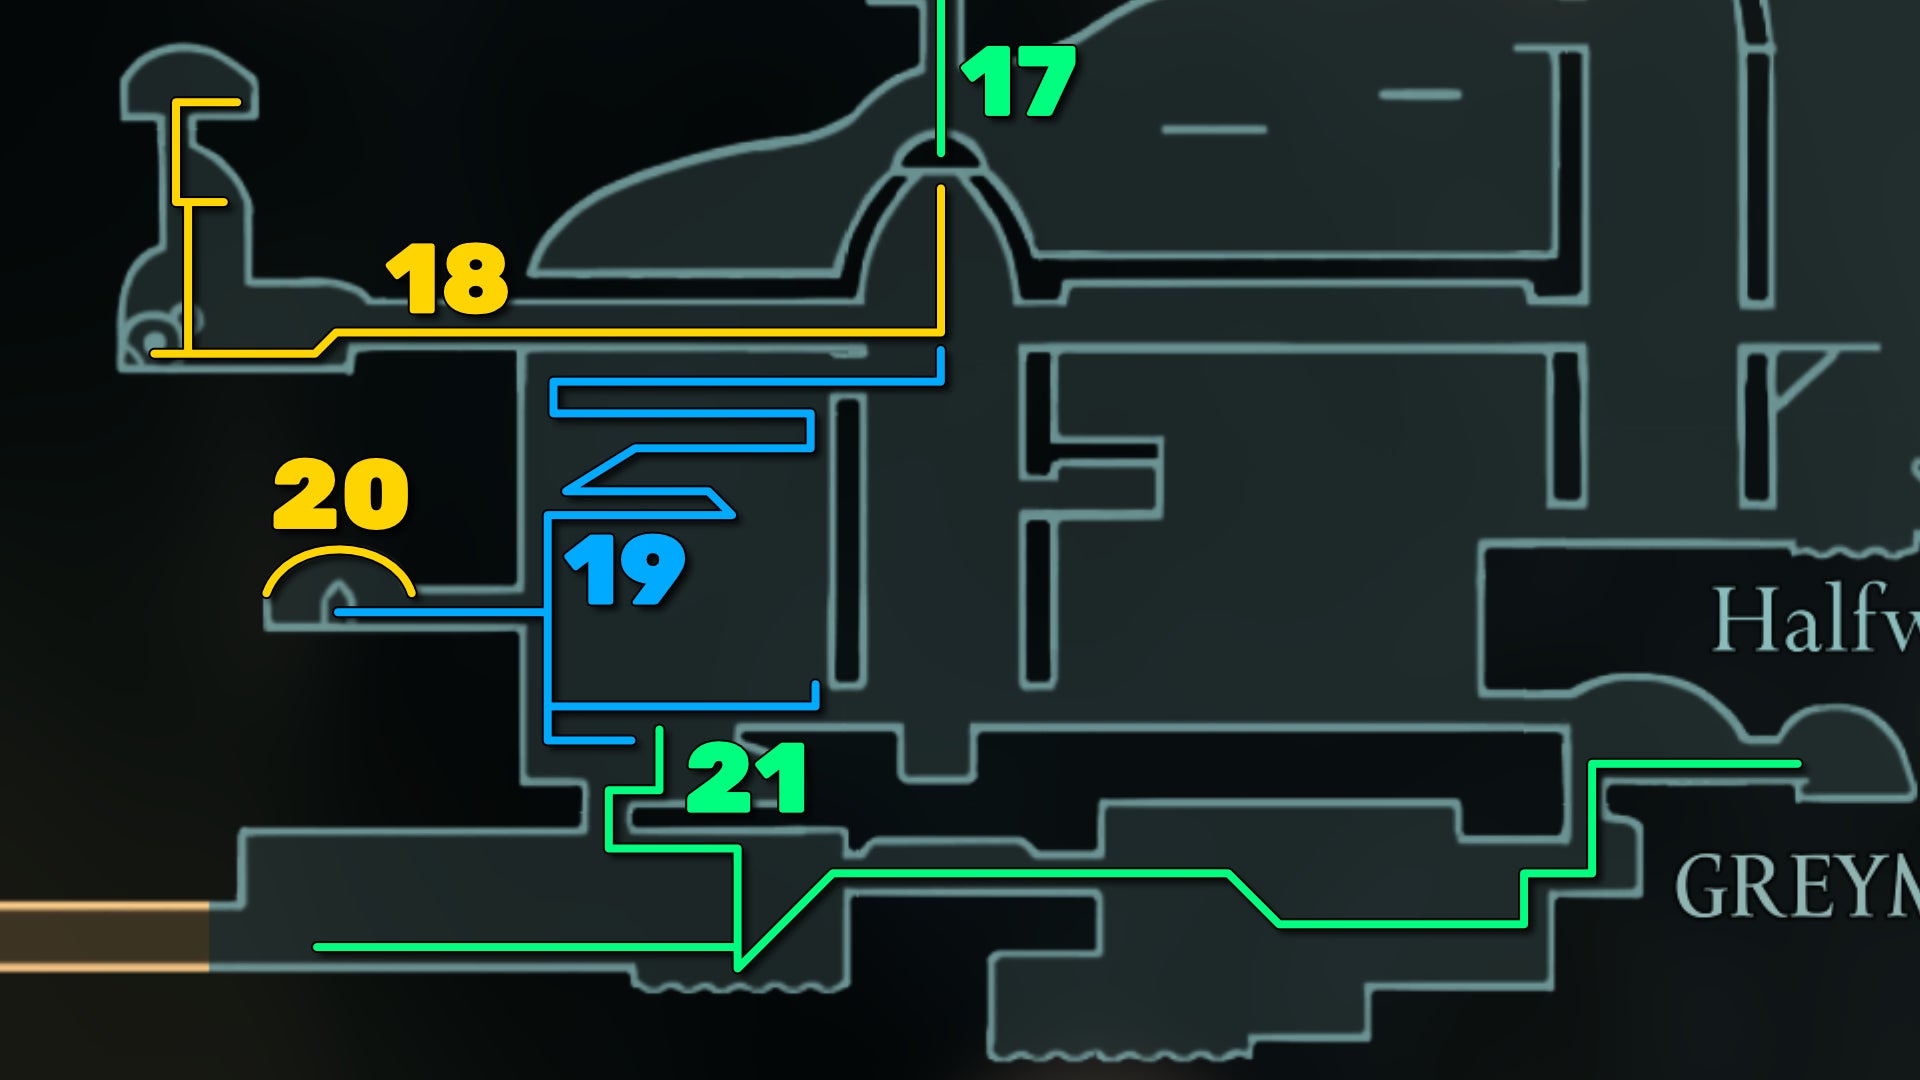
18. Craft the Pimpillo tool.
Drop a little further below the saws, and you'll see two exits on your left - one atop the other. Take the upper exit, and follow the path all the way to the end, where you can "Inspect" a strange-looking bellhome. You won't get any useful response from the inhabitant at this time, so just leave them be.
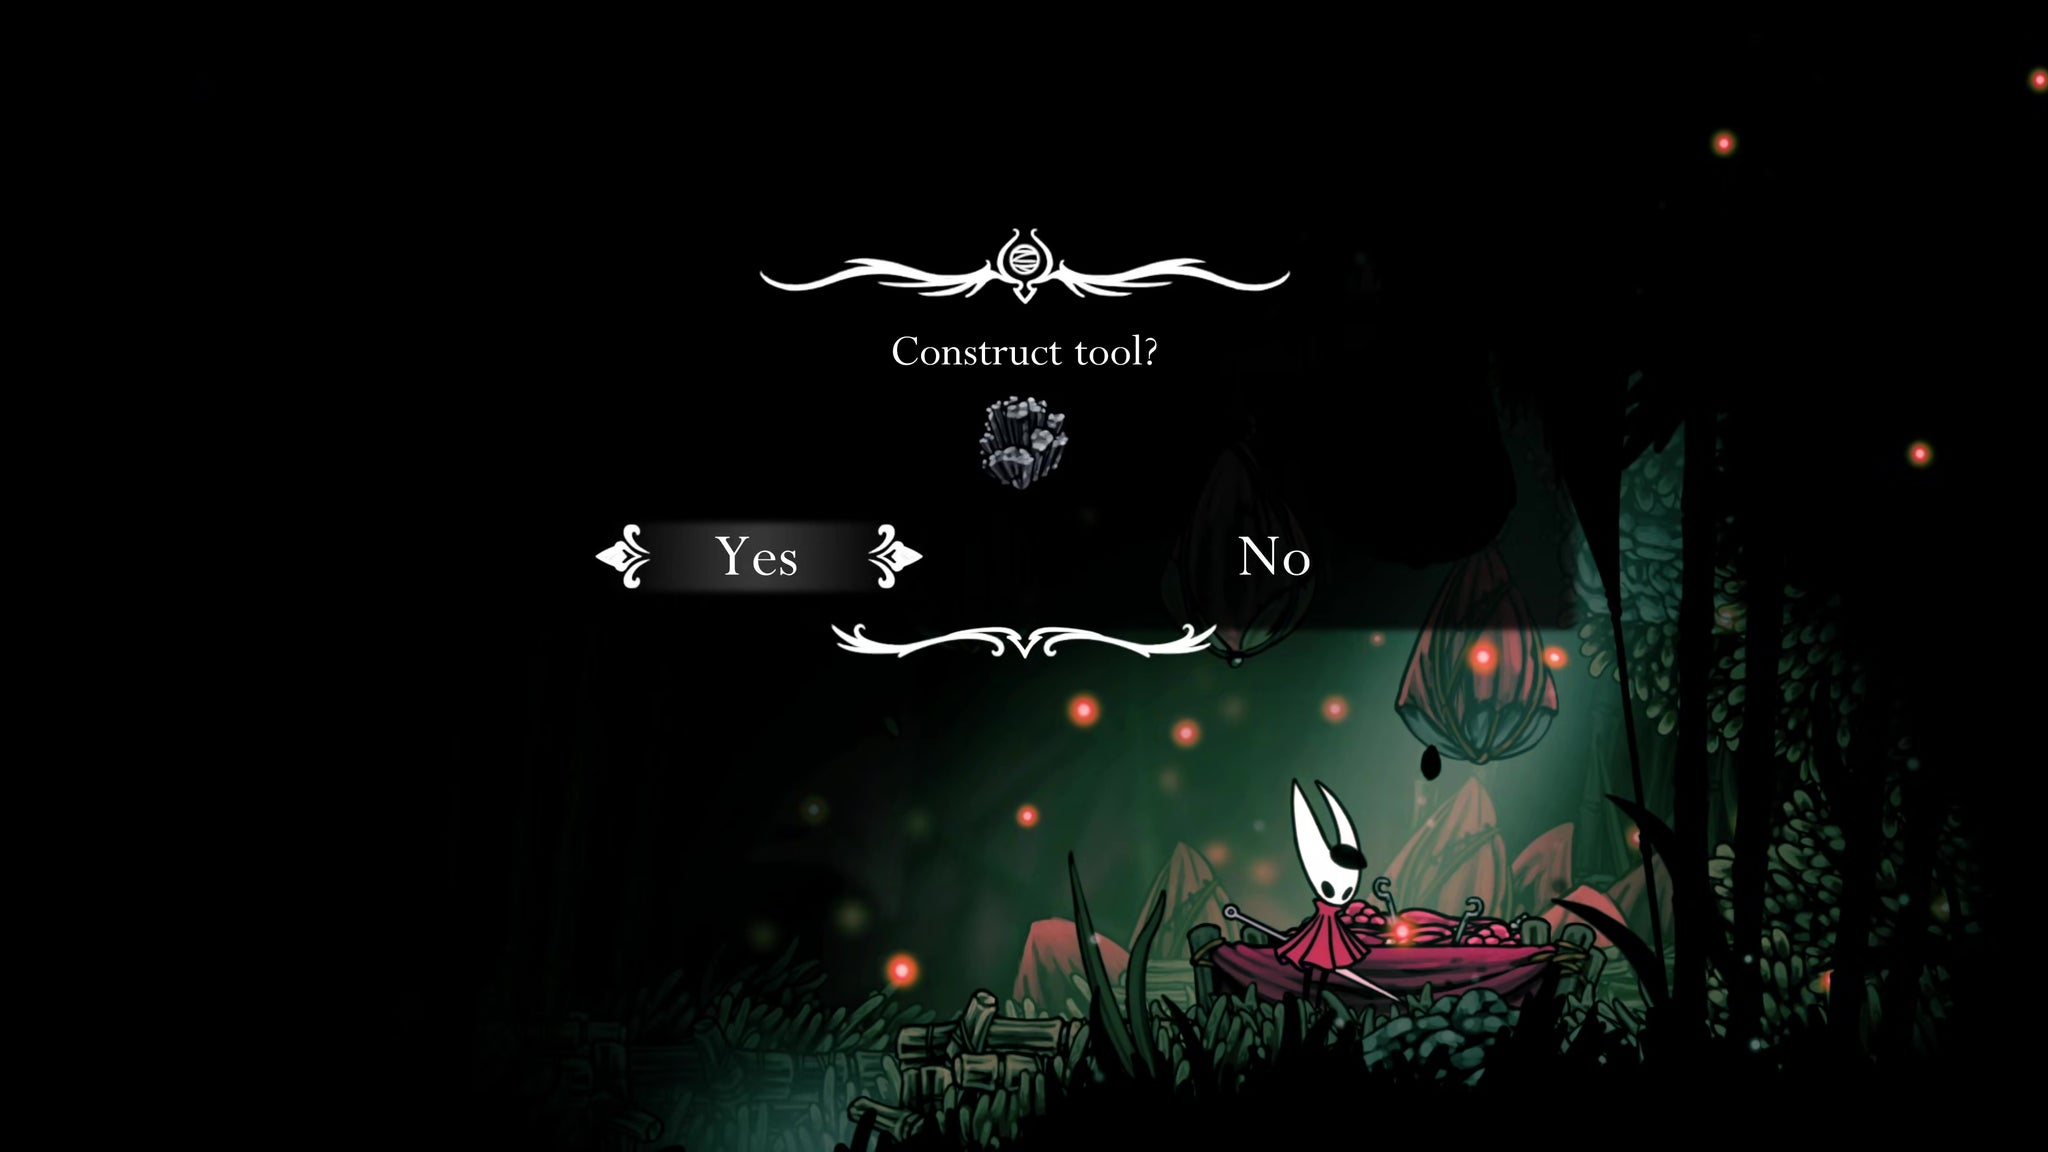
Climb the ledges above you, and at the very top of the path you can loot a Frayed Rosary String from a Pilgrim's corpse. But that's not all! Attack the left-most part of the ceiling above you to open another secret passageway, then climb up there to craft a new tool from your Craftmetal: the Pimpillo. It's a grenade. You're welcome.
19. Enter the Chapel Of The Reaper.
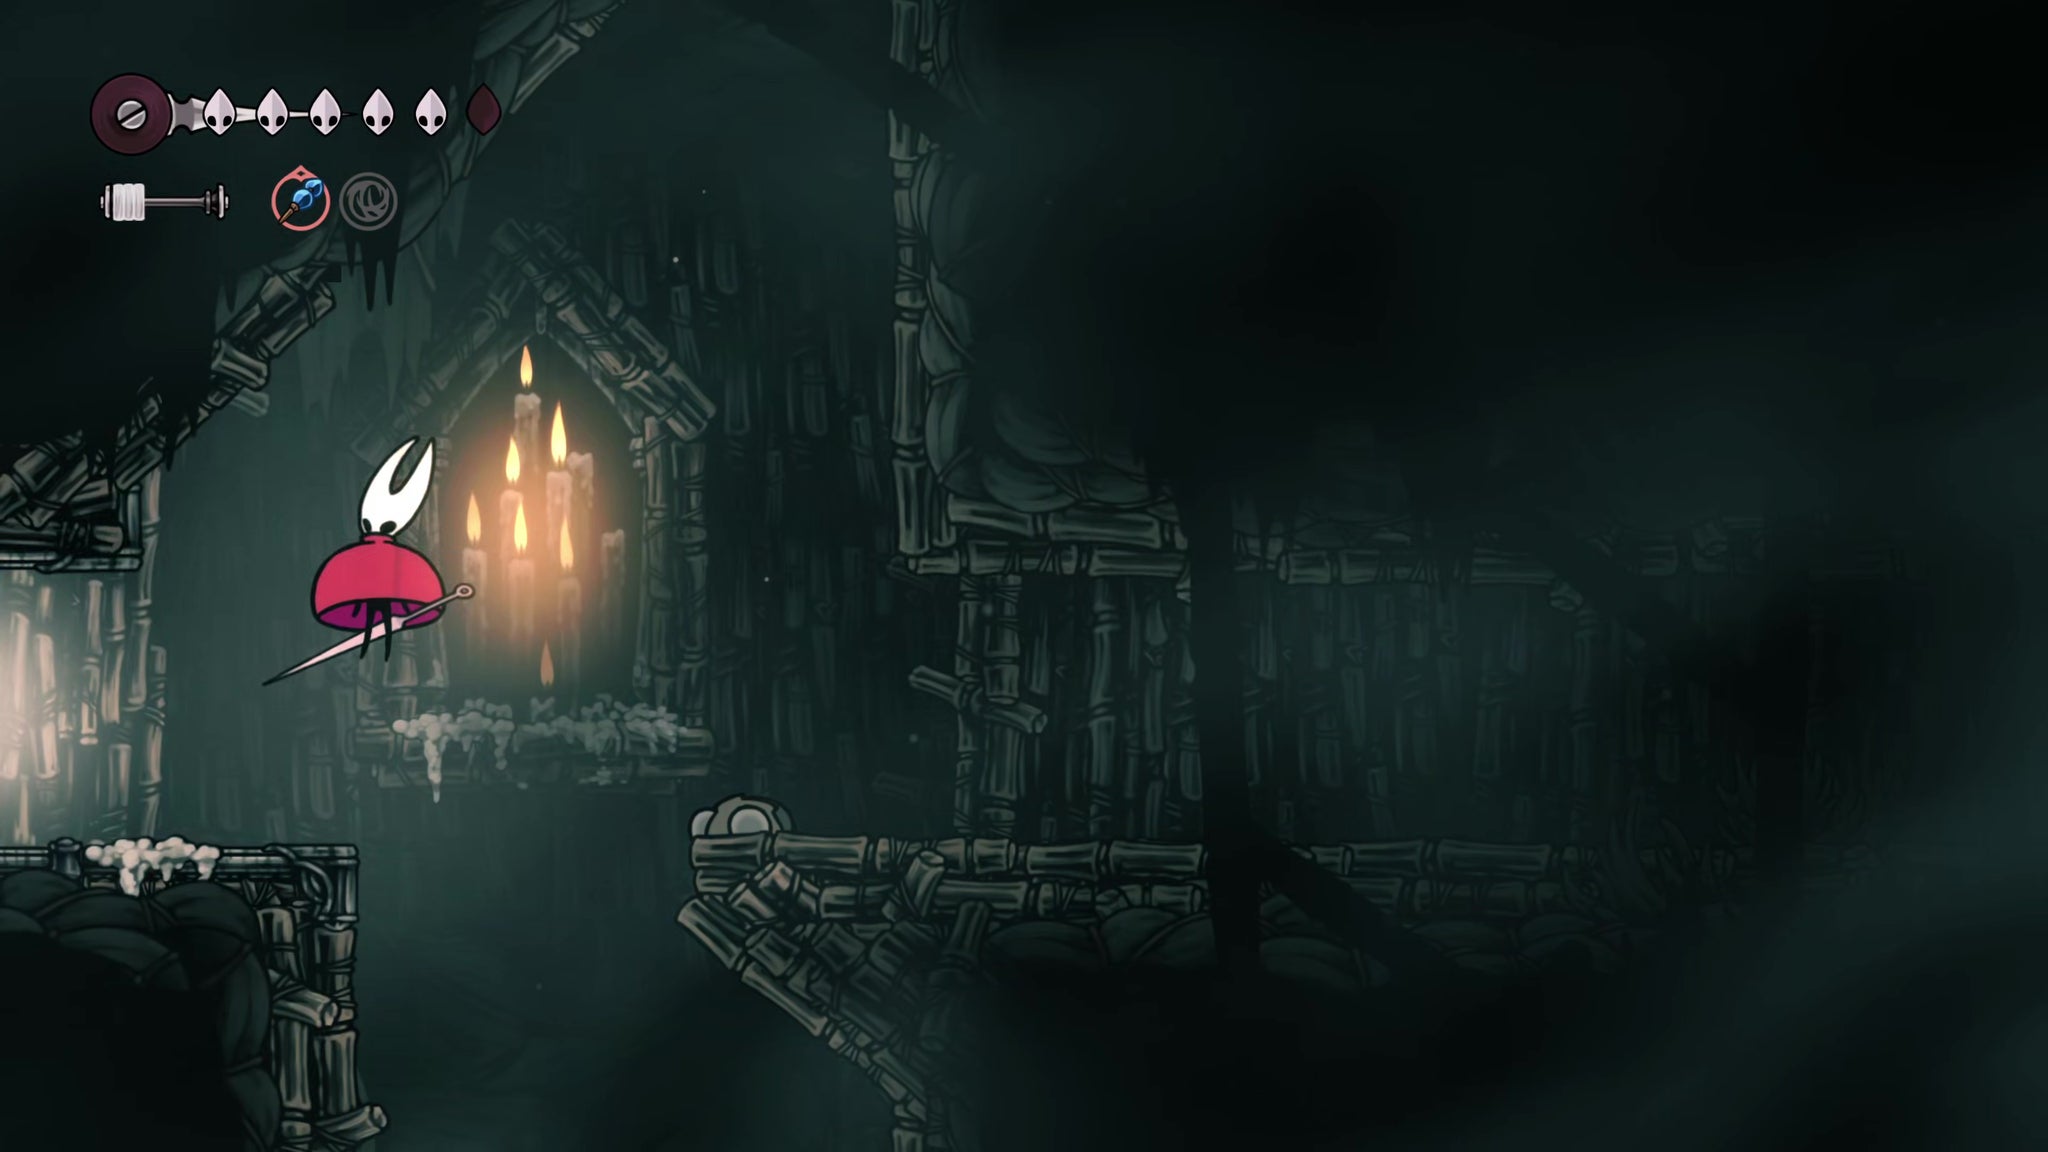

Backtrack to the place with the two left-hand exits, one atop the other. This time, take the lower exit.
Along this winding path you'll have to contend with more Silk Snippers and other enemies, so take it slow. Once you're on the smaller ledges below, keep an eye out for a Rosary cache up and to the right, but otherwise keep descending to the lower ledges on your left.
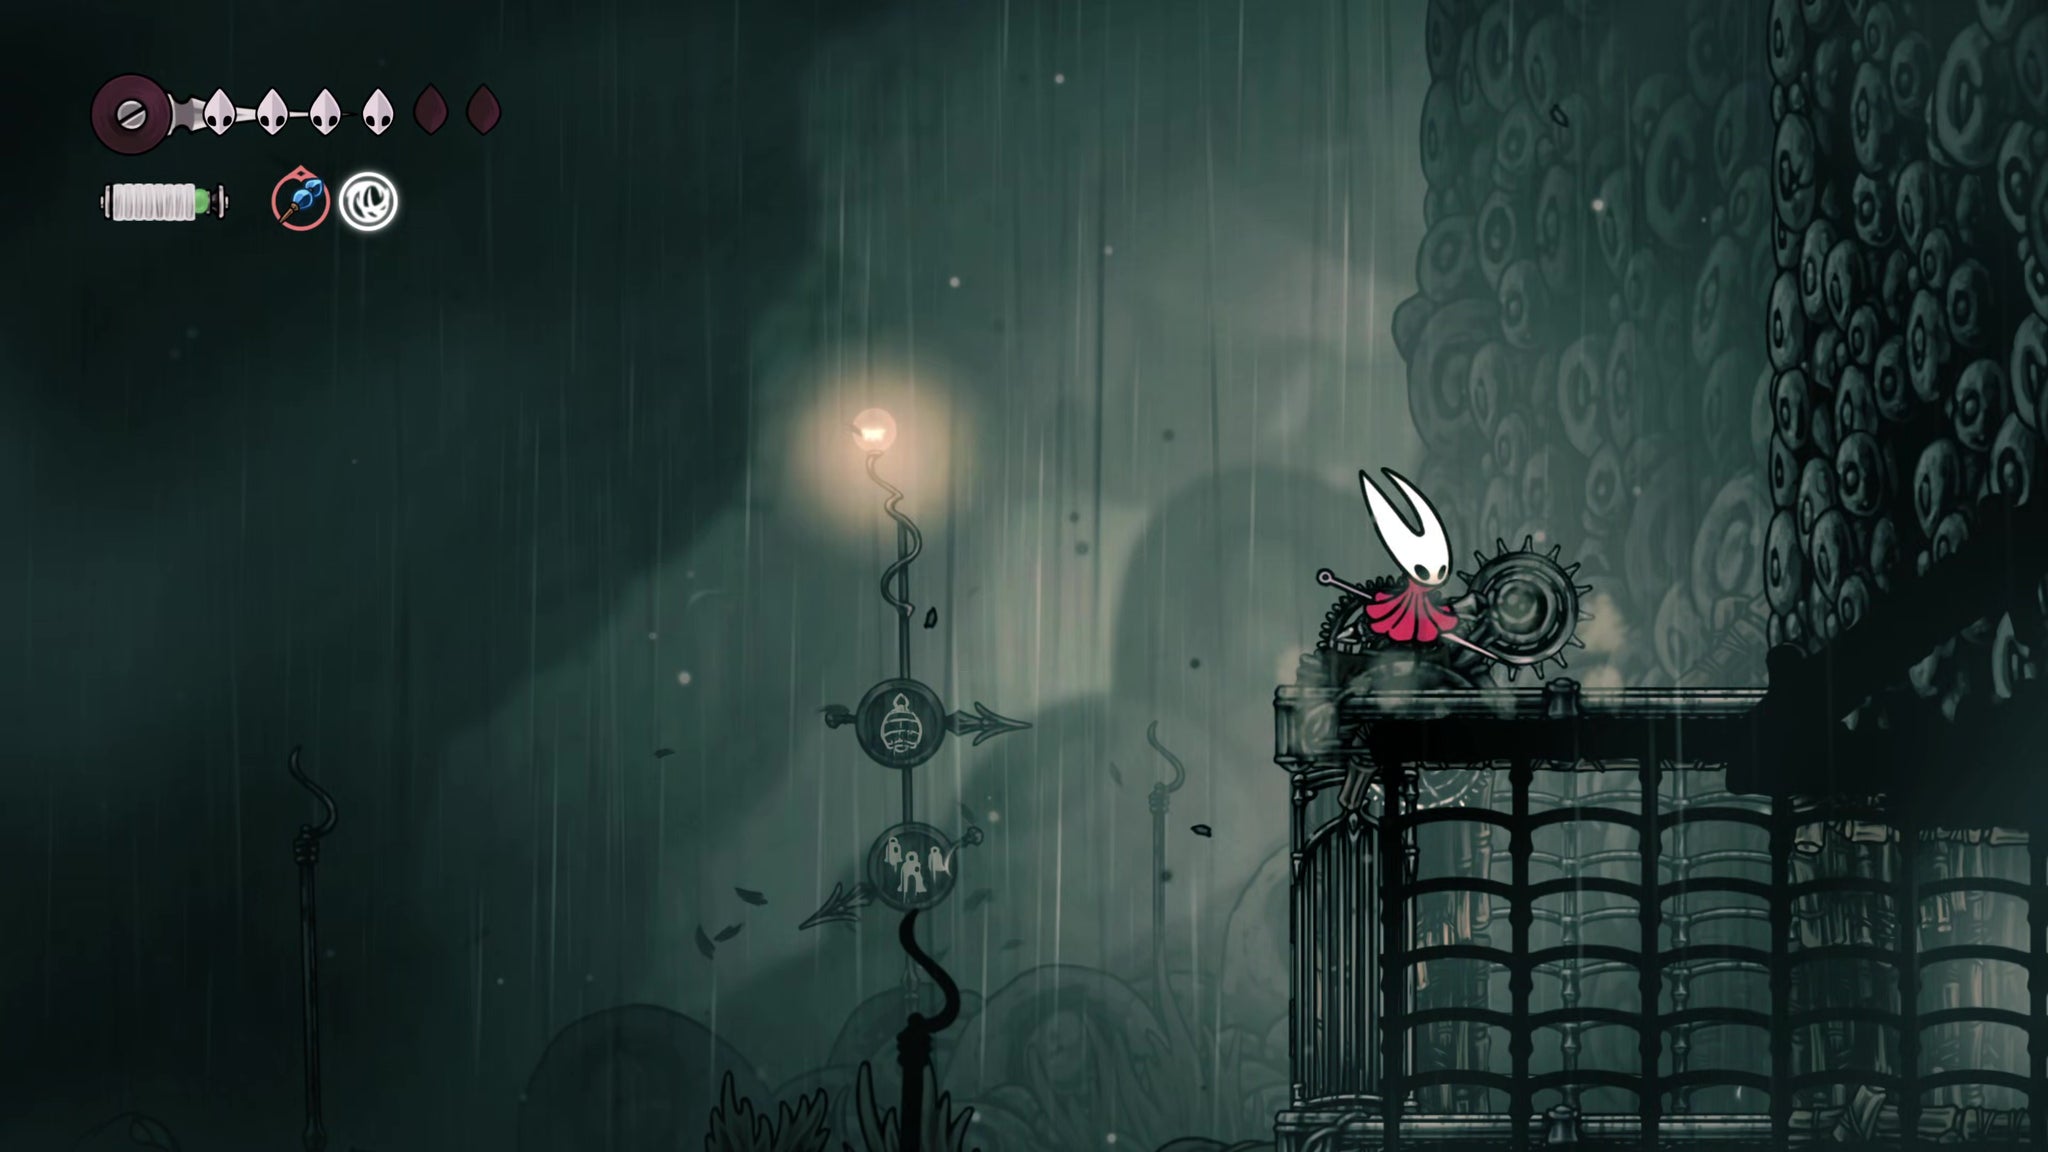
After a short drop you'll find a way off-screen to the left. Drop lower first, though, and you'll find some more Rosaries in an open cage. Then pass over the roof of the cage and jump to the right-hand side for a lever that opens a shortcut back to the right.
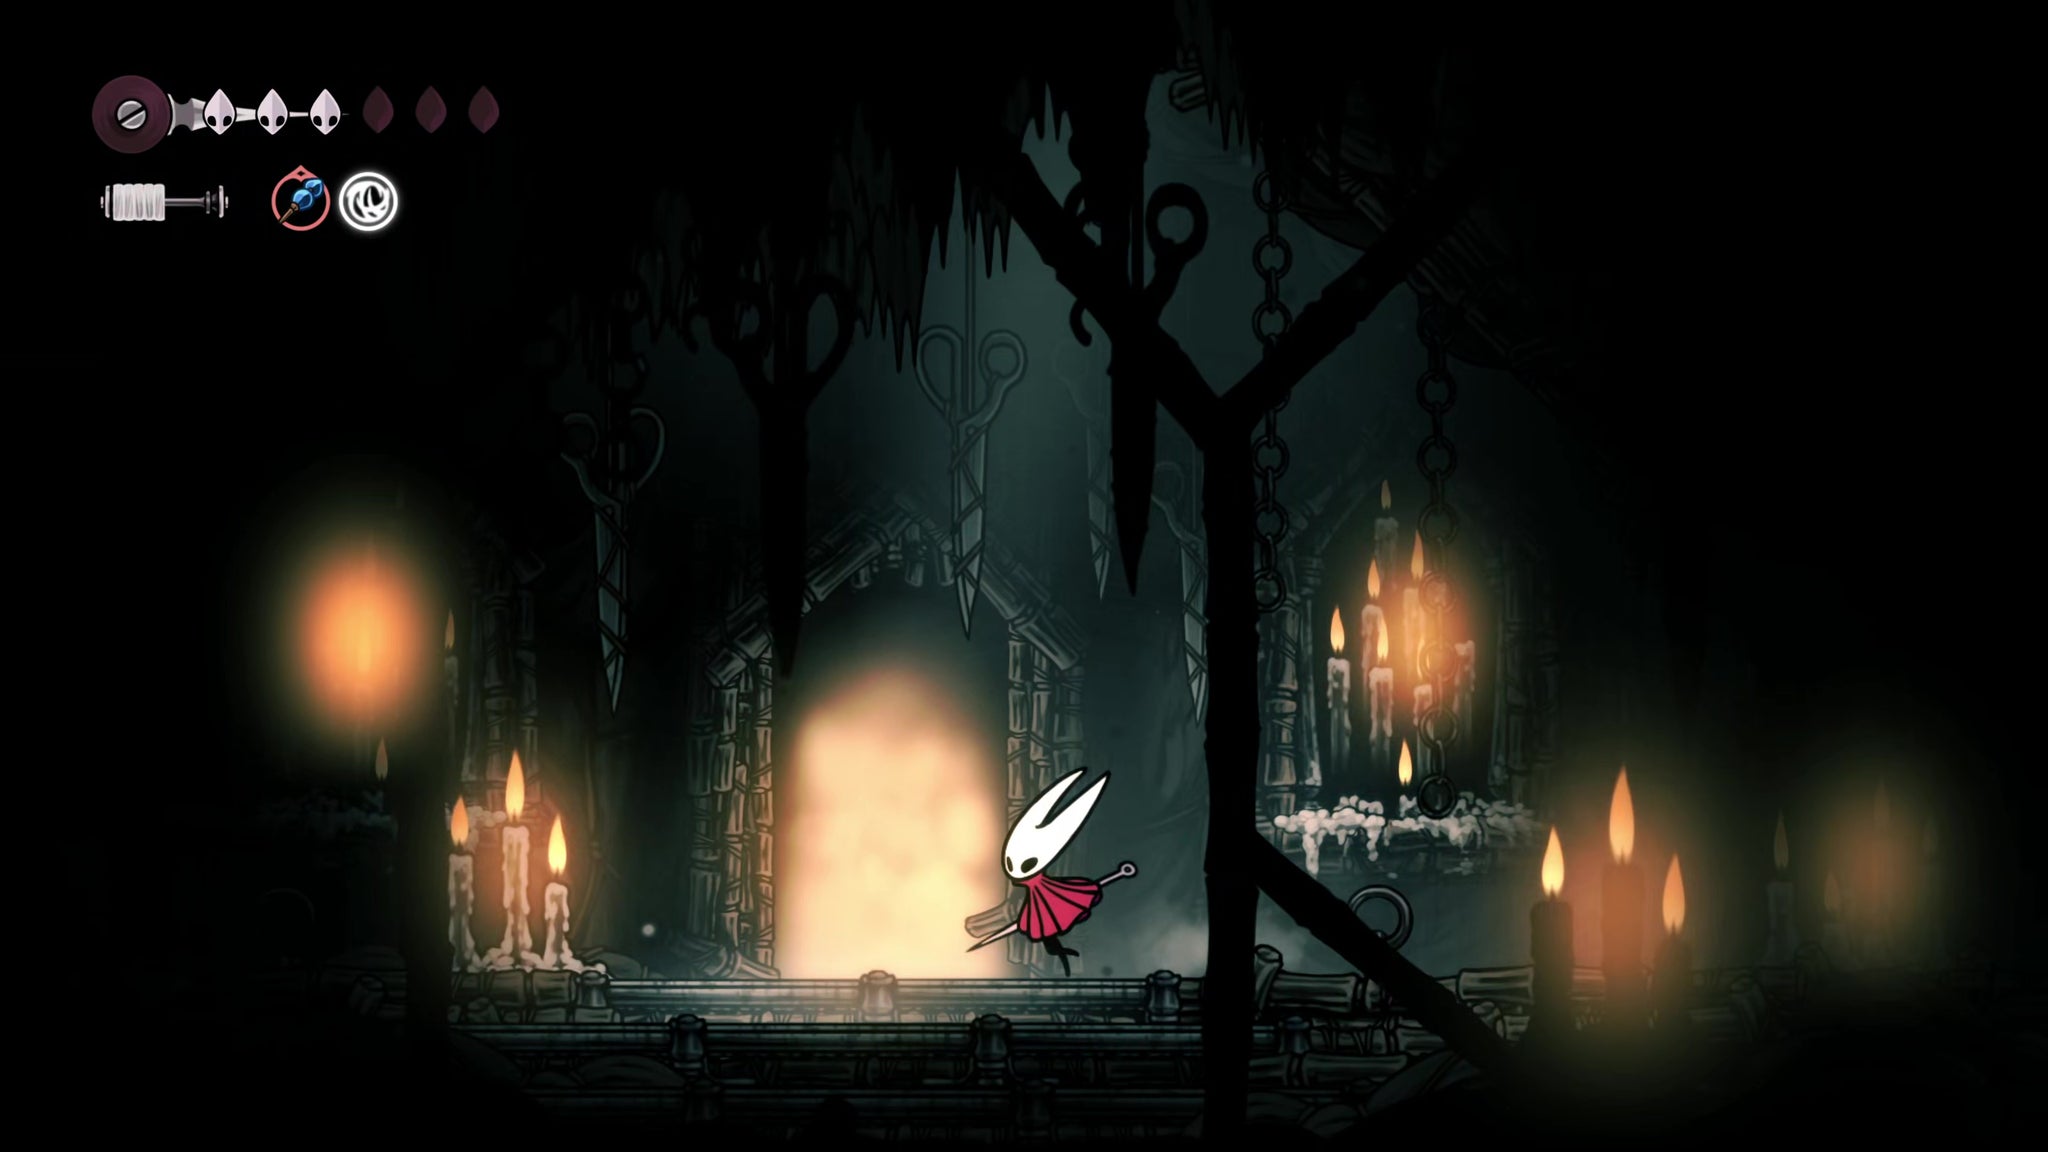
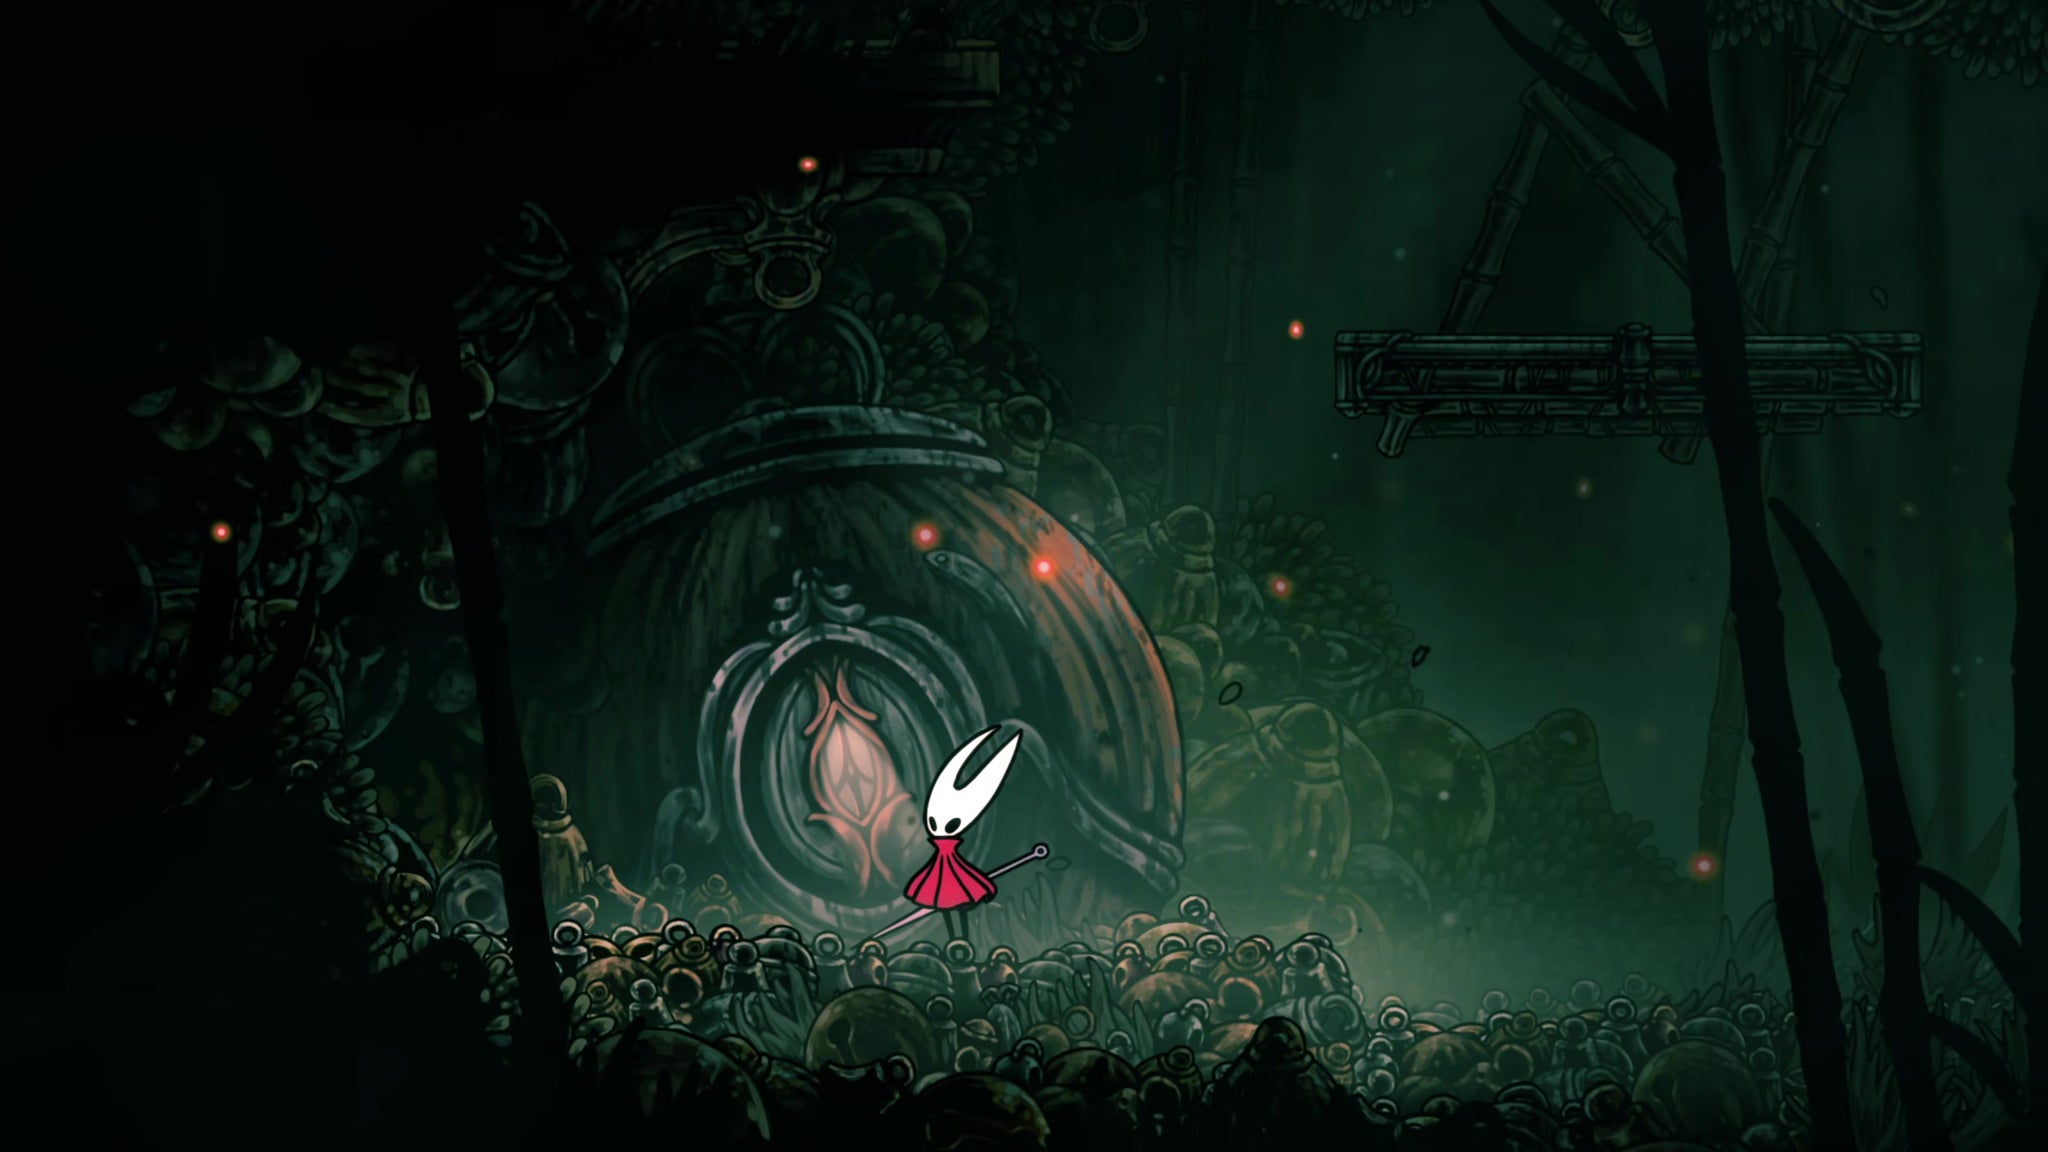
When that's done, retrace your steps and head through that exit to the left. The path will take you to the entrance to another chapel: the Chapel Of The Reaper.
20. Complete the Gauntlet to claim the Reaper Crest.
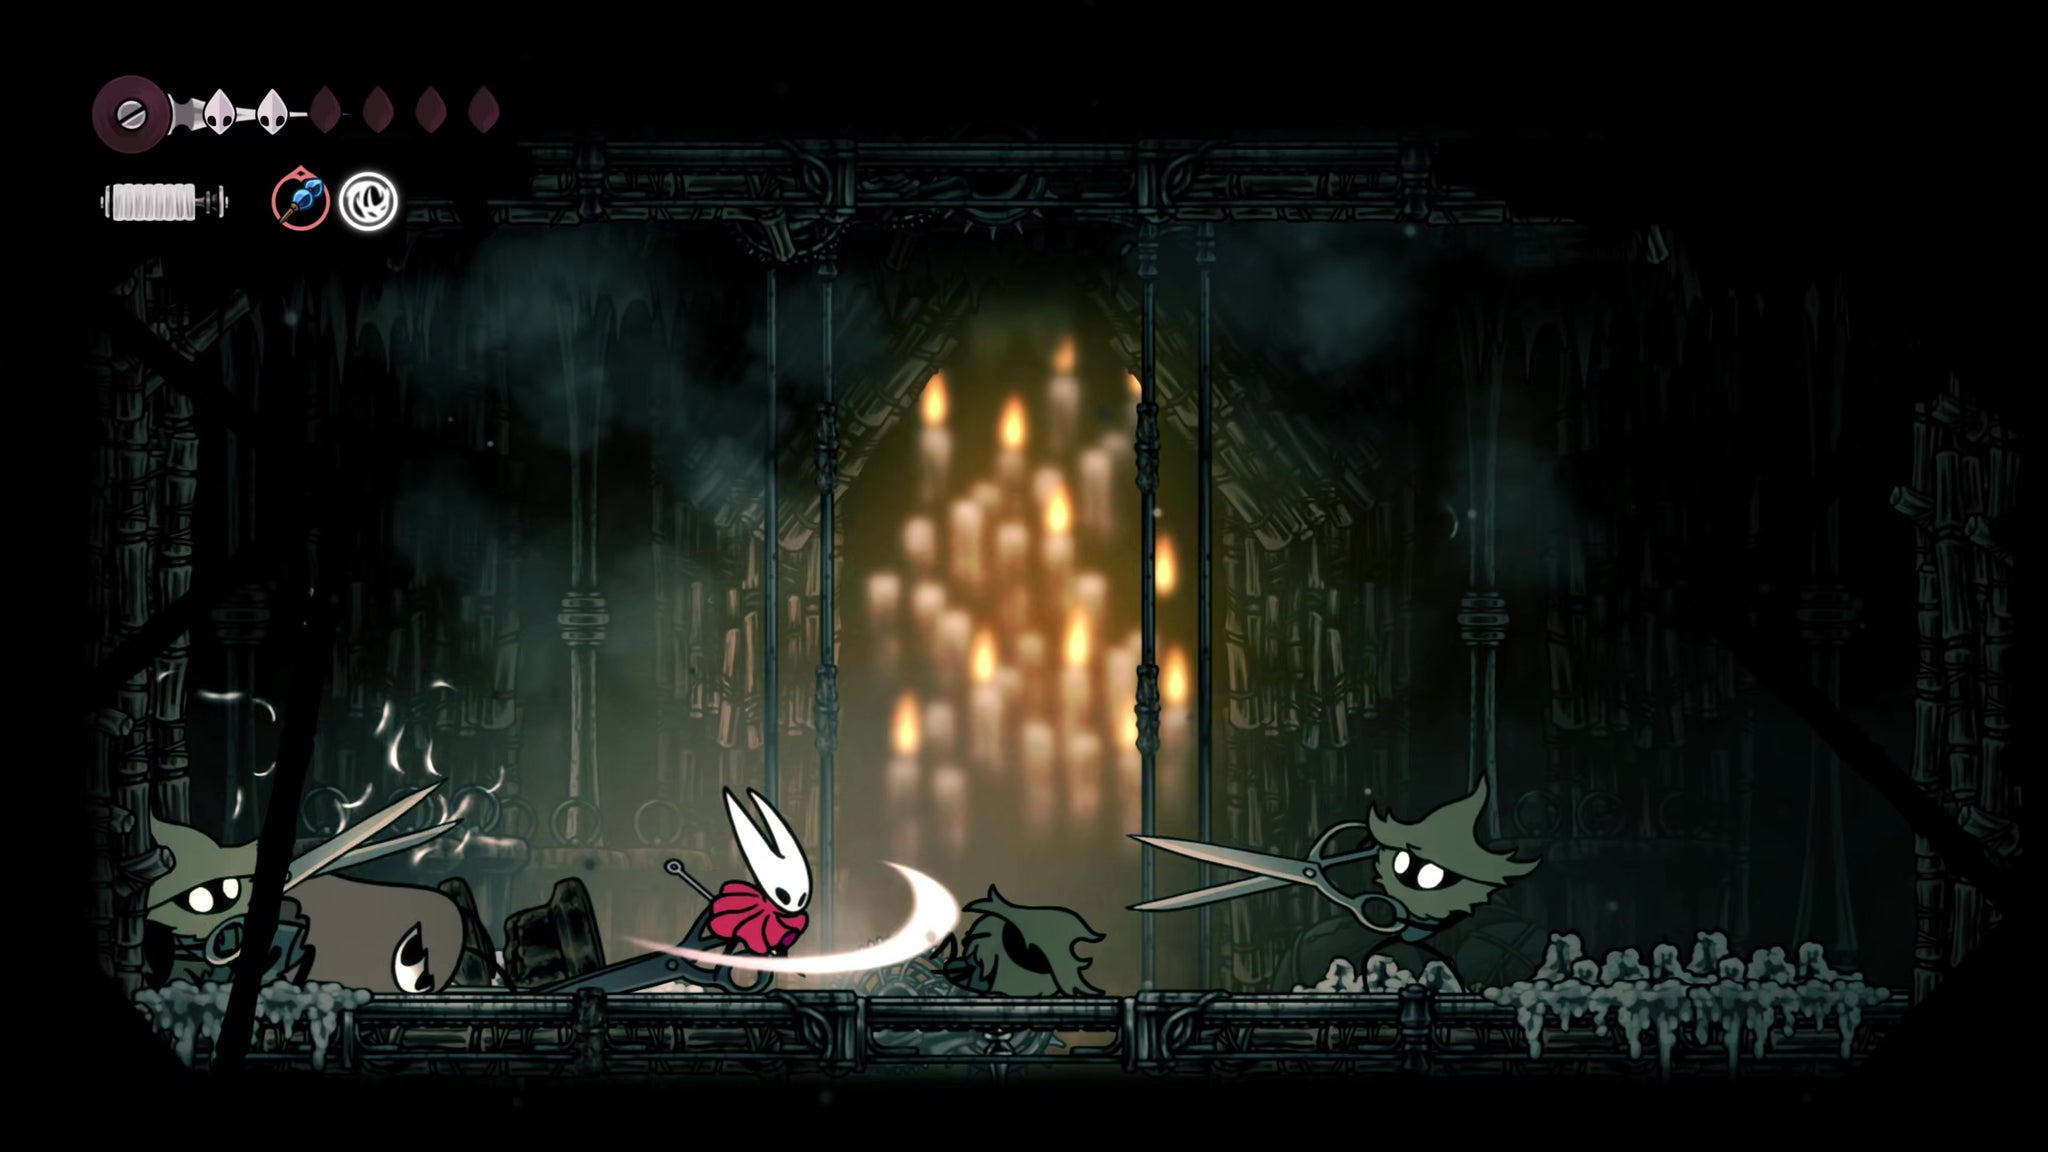
This Chapel is actually very easy. Just follow the main path, Pogo-ing off the saws as needed, and you'll reach another gauntlet to survive. The Silk Snippers might give you a bit of trouble, but otherwise it's fairly plain sailing. Once the gauntlet is complete, head upwards to claim the magnificent Reaper Crest.

The Reaper Crest is my personal favourite Crest for this stage of the game. It offers powerful attacks with a decent range and a forgiving hitbox arc - including for downward attacks, which makes it arguably even better for Pogo-ing than the Wanderer Crest. It may take you a bit of time to get used to the pause Hornet does in the air before each Pogo, though.
21. Visit the Flea Caravan again.
With the Chapel Of The Reaper conquered, you've pretty much seen and dealt with the entirety of Greymoor. Exit out of the Chapel and backtrack to the cage you jumped over before. Run over the top of the cage and drop to the ground level, where you'll see a little tunnel going even further down to your left.
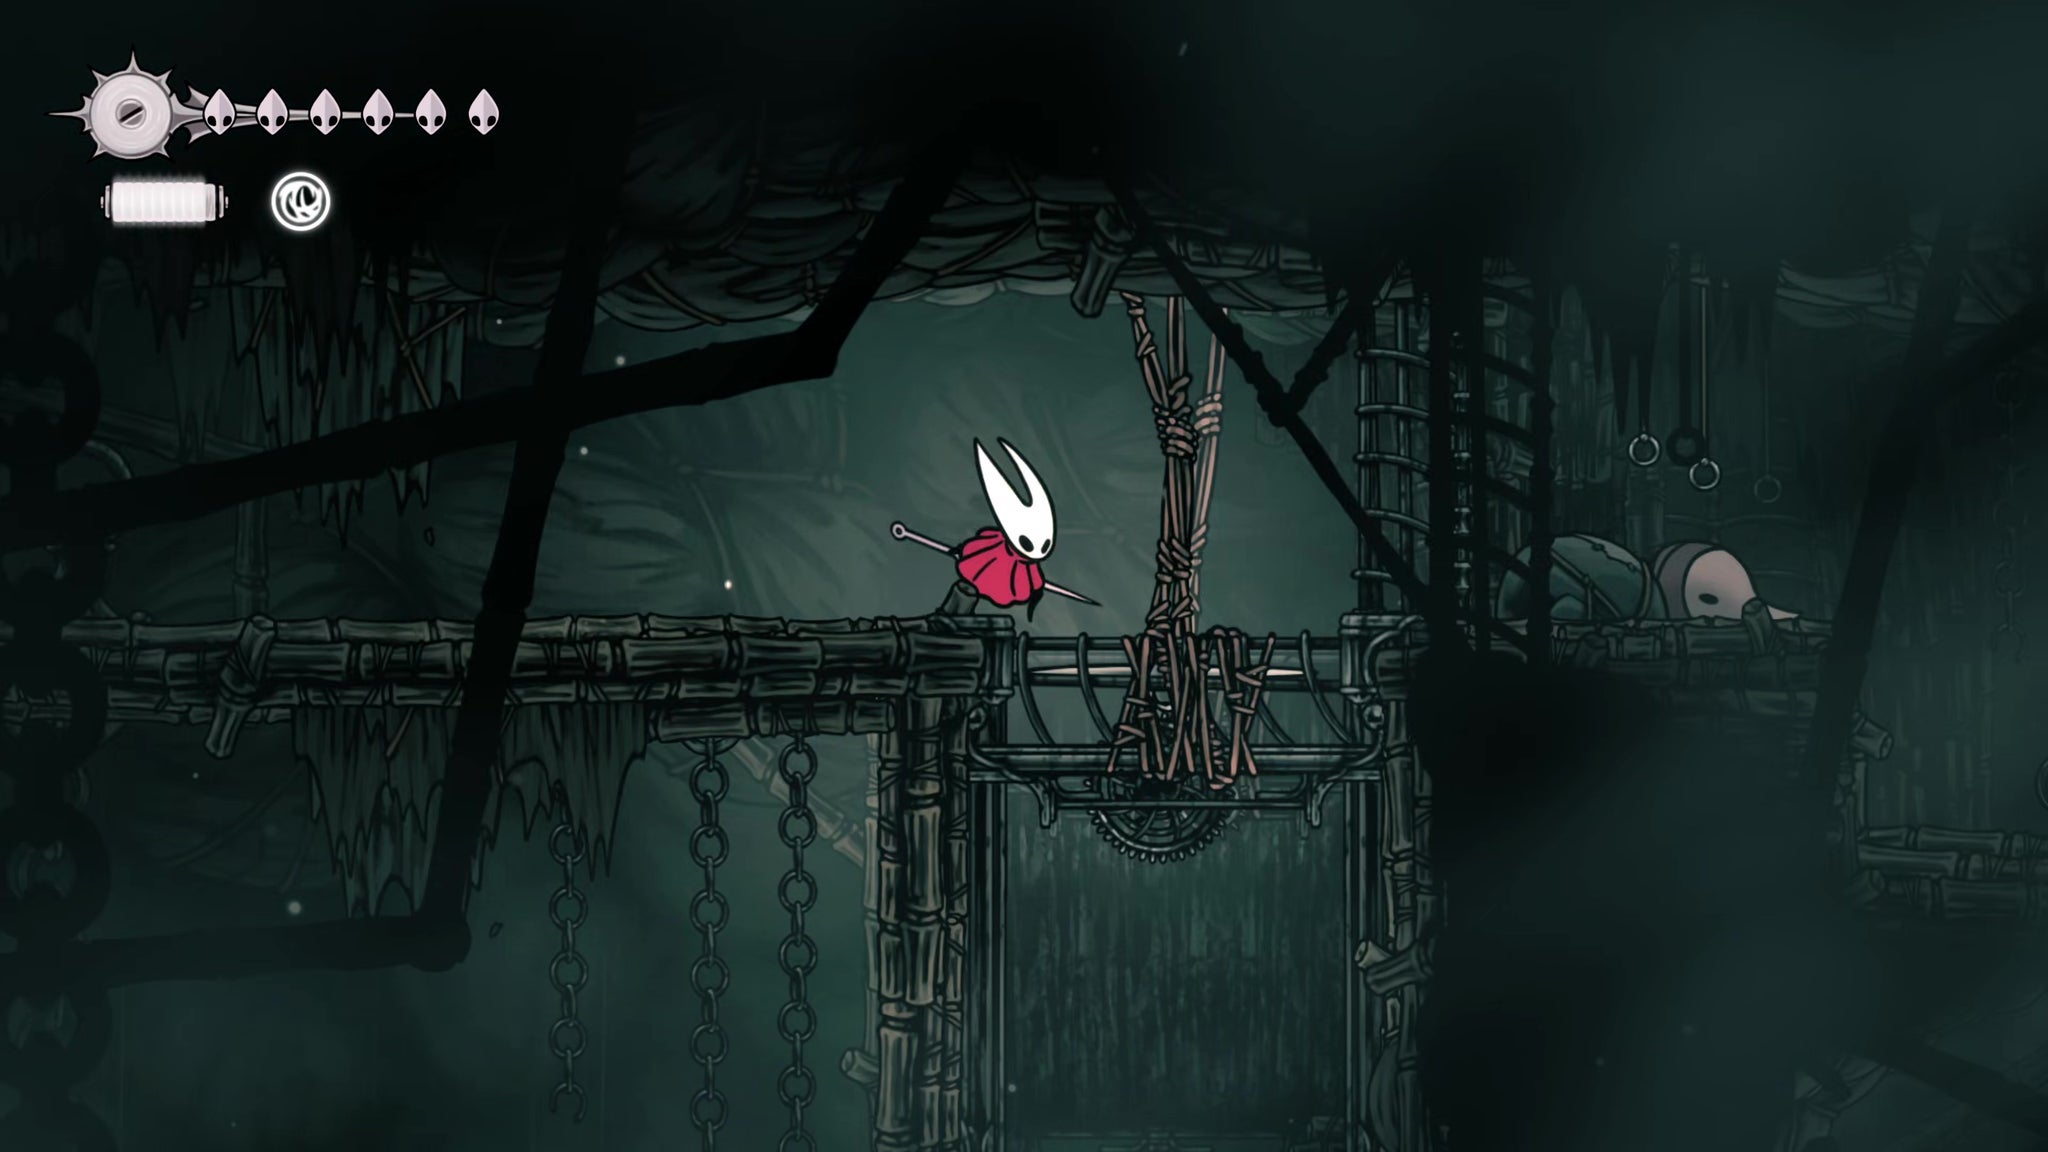
At the end of the path, attack the ropes to open a way downwards, and then jump over to the right-hand side reach the next room. Avoid the bear traps in here (attack to disable them), and fight your way past the giant Mites (Pogo-ing off their heads repeatedly works wonders). At the end of the path you'll be able to break open a passage back to the Bellway.
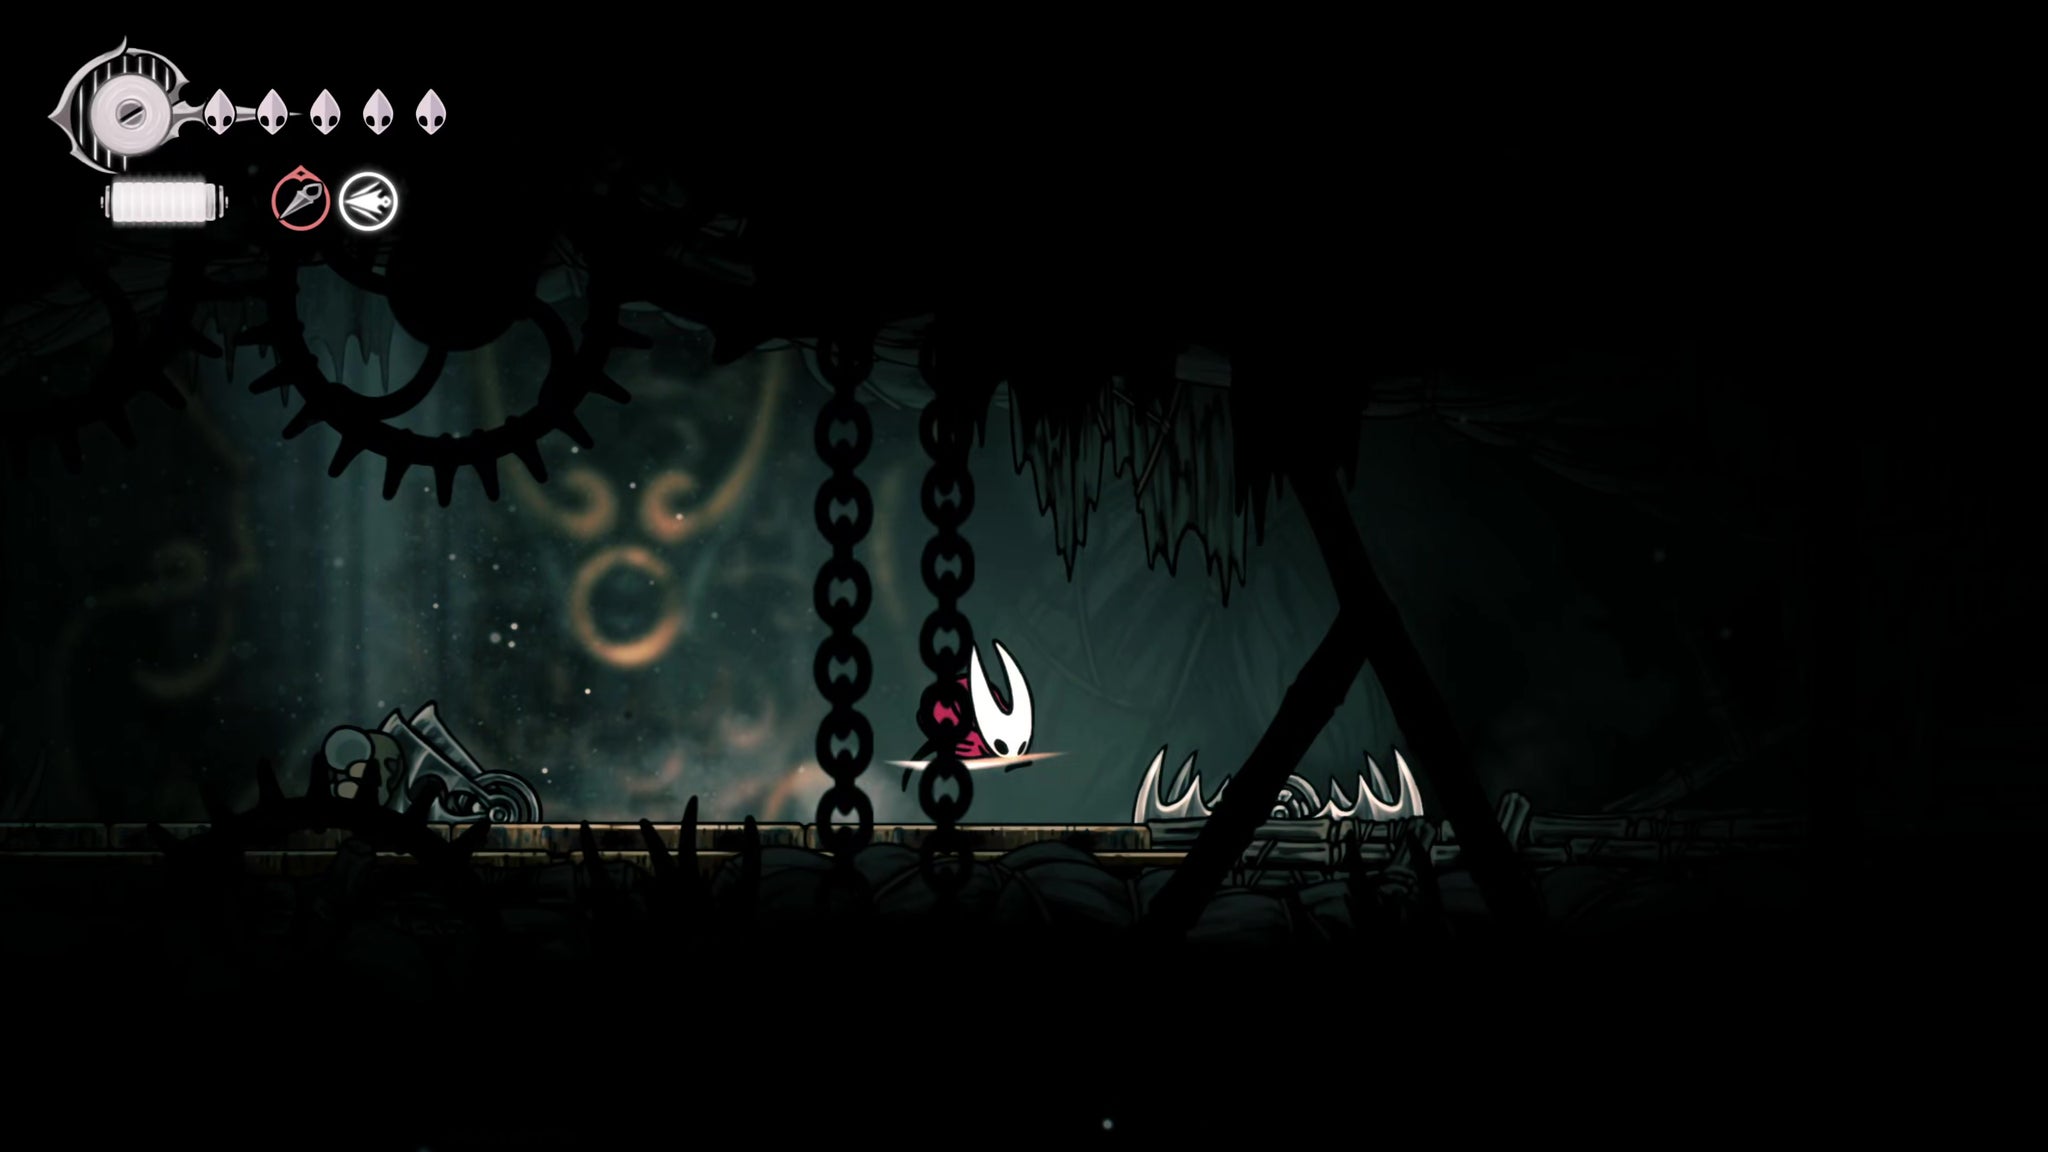

Now backtrack and head left this time. Before long, you'll find yourself back at the Flea Caravan, safe and sound - and you'll also see that Kratt has joined them, and set up his own sauna. You can accept his offer to try it out; but as you settle in the water (which restores your Health and Silk), you'll hear and then see him spying on you from above. Jump up and thwack him to teach him a lesson.
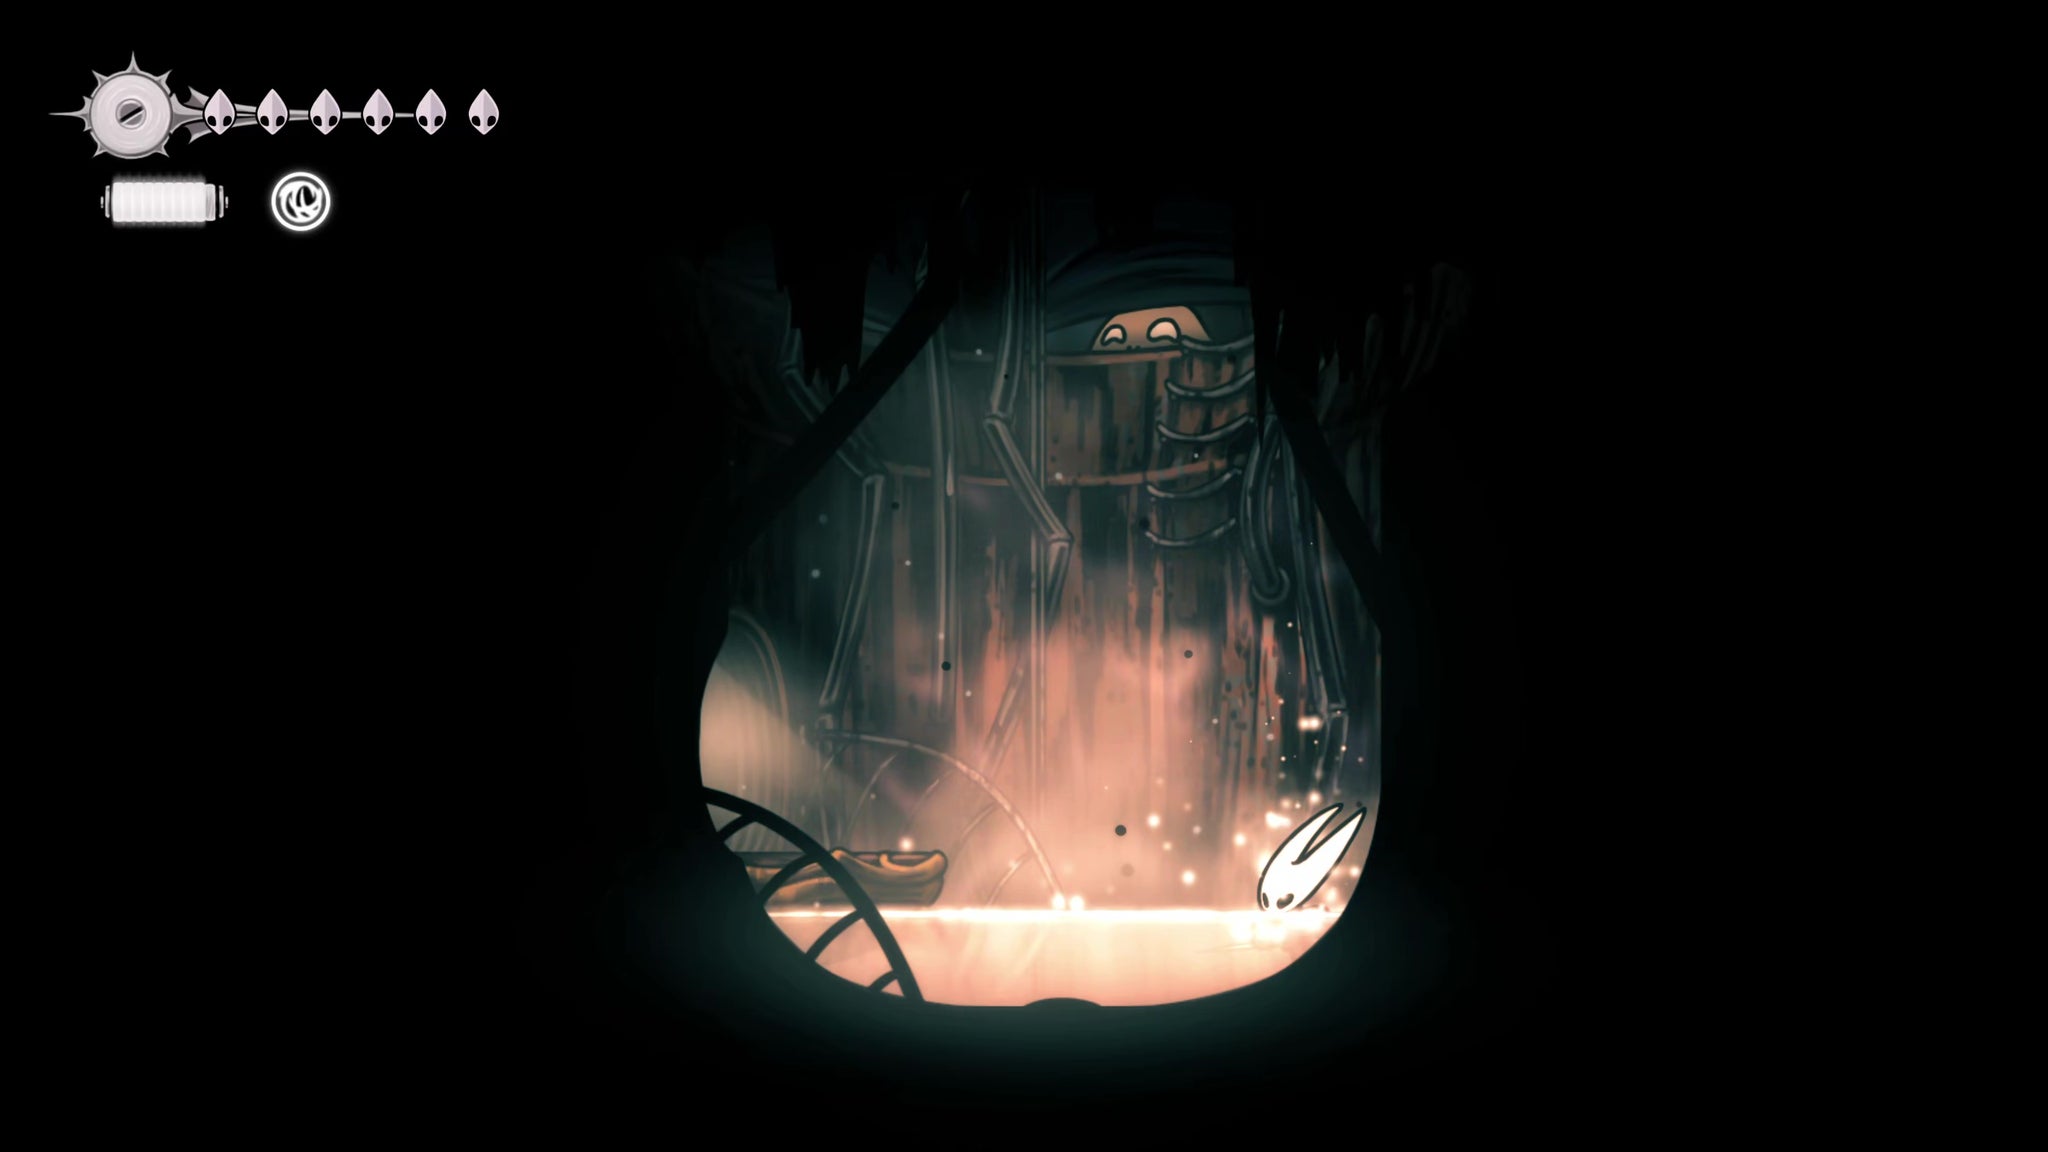
Back outside, you can speak with him again to hear his apology for being a perverted little Fleabag, and promise free (unobserved) saunas whenever you like from now on. A nice little bonus for completing Greymoor!
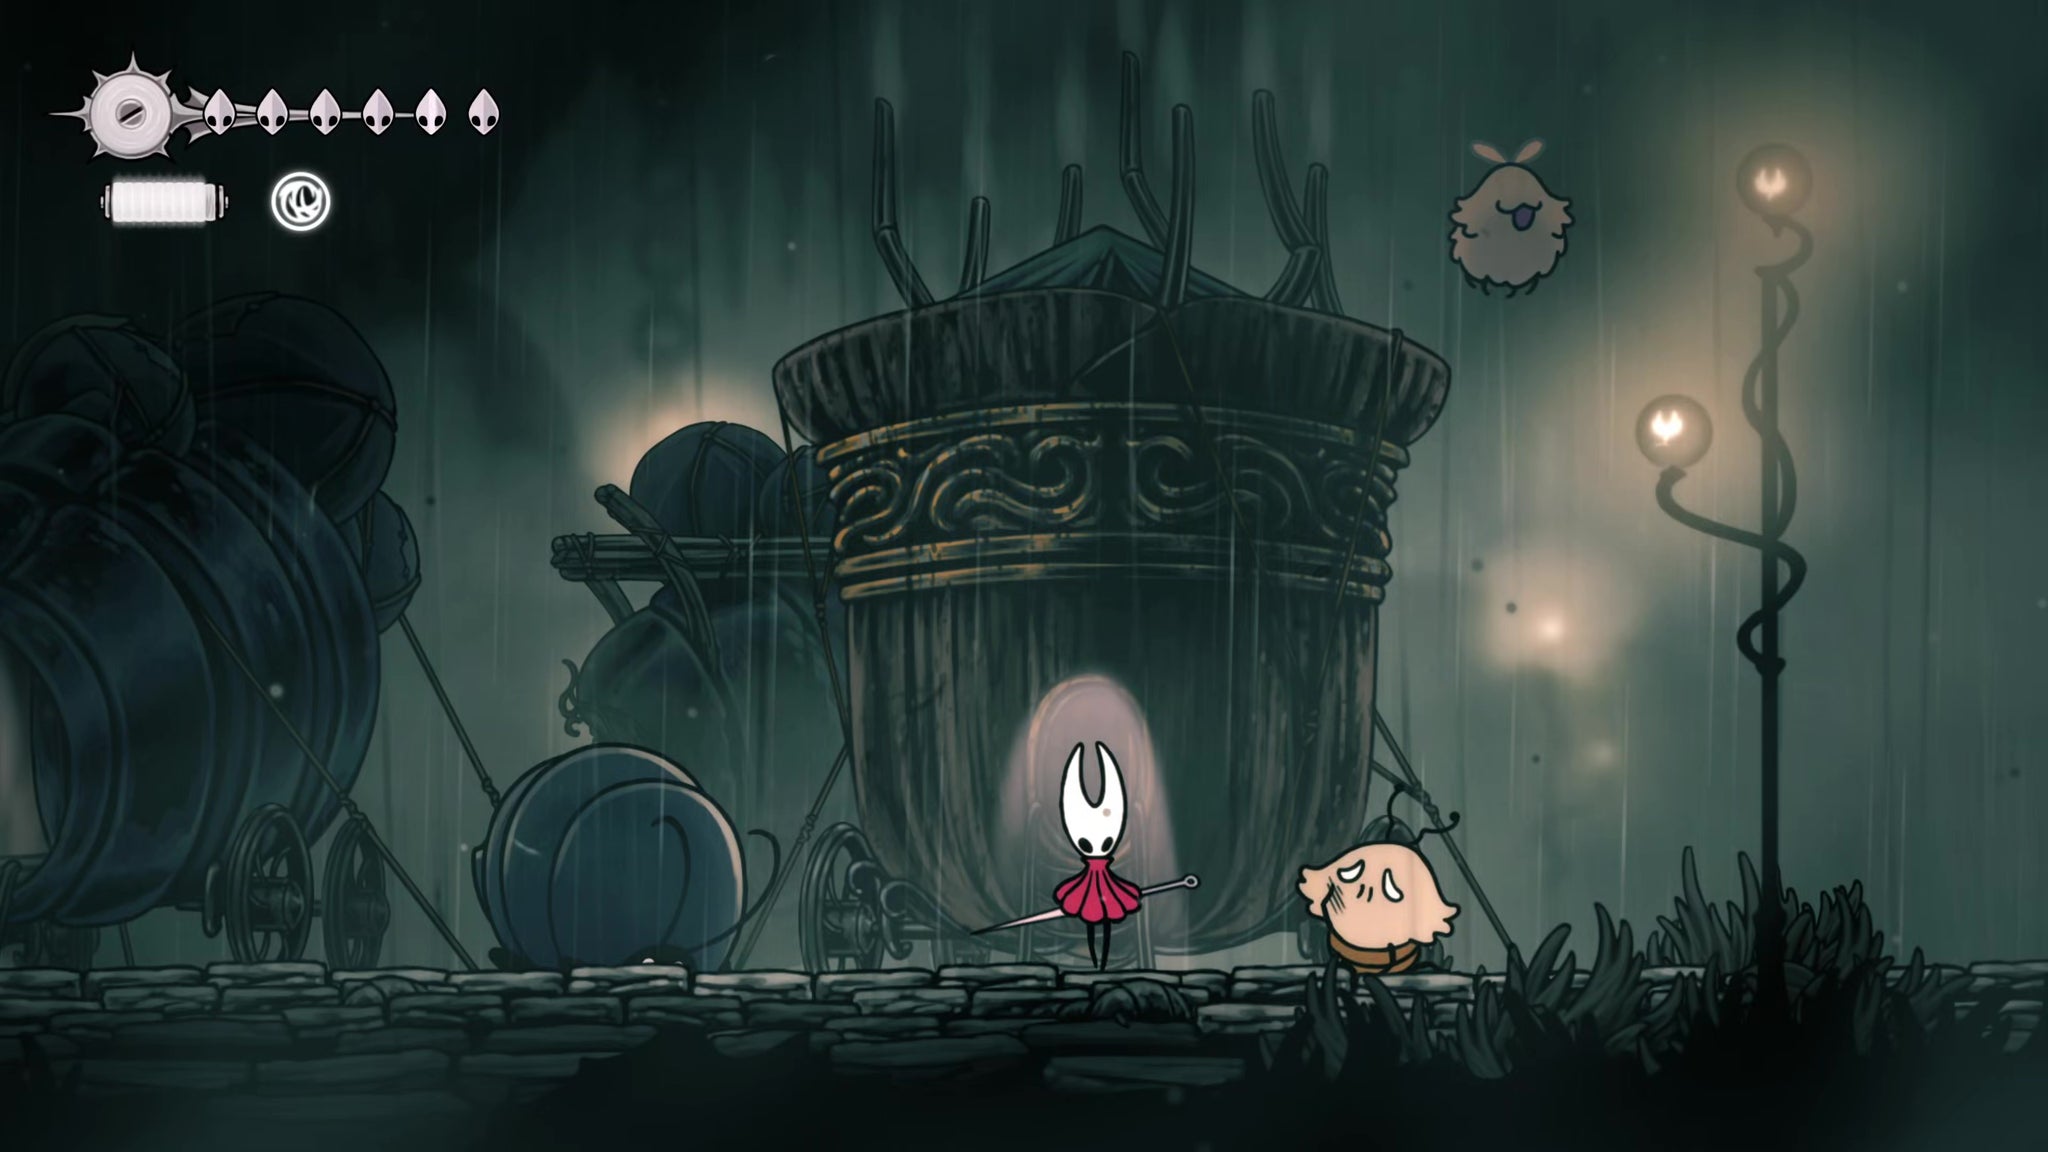
Where's the Moorwing gone?
That's all for Greymoor. Now it's time to turn our attention to a couple of passageways in the world of Pharloom that we can now access, thanks to our Needolin. Follow along with Part 13 of our Silksong walkthrough!
Read this next
- Ahead of Hollow Knight: Silksong's Sea of Sorrow expansion, Team Cherry have gotten their Traditional Chinese and German translation ducks in a row
- We may have glimpsed Silksong's Sea of Sorrow expansion in a six-year-old trailer
- Hollow Knight: Silksong's first big expansion, Sea of Sorrow, flows into our lives for free next year
