
Hollow Knight Silksong walkthrough: Part 22 (Mount Fay)
Reach the summit for the wonderful Faydown Cloak


Need some help tackling the cold climbs of Mount Fay in Hollow Knight: Silksong? The temperature in Mount Fay is as dangerous as any predator, and makes this ascension one of the most unique experiences in Silksong. Thankfully, climbing the mountain in the far north-west of the map is well worth the trouble, as it gives you access to one of Hornet's strongest late-game movement tools, as well as a powerful new weapon and yet another Mask Shard.
Follow along with Part 22 of our Hollow Knight: Silksong walkthrough as we detail every step of the ascent up Mount Fay, showing you how to acquire the Faydown Cloak at its summit, as well as everything else of value along the way.
Want the walkthrough for a different area of the game? Check out our Hollow Knight: Silksong walkthrough hub!
Mount Fay walkthrough steps:
- Unlock the Slab Bellway.
- Grab the Spool Fragment on the edge of Mount Fay.
- Buy the Mount Fay map from Shakra.
- Reach the upper ledge.
- Cross the lake to the next Bench.
- Obtain the Memory Crystal.
- Rescue the Flea from the ice.
- Reach the summit to acquire the Faydown Cloak.
- Craft the Silkshot tool.
- Visit the Mask Maker.
- Acquire the Mask Shard.

1. Unlock the Slab Bellway.
To reach Mount Fay, you need to take a direct path through The Slab - a desolate prison region that we'll properly explore later. Fast Travel to the Choral Chambers Ventrica Station, and climb up to the level just above the Citadel Spa. Then head left, as far as you can go.
Head along the long bridge of enemies - most of them will only spawn once you're most of the way across the bridge - and exit through the other side to enter The Slab.


Climb the cages in the centre of the room to reach the ceiling, where you'll find one small round cage with an item inside; hit it to break it open and loot the item for a Frayed Rosary String. Then pull the lever at the left side of the room and head through.

Kill the enemy in the next room - a Guardfly - and beware its goo-spewing attack, which can hold you still for a couple of seconds. Then drop down the signposted hole in the ground. There are some Shard rocks to break on your right, but after that just follow the path all the way, killing the enemies in your path, and battering down any circular gates in your way.

Once you reach the locked door with the keyhole, drop down to the level below and exit off-screen. In this next room, you can find a Bench on the right-hand side to rest at, and The Slab Bellway on your left. Unlock it for a scant 40 Rosaries if you have enough.
2. Grab the Spool Fragment on the edge of Mount Fay.
The path to Mount Fay is on the other side of the Bellway, but before you go there, head back upwards into the room with the Guardfly. To your left is a little area with another Guardfly and an item in another cage which you can loot for a Shard Bundle.


After that, climb up to the upper ledges and wall-climb to the room above you. Head to the left, killing the Drapemites and sprinting over the pressure plate traps along the way until you exit outside.
Out here, the icy temperatures of Mount Fay will start to damage you before long. Quickly climb up to the higher ledge to collect a Spool Fragment; then return the way you came.
3. Buy the Mount Fay map from Shakra.
Make your way back to the Bellway, cross over it, and exit out into Mount Fay. Again - the cold temperature will damage you before very long, and once it starts damaging you, it drains your health fast. This obviously puts a clock on everything you do in Mount Fay, but there are areas of warmth that act as checkpoints.

This first section introduces the idea to you gently. There's nothing of interest below you, so just clawline across the two ring hooks and over to the next room. Here you'll find Shakra, next to a nice warming lantern and a Bench for you to rest at.
Exhaust Shakra's dialogue, and buy her Mount Fay map for 40 Rosaries.
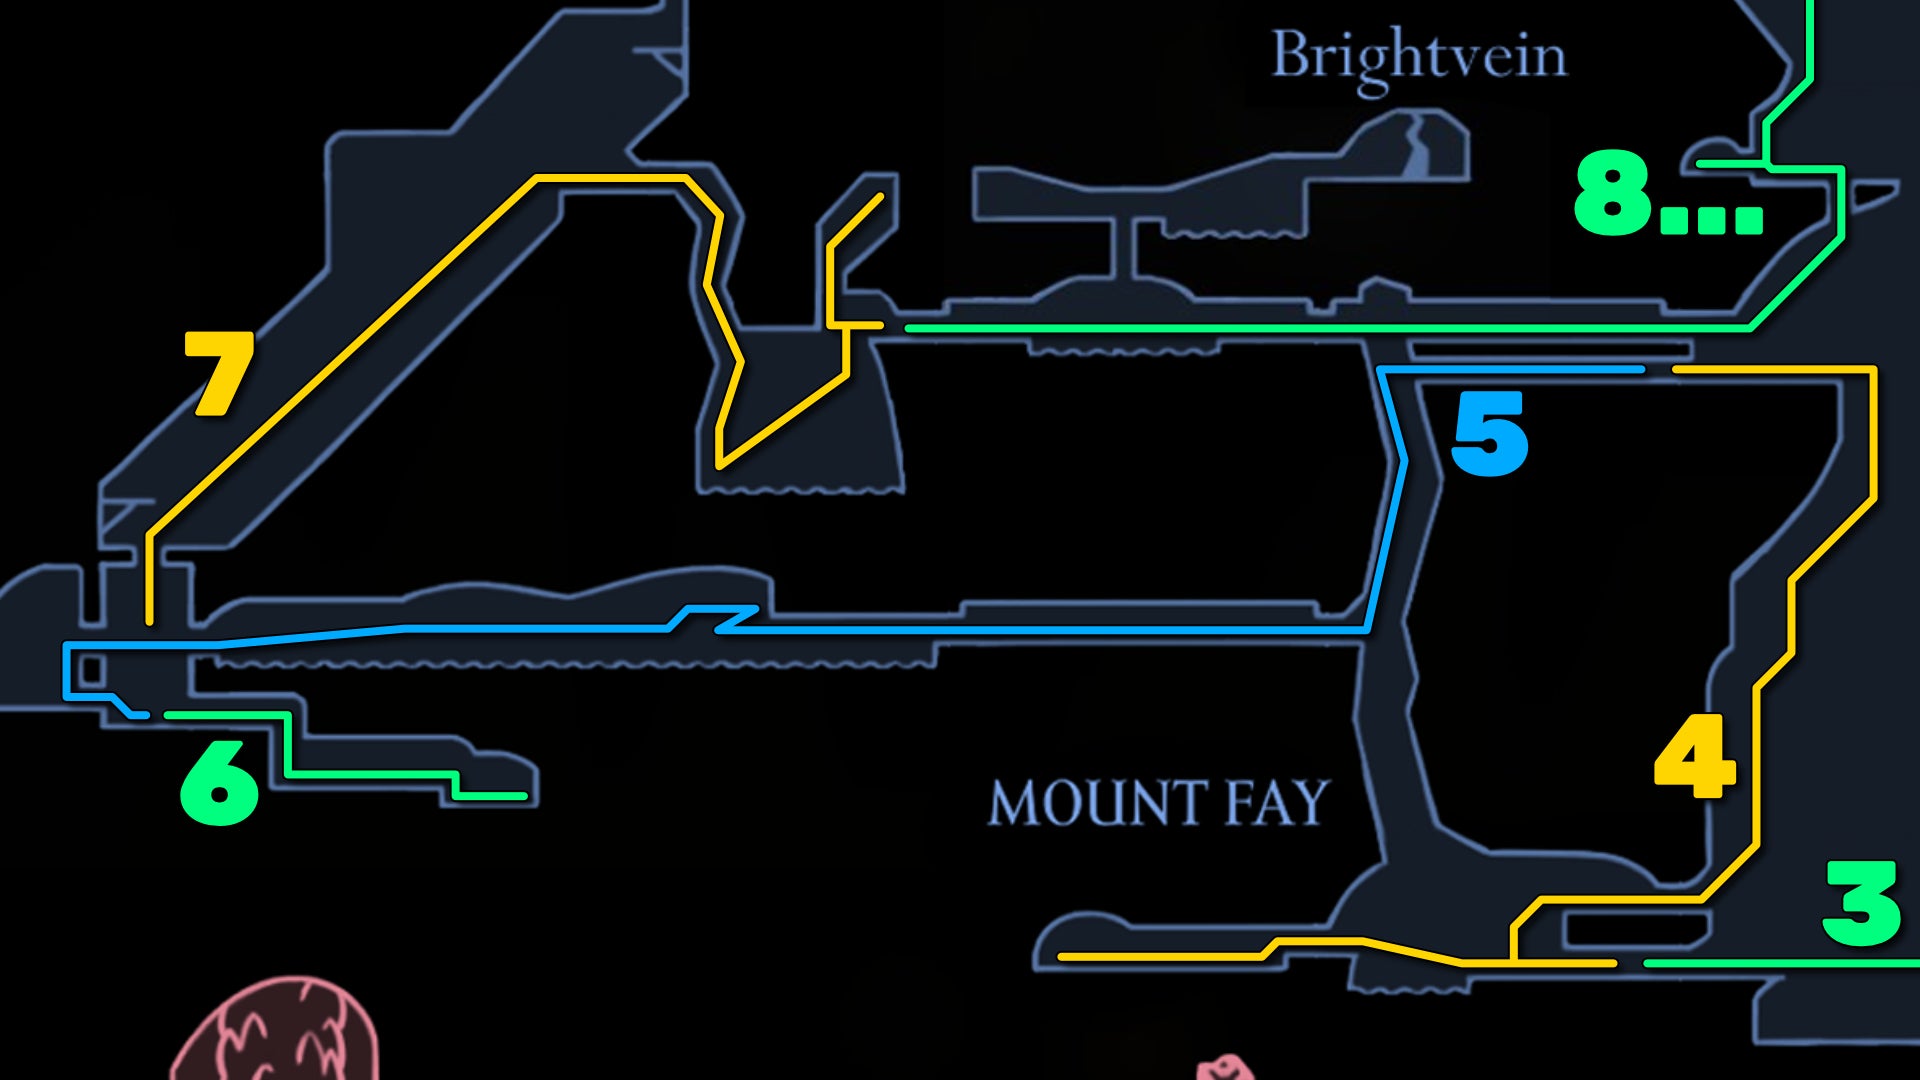
4. Reach the upper ledge.
Optionally, you can head straight to the left of Shakra at this point, and into the room beyond. At the end of the corridor you'll find areas of warmth, and a tablet which gives you some lore about Mount Fay. Then make your way back to Shakra.

Climb the two tiny ledges to the left of Shakra over the ice, and then clawline over to the ledge on your right. You'll be doing a lot of clawline-ing in this region, so looking for these opportunities for quick horizontal movement should become second nature to you.
Jump over to the upper-right ledge for some warmth, then exit out the right doorway. From here, you need to climb, and climb fast. Past the breakable ledges you'll need to clawline to the Driftlin enemy, and then to the hook above, and keep going. Once you reach the ledge with the Silk cobweb, you need to climb up the left-hand wall and clawline onto the hook above you.

You get the idea - lots of clawline usage is necessary. I won't detail every single movement you need to do - just know that the solution is almost always to clawline. Eventually you'll reach a little bubble of warmth for you to recover at.
From there, follow the path winding up and over the spikes to the next warmth bubble (on the wall); then head over to the opposite wall and keep climbing. Past the next three Driftlins you'll reach firmer footing; run to the left and you'll find warmth. From there, you can enter the room to your left.
5. Cross the lake to the next Bench.

Strike the spools along the corridor to regain some Silk, and then head to the end of the ledge. From here, you need to jump across and hug the left-hand wall. Slide down it until you reach a ledge far below that you haven't been to before.
You can strike the spool on the ceiling in this next corridor for even more Silk if you need it. A few steps further in, and you'll awaken a new enemy - an automaton called a Servitor Boran, which uses a charge-up laser to blast you.


Past the Servitor, you'll find a frozen lake in the next room. Dropping into the lake will instantly set the temperature to "killing you" levels. Clawline the first three enemies, and then on the third enemy, jump up, face the other way, and clawline onto the hook. From there you can climb up to a temporary area of warmth.
After this, keep heading to the left, using clawlines on whatever's available. There are a couple of large overhanging rocks which will drop to the ground when you come into contact with them, giving you a (relatively) safe platform on the ice lake.

Make your way to the very end of the lake, and you'll arrive in a warm room with a trapdoor leading to a Bench below. To get to the Bench, exit out to the left, drop down to the bottom of the following room, then turn around and break open the wall on your right. You can then pay 60 Rosaries to unlock the Bench and rest.
6. Obtain the Memory Crystal.
Climb up above the Bench and hit the lever above you to open the trapdoor. But before you head upwards, drop back down and attack the wall to the right of the Bench for a secret passage.

Collect the Rosaries along the way, and then drop down the hole and quickly destroy all the ice balls in front of you, so you can reach the area of warmth beyond. Here, you can attack the white crystal to your right until it drops an item - the Memory Crystal.


This handy blue-slot tool leaves a fast-acting trap at your location whenever you take damage - very useful when fighting swarms of low-level enemies, such as during gauntlet arena battles.
7. Rescue the Flea from the ice.
Return to the Bench and rest, then head up through the trapdoor and climb to the exit above you. Use the area of warmth on your left as a starting point; then make your way up the next parkour course, clawline-ing to the first enemy to your right in order to make your way further up.


After the first bubble of warmth, you'll need to clawline your way over the spikes above, and then quickly clawline to the enemy to your right as you drop down. Before long you'll reach the far-right side, where another bubble of warmth can be found next to a right-hand exit.

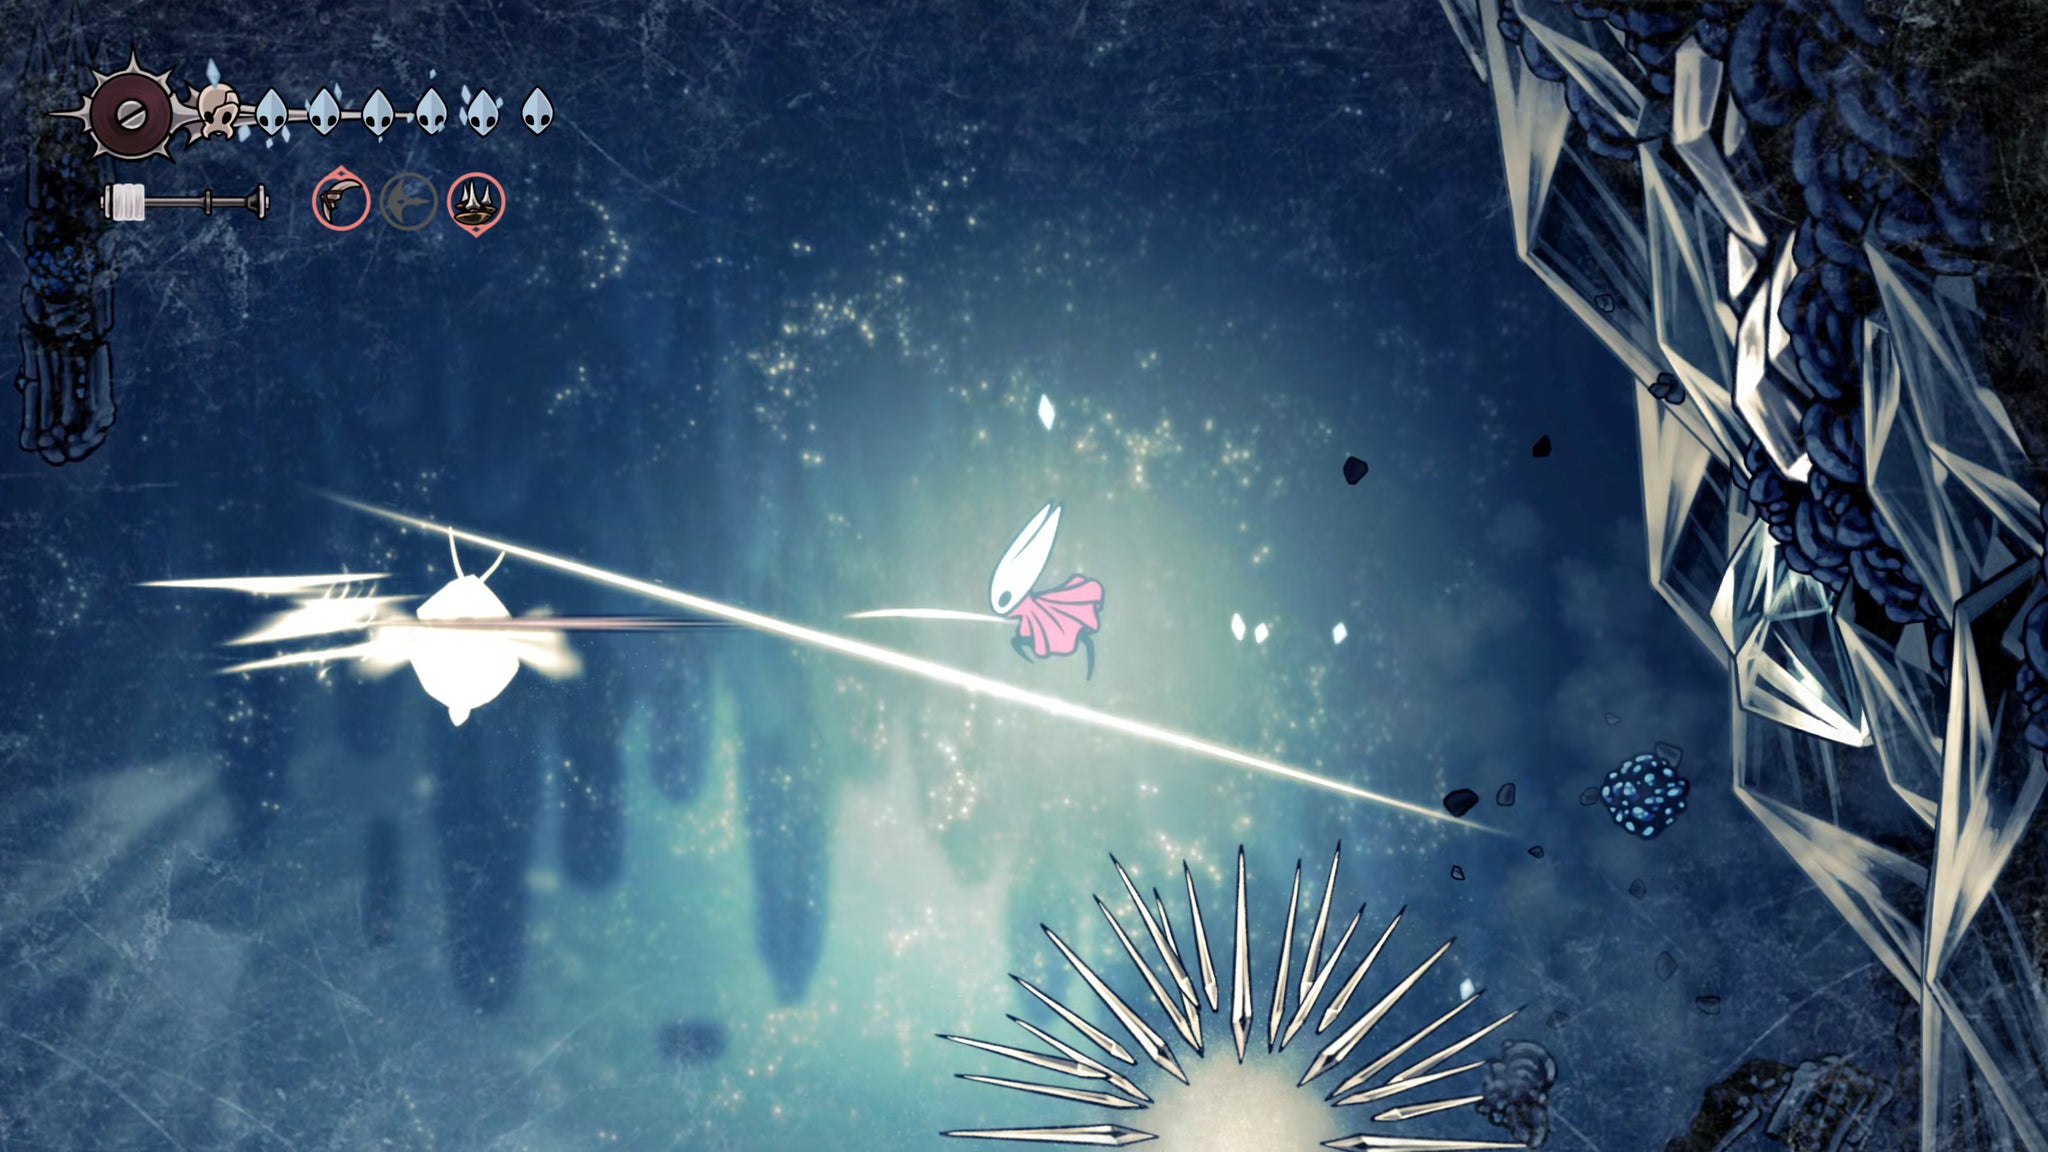
Go through the exit, and follow the path to the top-right side where the next warmth bubble is located. But before forging ahead, turn back at that last crystal wall to your left, jump over to it, and then keep climbing upwards to reveal a hidden passage.
Here you must slice your way through another load of ice crystals - and one of them, near the top-right, contains a poor frozen Flea waiting to be rescued. Free the Flea, and then return to the bubble of warmth below.


8. Reach the summit to acquire the Faydown Cloak.
Exit to the right, and clawline your way over the next ice lake. Replenish your Silk as needed from the spool above you, then just keep heading to the right, into the next room - where you'll find another Servitor Boran to kill.
In the room beyond, break through the wall to unlock a useful shortcut up here from the ledge below you. Then jump off the ledge to the right. You'll need to do some quick clawline-ing to make your way up to the exit above. Once you're up there, run to the left and destroy the breakable wall of sacks to reveal a Bench to rest at.


To proceed from the Bench, climb up the small wall just to your right, and then clawline to the hook above. From there, just keep climbing and clawline-ing all the way up, until you reach the warmth bubble just below another exit upwards.

You're nearly at the top now - climb up the wall to your right, and then launch yourself to the left, where you'll slide a little way down until you reach a large air current. Ride the air current all the way up to the summit.


Interact with the large tuning fork, and play your Needolin when prompted to acquire the Faydown Cloak (and meet a friend).
9. Craft the Silkshot tool.
Congratulations - you now have the Faydown Cloak, and can double-jump at will! It may take you some time to get used to having to hit jump three times to activate your float, but overall it's a marvellous upgrade.
Not only that - with the Faydown Cloak equipped, you are immune to the cold temperatures of Mount Fay. No more having to do everything as fast as possible!

Before you do anything else, carefully drop off the right-hand edge of the tuning fork platform, and drift down to the lower ledge on your left. Enter the room inside the cave, and you can rest at the Bench there.

You can also interact with the table on the far left side, allowing you to craft arguably the most powerful version of the Silkshot tool out of that Ruined Tool you acquired ages back. As a reminder, you need to have delved partially into Bilewater from Sinner's Road, and entered Weavenest Murglin to have acquired the Ruined Tool.
This is one of my favourite weapon tools - it's fast-acting, long-range, penetrates multiple enemies, and has a decent number of shots before you need to craft more.
What are the other ways to repair the Ruined Tool?
10. Visit the Mask Maker.

Exit out of the Silkshot tool cave, and drop down off-screen. Now retrace your steps back to the giant air current that lifted you up to the summit. But instead of riding it all the way up, jump off to the ledge on your left about halfway up.
You can now use your double-jump to reach the ledge above and exit off-screen. At the far end of the platform, drop down onto the ice slide below (or just drift down for a safer but less fun journey).

At the end of the slide, you'll find a hole in the ground, as well as a hole in the wall to the left right by it. Go through the left-hand hole and follow the path. This next parkour course is designed to make you use your double-jump a lot to reach high enough for the next clawline or wall-grab. Once you reach the top, you'll find a small hovel you can enter to meet the Mask Maker.
This NPC is mostly here for flavour text and lore - you don't actually get anything from them. However, there's a unique interaction possible here - strike the Mask Maker with a charged attack to break off their mask, and then speak with them for some more interesting lore.

11. Acquire the Mask Shard.
Make your way back to the hole in the ground, and drop down it. Hit the lever here to open the trapdoor, and then drop further down, back into the long diagonal climb you made earlier. Drop to the very bottom, and you'll find that first Bench once again.


There's just one thing left to do in Mount Fay now, and it's incredibly easy with your Faydown Cloak. Exit to the west room, and make your way just below the hollowed out broken tower above you. Then double-jump up to reach the wall, and climb up to access the Mask Shard at the top. A final parting gift from Mount Fay.
Now that we have both the Clawline and the Faydown Cloak, there's a lot of different areas of previous regions that we can now access where we couldn't before. Join us in Part 23 of our Silksong walkthrough to visit each one and complete a variety of miscellaneous quests and tasks at once!
Read this next
- Ahead of Hollow Knight: Silksong's Sea of Sorrow expansion, Team Cherry have gotten their Traditional Chinese and German translation ducks in a row
- We may have glimpsed Silksong's Sea of Sorrow expansion in a six-year-old trailer
- Hollow Knight: Silksong's first big expansion, Sea of Sorrow, flows into our lives for free next year
