
Hollow Knight Silksong walkthrough: Part 35 (The Abyss)
A step by step guide to navigating The Abyss beneath Pharloom


Stuck trying to explore (or escape) The Abyss in Hollow Knight: Silksong? Act 3 brings a startling wealth of content to Silksong, but only a couple of entirely new regions to explore - and The Abyss is one of them. After speaking with the Snail Shamans in the previous Part, it becomes clear that Hornet has to find a way to venture down into the source of the Void consuming Pharloom.
In Part 35 of our Silksong walkthrough, I'll guide you through each of the steps you must take to descend into The Abyss, find the skills and items that you need there, and escape safely. By the end of this part, you'll be exactly one movement ability richer, and you'll be able to access a whole lot more of that new Act 3 content!
Want the walkthrough for a different area of the game? Check out our Hollow Knight: Silksong walkthrough hub!
The Abyss walkthrough steps:
- Speak with Forge Daughter and Ballow.
- Use the Diving Bell to reach The Abyss.
- Obtain the Arcane Egg.
- Reach The Abyss Map.
- Inspect the Void.
- Explore Weavenest Absolom for Farsight and Silk Soar.
- Escape The Abyss.
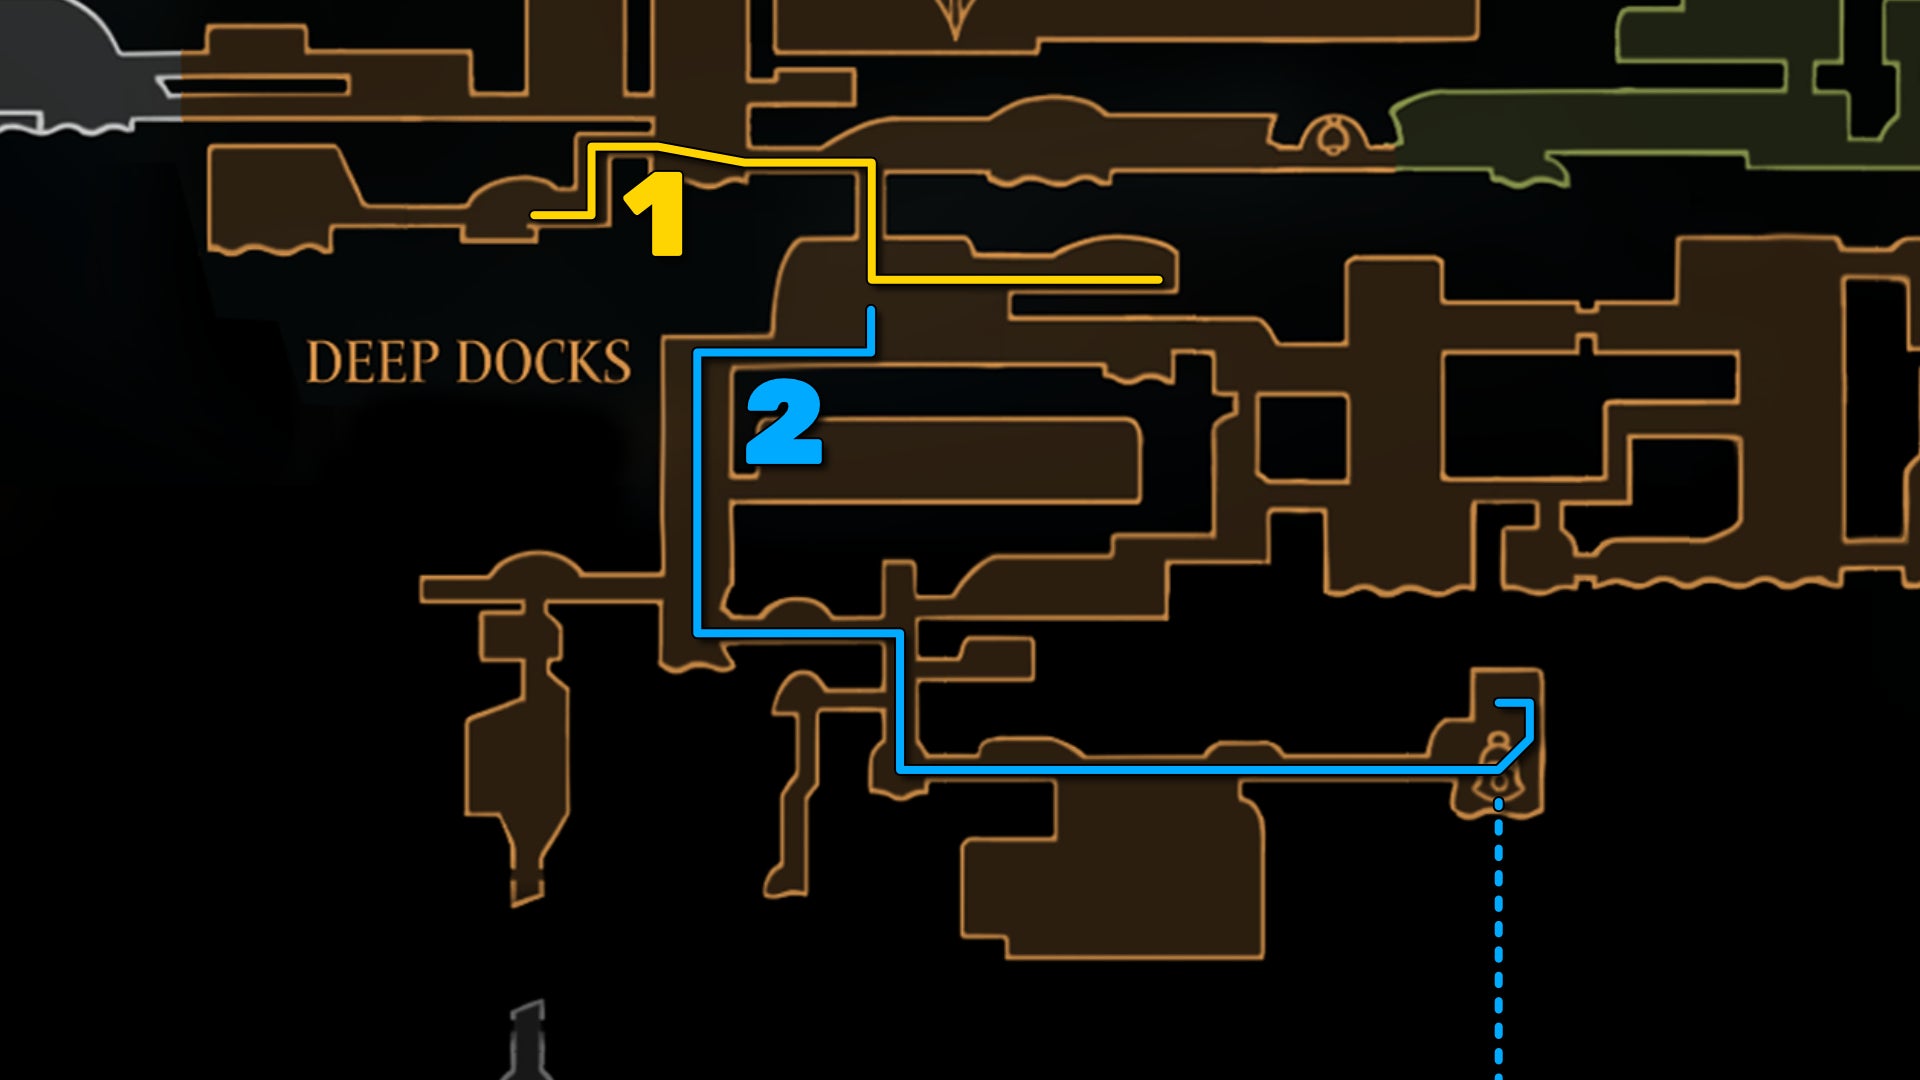
1. Speak with Forge Daughter and Ballow.
Where we left off, you'd just finished speaking with the Snail Shamans in the Ruined Chapel about your next steps. Now it's time to figure out a safe way down into The Abyss, and for that you need to ask some old friends in Deep Docks for assistance.
Exit the Ruined Chapel and make your way back to Bone Bottom. Take the Bellway to Deep Docks, and then cross over to the right and head down the trapdoor in the floor to reach the Forge Daughter.
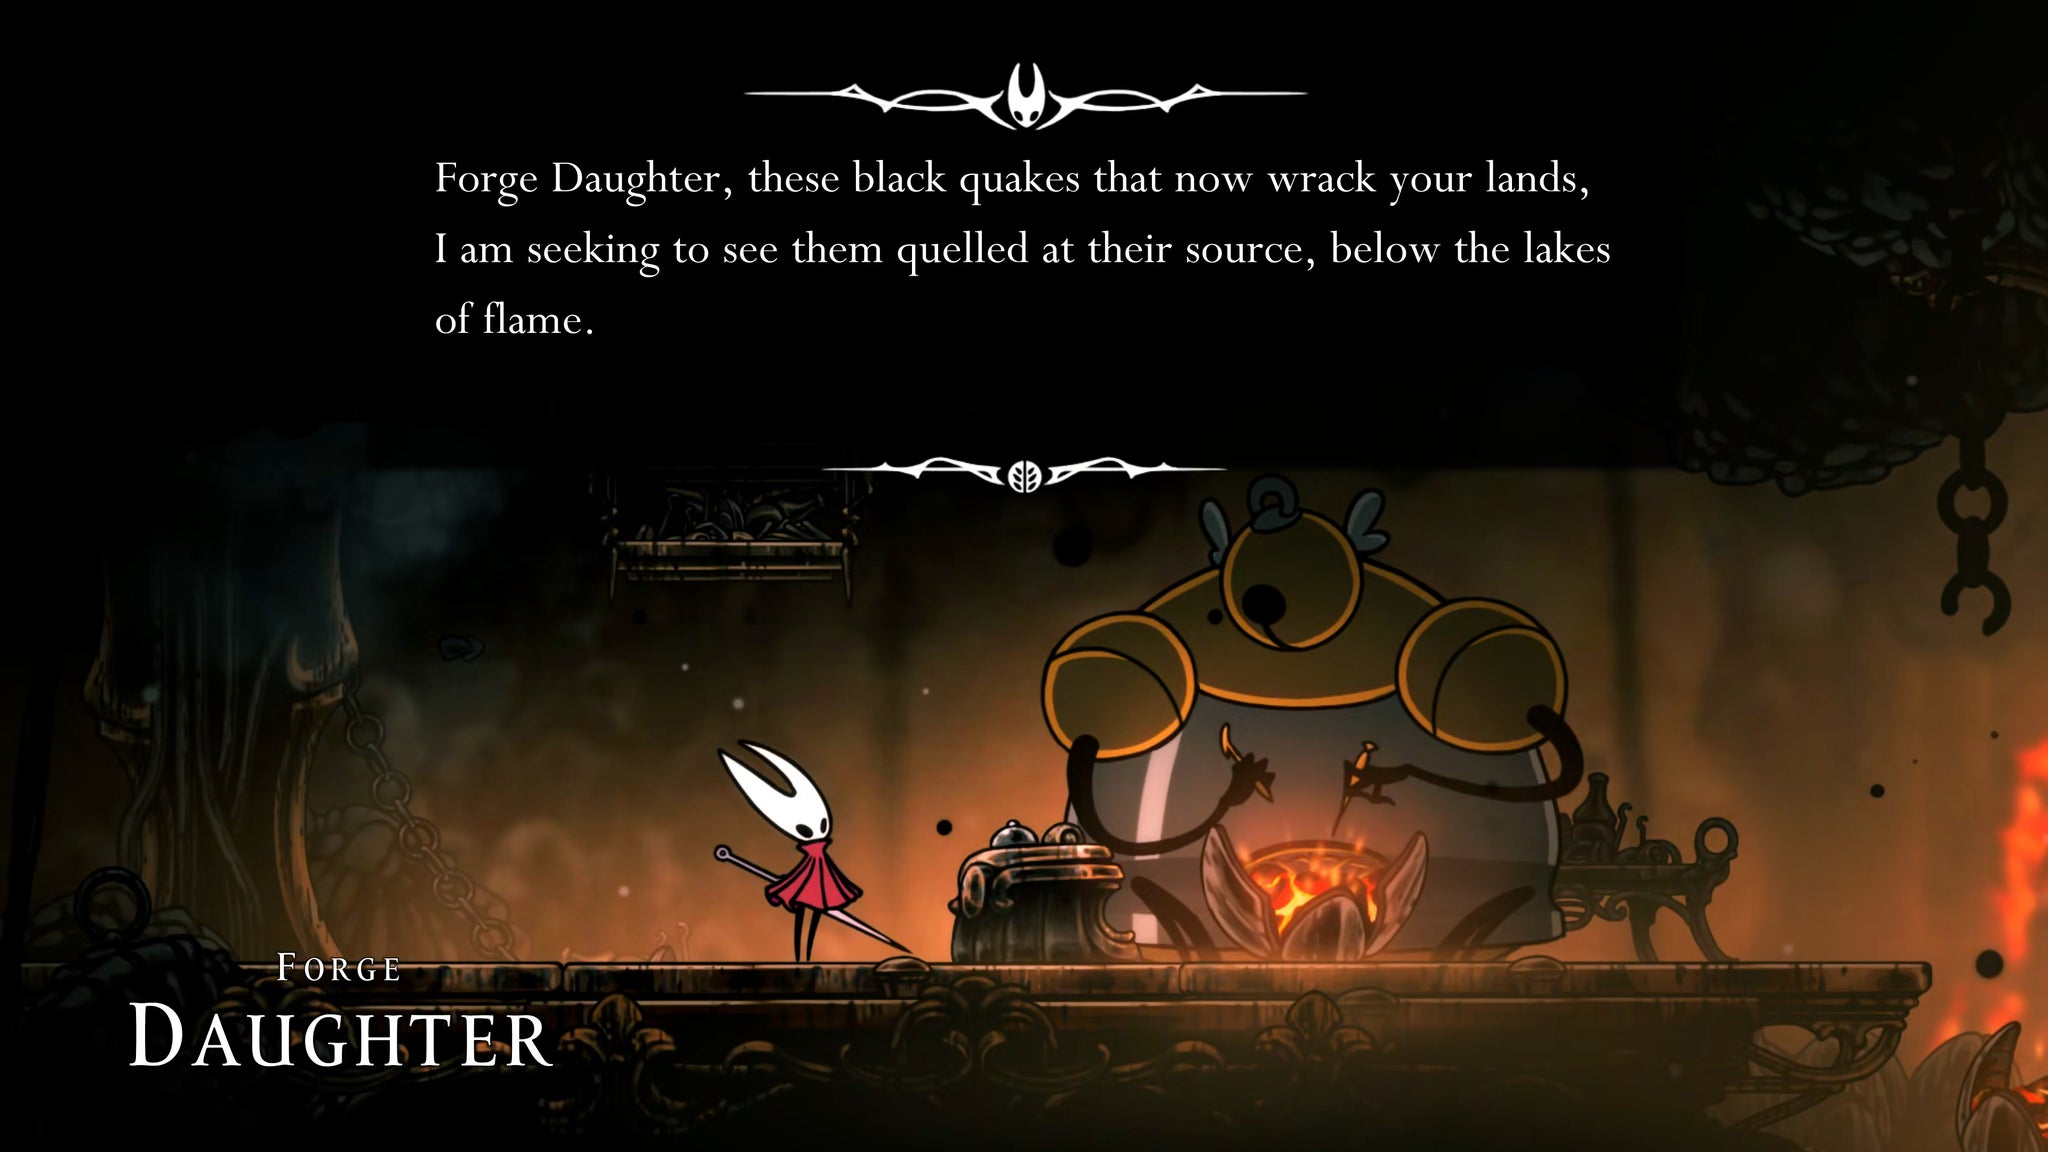

Speak with Forge Daughter and she'll direct you to her helper, Ballow. You can then speak with Ballow and exhaust his dialogue to convince him of the need to help you get that old Diving Bell at the bottom of Deep Docks functional and ready.
2. Use the Diving Bell to reach The Abyss.
Ballow will then disappear and wait for you at the Diving Bell, so make your way down there by descending the shaft to the left of the Forge Daughter's room. You can use the shortcut you previously opened to enter via the steam room with the Bench.
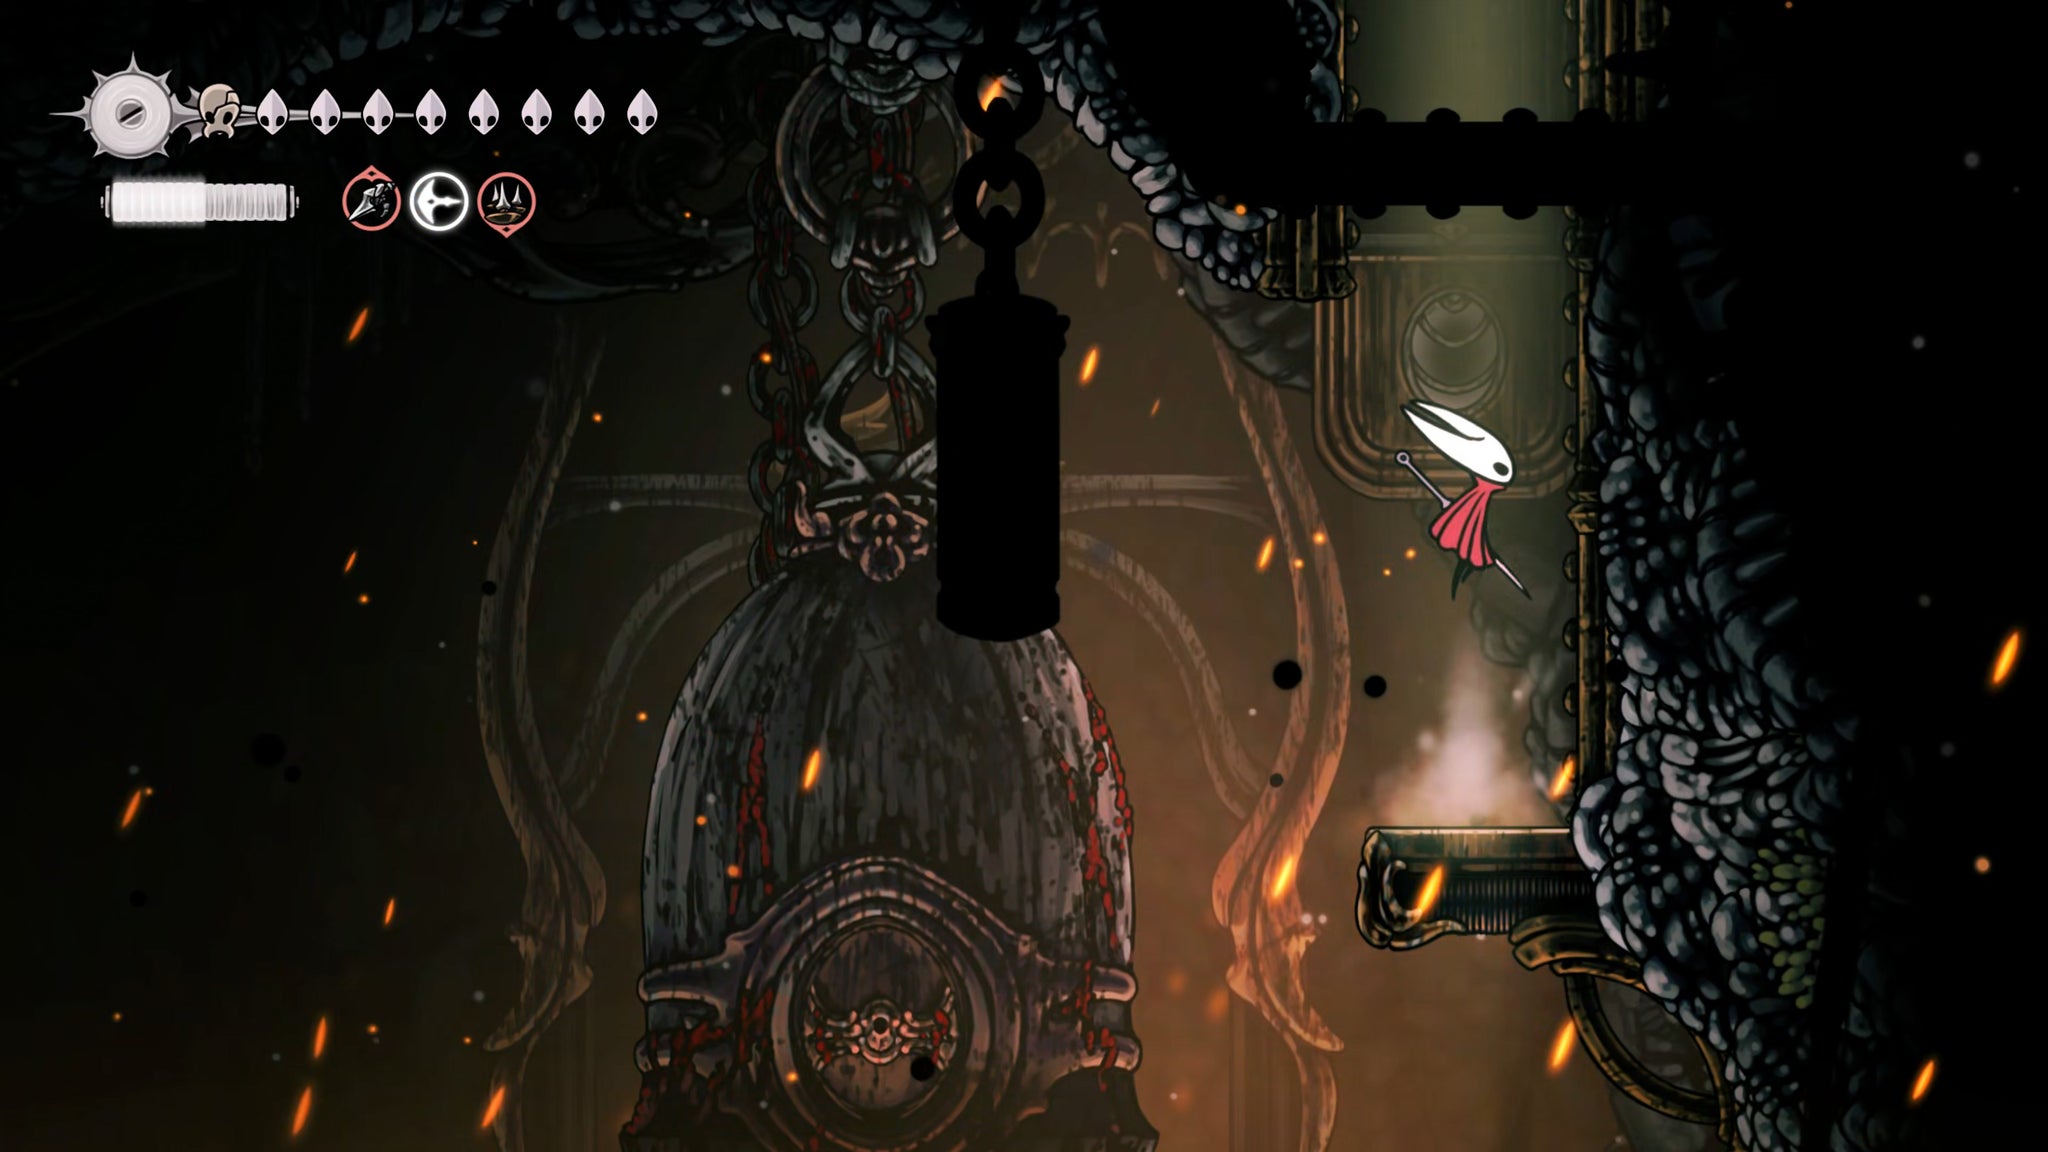
If you followed this walkthrough during your last visit to Deep Docks, you'll already have found the Diving Bell, and unlocked another shortcut that allows you to bypass most of the awfulness it took to get you there. Take this shortcut directly across to the Diving Bell.
Once you're at the Diving Bell, you'll see that a trapdoor has opened up at the far right of the ceiling. Climb up it and you'll find Ballow operating the controls of the Bell. Speak with him to receive the Diving Bell Key, and then drop back down and unlock the Diving Bell.

Step inside, and rest in the chair if needed (it acts as a Bench). Then interact with the speaker on the right to prime the Bell for travel. Sit in the chair, and enjoy the (rather perilous) ride.
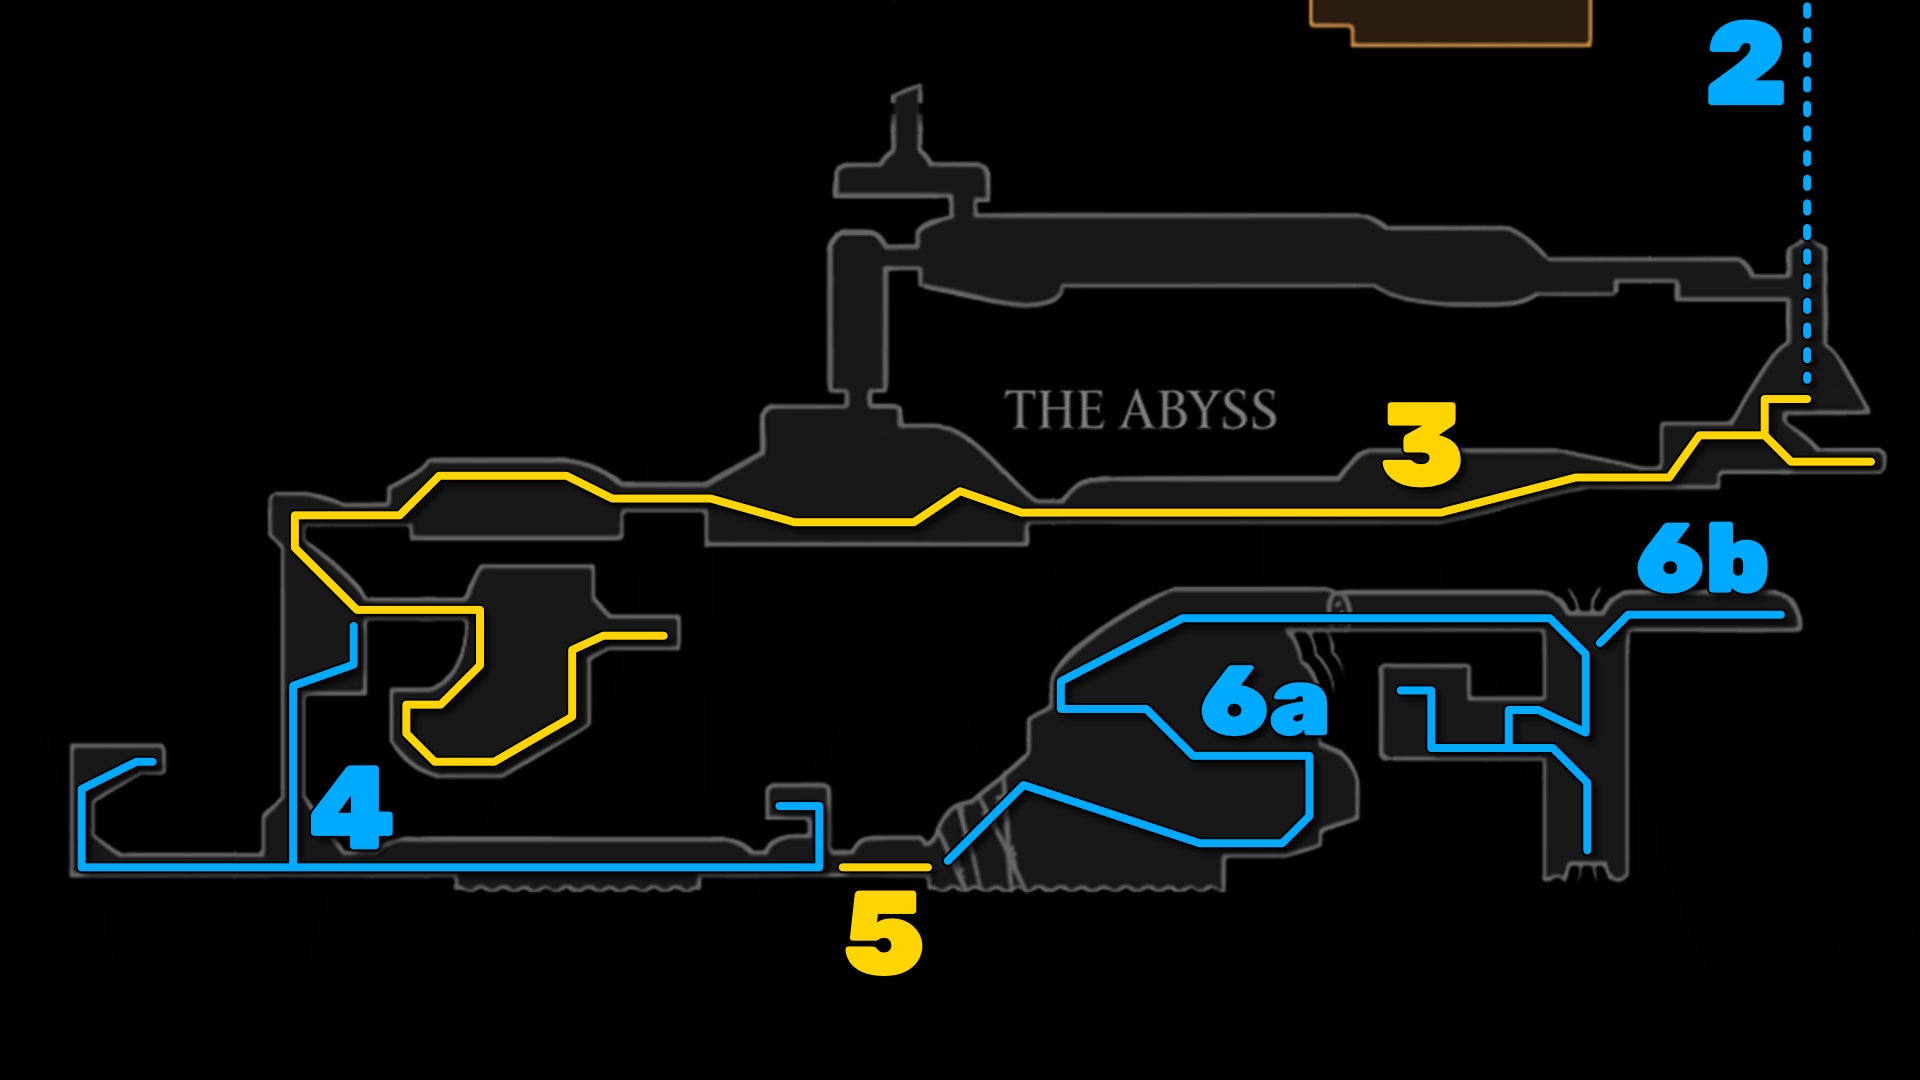
3. Obtain the Arcane Egg.
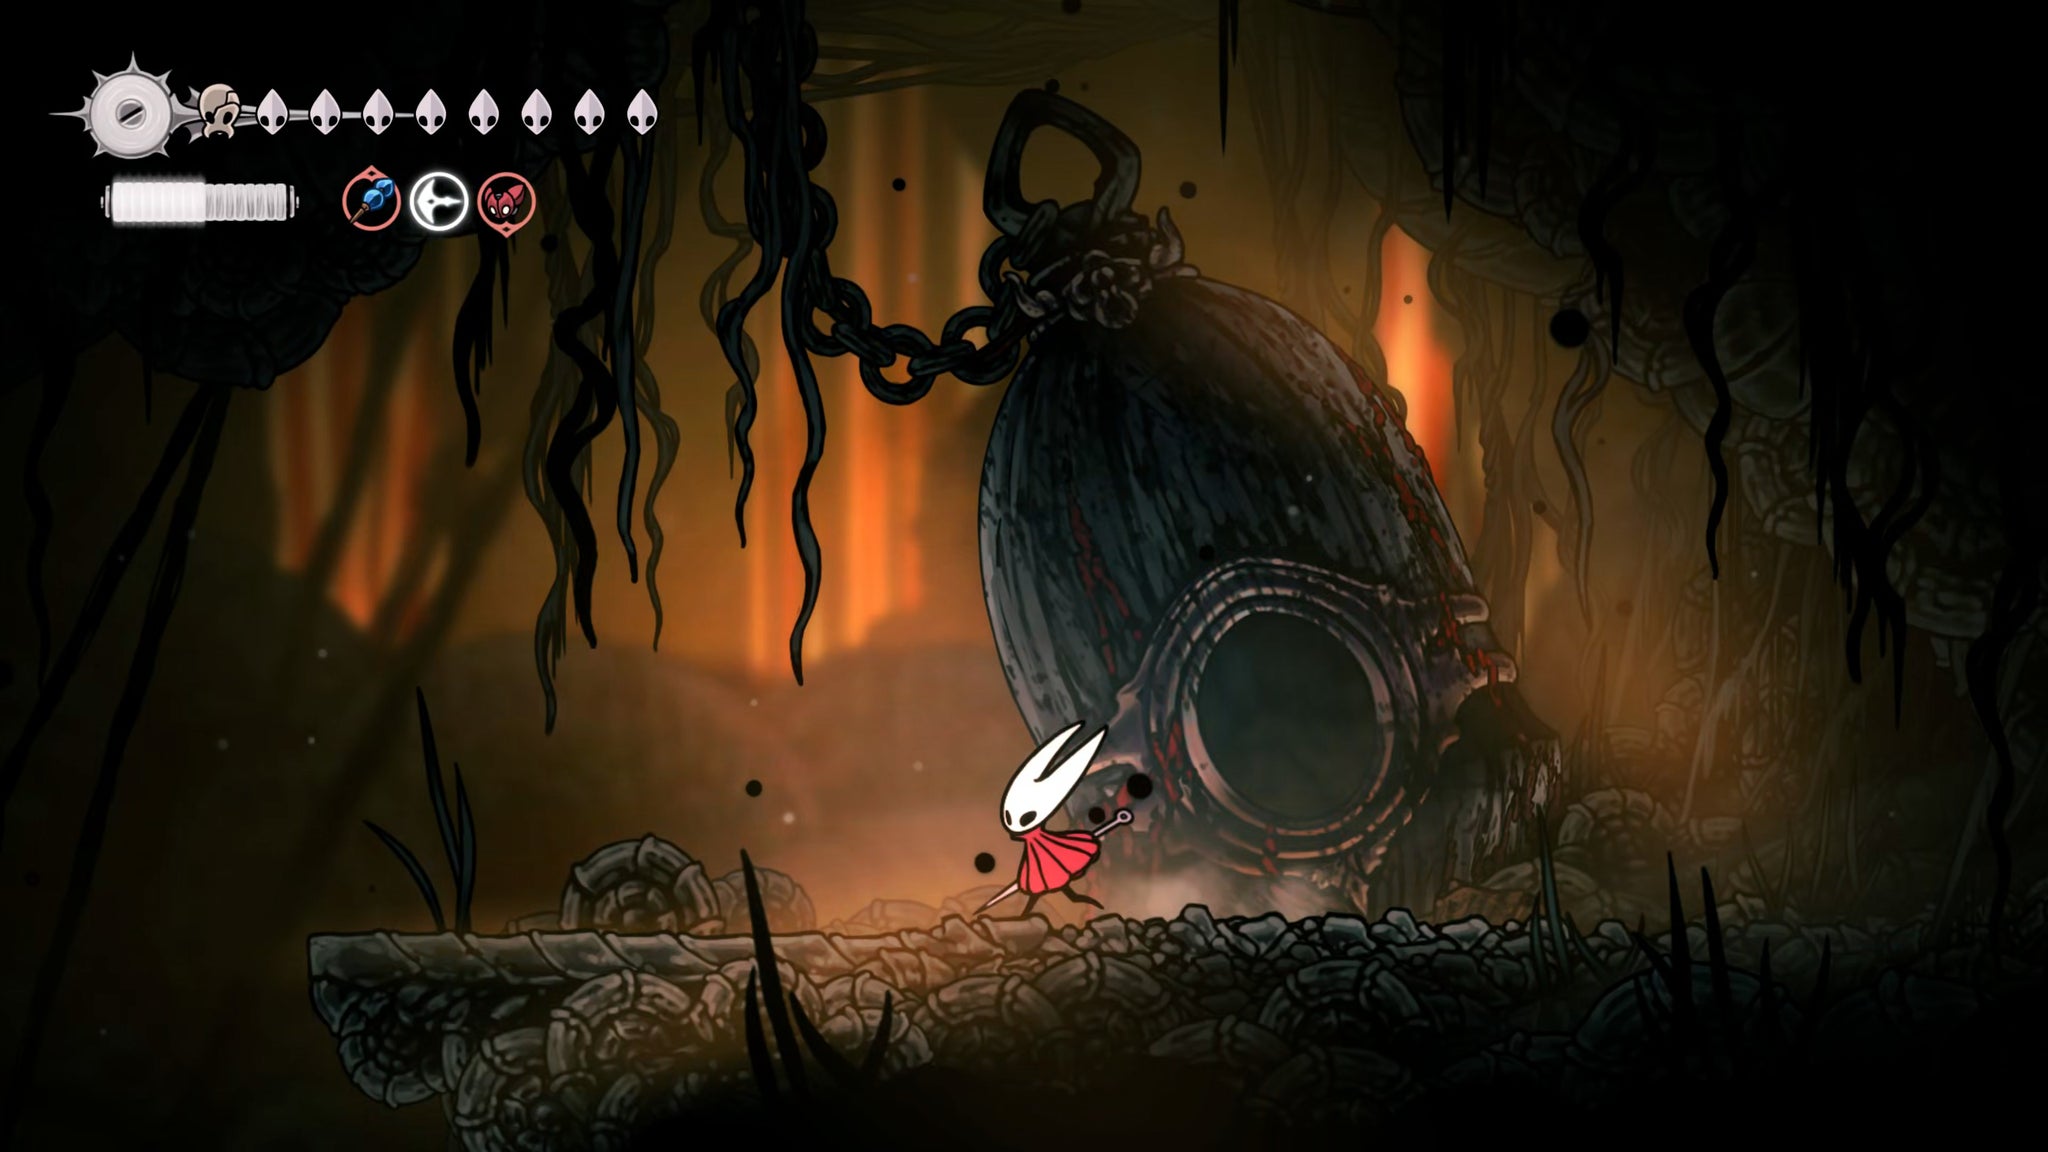
Well, the journey went about as well as you could hope for. The Diving Bell gets knackered during the drop, but you're still alive. Break open the door of the Diving Bell and exit out into The Abyss. Dropping down to ground level, you can take the right-hand path for some Shell Shards (mind the spikes as you drop), but then double back and take the left-hand path to exit this starting room.
Next up is a fairly long corridor which gradually introduces you to progressively more awful Abyssal creatures. Hanging from the ceiling as you progress, you'll find little flying conical creatures called Gloomsacs, which will charge at you and try to swallow you whole. If you're swallowed, you can attack to release yourself and kill it, but you'll obviously take damage from having your nutrients sucked a bit.
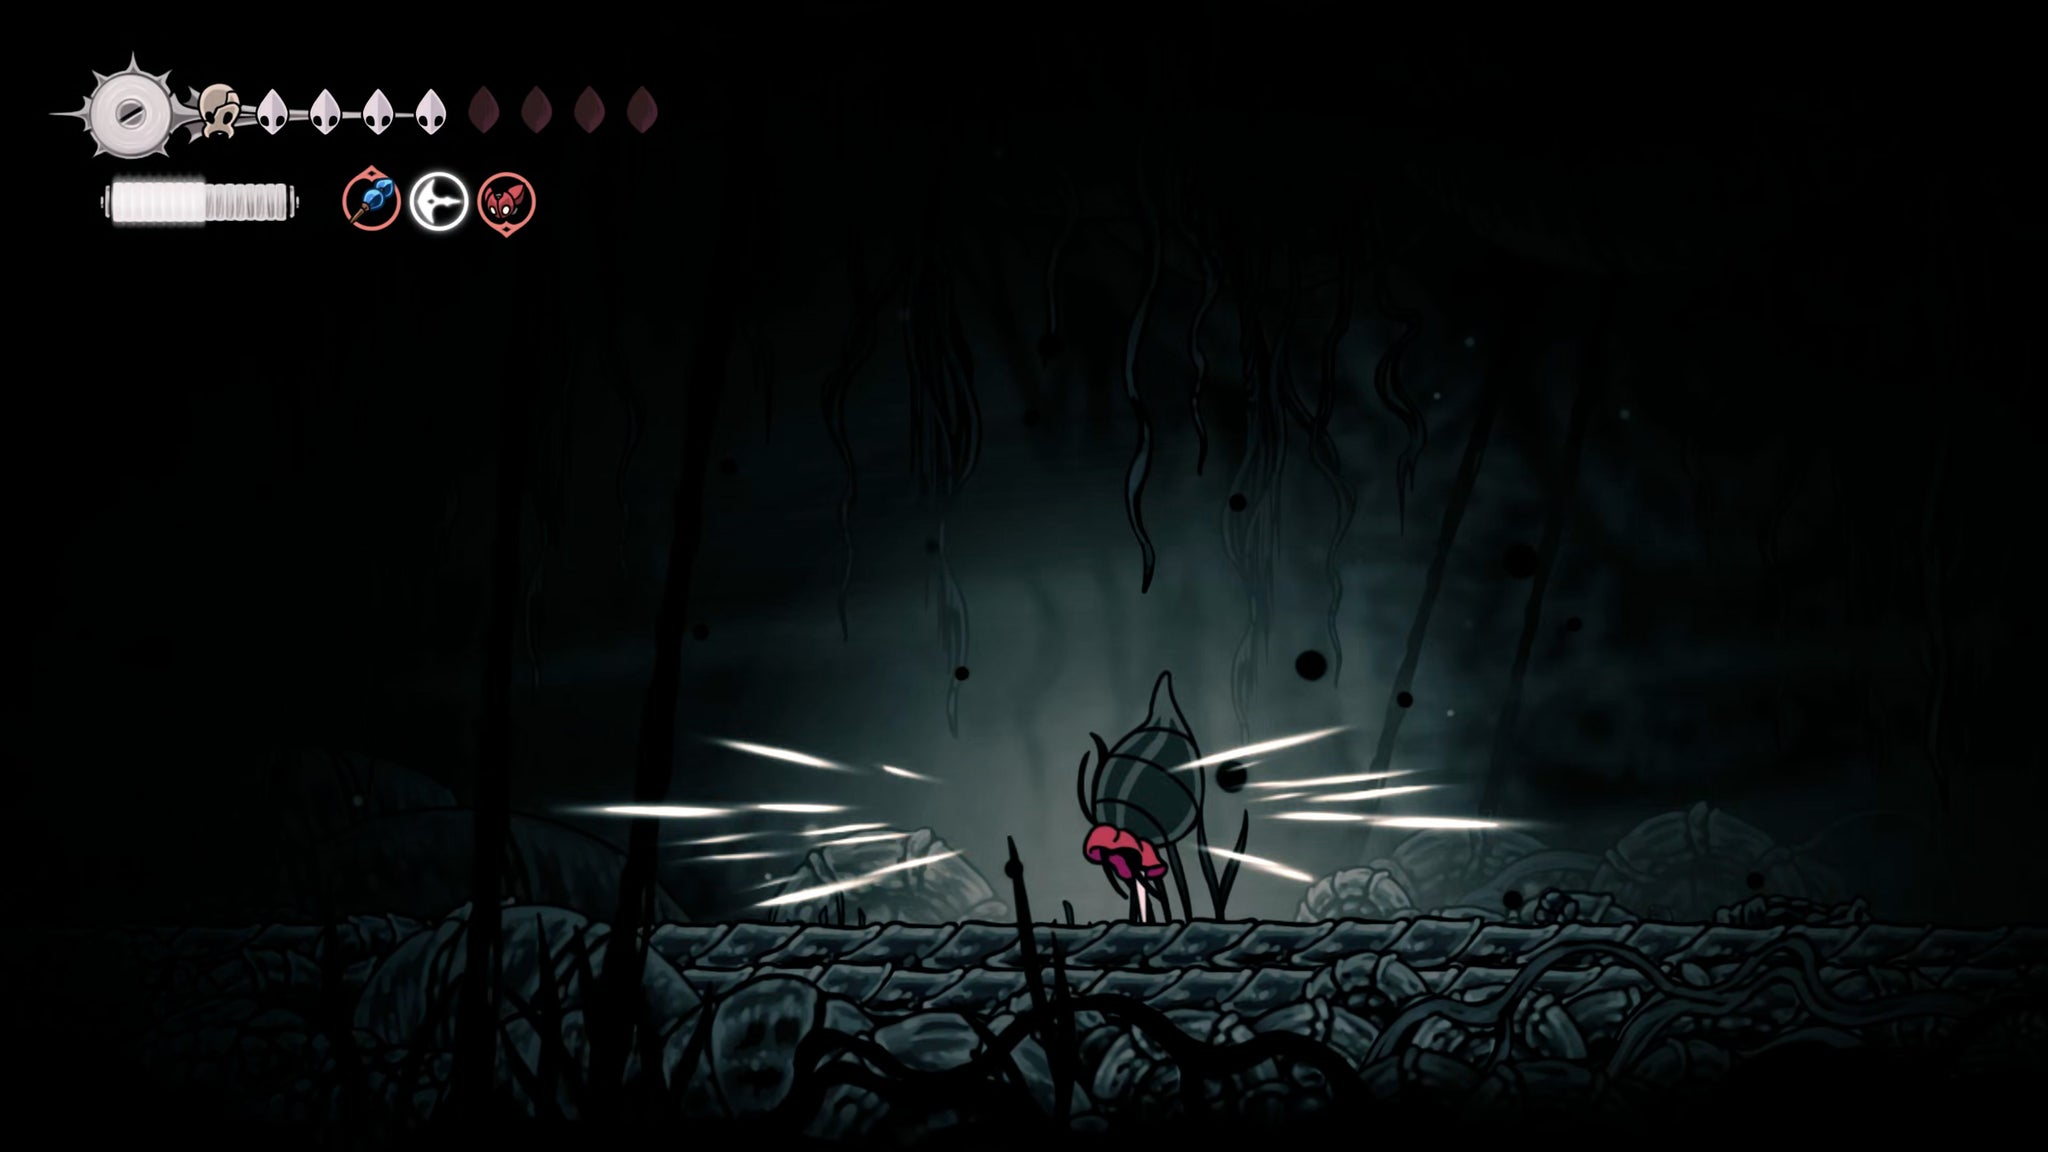
Head past the long platform with the two Gloomsacs overhead, and then jump over the spike pit beyond to reach the left-hand exit, using the black orbs to Pogo as needed (though you can also just clawline across).
In the next room, you can Pogo off the black orb to reach another long ledge, but this is patrolled by the largest creature of The Abyss - a Gargant Gloom. These charging tanks spit out tonnes of globules of nastiness at you, and also spawn Gloomsacs. It's not a great time.
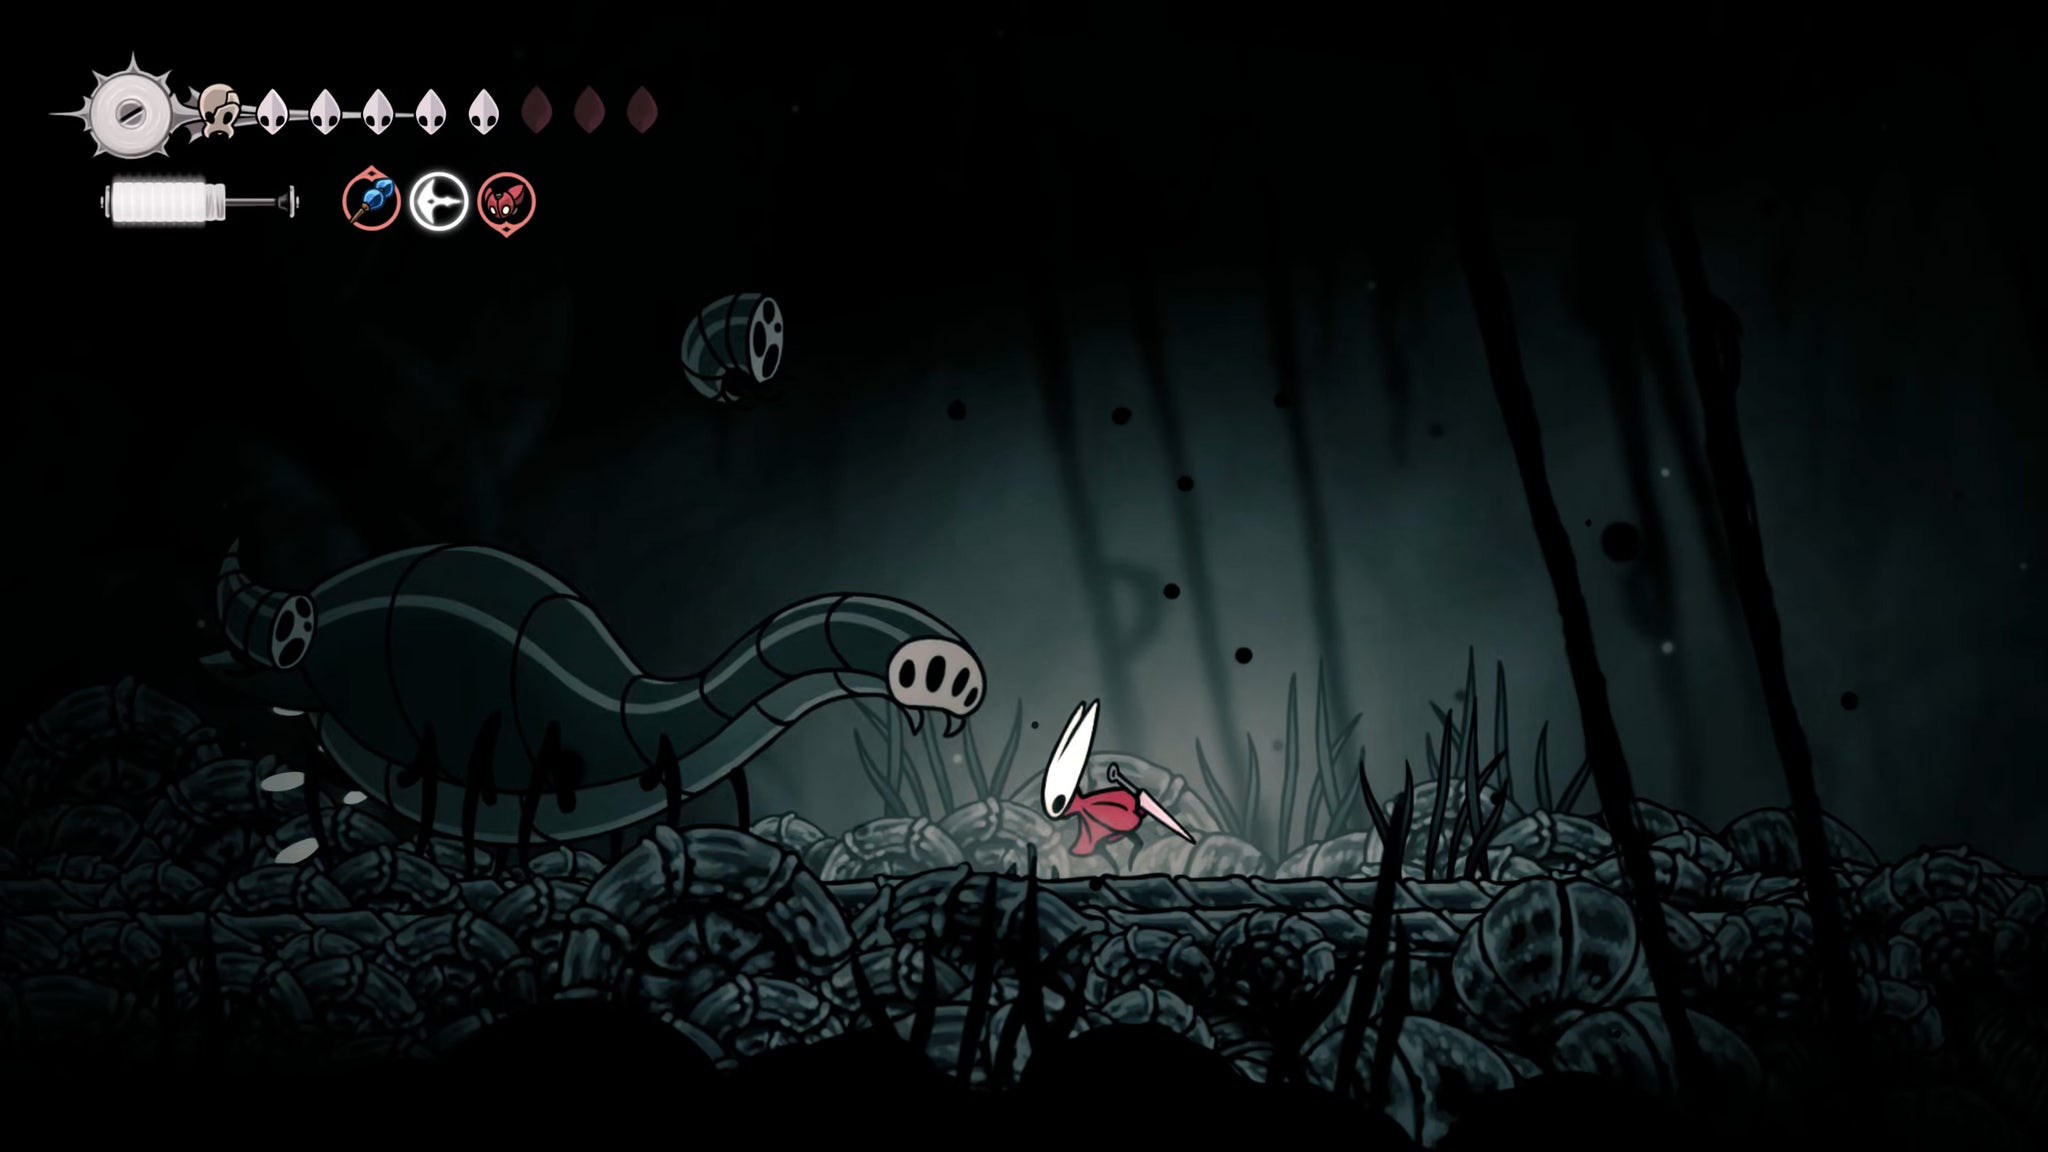

You can burst them down with Silk skills and tools, but there's an easier way if you want to avoid it entirely - instead of bouncing onto the platform itself, just slide down its right-hand wall to reach a secret tunnel lower down, which takes you past the Gargant Gloom without trouble. Of course, you may wish to fight the Gargant Gloom at least once to gain its entry in your Hunter's Journal, so the choice is yours!
Bounce across to the tunnel on your left, and from there you can use the next couple of black orbs to Pogo your way safely above another platform guarded by a second Gargant Gloom. Or fight it, it's up to you. Either way, make your way to the far end of the room and exit.

In the next room, float down the hole beside the spikes, and when the path diverges, take the right-hand route to the nearby ledge. Head through this doorway into a large side room containing a parkour course brimming with abyssal spikes.
The parkour course is a bit tricky, but the way forward should always be fairly clear. The first half is all about drifting down between spikes and Pogo-ing off orbs to keep yourself aloft; the second half is about short, precise wall jumps. At the end of the path you'll be rewarded with an Arcane Egg - the final Relic for Scrounge's collection.
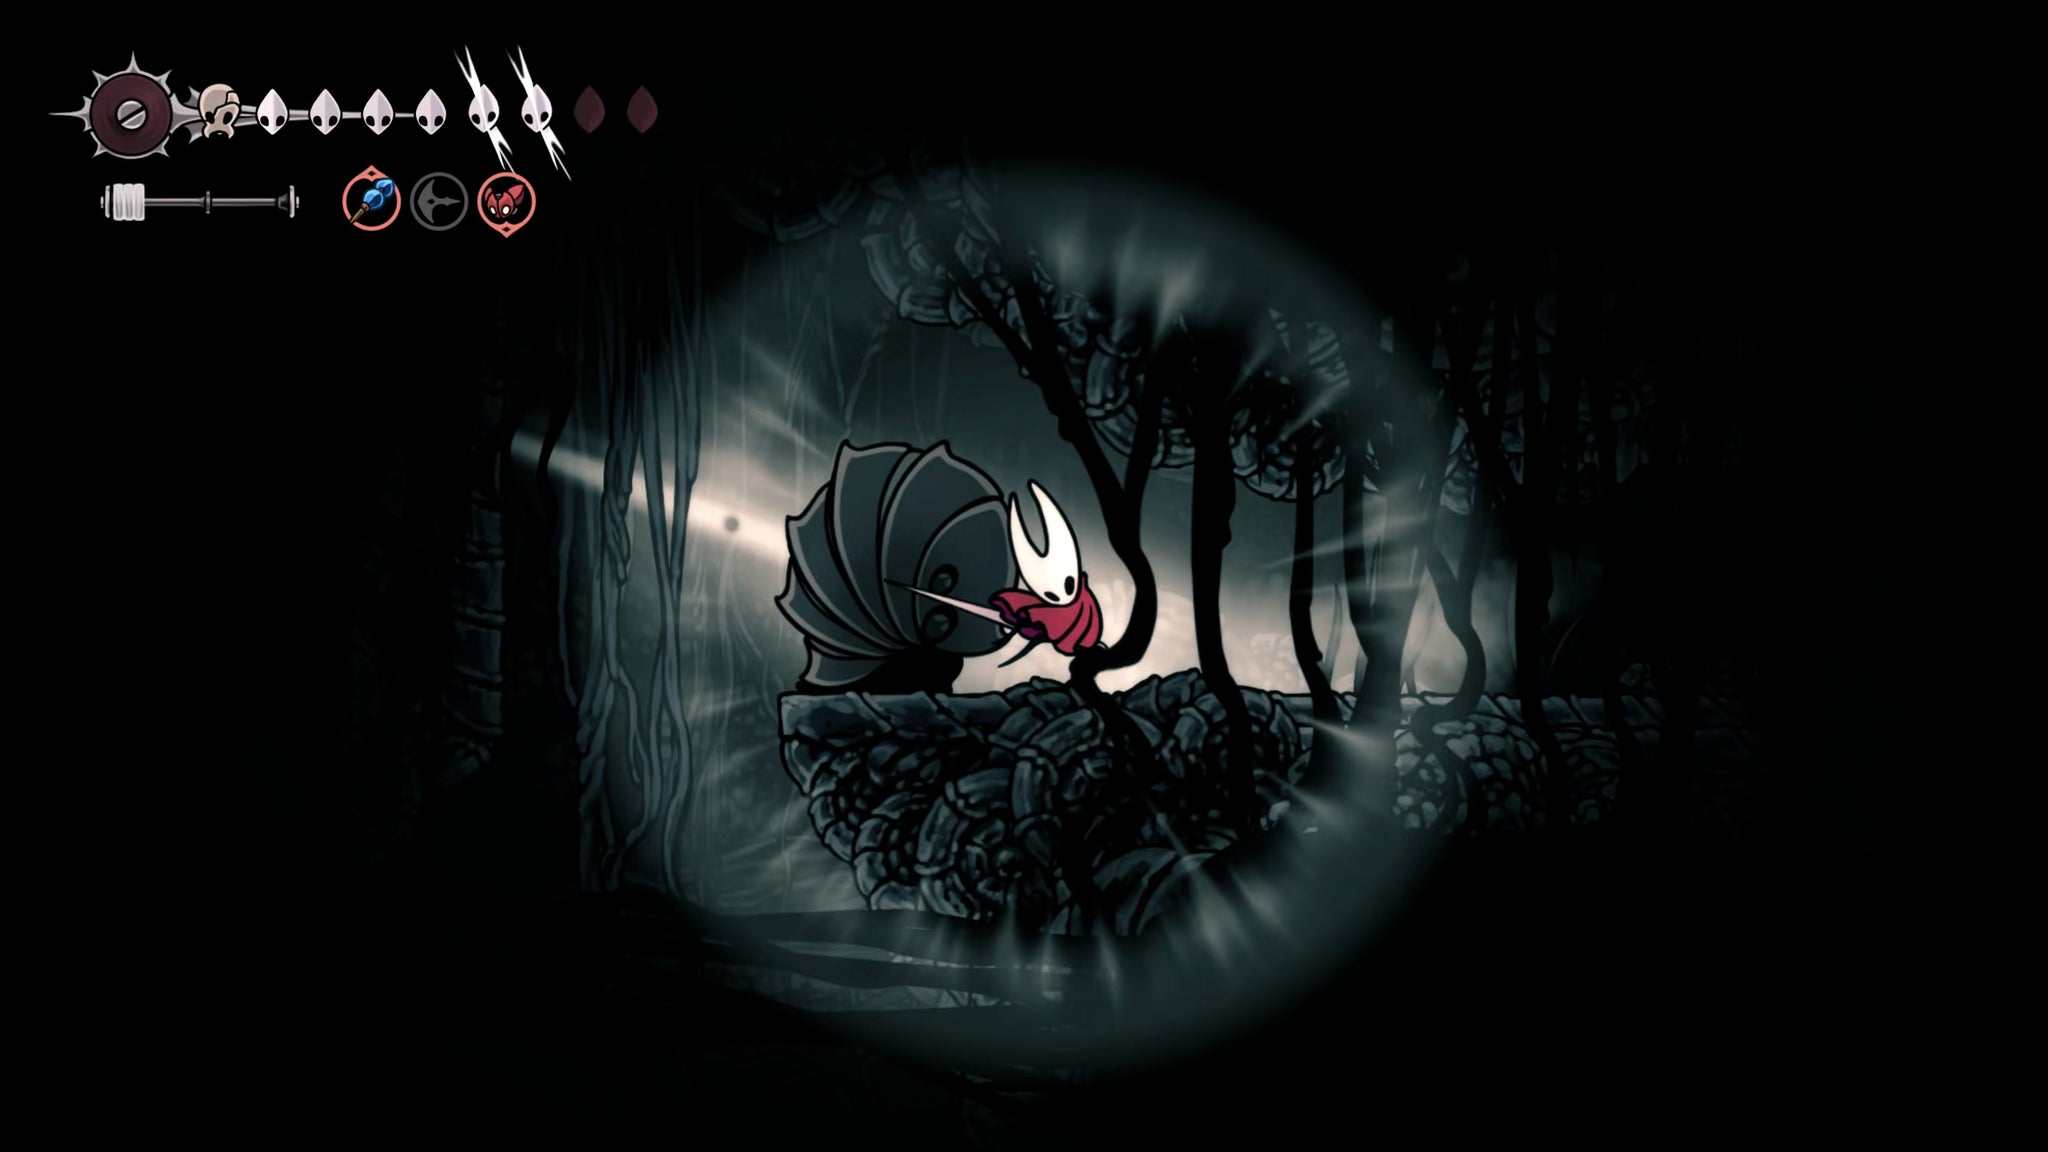
To easily exit out of the room, keep climbing higher from the final ledge, and follow this upper path for a way back past most of the spikes. Bear in mind though that in this upper path you'll find a Shadow Charger - a big charging worm. Use Silk skills to kill it quickly and avoid damage, and then return back into the previous room.
4. Reach The Abyss Map.
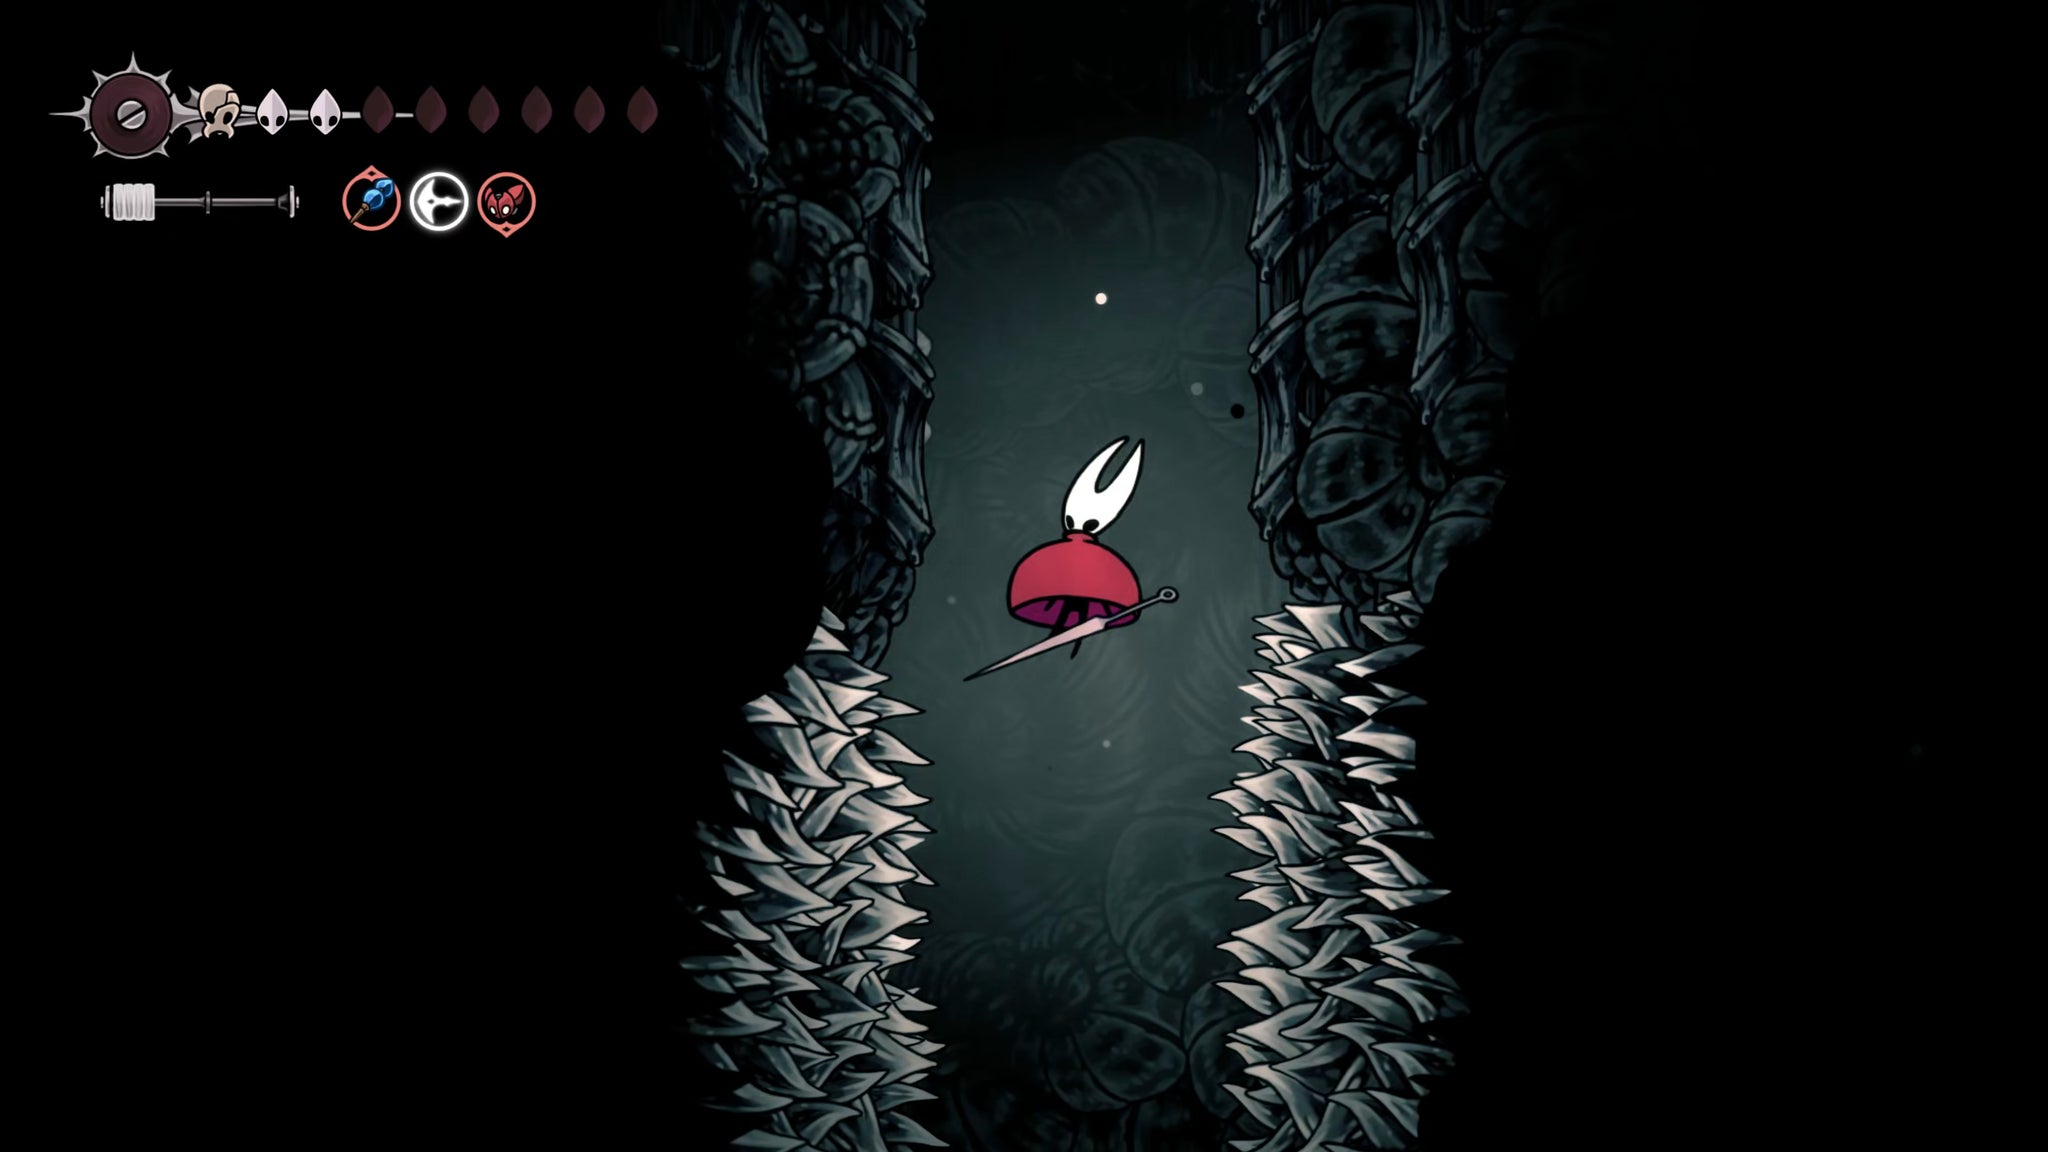

Back in the winding spiky shaft of death, float your way down past the spikes to the very bottom. Head left first, and you'll find another tight tunnel guarded by a Shadow Charger. Kill it however suits you, and then climb up the wall at the far end of the tunnel to reach the top, where you can inspect some lore.
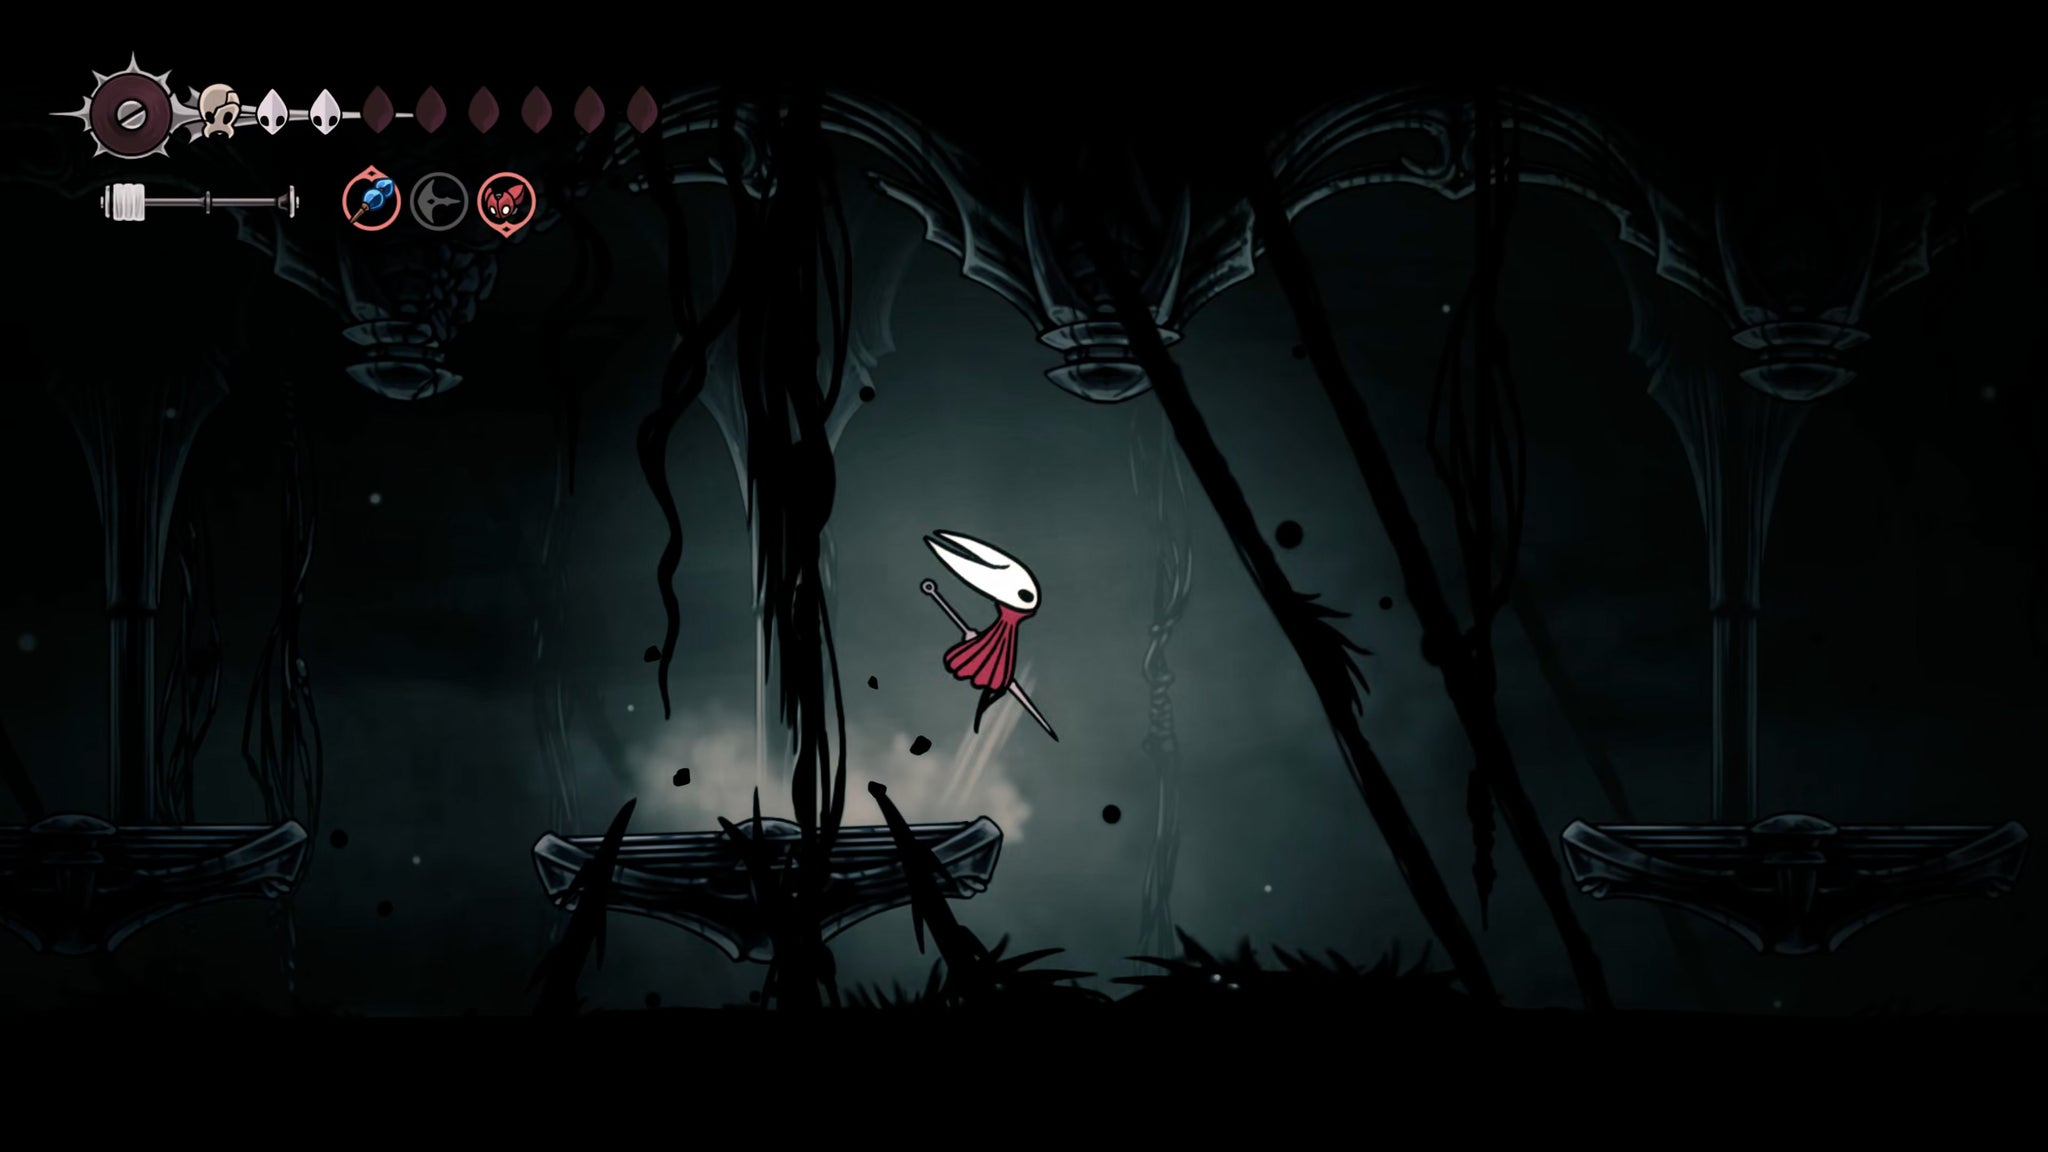
Then return to the previous room and head right. Jump over the gaps of horrifying void, and be prepared for every second platform to be snatched away by the void shortly after you land on it. Once you're across, you'll find in the next room a Bench to rest at.
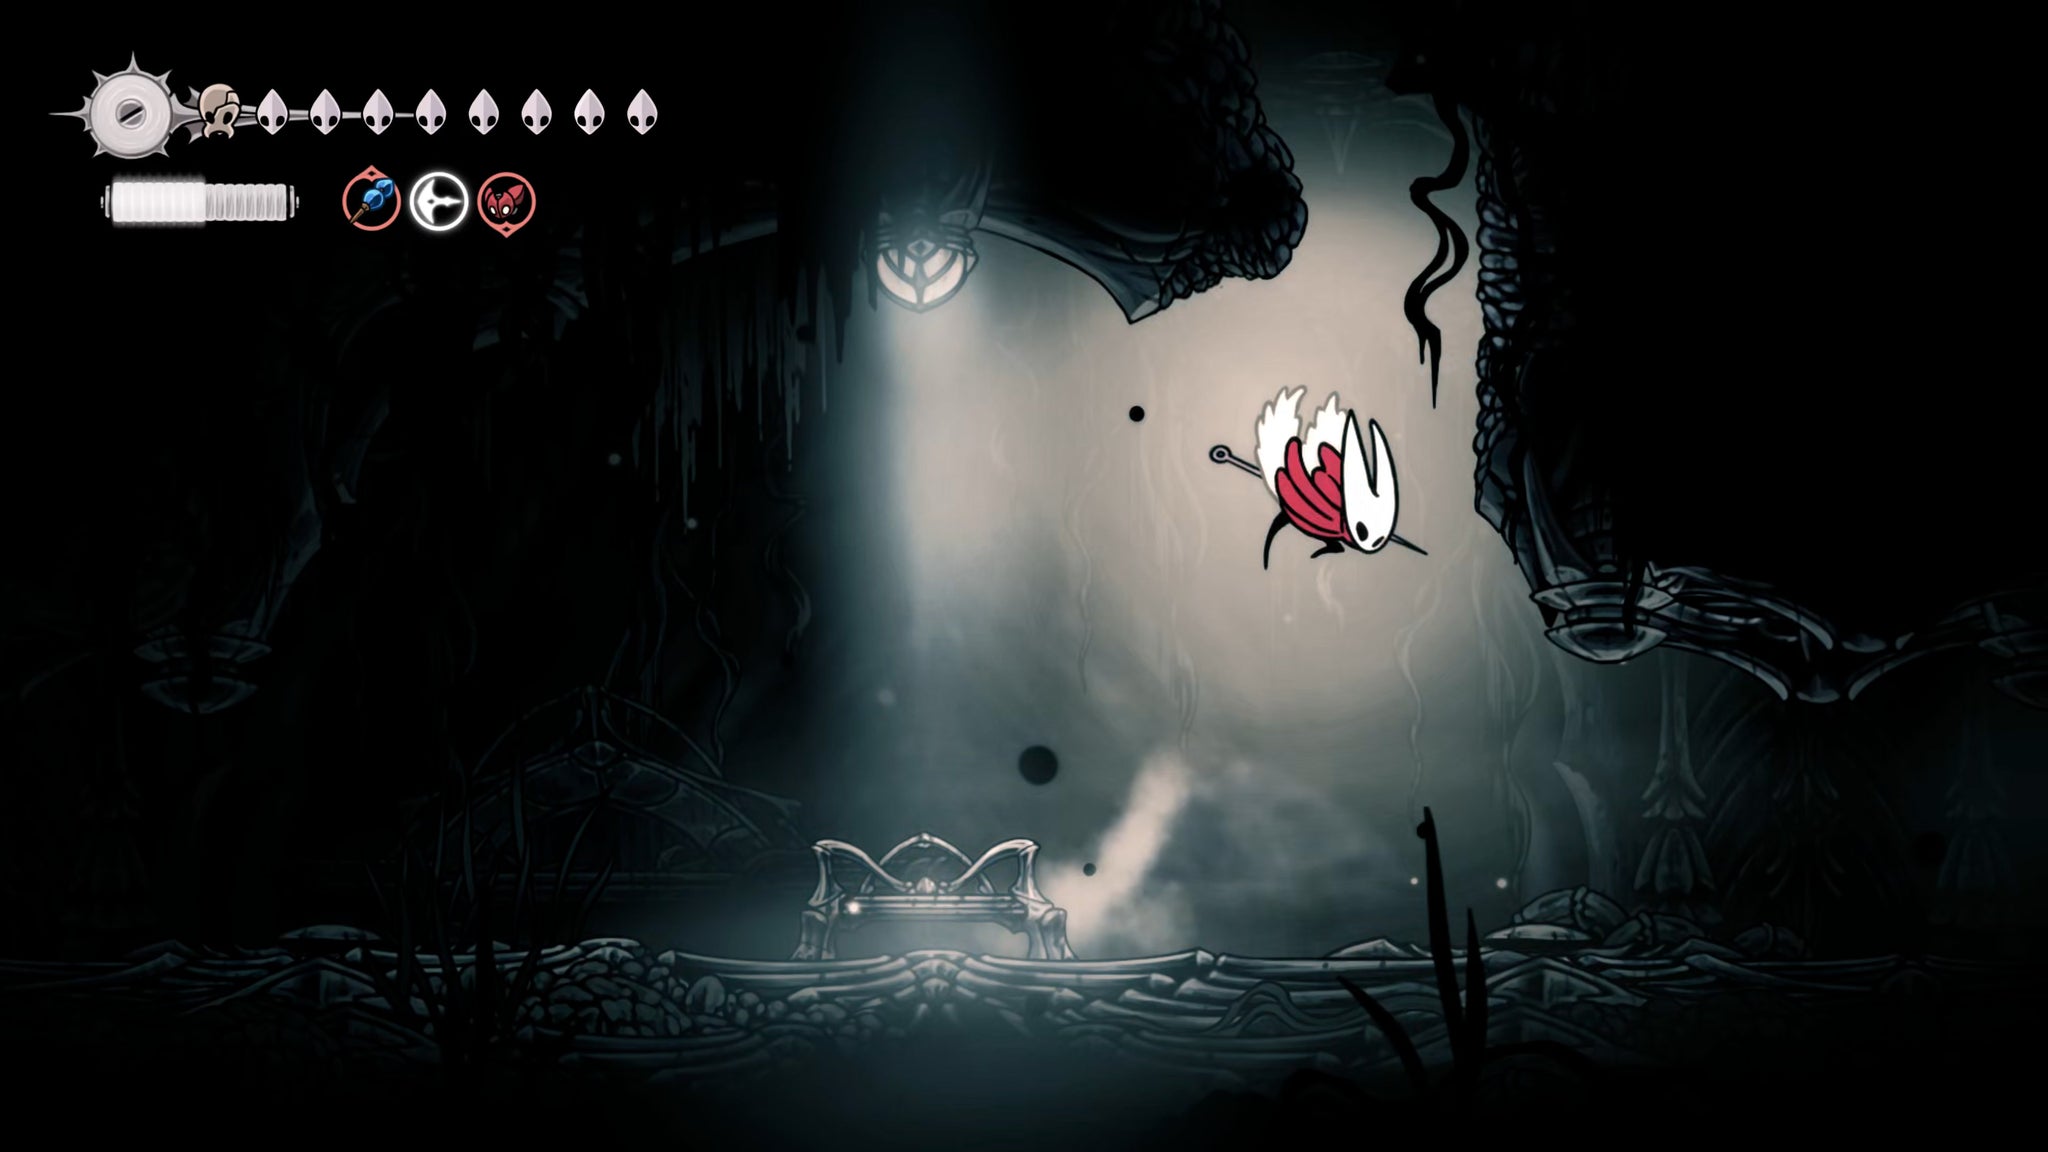

From the Bench, climb upwards via the right-hand wall, and you'll find a large glowing rune. Inspect it, and you can take the map of The Abyss for free, and at last see how far you've come.
5. Inspect the Void.
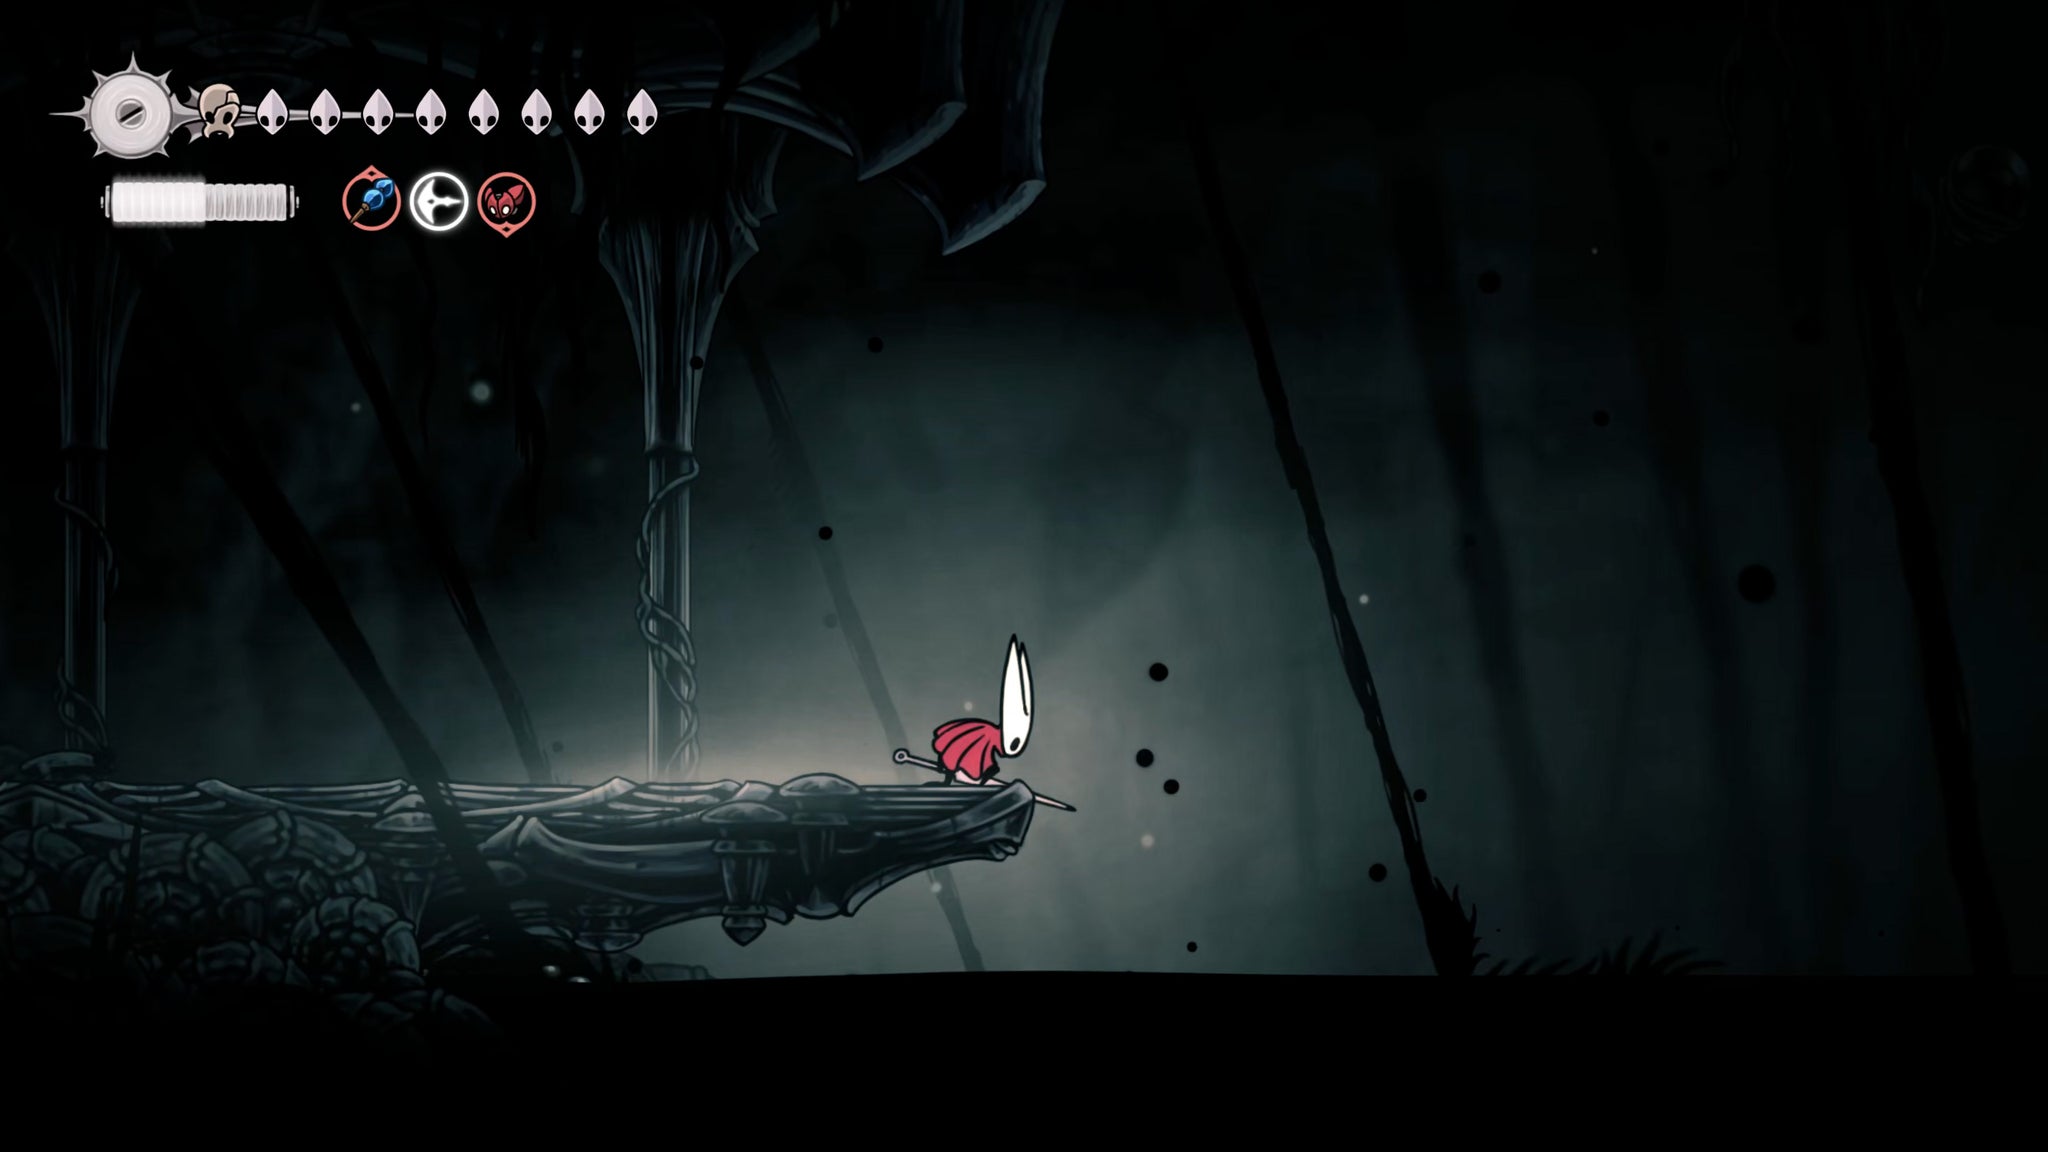

Drop back down to the Bench, and walk just a little further to the right to trigger a cutscene. Here, Hornet will inspect the sea of Void below, triggering a conversation between her and Lace - or perhaps just the spirit of Lace.
Through this conversation, it becomes clear that Hornet can't currently penetrate deeper into the Void. Not without help! Instead she must return to Pharloom above, and seek out "the bloom that repels the dark".
6. Explore Weavenest Absolom for Farsight and Silk Soar.
Once the conversation ends, take a running jump to the right, and bounce off the black orbs to the upper-right. Float as far right as you can to reach the next ledge, and from there make your way across and then upwards using the small ledges above.
On one of the upper ledges past the spikes, you'll find another Shadow Charger to kill (or merely avoid). From here you'll need to Pogo to the left, climb up the far-left wall, and then clawline over to the black orbs to the right. Do all of this, and you'll reach the top-right corner, where the entrance to a Weavenest can be found.

Play your Needolin to gain admittance into Weavenest Absolom. Head to the right over the spikes, and drop down the large pit. At the bottom, take the upper left-hand path, which will drop you further down into a small tunnel.
Head left and then upwards to find a table with a rune-scroll. You can inspect it to gain the Hunter's Journal entry for the pervasive Void Tendrils suffocating Pharloom.
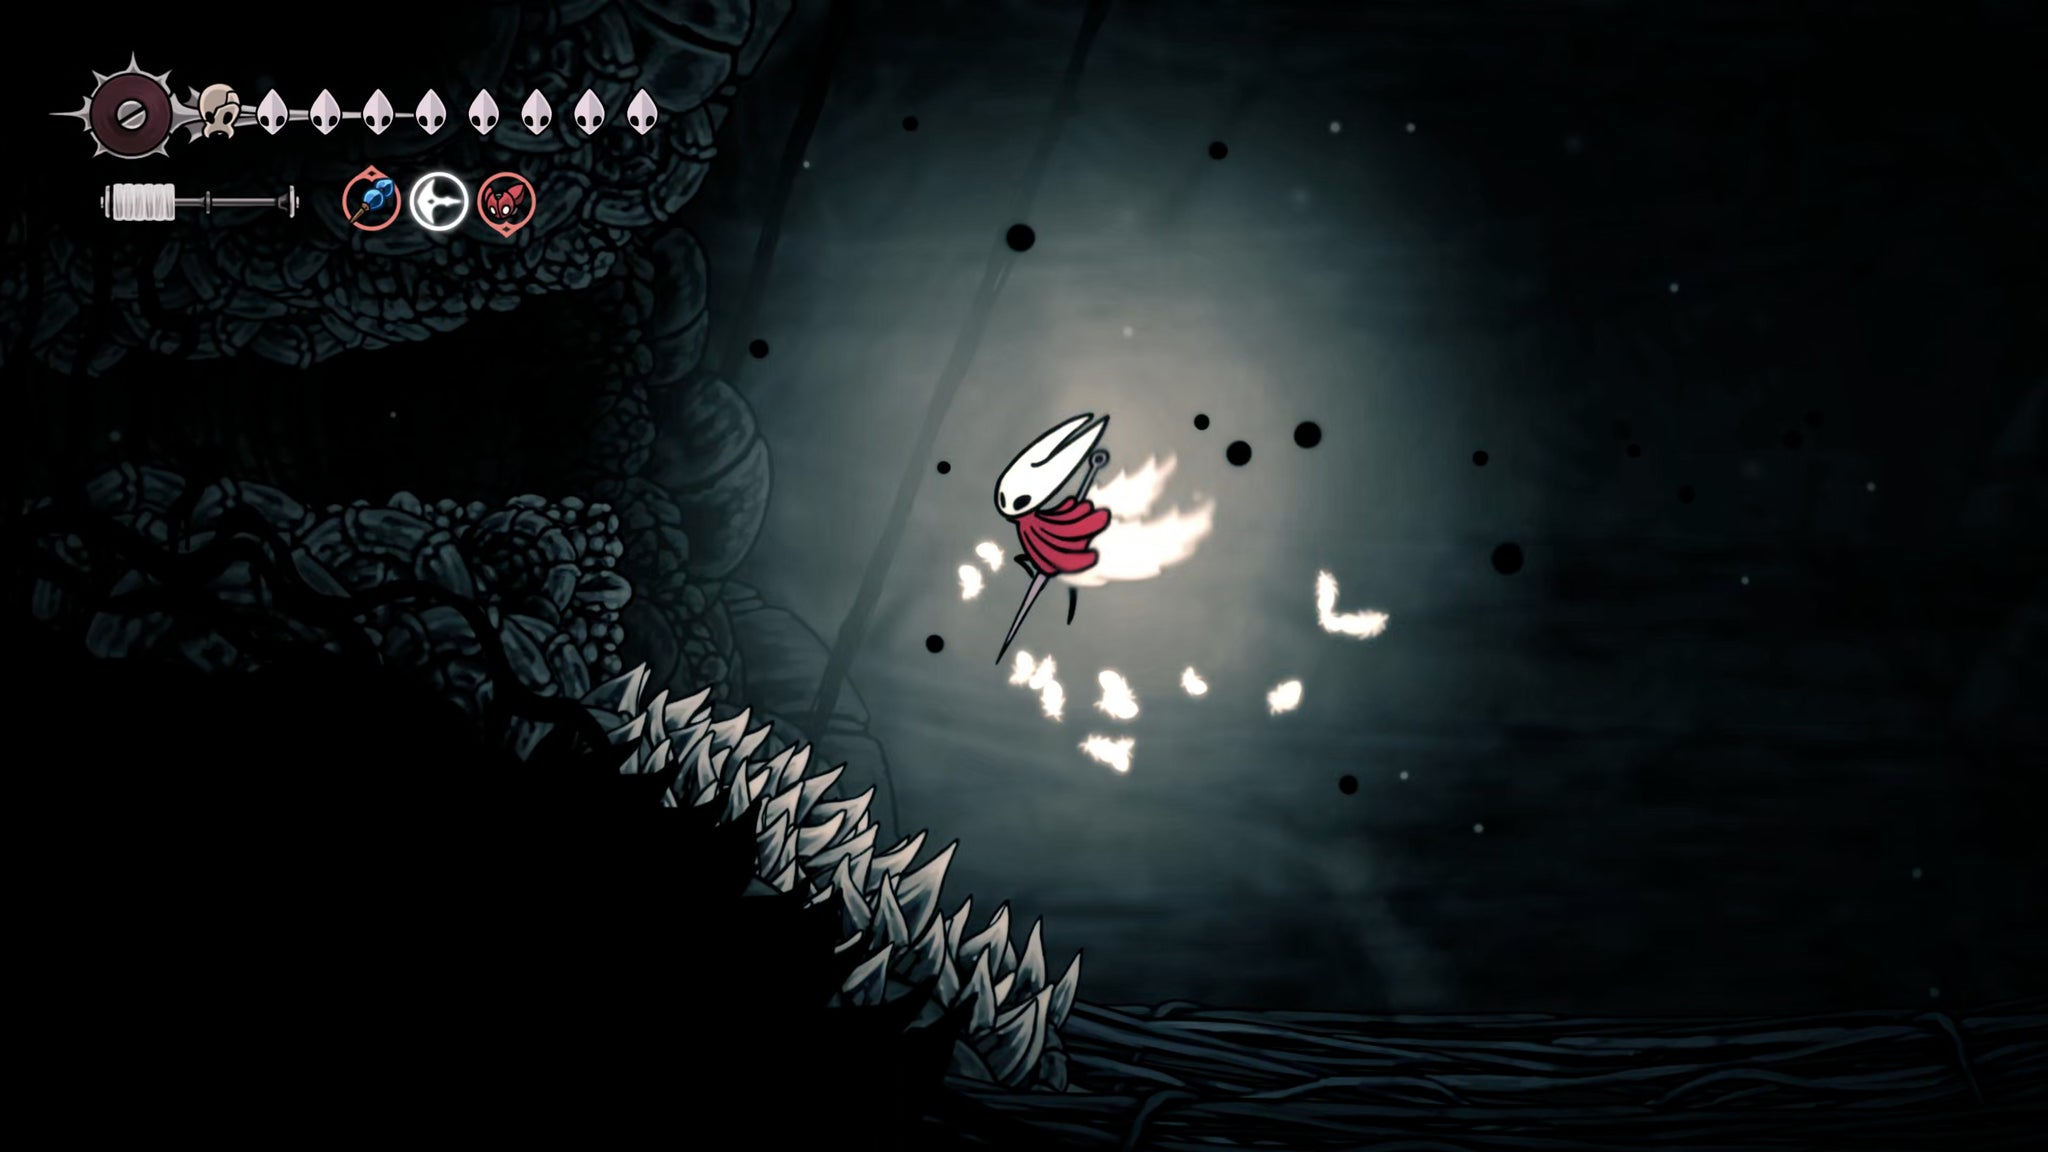

Then drop back down and head right (the left-hand drop leads only to spikes, so don't bother). At the end of the right-hand path, drop all the way down to the bottom of the pit, and you'll find a Weaver monument you can inspect to gain your final movement ability: Silk Soar.

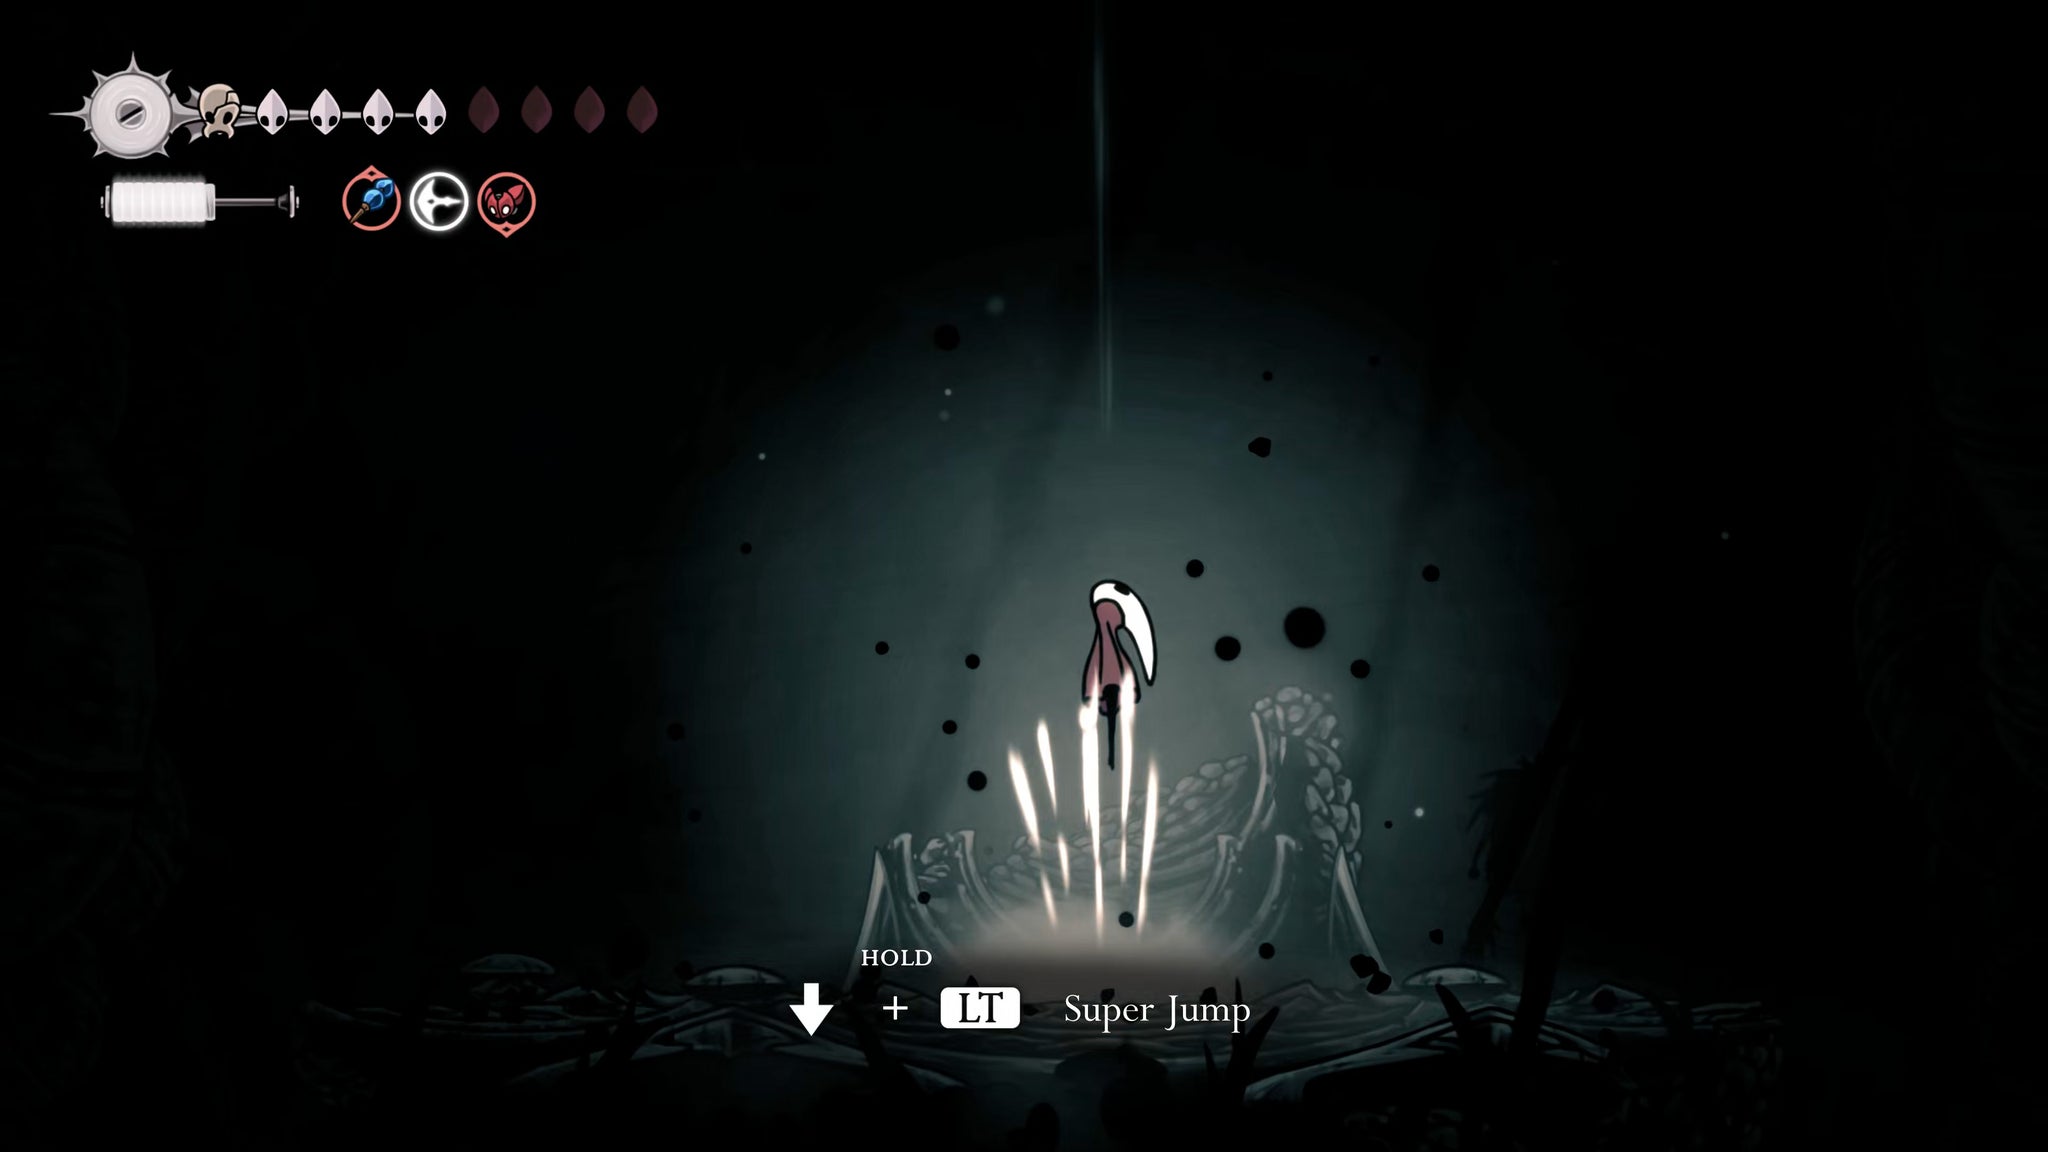
You'll need to use your new ability immediately to escape upwards: hold down and LT to Silk Soar up to the top of the pit, and then take the path to your left and Silk Soar up the narrow shaft to get above the thick vines that stopped you from going higher.
Then stand on the vines and Silk Soar again, and once you reach the ceiling, jump and float to the right to reach a pathway beyond the spikes. Follow this path to its end and loot the item on the ground for the Farsight item - a unique item which can be installed in your Bellhome to tell you your current completion percentage of the whole game.

That done, you can head across to the left and play your Needolin at the door to exit Weavenest Absolom.
7. Escape The Abyss.

Now for the hard part: escaping The Abyss. It's possible now, with your new Silk Soar ability - but that won't make it easy.
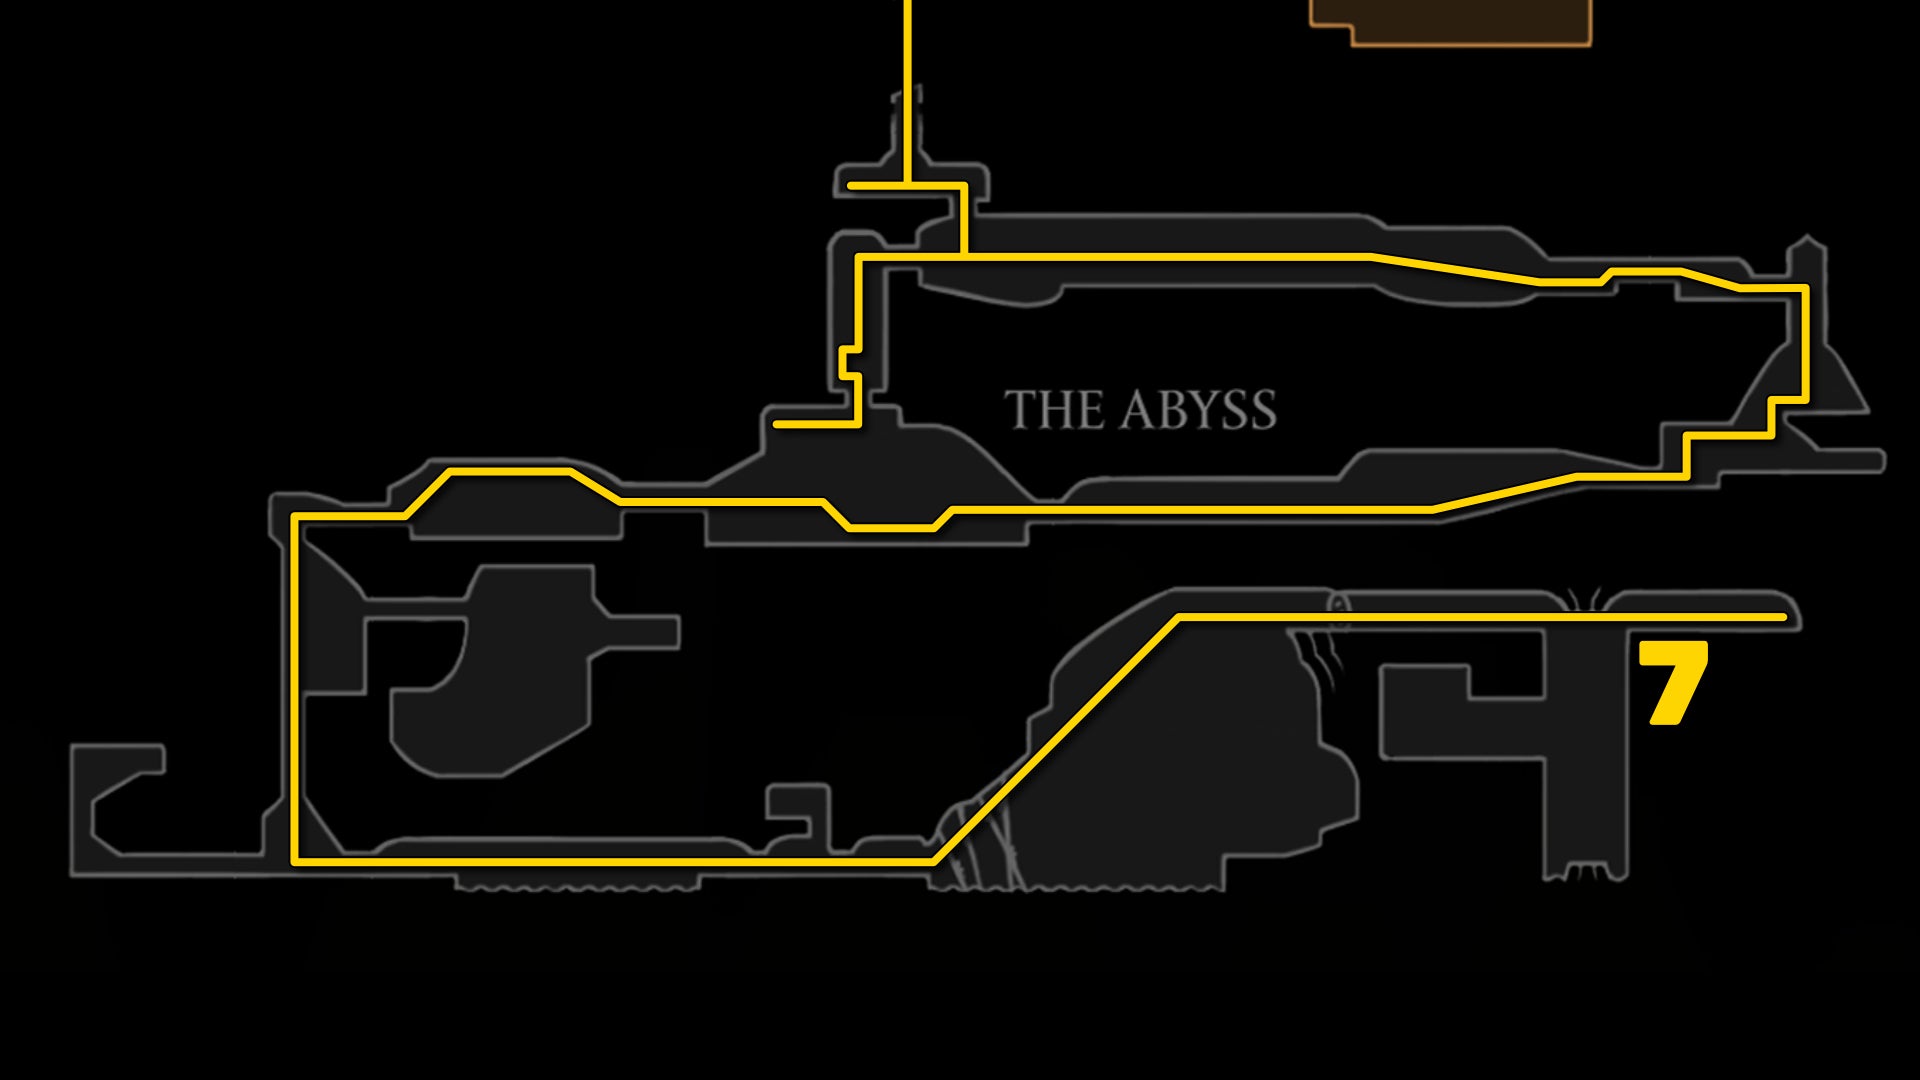
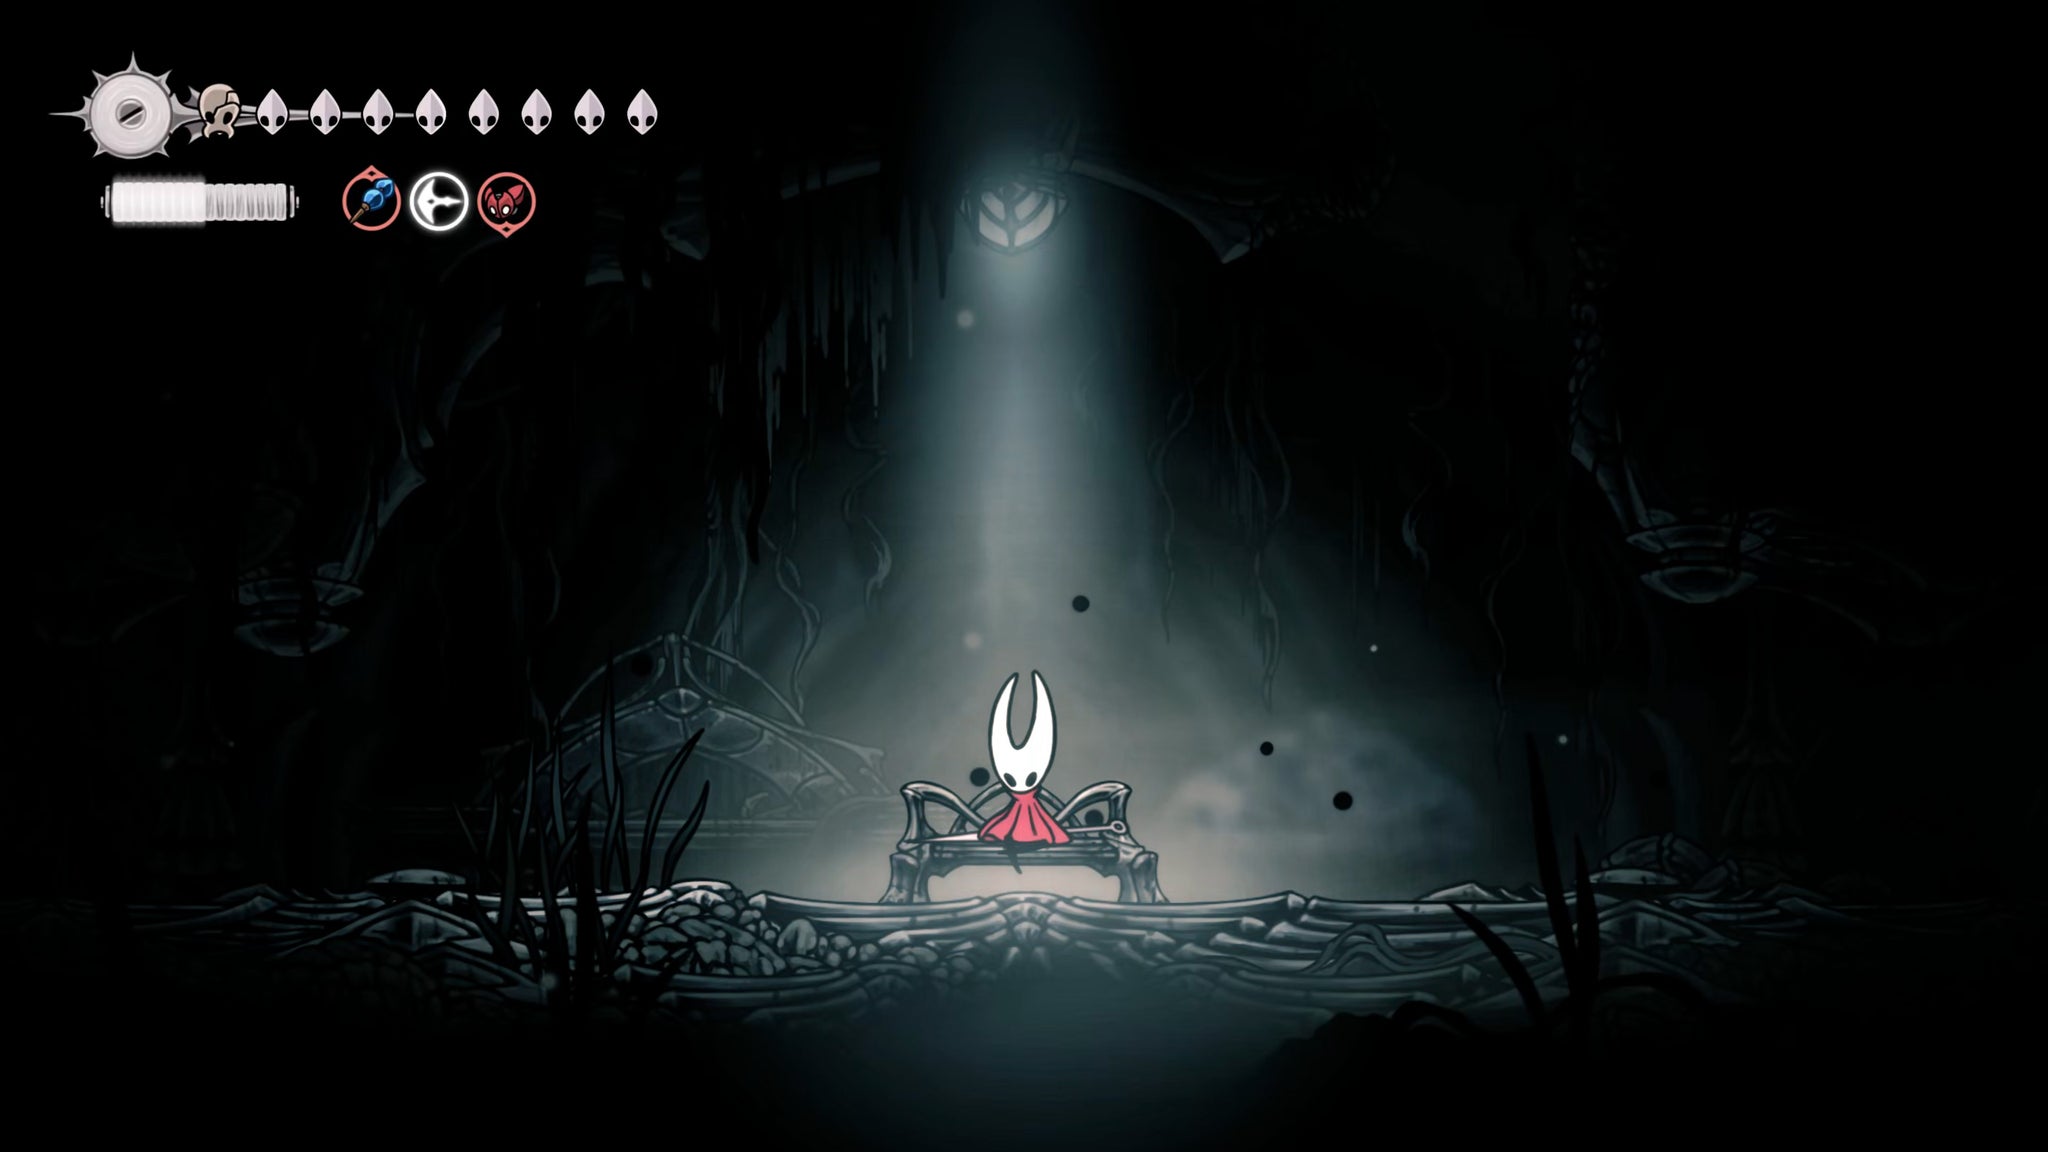
Float over to the far left of the chasm to reach the Bench again, and rest at it if needed. Then head left, back to the bottom of the winding shaft of spikes you dropped down, and Silk Soar all the way to the top. Handy, eh?
Make your way back through the room with the Gargant Glooms (remember that low path to avoid the second one!), and then parkour your way back through the room beyond until you reach your starting point, where the Diving Bell landed. The Bell itself has gone now, but you'll know you're in the right place because the background will turn orange from the magma.
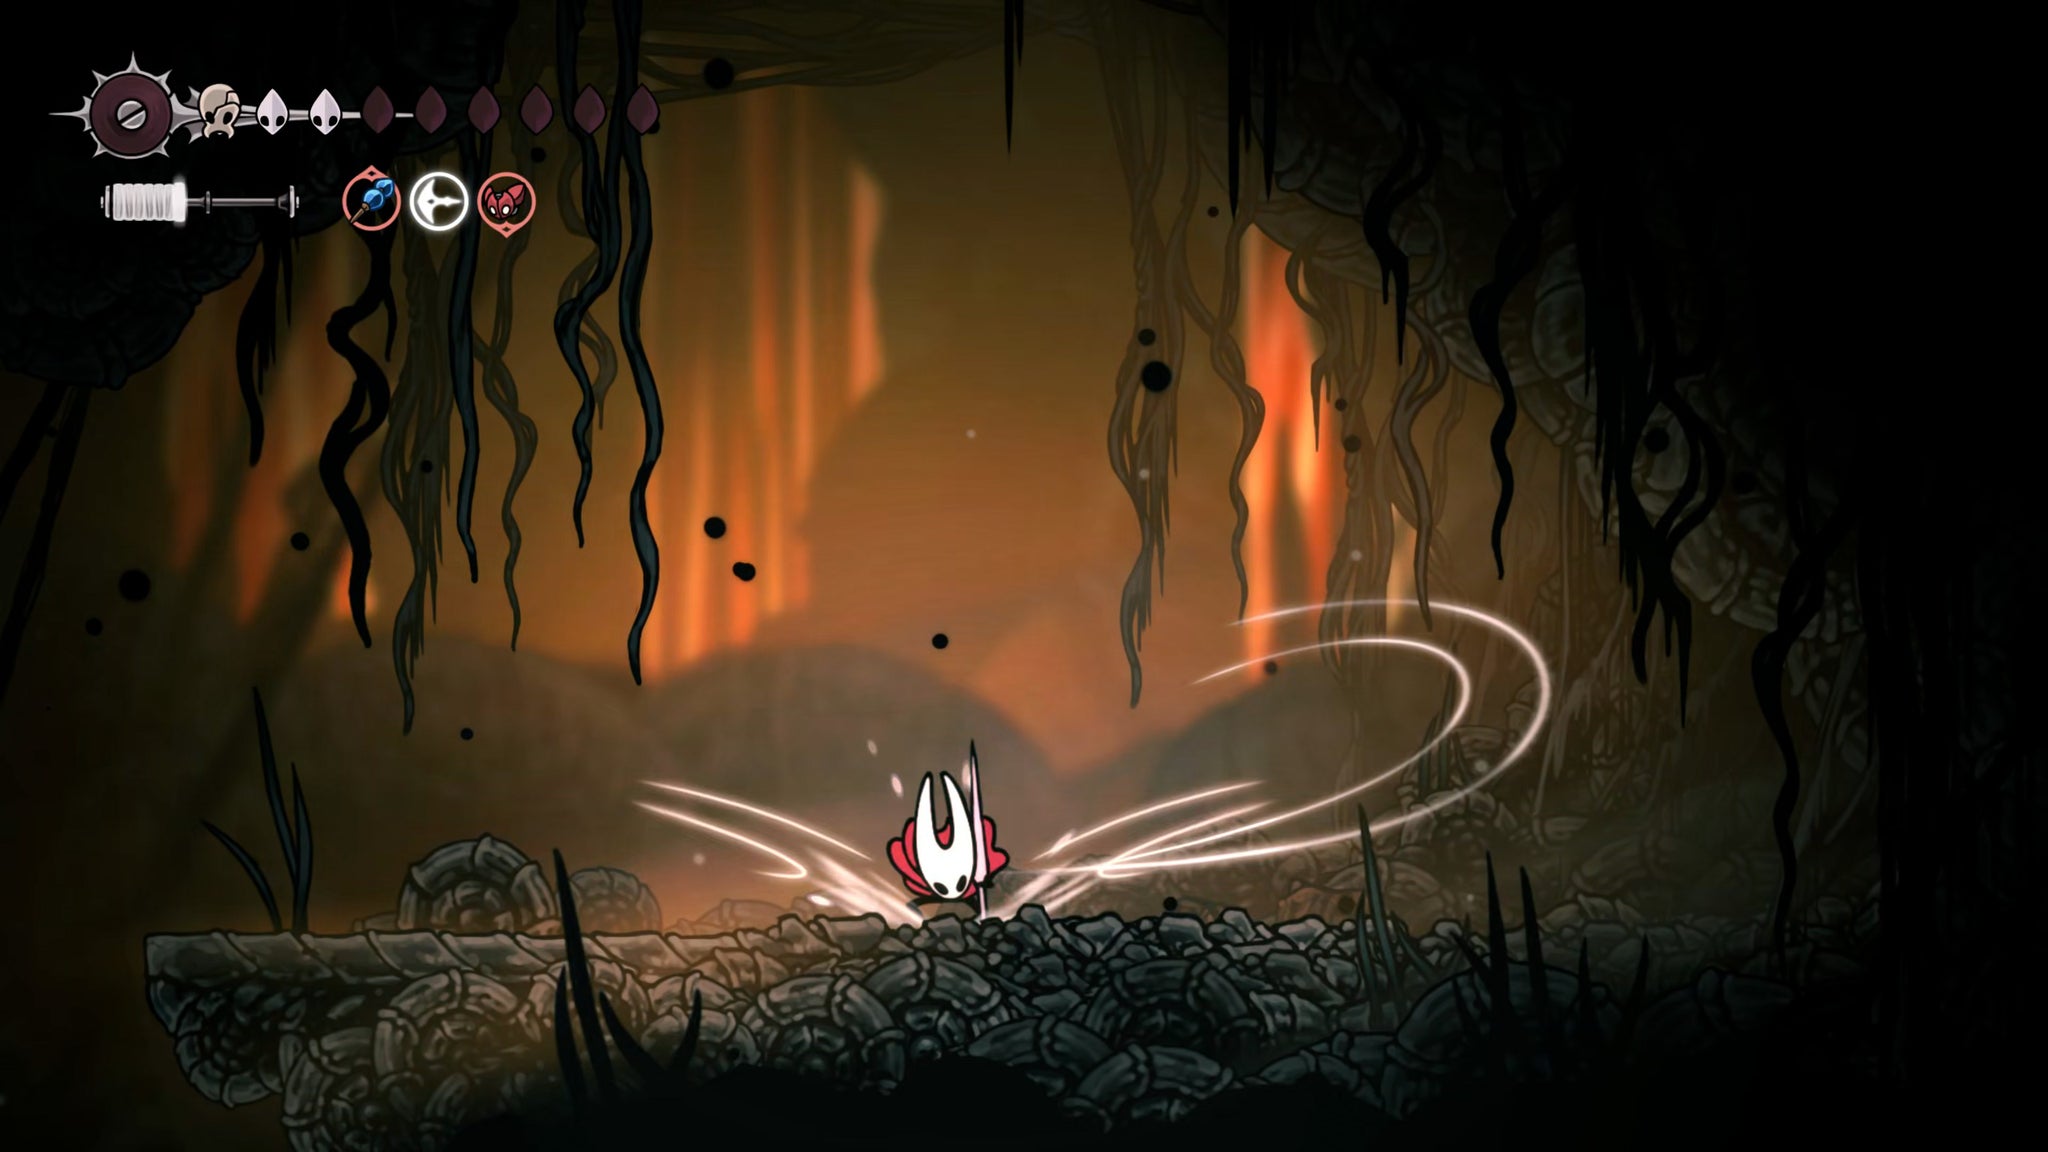

Silk Soar upwards from here to reach an upper ledge, and follow the path left through the breakable wall at the end of the room. Following this is an extended parkour section heading left, but once you reach the end ledge where the light shaft hits you from above, break the wall to your left and go through it.
Float down between the spikes in the next room and then float again down the left side to the lower ledge. Here you'll find another breakable wall to destroy. With both these walls broken, you now have a shortcut down into the Gargant Gloom room from above.

Drop down below, just so you can take a look at the lore on your left which is otherwise inaccessible. Then head back up to where you broke that first wall, next to the light shaft. Stand directly below the light shaft and Silk Soar upwards. In the next room you'll find a Bench on the left side to rest at, before you Silk Soar up through the centre of the room once more.
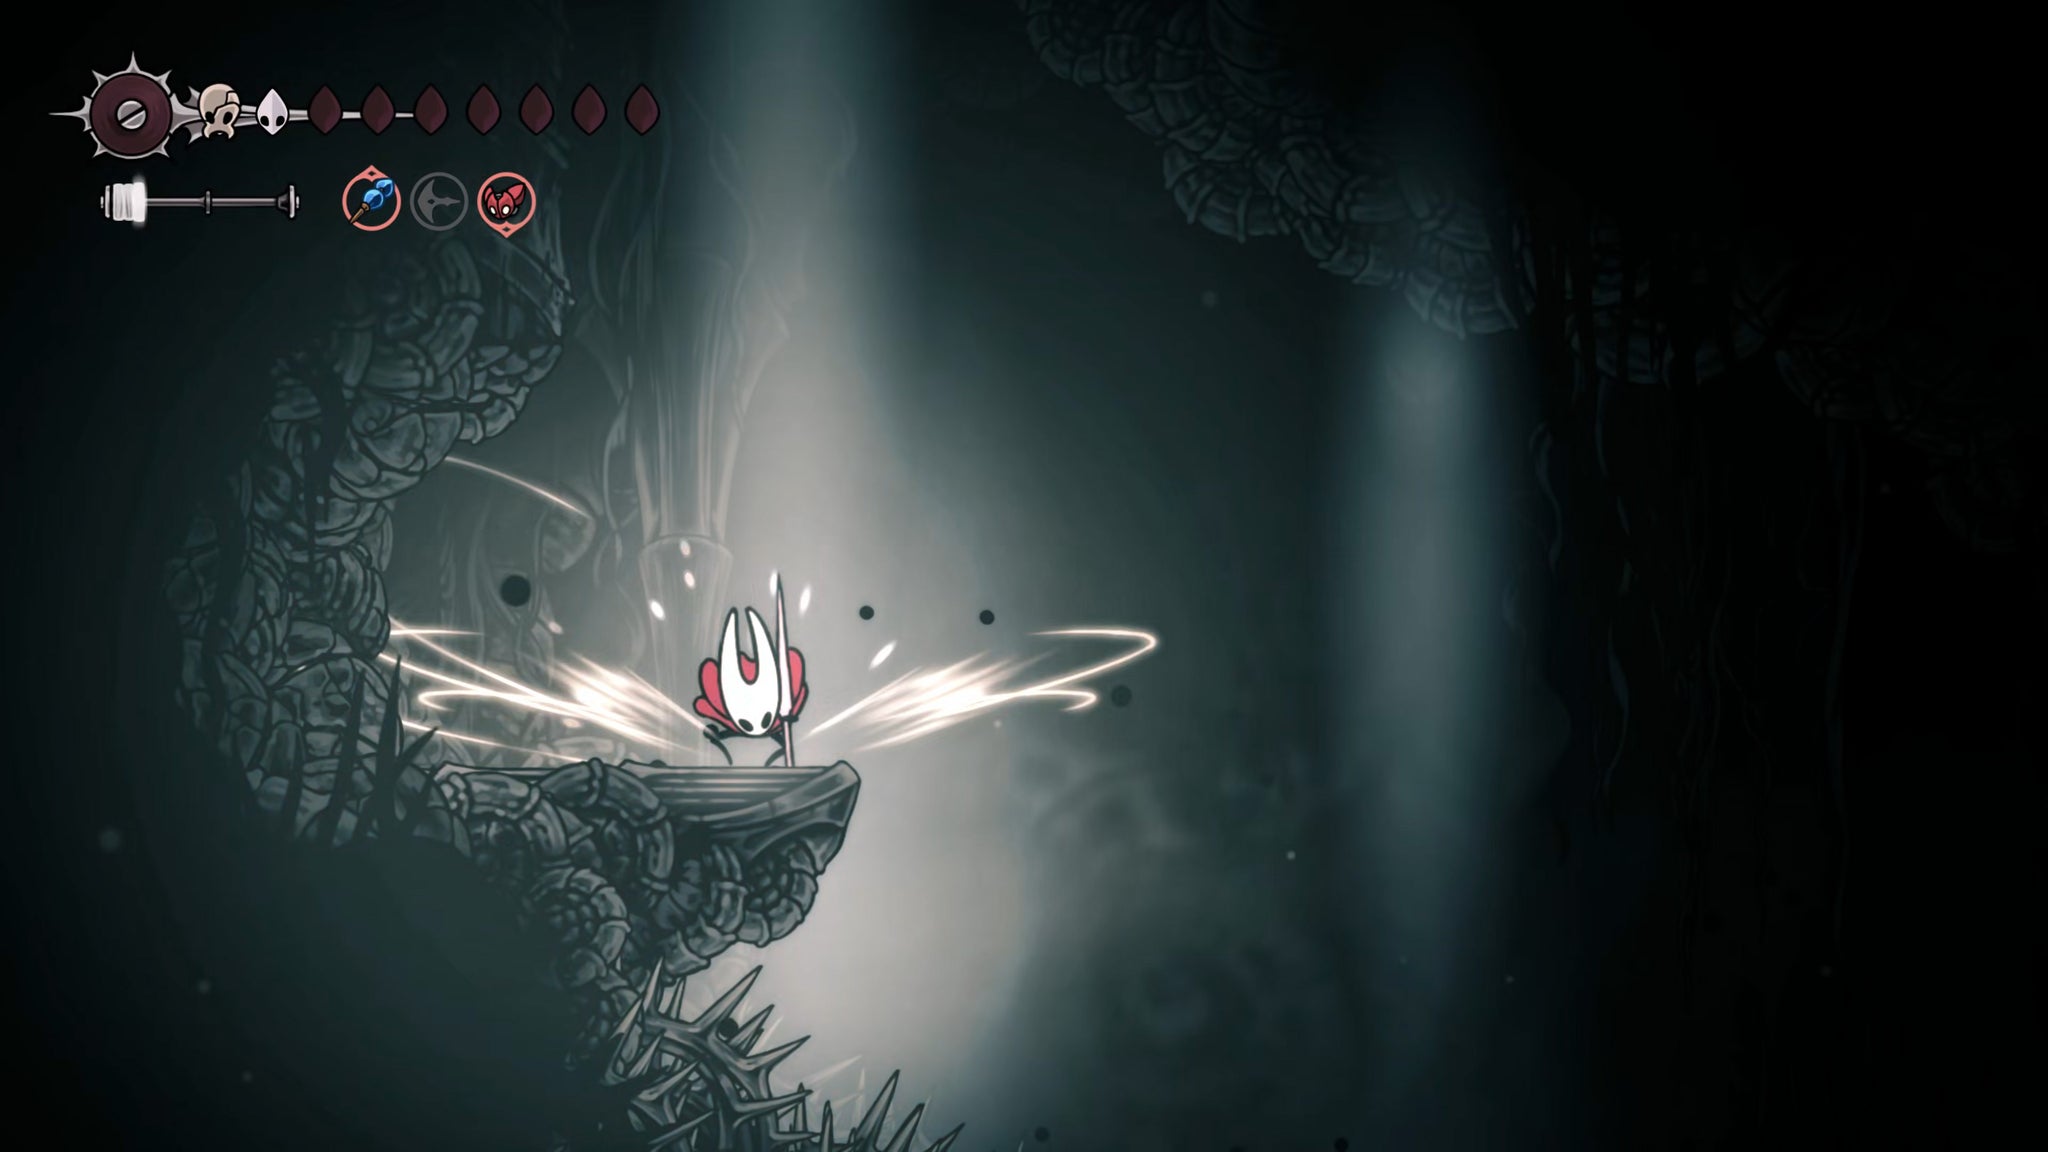

What follows, I'm afraid to say, is probably the second most challenging parkour section in Silksong (you haven't found the hardest quite yet). I won't spell out every single manoeuvre for you, but it lasts a while, and you'll need to keep an eye out for exploding rocks in the walls, floors, and even in the spikes, because these generate air currents you need to soar higher.

It's very tricky and requires a fair bit of endurance, this parkour section. Also, towards the end (just after you destroy the large boulder in the ceiling via the two explosive rocks), you get time pressure put on you by rapidly ascending lava. Turns out Skull Cavern back in the Far Fields was preparing you for this. Don't be too frustrated if you die attempting this climb, it's meant to be The Abyss's equivalent of a tough boss fight.
At the very end you'll need to Pogo off the tops of the Skullwings drifting in the air to get higher and escape the lava. You may also need to clawline directly to them at certain points, so prepare yourself for this. Once you're at the top, stand on the source of the orange light on the floor, and Silk Soar upwards to escape The Abyss.
After that, you can Silk Soar again up the shaft to your left, and climb up to a final rest room (now in Deep Docks) containing a Bench to your left, and a lever on the ceiling. The lever unlocks a way upwards back into the main part of Deep Docks.

That concludes this section of our walkthrough on delving down into The Abyss, and escaping it using your new Silk Soar ability. Continue to follow along in Part 36 of our Silksong walkthrough, where we start to collect The Old Hearts we need for our next task.
Read this next
- Ahead of Hollow Knight: Silksong's Sea of Sorrow expansion, Team Cherry have gotten their Traditional Chinese and German translation ducks in a row
- We may have glimpsed Silksong's Sea of Sorrow expansion in a six-year-old trailer
- Hollow Knight: Silksong's first big expansion, Sea of Sorrow, flows into our lives for free next year
