
Hollow Knight Silksong walkthrough: Part 17 (Choral Chambers)
Plot the perfect path through the many corridors of the Choral Chambers


Where should you go once you reach the Choral Chambers in Silksong? Act 2 only truly begins once you step foot inside the Choral Chambers of Pharloom's Citadel. There's a lot to explore in this sparkling region, and more than a few enemies to slaughter along the way.
In Part 17 of our ever-growing Hollow Knight: Silksong walkthrough, we'll show you an excellent path through the Choral Chambers, which takes you to every single point of interest in the region in turn, so you can be sure you've unlocked everything in the Choral Chambers before moving onto the next several areas adjoining it. With various new NPCs to find, merchants to save, White Keys to find, and Fleas to rescue, there's a lot to cover here - so let's get stuck in.
Want the walkthrough for a different area of the game? Check out our Hollow Knight: Silksong walkthrough hub!
Choral Chambers walkthrough steps:
- Get the Silkeater in the first room.
- Activate the First Shrine.
- Speak with the Songclave residents.
- Find Jubilana.
- Rest at the nearby Bench.
- Reach the Grand Gate from the other side.
- Reach the Citadel Spa.
- Obtain the first Cogheart Piece.
- Rescue two nearby Fleas.
- Speak with Loyal Mergwin.
- Reach the top-left Bench.
- Defeat the Cogwork Dancers.

1. Get the Silkeater in the first room.

From the Grand Bellway, hop across to the other side of the Bell Beast's pit and exit to the left. Climb up the far left wall, and then head through the left-hand doorway into a darkened side passage.
In this passage, drop down the hole lined with spikes, and hang a right at the bottom so you don't land in the spikes (use your Cloak to float). At the end of this pathway is a Silkeater egg, but as you approach it, a Choristor will spawn behind you. Kill it, take the Silkeater, and return to the previous room.
2. Activate the First Shrine.
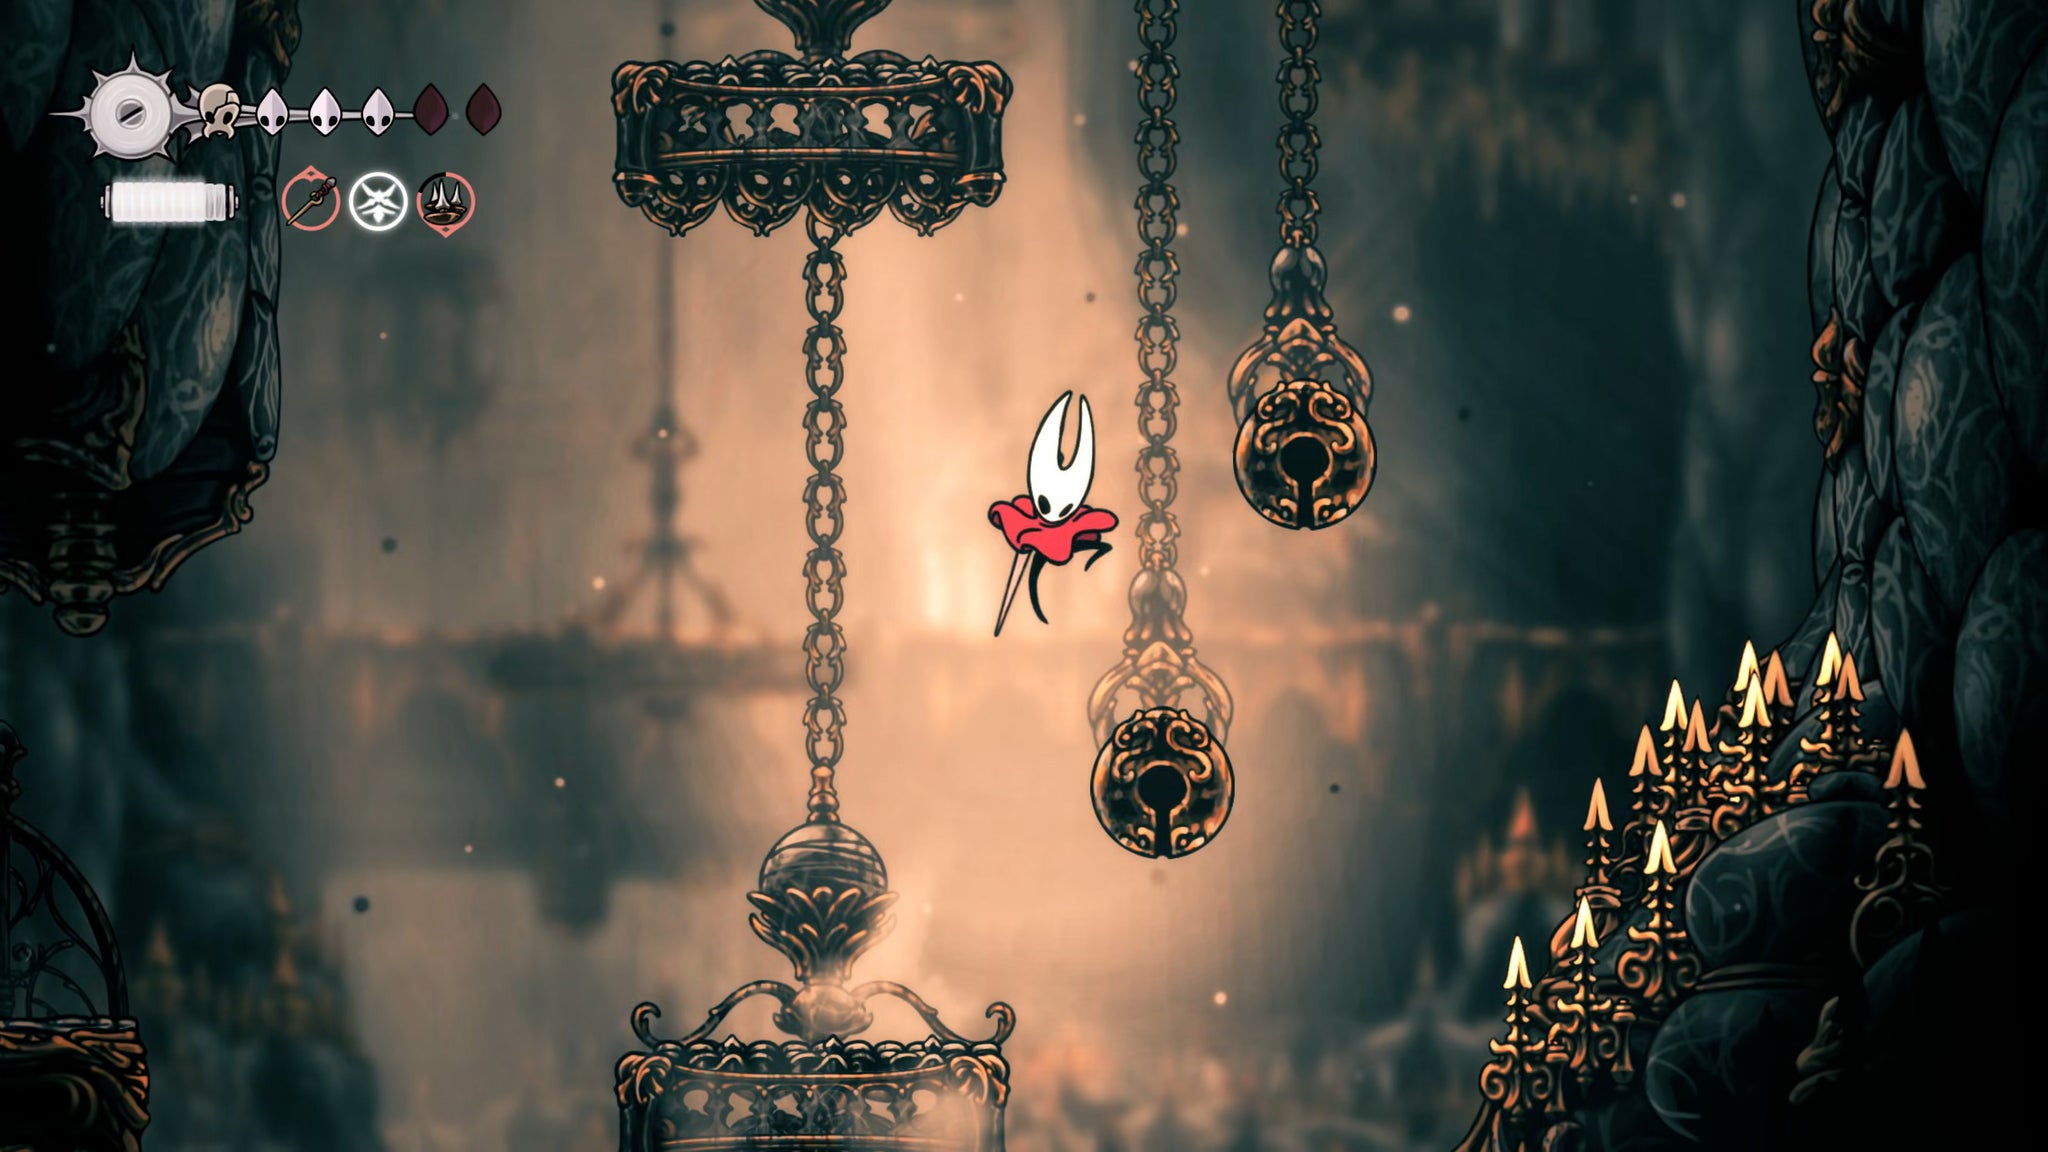

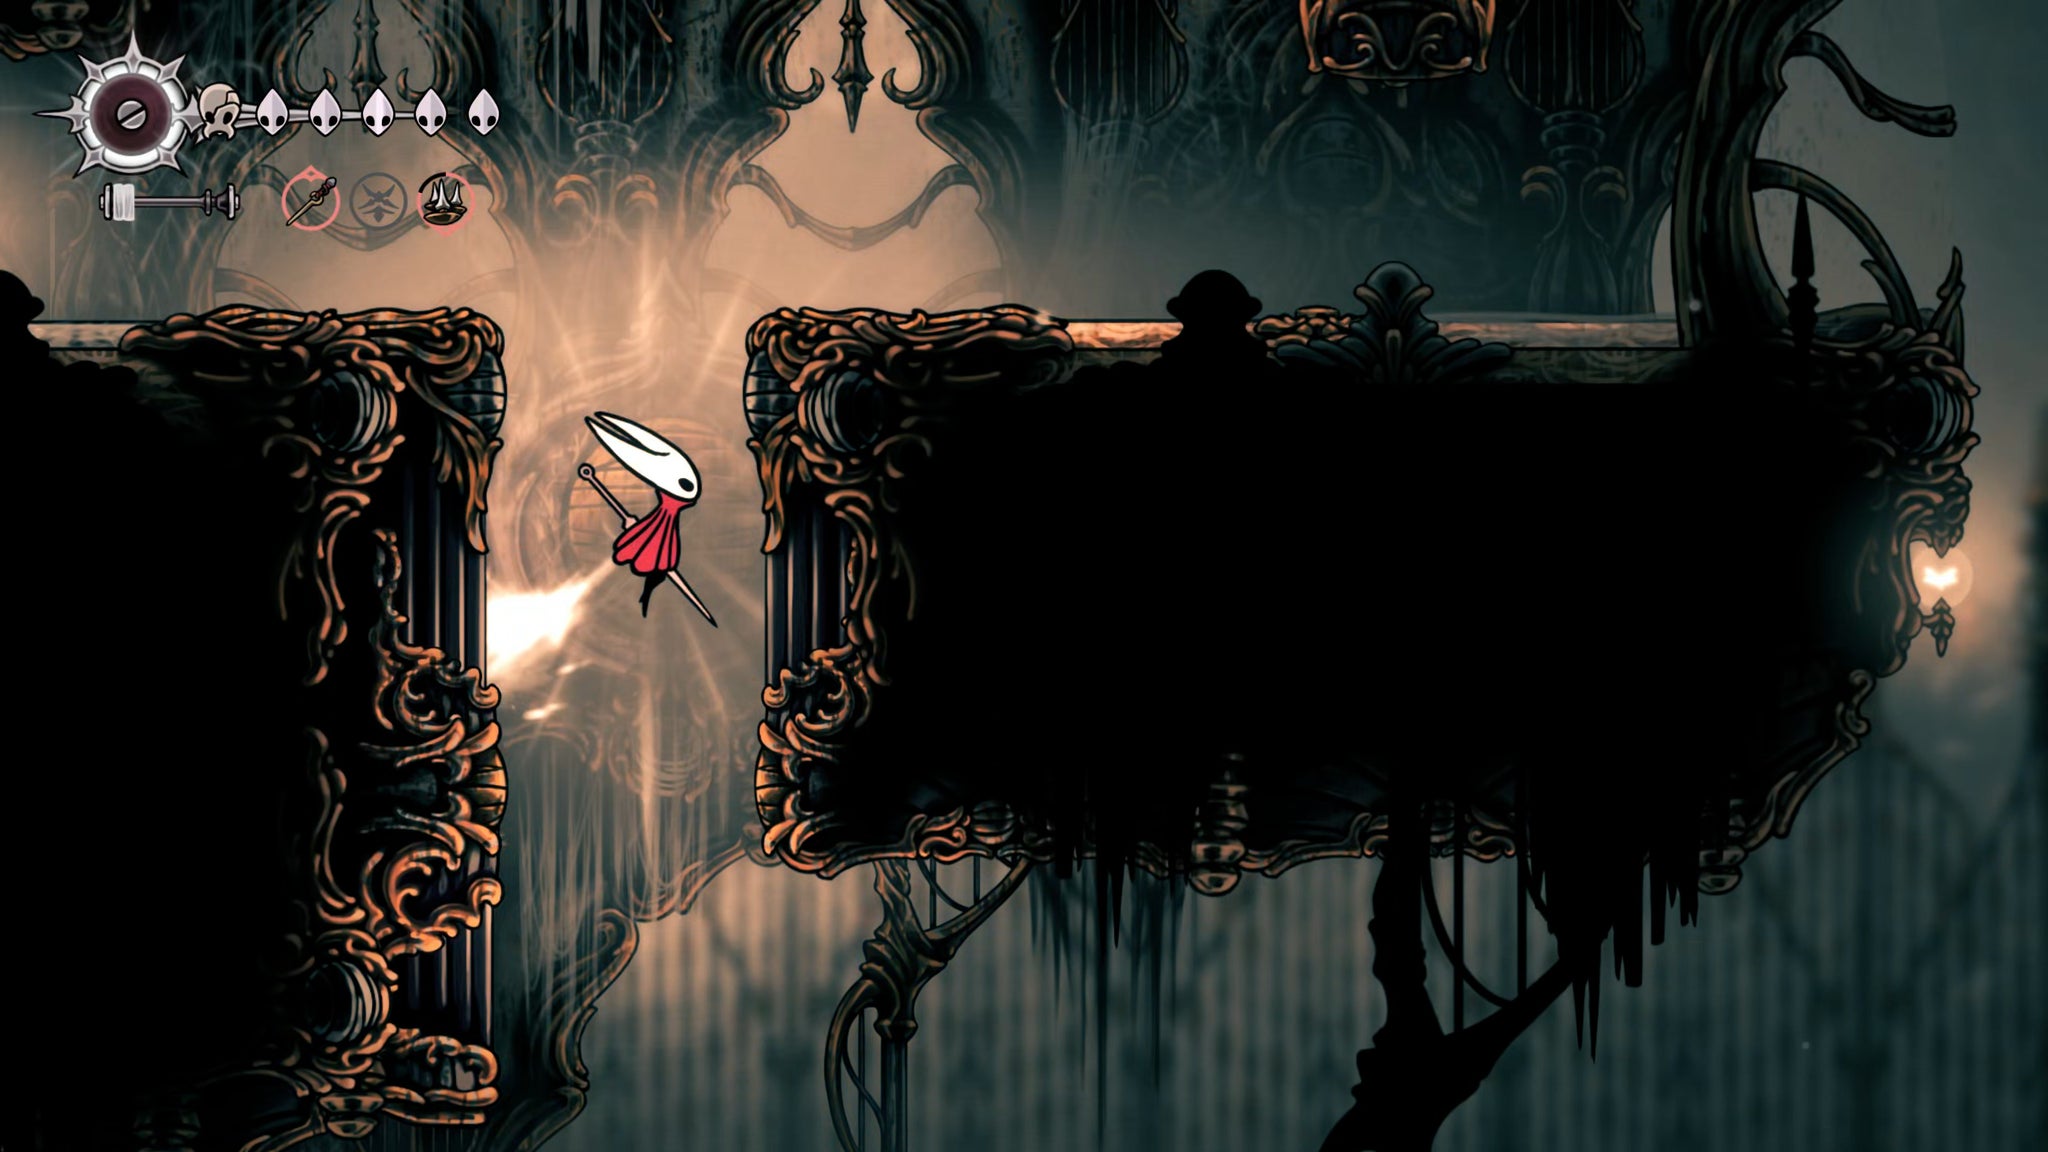
Next, you'll need to ascend this entire vertical shaft that you're in. So start climbing, and use the hanging bronze bells to Pogo yourself higher as needed. Along the way you'll find various enemies brought to life by strands of silk. It's best to take your time and defeat each one safely before continuing upwards.
Partway up on the right-hand side you'll see a sign (three white masks) beside an exit. Head through it for a little tiny peek at The Stage, a boss fight arena we'll come to later. There's a scroll you can read here for some lore, but nothing else, so return to the shaft and keep climbing upwards.
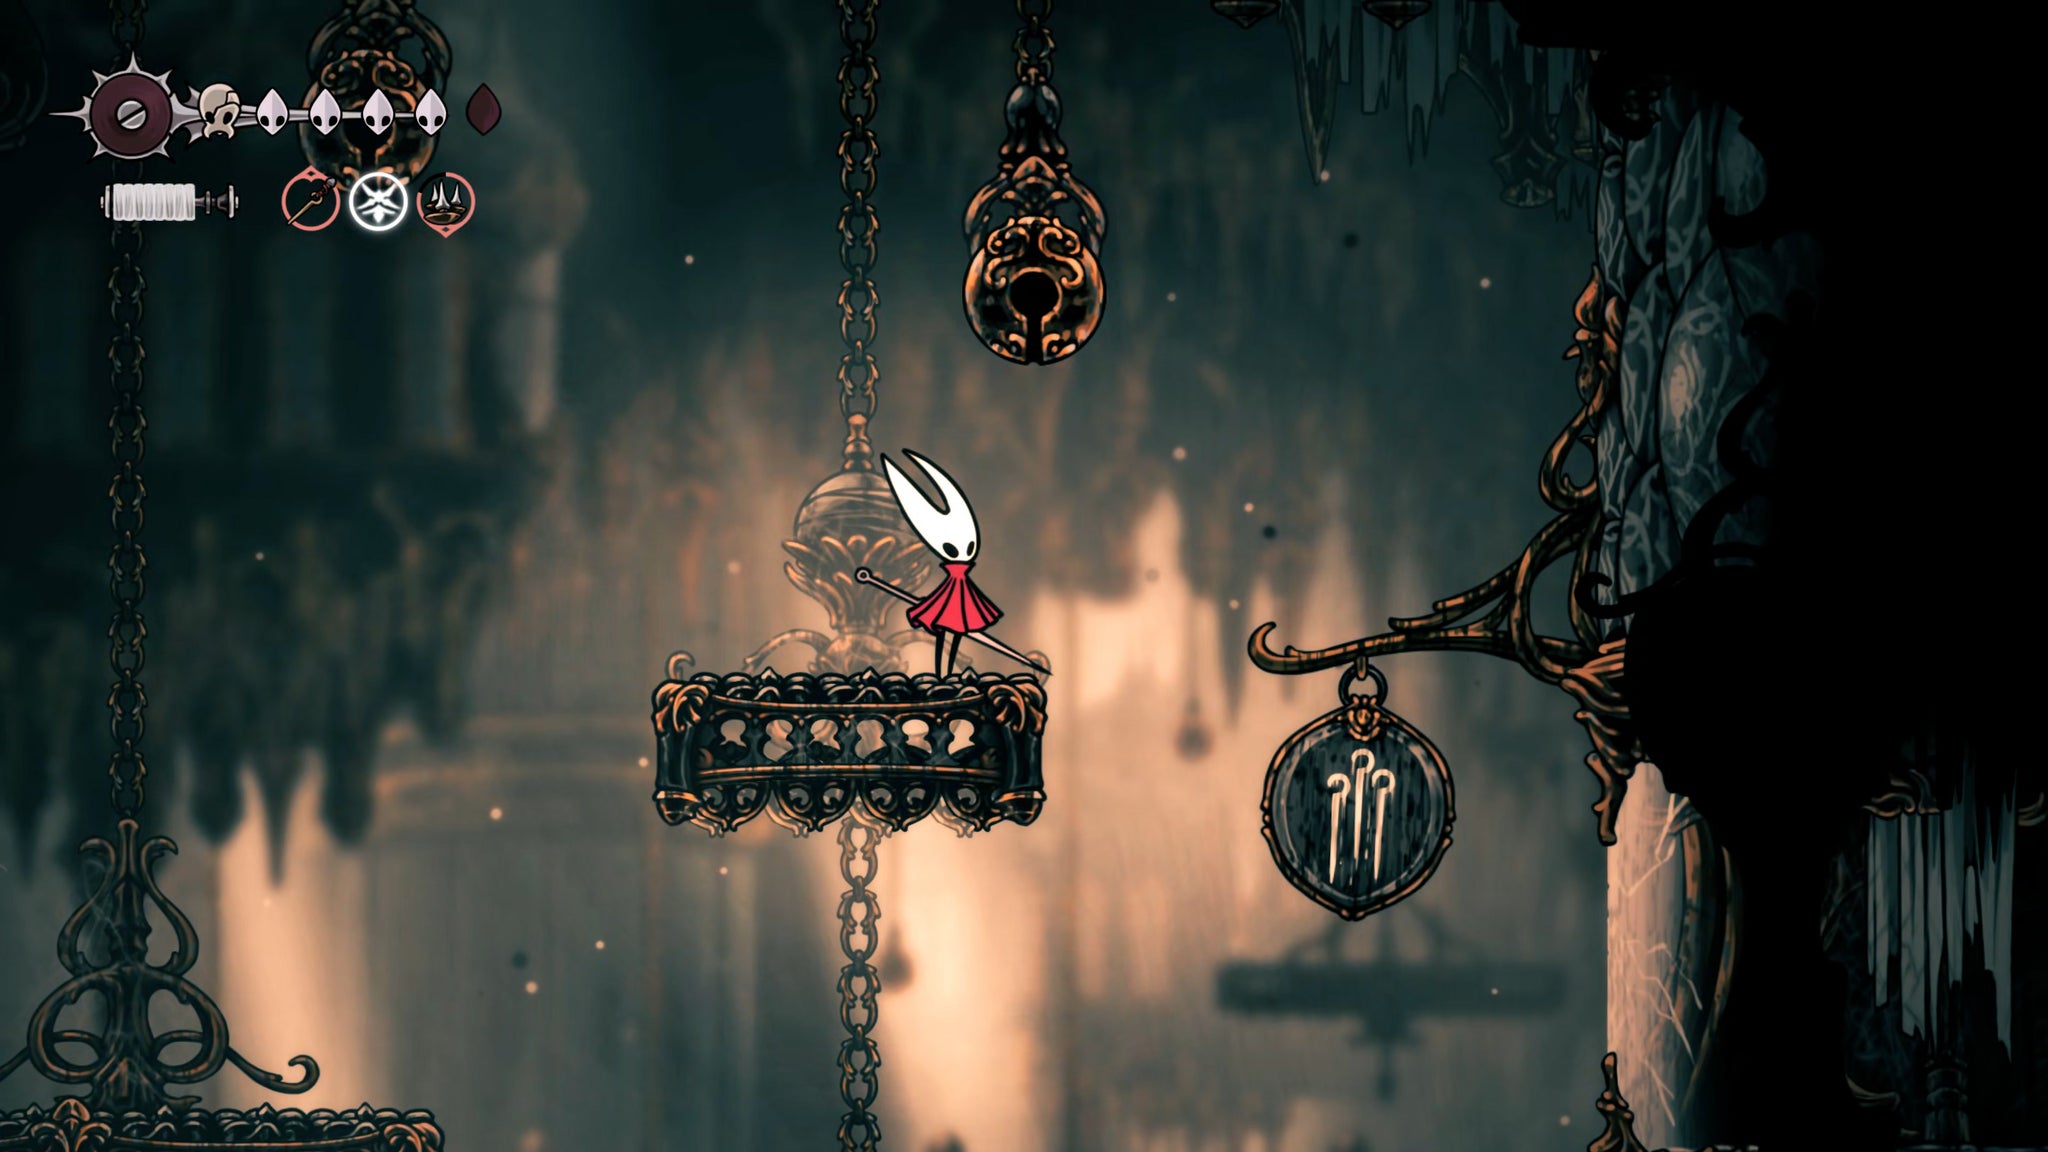

There's another pathway on your left just above The Stage entrance, but ignore it for now, and climb up higher. Near the top of the shaft, you'll find another sign depicting three pins. Break the glass here and head into the right-hand room if you like. There's nothing to do here right now, but above you, you'll see an item out of reach - this is the Pale Oil that you need to bring to Plinney in Bellhart to further improve your weapon's damage. We'll come back to this spot later from the other side.
Climb to the top of the shaft and exit upwards. The next room has a large rotating wheel with a path through it. Hit the silver lever to rotate it, allowing you to climb up through it to the top.
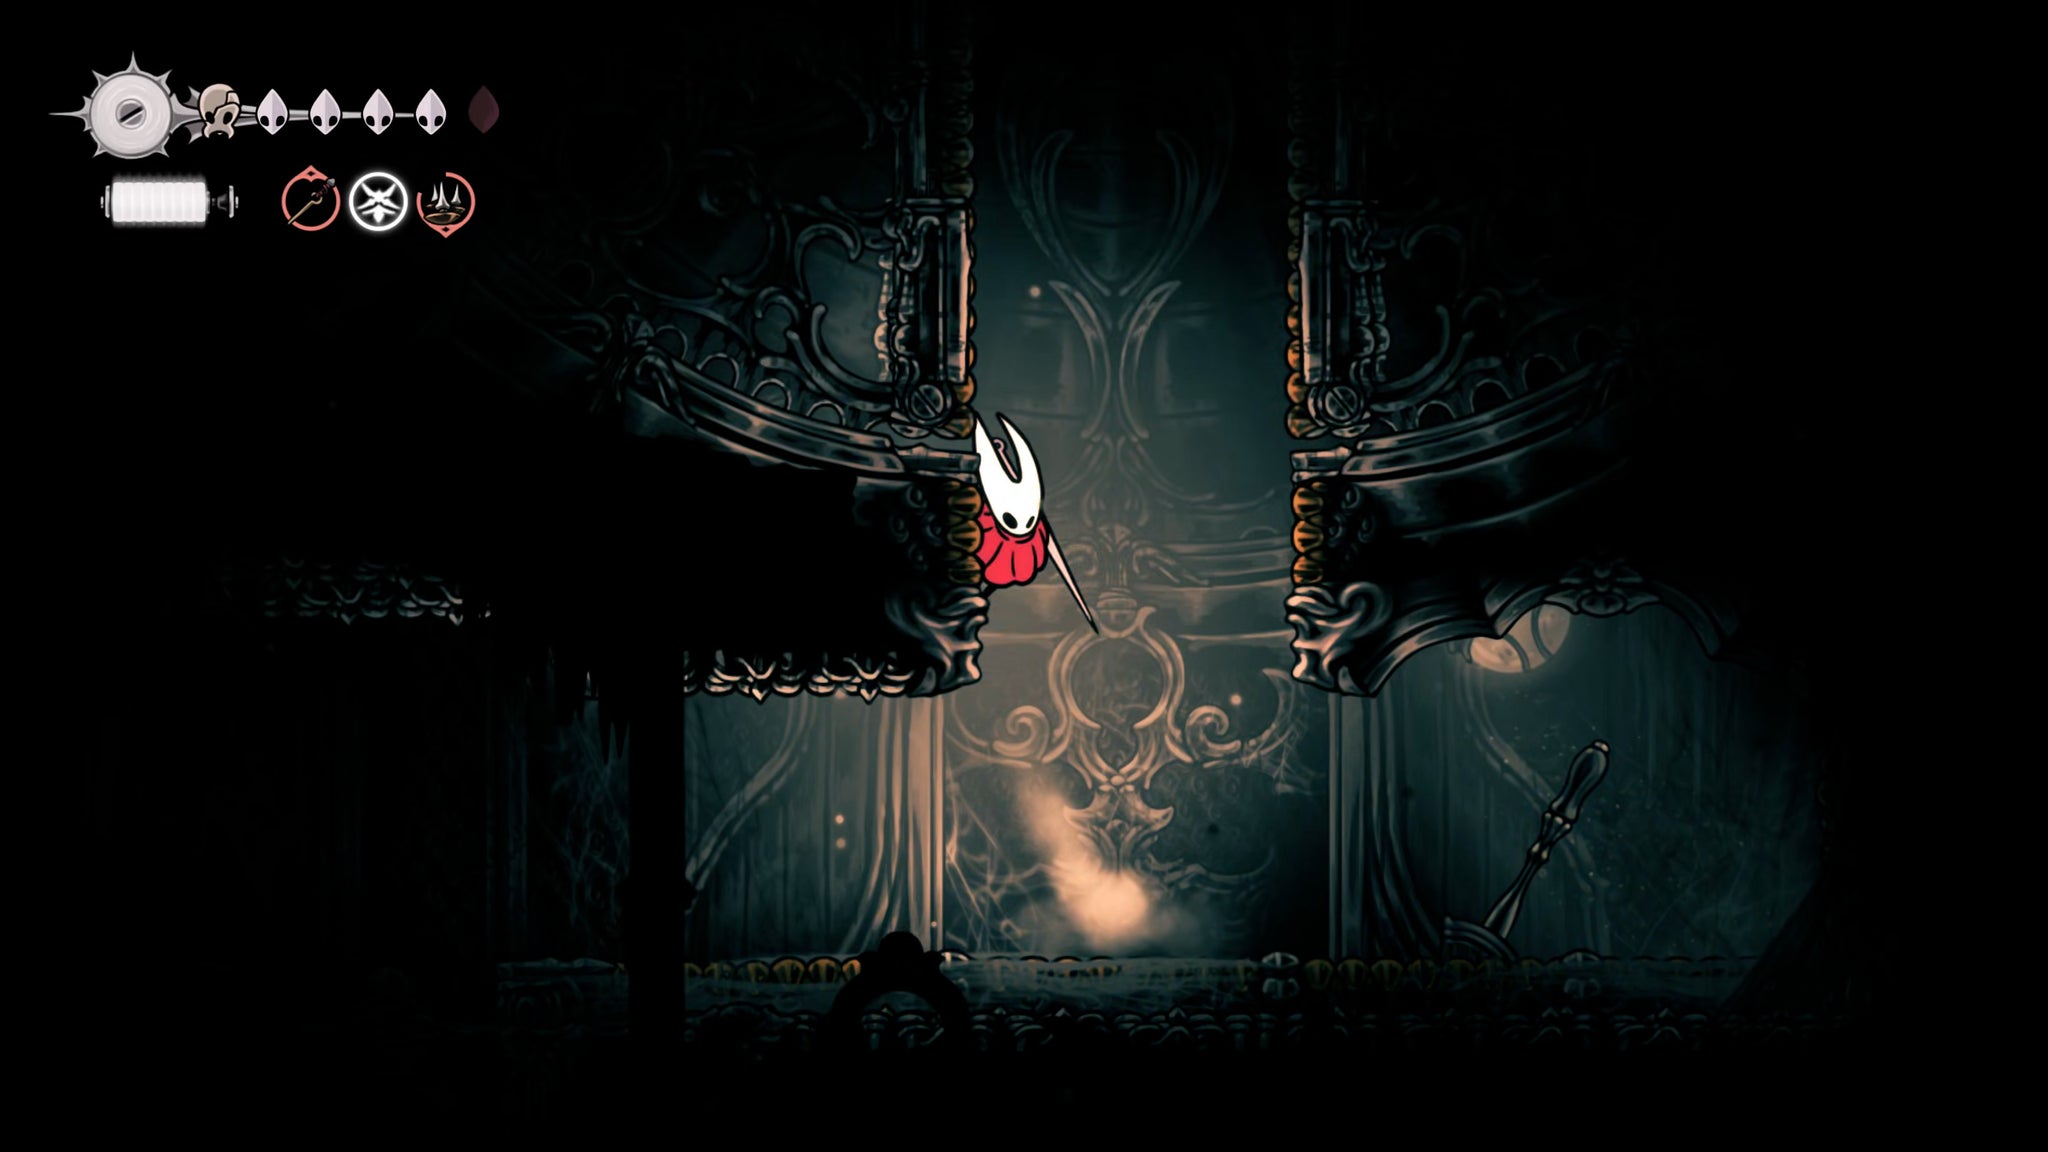
As you climb ever higher, there's an exit on the left you can peek into. Here you'll find a Silk Machine, which you can pay 40 Rosaries into for a bit of Silk. It's not remotely worth it, so don't bother. Return to the wheel room, and exit through the top-right doorway.
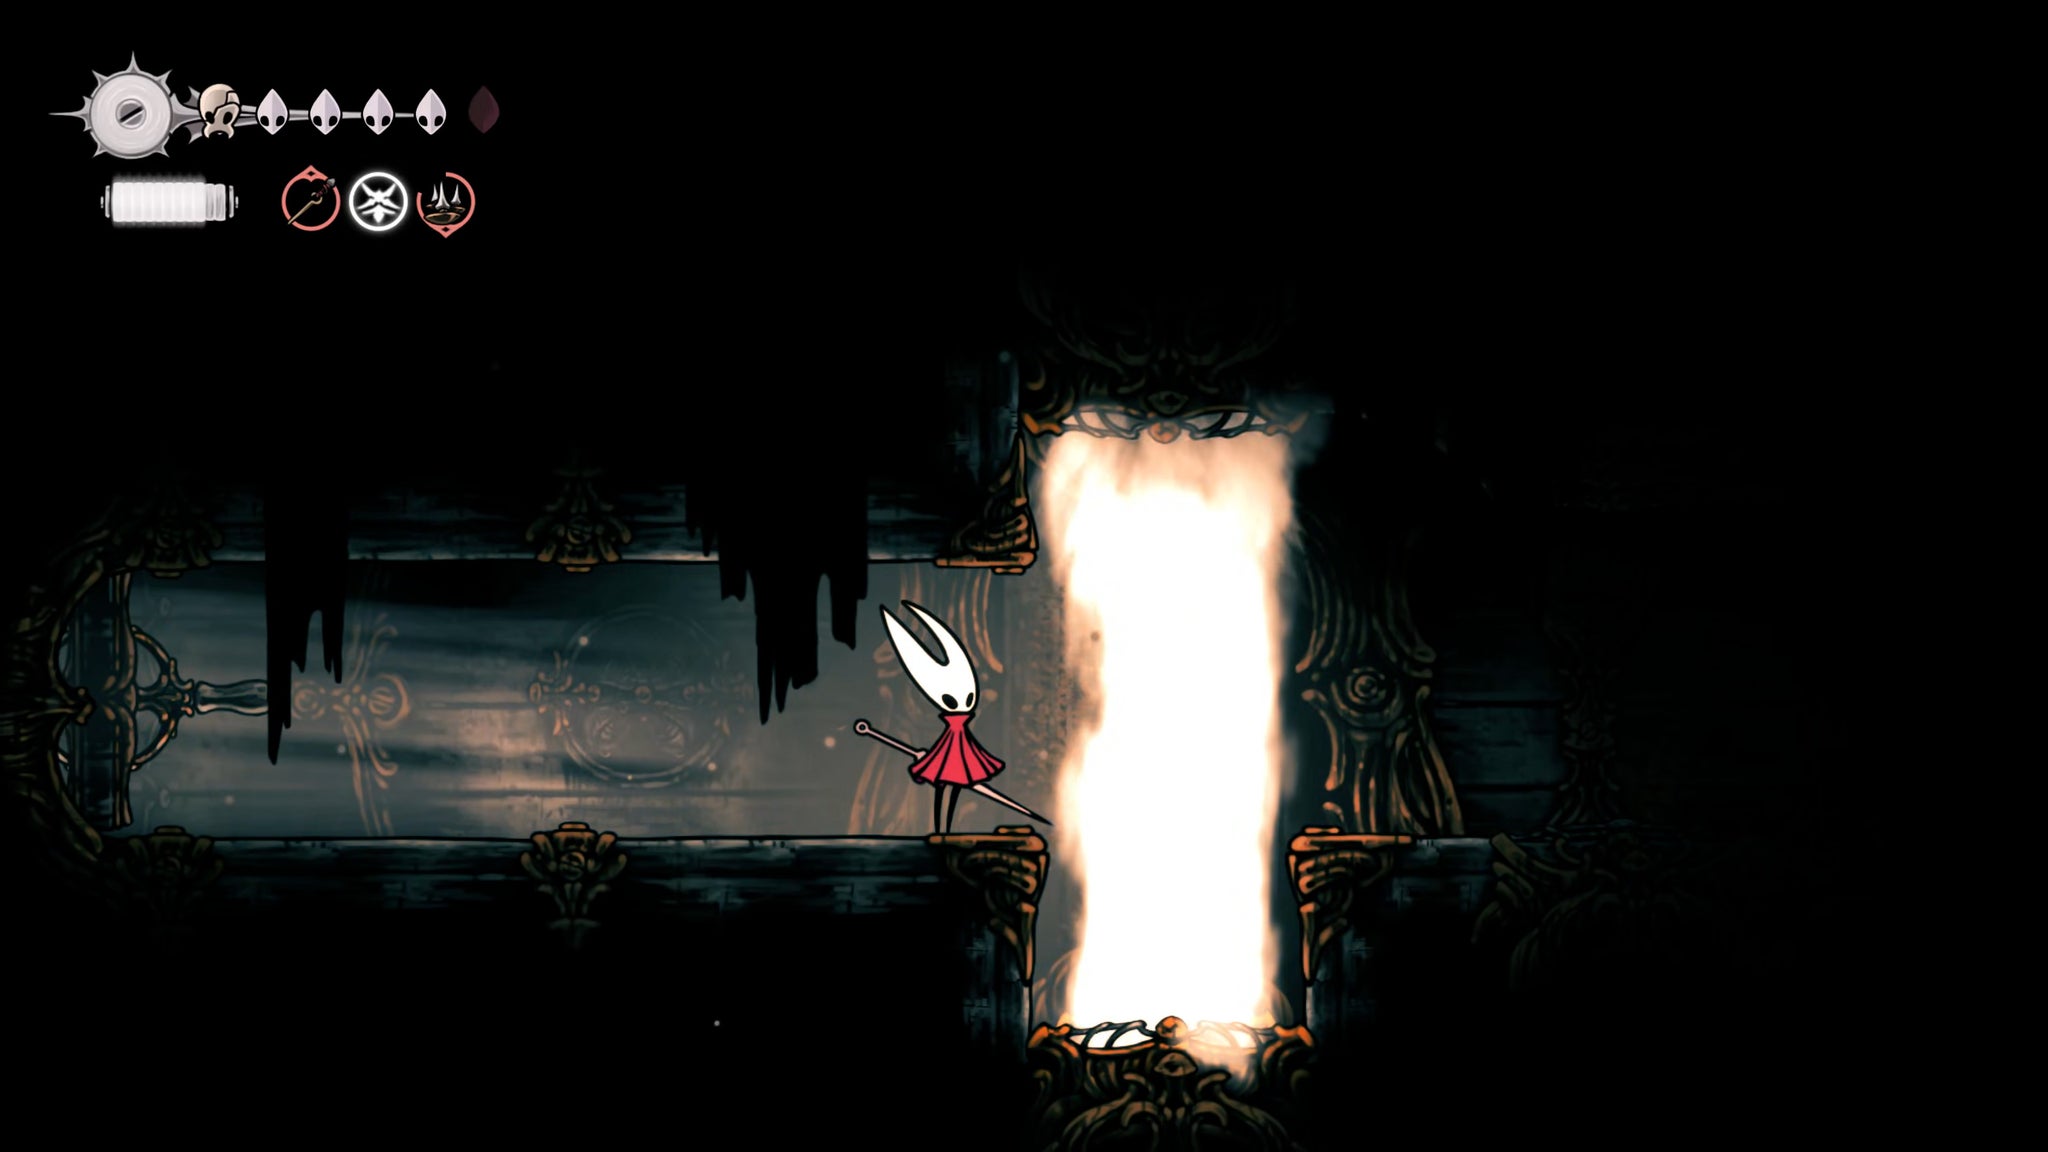
The next room is filled with little corridors where you must dodge between the various steam vents, like in the Exhaust Organ. Make your way through into the next room, and climb up the wall immediately above you. Use the ledge to reach the room higher up, and on the left side you'll be able to pay 80 Rosaries to activate a new Ventrica Station (and an easy path back down to the Grand Bellway). Don't use it right now though.

Drop back down to the bottom of the previous room, and head across to the right, past an ornate looking building with a tent outside it - the First Shrine. Go past the building at first; at the end of the pathway, you can pick up the White Key. This will grant you access to the Whiteward region below the Citadel, which we'll cover in the next part of our walkthrough.
Now head back to the building and enter it. The grand bell inside is tied up with silk. Attack the silk to destroy it, and then flick the lever to sound the bell, unlocking a new Bench for you to rest at.

3. Speak with the Songclave residents.
Once you exit the building, you'll be automatically brought into conversation with a new NPC - the Caretaker. He'll explain that by ringing that bell, you've sounded the call for Pilgrims far and wide to reach this old settlement. Essentially, you've just unlocked a new village.

It doesn't look like much for now, but all that you need to do is reload the area. Go to the Ventrica station you just unlocked, travel to the Grand Bellway, and then head straight back again. Now, when you approach the First Shrine, you'll see that the settlement of Songclave has well and truly been rung into existence.
Spend some time speaking with the inhabitants here, and then check the new Wishwall and accept every quest. One of these quests - The Wandering Merchant - tasks us with finding the merchant Jubilana. She'll be able to sell us some nice stuff once she's rescued, so this quest is now our priority.

4. Find Jubilana.
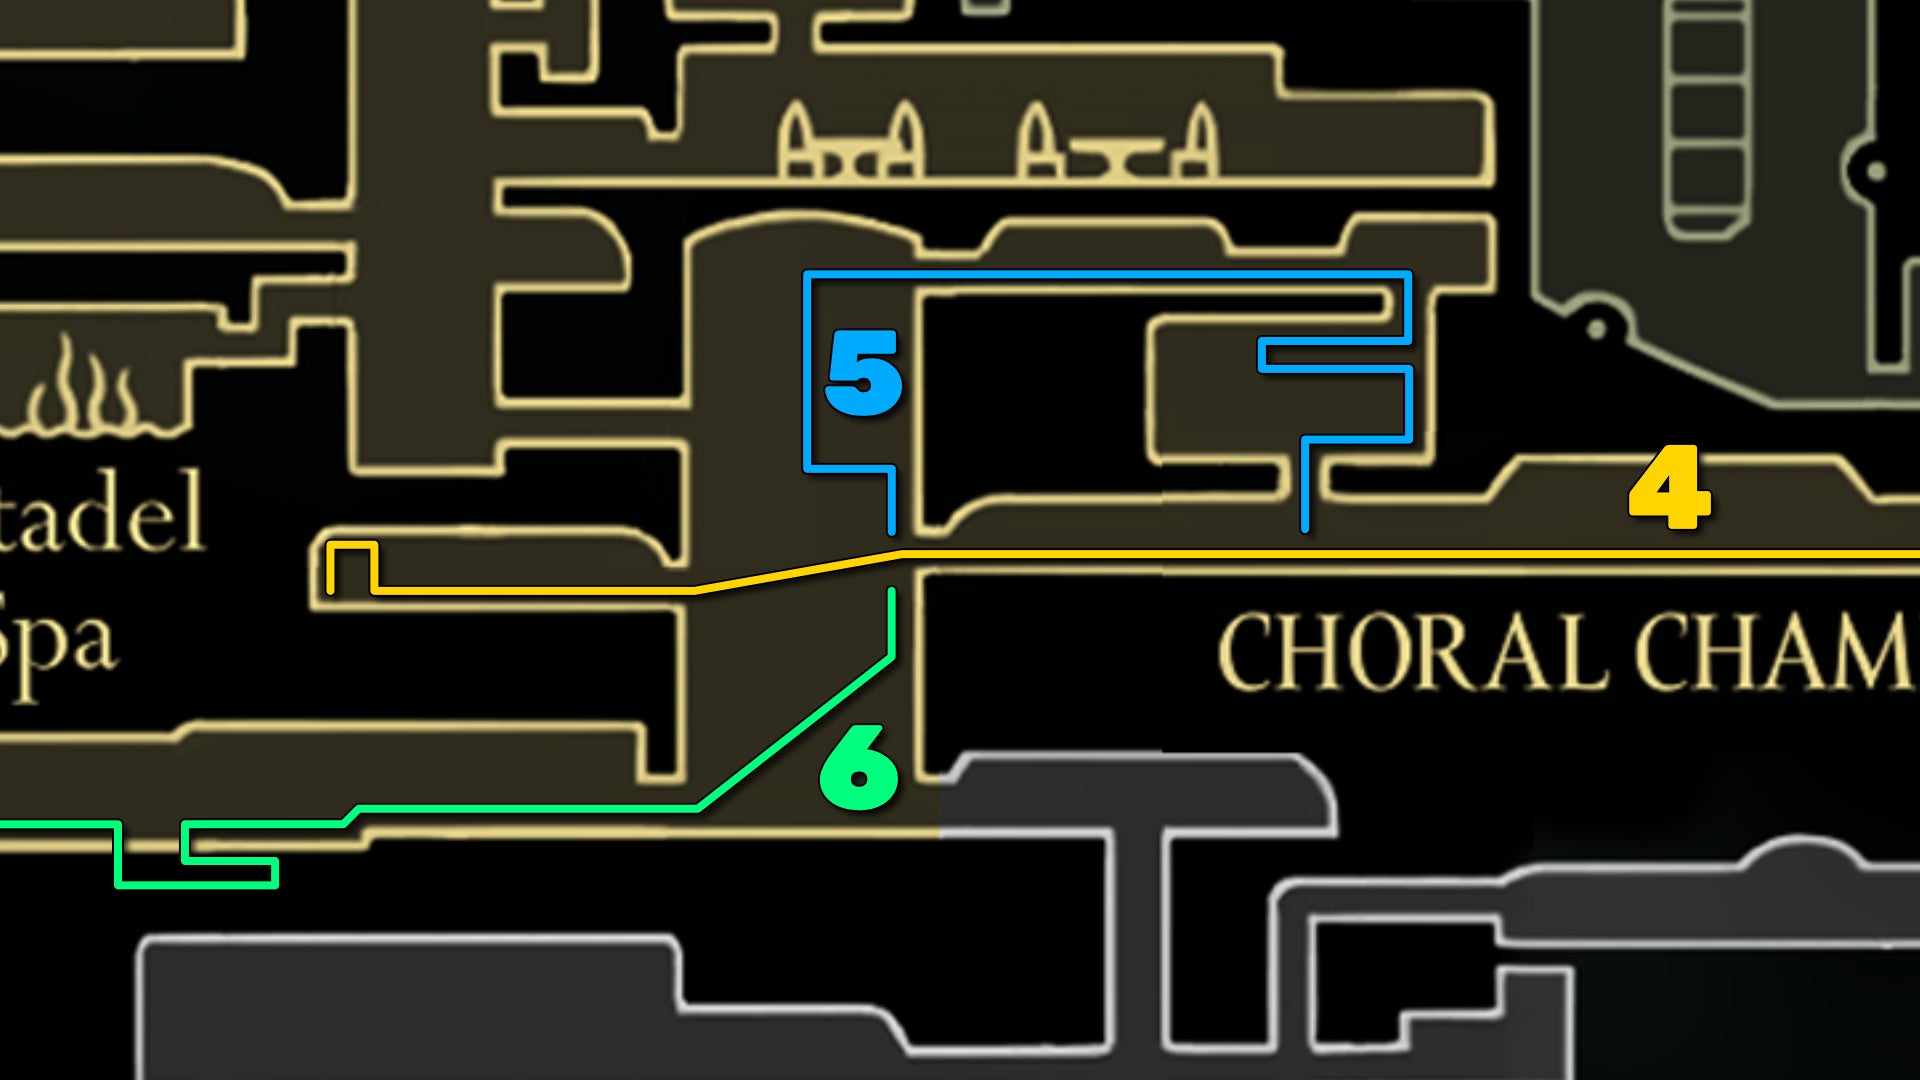
Use the Ventrica Station to return to the Grand Bellway, then climb halfway up the main shaft again and take the exit on your left.
Next up is a long corridor of enemies. Now is a good time to get used to using your new Cross Stitch deflect skill. Kill all the enemies you encounter, and make your way to the next room.

You can attack the glass window in front of you to destroy it. Head over to the opposite exit on your left, and you'll come into a small chamber, where a couple of enemies are accosting a hiding Pilgrim. Defeat the enemies, and the Pilgrim will reveal themselves as Jubilana - the merchant you're searching for. Exhaust her dialogue to complete the quest.
Before you leave, you can climb the wall at the left end of the room, and jump across to reach a hole in the ceiling. Follow the path and it'll take you to a Pilgrim corpse from which you can loot a Rosary Necklace.


5. Rest at the nearby Bench.
Head back out of the room you found Jubilana in, and jump back through the shattered glass window. This time, climb up the wall above, and then use the ledges in the main part of the room to ascend to the top-right exit. In here, you'll find a free Bench to rest at.


The path to the right of the Bench continues on, so follow it and hit the three levers in succession to reach another section of dark cobwebbed tunnels. Drop down once, and then take the right-most hole for a shortcut back to the long corridor below.
6. Reach the Grand Gate from the other side.

Head left once again into the tall stout room adjoining the Bench room and Jubilana's hiding spot. This time, take the ground-level exit to your left. What follows is another corridor of enemies, but one in which you may find aid in the form of Garmond and Zaza - your friends from Greymoor. Finish the fight and speak with them if you like, for some brief congratulatory dialogue.
Flick the lever at the end of the path to drop into a lower segment of the corridor, and make your way around to the other side, where another lever will get you back up to the top. From here, head left through another patrolling group of enemies, and into the next room.

There's a hole in the floor to your left, and beyond it is a locked gate leading to a Ventrica Station. We'll get to this shortly; for now, drop down the hole.
As you descend, flick the lever on the left to reach a cache of Shell Shards; then keep heading downwards to ground level, and kill the enemies there. Then hit the lever on the ground to unlock the ability to go even lower, where you can find a signposted Bench in the right-hand room.

Once you've rested, go back into the main room on your left, and drop to the ground floor, where you'll find a breakable bit of floor on the left-hand side. Drop down into it, and follow the short passage to arrive back in the Grand Gate - just beyond where you fought the Last Judge in the Blasted Steps.
Don't drop to the bottom - instead, use the seesaw platforms in the room to reach the upper-left ledge, where you can obtain a Spool Fragment. Then go back the way you came. If you dropped to the floor, you'll have to go back to the Blasted Steps Bellway and travel to the Grand Bellway, then retrace your steps.
7. Reach the Citadel Spa.

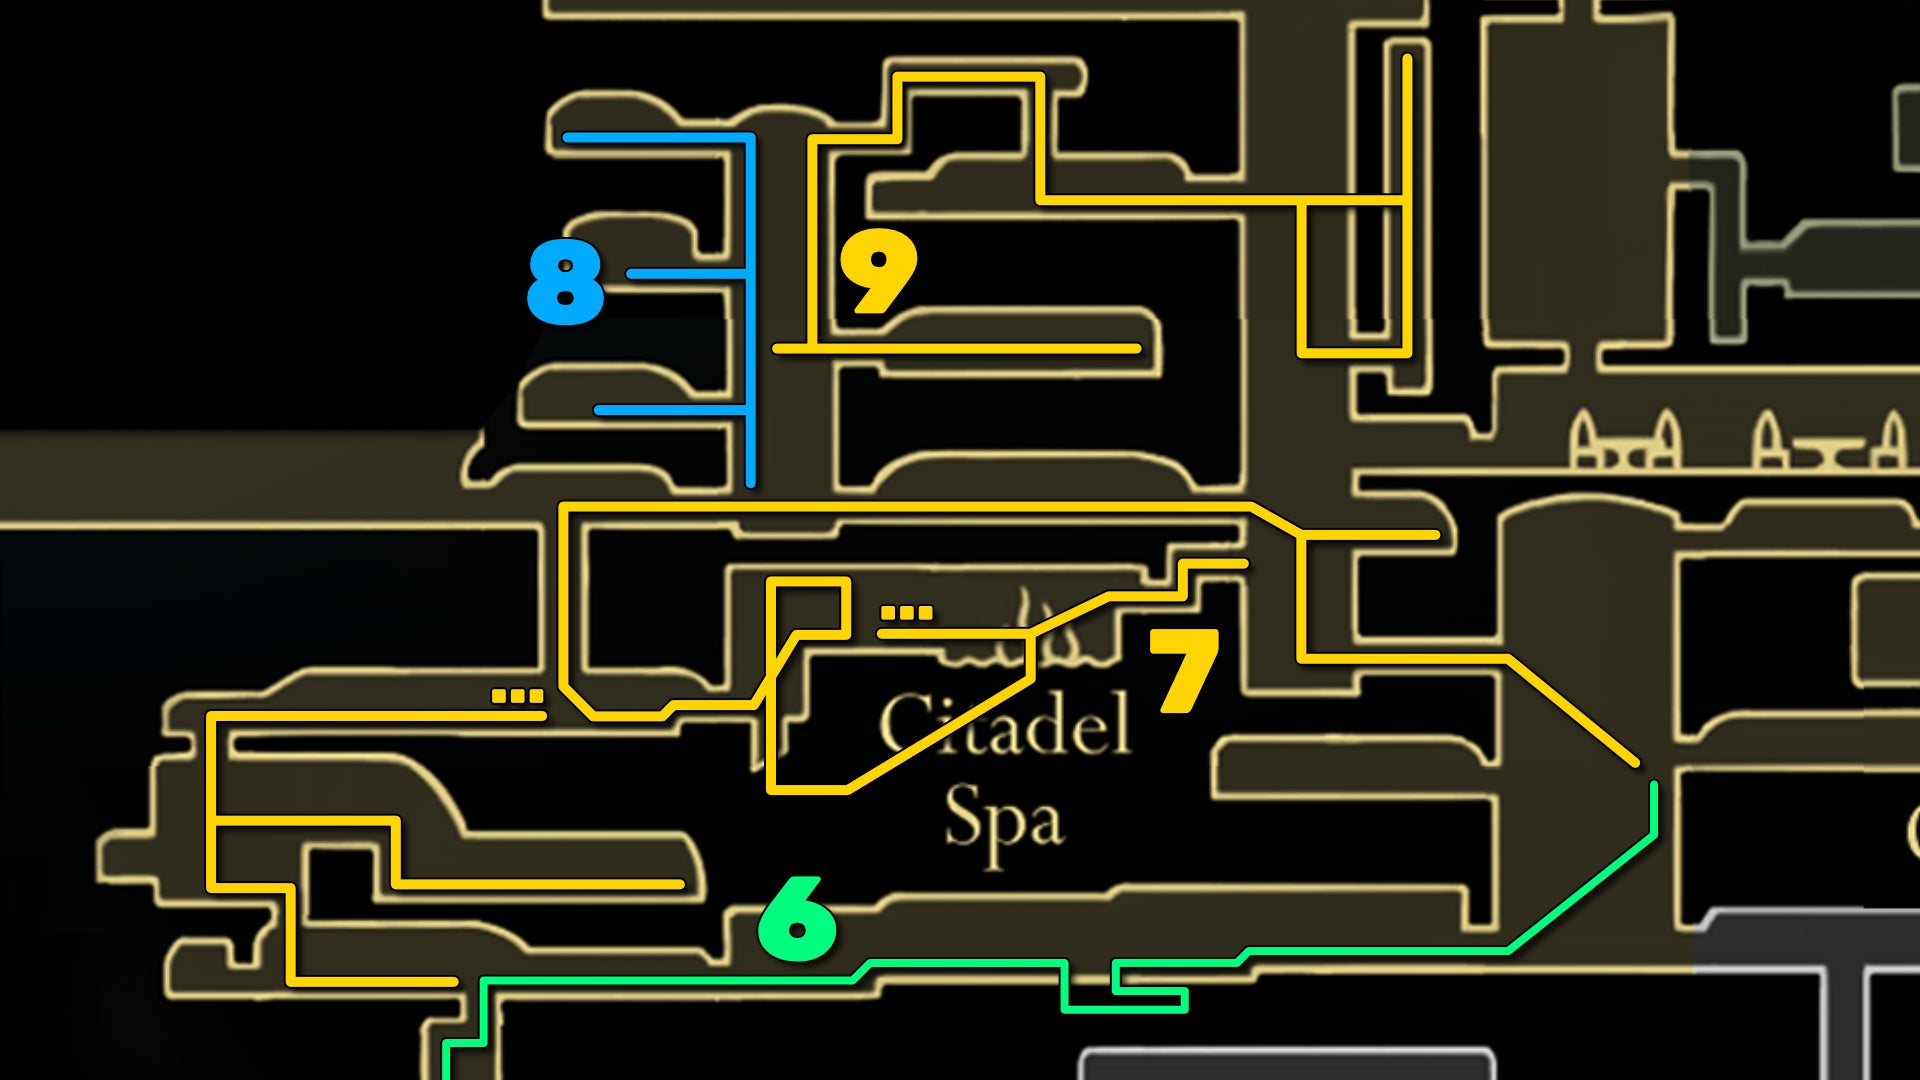
Return to the stout shaft adjoining Jubilana's room, and climb to the top left-hand exit (above Jubilana's room). In the next room, climb to the top-right ledge, where you'll find some hanging Rosary Beads to pilfer; then jump up to the top-left exit.
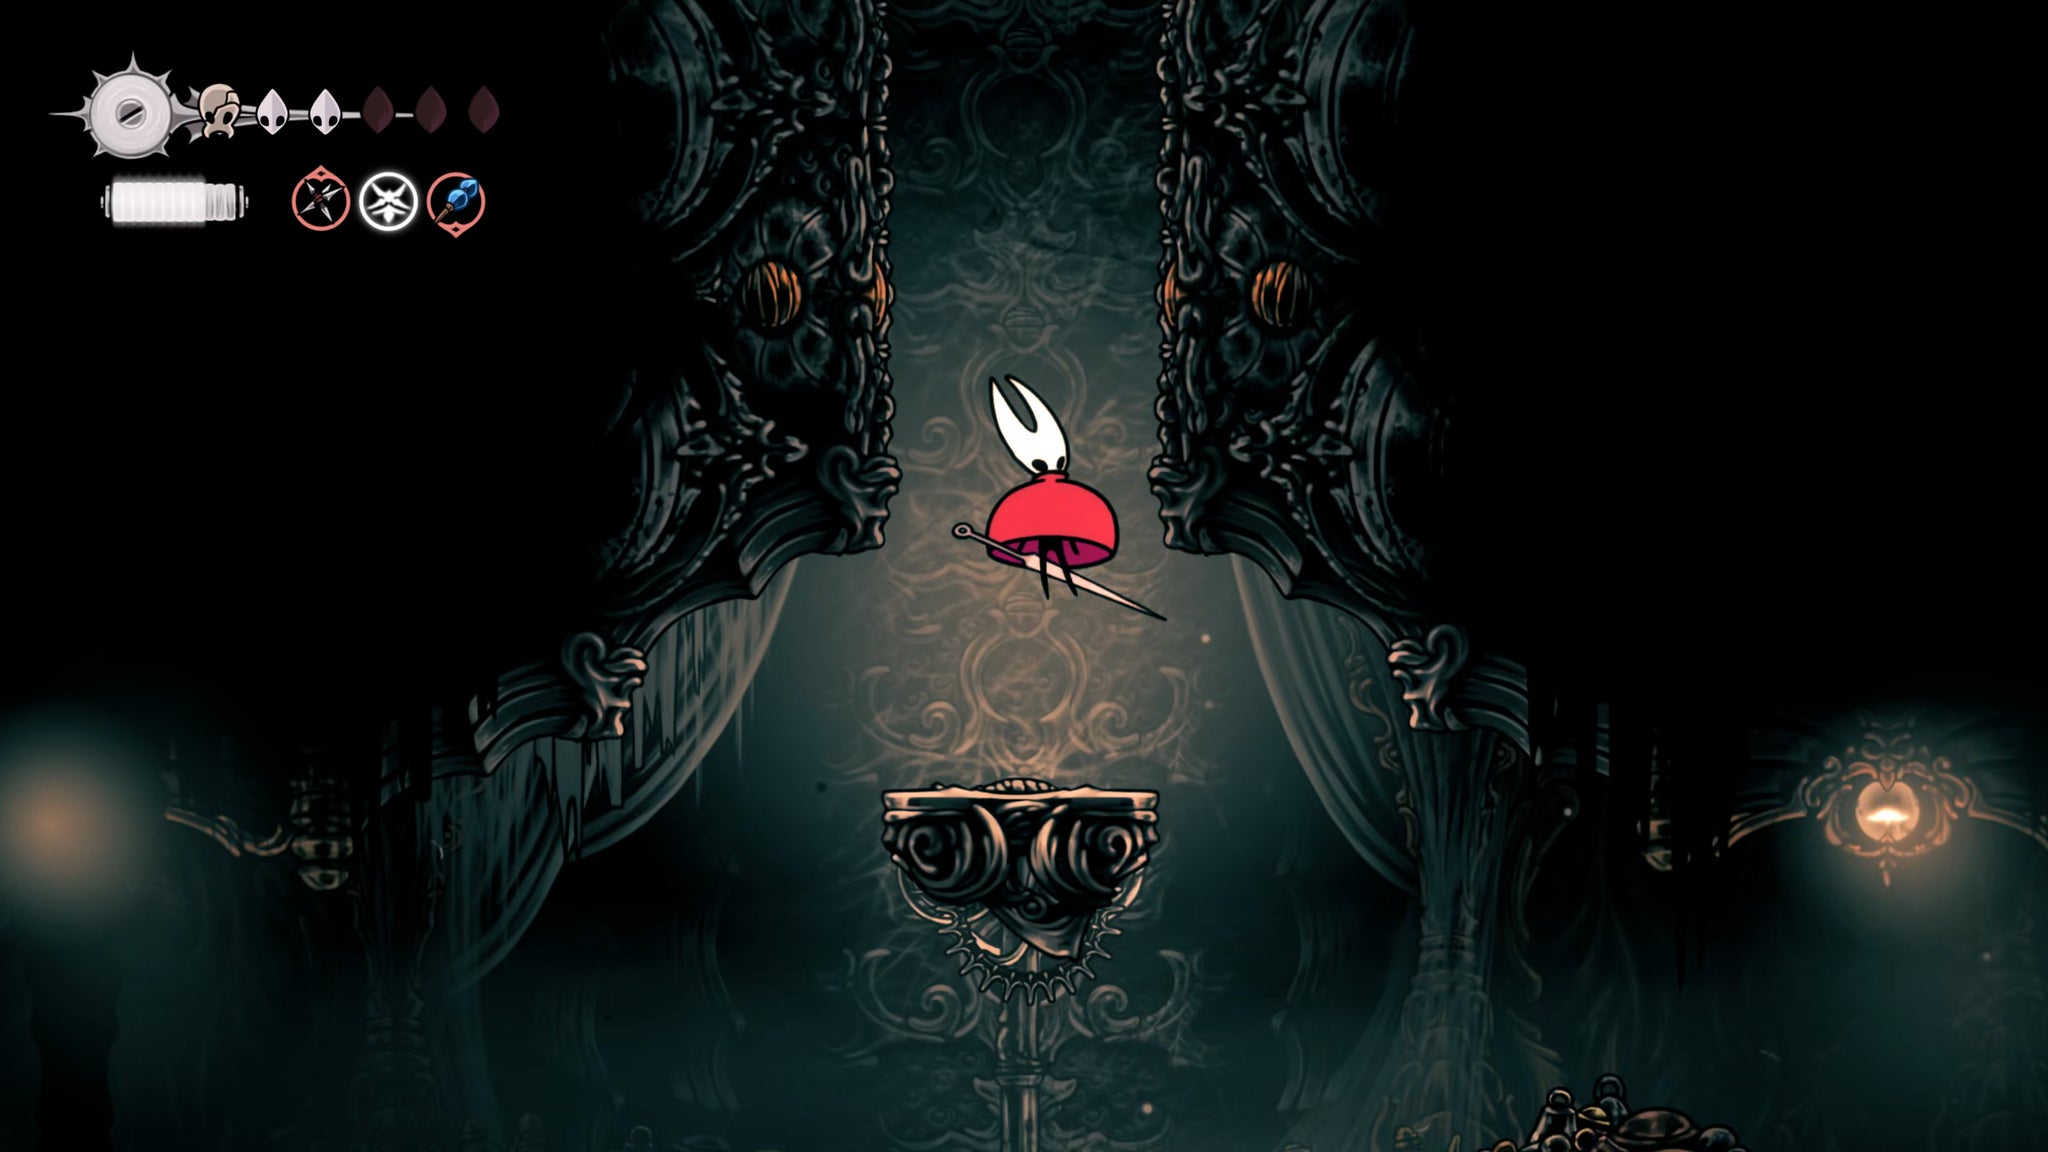

Kill the two Choristors in the corridor and cross it to the room beyond. Then drop down to the bottom-left exit (mind the spikes on the floor as you drop). Drop down the hole in the next room, and follow the path to the right to reach a Bench to rest at. Keep going past the Bench to enter the west portion of the Citadel Spa.
Climb to the top-left ledge with the shower, and break the wall on the left to reveal a chain, holding up a large block. Destroy the chain so that the block drops and creates a passage below for you to follow.

Drop down to the bottom and follow the tunnels (avoiding the steam vents) until you make your way up to the true Citadel Spa - a rare place of safety within the Citadel. Sherma is already here, paddling around, and you can speak with him while he's here. Drop in the water if you like - it heals you and also replenishes your Silk, just like Kratt's spa in the Flea Caravan.

Head out the right-hand exit just to unlock a shortcut back into the vertical shaft on the west of the Choral Chambers once more. But then double-back, and unlock the left-hand gate to reach the Bench by the Citadel Spa once again. Now head to the left, where you'll be faced with an arena battle against four waves of Citadel enemies.


Once the gauntlet is complete, flick the lever on your left to descend lower, and fully explore the room - including following the path of enemies down to the Rosary Chest at the bottom. At the bottom-right corner of the main part of this room, there's a hole you can drop into, which takes you to the Ventrica Station you saw earlier. Pay 80 Rosaries to unlock it, and then flick the lever to the right to open the easy path to it.
8. Obtain the first Cogheart Piece.
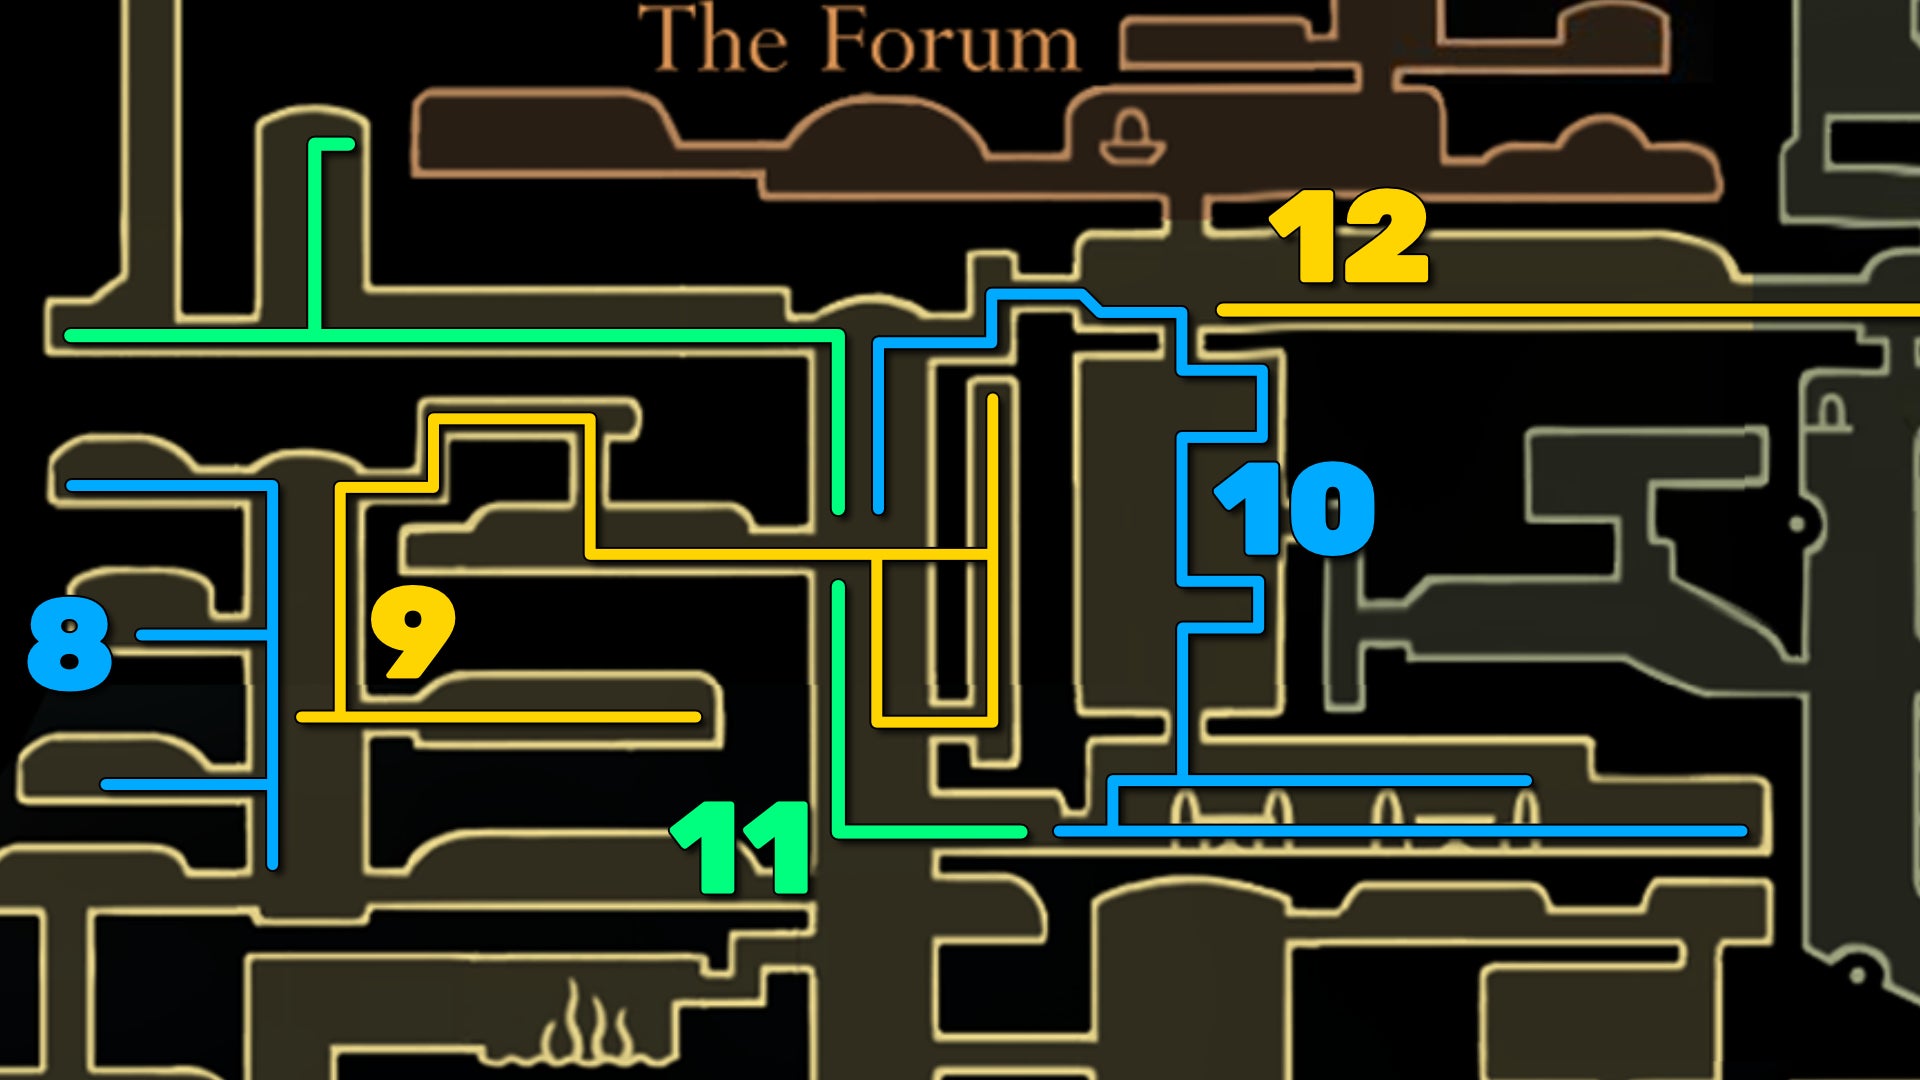
Backtrack to the Citadel Spa and exit into the vertical shaft to the right. Then jump up and take the left-hand exit one above your current location, to re-enter the same small corridor as before. Head through it to the next room again, but this time we're going to peek into the three left-hand rooms above the ground-floor path which took you into the Citadel Spa.

So, climb up to the first upper left-hand doorway and head through it to find another useless Silk Machine. Then go to the next room above that. This room is more interesting - press the pressure plate in the middle, and the round bells on the wall will start to sound. This is a simple memory puzzle, with three stages. At each stage, simply strike the bells in the same order they rang. The order is:
- First Stage: 1-5-4-6
- Second Stage: 3-6-5-1-7
- Third Stage: 2-4-6-3-5-1
Once you've completed all three stages, a pedestal will rise from the ground, allowing you to collect a Cogheart Piece - an important item for a future questline.

Exit out of this room, and climb to the top-left room. In here, you'll find Grindle once more, being assaulted by an enemy. Kill the enemy and exhaust Grindle's dialogue if you like.
9. Rescue two nearby Fleas.
Now we're going to explore the right-hand rooms. Drop down to the right-hand exit halfway up the shaft, first of all. In the room beyond is a platforming puzzle with periodically disappearing ledges atop a bed of spikes. The spanner in the works is the lone Choir Flyer enemy halfway along - I'd advise completely ignoring it until the way back.
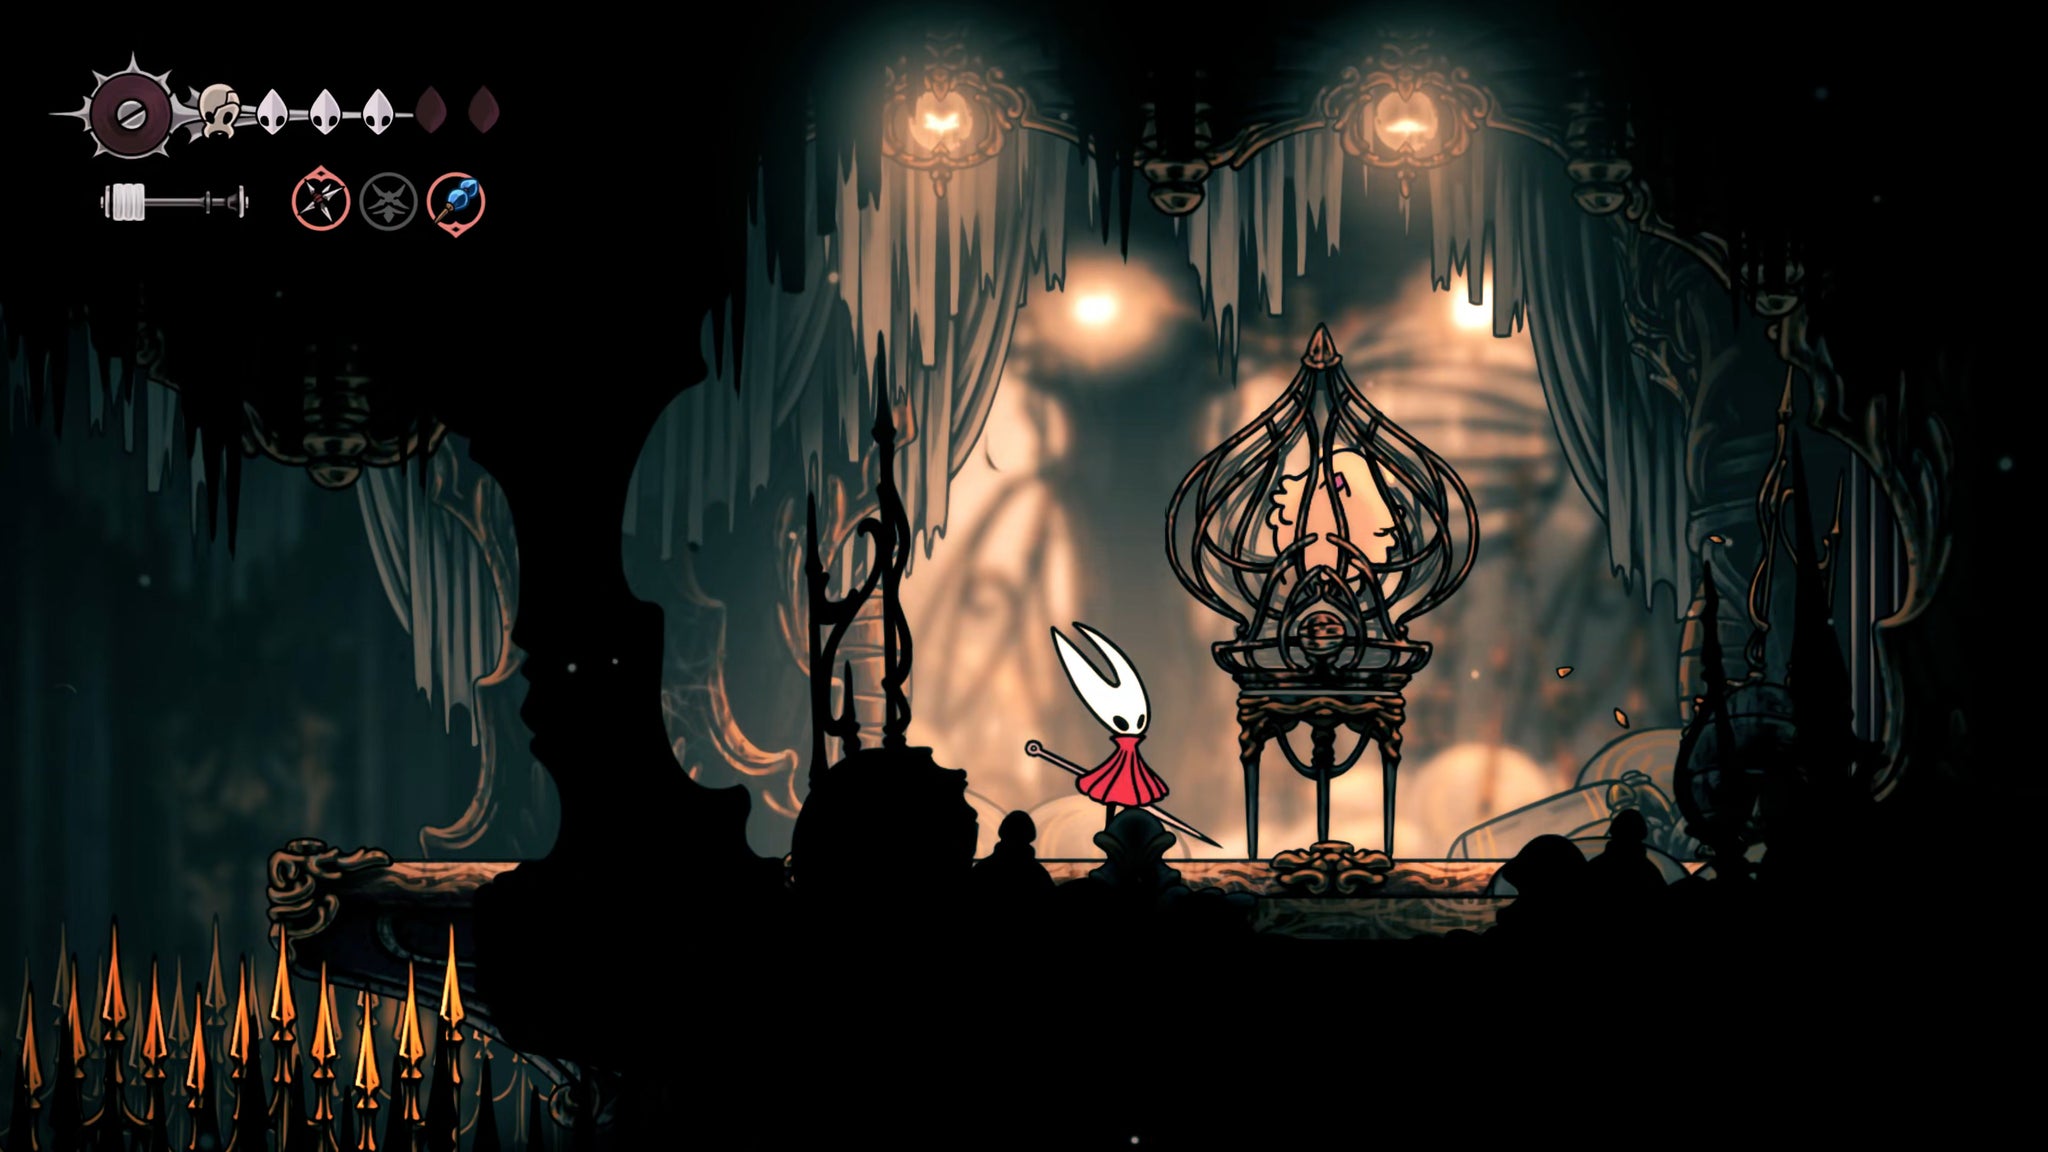
At the end of the platforming segment you'll find a Flea trapped in a cage. Slash the cage to free the Flea, and then return the way you came.
Now climb to the top-right exit of the shaft, and follow the simple path until you drop down into a new corridor. Kill the enemies that spawn, then head left for a Rosary Cache, and then right to escape out into the even larger shaft on this side of the Choral Chambers. This place sure loves its shafts.


Hop over to the right-hand side immediately opposite where you are, then break the wall in front of you. Don't go through yet - instead, drop partway down the shaft and you'll see another breakable wall above some spikes a little lower on the right. Break this open too and head through.

At the bottom of this room, attack the crank repeatedly to open an air vent. Then exit, and go back up to the first wall you broke. Head through, and ride the air current up to the very top, where you'll find another Flea to rescue.
That done, head back out into the main shaft.
10. Speak with Loyal Mergwin.

Back in the main shaft, climb to the very top-right exit, and then drop down the hole in front of you in the next room. Drop down to ground level, past the locked gates, and kill the two enemies patrolling there. Break the wall on the right to open a tiny secret passage where you can loot a Rosary Necklace from a Pilgrim's body; then back out of the secret passage and drop down the hole.

This next room looks to be a dining hall of some sort. Activate the lever on your left for a shortcut down back into the main shaft, but keep heading right instead of dropping down. There's another lever that unlocks another path down to the same area; and then you'll reach the end of the path, where an intriguing-looking item is held inside a glass container.


Attack the container once to rouse Loyal Mergwin, who was sleeping right next to it. You can then speak with Loyal Mergwin and accept his quest - Great Taste Of Pharloom. This quest will take you all across the map, so it's not one to prioritise right now.
Once you've exhausted Mergwin's dialogue, you can take the lower exit back out into the main shaft. You could also explore to the right of that lower section of the great hall, but it's pretty rank in there.
11. Reach the top-left Bench.
Climb once again to the very top of the shaft, and take the left-hand exit this time. Defeat another patrolling band of holier-than-thou Pilgrims, and make your way to the room at the very end of the corridor, where you can rest at another of the Choral Chambers' Benches.


On your way back you can investigate the disappearing ledges above you, which will take you to a Rosary Chest at the top.
12. Defeat the Cogwork Dancers.

Now comes the final test of the Choral Chambers. From that top-left Bench, exit back out into the main shaft and cross over to the top-right exit again. This time, jump over the hole that led down to Loyal Mergwin. Along the way, you'll have to either fight or bypass two tall, formidable foes called Grand Reeds. They not too bad as long as you back off quickly after each attack, but seeing as you're about to face a boss, I wouldn't waste time - just jump and Pogo over them.
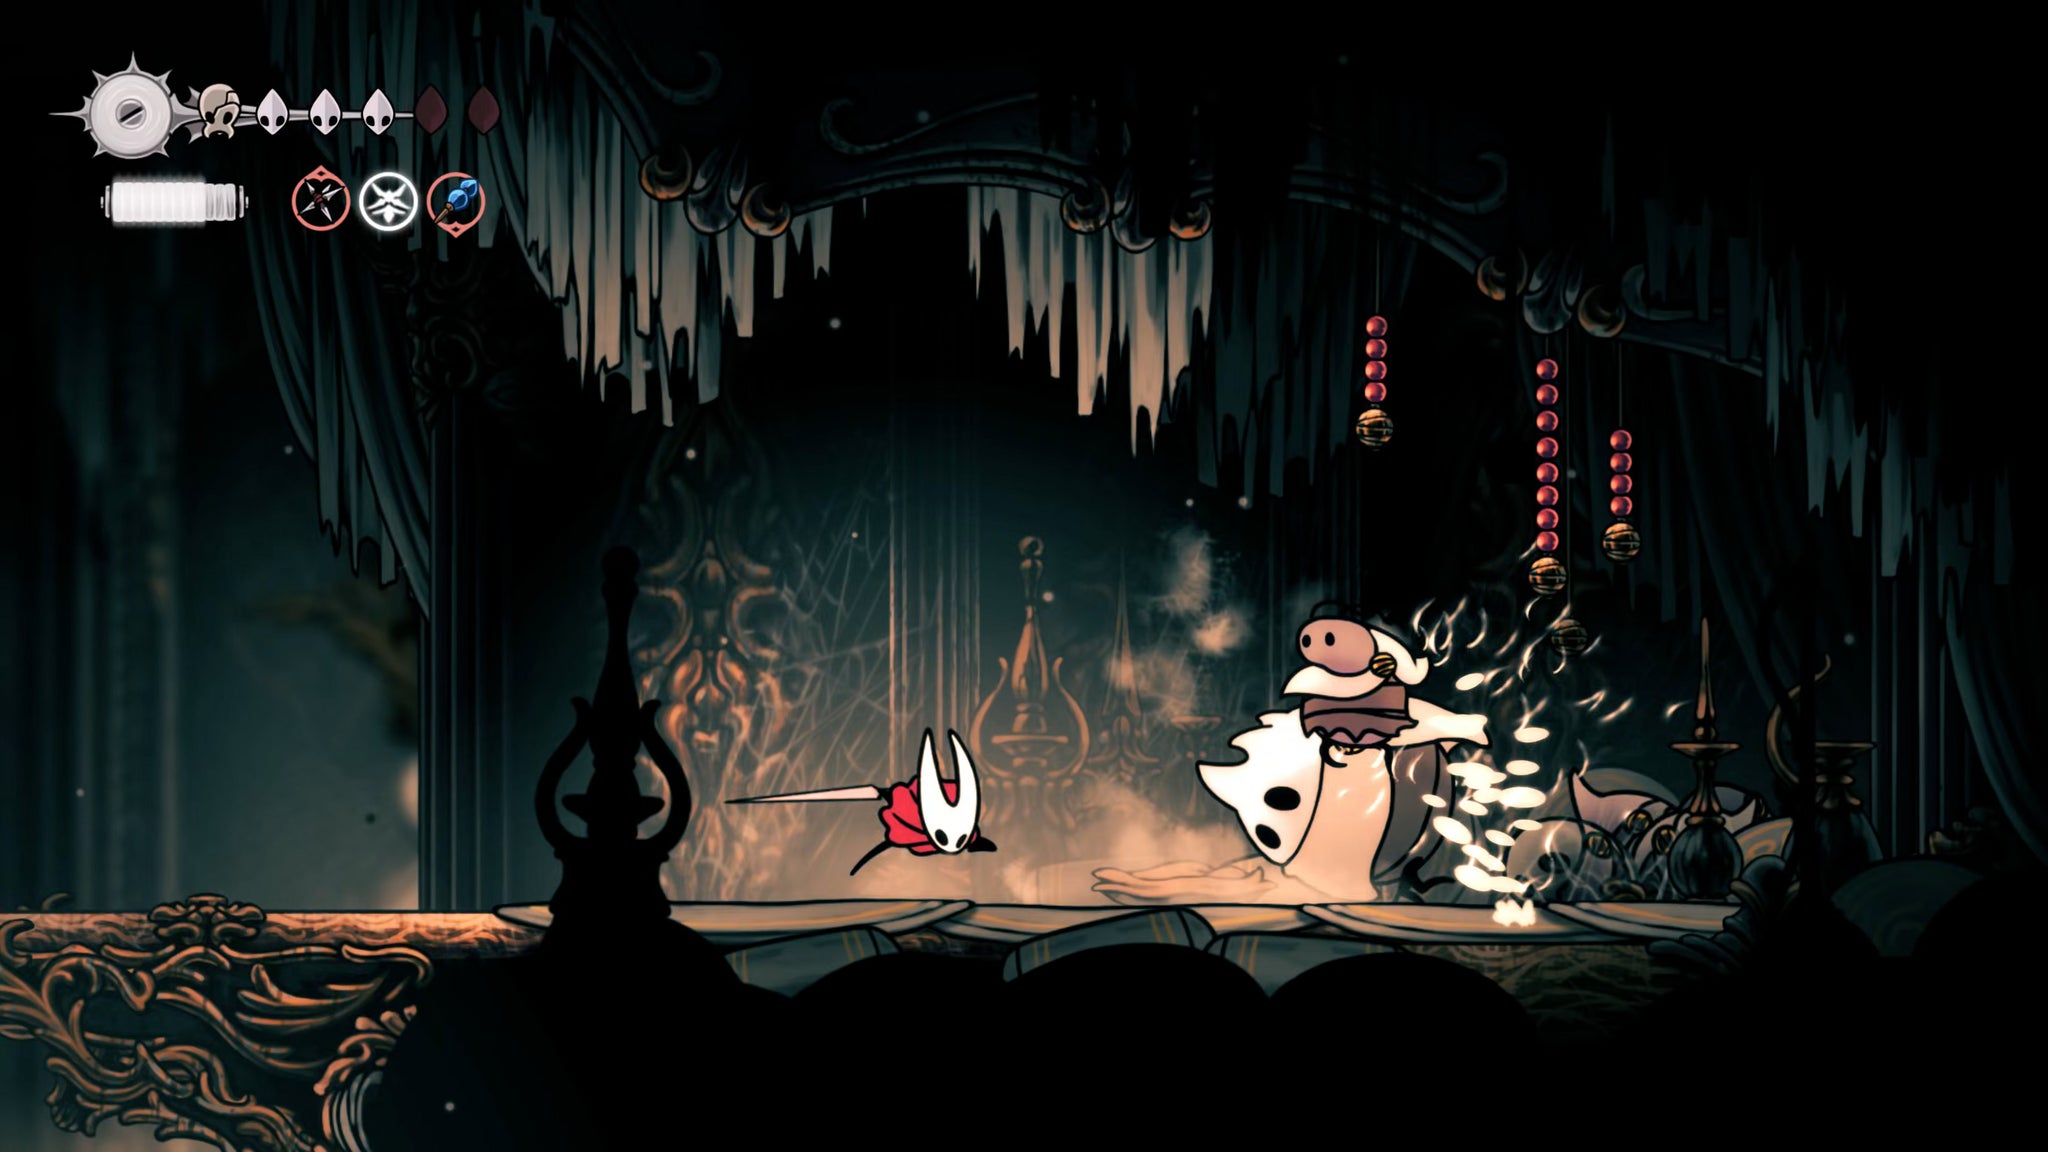
Exit into the next room, and drop into the arena in its centre to trigger the main boss fight of the Choral Chambers, and one of my favourite boss designs in all of Silksong: the Cogwork Dancers.

The Cogwork Dancers move simultaneously, and always plot their path ahead of time with a beam of light. Crucially, when either of them lands on the ground, they follow up immediately with an area-of-effect swipe attack - so don't be right next to them when they land. Otherwise, this fight is quite simply about keeping track of both sets of movements at once.

The second phase is simply a repeat of the first, but at a higher tempo, so less margin for error with your dodges. The third phase is most challenging, because the Dancers start to alternate their movements at an even greater speed. Still, it's all the same moveset, so it's easy to learn at least.
My advice is to place plenty of Tacks on the ground, and also make use of your Cross Stitch countering skill to get out of danger when dodging or jumping won't save you. It may take you a few attempts to get used to the strange clockwork movements, but I think that's a good thing - a fight this splendid shouldn't be over too quickly, don't you think? Enjoy it!

After you finally slay one, the other will have a very forlorn (and unchallenging) final phase which makes you feel like a horrible person for a few more seconds. Slay the second Dancer, and the room will shift and shake, revealing an ornate elevator. Interact with it to progress Hornet's main Silksong quest: you now need to find the three pieces of the Threefold Melody and perform them at this spot; after which, you can ride this elevator up into the Spire to face the final boss of Act 2.
That won't be for a while yet, though. For now, you have gained entry down into the Cogwork Core at the centre of the Citadel - but we're not going there yet (despite its excellent music). The Whiteward awaits us next!

Now that the expansive Choral Chambers have been tamed, there are many different directions we can delve next. But in this walkthrough, I like to prioritise getting new movement skills as quickly as possible - which is why you should join us in Part 18 of our Silksong walkthrough, where we delve into the Whiteward and beyond in search of the Clawline.
Read this next
- Ahead of Hollow Knight: Silksong's Sea of Sorrow expansion, Team Cherry have gotten their Traditional Chinese and German translation ducks in a row
- We may have glimpsed Silksong's Sea of Sorrow expansion in a six-year-old trailer
- Hollow Knight: Silksong's first big expansion, Sea of Sorrow, flows into our lives for free next year
