
Hollow Knight Silksong walkthrough: Part 27 (The Slab)
How to acquire all three Slab keys and explore the entire prison


Stuck finding your way through The Slab in Hollow Knight: Silksong? The Slab is designed to be a bit of a maze. A central shaft runs from top to bottom through the region, but otherwise the area is filled with locked doors and labyrinthine tunnels which make escape near-impossible. For anyone who isn't Hornet, anyway.
In Part 27 of our ever-expanding Hollow Knight: Silksong walkthrough, I'll talk you step by step through exactly where to go inside The Slab. With the Apostate Key you obtained from the top of Bilewater, you only have two more keys to collect (Indolent and Heretic); I'll show you where you find both of them, and how to discover every last Lost Flea, Mask Shard, and climactic boss fight in The Slab.
Want the walkthrough for a different area of the game? Check out our Hollow Knight: Silksong walkthrough hub!
The Slab walkthrough steps:
- Rescue the Flea above the Bellway Bench.
- Explore the lowest levels first.
- Meet the Old Penitent.
- Rescue the second Flea.
- Obtain The Slab map past the Bench.
- Retrieve the Indolent Key.
- Obtain the Mask Shard.
- Retrieve the Heretic Key.
- Defeat the First Sinner.
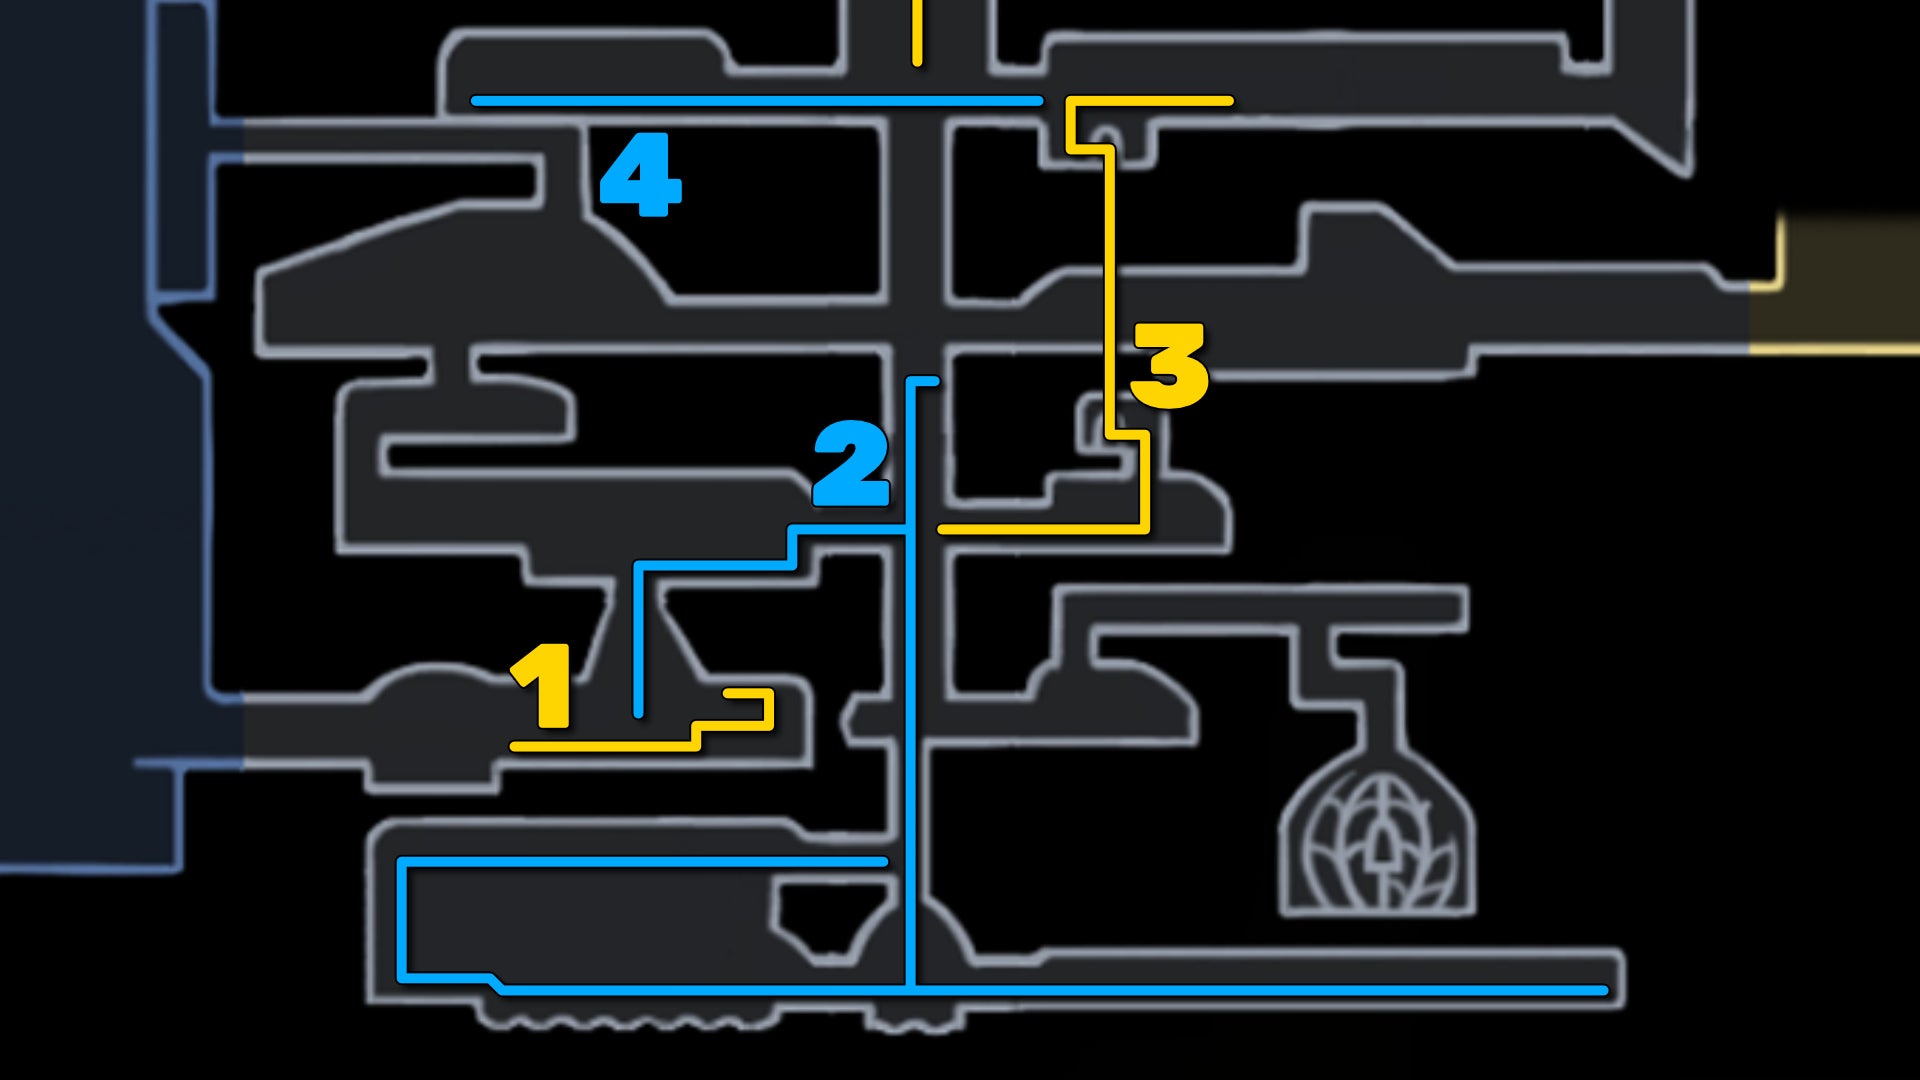
Note: This walkthrough assumes that you've entered The Slab during Act 2 by reaching it yourself, rather than by being captured by a Wardenfly. At a later time, I'll revisit this page and address exactly what to do to escape The Slab if you've been captured.
1. Rescue the Flea above the Bellway Bench.
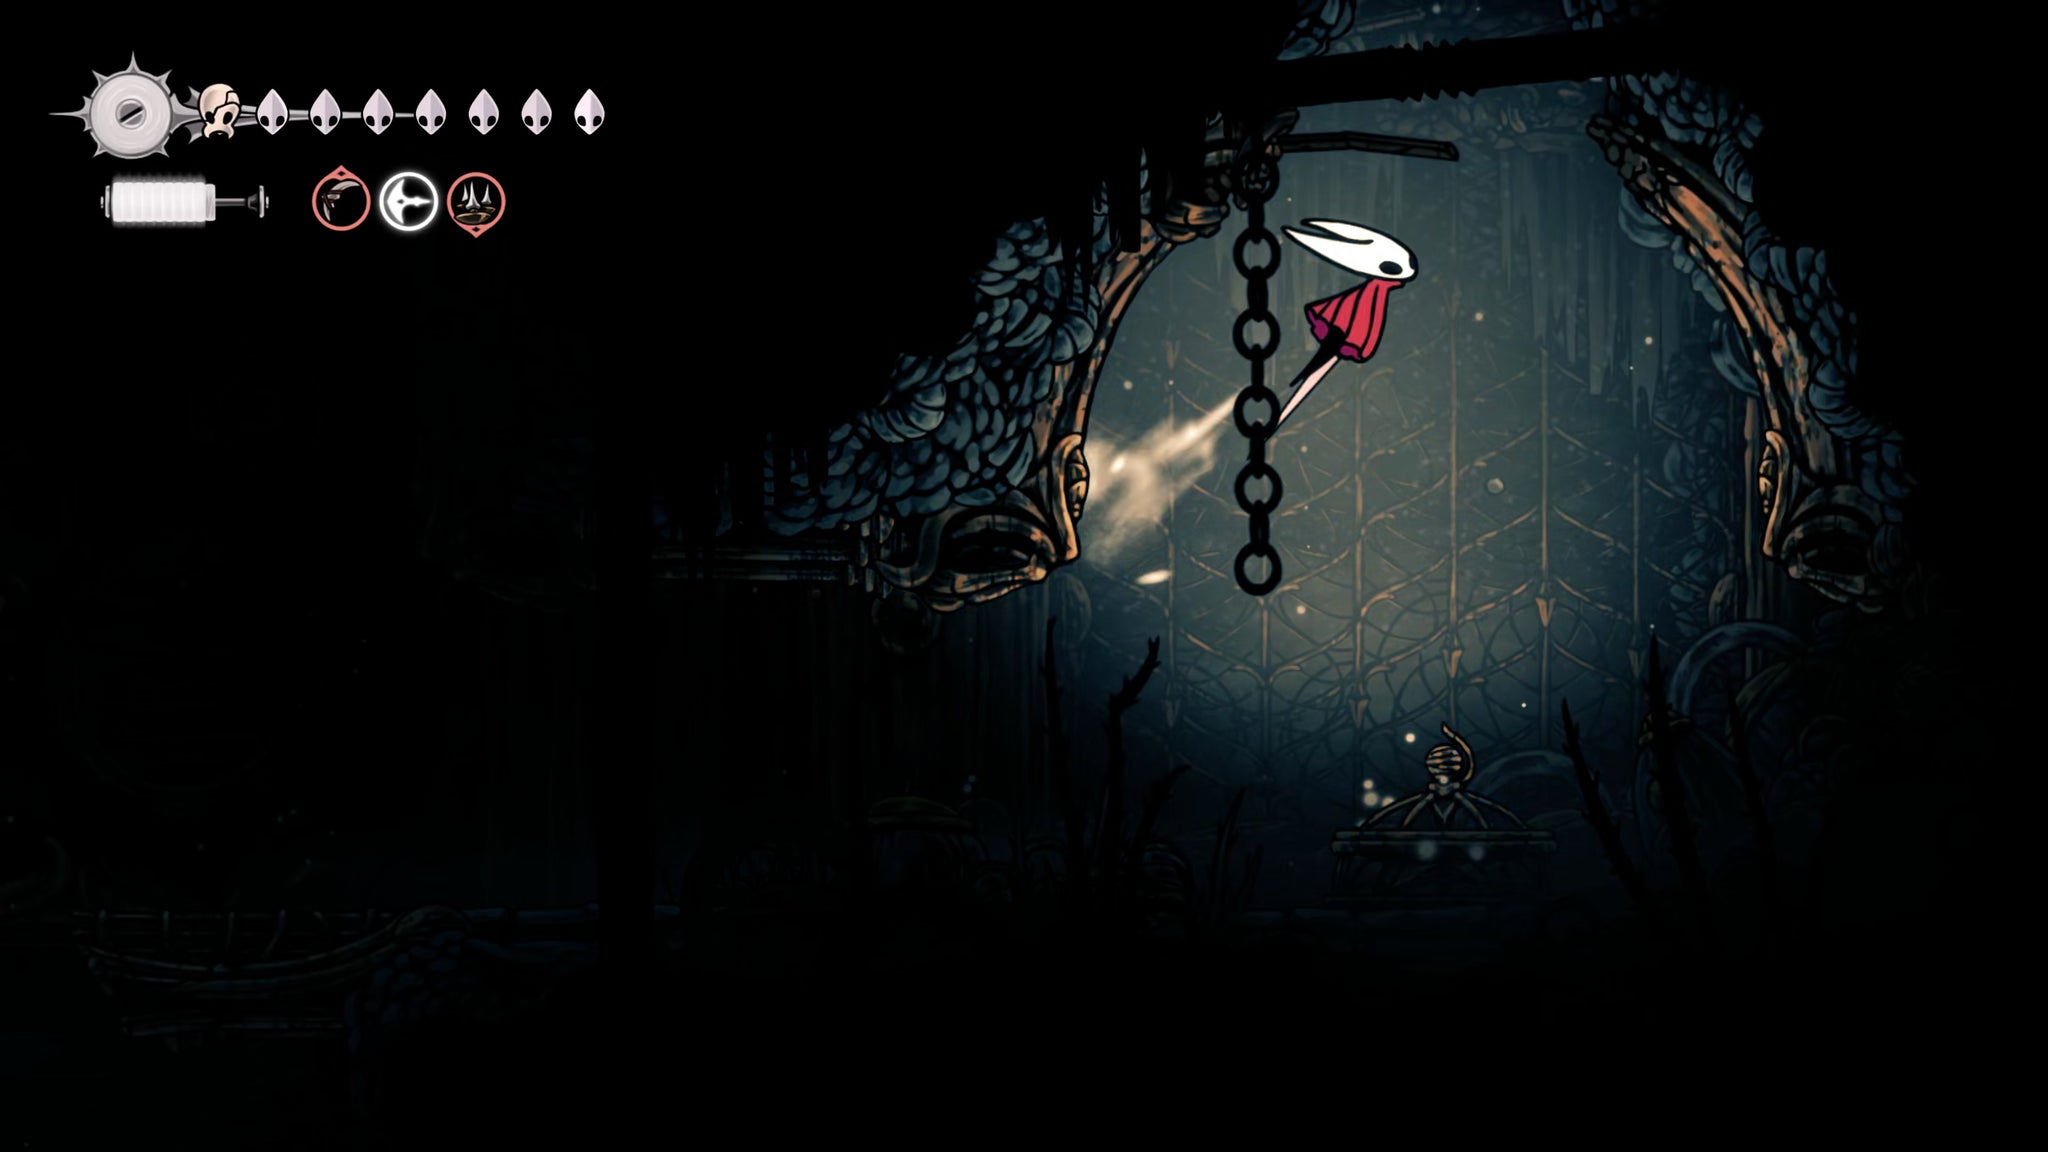

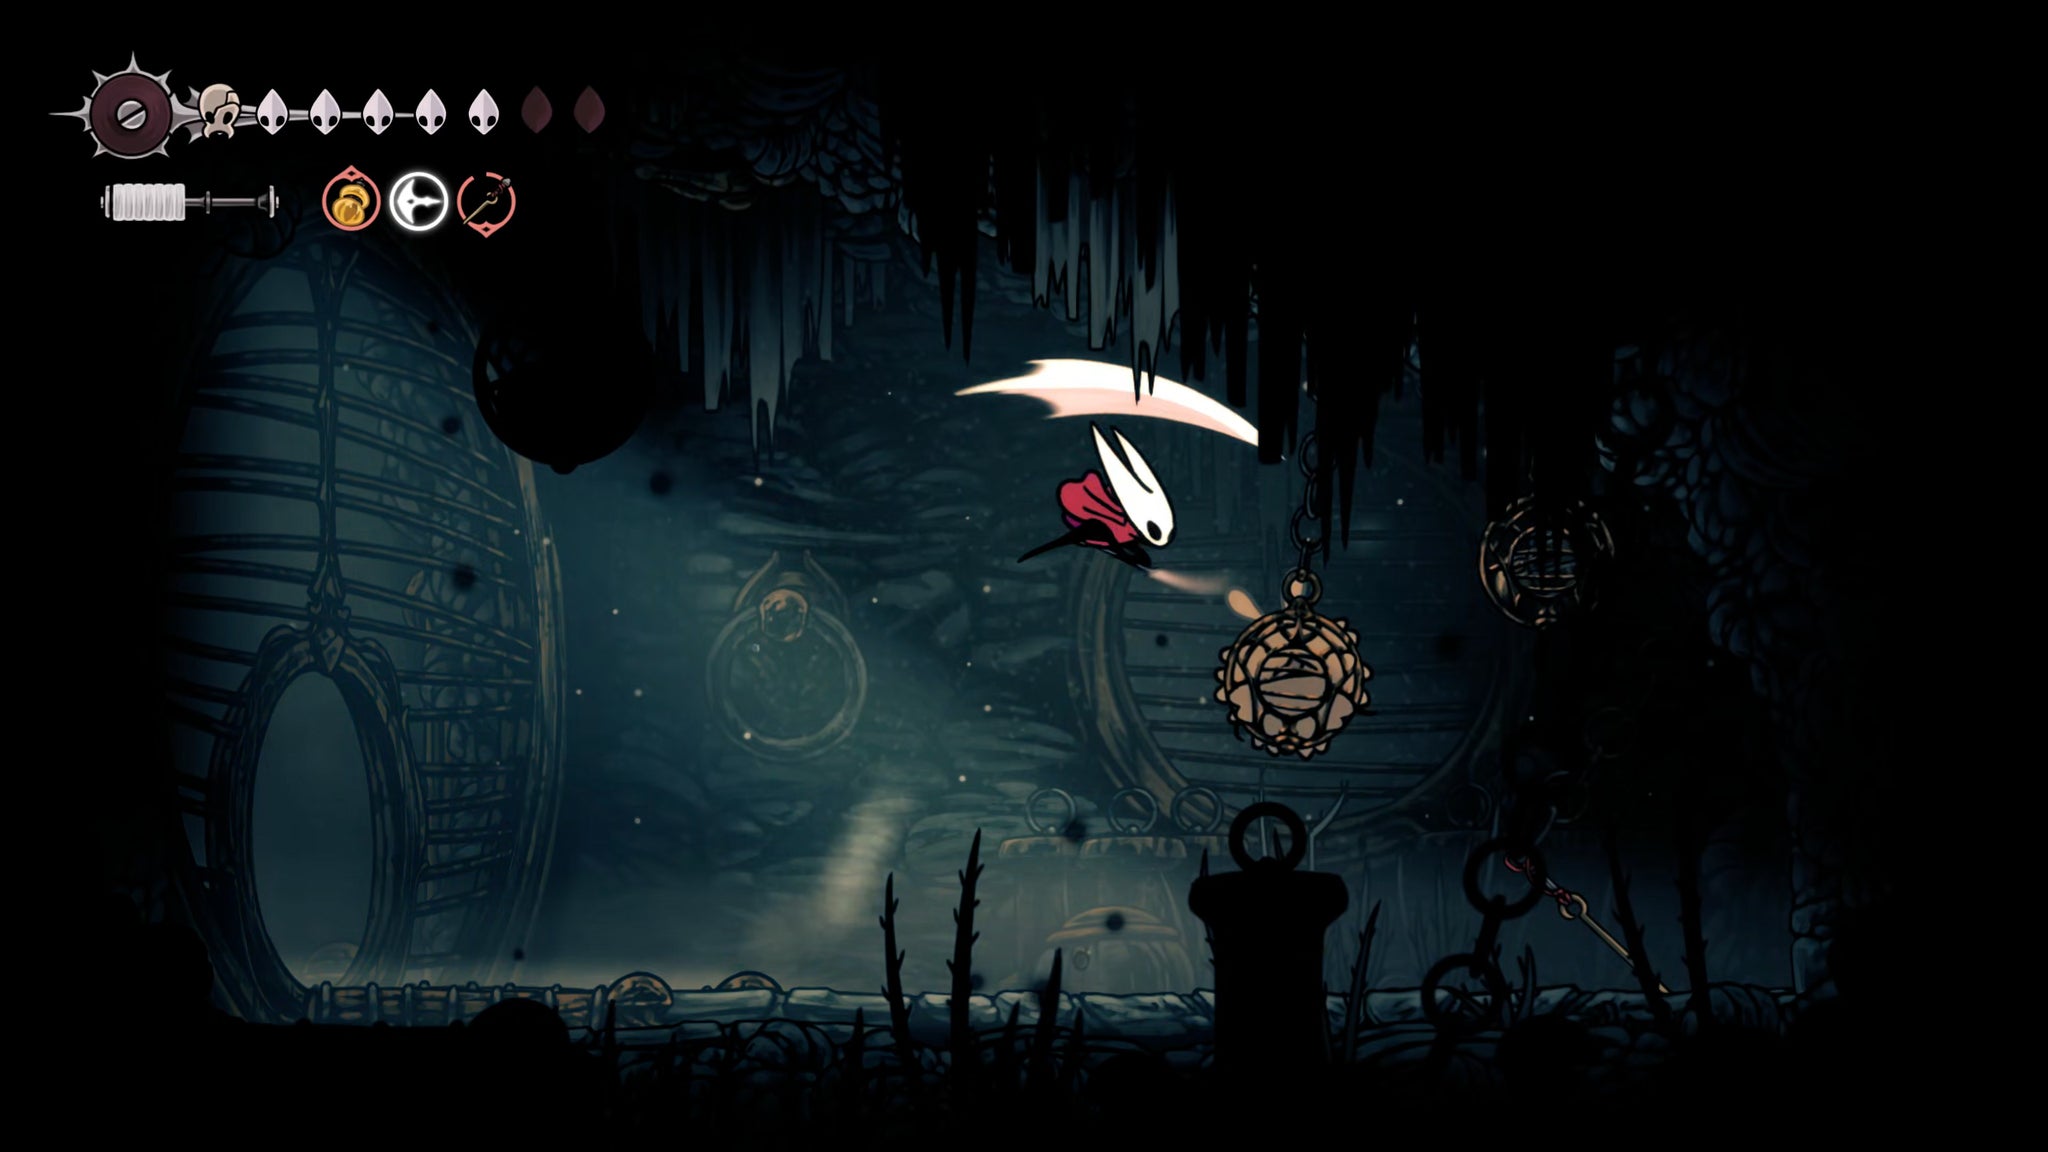
First thing's first: fast travel to The Slab Bellway, and head up to the right, to rest at the Bench. Before you move on, jump onto the left-hand wall above the Bench, and then double-jump up the hole in the ceiling to reach a platform with a Lost Flea. Attack the Flea to rescue it, then drop back down, filled with pride at your own altruism.
2. Explore the lowest levels first.
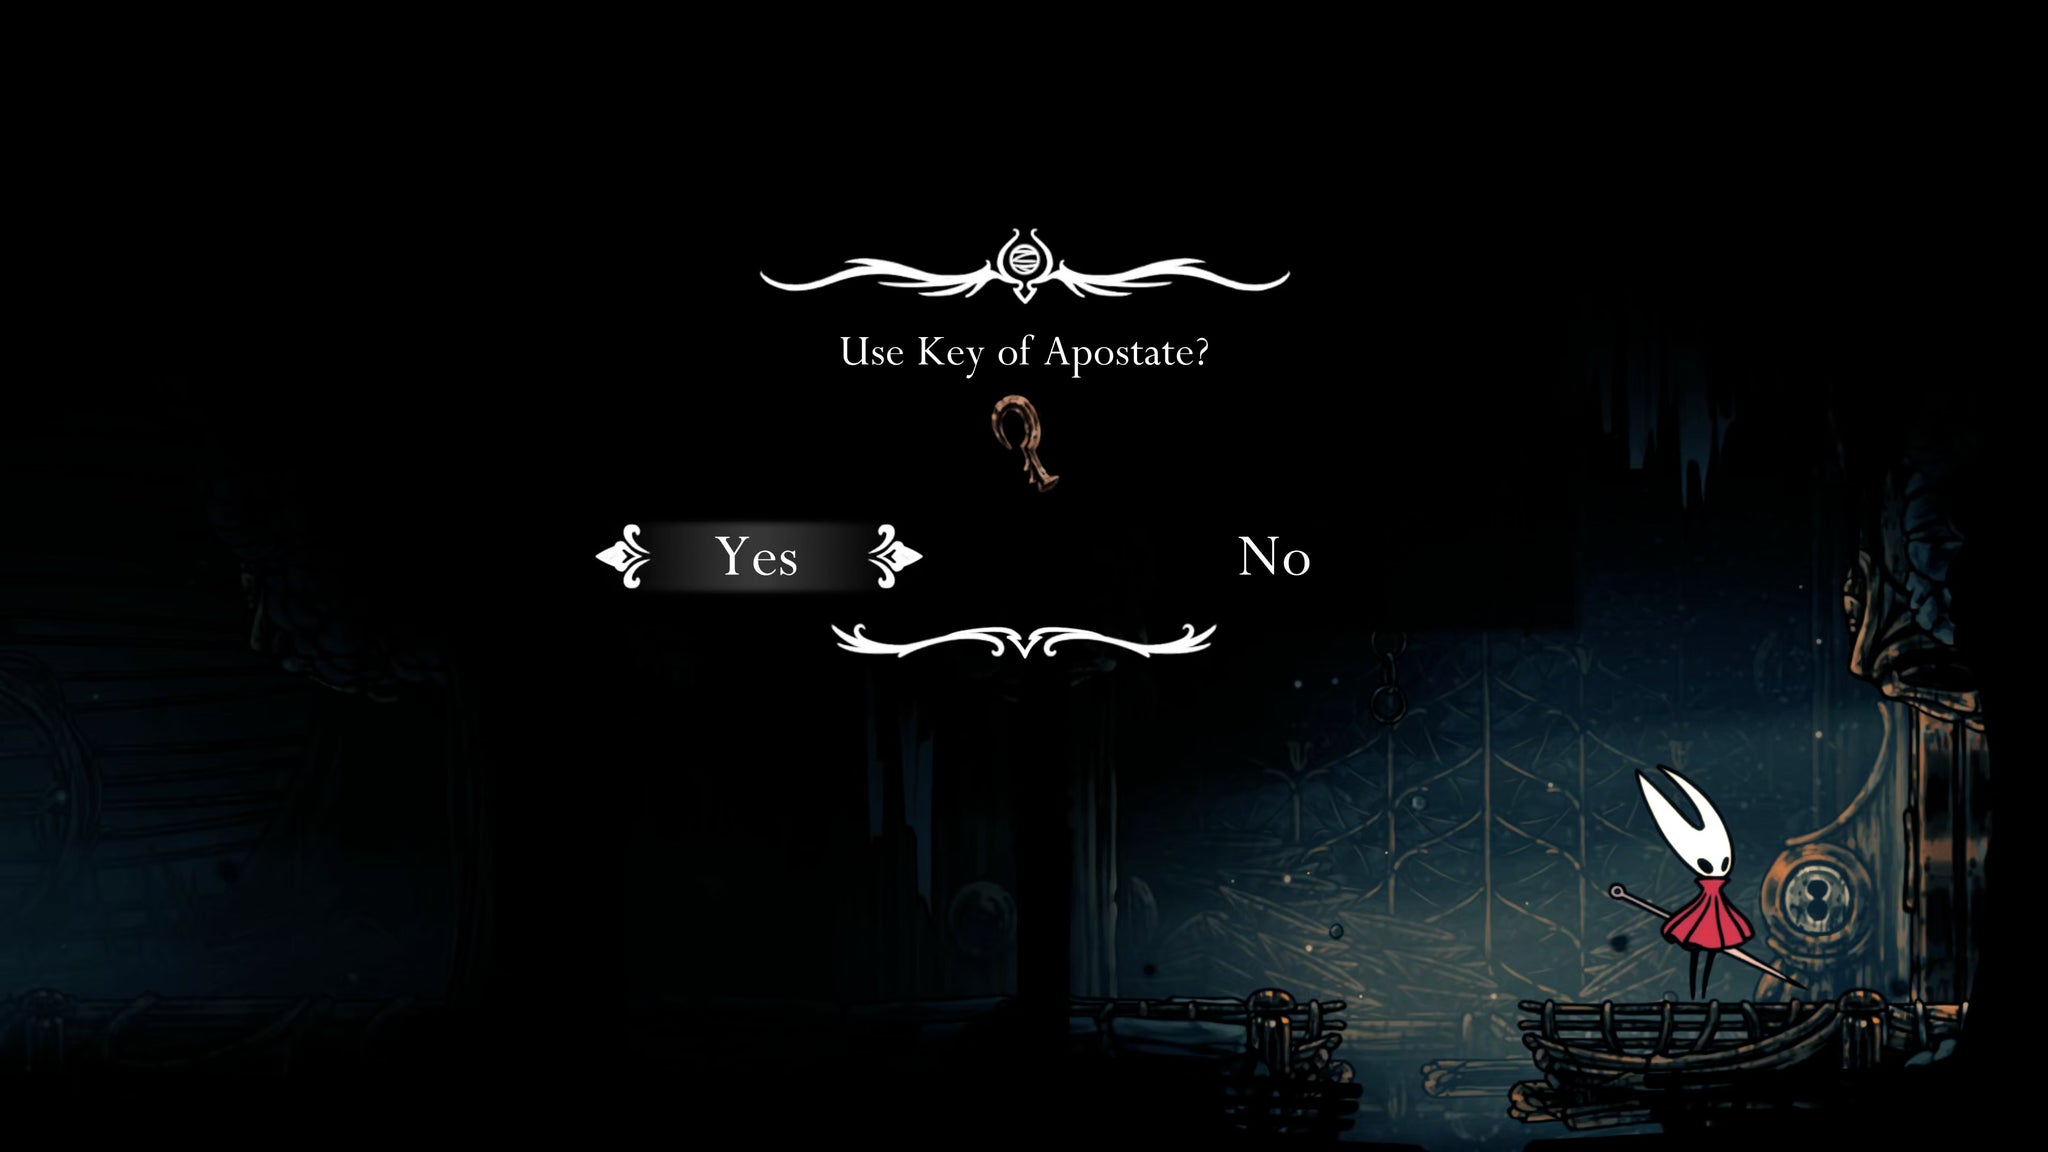

From the Bench, climb up into the room above. On the right is the locked door you passed by before, because you didn't have the right key. Well now you do! Use the Apostate Key to open the door, and pass through.
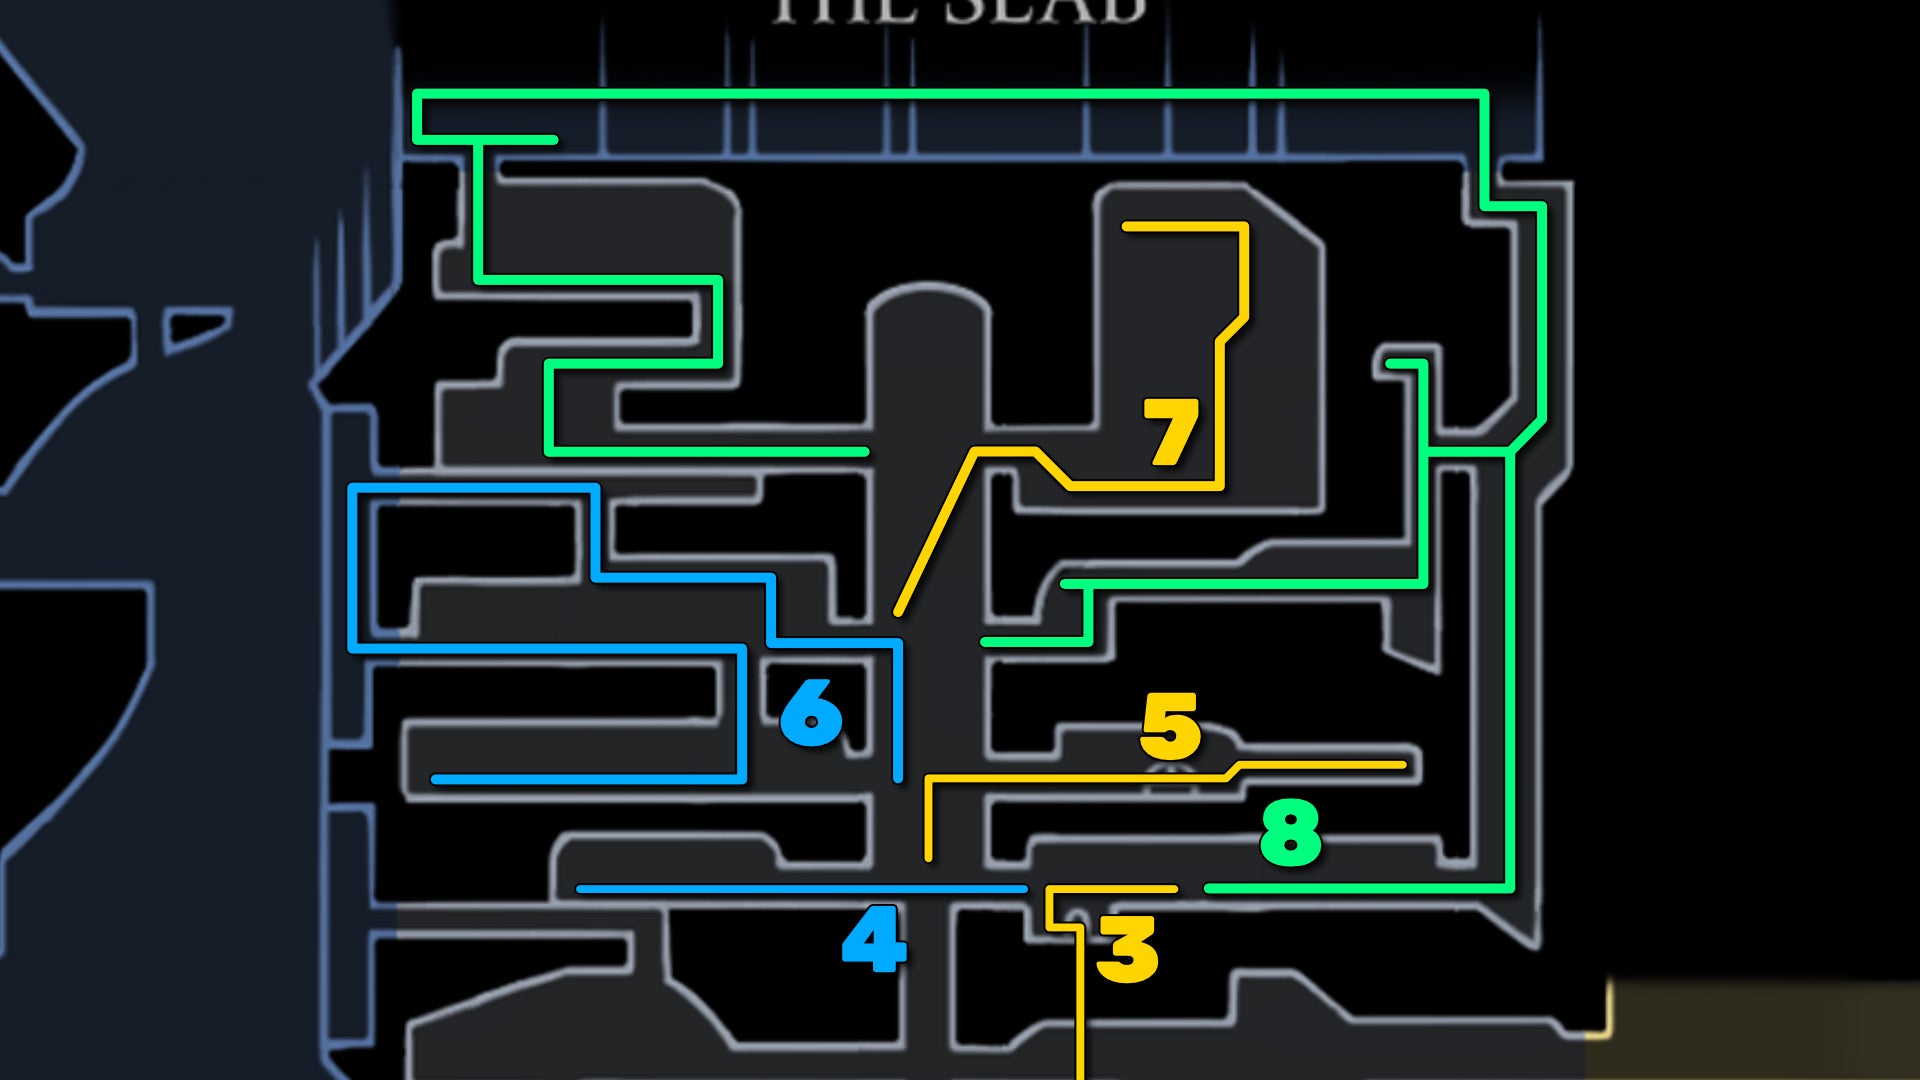
You're now in the central shaft that runs all the way through The Slab. Head up it and hit the lever at the top to open the trapdoor above. This leads into the corridor that got you to the Bellway in the first place, but you can't currently go any higher up.
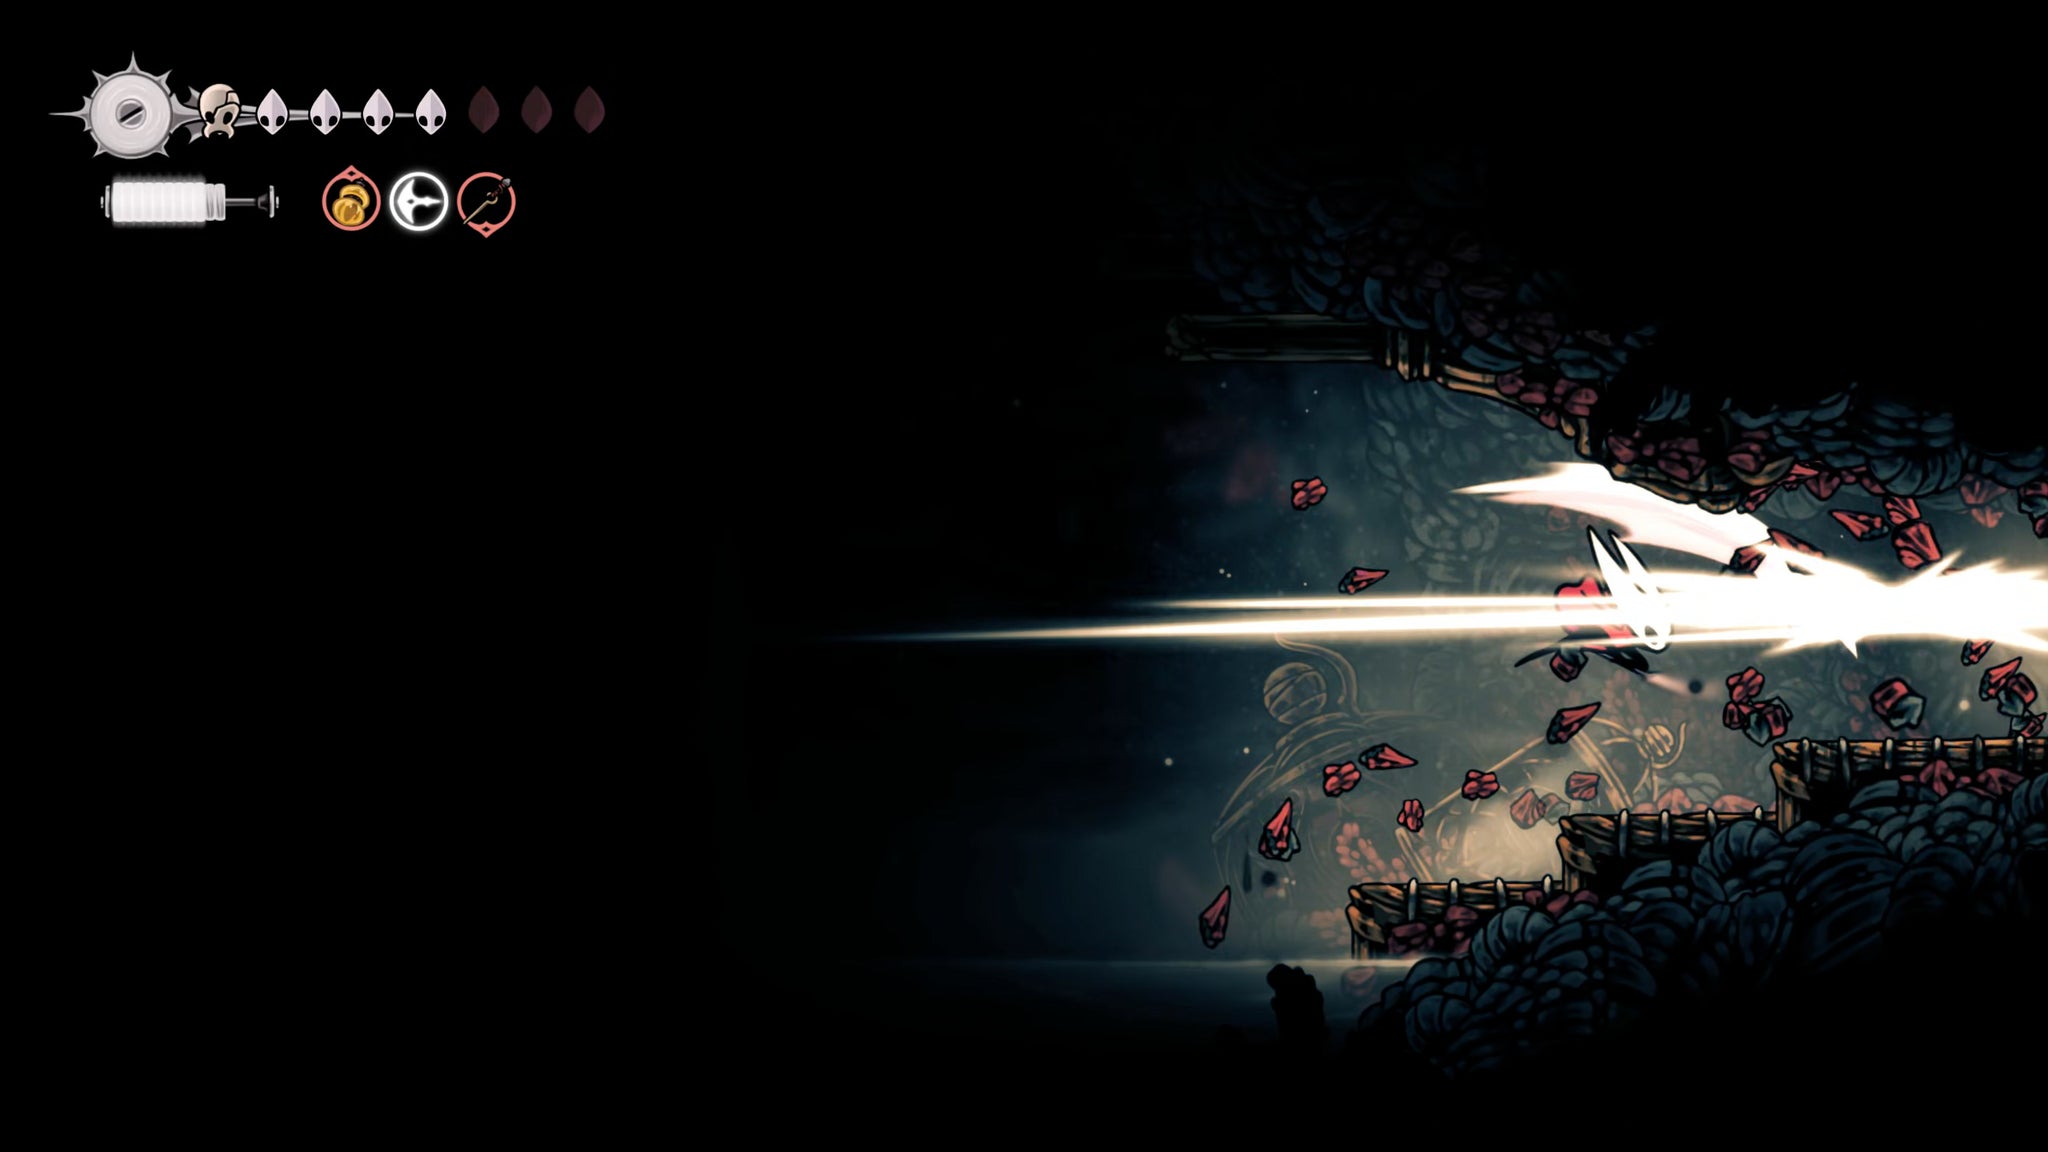

Drop back down to the very bottom of the shaft, and break the spiky wall on your right. Follow this path through a bunch more spiky walls, and you'll find a lovely view at the end, along with a Weaver Effigy to hand in to Scrounge next time you're in Bellhart.
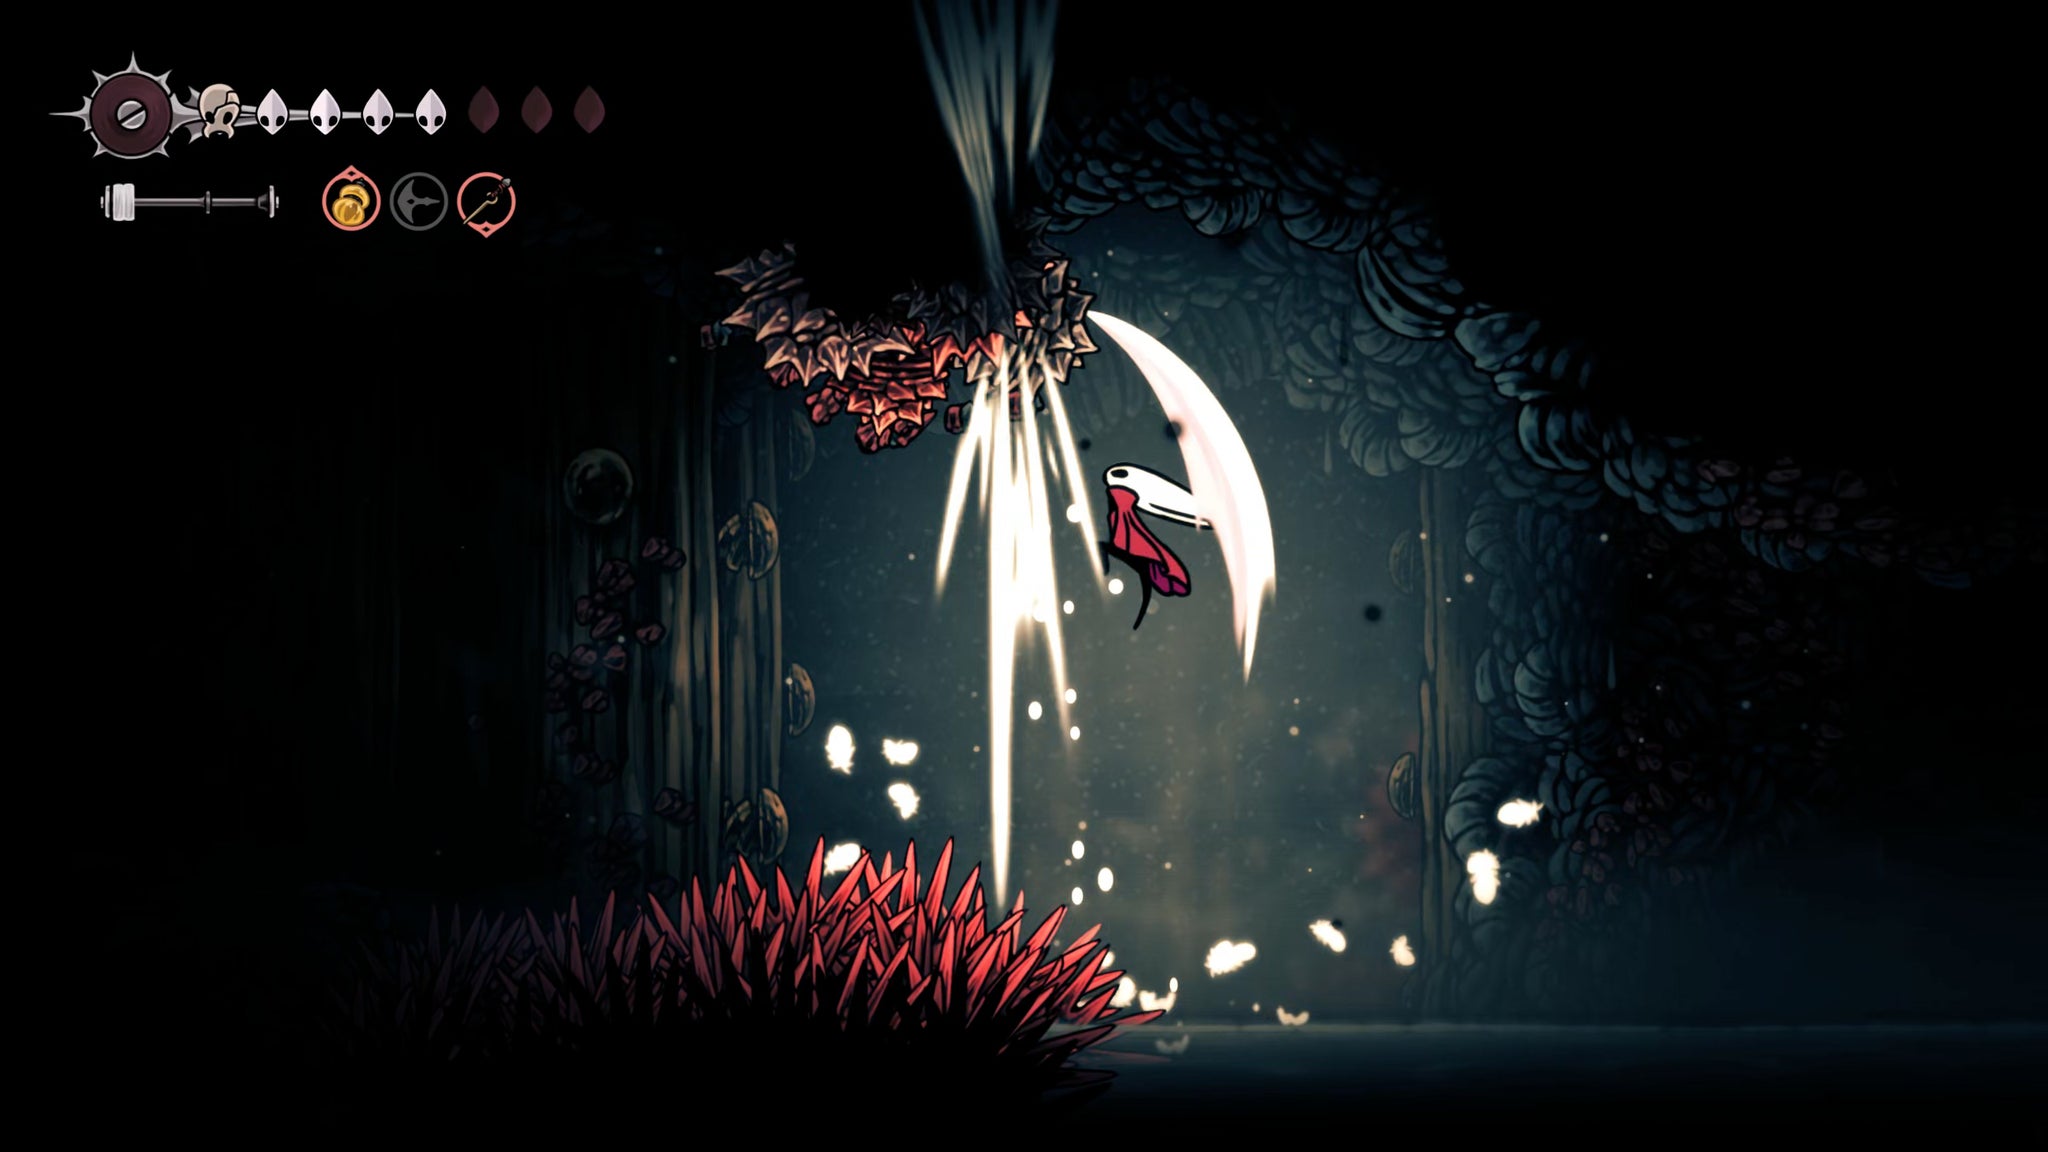

Now head back into the shaft and, if you like, take the left-hand route. There's not much point to this room except to explore it, as there's nothing here apart from a lot more of that spiky breakable stuff, and a couple of Snitchflies at the top waiting to pounce on you and part you with your Rosaries. Kill them both, then head out the right-hand passage and break the wall for a shortcut back into the main shaft.
3. Meet the Old Penitent.
Now it's time to explore the higher levels, which we can access via a secret passageway. Climb up to the right-hand exit just below where you hit the lever. In this room there appears to be nothing but a couple of plaques for some lore, but double-jump up into the hole in the ceiling to the left of the large spirit-filled light, and follow the path for a secret passageway through a cave.
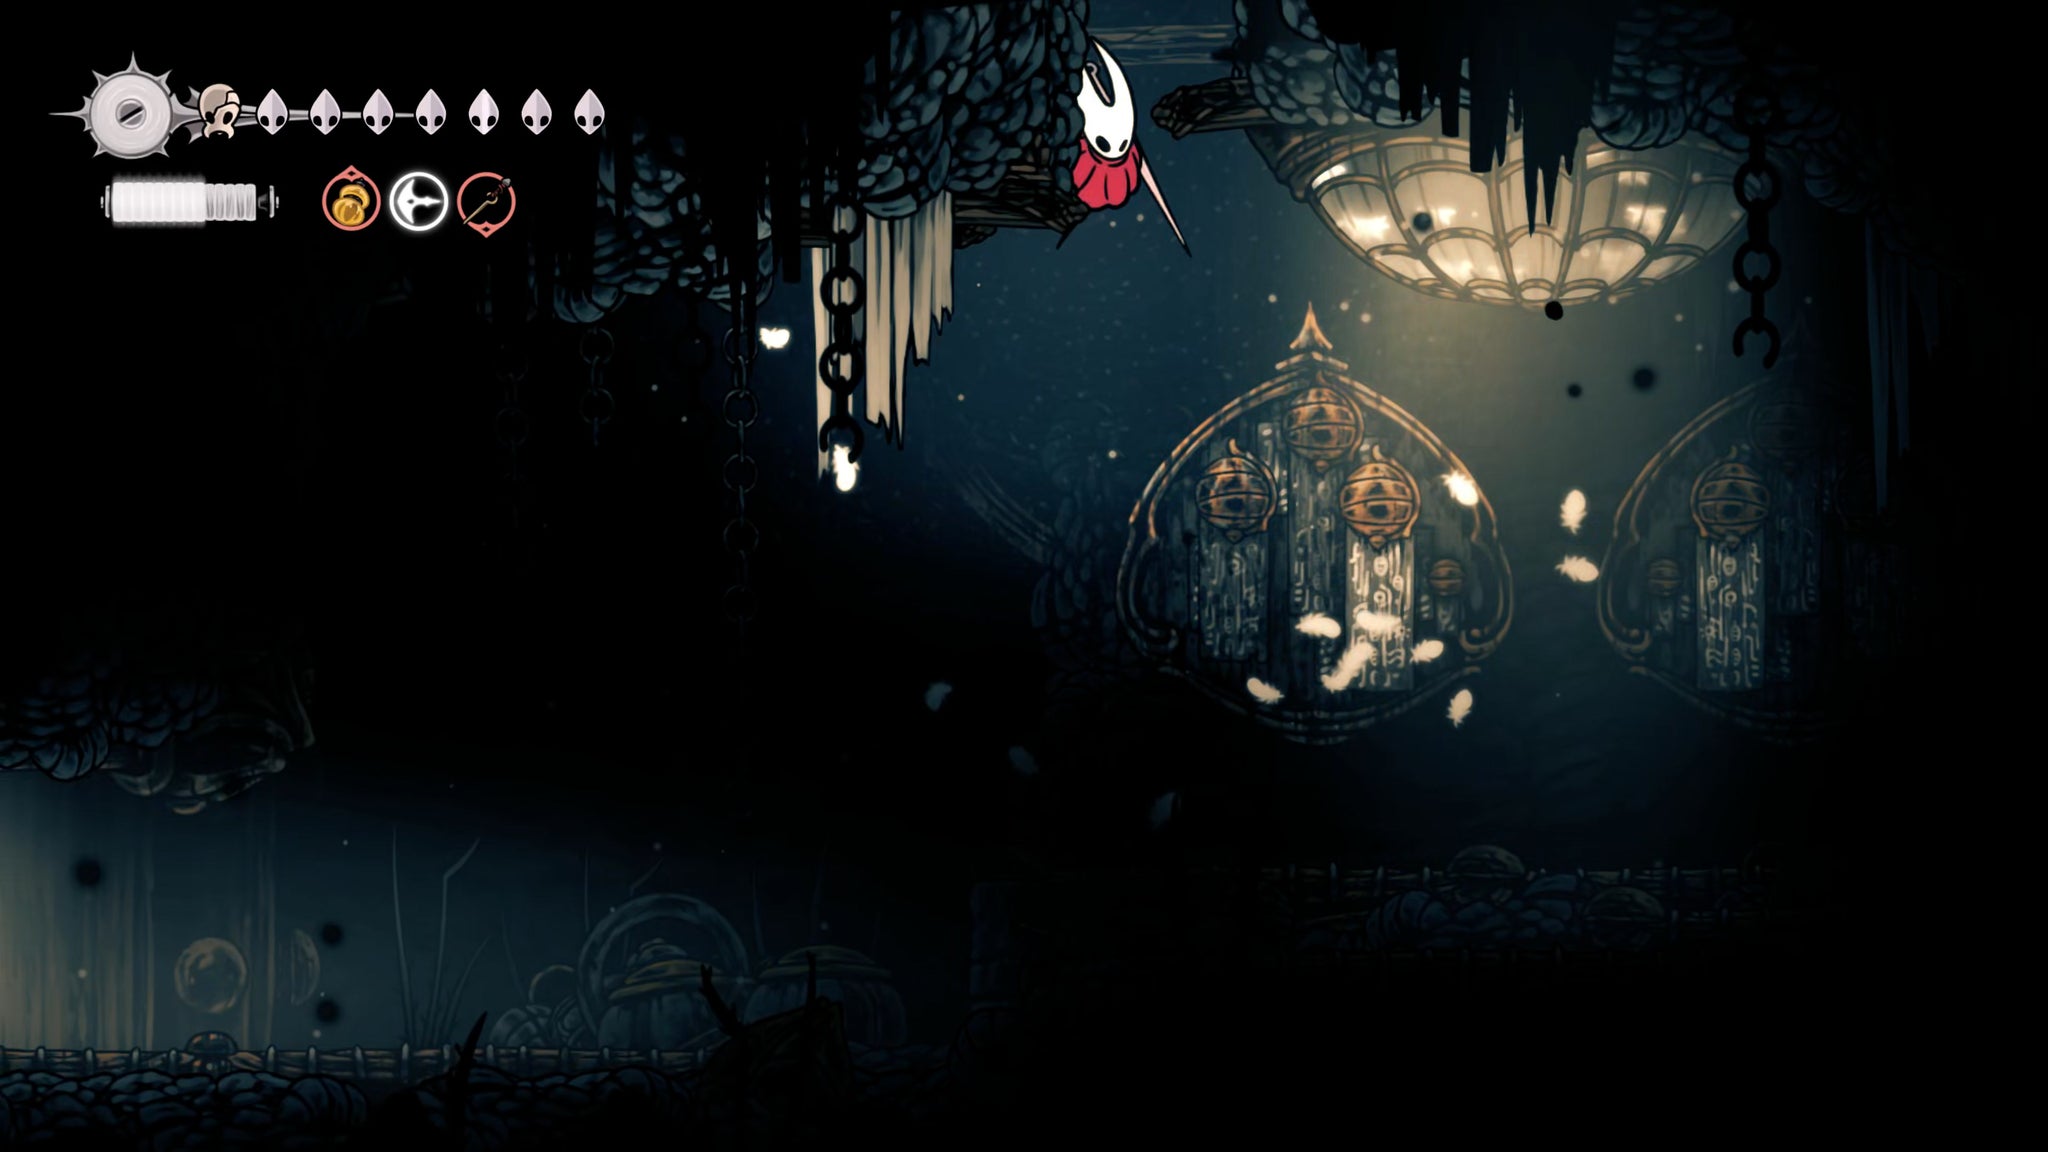

Once you're inside the cave, be prepared for falling boulders - but otherwise there are no enemies. Partway up the shaft you'll see a fairly obvious section of breakable stone wall. Break through it to find a pilgrim's body, which you can loot for a Memory Locket.

Then head up to the top of the cave and exit it. In the next room, hop up and head to the right. Just before you reach the locked door (this time one that requires a different key to what you have), there's a circular building entryway. Head into it, then stand towards the right-hand side of the room and play your Needolin. This will prompt the appearance of an NPC - the Old Penitent.
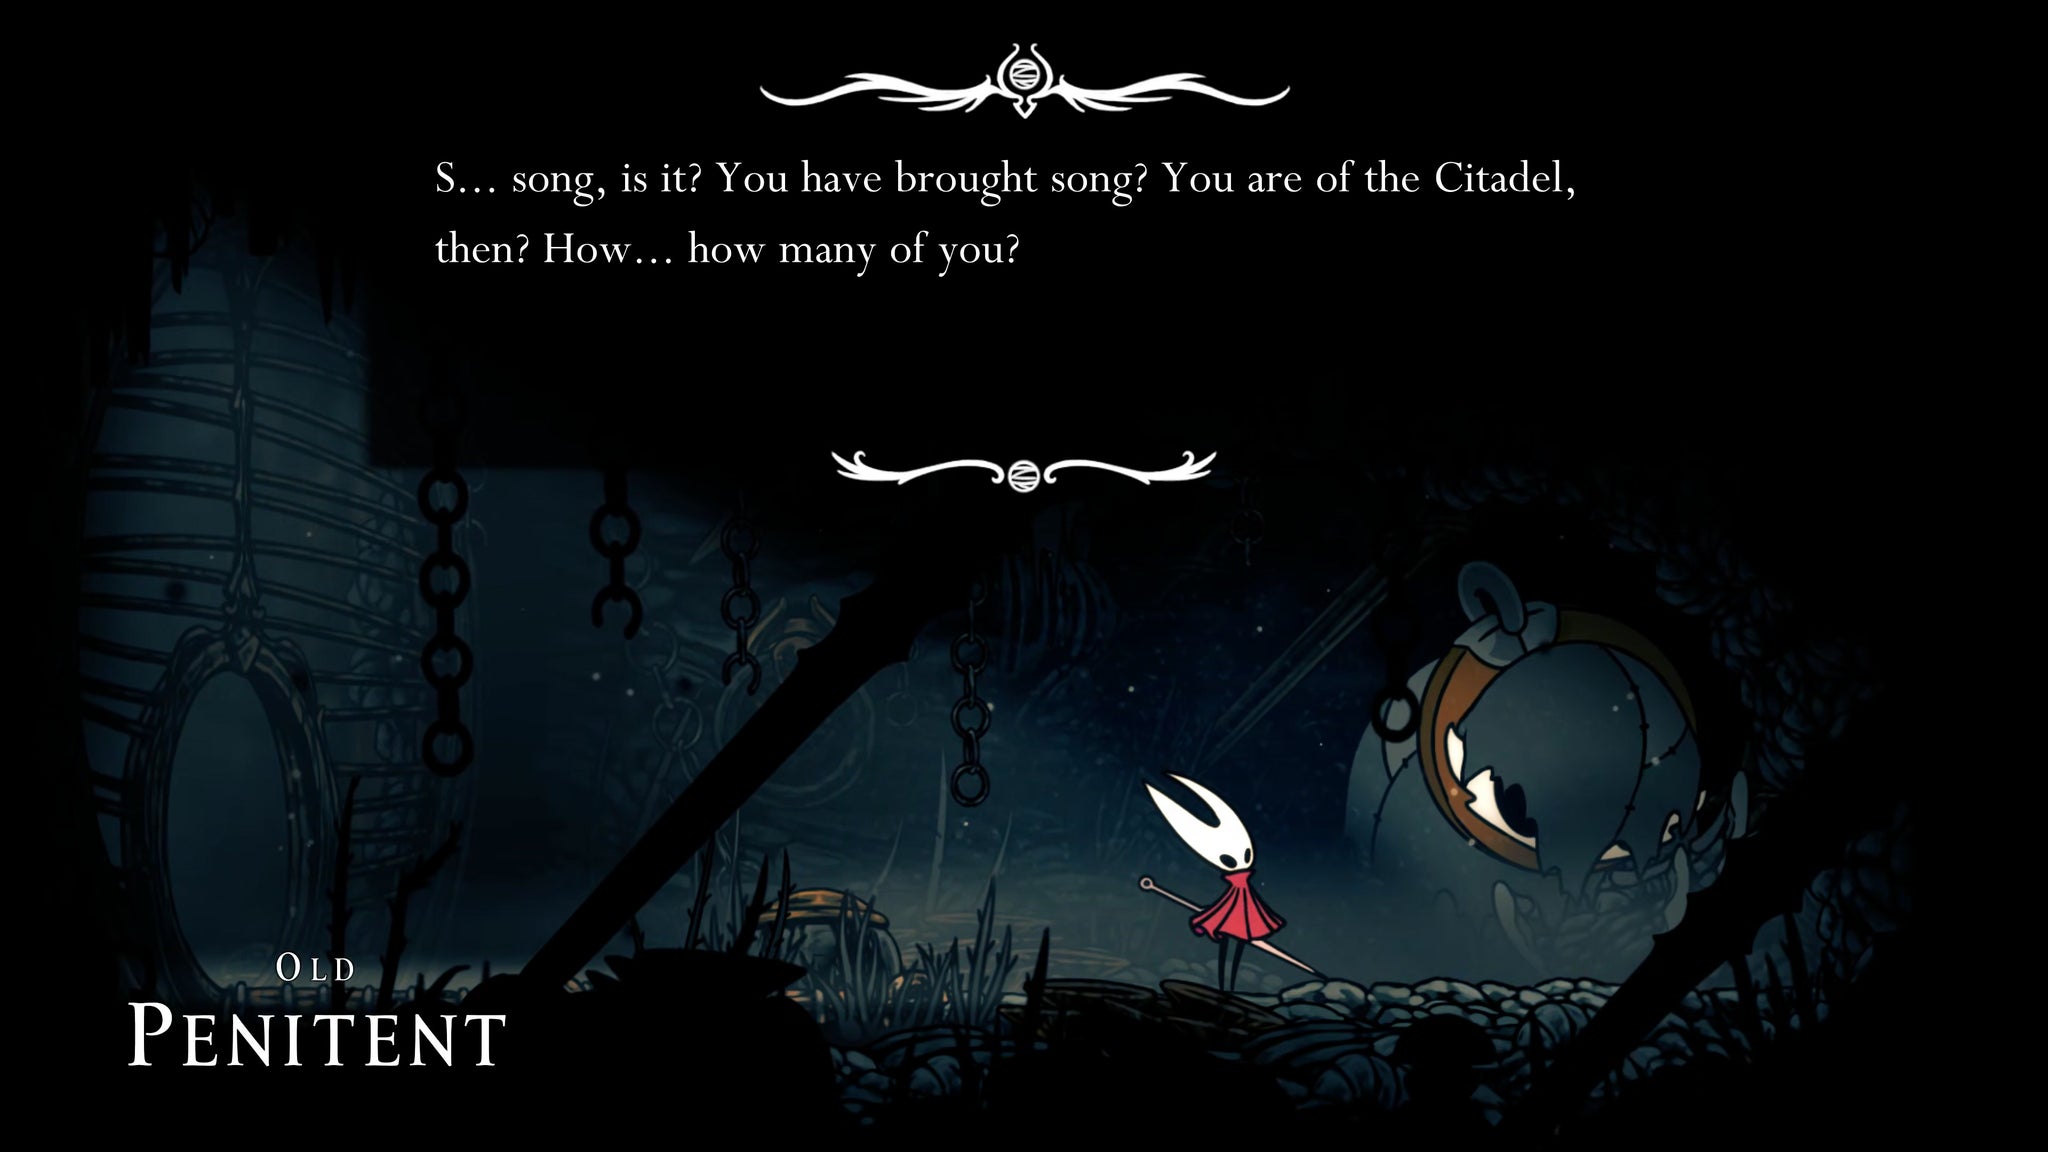
Exhaust the Old Penitent's dialogue for some lore about The Slab and the Citadel, and then head out of his cell and exit to the left.
4. Rescue the second Flea.
Now you're on top of the trapdoor that previously stopped you getting higher. There's a keyhole that obviously unlocks the trapdoor, but you can't unlock it yet, so just head over to the room on your left.
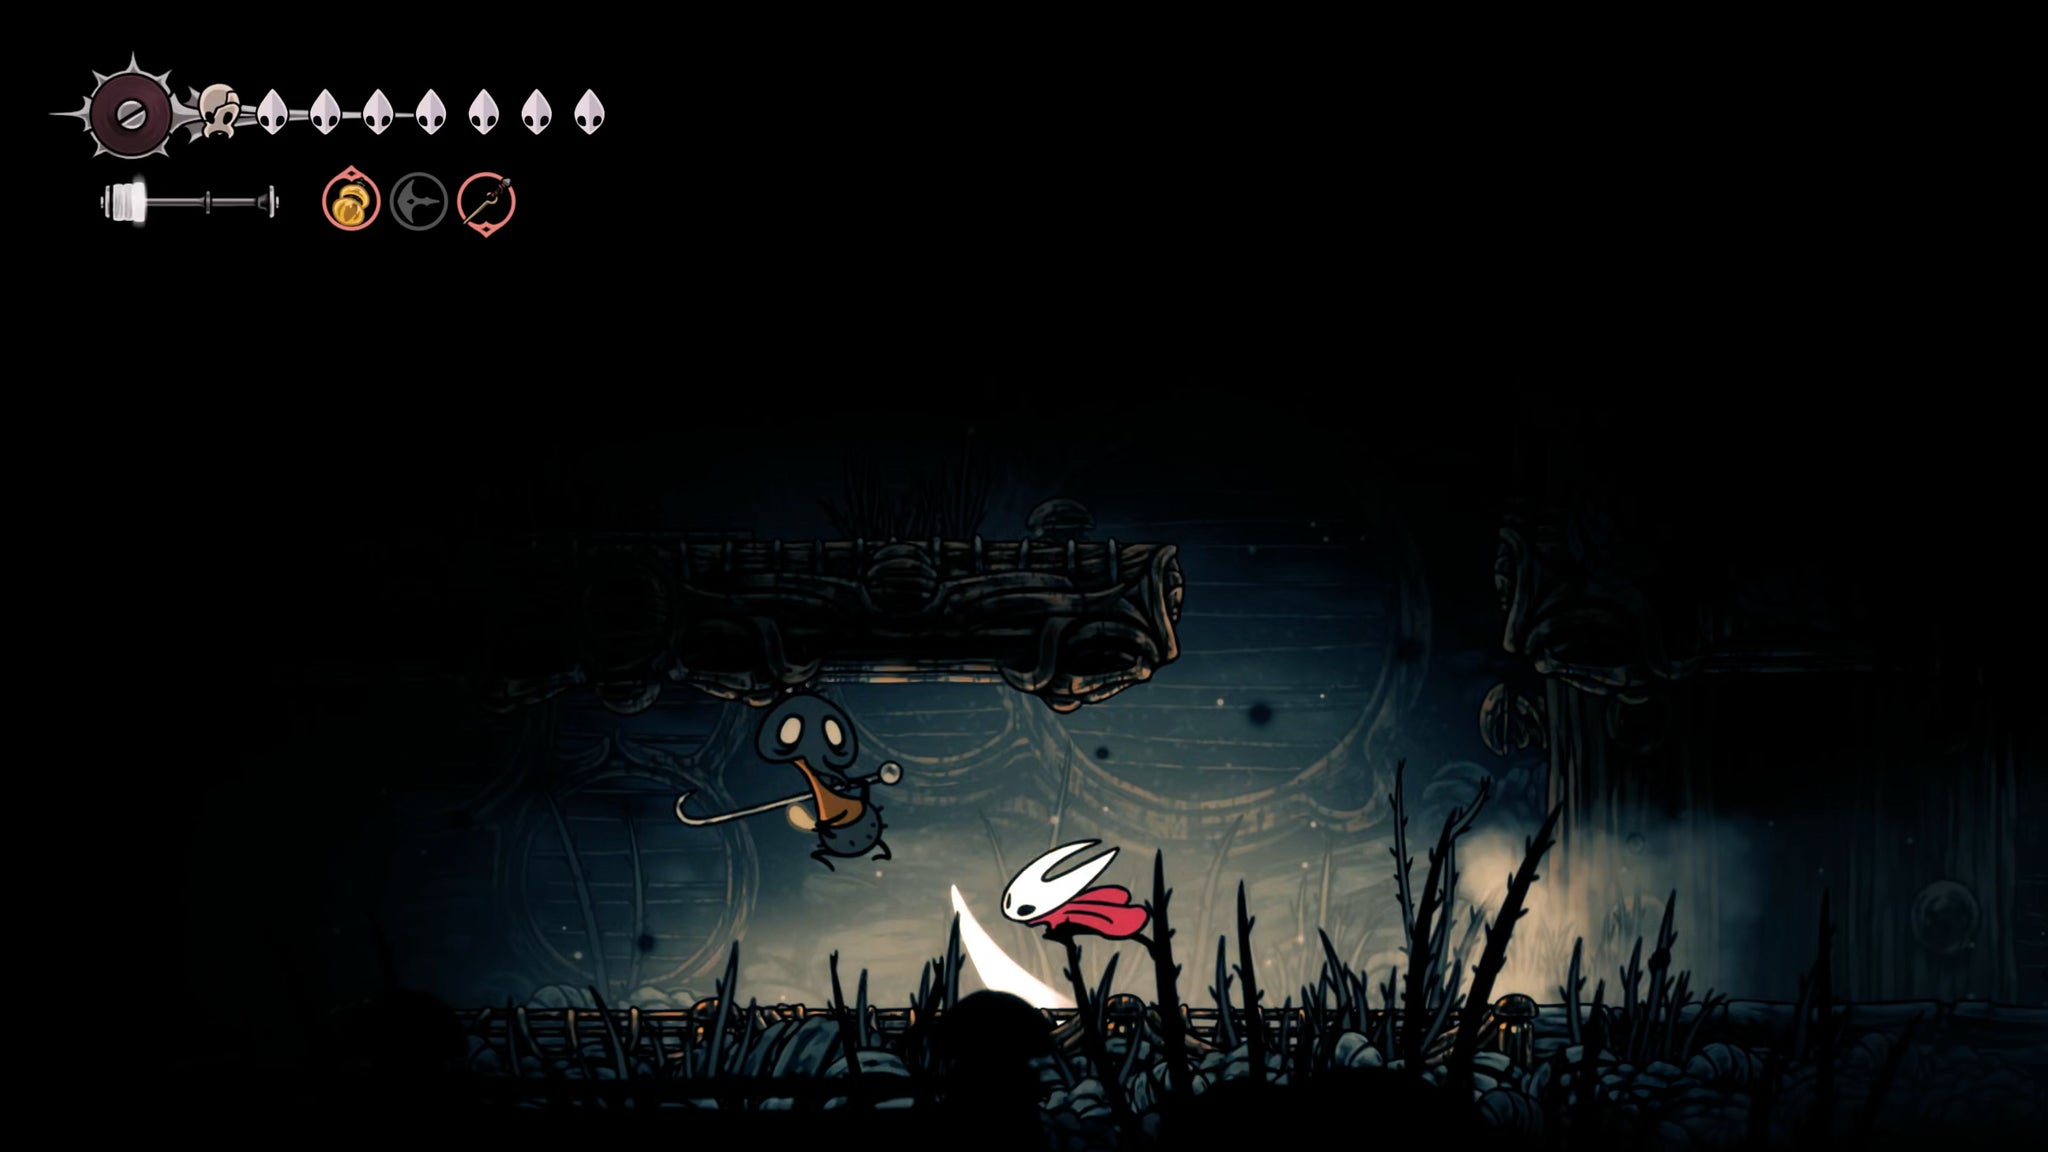
A short distance into this room is a Guardfly for you to kill. After that, head to the left, and watch out for the well-concealed pressure plate traps on the floor. Enter the cell at the end of the path, and you'll find another Flea, trapped in a tiny cage. Break the cage to free the Flea, and then backtrack into the main shaft.
5. Obtain The Slab map past the Bench.
Back in the shaft, climb up to the ledge with the Guardfly on it, and from there, take the door on your right (if you take the left doorway you'll just find another locked door for now).
Inside this room, you'll find another Bench. How nice!
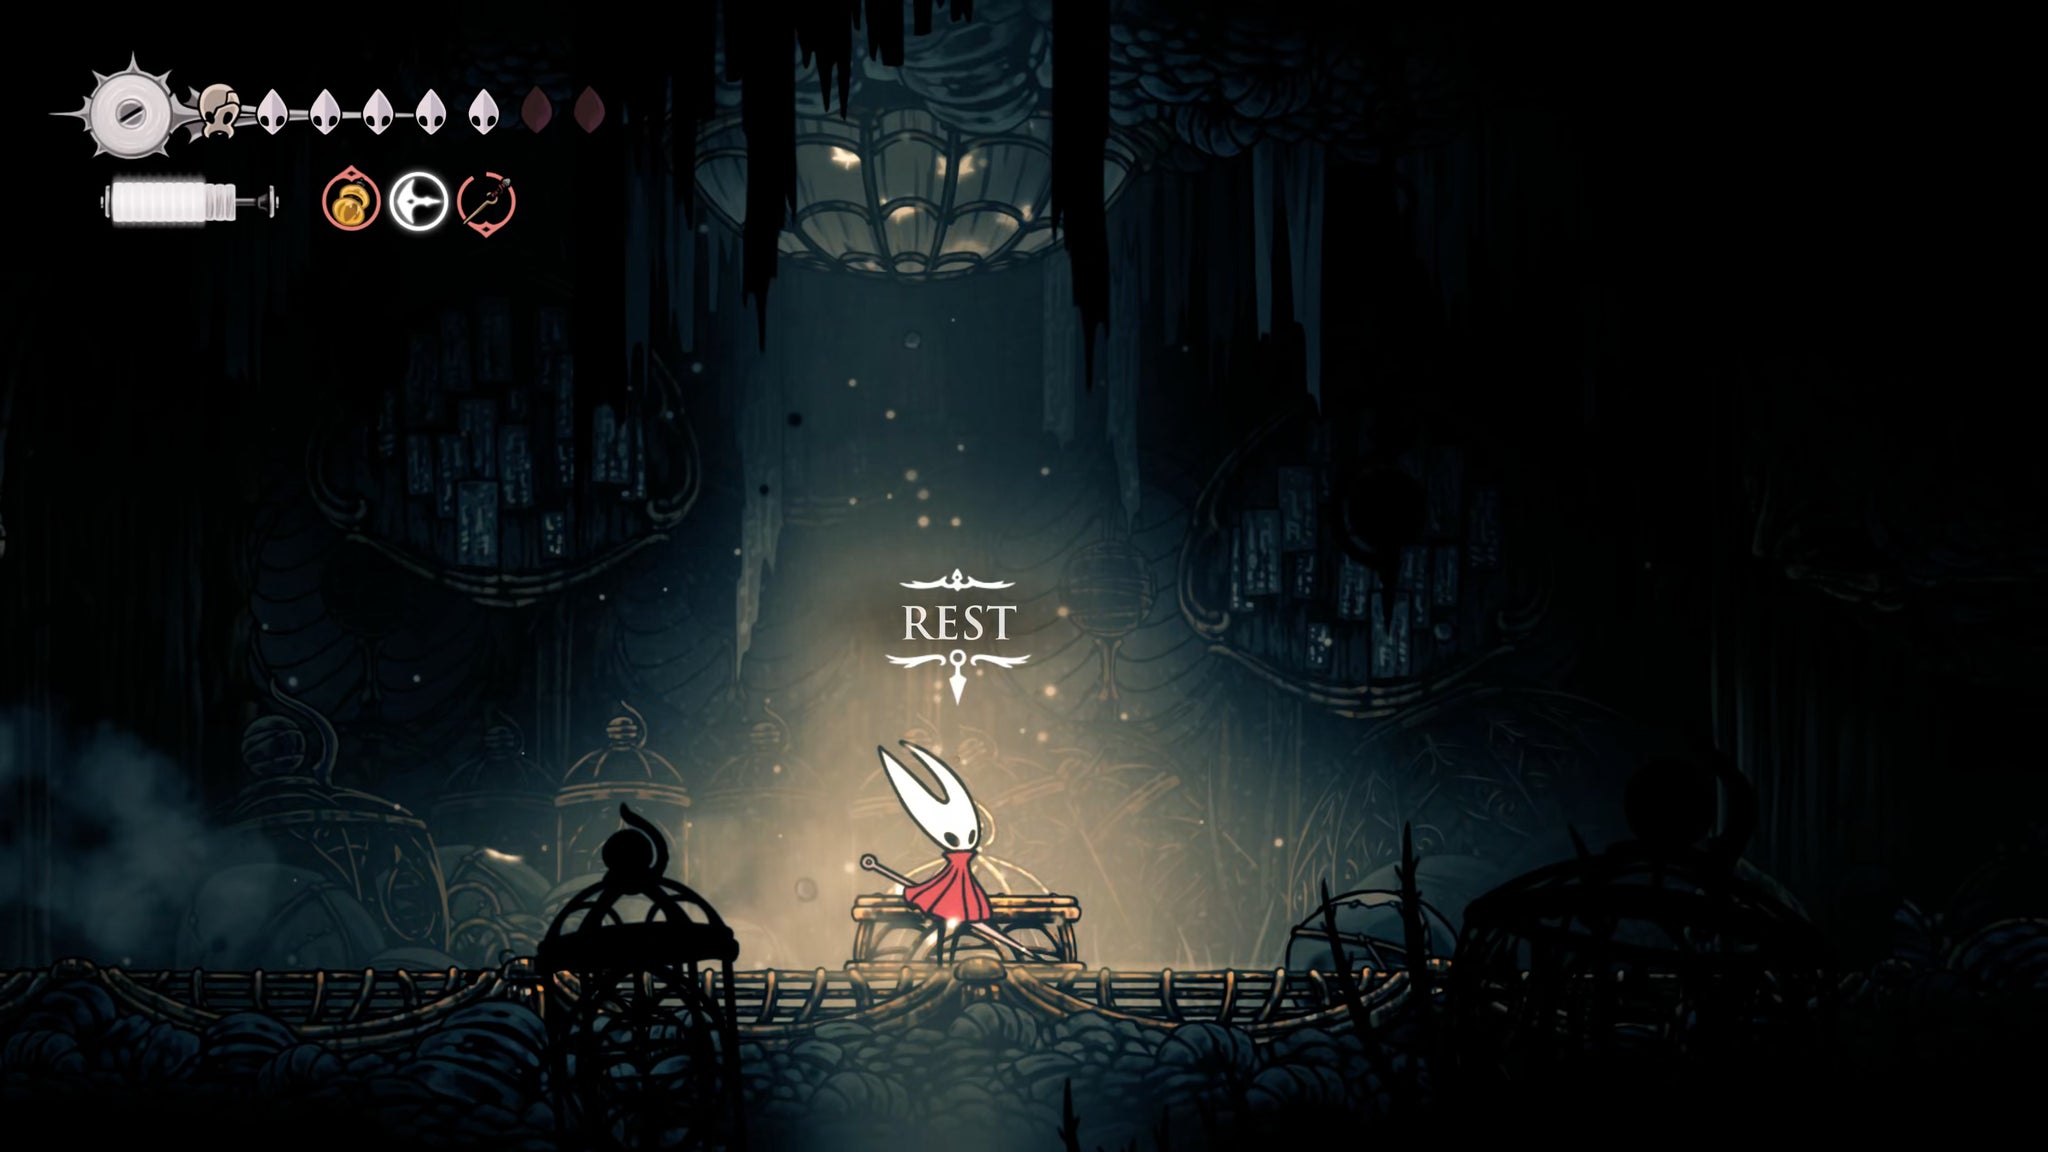
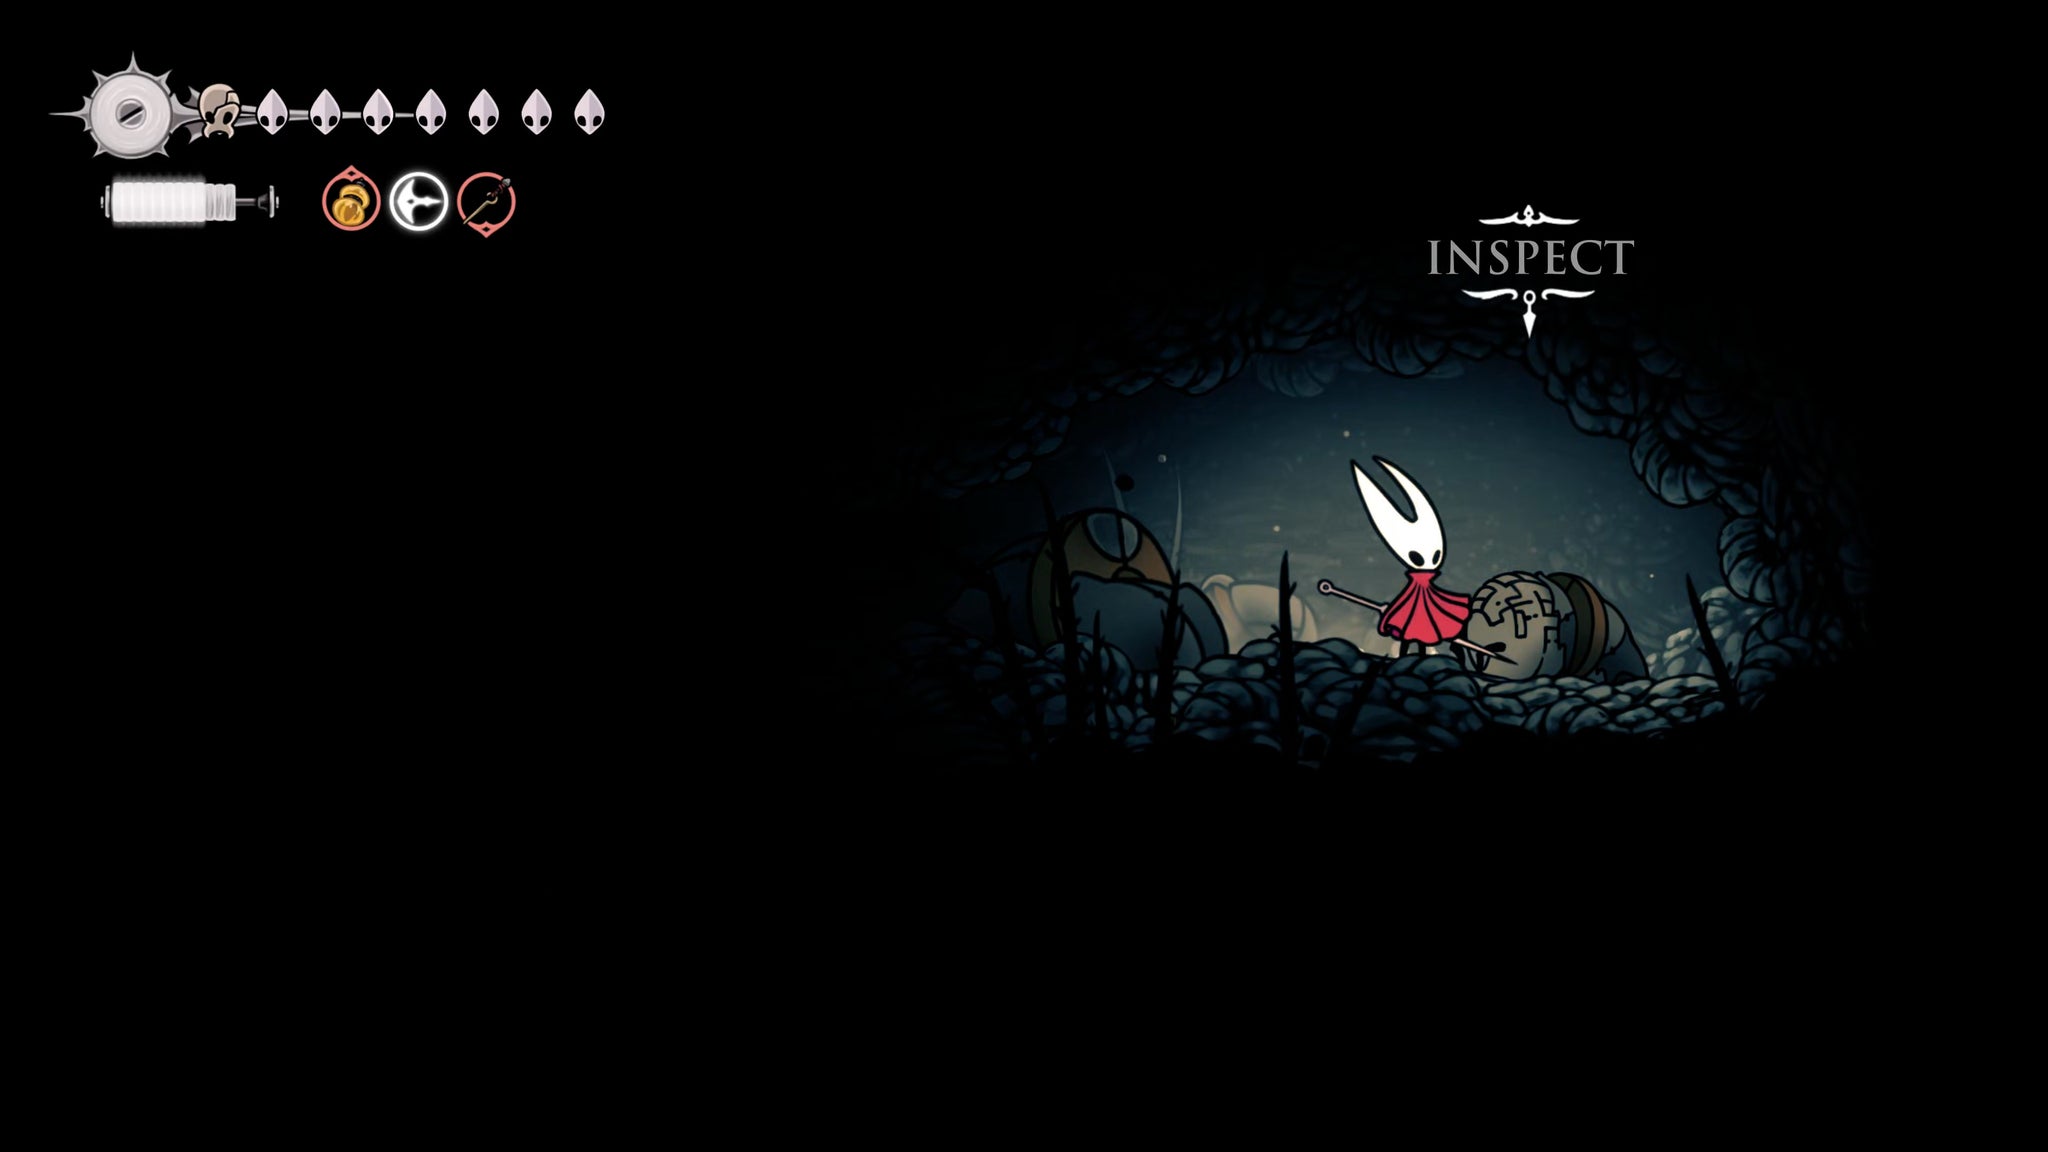
Head past the Bench after resting at it, and hop up into the right-hand wall to reveal a short secret passage. The only thing in this passage is right at the end - a dead husk you can inspect (which here, delightfully, means ripping off its tattooed scalp) to receive a map of The Slab.
6. Retrieve the Indolent Key.
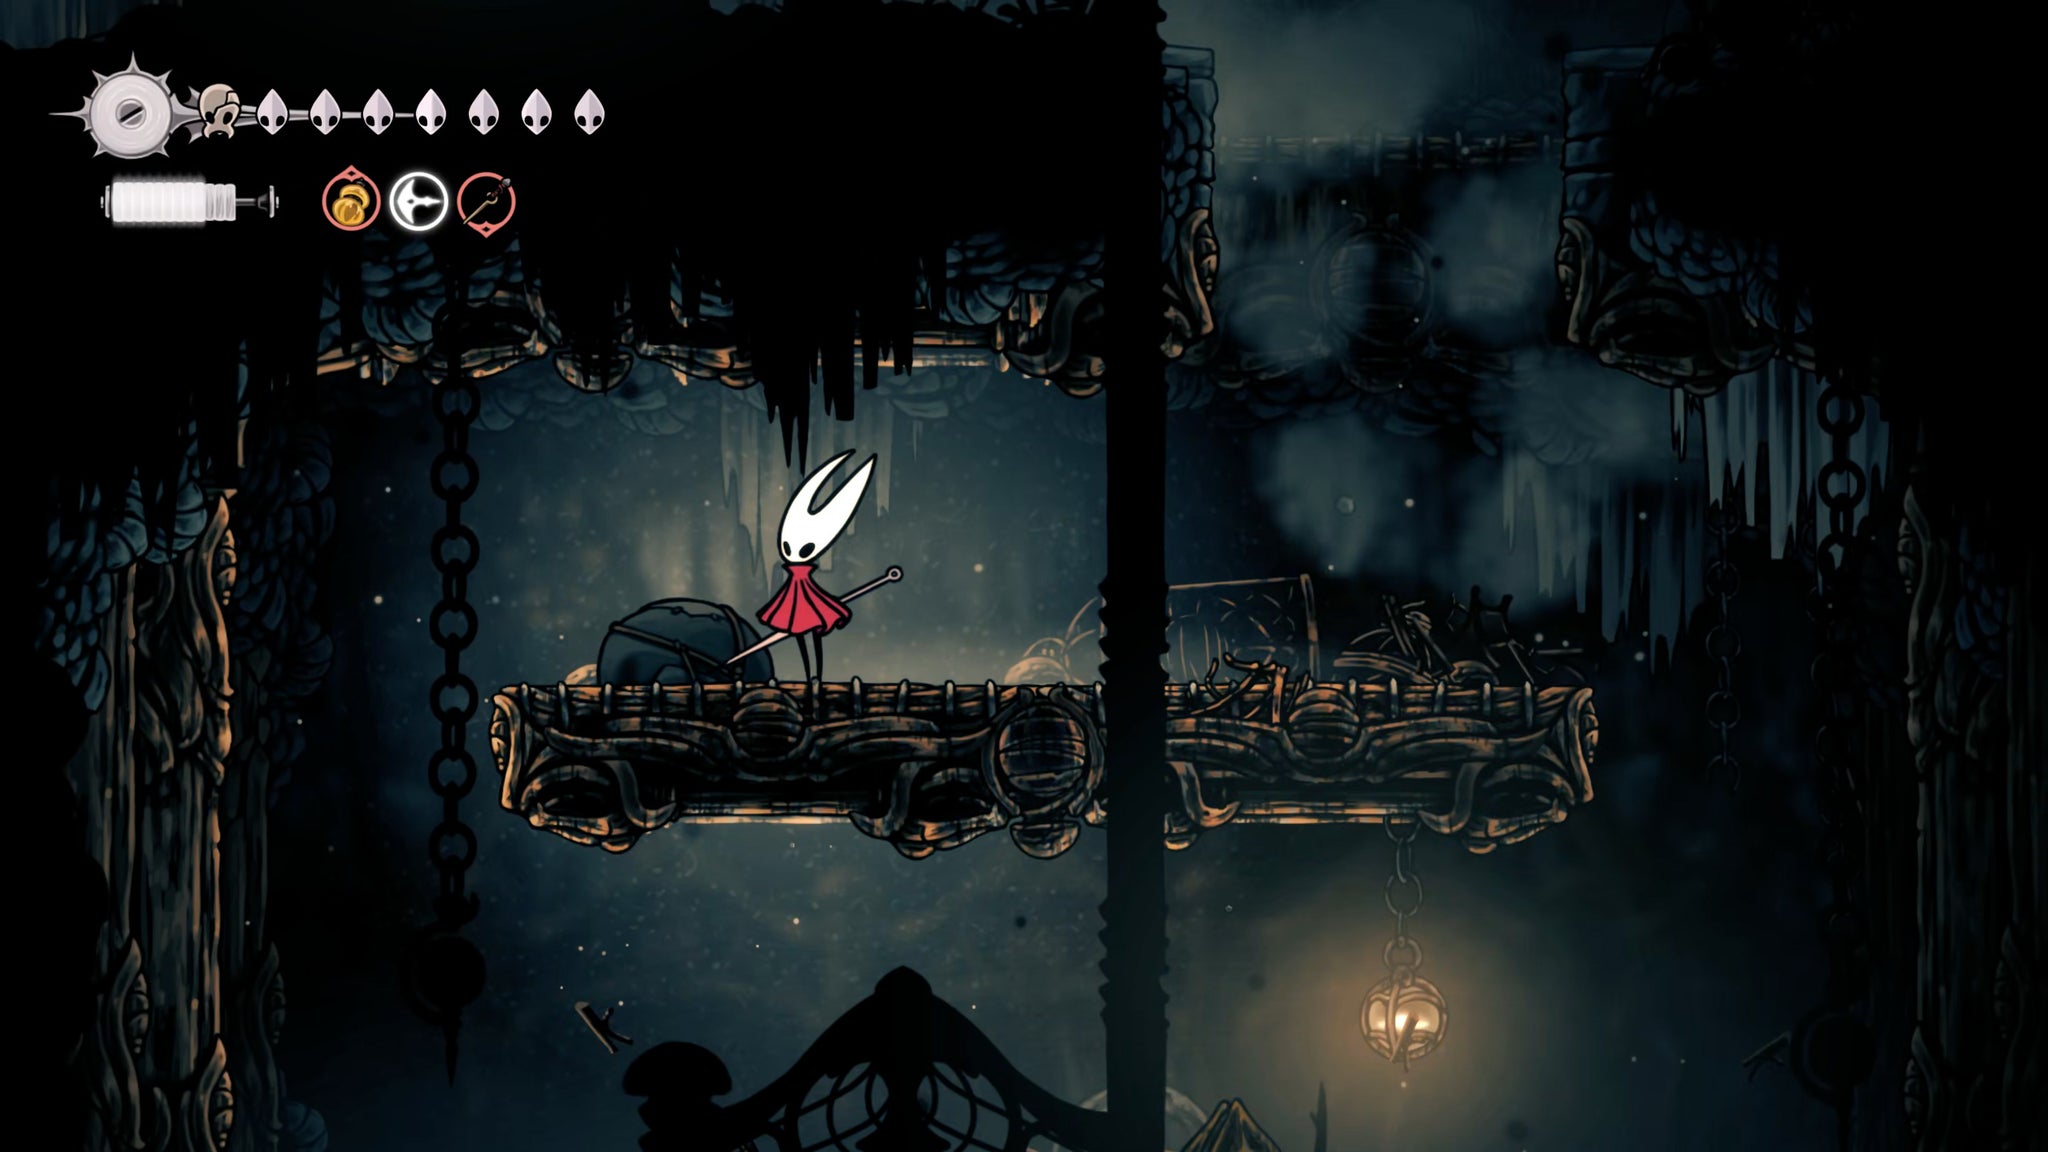

Head back out into the shaft to the left of the Bench, and climb upwards to the top ledge. Break the planks at the top here for a path even higher up. Take the exit immediately on your left, and attack the ceiling above the locked door to reveal a path upwards.
Sprint along this path to evade the pressure plate traps along the way, and exit upwards into the room beyond. Here you should head left, out into the colds of Mount Fay.
Drop down to near the bottom of this cordoned off shaft on the edge of The Slab, and take the exit on your right. Inside you'll find a few enemies to brawl with, which shouldn't be too much trouble for you at this stage.

Drop down the hole at the end, and then head to the end of the pathway on your left. The item hanging from the ceiling is the Indolent Key - the second of the three Slab keys you need. As you attack it, you'll be ambushed by two more of the same kind of enemies as before.
With the Key Of Indolent now in hand, head to the right and unlock the door at the end to get back into the main shaft. You can also take this moment to climb up to the same path as before and unlock the other Indolent door, just below the ceiling you broke open.
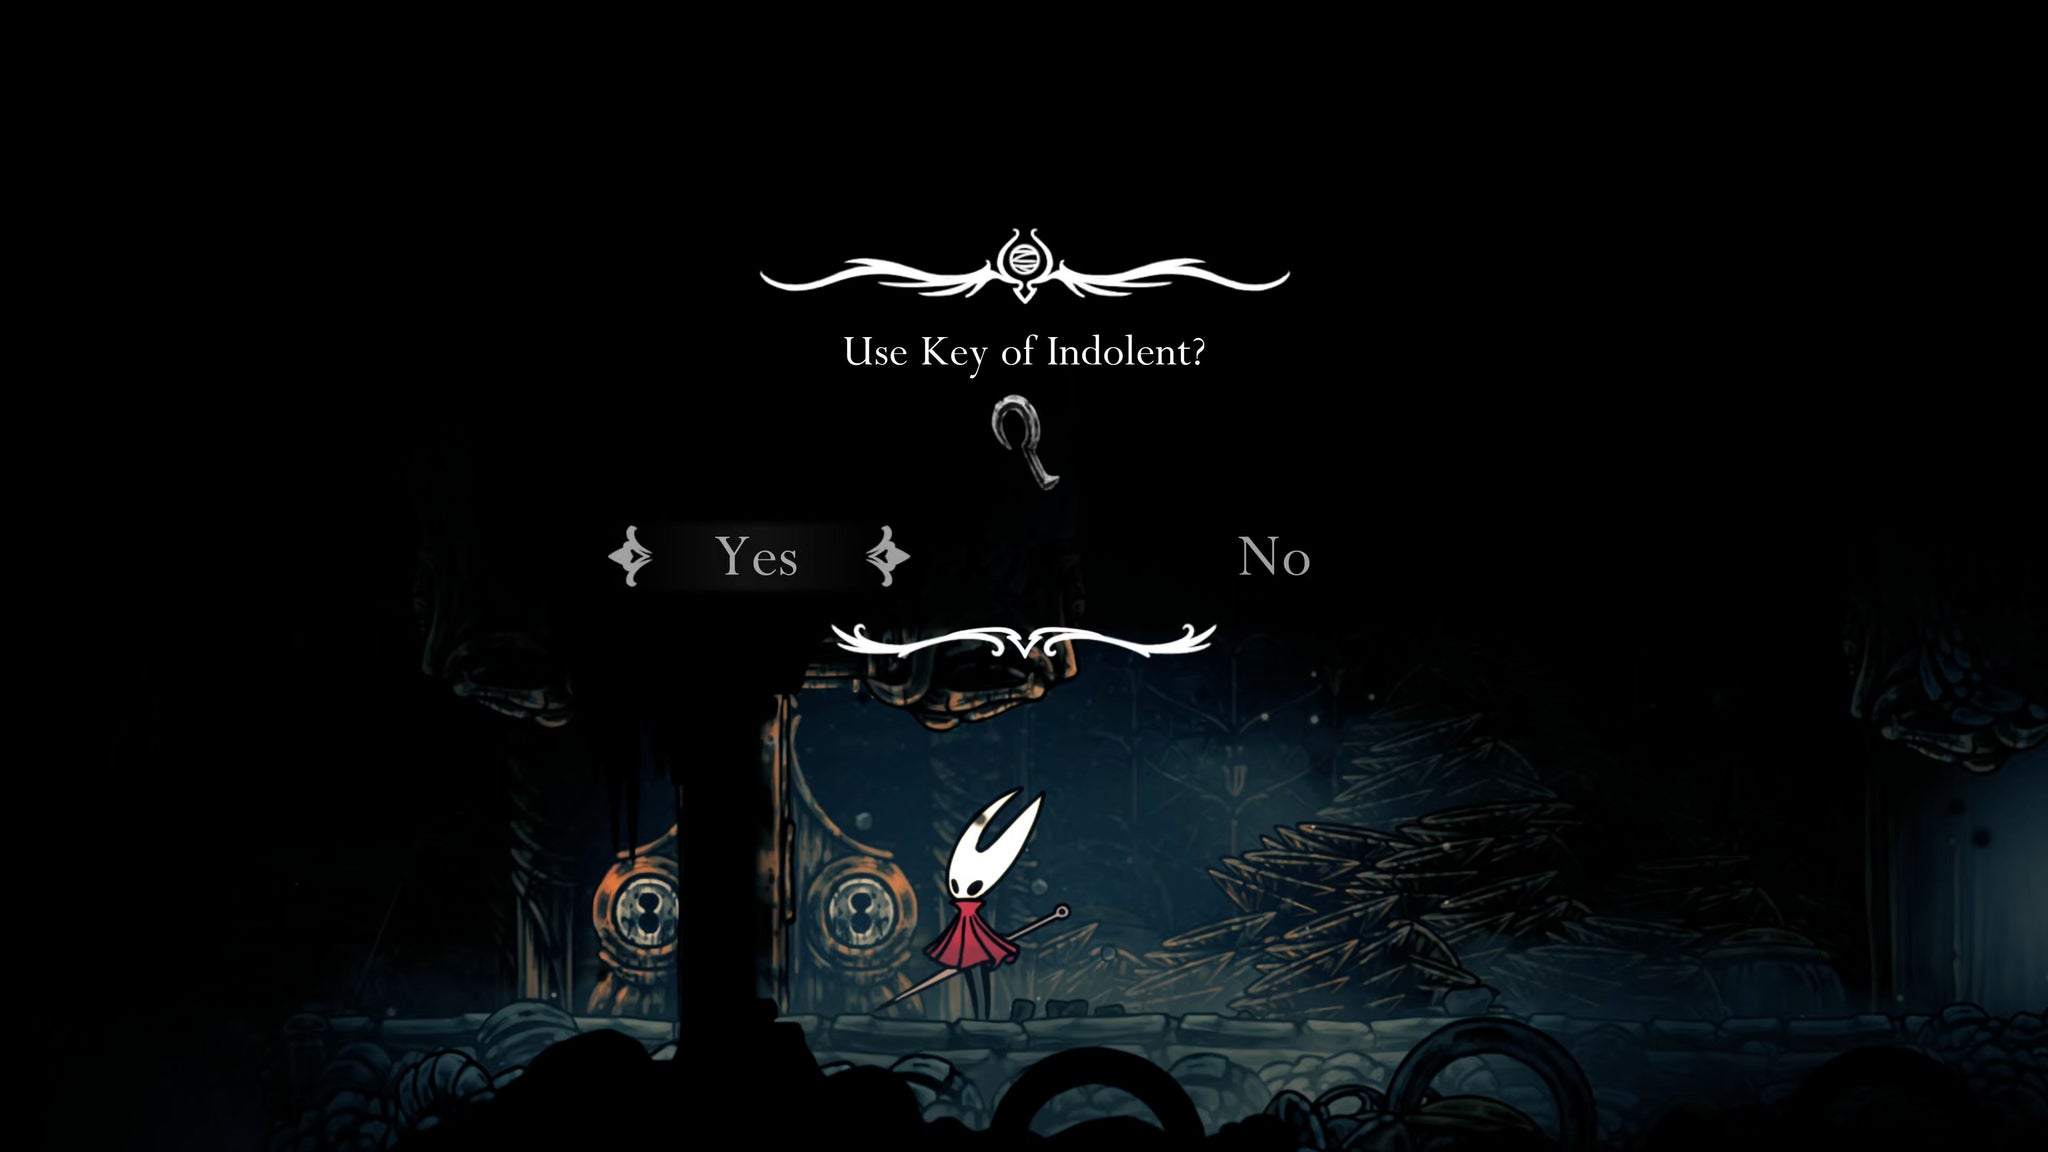
7. Obtain the Mask Shard.
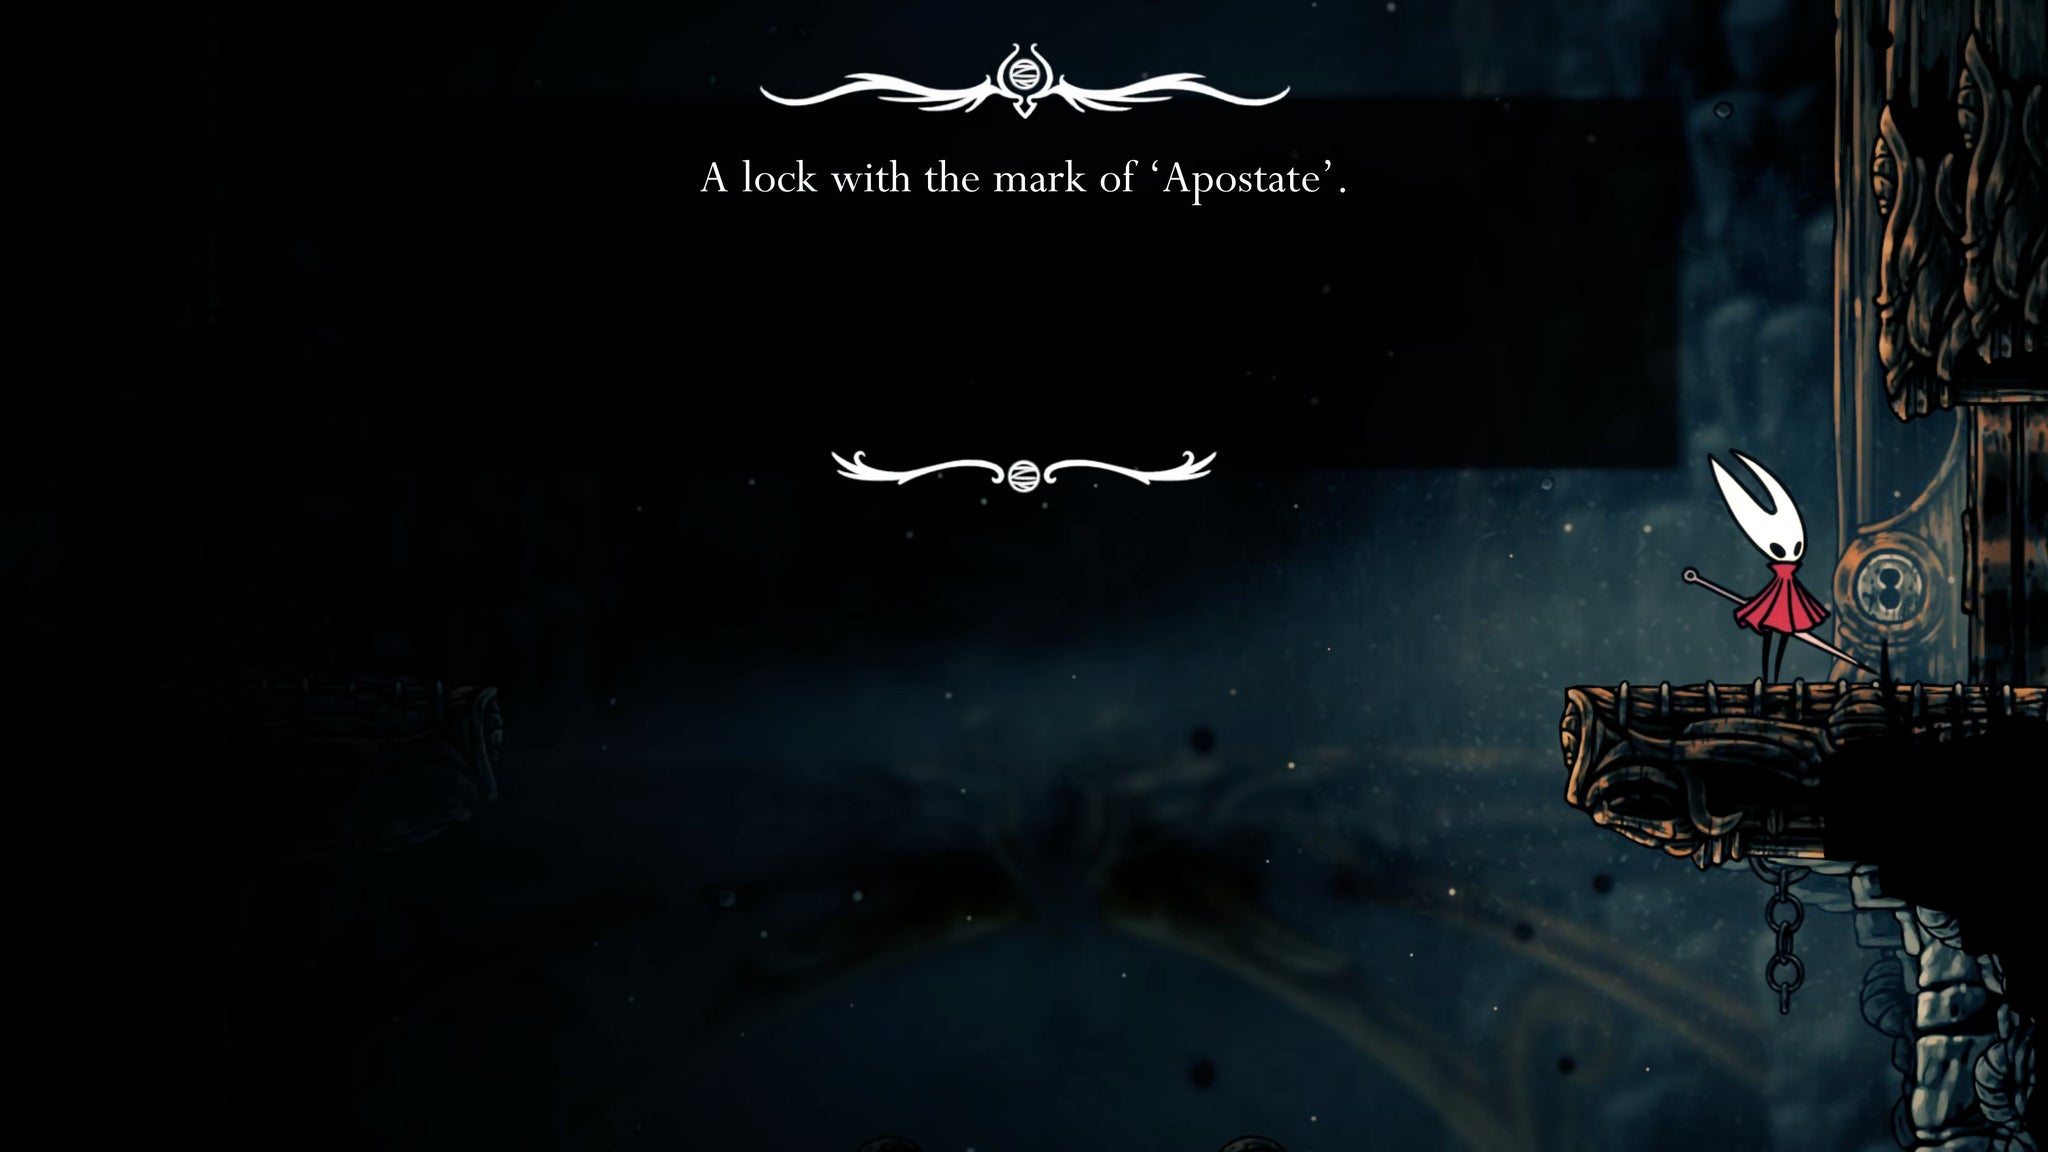
Back in the shaft, climb up to the very top-right exit, and unlock the door there using the Apostate Key. This leads into a large room with a unique mechanic. Stand on the pressure plate on the ground between the spikes, and a spiked ball will travel slowly along the metal runway, all the way up the room.
You need to stand on this pressure plate several times in quick succession, to release several spiked balls at various intervals. By choosing the right moment, you can then Pogo up from one to the next, all the way to the top.

The way I find works best to solve this parkour puzzle is to hit the pressure plate once, then wait for the first ball to reach just above your head. Then press it again. Wait for the second ball to reach above your head, and then press a third time, and start climbing. At the very top, you'll find a Mask Shard in a cage dangling from the ceiling.
8. Retrieve the Heretic Key.
Head back out into the main shaft, and retrace your steps back to where you found the Old Penitent's cell. Unlock the door next to his cell with the Indolent Key, and follow the path into a room with more of those metal runways for the spiked balls. As you try to leave this room via the right exit, the gates will snap shut, locking you into an arena gauntlet fight.
This one's quite fun actually. Just stand on the pressure plates, and let the spiked balls cut your enemies into shreds. Just remember that you need to dodge the balls as well.
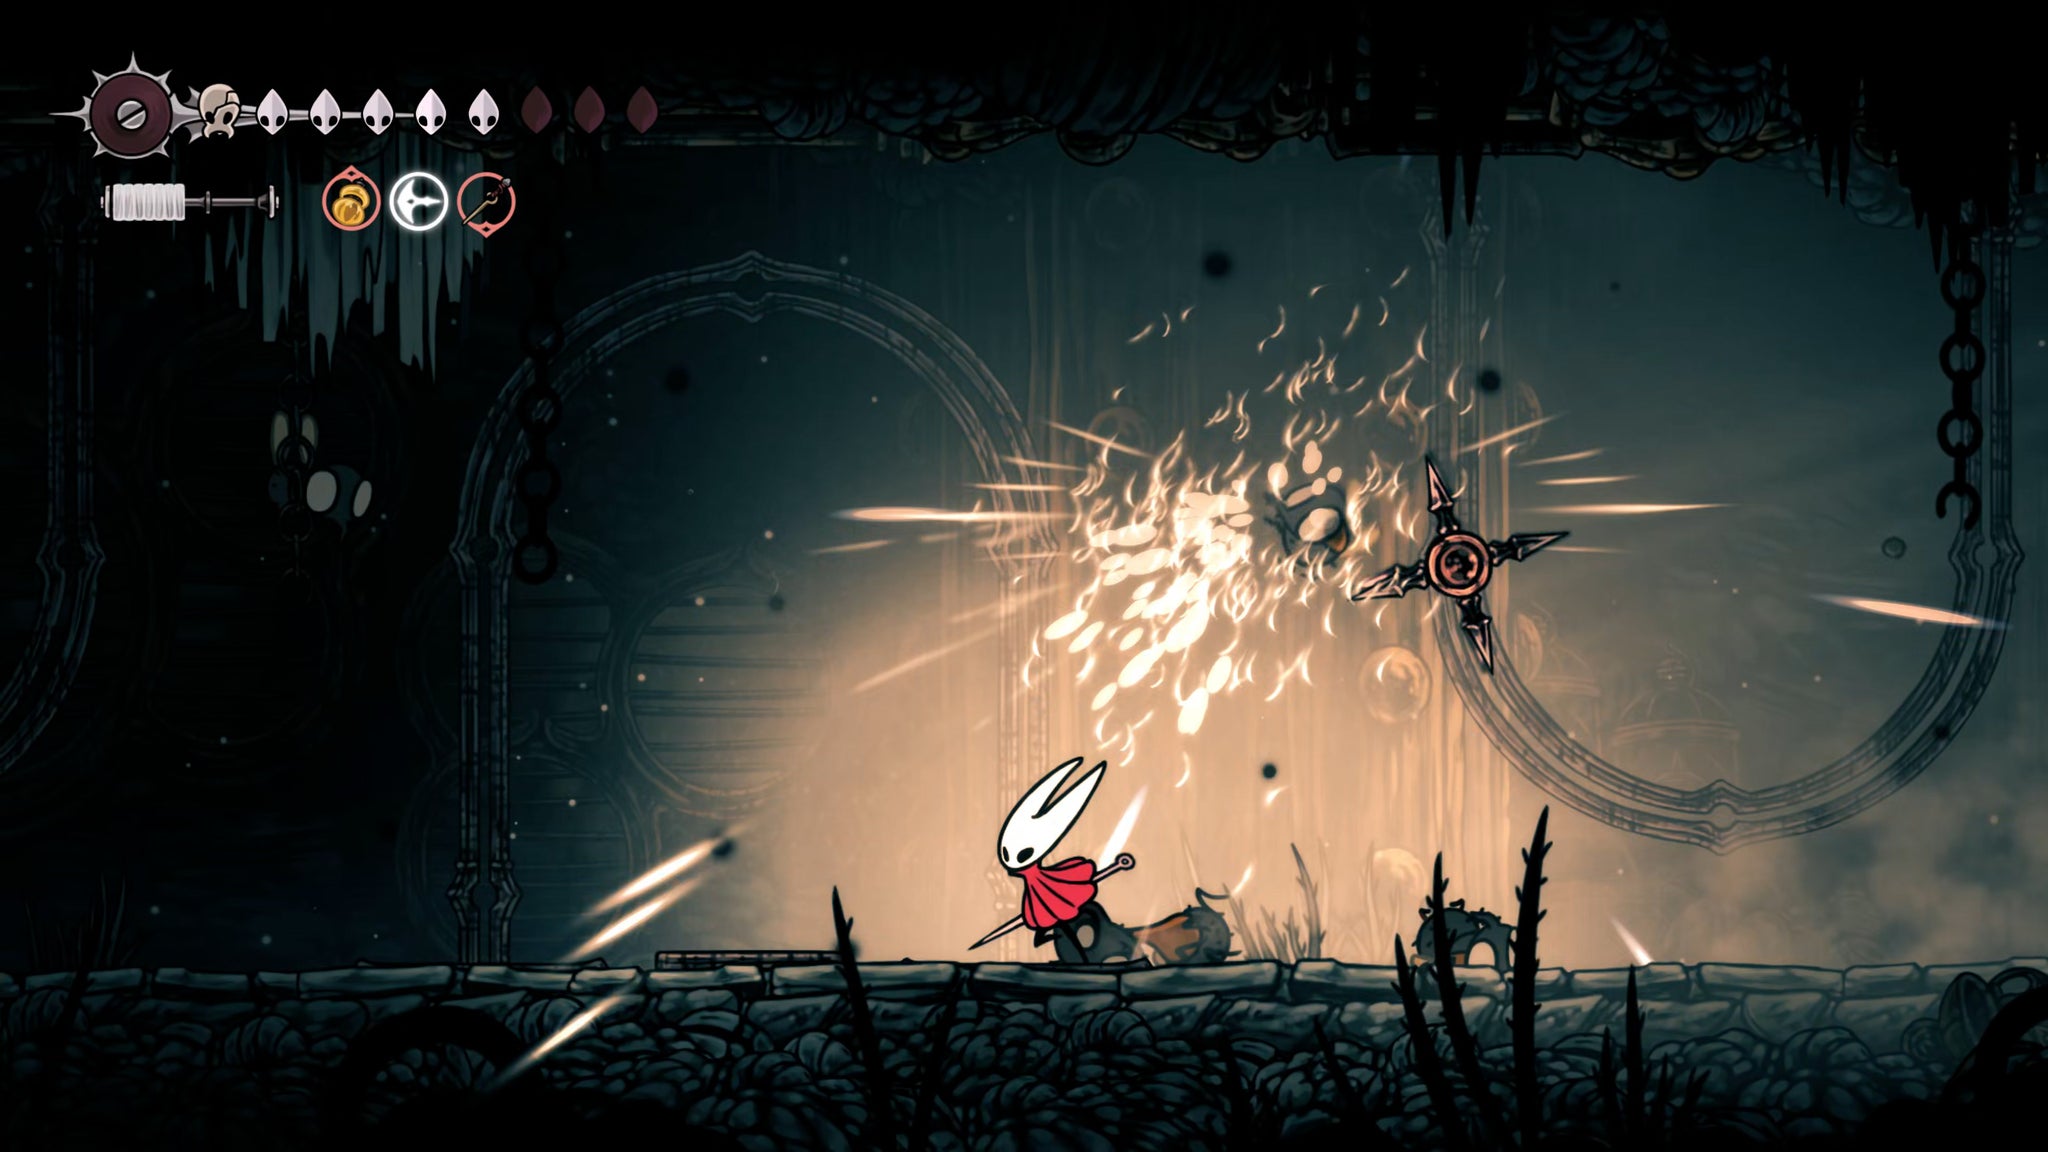
Once the enemies have been slain, exit to the right and climb up the eastern edge of The Slab. As you reach higher up, you may find some pressure plates on the walls - try to double-jump over these to avoid the traps they spring.
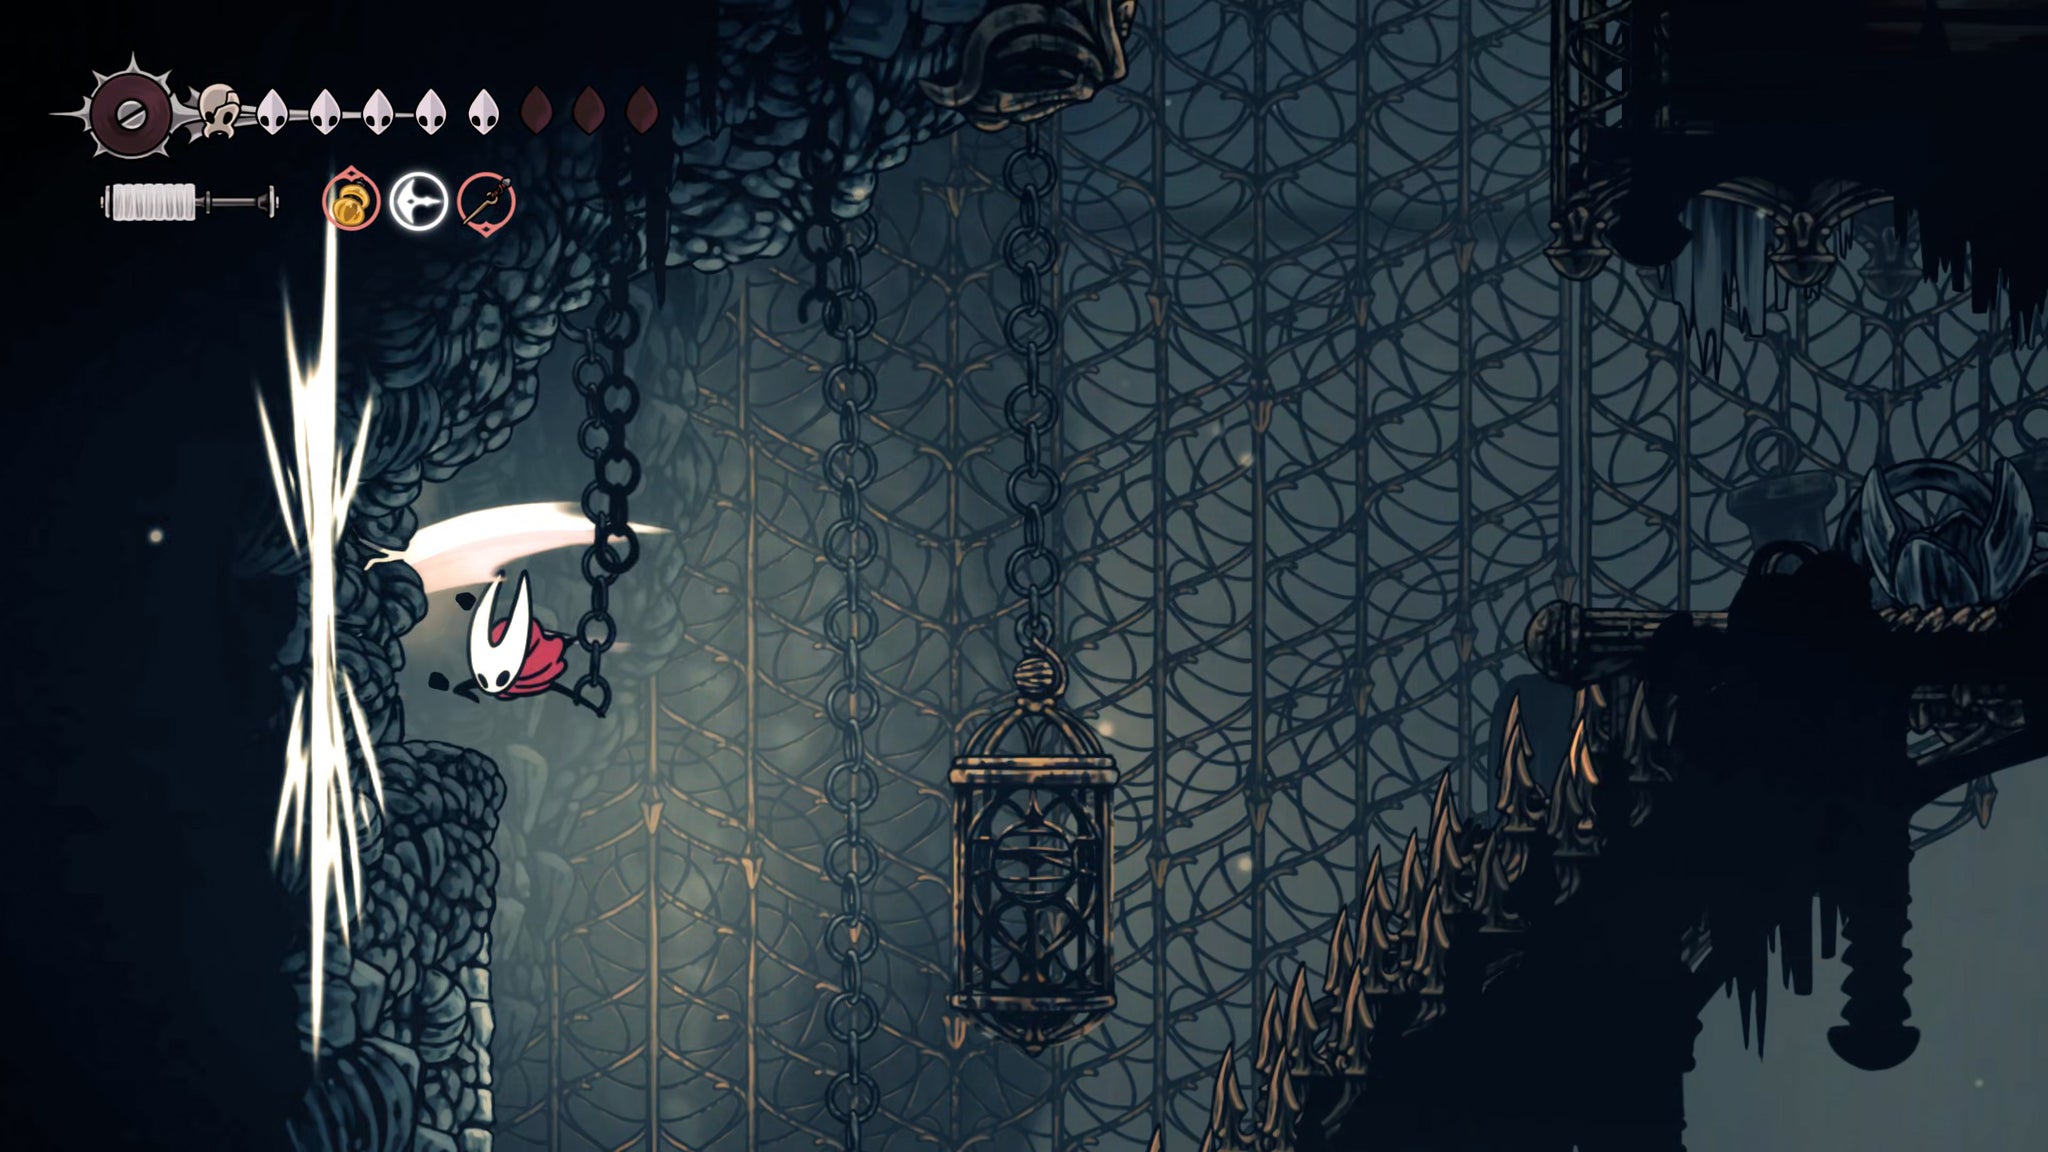

Partway up, opposite a Shell Shard cache, you'll see a breakable wall which opens up another temporary detour. In this next room, climb to the top first for more Shell Shards, and then follow the path all the way for a Frayed Rosary String on a corpse, and a breakable wall that leads back into the main shaft. It's a handy shortcut, but we now want to backtrack outside and keep climbing to the very top.
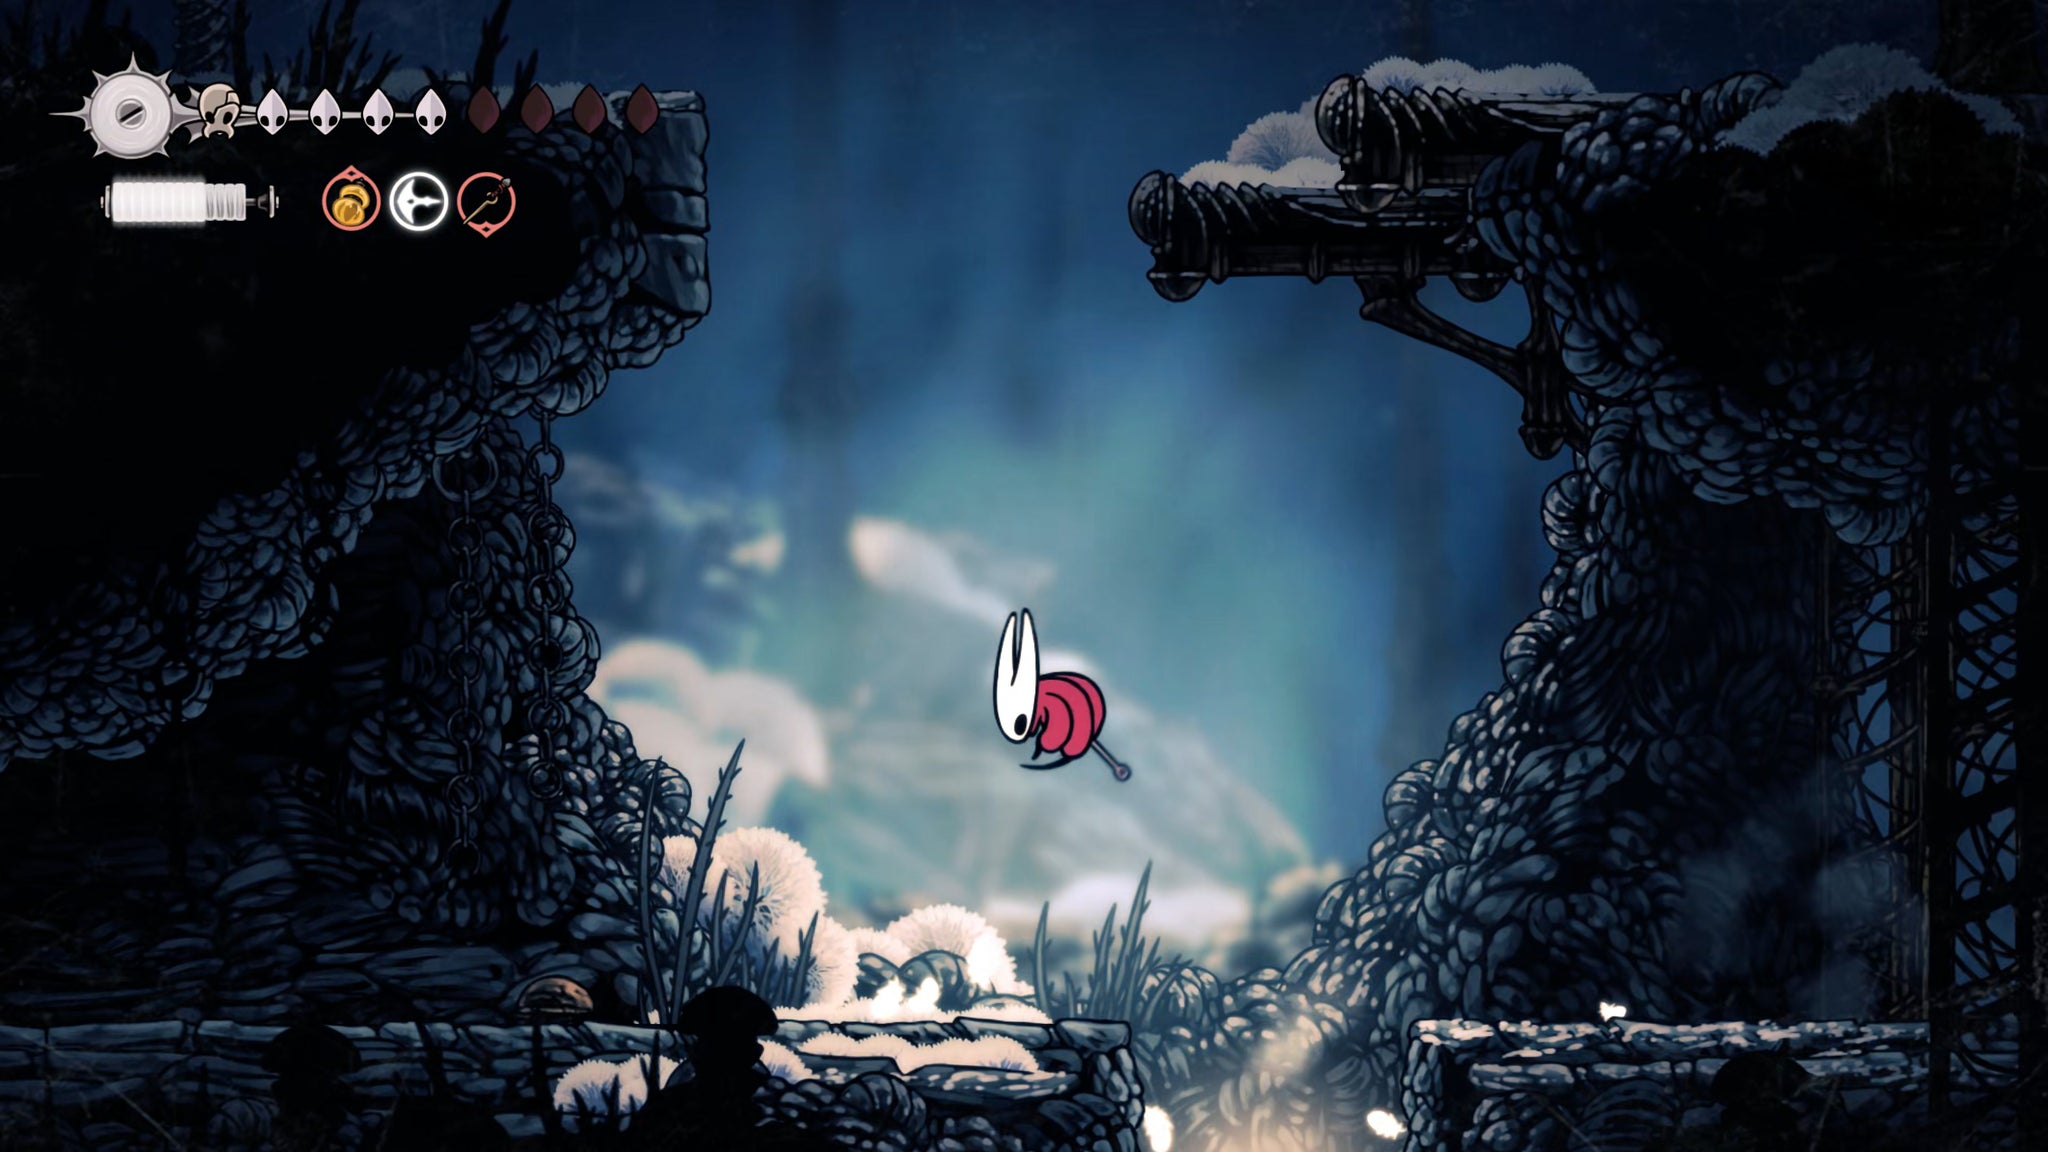
Once you're out in the open, you just need to head all the way to the left. On the upper levels you'll encounter a couple of Wardenflies - these ones can't capture you, so feel free to enthusiastically destroy them.
Partway along, on the lower level, you'll find the way forward barred by a gate, with a lever on the other side. Jump up to the higher ledge and keep going to the left to find your way to the other side. At the very top-left of this whole wide-open room, there's a little platform where you can loot another Frayed Rosary String.
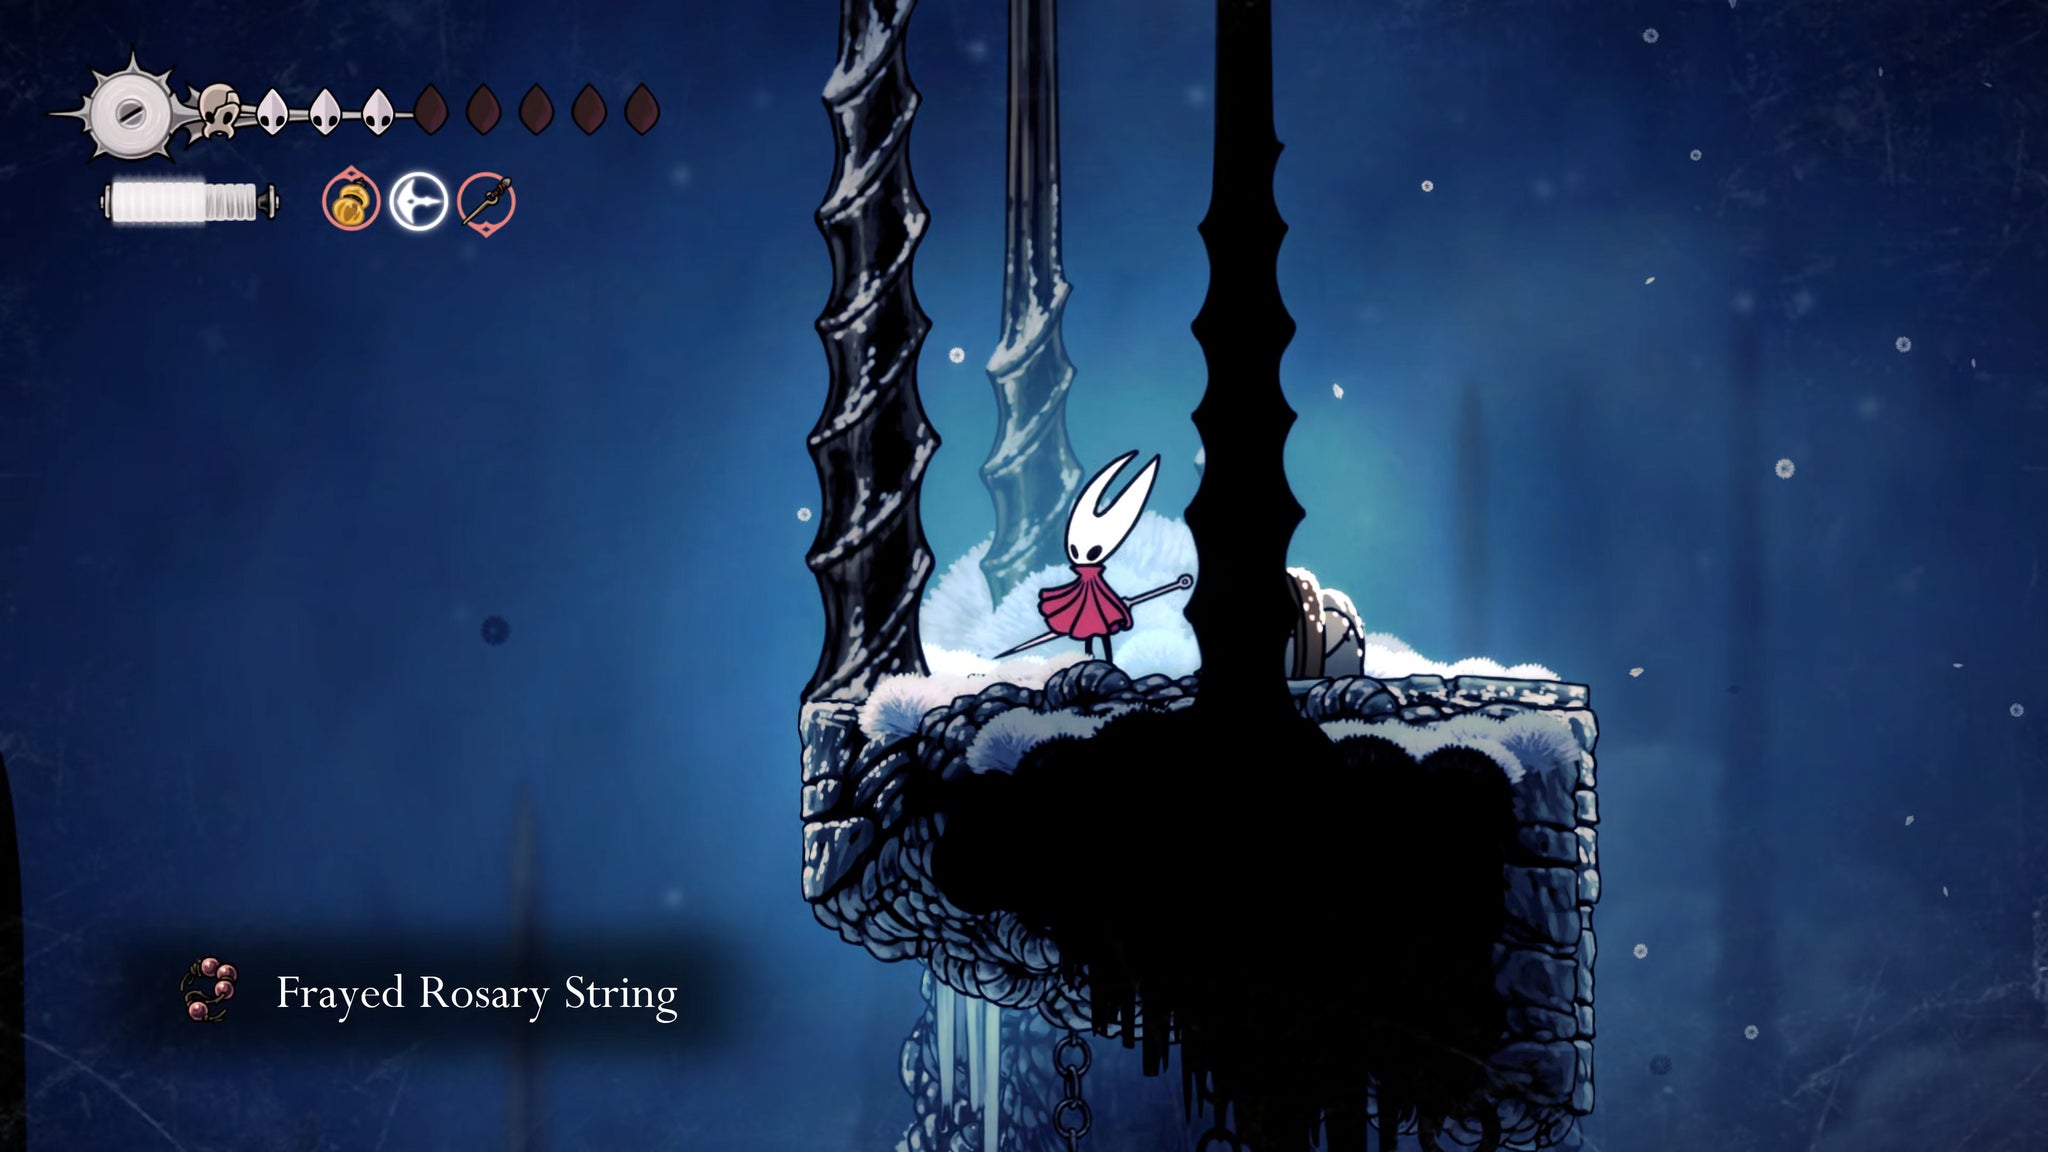
Keep going until you're on the very far-left side, and then drop down to ground level. Jump over the hole in the floor and hit the lever to unlock the gate; then turn around and drop down the hole.

Drop down the next hole, and head left to find a Bench to rest at if you need. After that you can head to the right and drop down the next shaft. Follow the tunnel until you reach its end, and then you can interact with the trapdoor to descend into another arena fight against more Slab enemies.
The final enemy will drop an item - loot it to obtain the Key Of Heretic, and complete your Slab keys collection.
Then head to the right, rest at the Bench there, and unlock the door beyond to reach the main shaft once more.
9. Defeat the First Sinner.
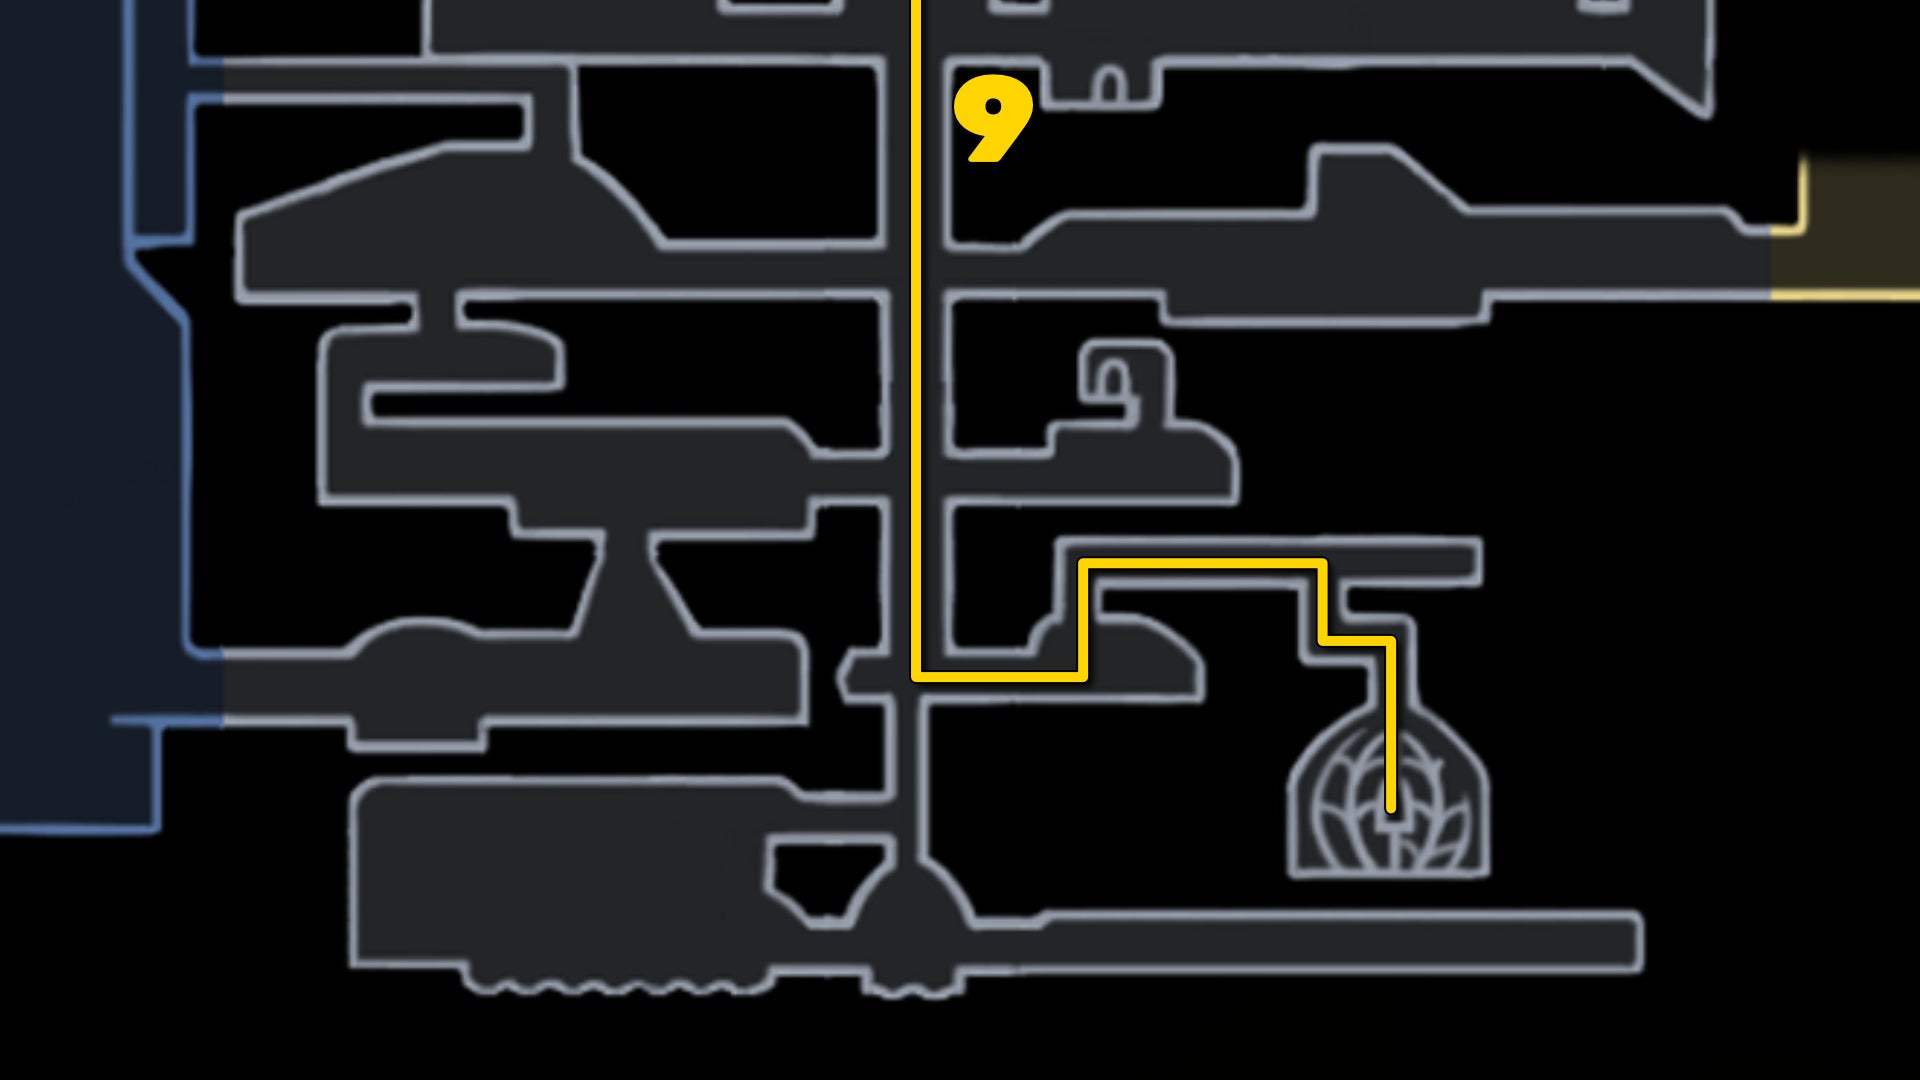
You've now explored every part of The Slab region, except for one little bit - which coincidentally contains by far the greatest challenge of the area.
Drop all the way down the main shaft until you reach those trapdoors separating the top half from the bottom half, and open them up using the Heretic Key. Then descend even further down and flick the lever on your left to open the other set of trapdoors (it actually wasn't until this moment that I realised they were two separate trapdoors rather than the same one).
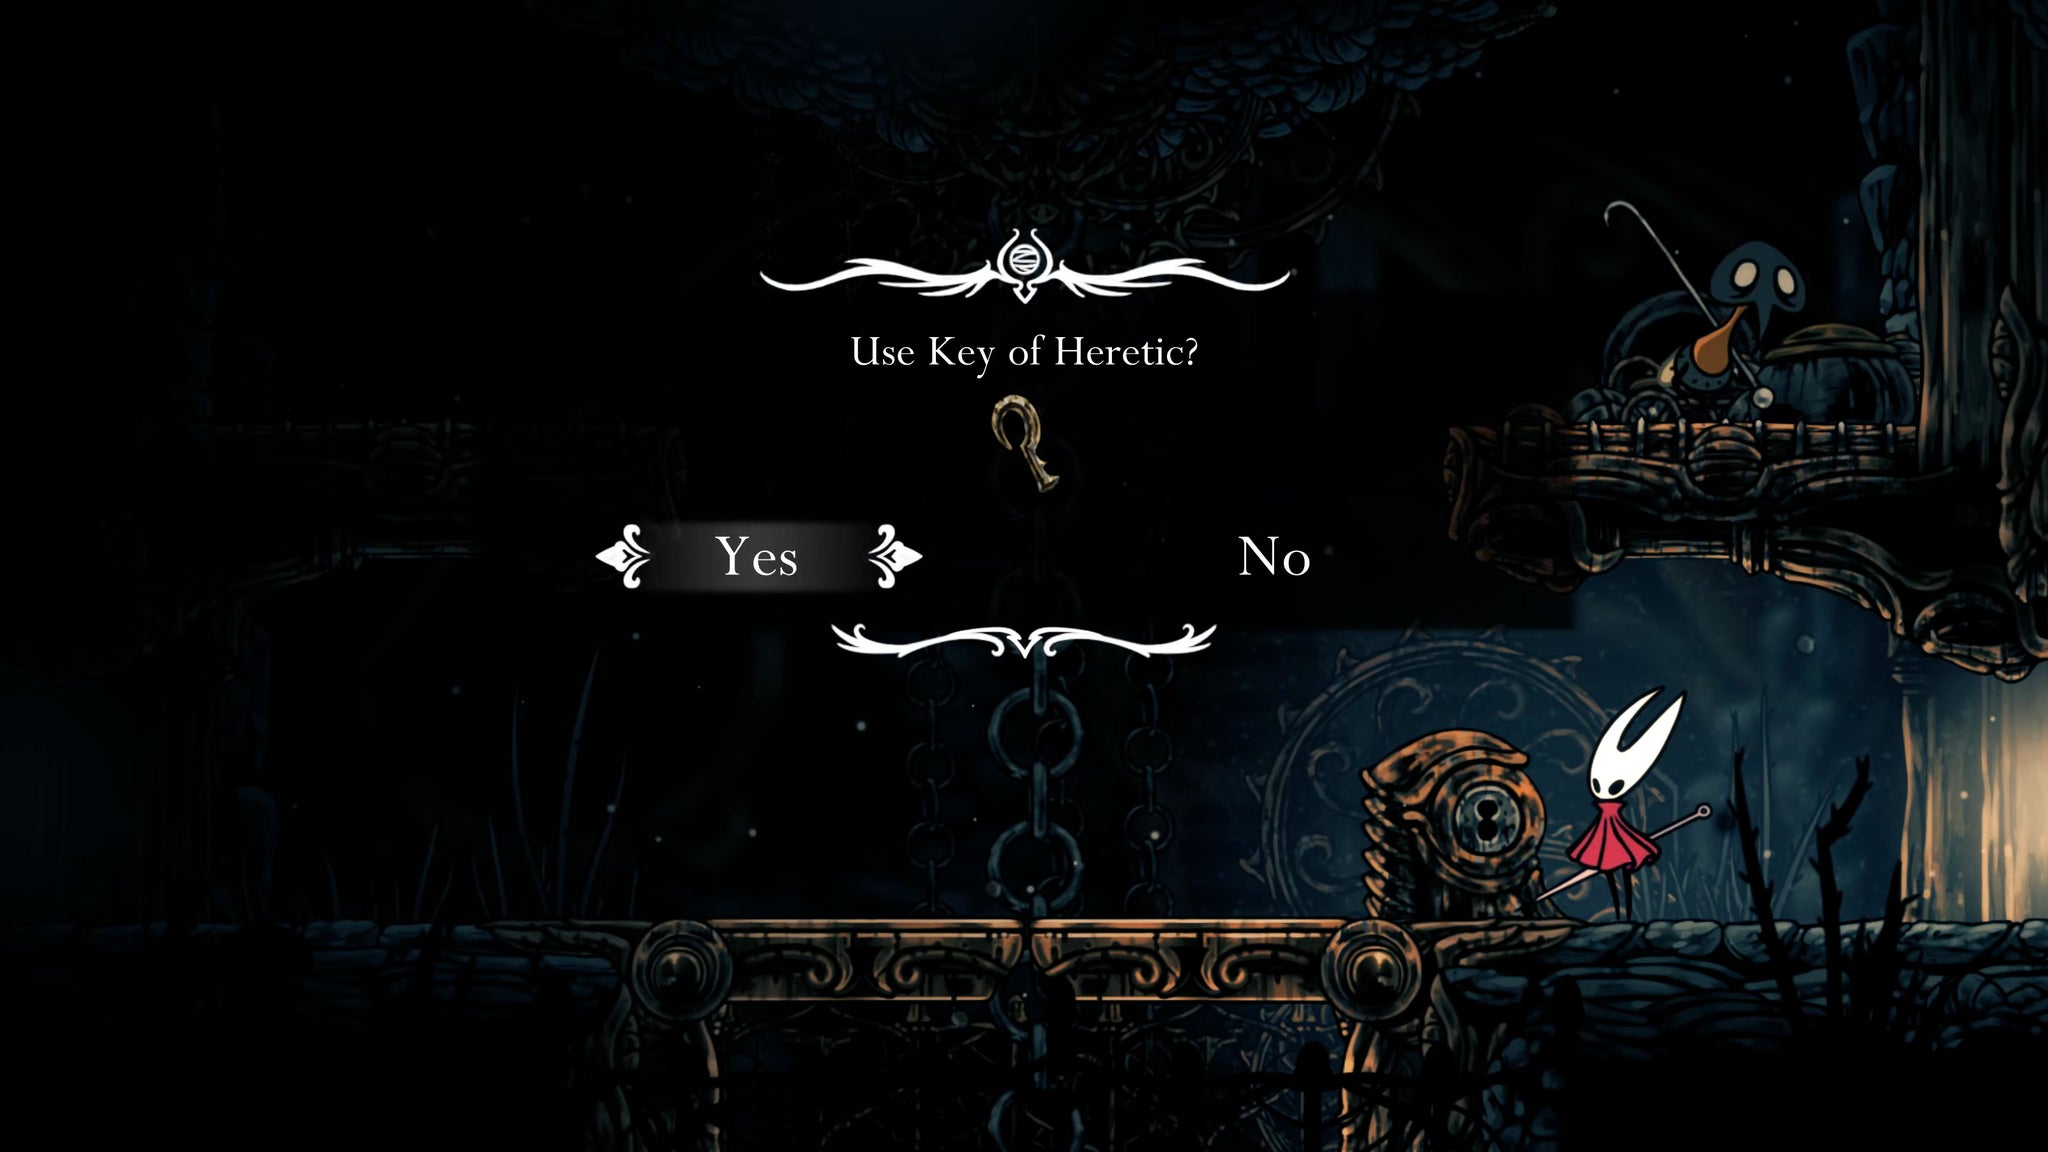

At this point, it may be best to drop down to the lower-left exit that takes you back to the Bellway Bench. Rest there, and equip your choice of boss-fighting tools if you haven't already.
Head back to the main shaft and drop down to the next exit on your right, which you can open with the Heretic Key. Inside is a chest filled with Rosaries, along with a number of Rosaries hanging from the ceiling. Pick them all up, and then cast your eyes upwards to the hole in the ceiling.
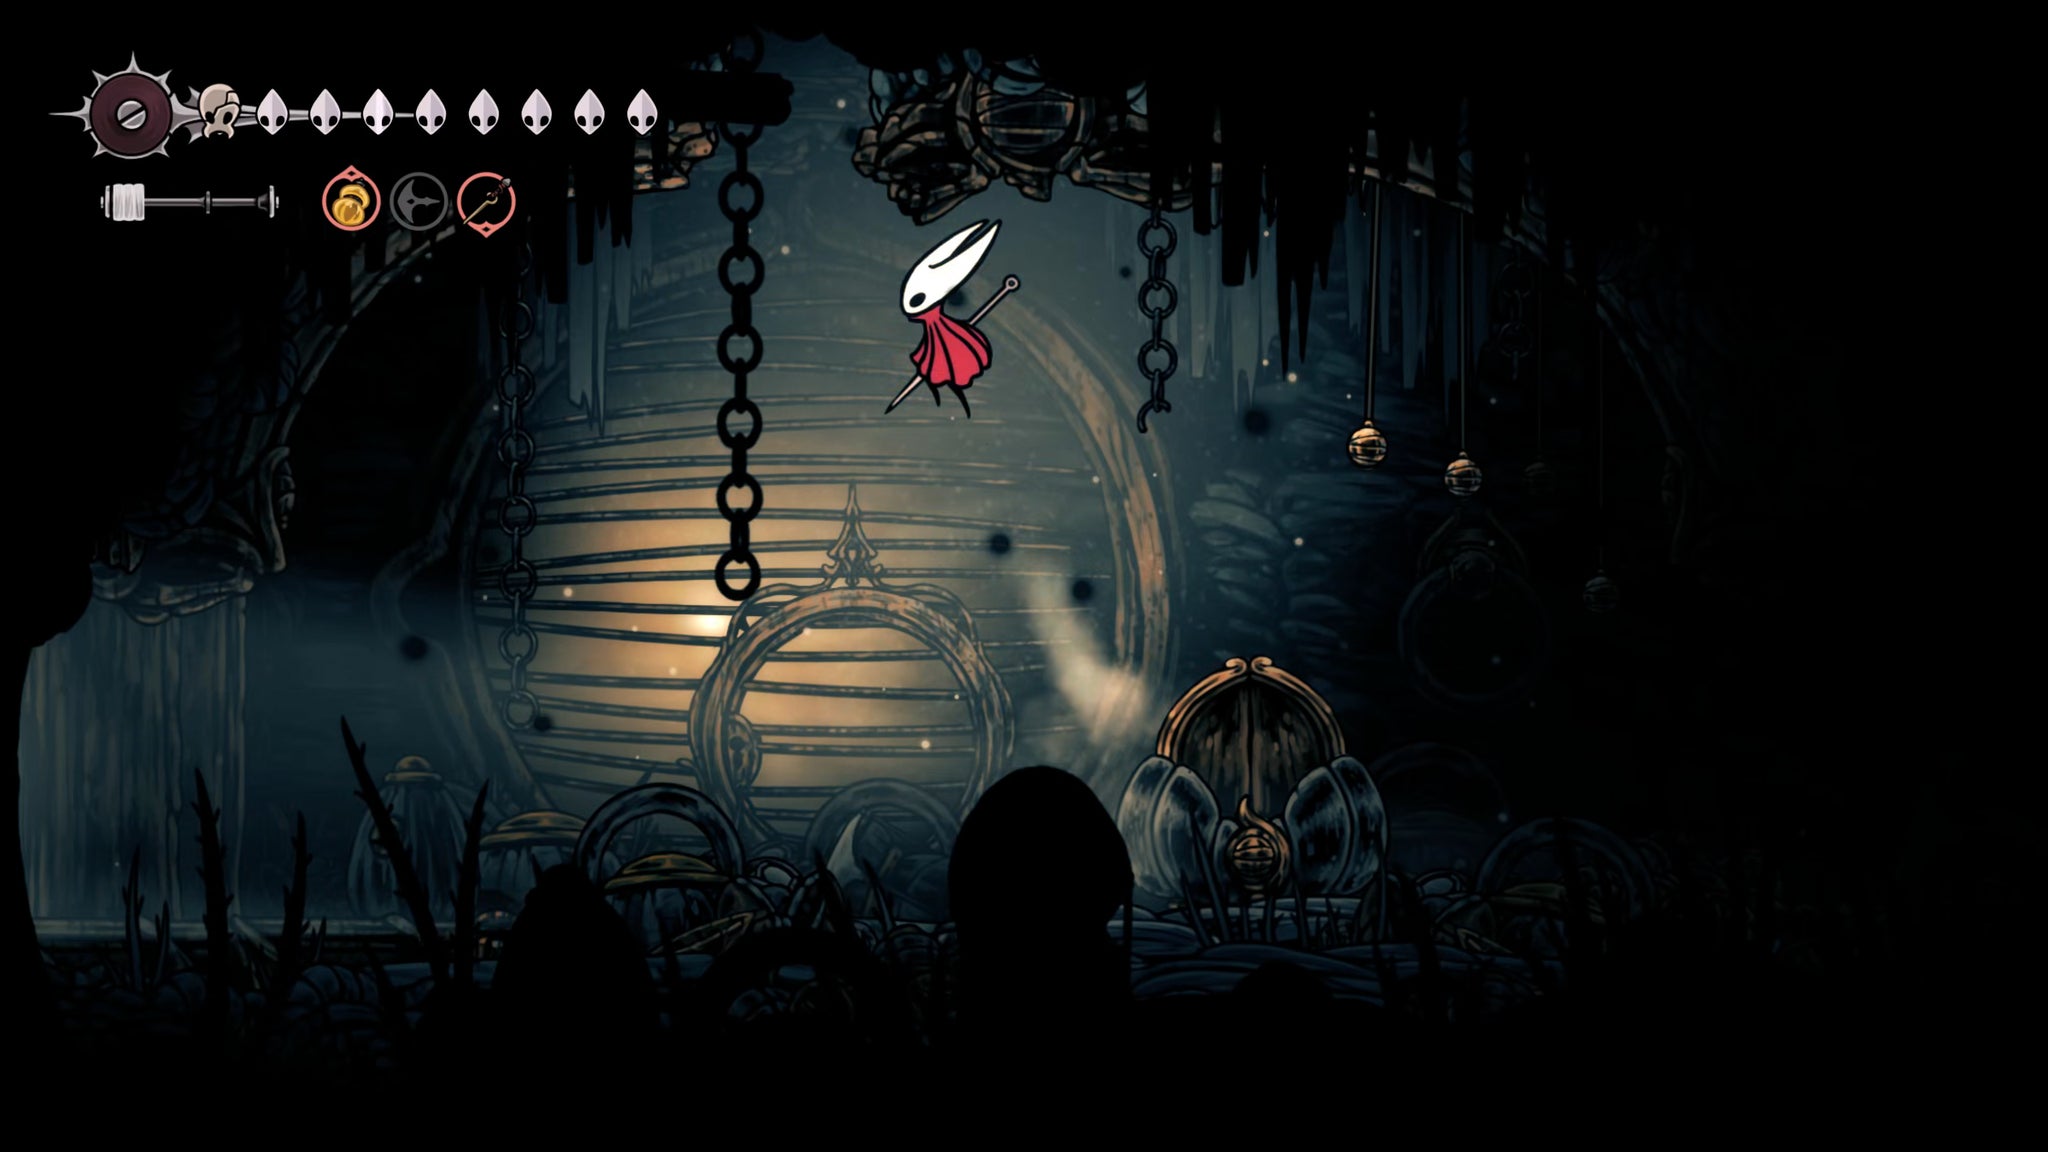
You can reach this hole by standing on top of the left-hand edge of the opened chest, and then double-jumping to reach the wall of the hole. From there, follow the path down, right, and down into the main part of this long-forgotten room.
You can interact with the cell in the centre of the room for some foreboding lore; then, attack and destroy the anchor points of each of the chains linking to the cell door. Wait for the cell door to burst open, and then head inside.
Inside the cell you'll find a monument, like the ones you Bind at to unlock new Silk skills. Interact with it and start to Bind - but doing so will simply summon the boss: the First Sinner.
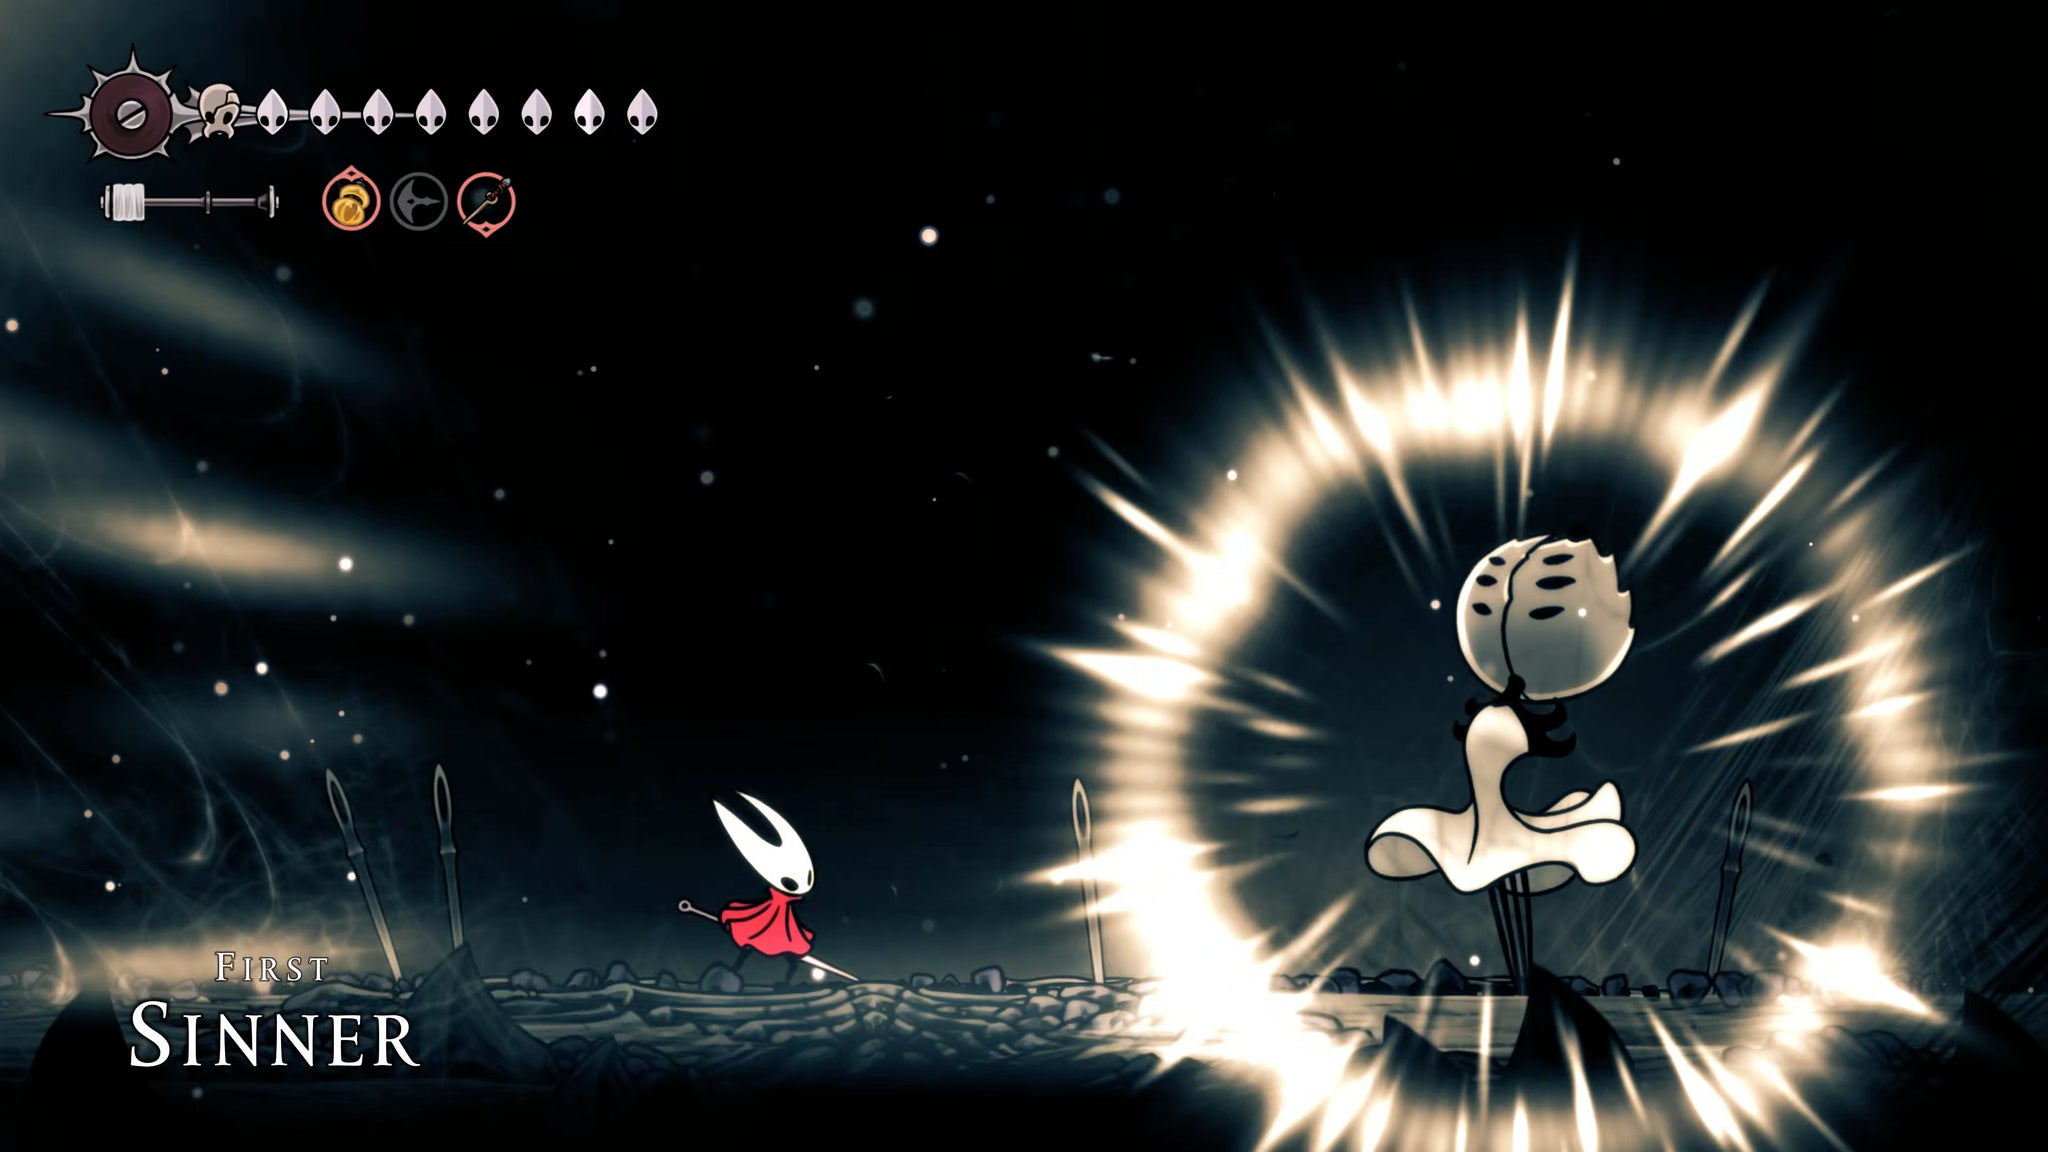
What's nice about this fight is that there's no runback - if you die, you simply awaken outside of the First Sinner's cell. Otherwise, this is a very tricky fight. The First Sinner moves fast, teleports constantly, and barrages the arena with endless telekinetic needle attacks.
Aggression is very important against the First Sinner, because otherwise you're never going to land a hit on her. Usually the moment you land a hit she'll teleport to the other side of the room, so you need to be dancing back and forth constantly while avoiding her needles.
Don't give her a single second to relax, because she can and will heal up. You'll know when she starts to heal, because she has a very similar animation to Hornet's Bind. She'll double over and wisps of light will surround her. If you see this, you need to attack her immediately to stun her - it's worth taking a point of damage from a needle if it means preventing her from healing.
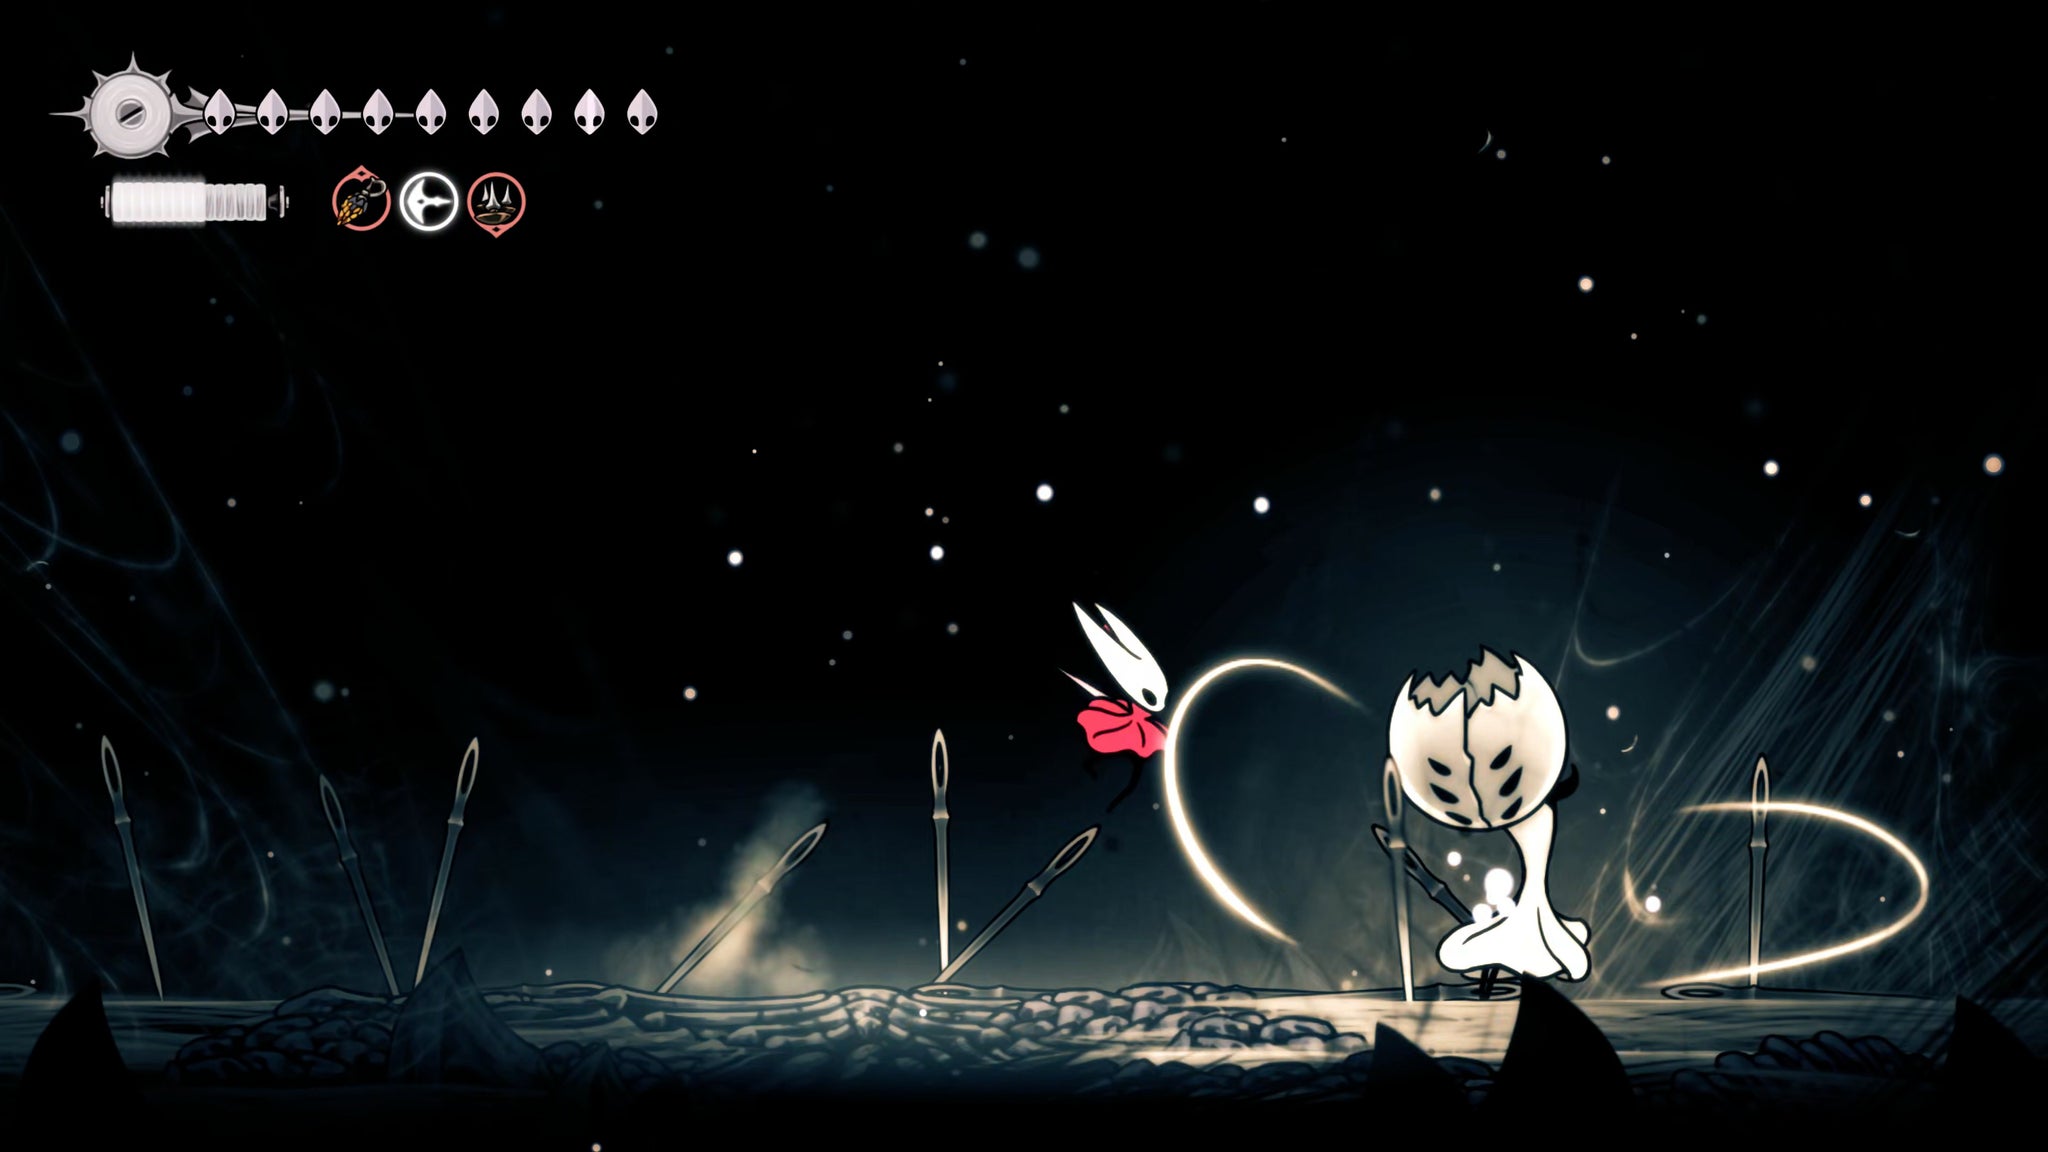
Aside from her needle attacks, the First Sinner also has two charge attacks: one which goes across the ground from one side to the other; and one which she does from the air, heading diagonally downward. For the former, a simple jump over her head is enough to evade it. For the latter, just run along the ground past her.
Of course, she makes it tricky at times by using needle attacks while she charges at you, giving you very little room to manoeuvre. It's likely you'll get hit, but just try to stay aggressive and land enough hits on her to keep your Silk stock high for healing up.
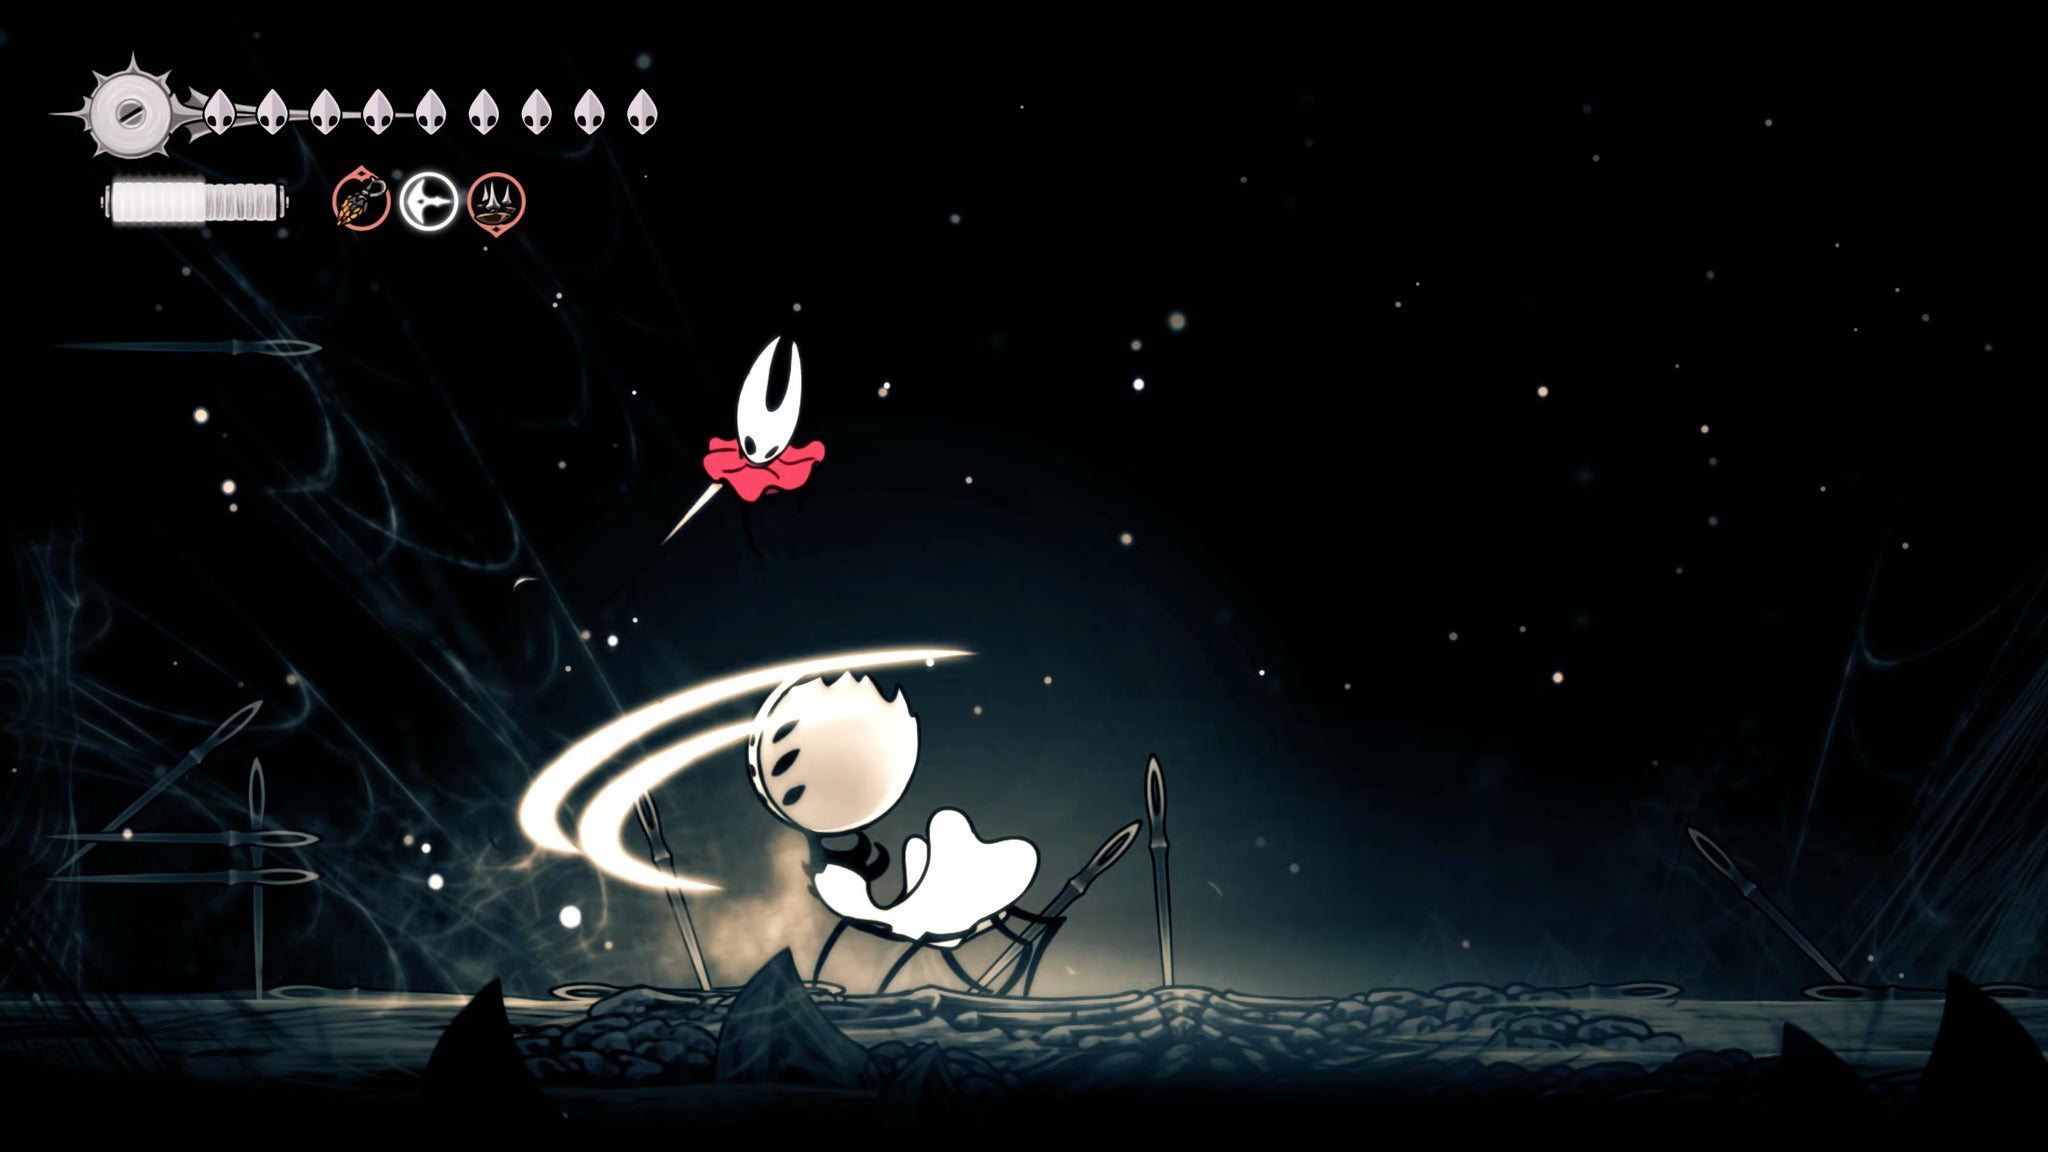

Once you deal what looks like a final blow, that's actually the start of the second phase. The First Sinner will disappear for a moment, then come back even stronger. She lets loose her aggression even more in this phase by throwing more needles at once; and she also has a new attack which generates lots of large orbs across the room that you must avoid to escape damage.
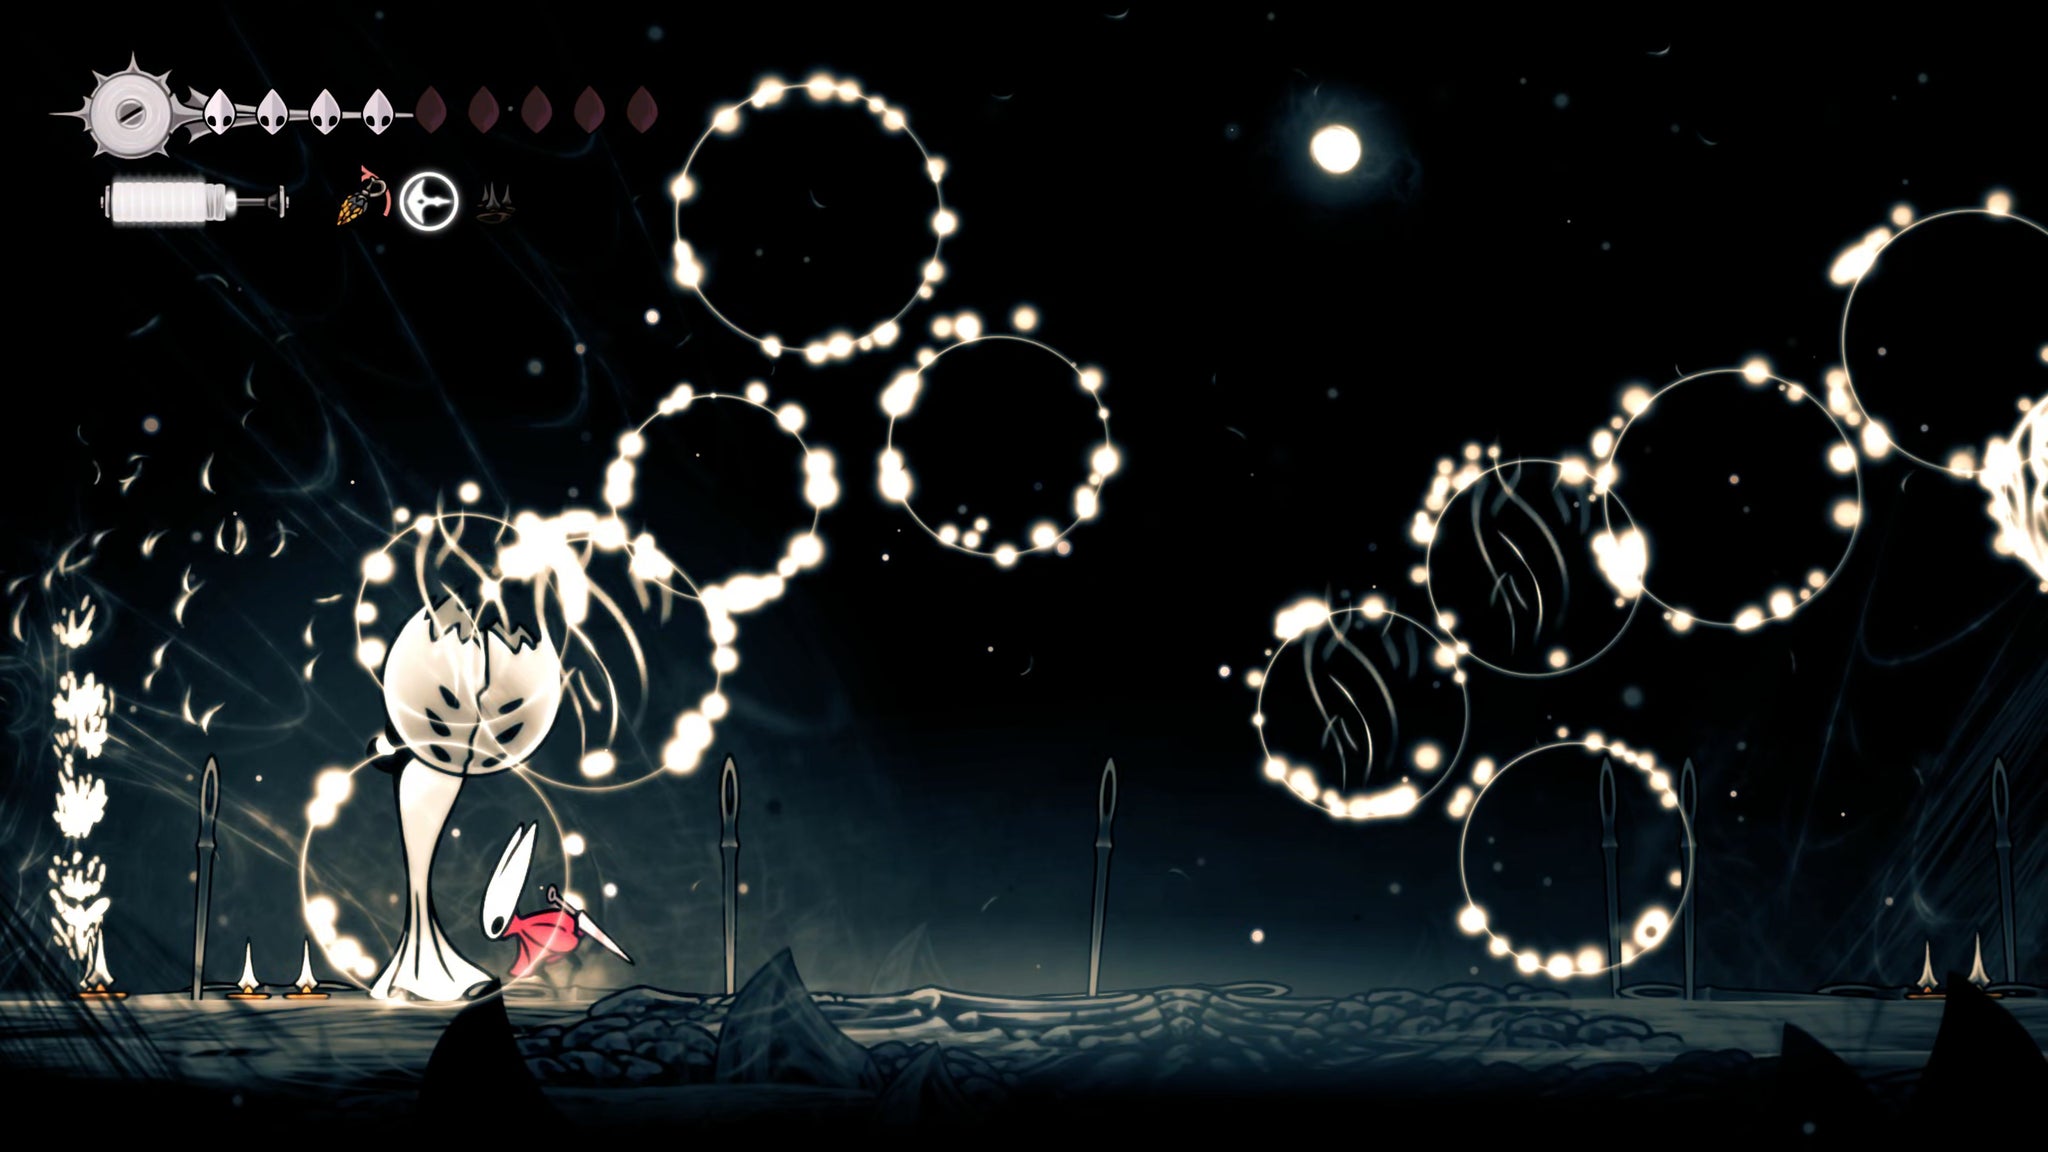
In terms of tools, despite her constant teleporting, Tacks are very useful against the First Sinner. Save them for her second phase, and then litter the floor with them. I also highly encourage the use of the Flintslate for dealing massive weapon damage at key moments (such as while she's stunned). Remember these tips, and ensure that she has no time to heal, and you'll finish her off before long.
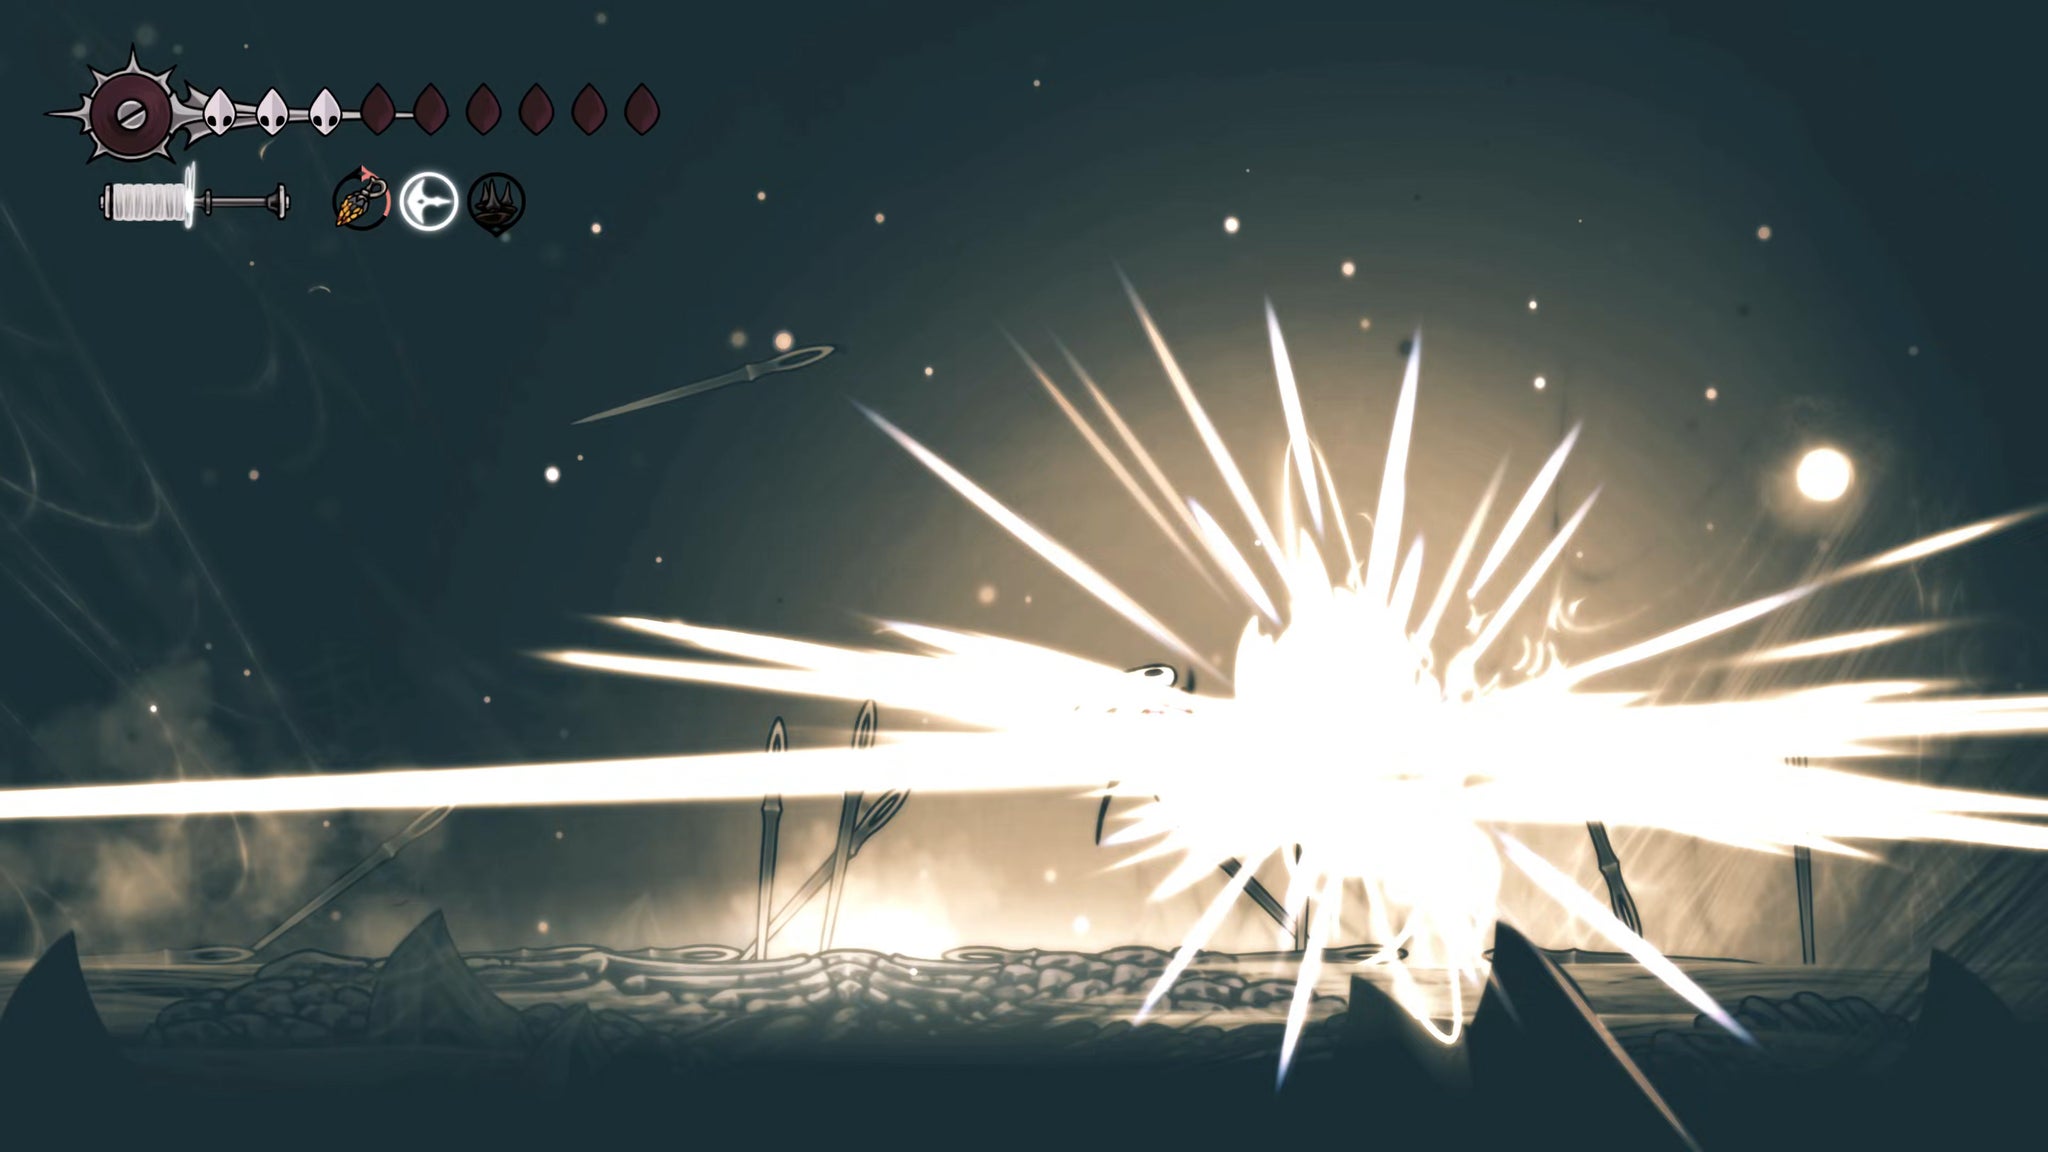
After the fight, she'll reappear momentarily - but don't panic. Interact with her to "Accept" - and you'll appear inside another dreamlike world of silk. Parkour up to the very end of the path, and interact with the item on the floor to bind a new Silk skill: Rune Rage.
This skill takes a moment to use, but it fills the room with those same large orbs that the First Sinner used against you. It's not my favourite against bosses (although it can be used to decent effect against really hard-to-hit bosses), but for clearing out groups of smaller enemies, there's not much better.


That's all there is to The Slab! Your next stop isn't too far away: follow along with Part 28 to find your way to (and through) the Sands Of Karak in Hollow Knight: Silksong.
Read this next
- Ahead of Hollow Knight: Silksong's Sea of Sorrow expansion, Team Cherry have gotten their Traditional Chinese and German translation ducks in a row
- We may have glimpsed Silksong's Sea of Sorrow expansion in a six-year-old trailer
- Hollow Knight: Silksong's first big expansion, Sea of Sorrow, flows into our lives for free next year
