
Hollow Knight Silksong walkthrough: Part 29 (High Halls)
How to reach the High Halls and obtain the Conductor's Melody


How do you reach the High Halls in Hollow Knight: Silksong? If you've been following along so far with our comprehensive Hollow Knight: Silksong walkthrough, then you have actually had the ability to reach the High Halls for ages. All you need to reach the High Halls is the Clawline harpoon ability, which you can get way back in the Underworks at the beginning of Act 2. And here we are, near the very end of Act 2!
But there's a reason why we've left the High Halls so late on, despite the comparatively short time we'll spend exploring it. In Part 29 of our Silksong walkthrough, I'll show you how to reach the High Halls, and every step along the ideal progression path through its shining, spike-filled corridors. Along the way I'll show you every interesting tool and collectible on offer, and then explain how you can conquer the challenging final arena fight in order to obtain the final part of the Threefold Melody.
Want the walkthrough for a different area of the game? Check out our Hollow Knight: Silksong walkthrough hub!
High Halls walkthrough steps:
- Complete Shakra's Last Wish, and duel Garmond.
- Head into High Halls via Choral Chambers.
- Collect the Spool Fragment atop the tower.
- Construct the Cogfly tool.
- Obtain the Psalm Cylinder.
- Disable all Clawmaiden spawns.
- Rest at the Bench and buy the High Halls map.
- Obtain the Rosary Cannon.
- Complete the High Halls gauntlet.
- Obtain the Conductor's Melody from Ballador.
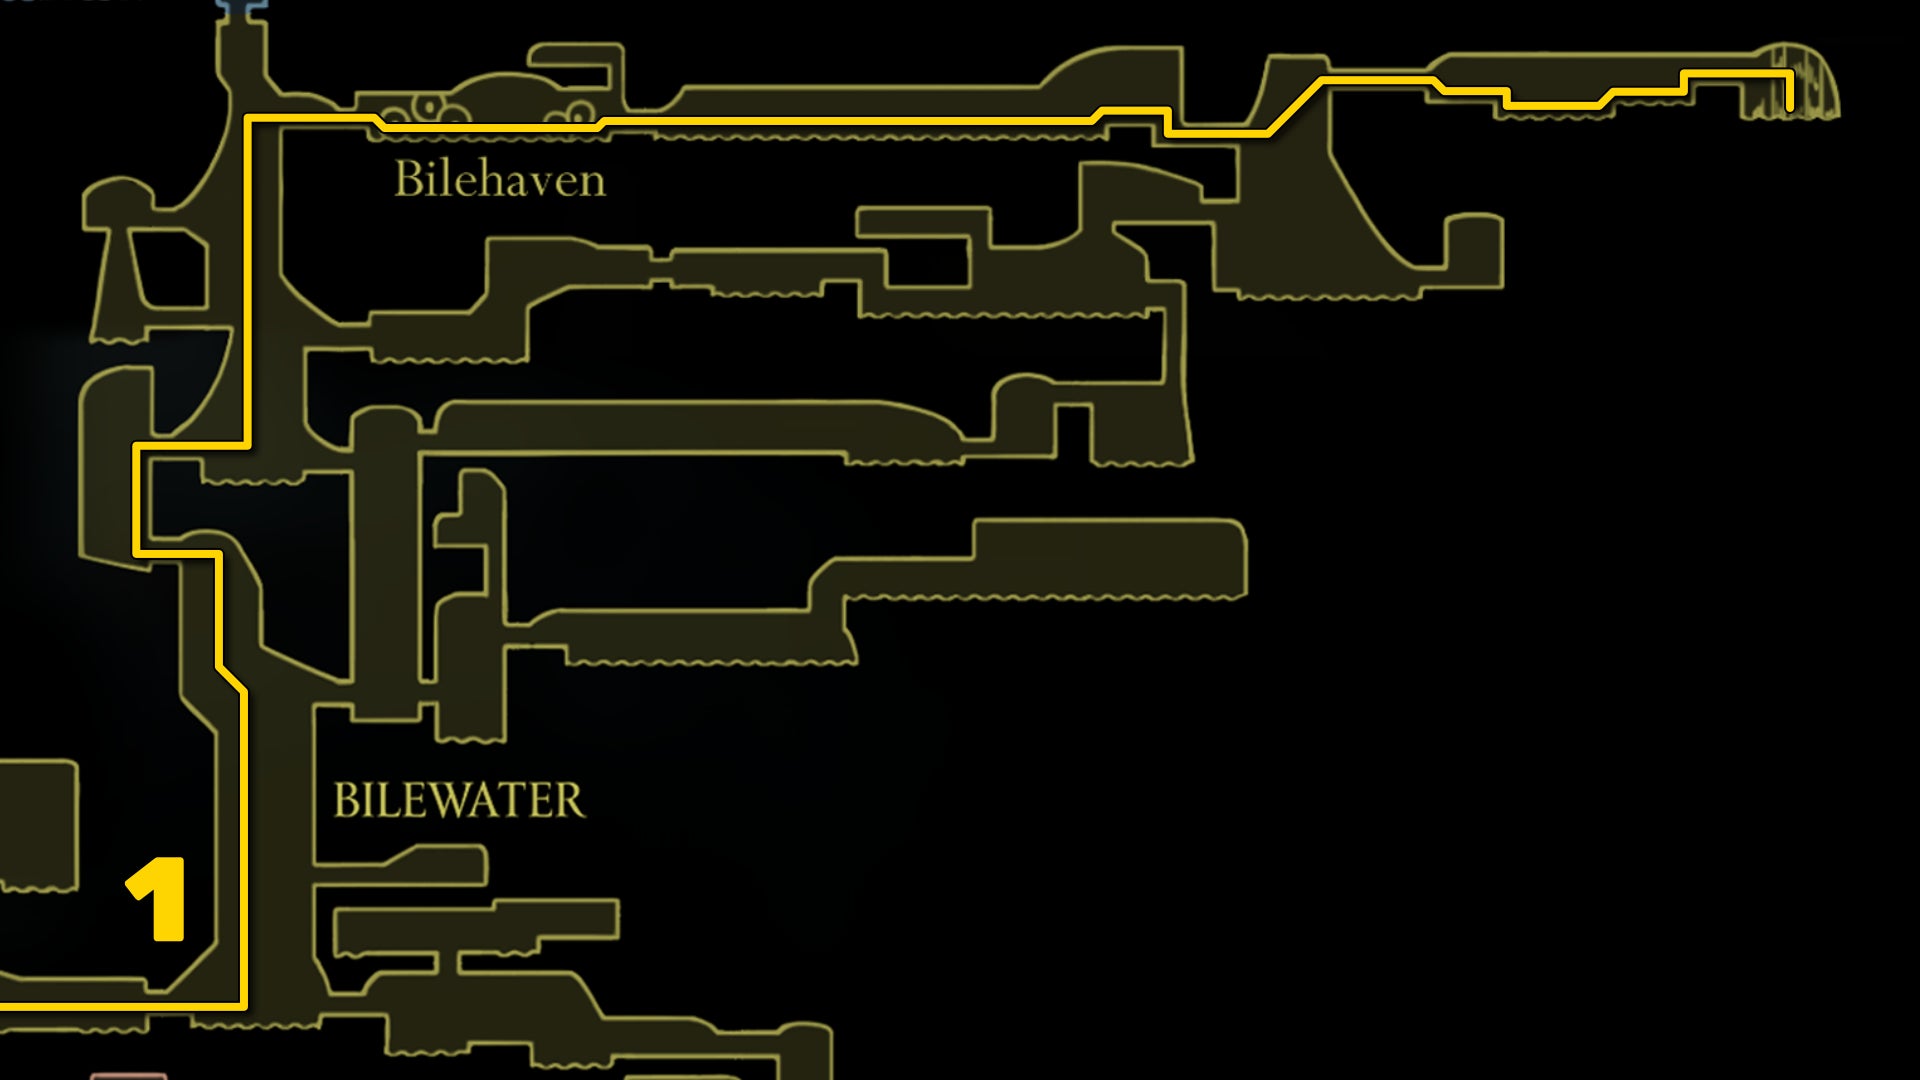
1. Complete Shakra's Last Wish and duel Garmond.
This step is entirely optional, but I recommend before setting foot in the High Halls you visit the nearest Wishwall and accept Shakra's Last Wish quest. This quest will appear on every Wishwall the moment you meet Shakra in every region in which she appears - and if you've followed along with this walkthrough, you'll already have done that as of your last meeting at the Sands Of Karak.
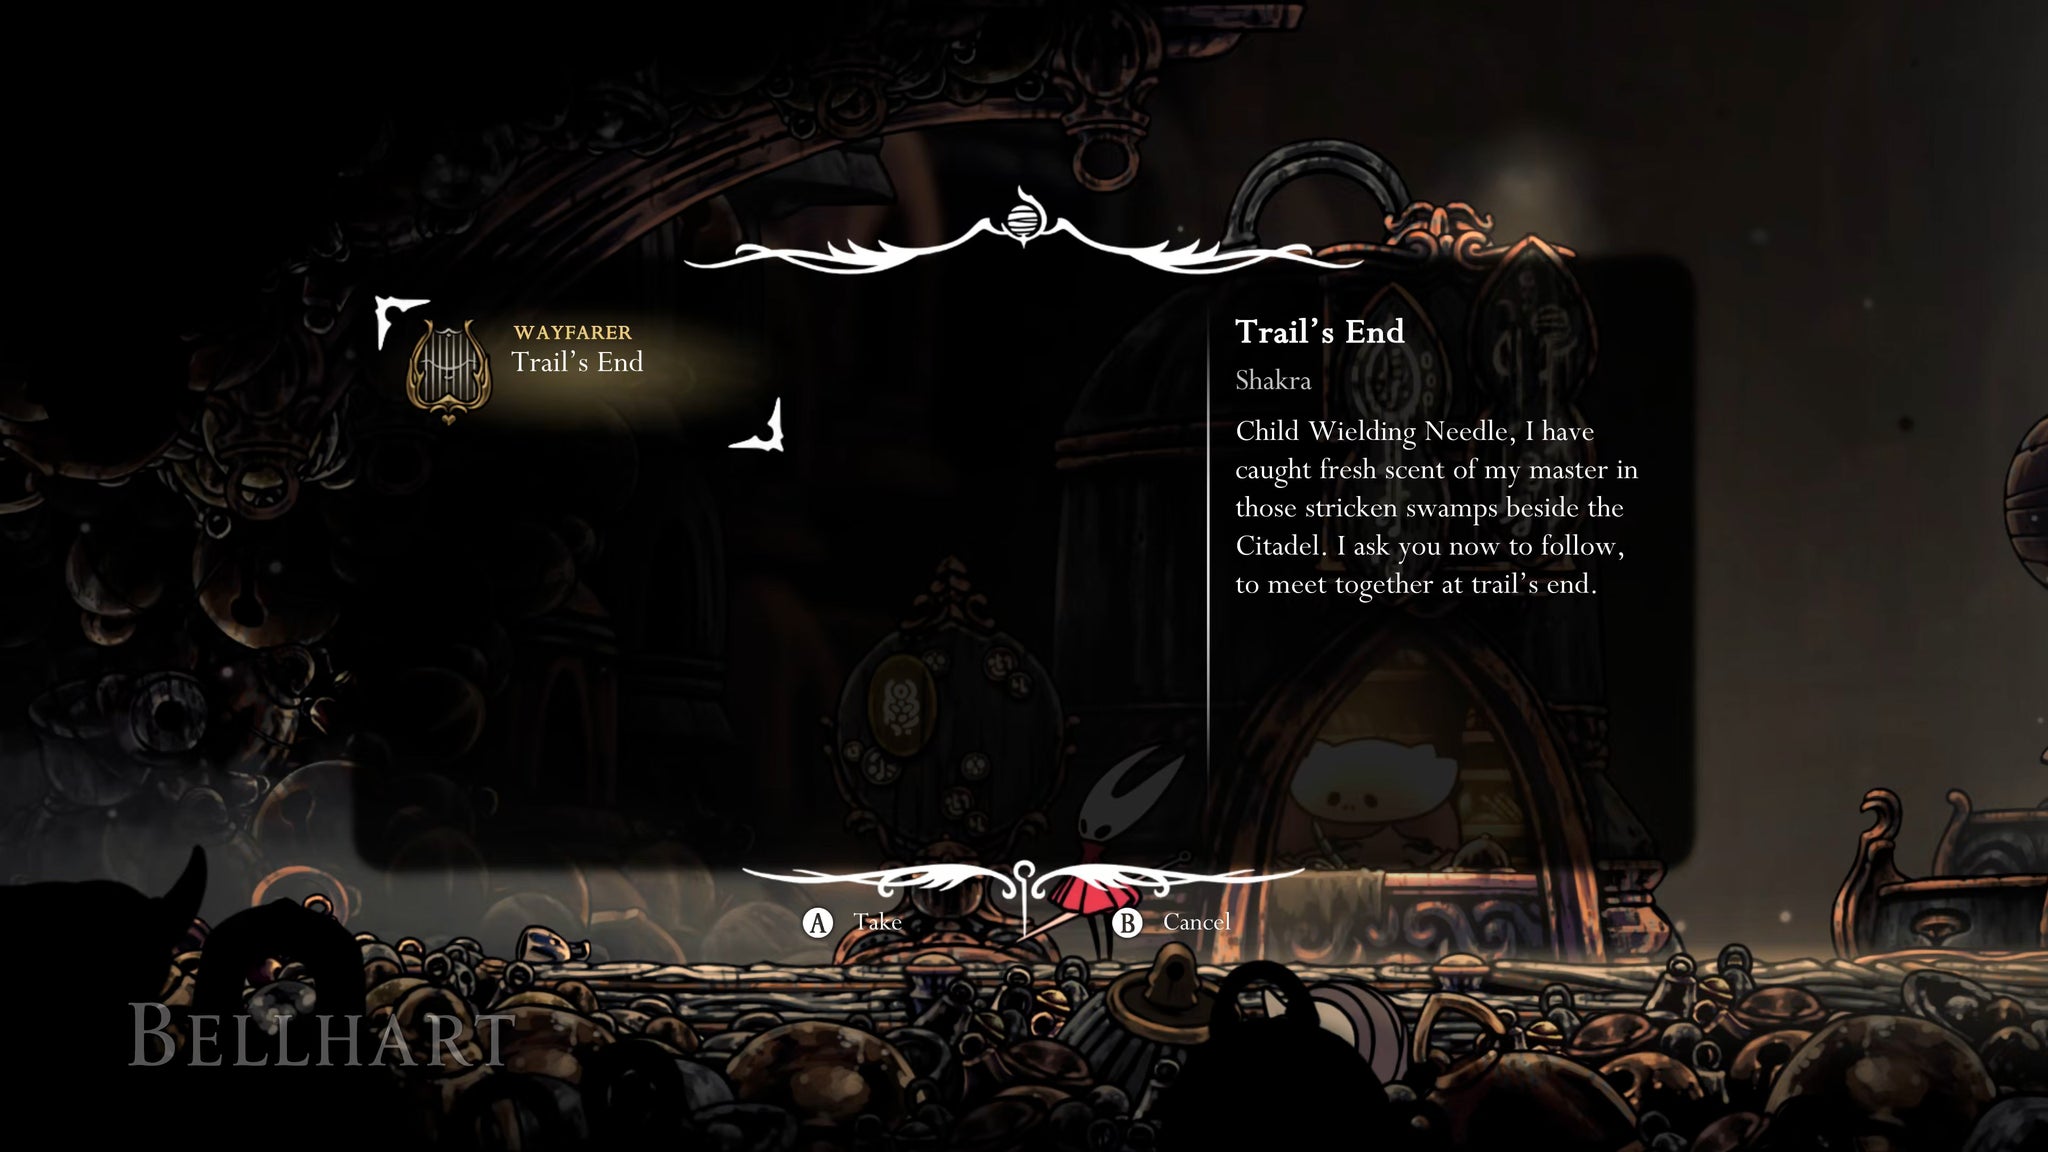
Sadly this quest requires you to dip back into Bilewater. The good news is the quest is extremely short. Head to the Bilewater Bellway, and make your way straight upwards until you reach Bilehaven; then head all the way east, following any trails that Shakra has left behind on the way if you need further guidance.
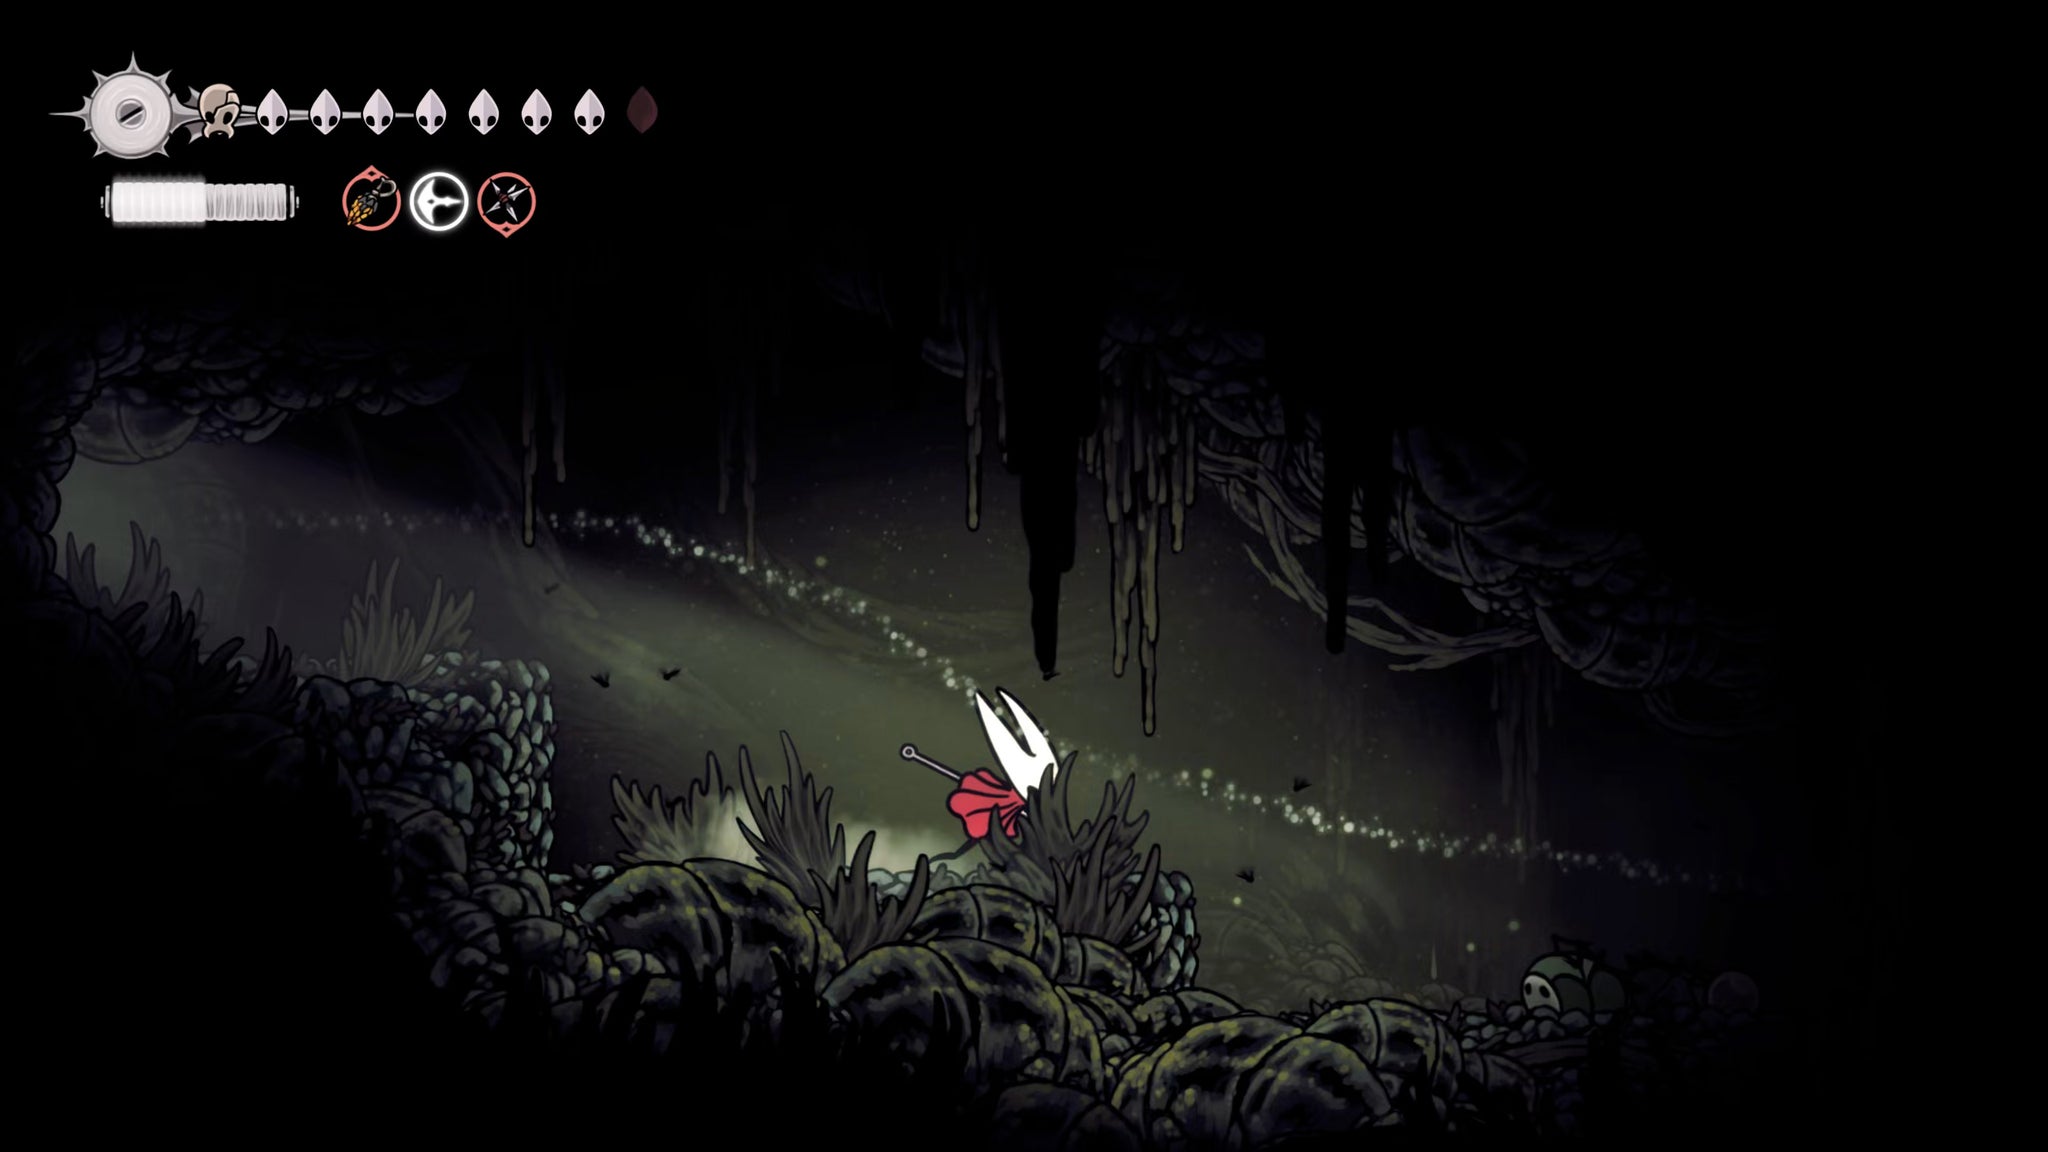
Once you reach the larger room at the end of the corridor, you'll see a new path has opened up, at the top-right corner. Follow the path into a far more tranquil area, where you can find Shakra and her mentor which she has been searching for all this time.
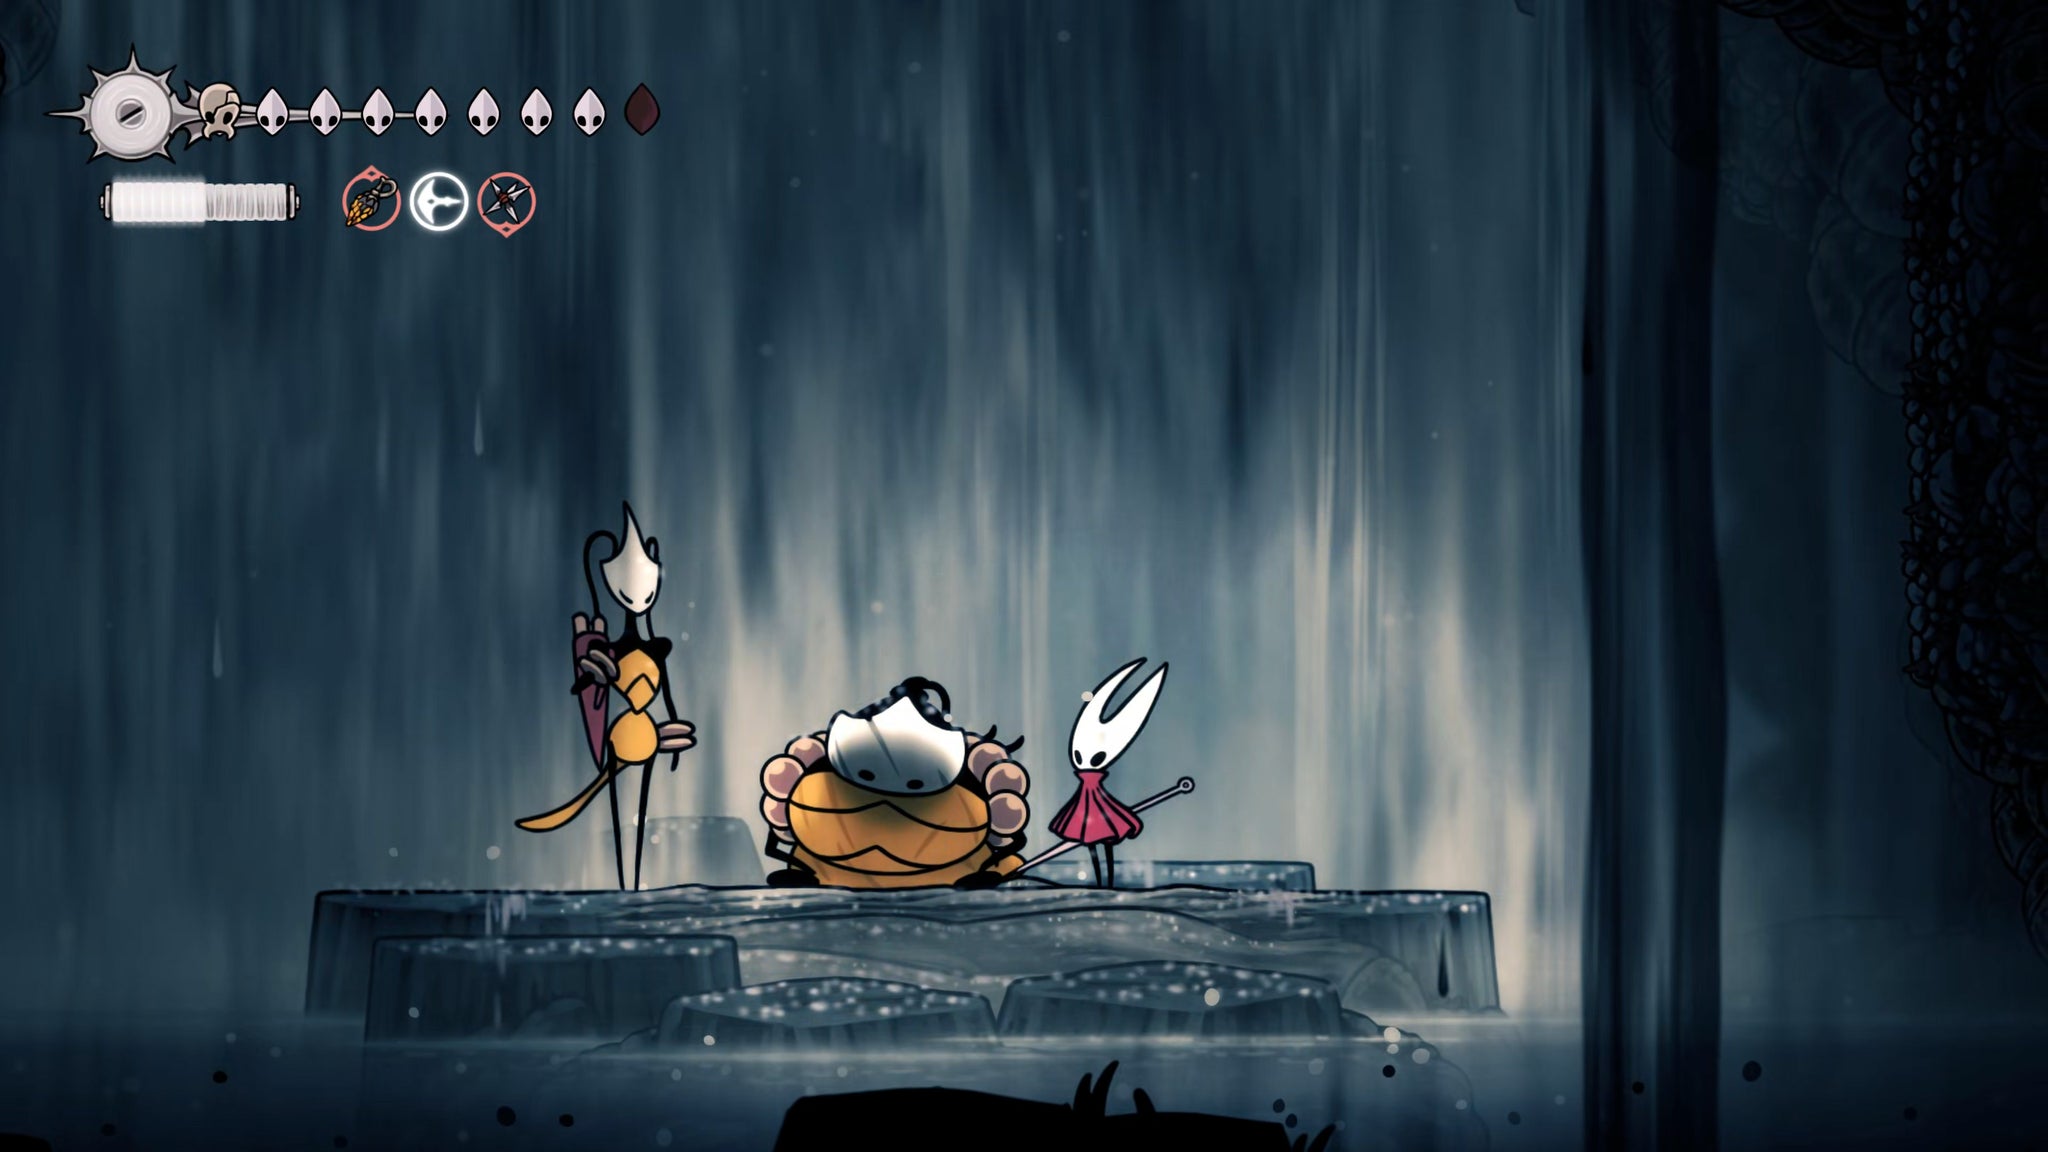
Exhaust Shakra's dialogue, and play your Needolin as she sings to complete her quest and receive her reward - Shakra's own Throwing Ring. It's a fun and useful weapon-tool, but it's not the reason we completed this quest ahead of the High Halls. It's because now Shakra will come to our aid during the final test of the High Halls. We'll get to that later.
At this point I also encourage you to focus on finding Garmond and Zaza at the various places they spawn within the Choral Chambers. The reason for this is that you can possibly get locked out of duelling Garmond if you complete the High Halls beforehand. Here are all the locations where you can find Garmond and Zaza fighting enemies within the Choral Chambers:
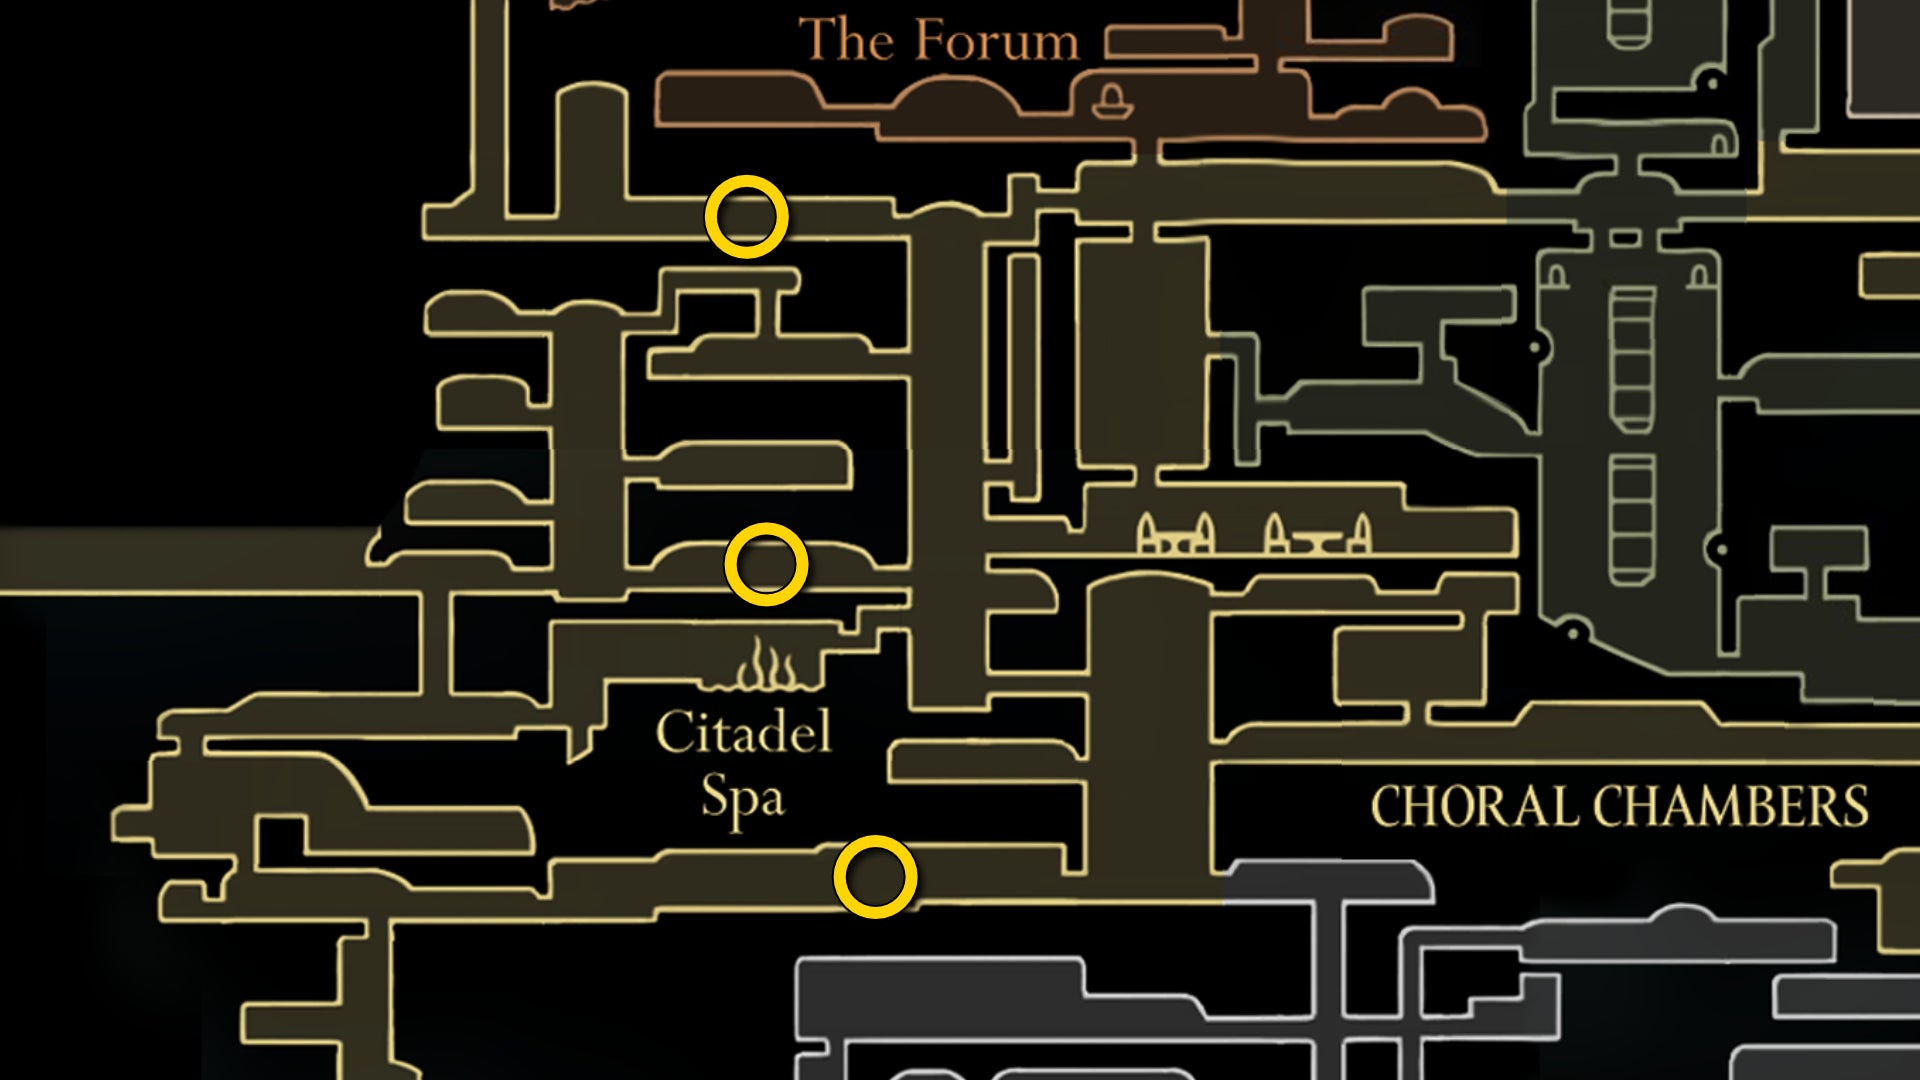
Once you find and speak with him in all of these locations, head to the area to the east of Songclave (accessible via the passage just below and to the right in the Whispering Vaults). There you should find Garmond and Zaza helping you to fight the enemies there once again.
Once the enemies are cleared, you can speak with Garmond and challenge him to a friendly duel. He's not too challenging at all - his attacks are slow, telegraphed, and easy to dodge. And it's also quite easy to push him down into the spikes for extra damage.
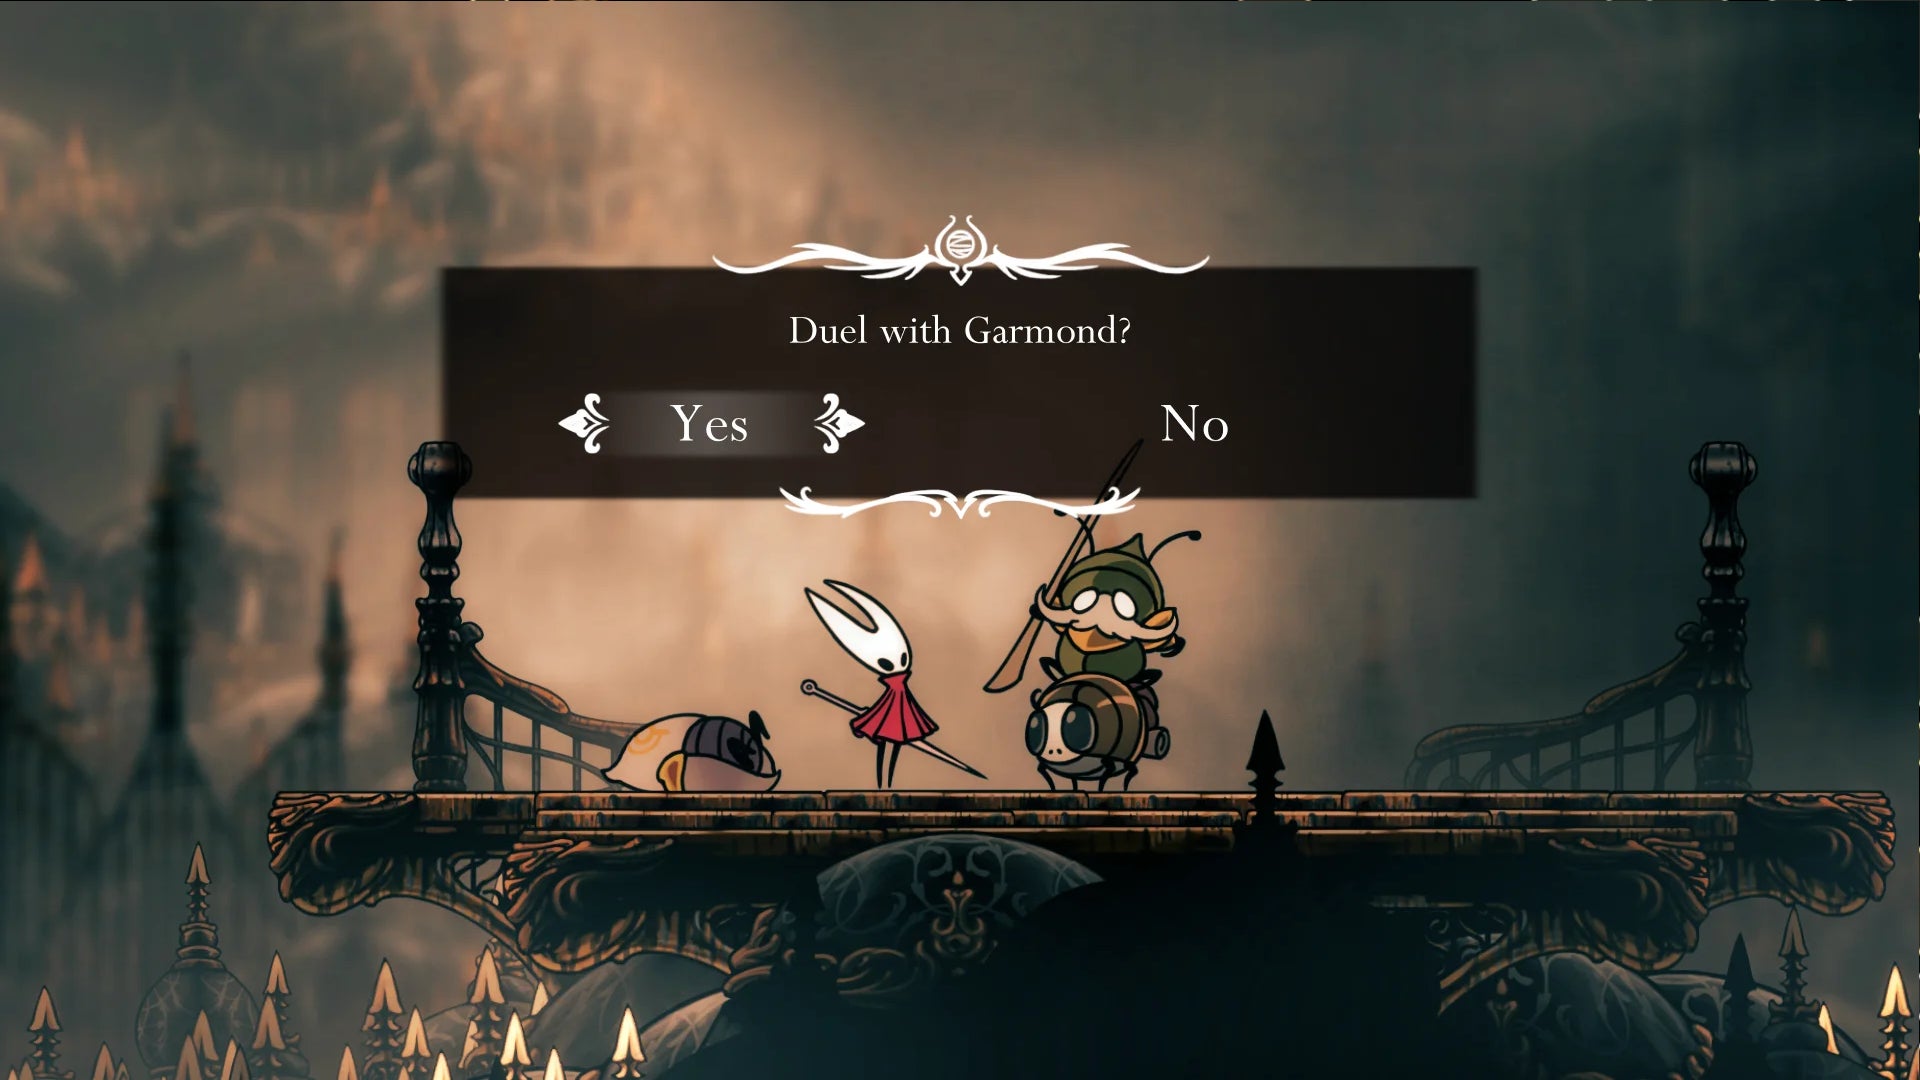
Regardless, if you don't want to miss the opportunity to duel Garmond and Zaza and unlock their entry in your Hunter's Journal, it's best to do this now.
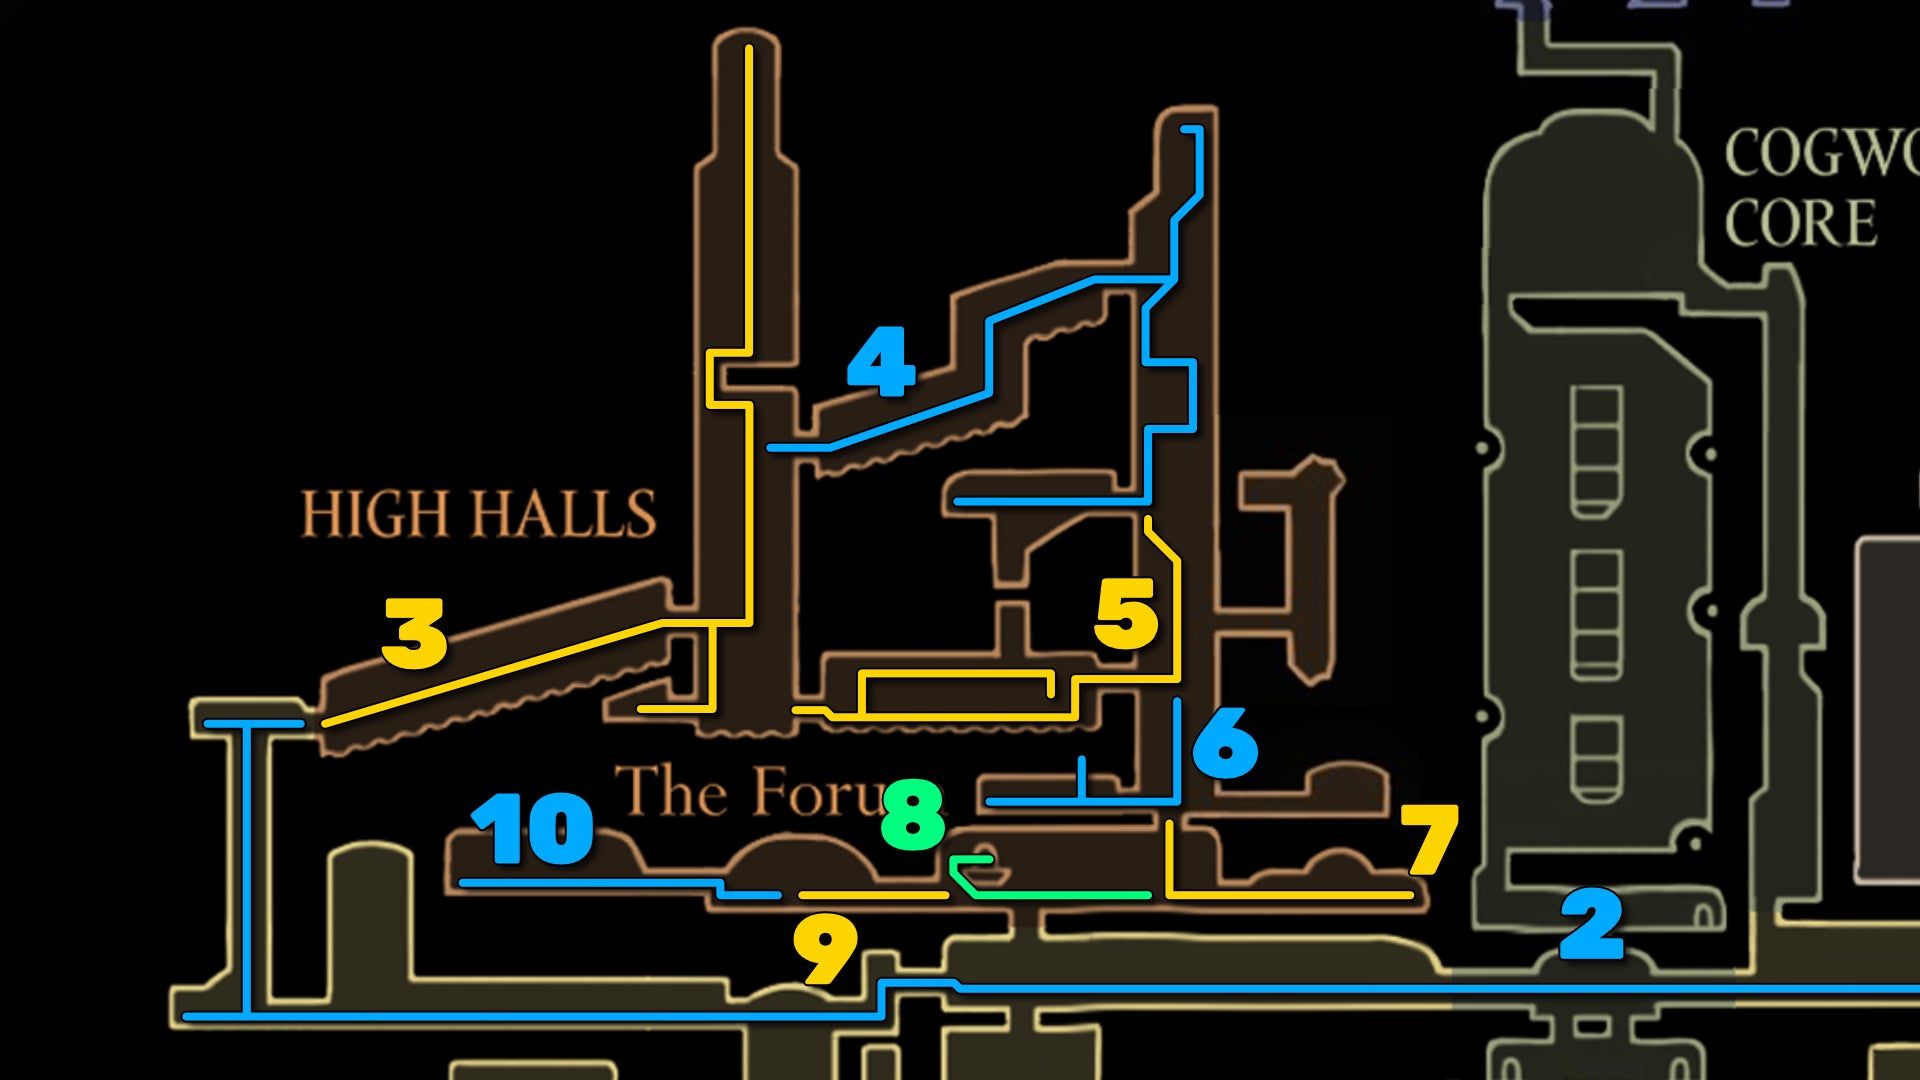
2. Head into High Halls via Choral Chambers.
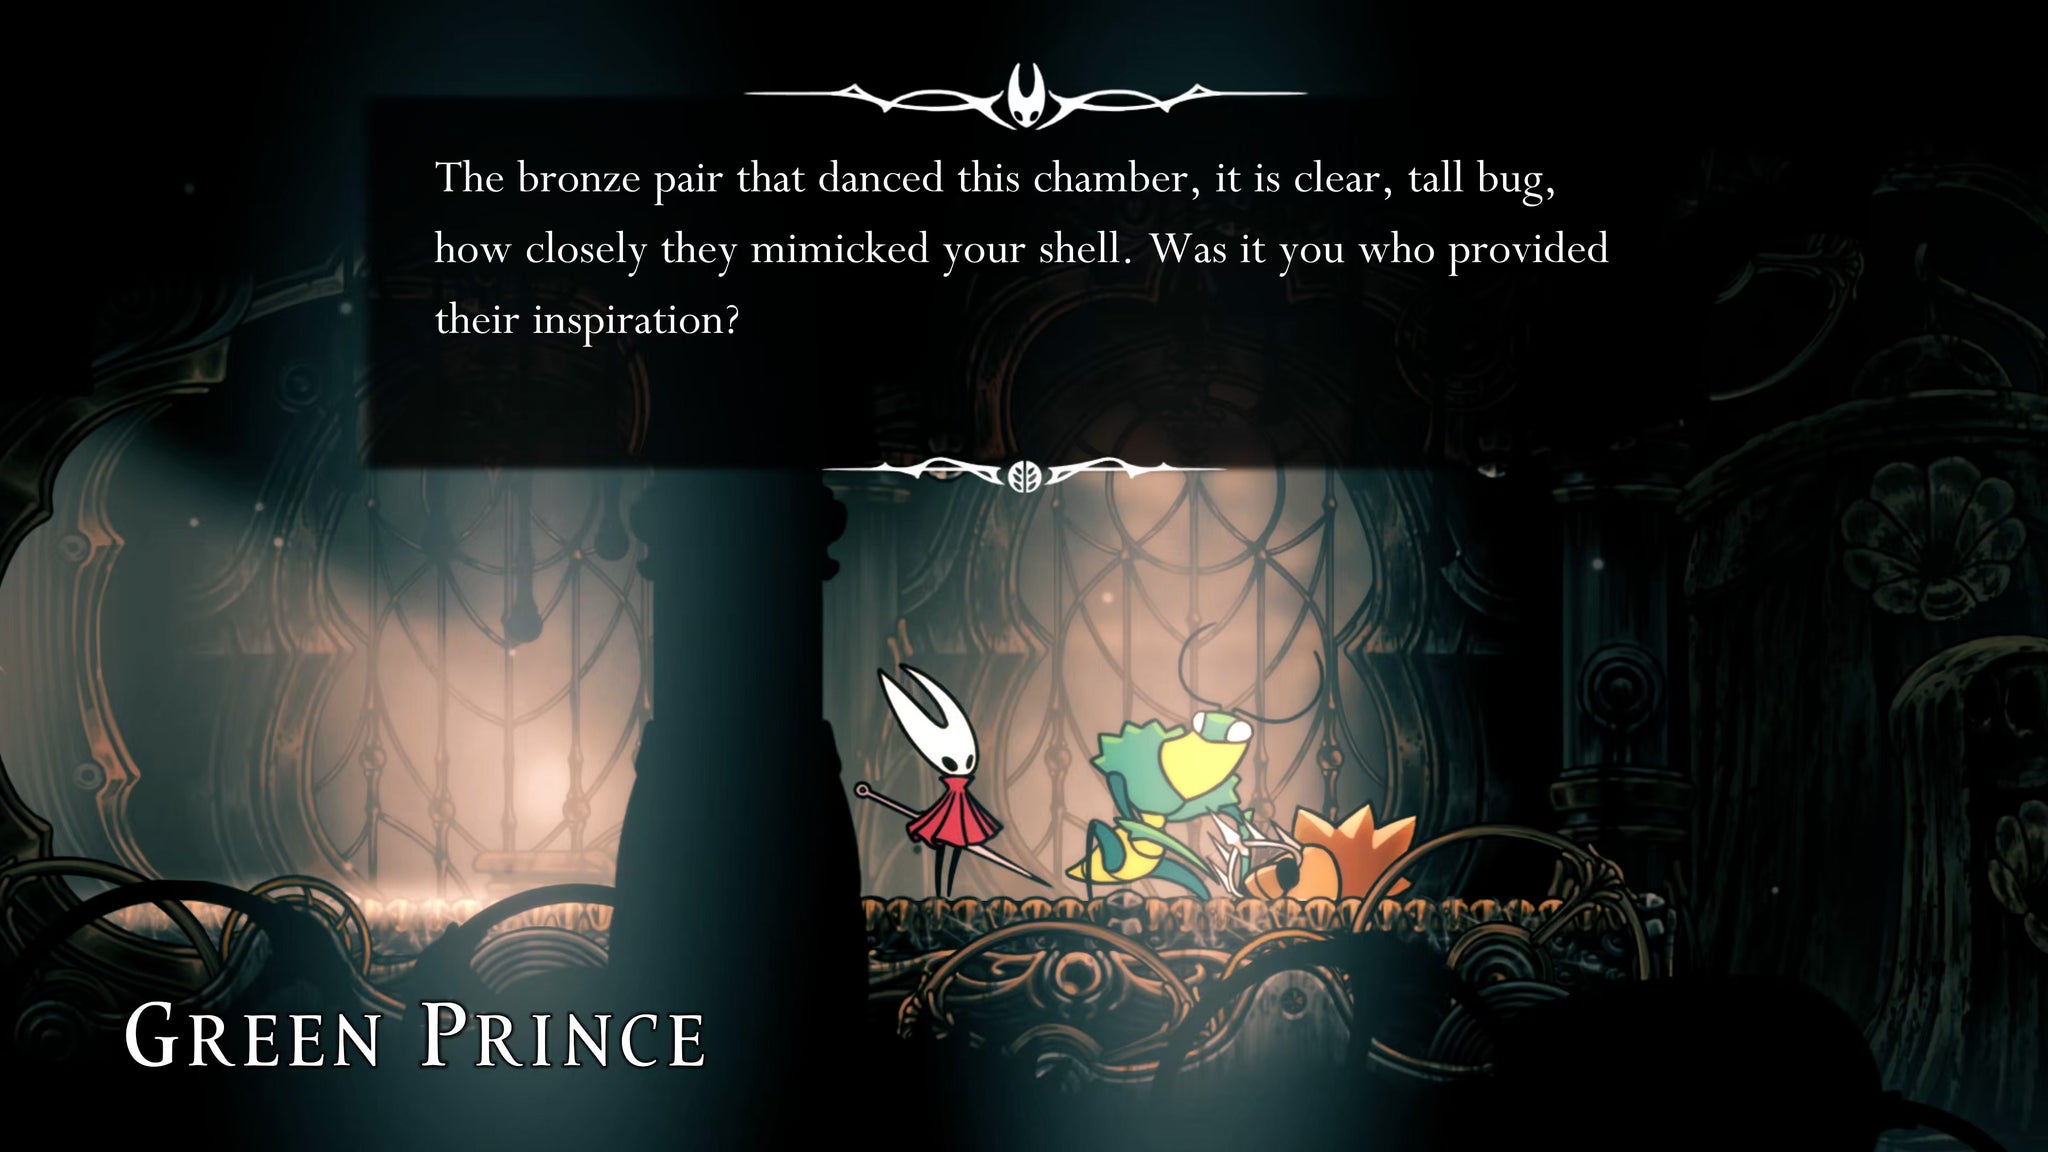
Fast Travel now to the First Shrine Ventrica, and make your way across the long corridors to the west, Pogo-ing over the Grand Reed enemies (we don't have time for them!). Just past the Cogwork Dancers arena, you may find the Green Prince (who you freed from his cell in Sinner's Road), crouched over the remains of one of the Dancers. Feel free to speak with him for some interesting lore if he's there, but it's entirely optional.
Continue on until you reach the very far west side, and rest at the Bench there. Then backtrack just slightly - just above you is a clawline hook. Hook onto it, and then follow the mini jumping/clawline-ing puzzle to reach the top. A couple of the hooks are on runways, so you just need to hang onto them, and they'll pull you upwards to the top, allowing you to reach the next one.
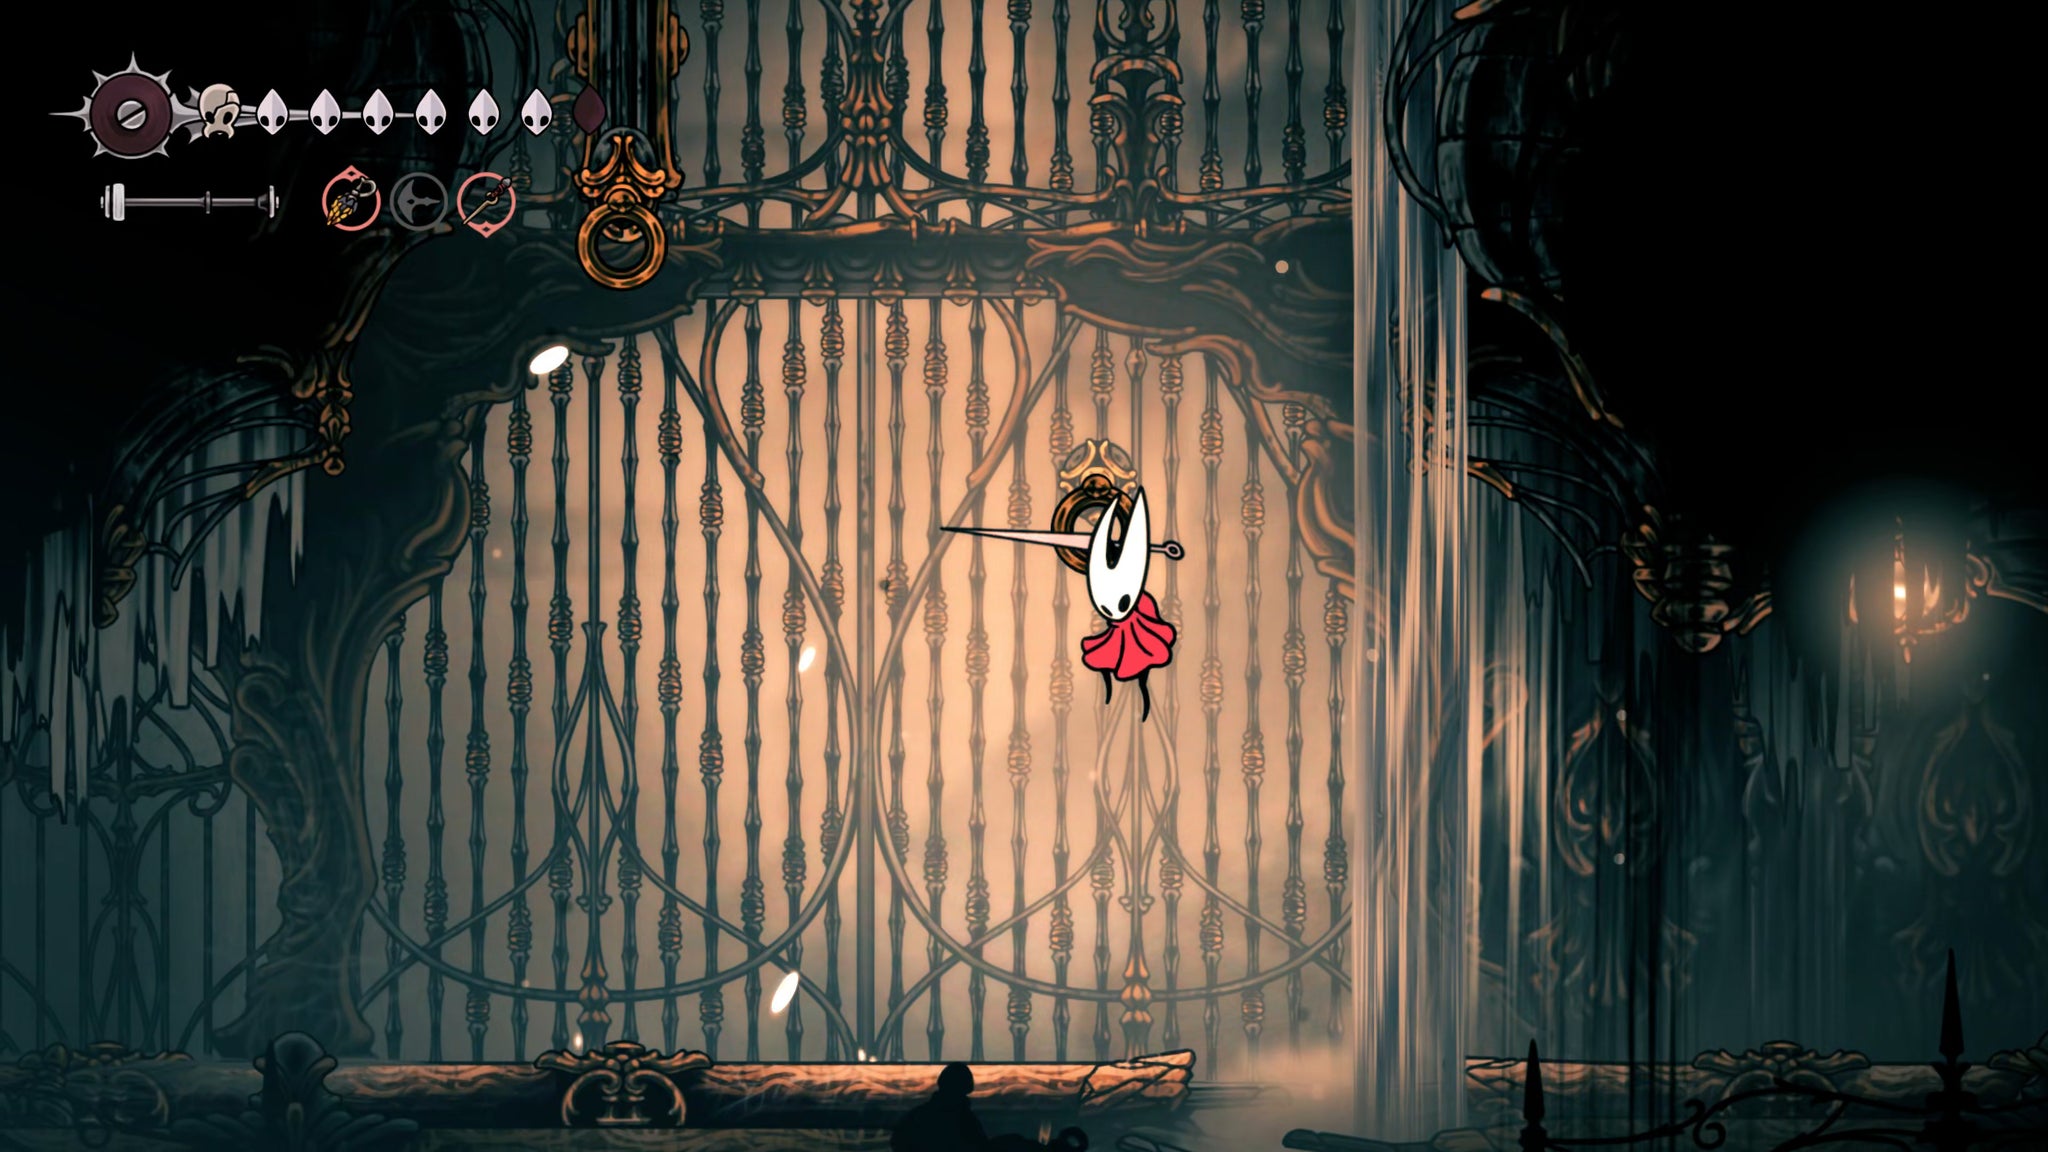

At the top, you'll find a spool of Silk to destroy on the left if needed, and the entrance to the High Halls on your right.
3. Collect the Spool Fragment atop the tower.
The first room of The High Halls is a simple slanted corridor where you must jump and fight your way to the top-right. Along the way you'll meet a couple of new High Halls enemies - Maestros - which can summon Cogflies around themselves. Ignore the Cogflies as much as possible, and just focus on killing the Maestro quickly.
Keep going until you reach the next room, which is a long shaft. You can drop to ground level first and investigate the tiny room to your left for some Shell Shards, but after that, make your way up the shaft by latching onto the spinning wheel at the attached clawline hook points. Further above you'll have to kill another new enemy - a Minister.

There's an exit on your right near the top, but ignore it for the moment, and jump further upwards to the exit in the ceiling above. Here you'll find another shaft to climb using more wheels with clawline hook points. The difficulty about this section is that a couple more Ministers will attack you while you're on the wheels. It's best to get their attention and bring them down to ground level in order to take them out; otherwise, you can just Pogo off their heads or make use of your Silk attacks to kill them as quickly as possible.
At the very top, you'll find a Spool Fragment to collect. Once it's collected, drop back down into the previous shaft, and take the exit on your right.
4. Construct the Cogfly tool.
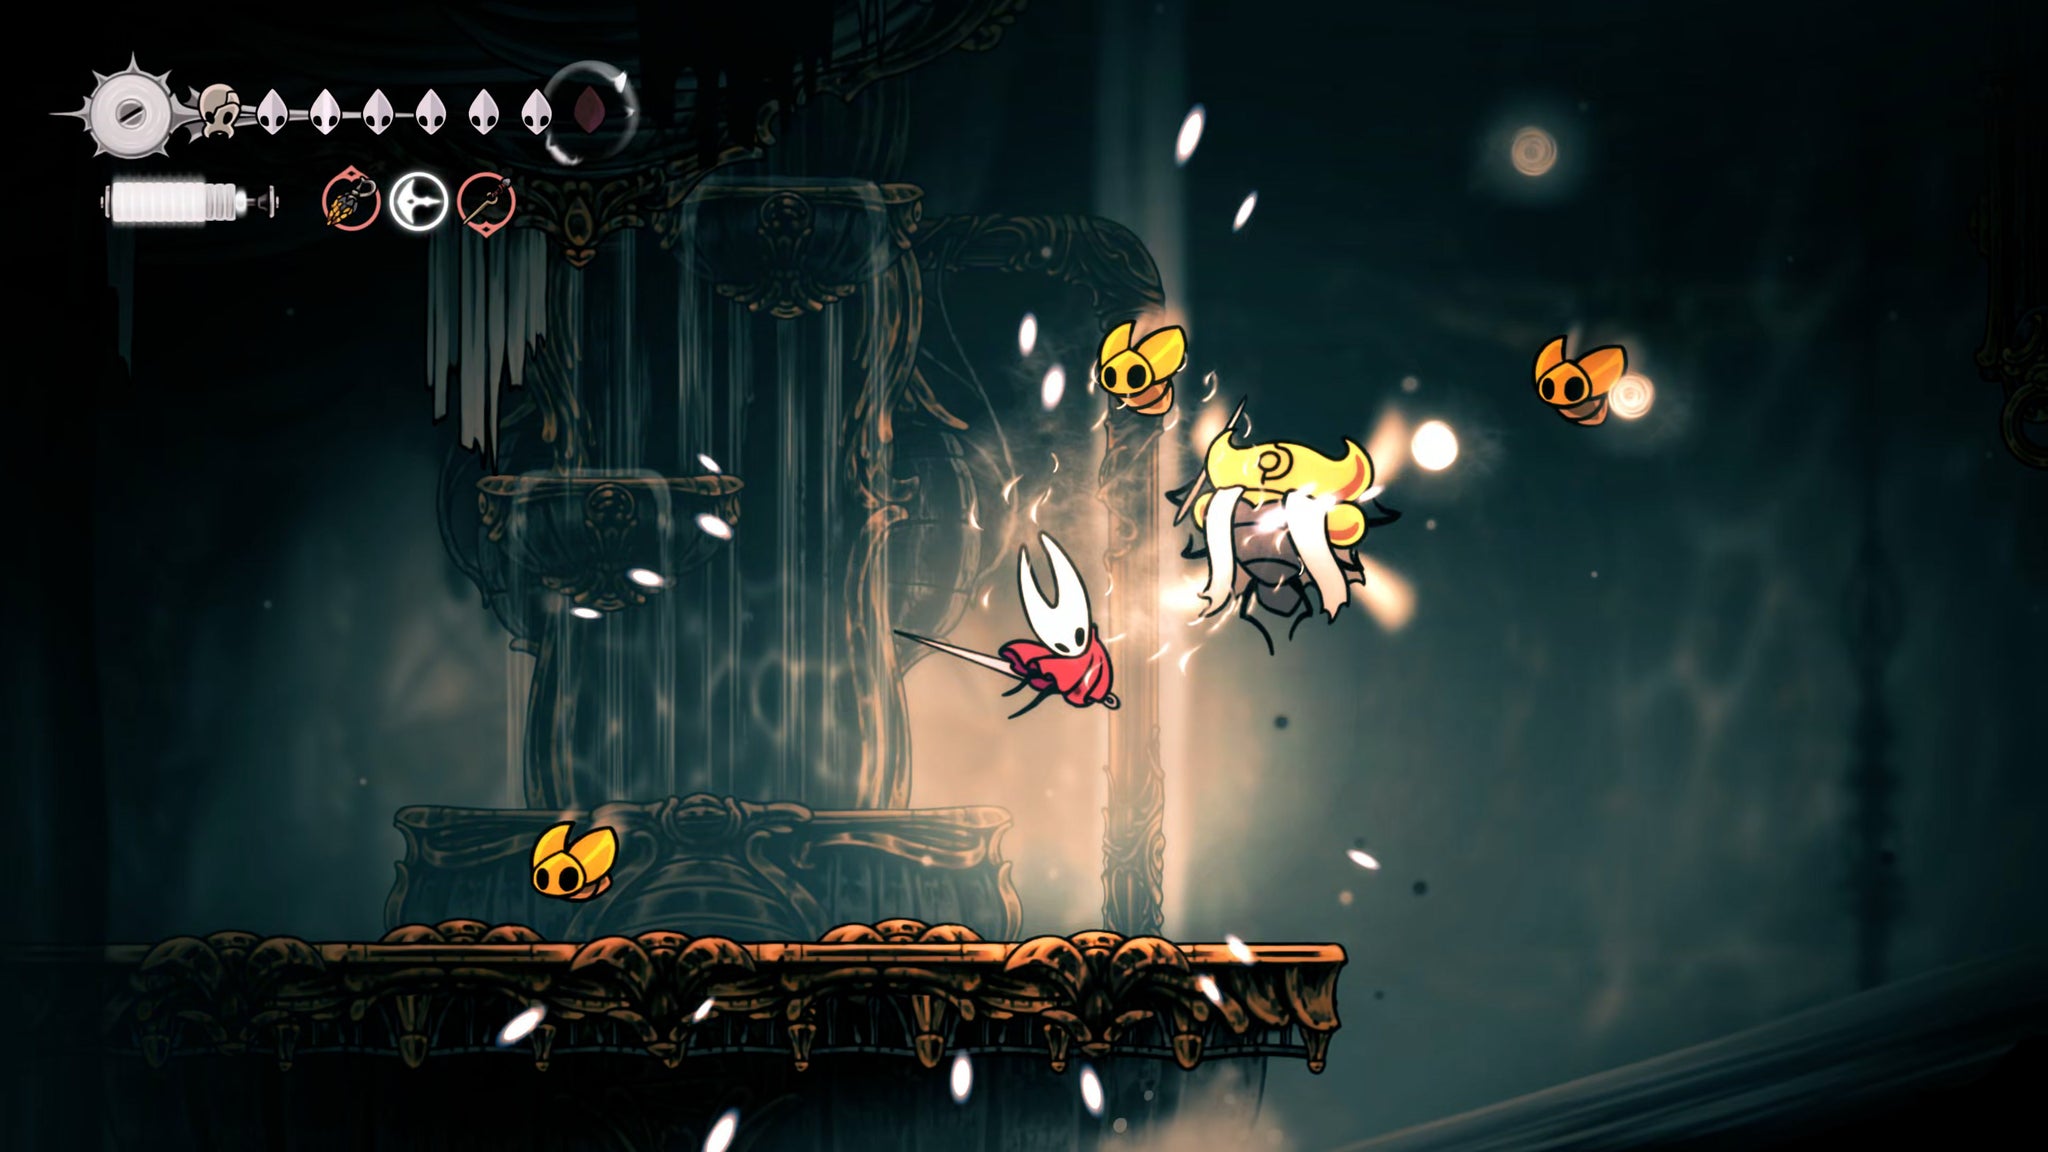
The next room in the High Halls is another slanted corridor, much like the first room. You'll find more Maestros and Ministers to fight as you make your way to the upper-right exit. When the game throws two Ministers towards you at once, be careful - together, they're pretty strong. Consider jumping ahead to the larger platform and killing them there, where you have more room to manoeuvre.
Once you reach the next room, ride the wheel above you to the top, where you'll find a chest full of Rosaries to collect. Then drop down to below the wheel again, and glide further down along the very left-hand side beside the spikes. Latch onto the clawline hook, and hang there for a moment - it'll unlock a passage below you through the spikes.

Continue gliding further down through the obstacle course of spikes, using more clawline hooks to open up the path as you go. Once you reach the bottom, kill the Minister there and then take the left-hand exit.
This room contains nothing of importance except at the very left-hand side, where you can interact with the table there to construct the Cogfly tool.
This is one of the most useful tools in Silksong in my estimation - it's an autonomous little Cogfly companion that you can throw into the air to permanently reside until it's killed. It'll seek out nearby enemies and bump into them repeatedly. It doesn't deal much damage, but it's very handy particularly against flying enemies.
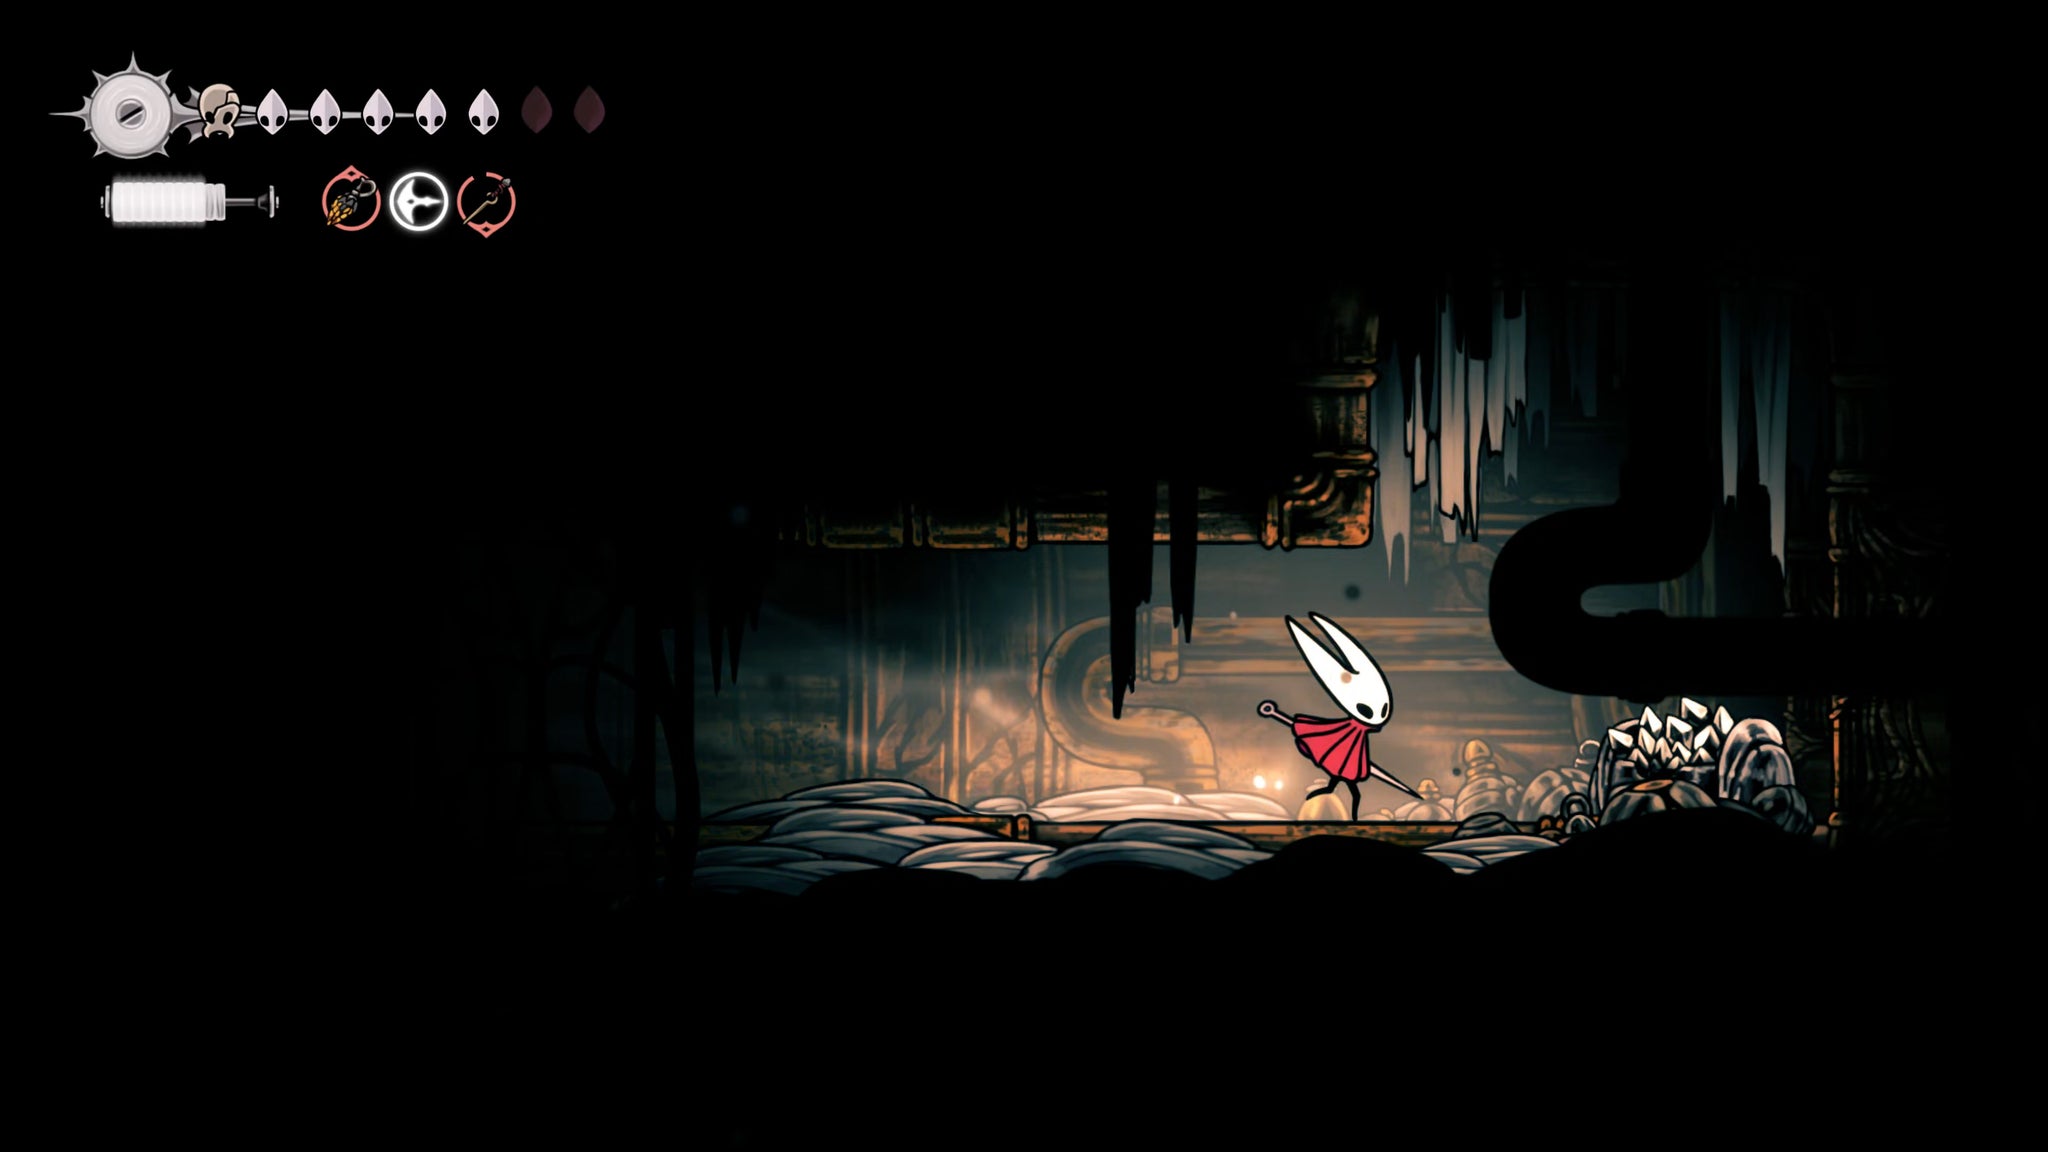
As an aside, you can also drop down the hole in the floor of the Cogfly room. At the bottom you can swim to the right, through the waterfall, to reveal a tiny little compartment with some Shell Shards (and a Giant Drapemite). Once that's done, make your way back up and exit the room again.
5. Obtain the Psalm Cylinder.
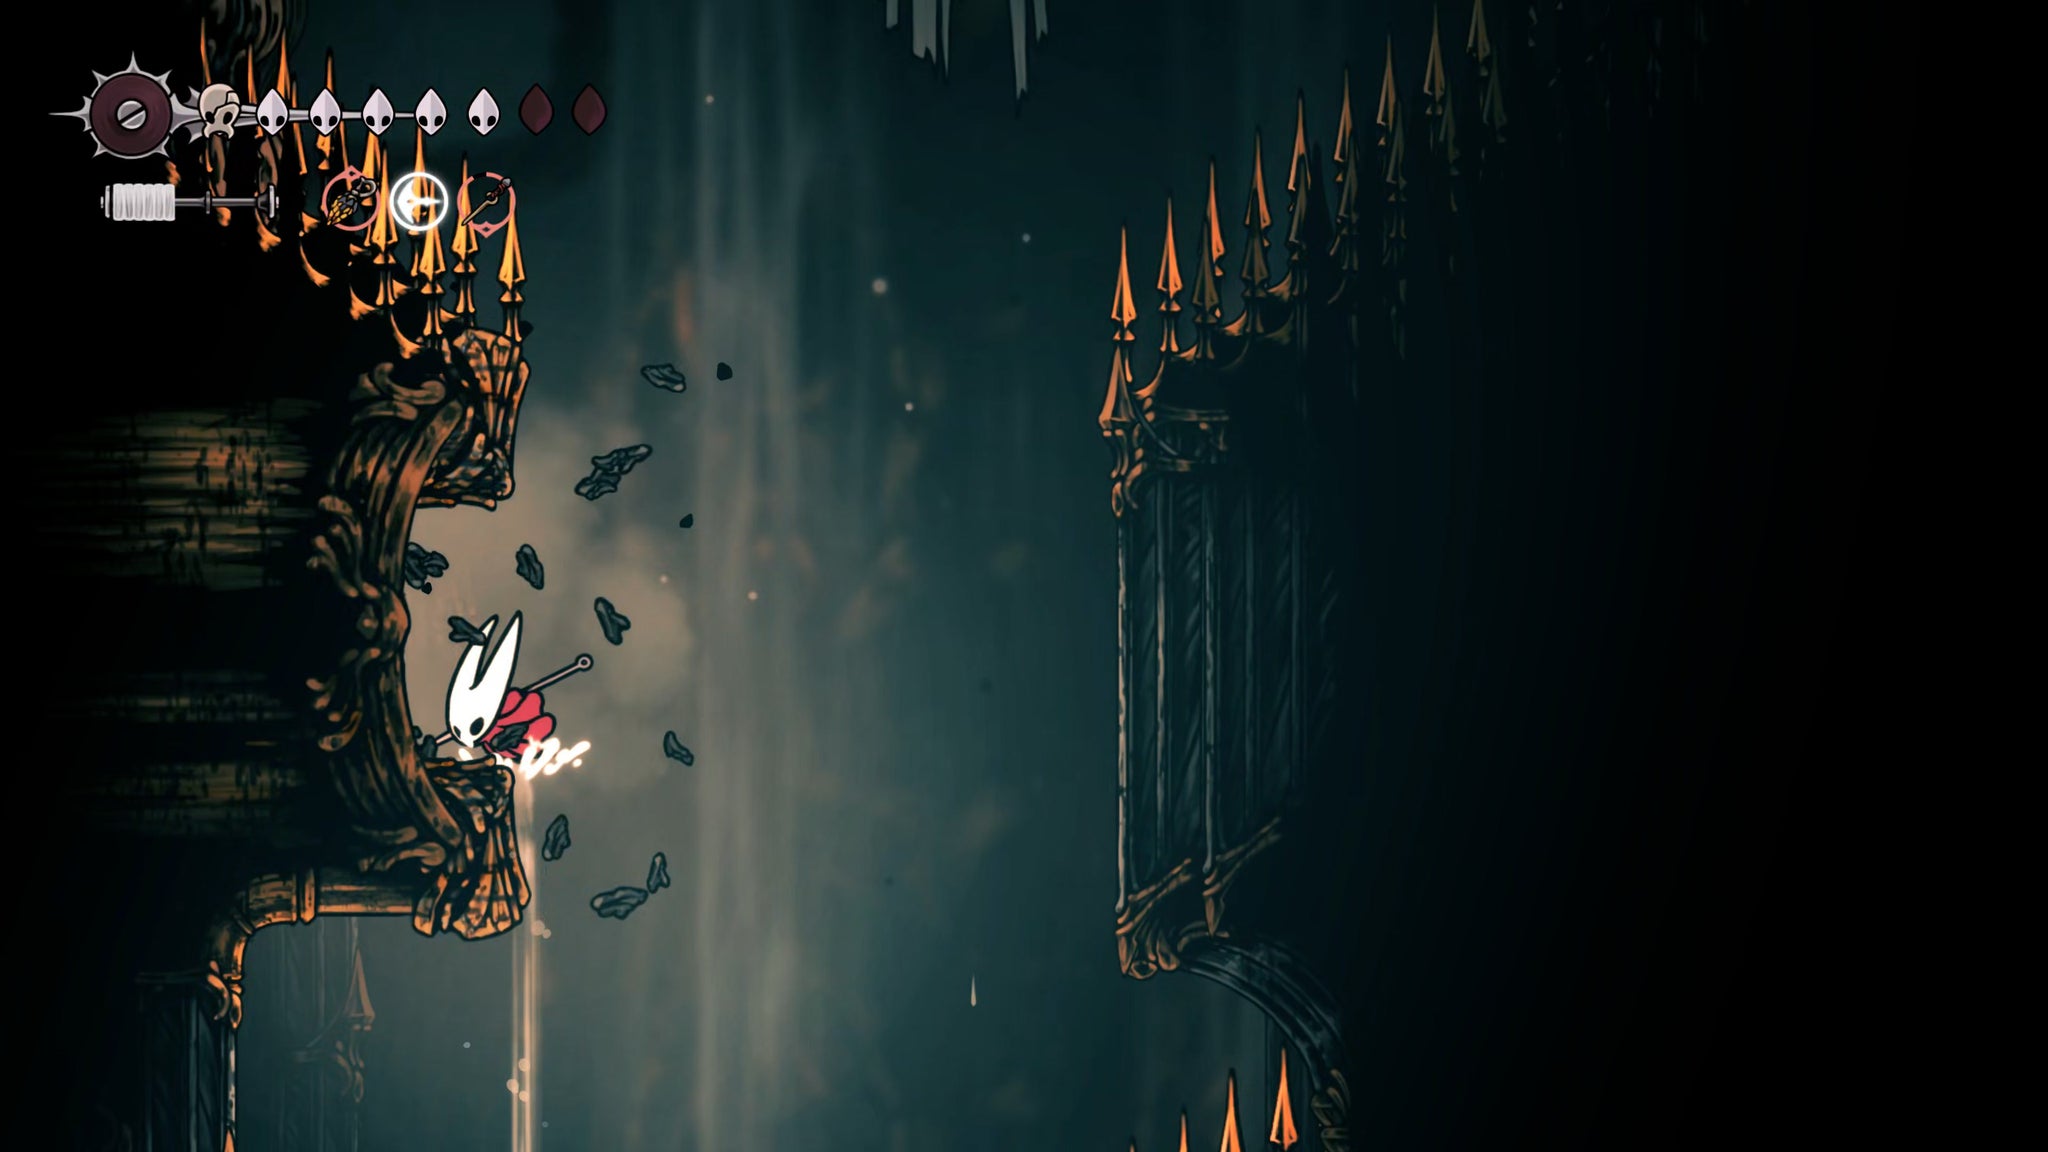

Drop down to the ledge below, and then glide past the spikes even lower. Partway down, you'll see a conspicuous area of breakable wall sticking out from the left. Cling onto the wall and break it open to enter this left-hand room.
Inside is a fairly simple criss-cross of waterway tunnels. Drop to the bottom and head all the way to the left-hand side, where you can break open the wall for a shortcut back to the large shaft earlier in the High Halls. But rather than going through the shortcut, climb upwards just before you reach the exit, and you can then follow the path back to the right.
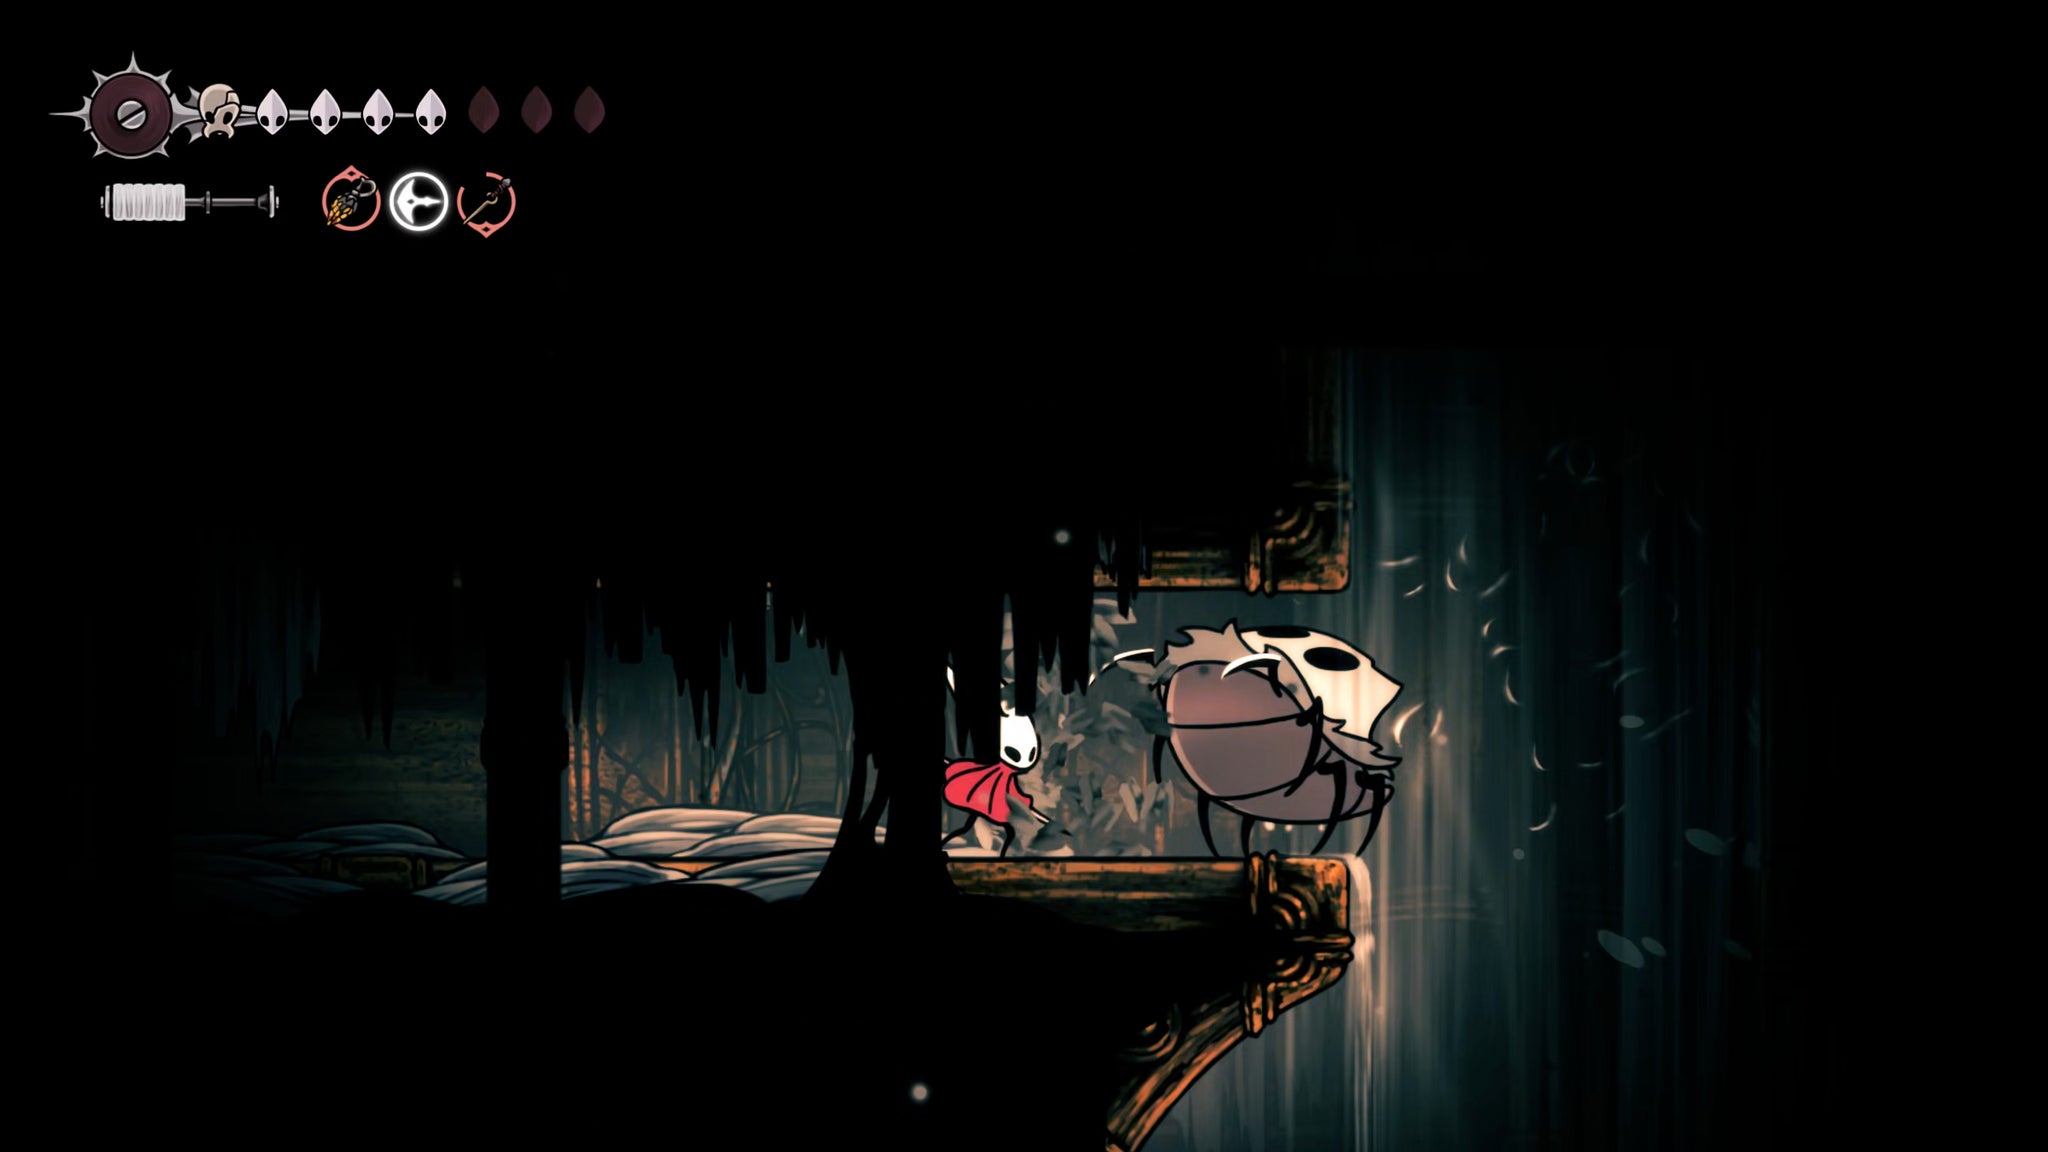

At the end of the path is an item on the floor that you can loot for a Psalm Cylinder. Remember to hand this in to Vaultkeeper Cardinius in the Whispering Vaults at some point! In the meantime, you can now drop down the nearest hole and exit back through the right-hand exit you used to enter this room.
6. Disable all Clawmaiden spawns.

Continue to navigate the spikes on your way downwards, until you reach solid ground at last. There are two exits here - one to the left, and one below. Take the left-hand path first.
At the end of this dark room is a large cart. Hop onto it to loot the Frayed Rosary String atop it. Then, jump back down and attack the cart once (from the right-hand side) to get it to bounce off the wall slightly. Doing this will open up enough of a gap for you to sidle into the left-hand side of the cart.
Now, from the left side, keep attacking the cart to move it along to the right. Line the cart up directly underneath the two water leaks coming from the ceiling on the right-hand side of the room. Then climb onto the cart, and double-jump upwards between the leaks to reach a secret room above.
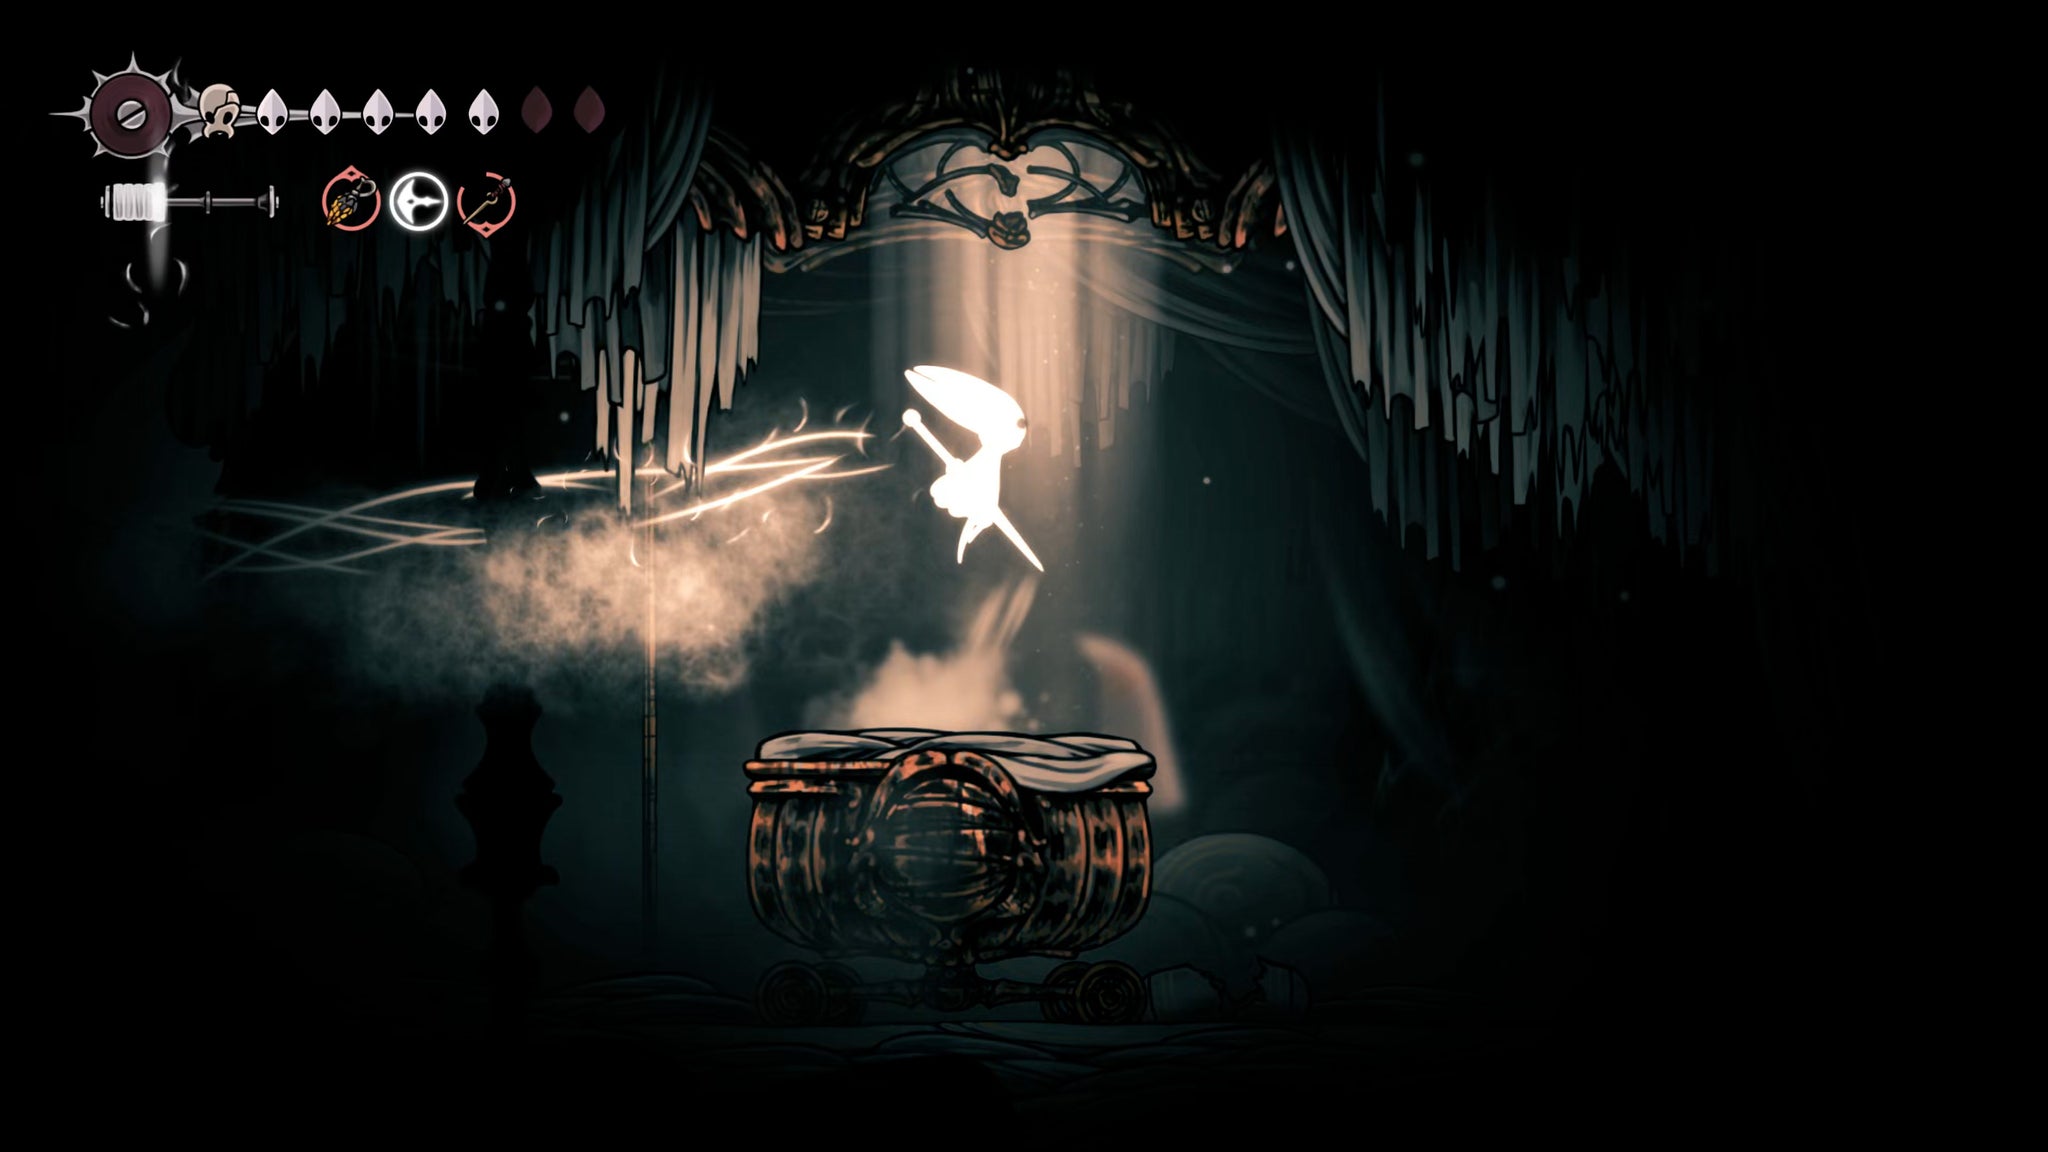

This next room is filled with Clawmaidens, nasty Citadel Silk creations which sap your Silk repeatedly in order to charge up large ranged needle attacks. What you need to do is completely ignore them (apart from avoiding their needle attacks), as you push another cart towards the end of the corridor.
Near the end of the corridor there's a section of breakable ceiling. Line up the cart under the ceiling, break it open, and jump upwards to the ledge above. At the end of this upper path past some circular saws, you'll find a large clump of silk threads. Attack the threads to destroy them - doing so will permanently disable all Clawmaiden spawns, not just in this room but in the whole of the Citadel. What a wonderful little secret room!
7. Rest at the Bench and buy the High Halls map.
Return back to the first room with the cart, and then exit back out to the right. Drop down the hole below, and then drop to ground-level in the next room.

Take the right-hand exit with the Ventrica sign, and you'll at last be able to rest at the Bench there. Just beyond that, you can spend 80 Rosaries to unlock the High Halls Ventrica Station, and 70 Rosaries at the model of the Citadel to unlock the High Halls map.
8. Obtain the Rosary Cannon.
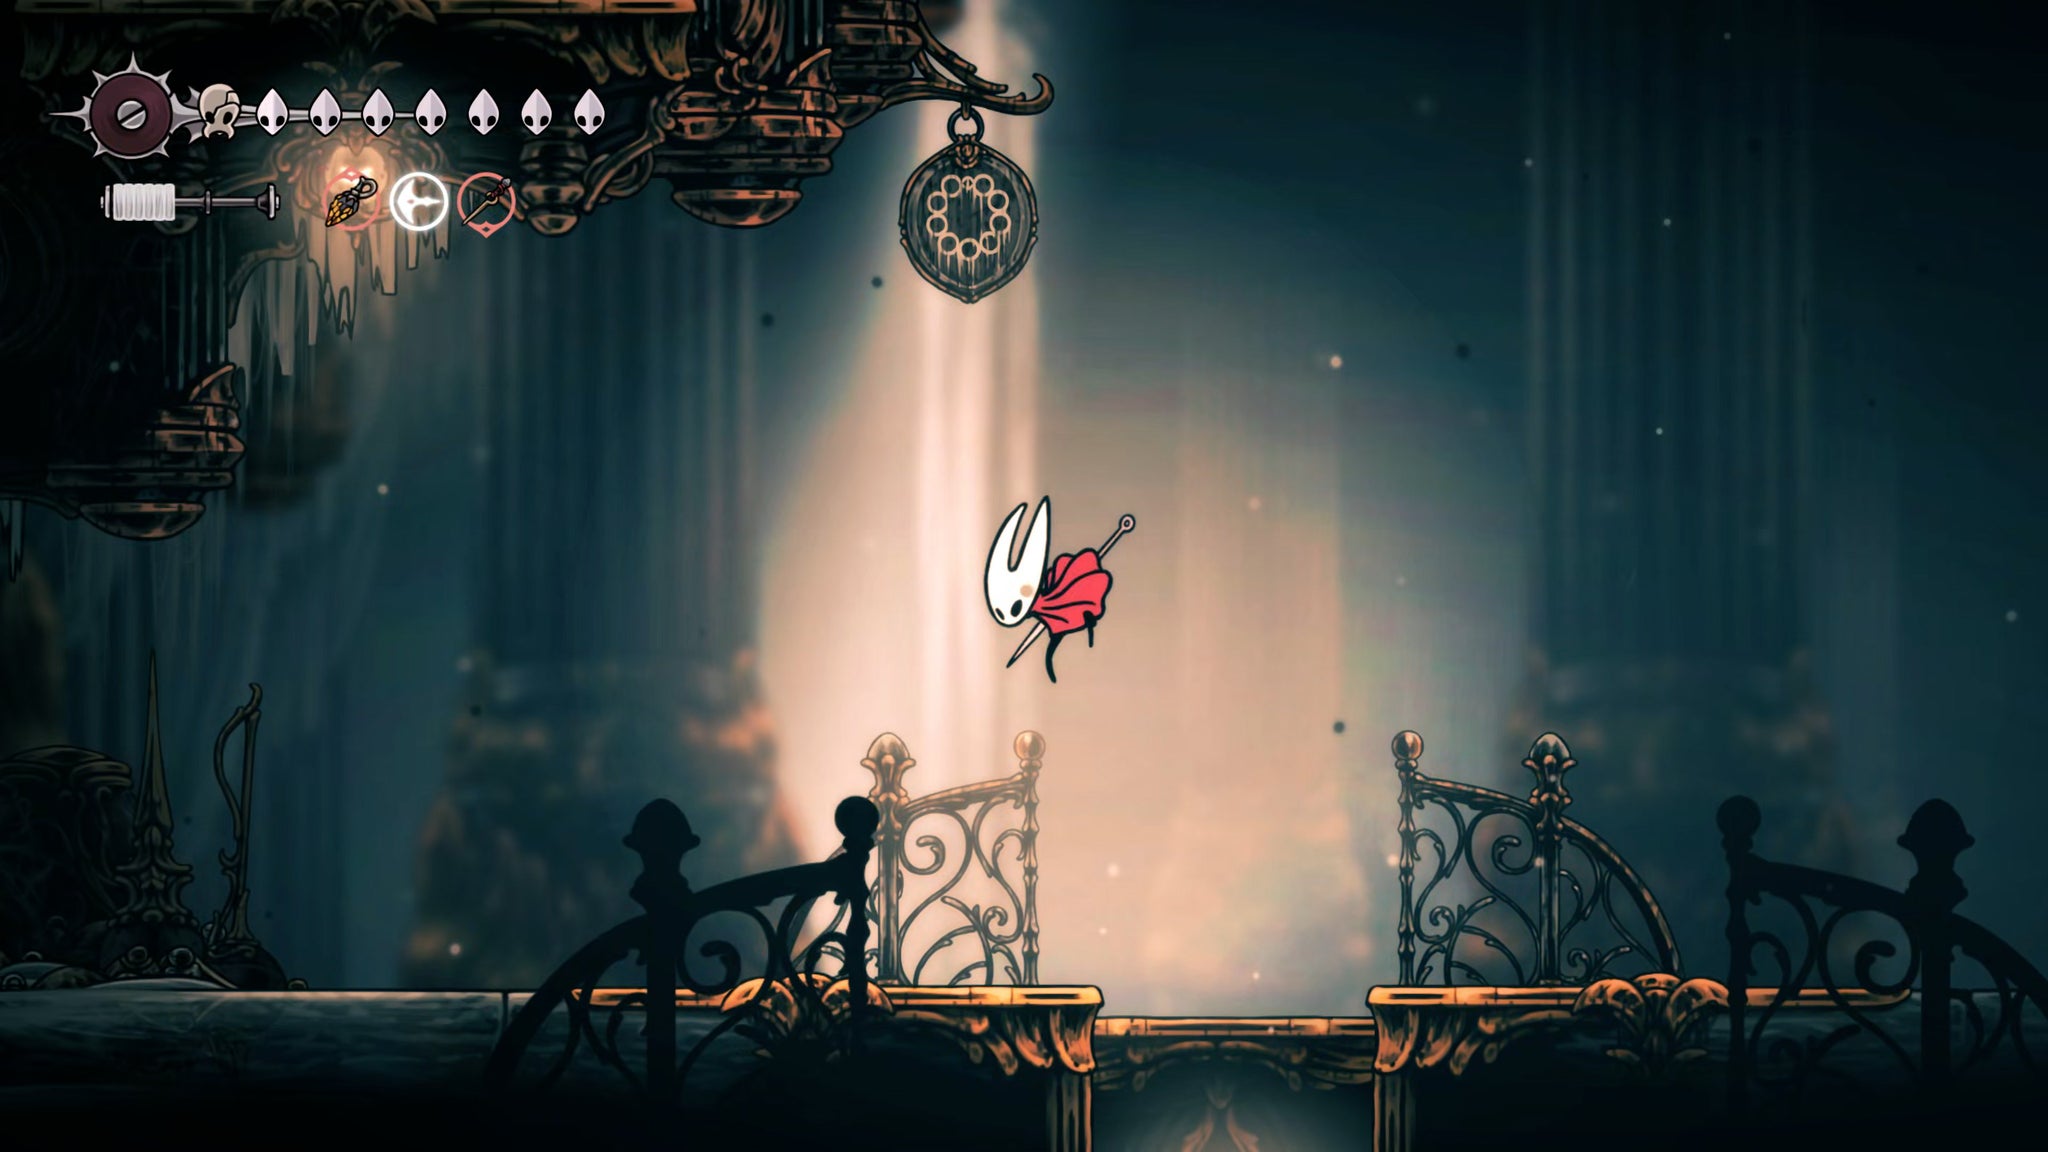

Exit out of the Ventrica room, and walk along the floor until you reach a lever. Hit the lever to open up a shortcut back down into the upper corridors of the Choral Chambers.
Then jump up to the ledges above you, and you'll find an ornate locked door. Use your last Simple Key on it to open it up and enter.
Head along the interior of the room. Just past the Rosary Necklace crafter, you'll find a section of breakable ceiling above you. Break it and jump up there, then follow the path past the circular saws. Just beyond the steam vents, a Giant Drapemite will attack you. After it's dead, head to the left-hand side of the ledge and climb upwards into a room filled with Rosaries and chests (filled with more Rosaries).

Once you're done collecting all the Rosaries you could ask for, hit the lever on the left side to open a shortcut back out - but don't take it yet. Instead, drop down the way you came in, and drop all the way this time (but veer to the left when you're near the bottom to avoid the steam vents).
Break open the wall beside you, and just past the steam vents beyond, you'll find a tiny room with a strange tubular contraption hanging from the ceiling. Attack it to break it, and collect the item to obtain the Rosary Cannon.
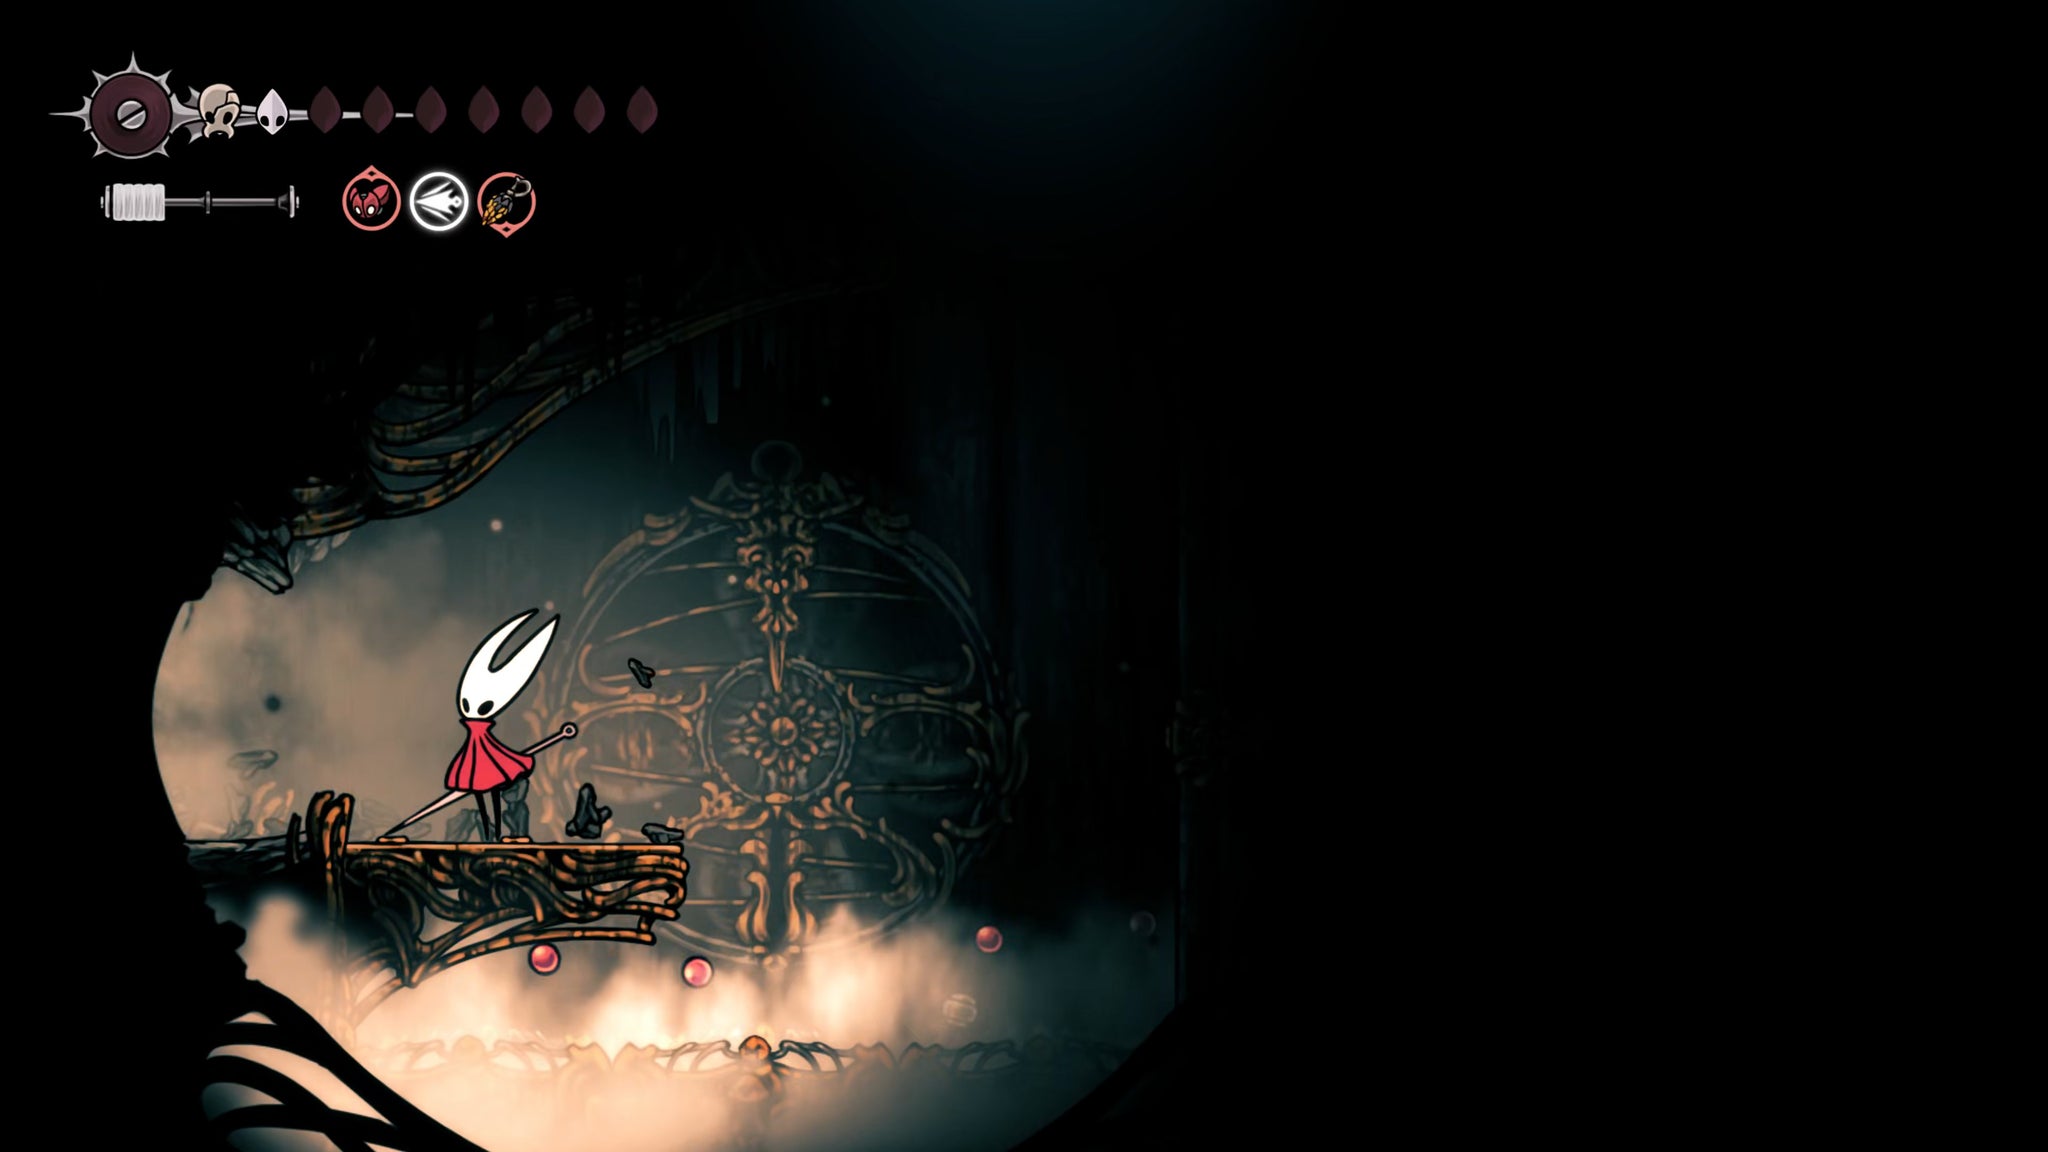

I'll be honest, I'm not a fan of using up my Rosaries for attacks, but it's undeniably fun. Regardless, you can now backtrack to the room with all the chests, and take the shortcut back out of this area into the main part of the High Halls.
9. Complete the High Halls gauntlet.
If you took any damage in the previous step, now's a good time to rest at the Bench again, because you're about to face the real test of the High Halls - an eleven-stage arena fight. Yes, you read that right. Eleven stages.
Thankfully, because you completed Shakra's Last Wish quest ahead of time, she will turn up to help you during the second or third stage, making things much easier. The other thing we've got in our favour is that we destroyed the silk threads governing all the Clawmaiden spawns - so there won't be any additional Clawmaidens showing up during this gauntlet.
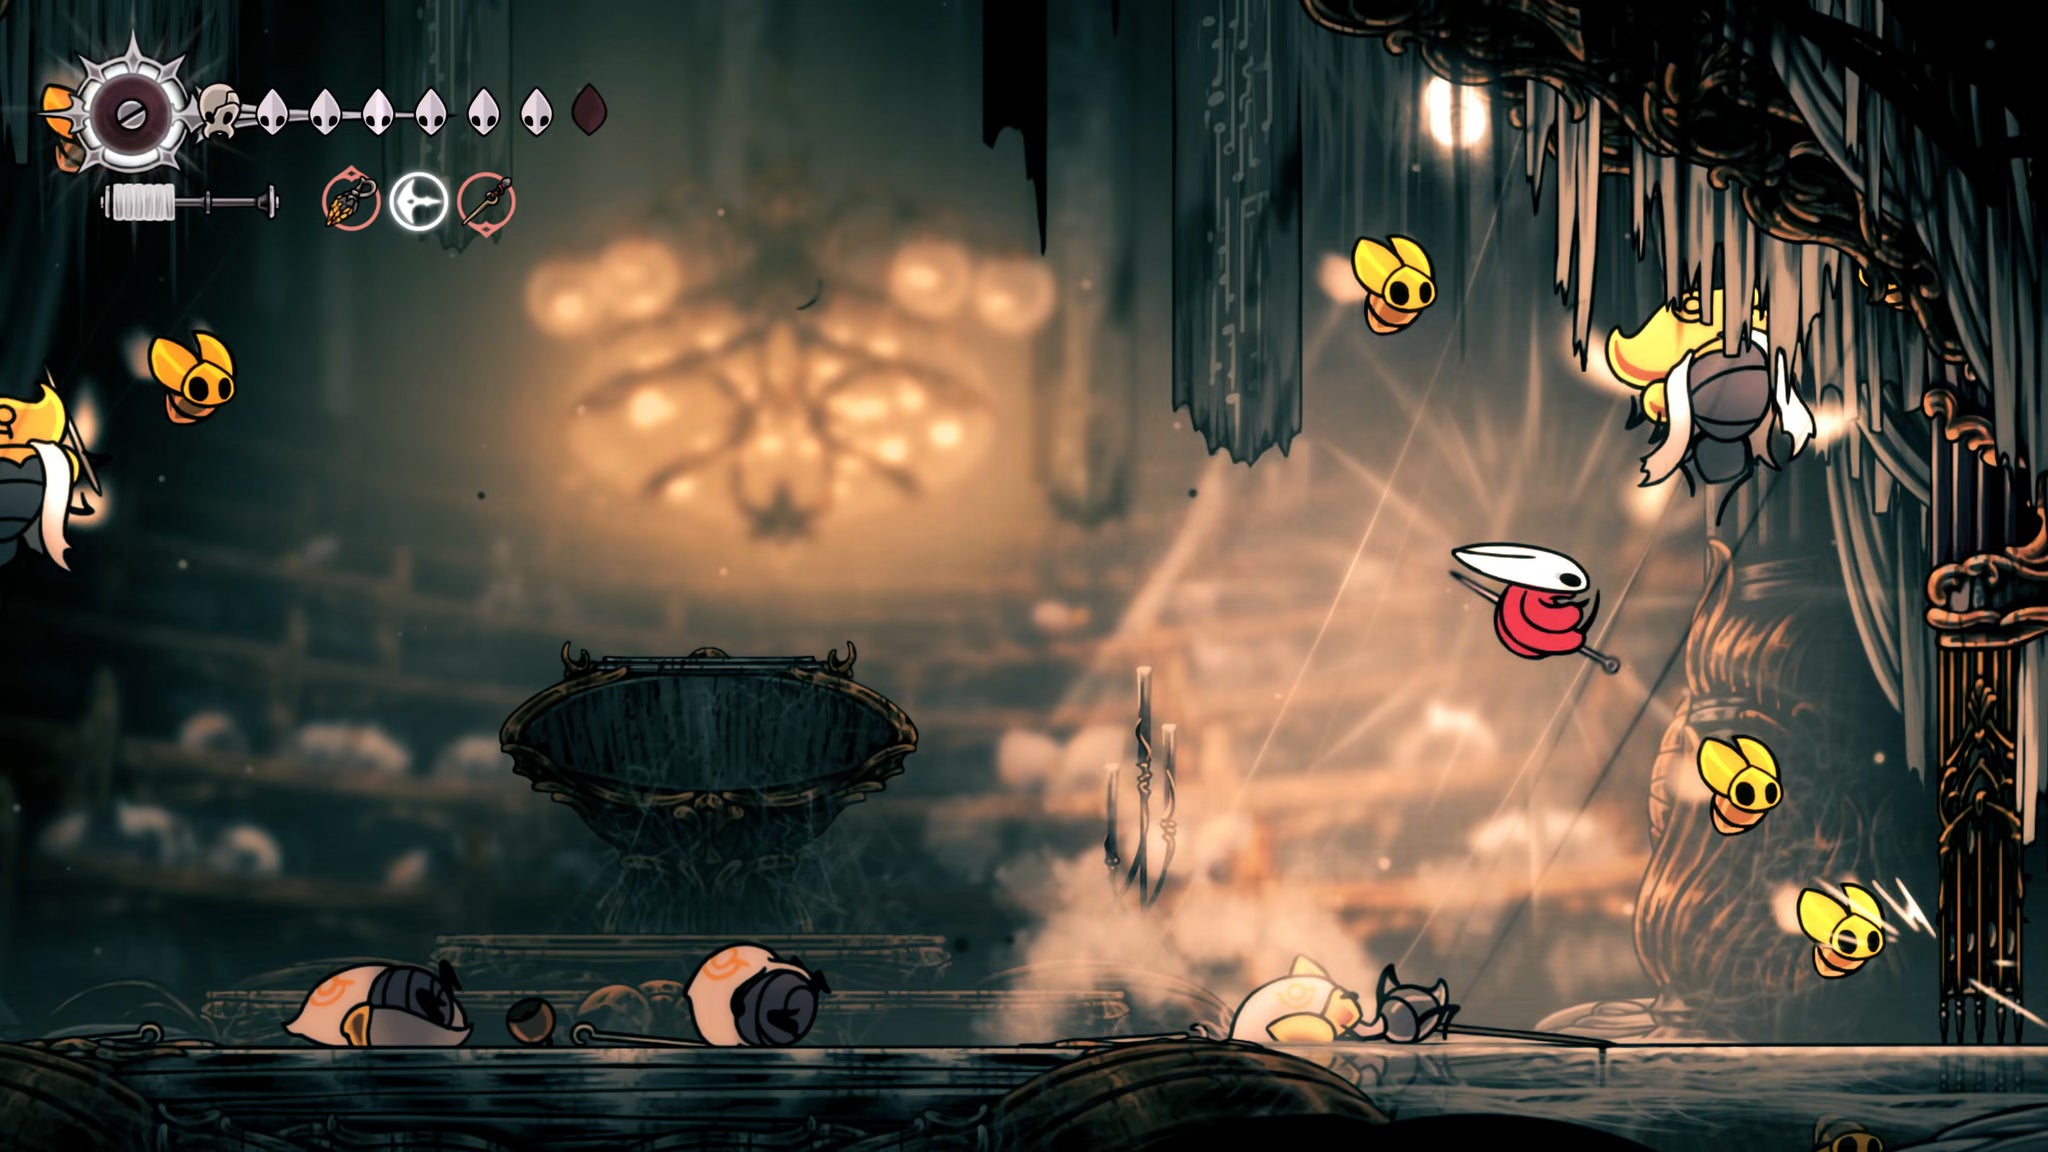
Otherwise, this is a fairly straightforward (albeit long and punishing) arena fight. The eleven stages are as follows:
- 1x Choristor, 1x Reed, 1x Envoy
- 2x Choristor
- 1x Choir Bellbearer, 1x Reed
- 2x Minister
- 2x Maestro
- 1x Choir Clapper
- 1x Choir Bellbearer, 2x Reed
- 2x Choir Bellbearer, 1x Choristor
- 1x Choir Bellbearer, 2x Minister
- 1x Maestro, 1x Reed
- 2x Choir Clapper
Taken in isolation, most of these phases are fairly easy. The Choral Chambers enemies - Choristors, Reeds, Envoys, Bellbearers - are simple to defeat by now. Maestros and Ministers up the ante a bit, but they're also not terribly aggressive fighters, so I like to take my time during these phases and safely farm up Silk for healing.
The curveballs are the Choir Clappers - new and robust miniboss enemies which have a number of far-reaching area-of-effect attacks, and can slam their mace down with surprising quickness. Phase 6, where you're just facing one Clapper on its own, is not too bad. You can dash in, attack, and dash out to avoid most of his attacks, and just jump over the line of AoE attacks as necessary.

The final phase drops two Choir Clappers on your head, and that's when things get really tough. There's a cheese method where you can hang on the very top edge of one of the walls using the Ascendant's Grip tool (which can be bought from Jubilana at Songclave) and they can't reach you, allowing Shakra to just kill them over time.
But I don't particularly like cheese strats, so I'm just gonna advise you to use your Flintslate and burst one of the Clappers down as quickly as possible to turn it into a one-on-one fight. Sharpdart is also handy here, as is littering the arena with Tacks. I believe in you!
10. Obtain the Conductor's Melody from Ballador.
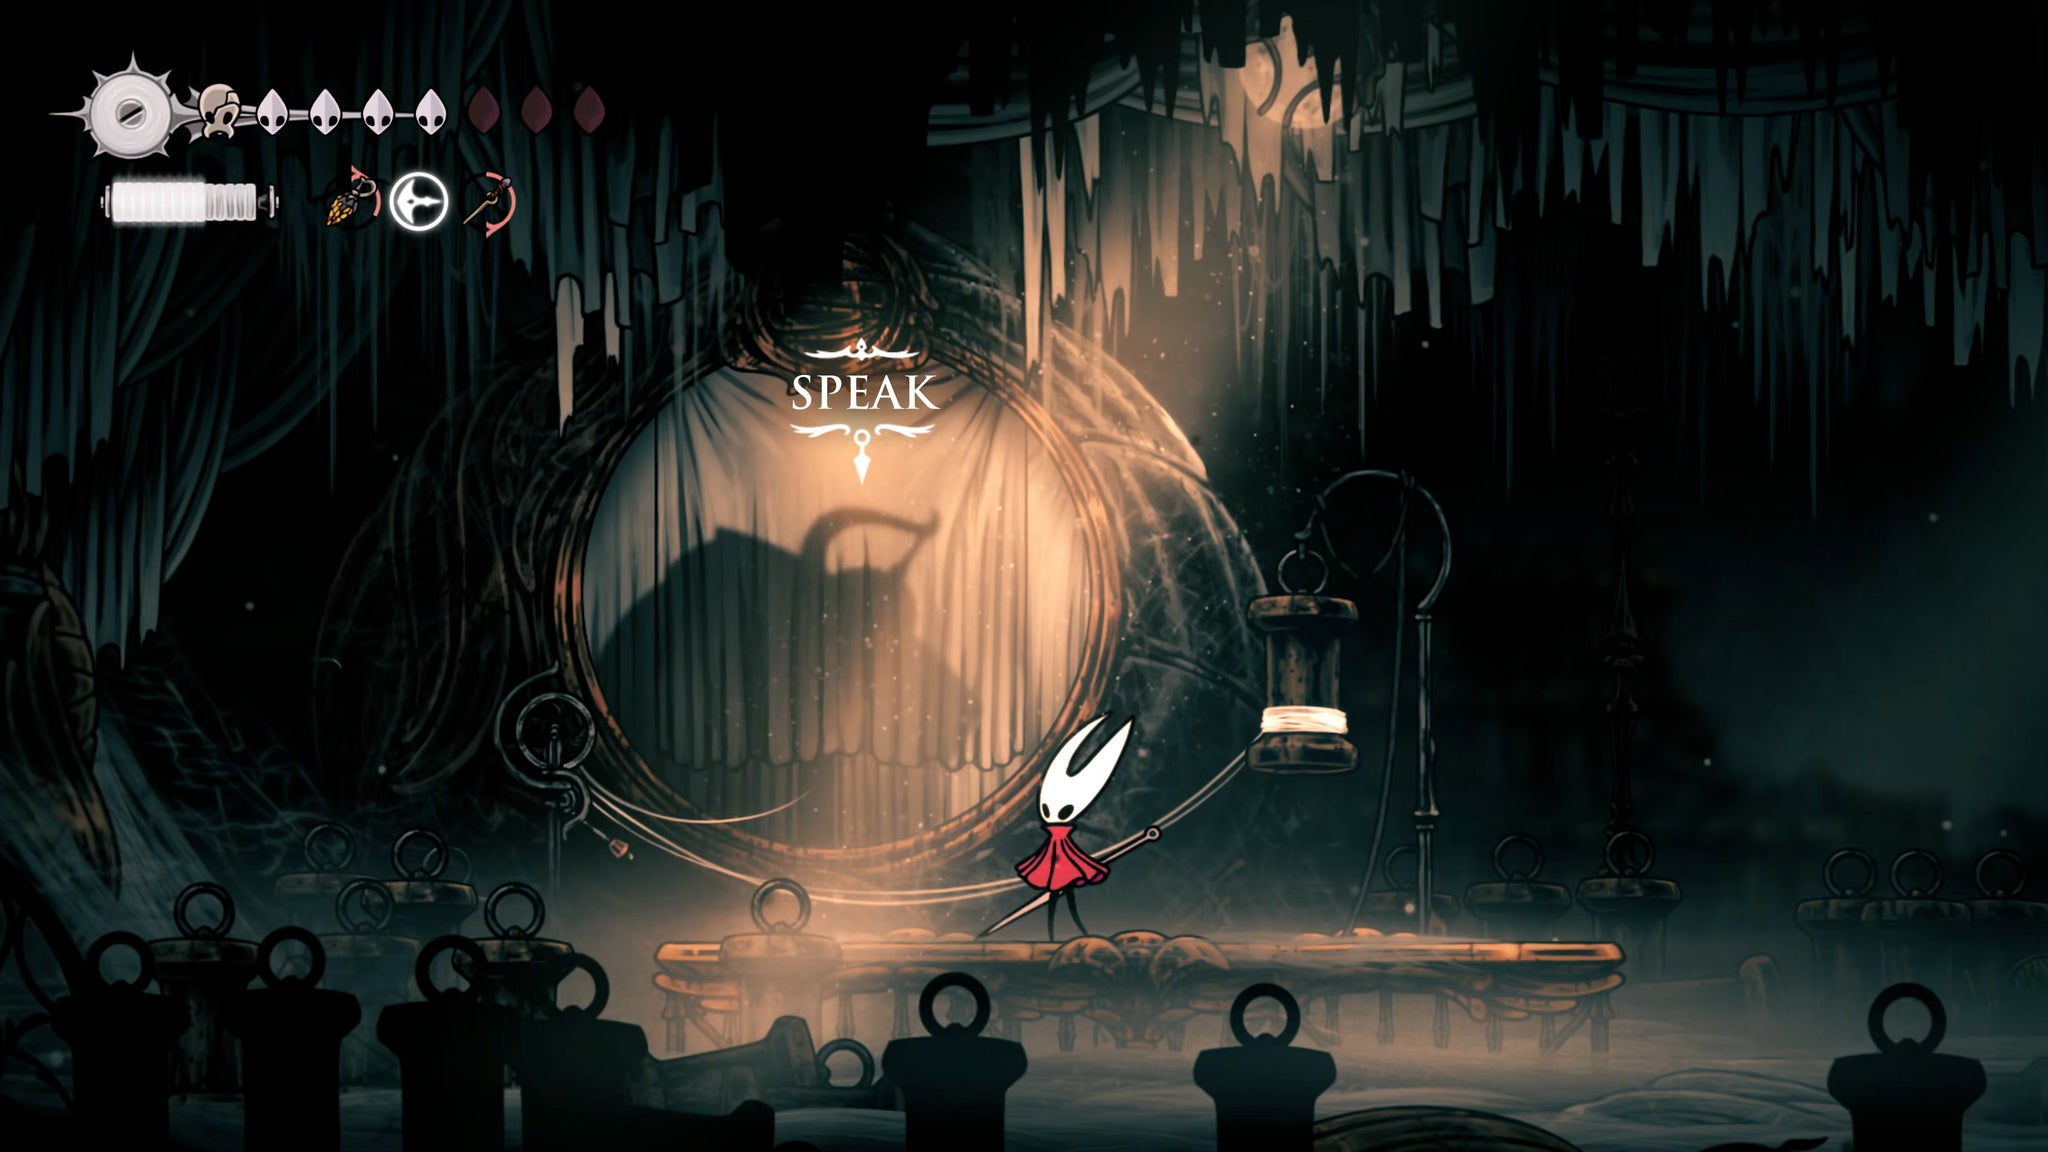
After the fight you can speak once more with Shakra if you like. After that, head to the left, and you'll find one more room in High Halls to discover. This room is the home of Conductor Ballador, a mysterious and ailing figure behind the curtain at the end of the path. Speak with him, exhaust his dialogue, and then play your Needolin as prompted to obtain the Conductor's Melody at last.
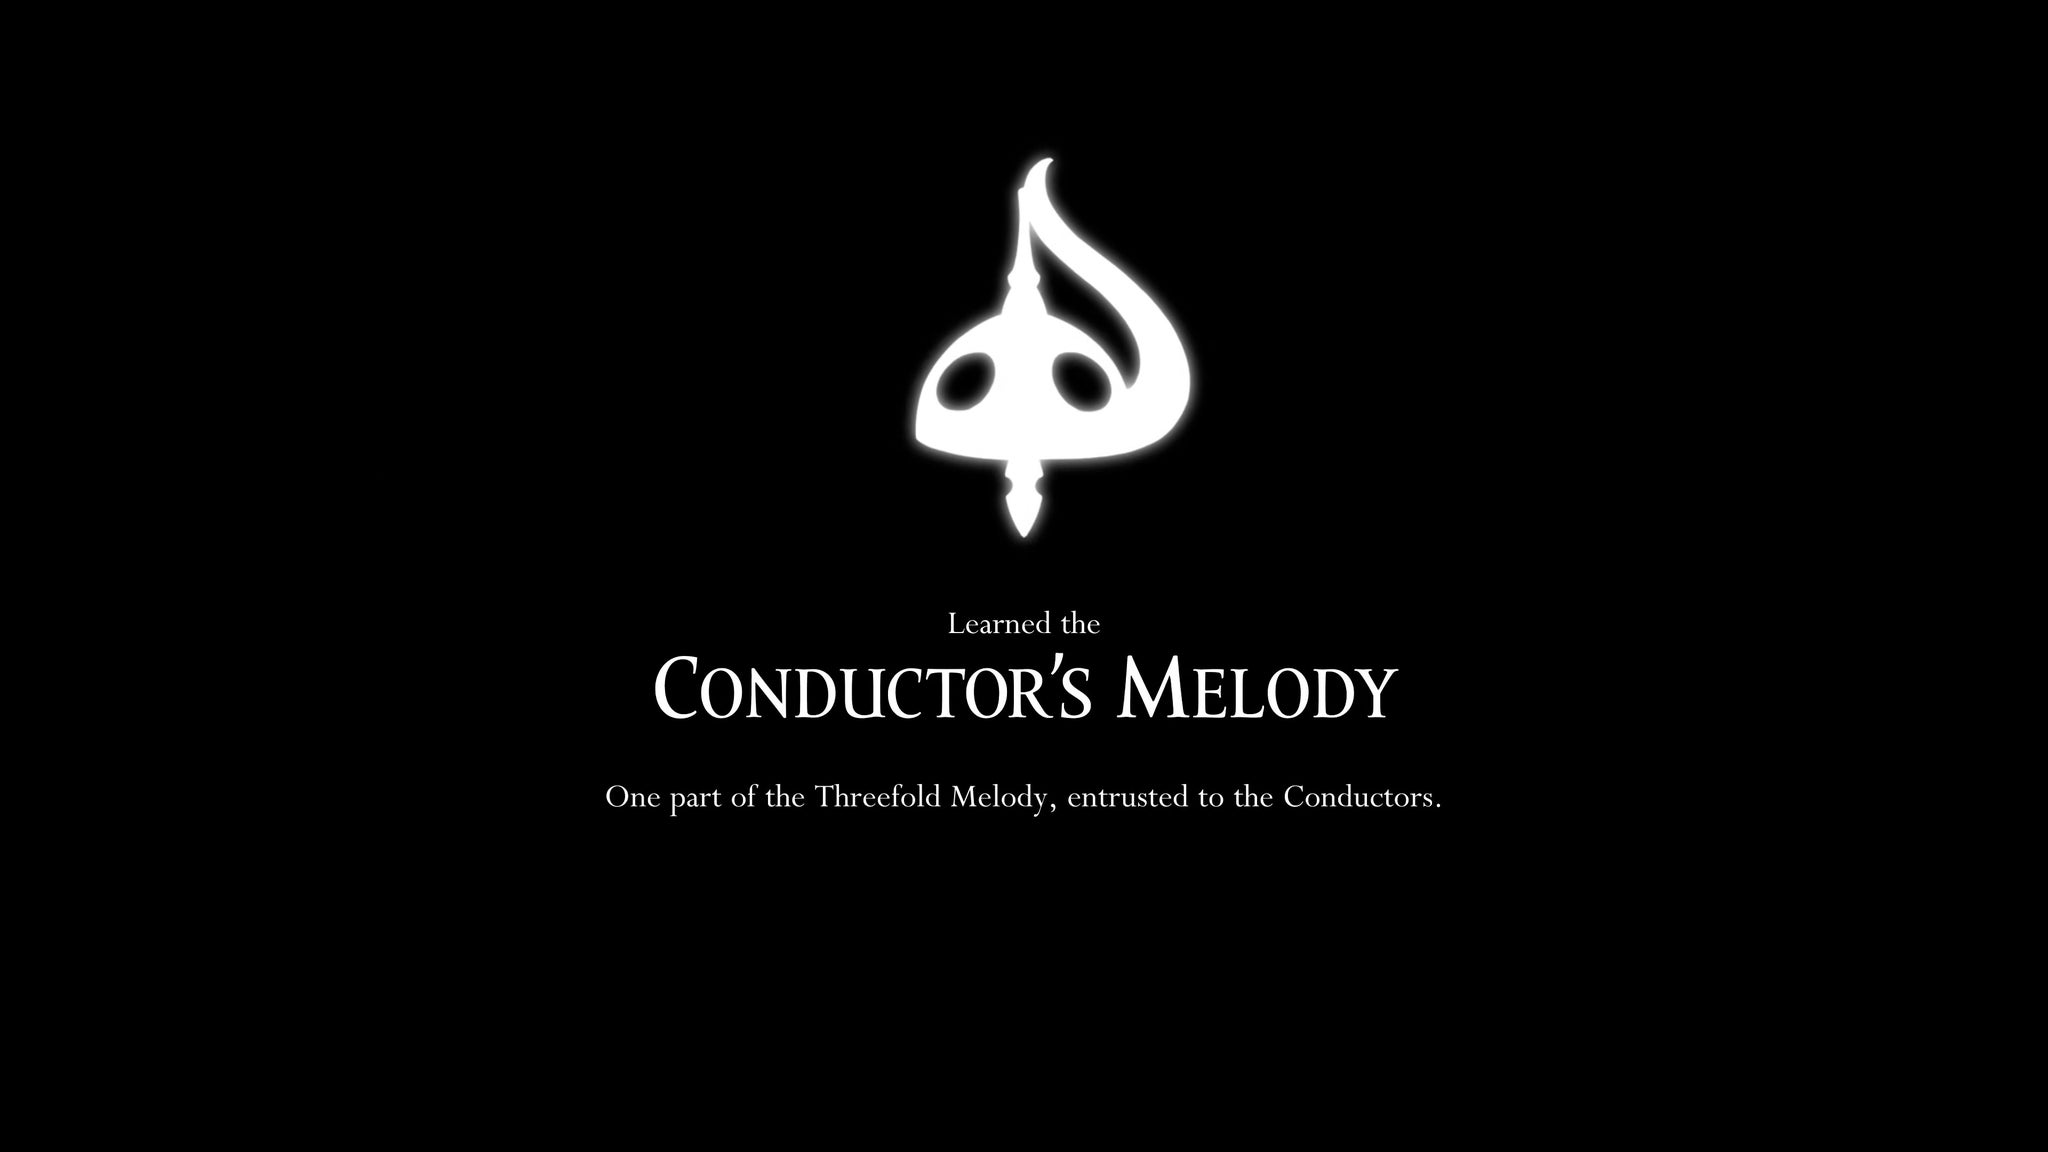
That's everything there is to the High Halls, and now we have all three parts of the Threefold Melody! But hold your horses - there are just a couple more places to visit before we ascend to the Cradle at the top of Pharloom. Join us in Part 30 of our Silksong walkthrough as we ascend into the Memorium.
Read this next
- Ahead of Hollow Knight: Silksong's Sea of Sorrow expansion, Team Cherry have gotten their Traditional Chinese and German translation ducks in a row
- We may have glimpsed Silksong's Sea of Sorrow expansion in a six-year-old trailer
- Hollow Knight: Silksong's first big expansion, Sea of Sorrow, flows into our lives for free next year
