
Hollow Knight Silksong walkthrough: Part 31 (Putrified Ducts)
How to reach the Putrified Ducts, and how to turn it into a home for some important friends


Looking for a way through the Putrified Ducts in Hollow Knight: Silksong? As I mentioned at the end of the previous Part of our Silksong walkthrough, the Putrified Ducts are about as unpleasant a region as you'll have come across in Silksong. It's like a smaller, more concentrated version of Bilewater, with even nastier critters. Thankfully, there are no huge bosses to fight in this area, and it won't take you very long to break through to the surprisingly tranquil Pale Lake on the other side.
In Part 31 of our Silksong walkthrough, I'll guide you into the Putrified Ducts, and show you exactly where to go, step by step, in order to discover every last one of its secrets and collectibles. At the end, I'll also show you how to turn this horrifying area into a beacon of hope, and one of Silksong's most endearing rest points.
Want the walkthrough for a different area of the game? Check out our Hollow Knight: Silksong walkthrough hub!
Putrified Ducts walkthrough steps:
- Activate the Putrified Ducts Bellway.
- Obtain the Putrified Ducts map.
- Pick up the Wreath Of Purity.
- Meet Vog the Flea.
- Mine the Craftmetal in the Pale Lake.
- Convince the Flea Caravan to relocate.
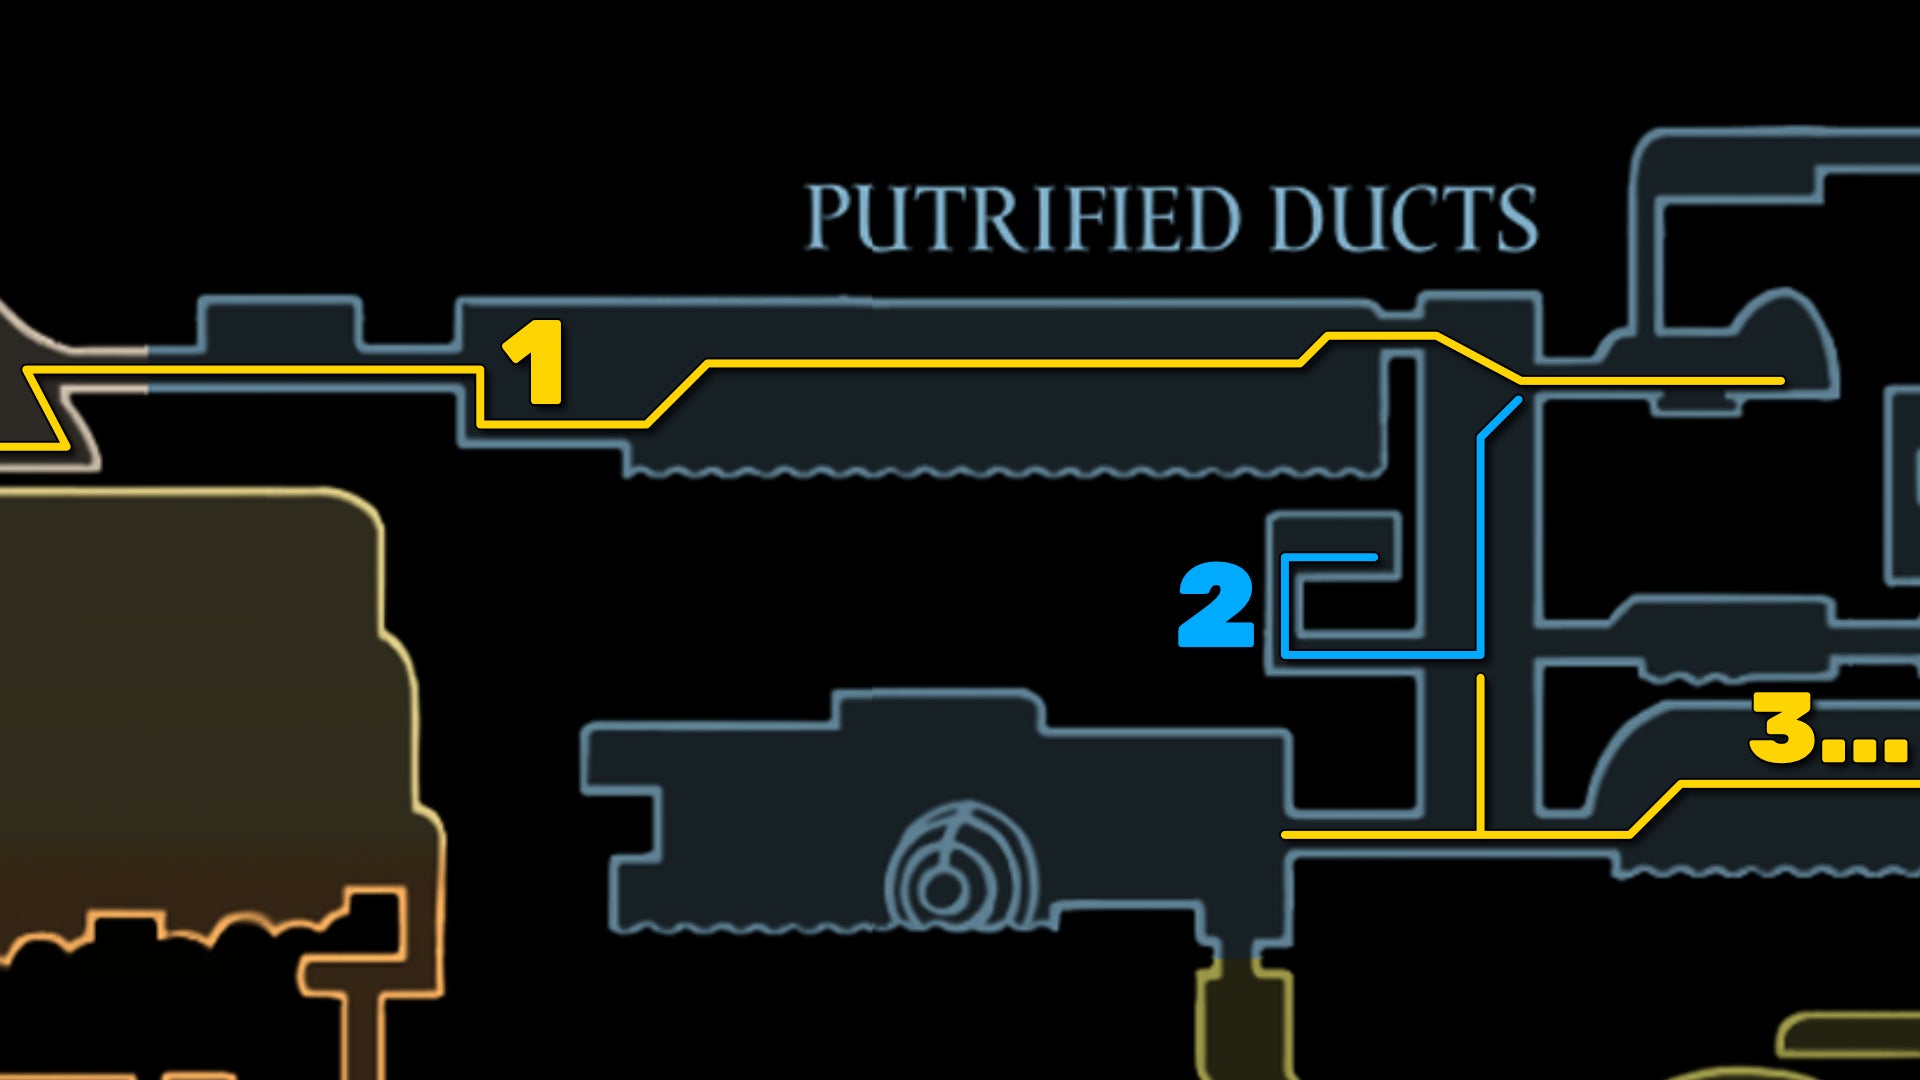
1. Activate the Putrified Ducts Bellway.
When you first enter the Putrified Ducts, you'll be at the start of a long, large corridor filled with worm-infested waters at the bottom. Directly below you as you walk out from the doorway, there's a new enemy lounging on the wall, and it's my least favourite enemy in the whole game - the Spit Squit.
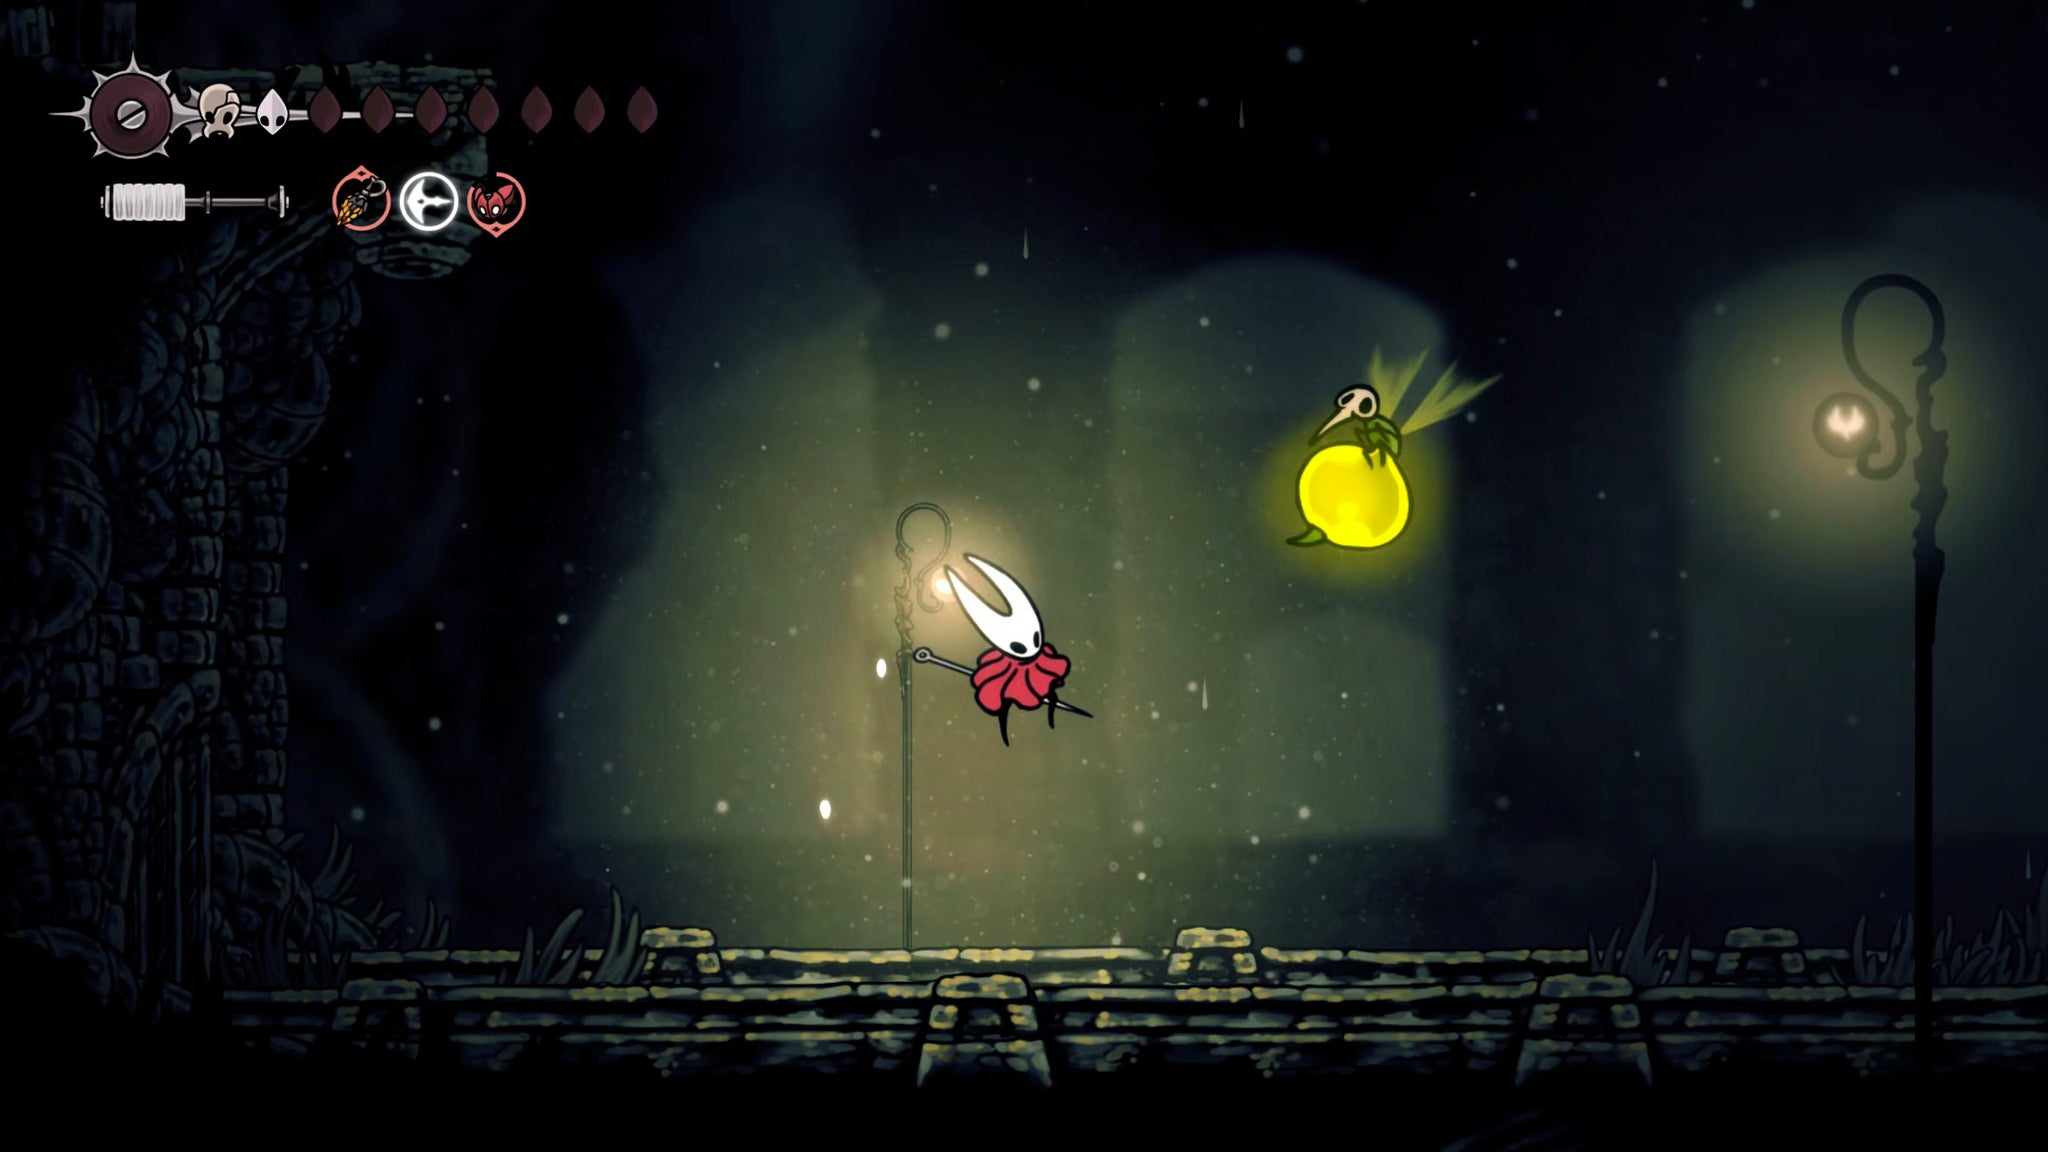
These critters' erratic movements in the air, annoyingly high health, and tricky projectile attacks make them a real pain in the arse to deal with, and that's a feeling that will continue well into the Putrified Ducts. In general, I find it best to avoid the fauna in the Ducts as much as possible.
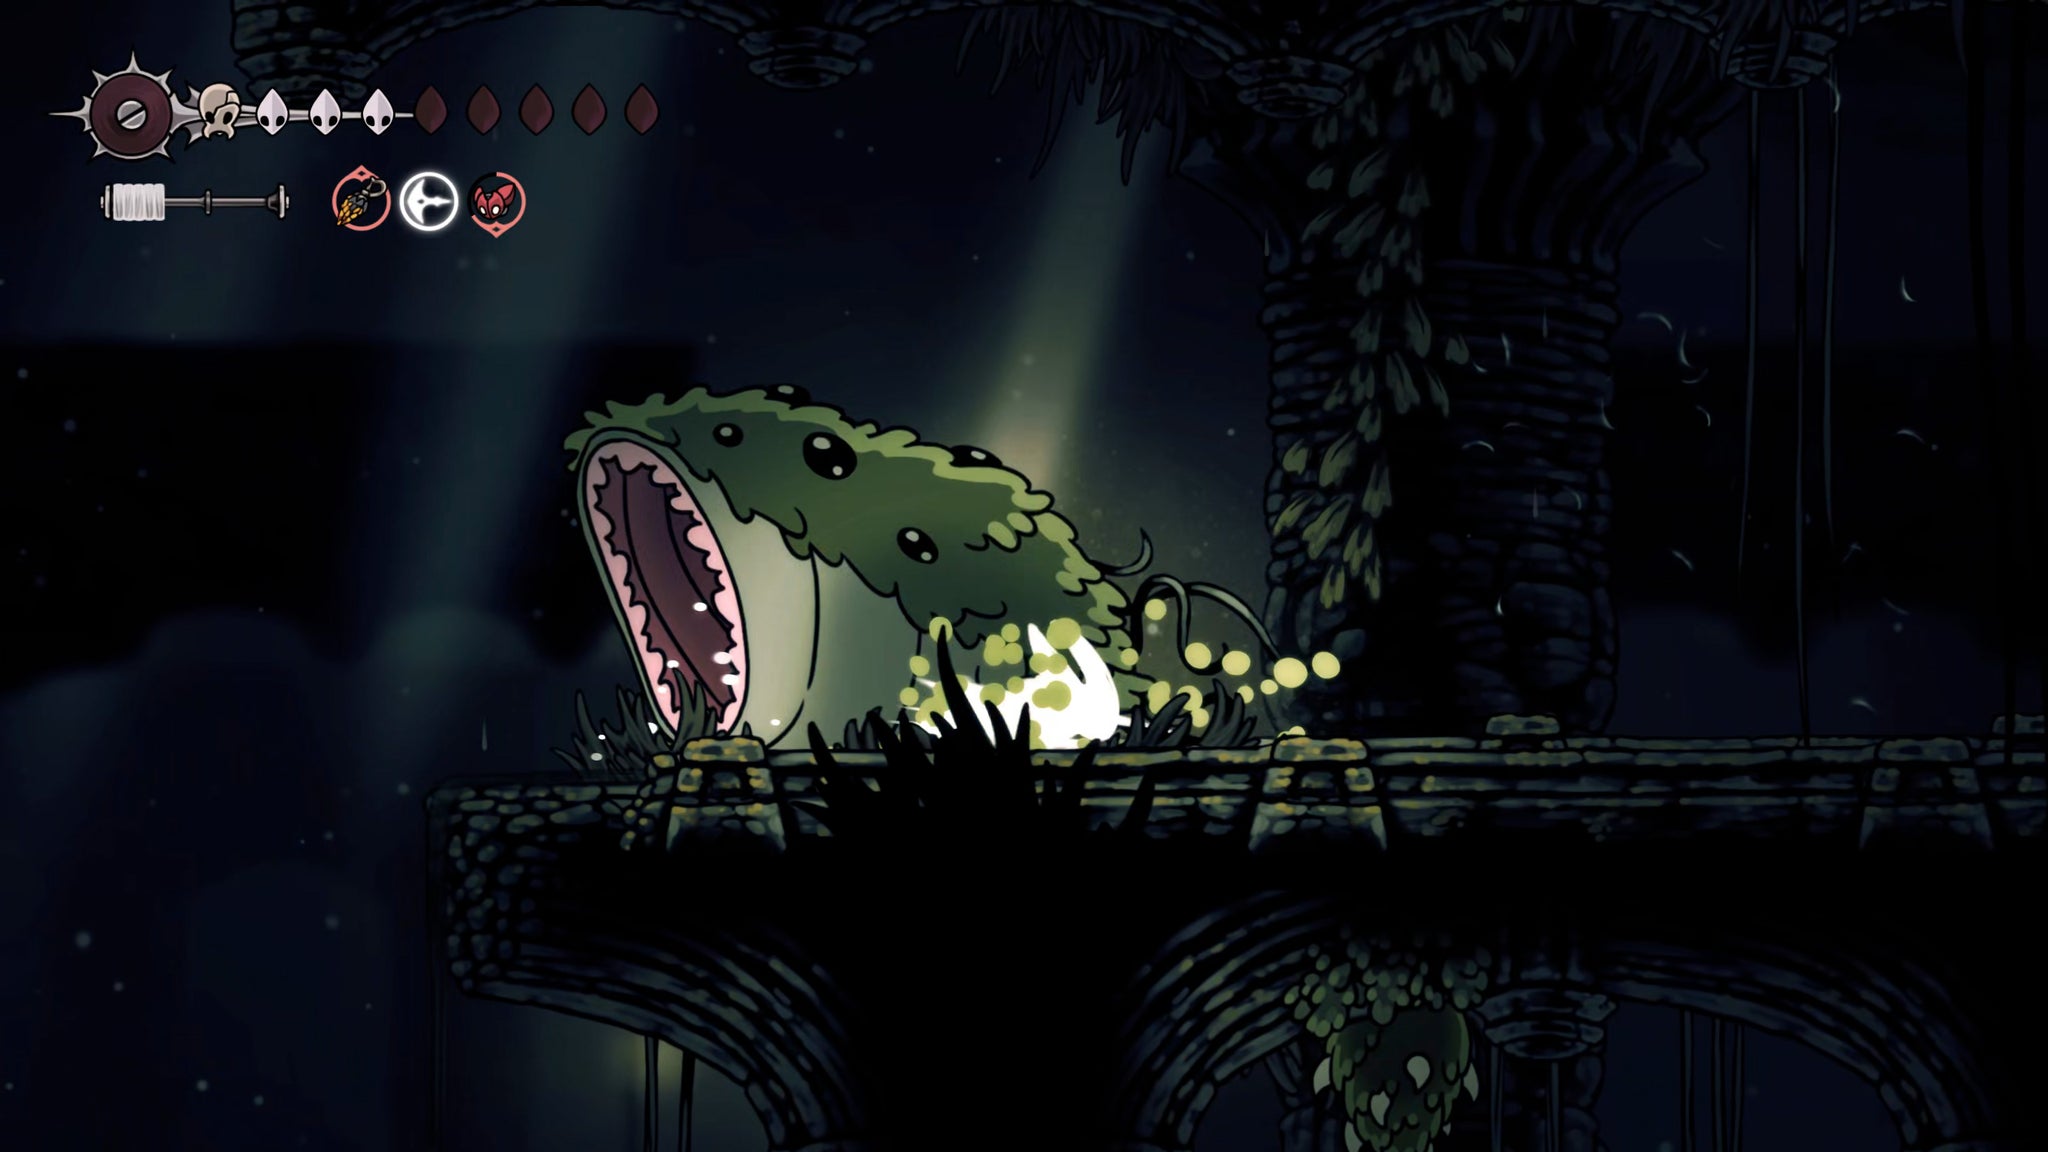
With this in mind, head through the corridor, staying on the upper levels away from the water below. You'll encounter a couple of platforms patrolled by Ductsuckers, those giant charging creatures you encountered at the top of Bilewater. Dodge over them and keep going until you reach the far right-hand side. Just below the exit is a ledge with a Frayed Rosary String on it, guarded by the lolling tongue of a Barnak from above. Collect it and then exit this awful corridor.
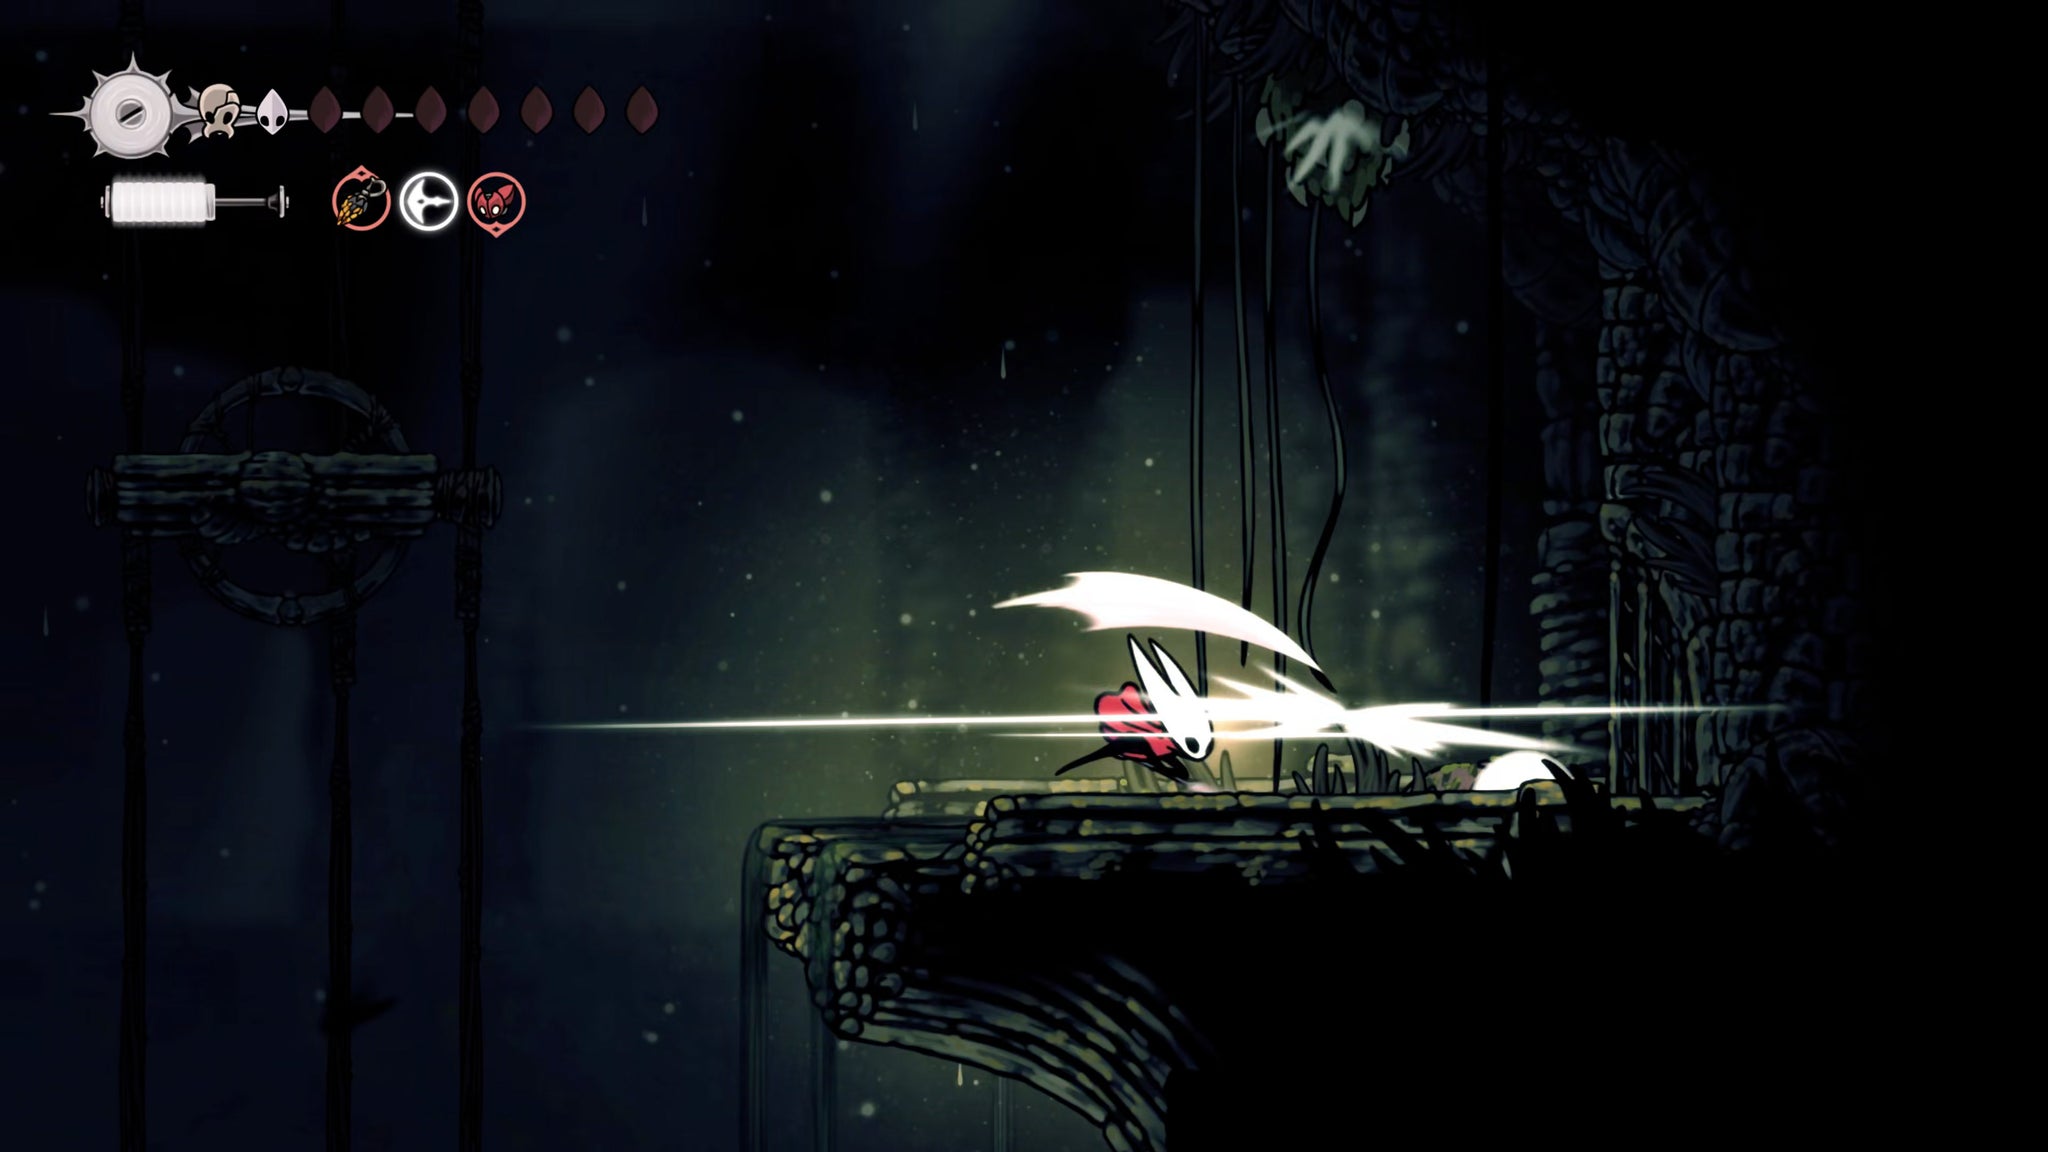

In the next room, you can drop down to the opposite doorway, marked by a Bellway sign. Inside you can pay 80 Rosaries to unlock the very last Bellway in the game; and further to the right, you can pay 60 Rosaries to unlock a Bench to rest at.
2. Obtain the Putrified Ducts map.
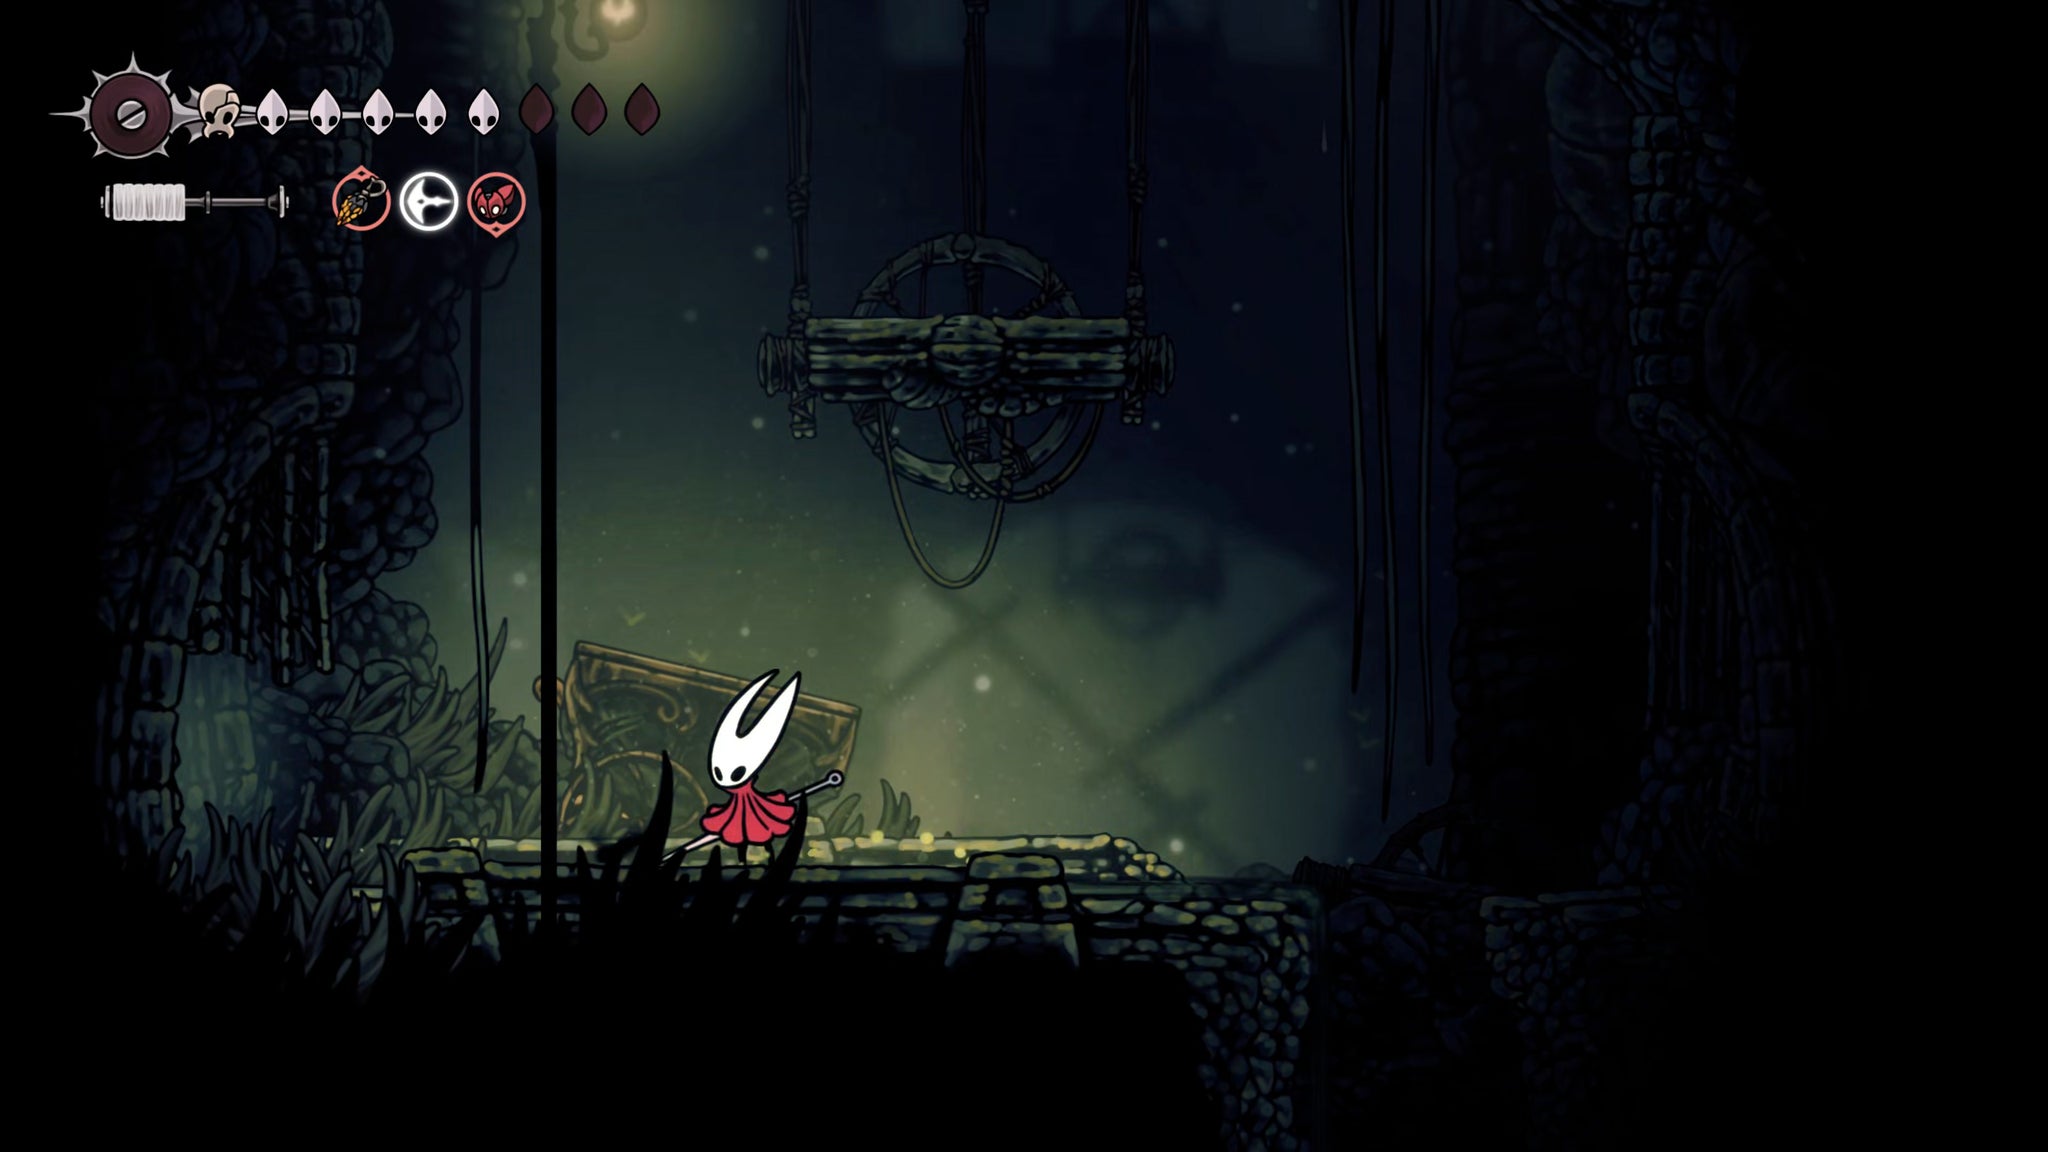
Exit back out to the left, and drop to ground level past the Spit Squits and Barnaks. There's a hole in the floor here, but don't go through it yet. Instead, take the left-hand path into the darkened tunnel.
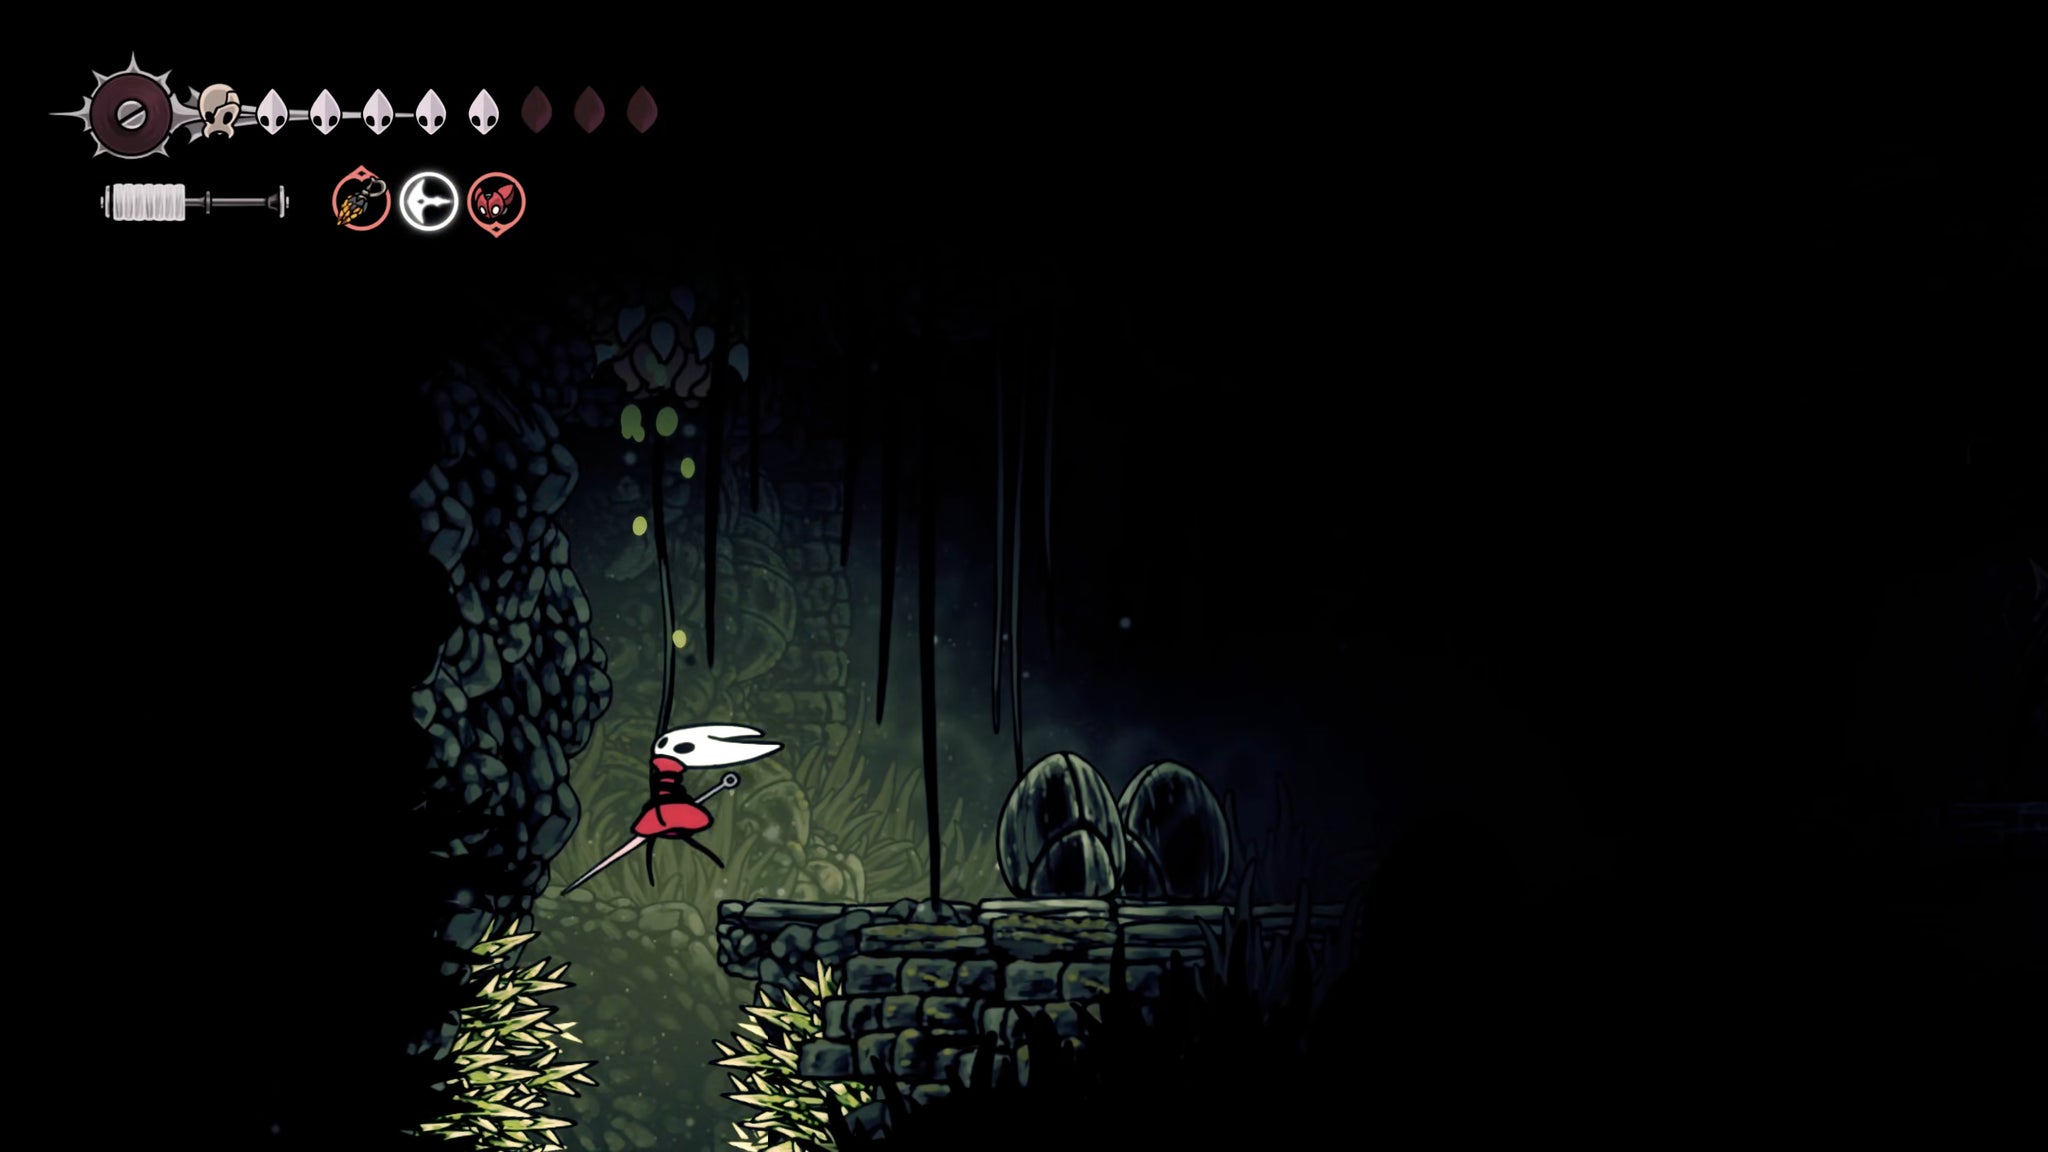

This place is filled with Barnaks - remember to attack repeatedly to get out of one's clutches. Head to the left side, and deliberately let yourself get grabbed and pulled upwards by the Barnak tongue there. Once you're near the top, tear yourself free and head to the right, where you can pick up a map of the Putrified Ducts before returning the way you came.
3. Pick up the Wreath Of Purity.
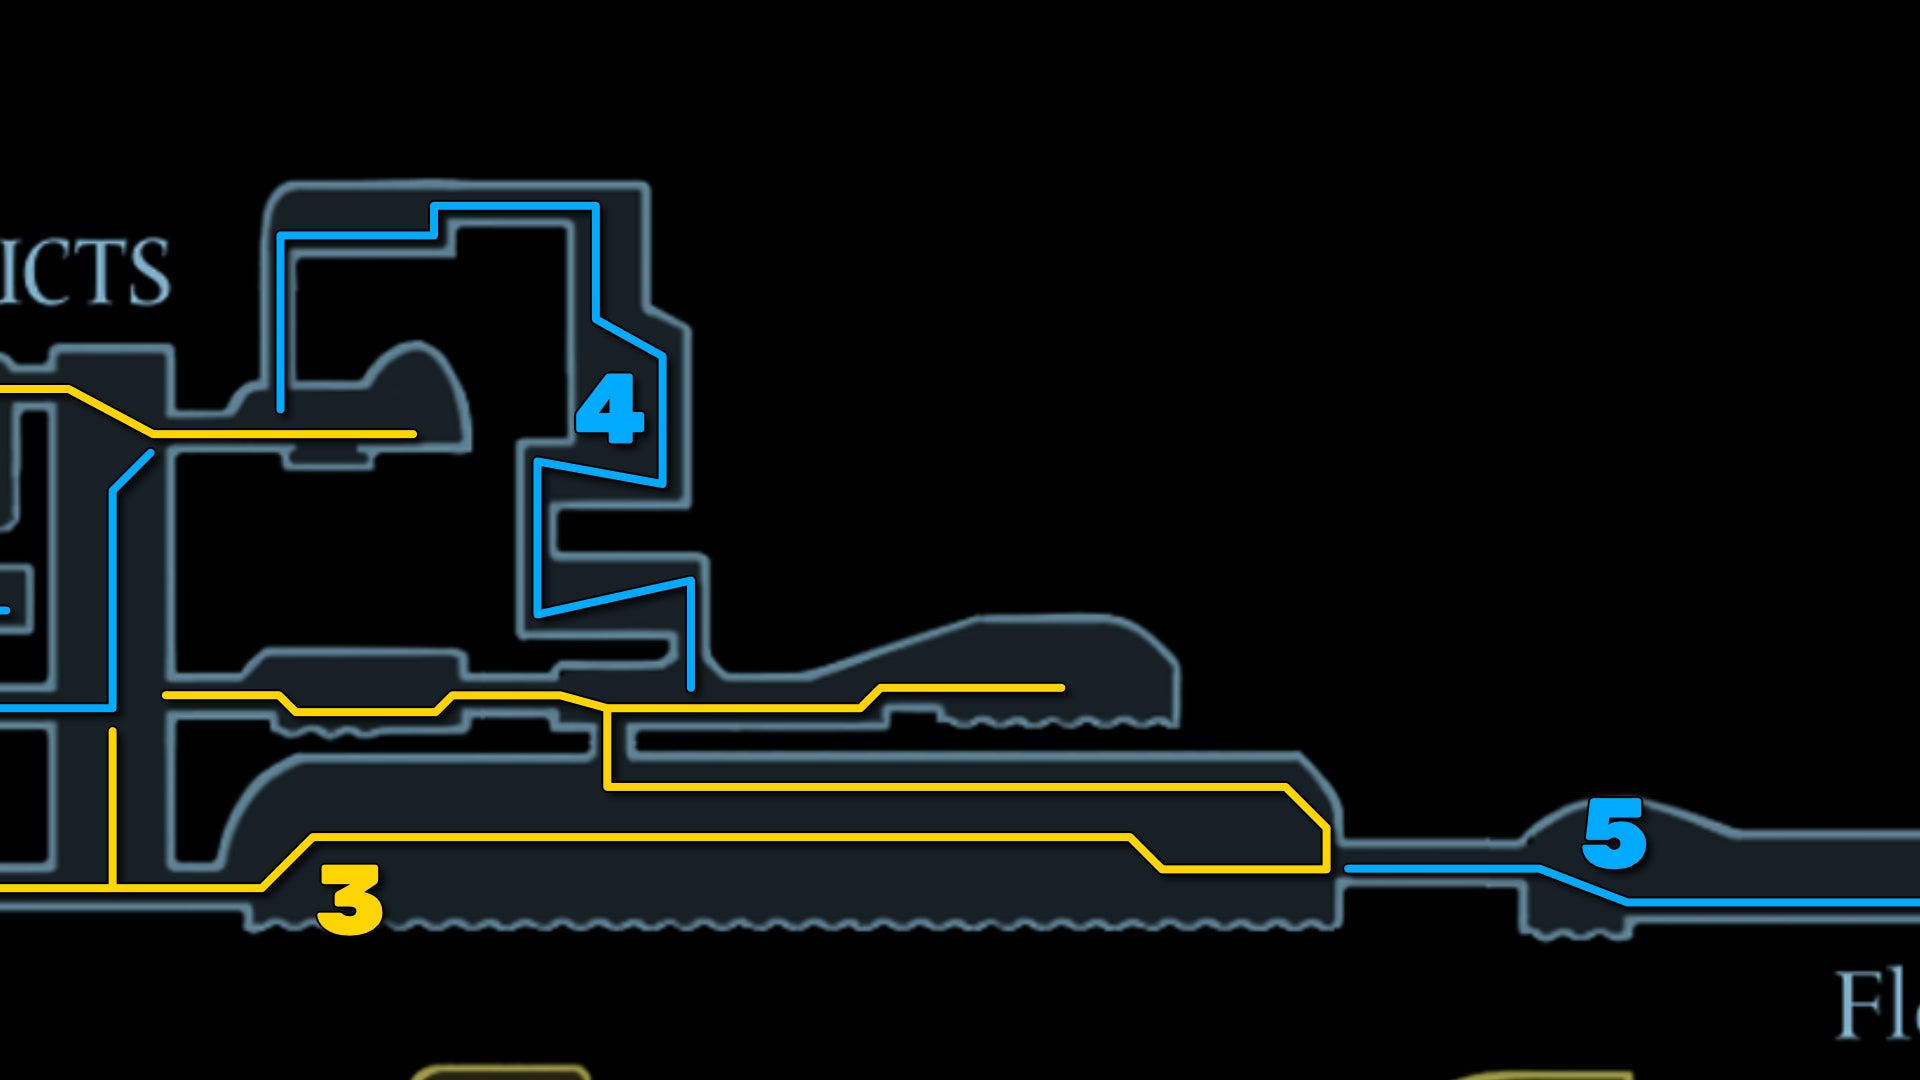
Next up is a bit of a trek, but it'll reward you with a very useful item for this region. Back in the previous room, drop down the hole in the ground, and then drop down the second hole past the ledges to reach the very bottom. First, take a left and bash through the couple of breakable walls beyond to open up a shortcut to the only previous area of the Putrified Ducts you've explored. This is the area you found at the top of Bilewater, where you found the Huntress and the Apostate's Key.
Now backtrack and take the right-hand path, which will take you into another long and arduous corridor of horrible creatures. Make your way all the way to the end, but once you get to the ledge that leads to the exit, turn around and jump up onto the wall above you. From there, you can reach the upper ledge to the left.

From here, attack the Barnak dangling in front of you to retract it momentarily, and jump past it to the wall beyond. At the top of this wall is a breakable section; break it open and follow the path until you reach a hole in the ceiling to climb upwards into.
Now you should find yourself in the middle of a smaller corridor. From here, head left and you'll find some Rosary caches; and then you can jump over the worm-water to unlock a shortcut back just below the Bellway.
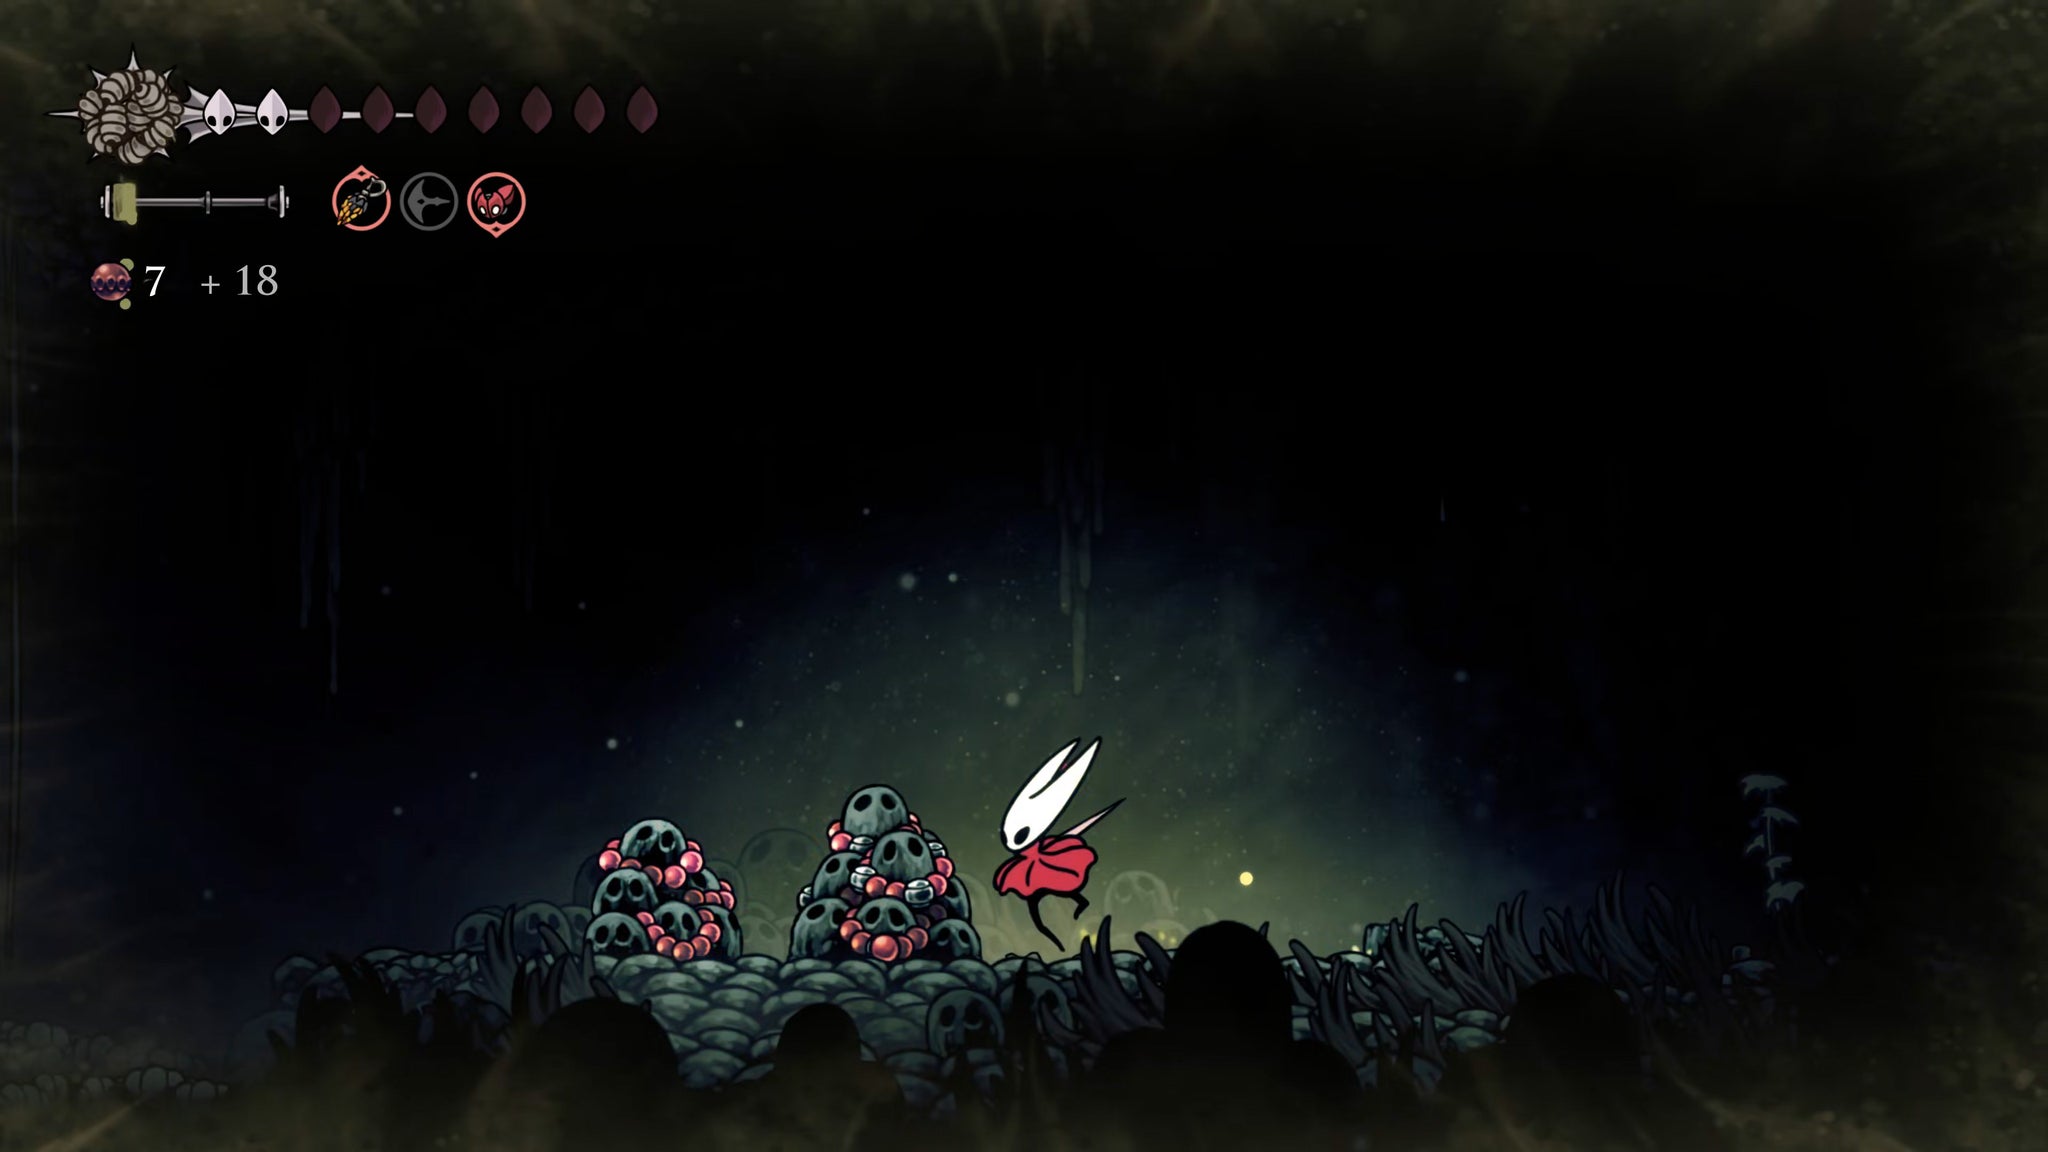

Now backtrack, and take the right-hand path through the smaller corridor, past the spikes and Barnaks. At the end of the path, you'll find an item on the ground. Pick it up to obtain the Wreath Of Purity - a very useful item for climates such as these.
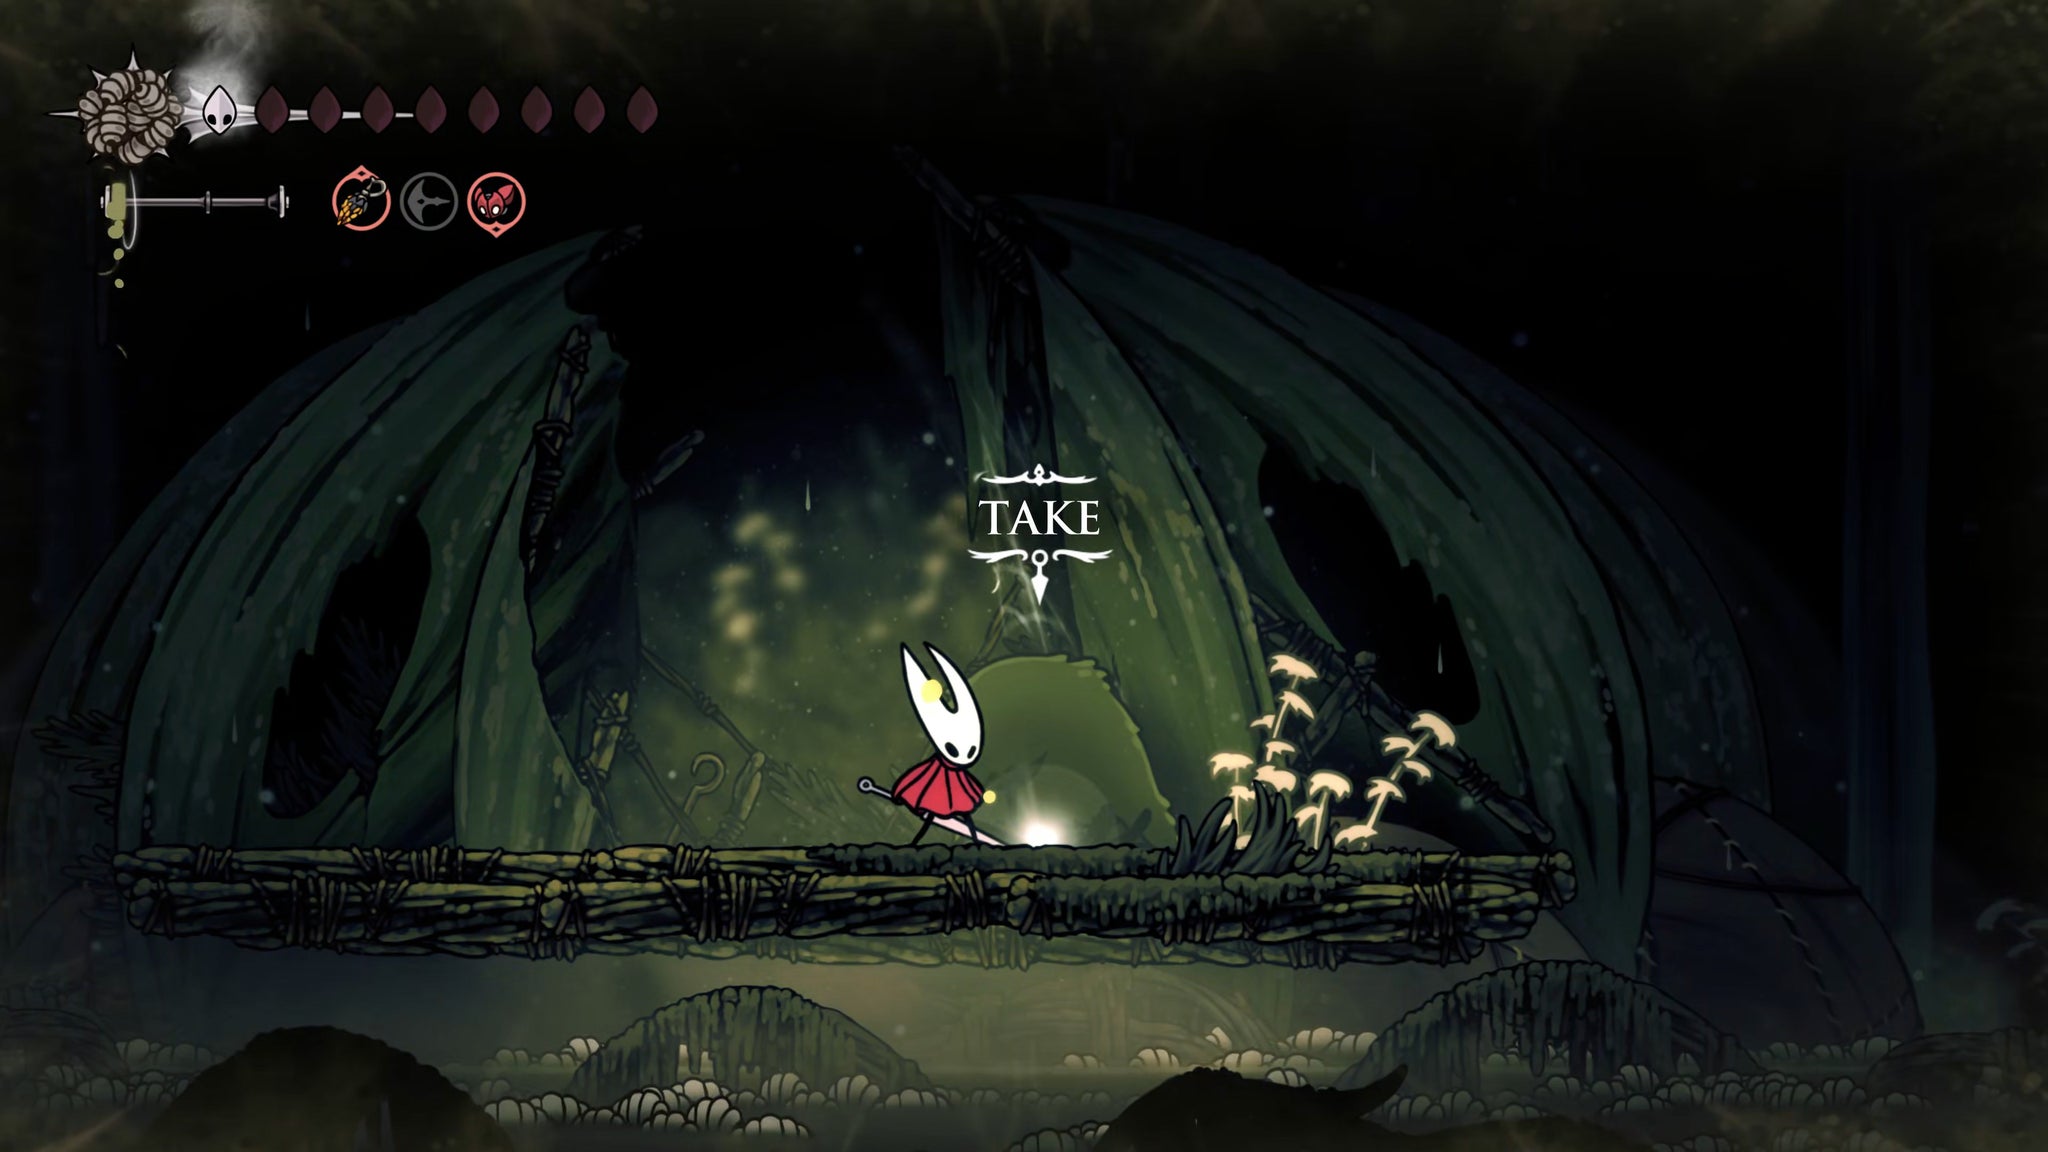
While the Wreath Of Purity is equipped, you are somewhat immune to the worm infestation that comes from dropping into the water, so you can swim around in the waters of the Putrified Ducts (or Bilewater) for around 6-7 seconds before it breaks (don't worry, it can be repaired at a Bench).
4. Meet Vog the Flea.
Head back to the left. Once you get to the Barnak dangling over the bed of spikes, deliberately let yourself get caught and pulled upwards by it to reach a secret upper area. Break free once you're at the top, and clawline over to the left, where you must let yourself be caught again by another Barnak. Continue in this fashion, letting the Barnaks pull you up as high as possible.

Once you're at the top, head to the left and you'll find a room containing a grizzled new NPC - Vog. She's a Flea, but she's also a warrior - and the last of the Fleas to find, albeit not a helpless Lost Flea to rescue. Exhaust her dialogue and she'll tell you that she'll make her way to the Flea Caravan.
Once you've finished speaking with Vog, head to the left of her hut and stand on the shaky ground at the end to break it, and fall down into the Putrified Ducts Bellway once more. A handy shortcut!
5. Mine the Craftmetal in the Pale Lake.
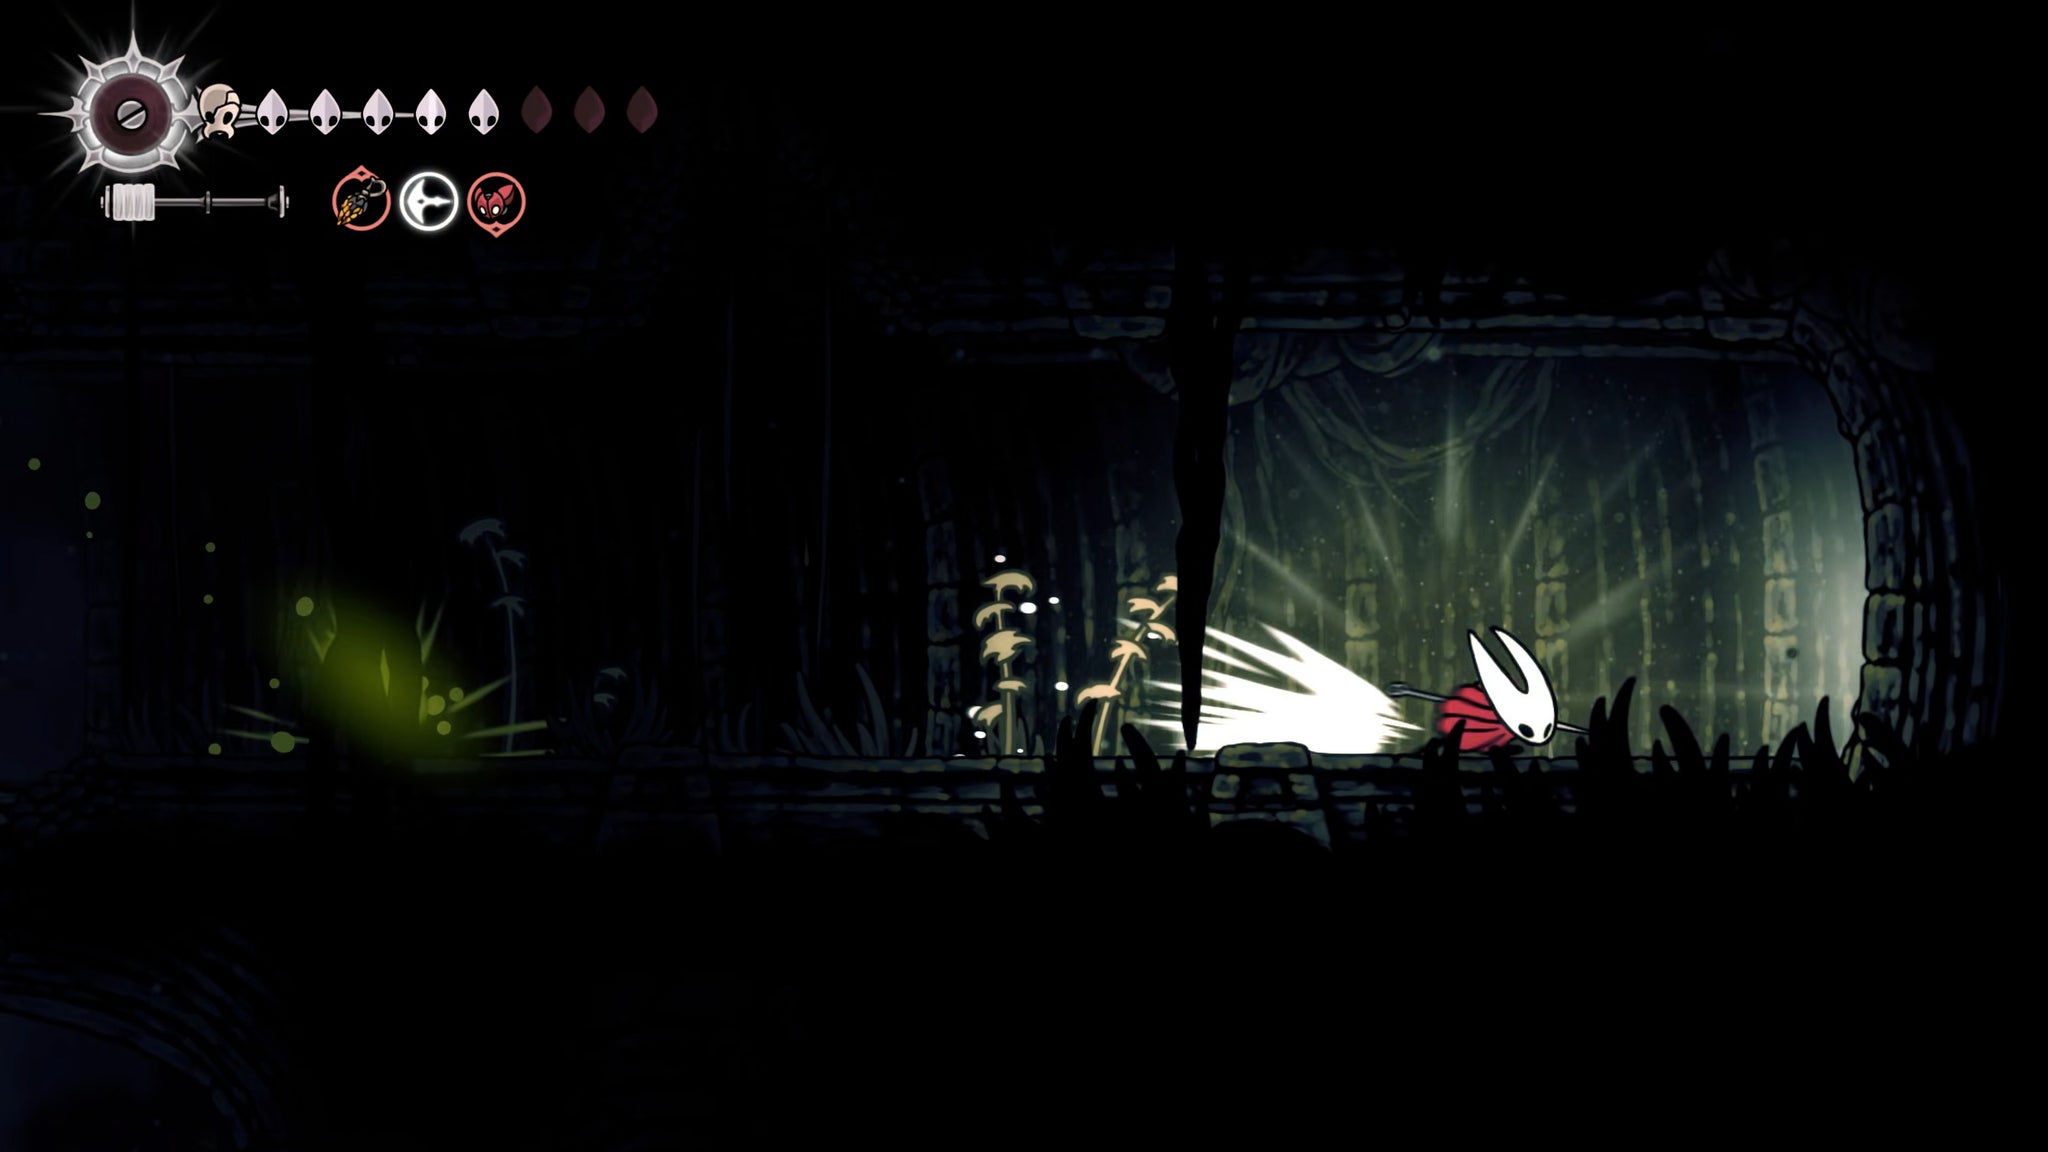

Rest at the Bench by the Bellway again, and then exit to the left and head down to the shortcut you unlocked below the Bellway on the right-hand side. Head through it, and once you get to the hole in the ground you came up from, drop down it. From here you can retrace your steps to the far end of the corridor, avoiding most of the nastiness below.
This time, head through the right-hand exit at the end of the corridor. Jump and clawline over the worm-water below, and then head to the right to discover a far more tranquil area, just on the edge of the Pale Lake east of the Putrified Ducts.
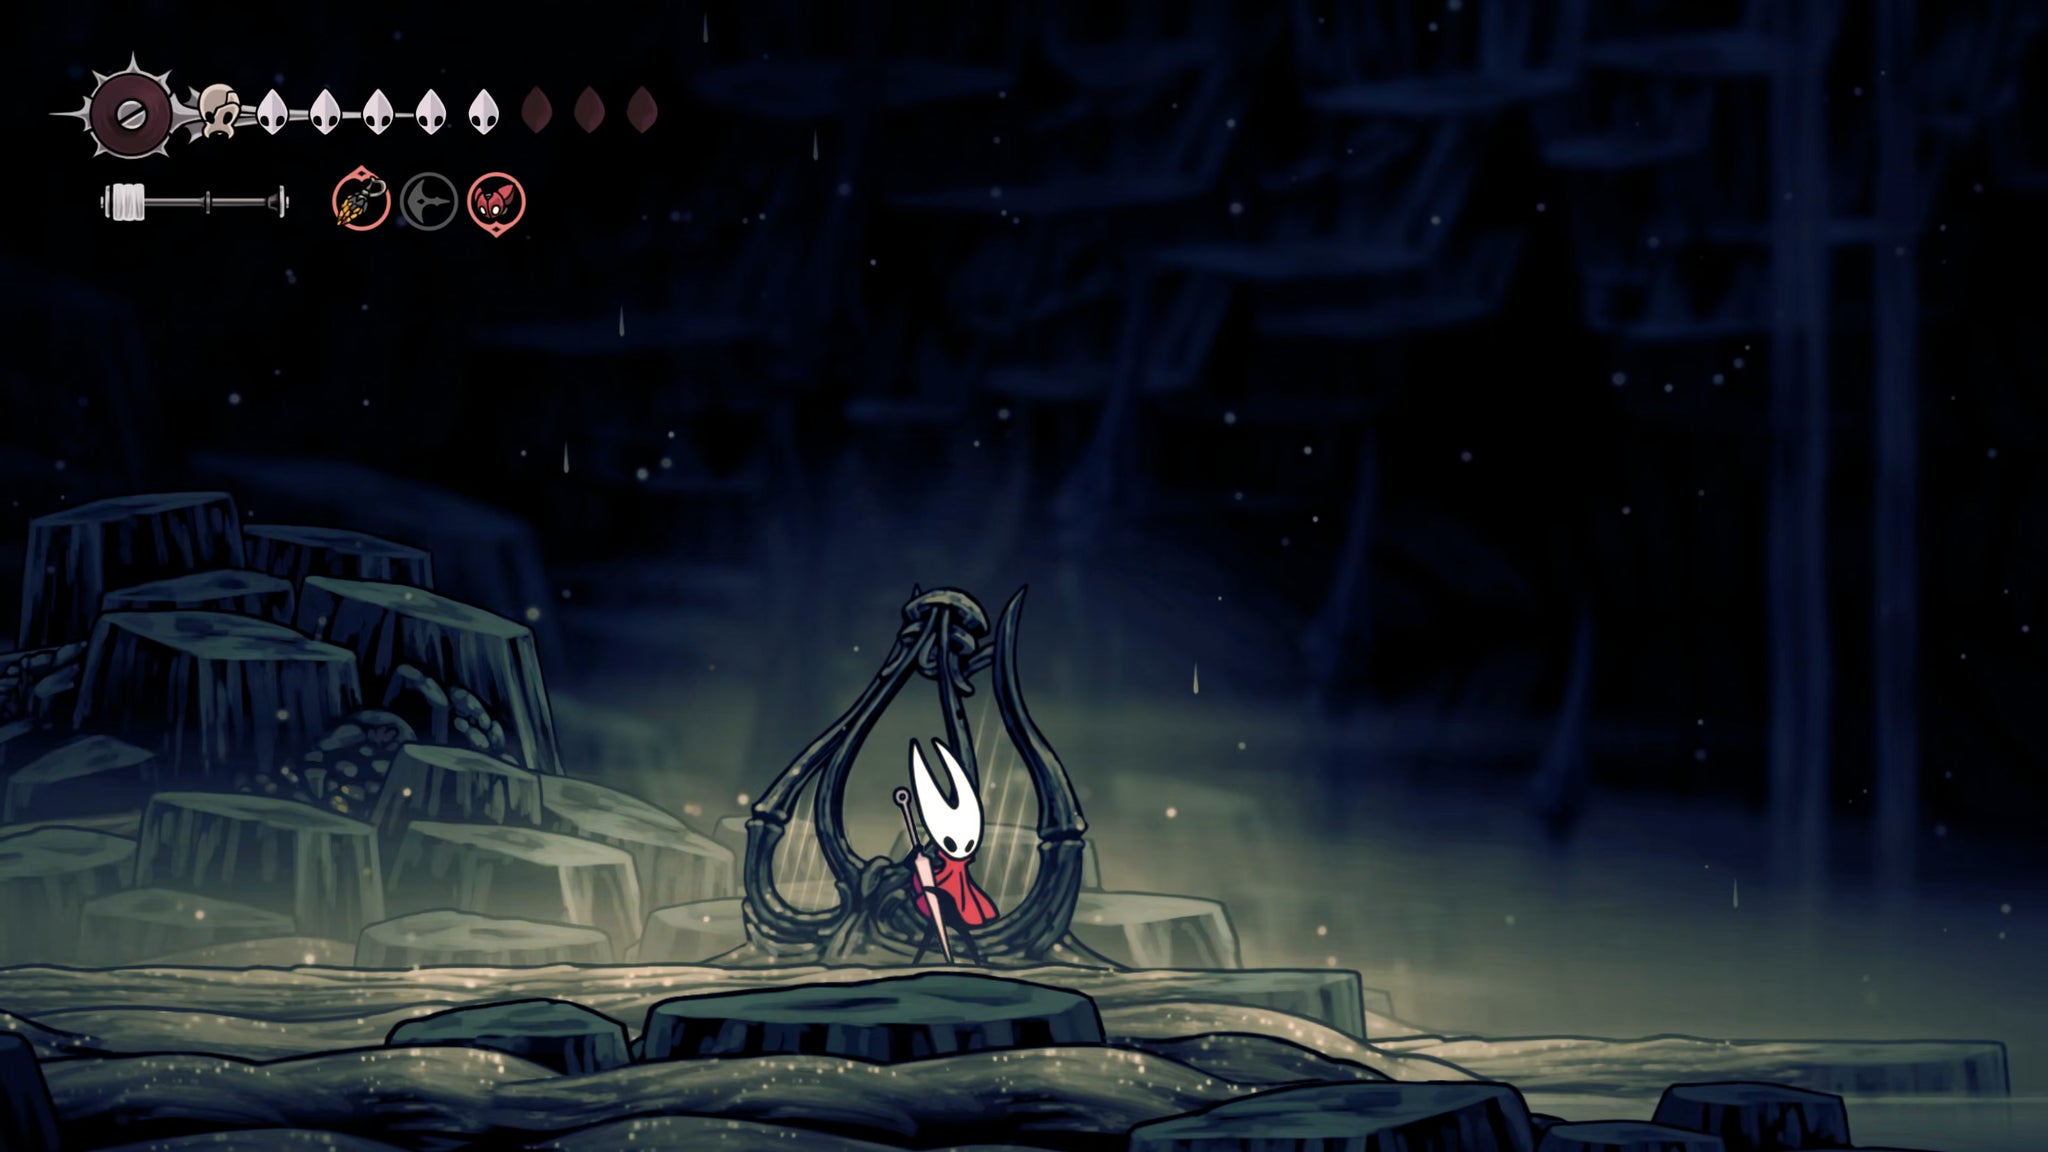
On the edge of the lake is a strange-looking musical instrument. Play your Needolin in front of it to light it up, and then you can inspect it for some lore.
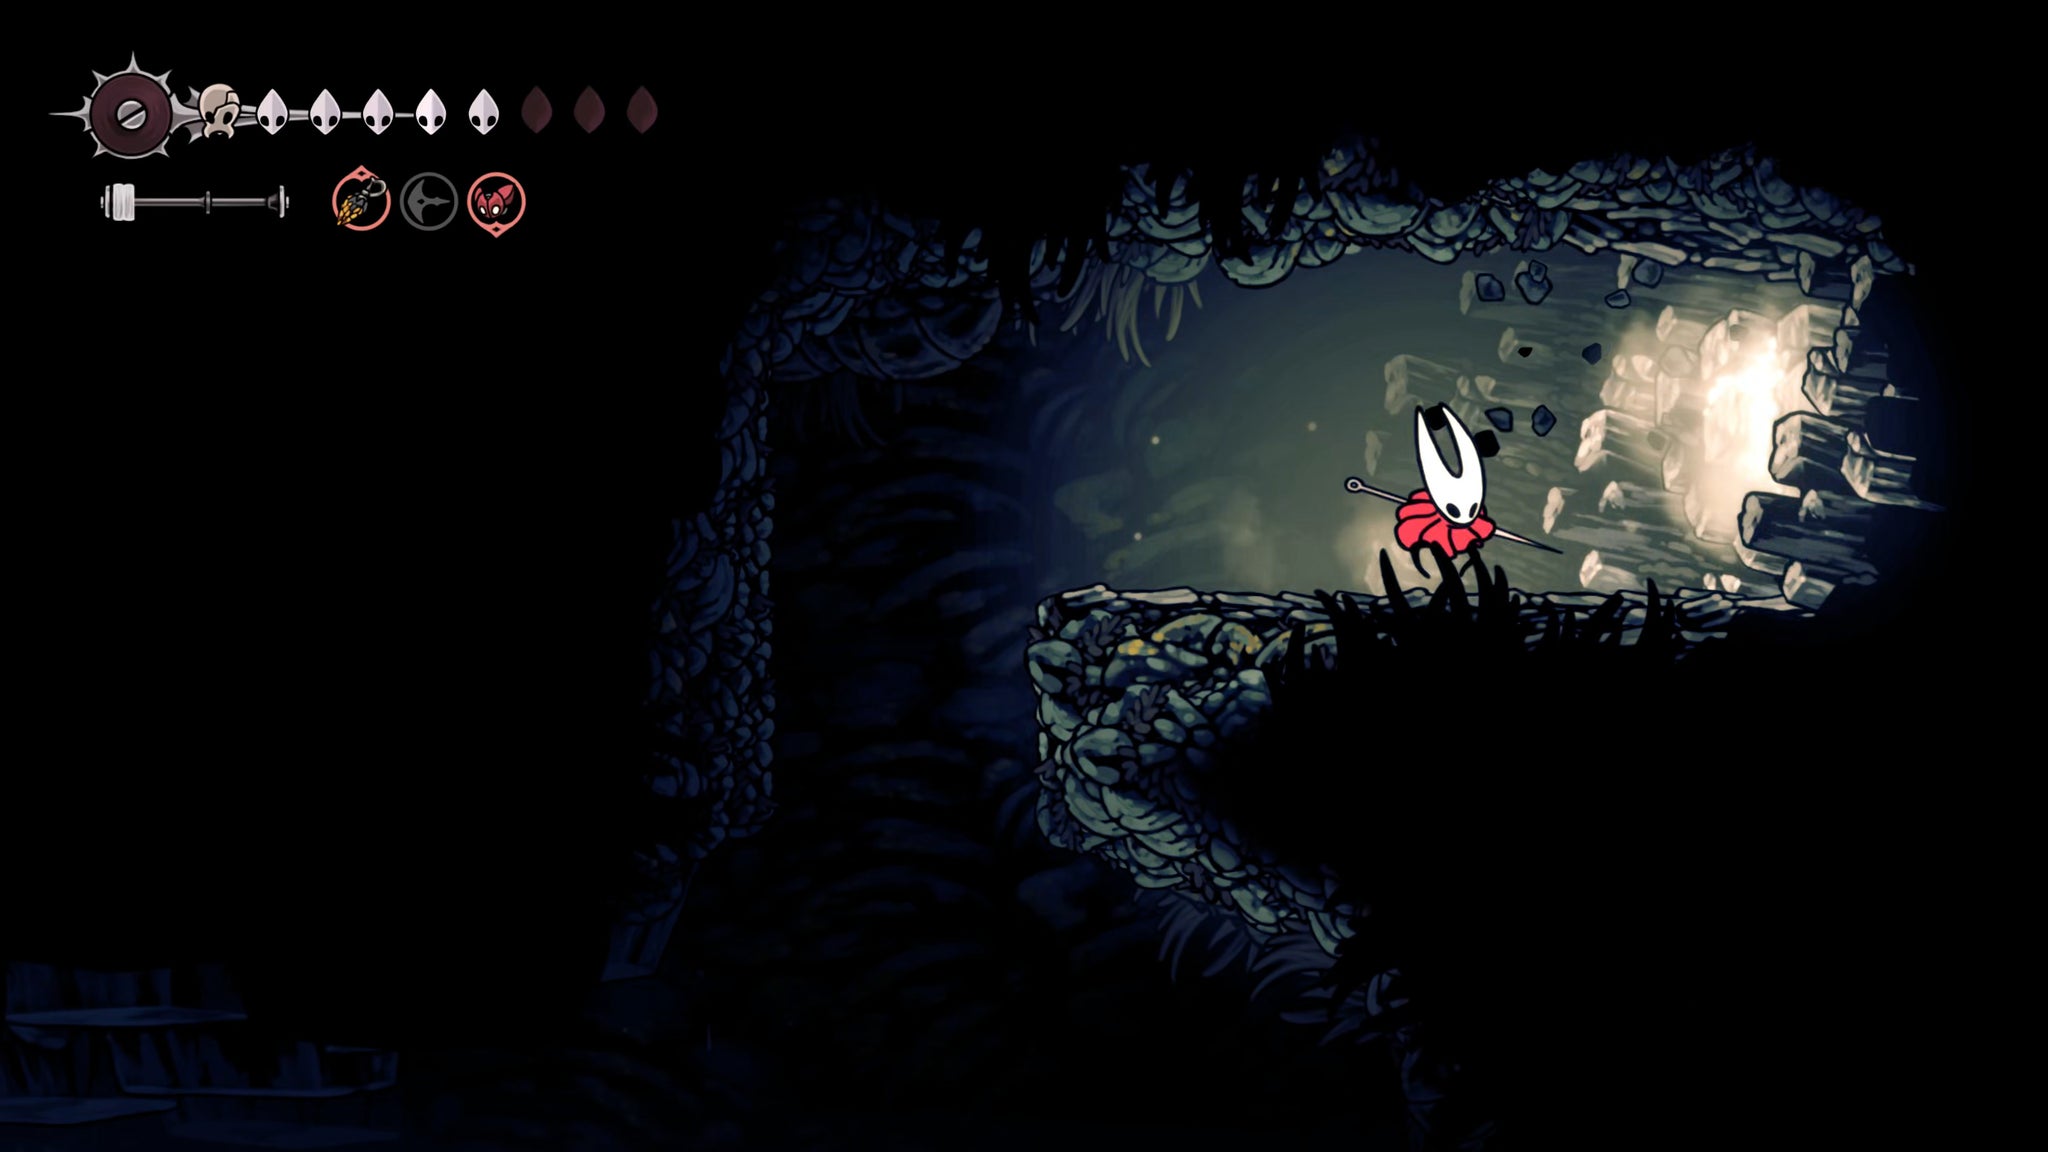
Beyond that, jump into the lake and swim to the very far-right side. At the end of the path, you can jump upwards into a small compartment with some Craftmetal to extract from the wall.
6. Convince the Flea Caravan to relocate.
Now, everything has been explored in the Putrified Ducts. But there's one more thing to do! Head all the way back to the Bellway, and travel to the Flea Caravan. By this point, the Flea Caravan should be at the end of the Blasted Steps (if it isn't, head to its location in Greymoor and speak with Mooshka to get him to move on).
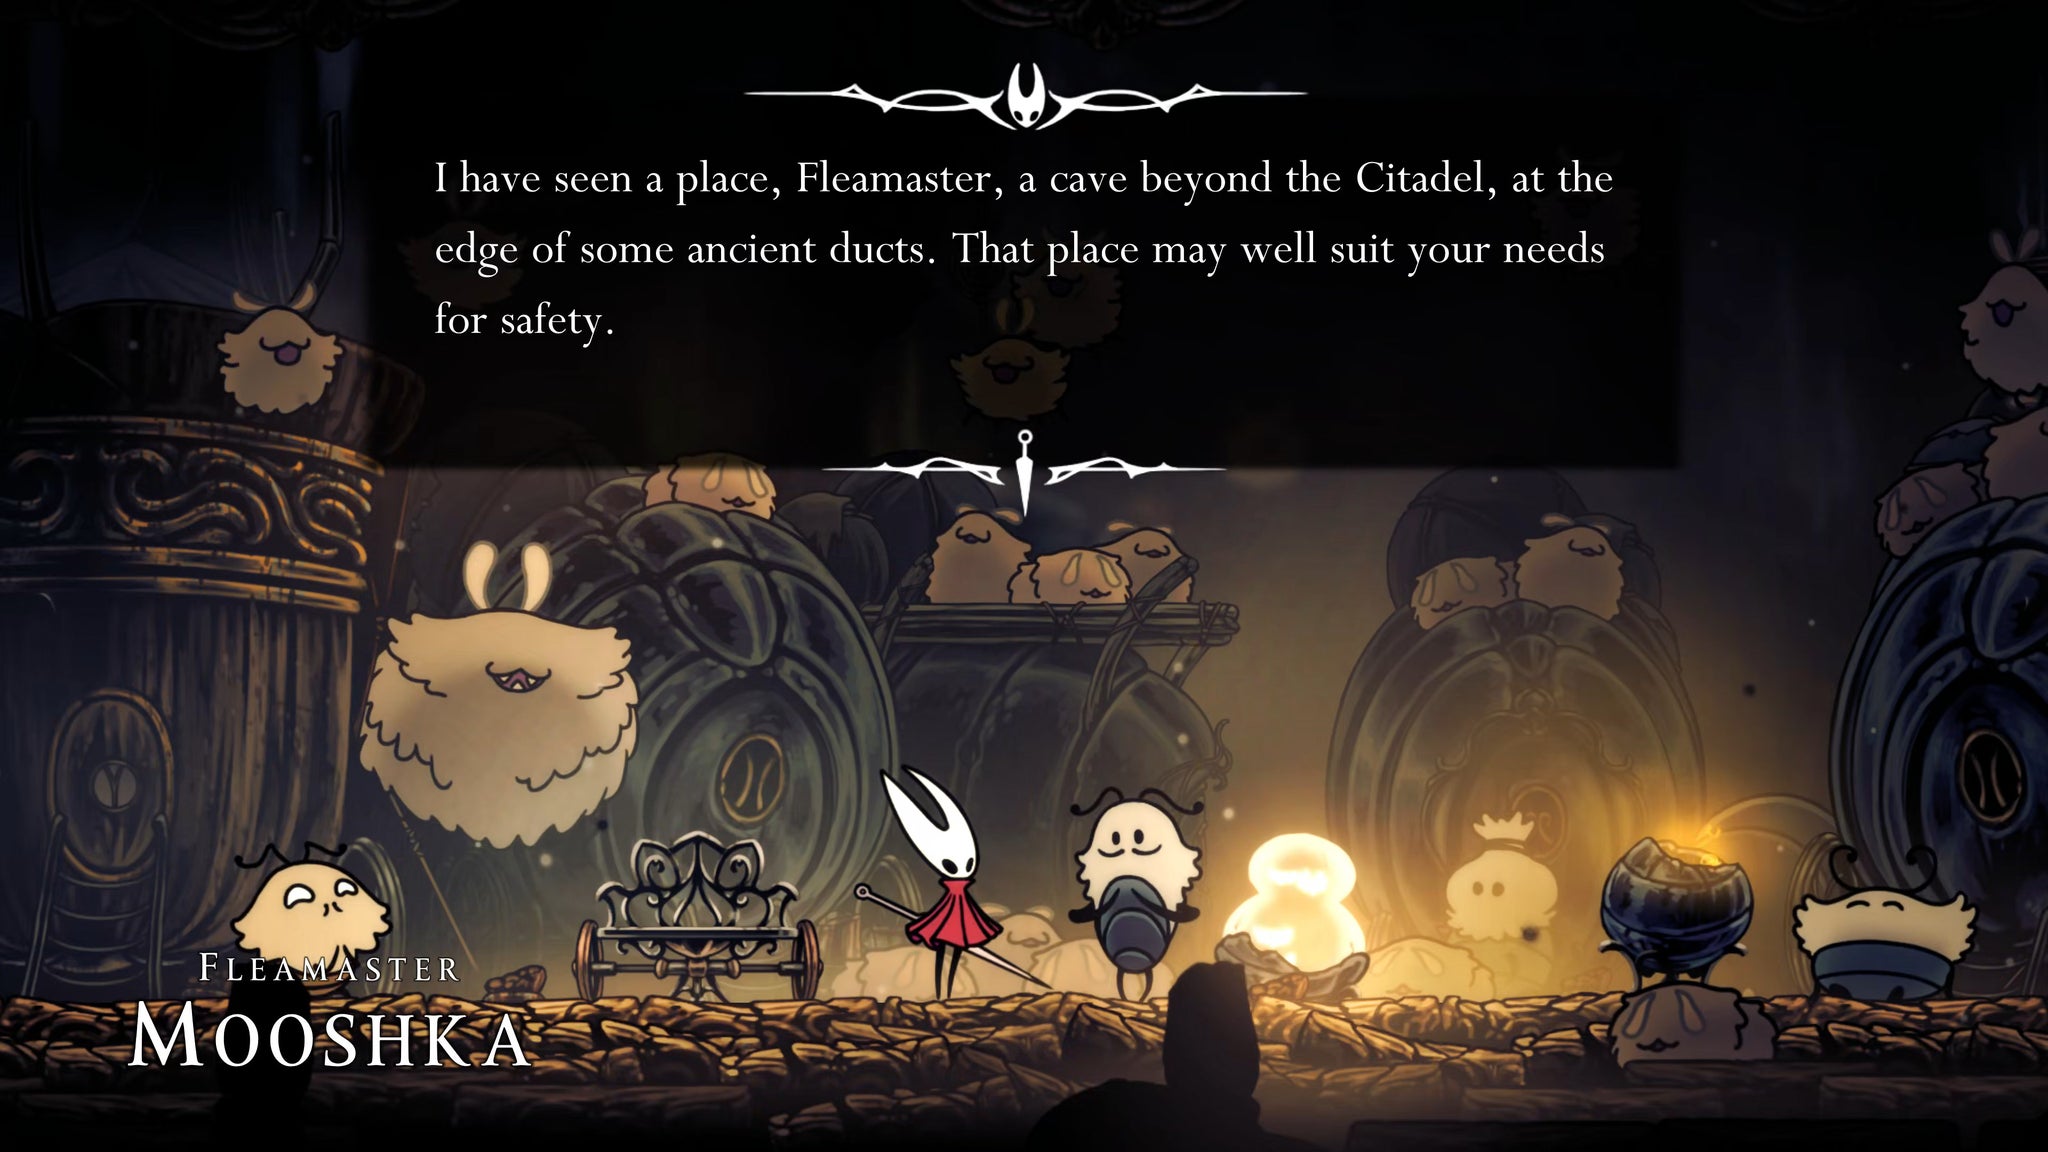
As long as they're in the Blasted Steps, and now that you've discovered the Pale Lake at the far east side of the Putrified Ducts, you can speak with Fleamaster Mooshka and encourage him to move the Flea Caravan over to the Pale Lake. Travel with them, and after a brief and adorable cutscene of travelling, you'll re-emerge in the newly named Fleatopia - the final resting place of the Flea Caravan.
Speak with Mooshka again, and as a reward for finding every Lost Flea in the game, he will present you with the Egg Of Flealia - a tool which decreases the cost of your Silk Skills while you're at full health.

That brings our Putrified Ducts walkthrough to a close, and there's precious little left to do apart from ascending the Citadel elevator to the Cradle above. Just before that, there are a few loose ends to tie up, so join us in Part 32 of our Hollow Knight: Silksong walkthrough to learn what you should do in preparation for the game's end-credits.
Read this next
- Ahead of Hollow Knight: Silksong's Sea of Sorrow expansion, Team Cherry have gotten their Traditional Chinese and German translation ducks in a row
- We may have glimpsed Silksong's Sea of Sorrow expansion in a six-year-old trailer
- Hollow Knight: Silksong's first big expansion, Sea of Sorrow, flows into our lives for free next year
