
Hollow Knight Silksong walkthrough: Part 34 (Starting Act 3)
What to do when you first begin Act 3 of Silksong


What should you do first in Act 3 of Hollow Knight: Silksong? You've already achieved so much, ascending Pharloom and the Citadel and defeating the malevolent Grand Mother Silk in The Cradle above. But because Team Cherry just couldn't leave it there, there's a whole Act 3 of Silksong awaiting you after the end credits roll, and there's no shortage of quests, content, and world-ending stakes.
In Part 34 of our ever-evolving Silksong walkthrough, I'll explain the tasks you should prioritise the moment you start Act 3 of Silksong, from your initial steps descending The Cradle to enhancing your fast travel abilities and upgrading your weapon ready for some of the toughest bosses in the game.
Want the walkthrough for a different area of the game? Check out our Hollow Knight: Silksong walkthrough hub!
Starting Act 3 walkthrough steps:
- Descend the Cradle to reach Songclave.
- Unlock the First Shrine Ventrica again.
- Defeat the Bell Eater to unlock Beastling Call.
- Save Pinmaster Plinney in Shellwood.
- Speak with Mooshka in Fleatopia.
- Get the highscore in all three Flea games.
- Speak with the Snail Shamans in Moss Grotto.
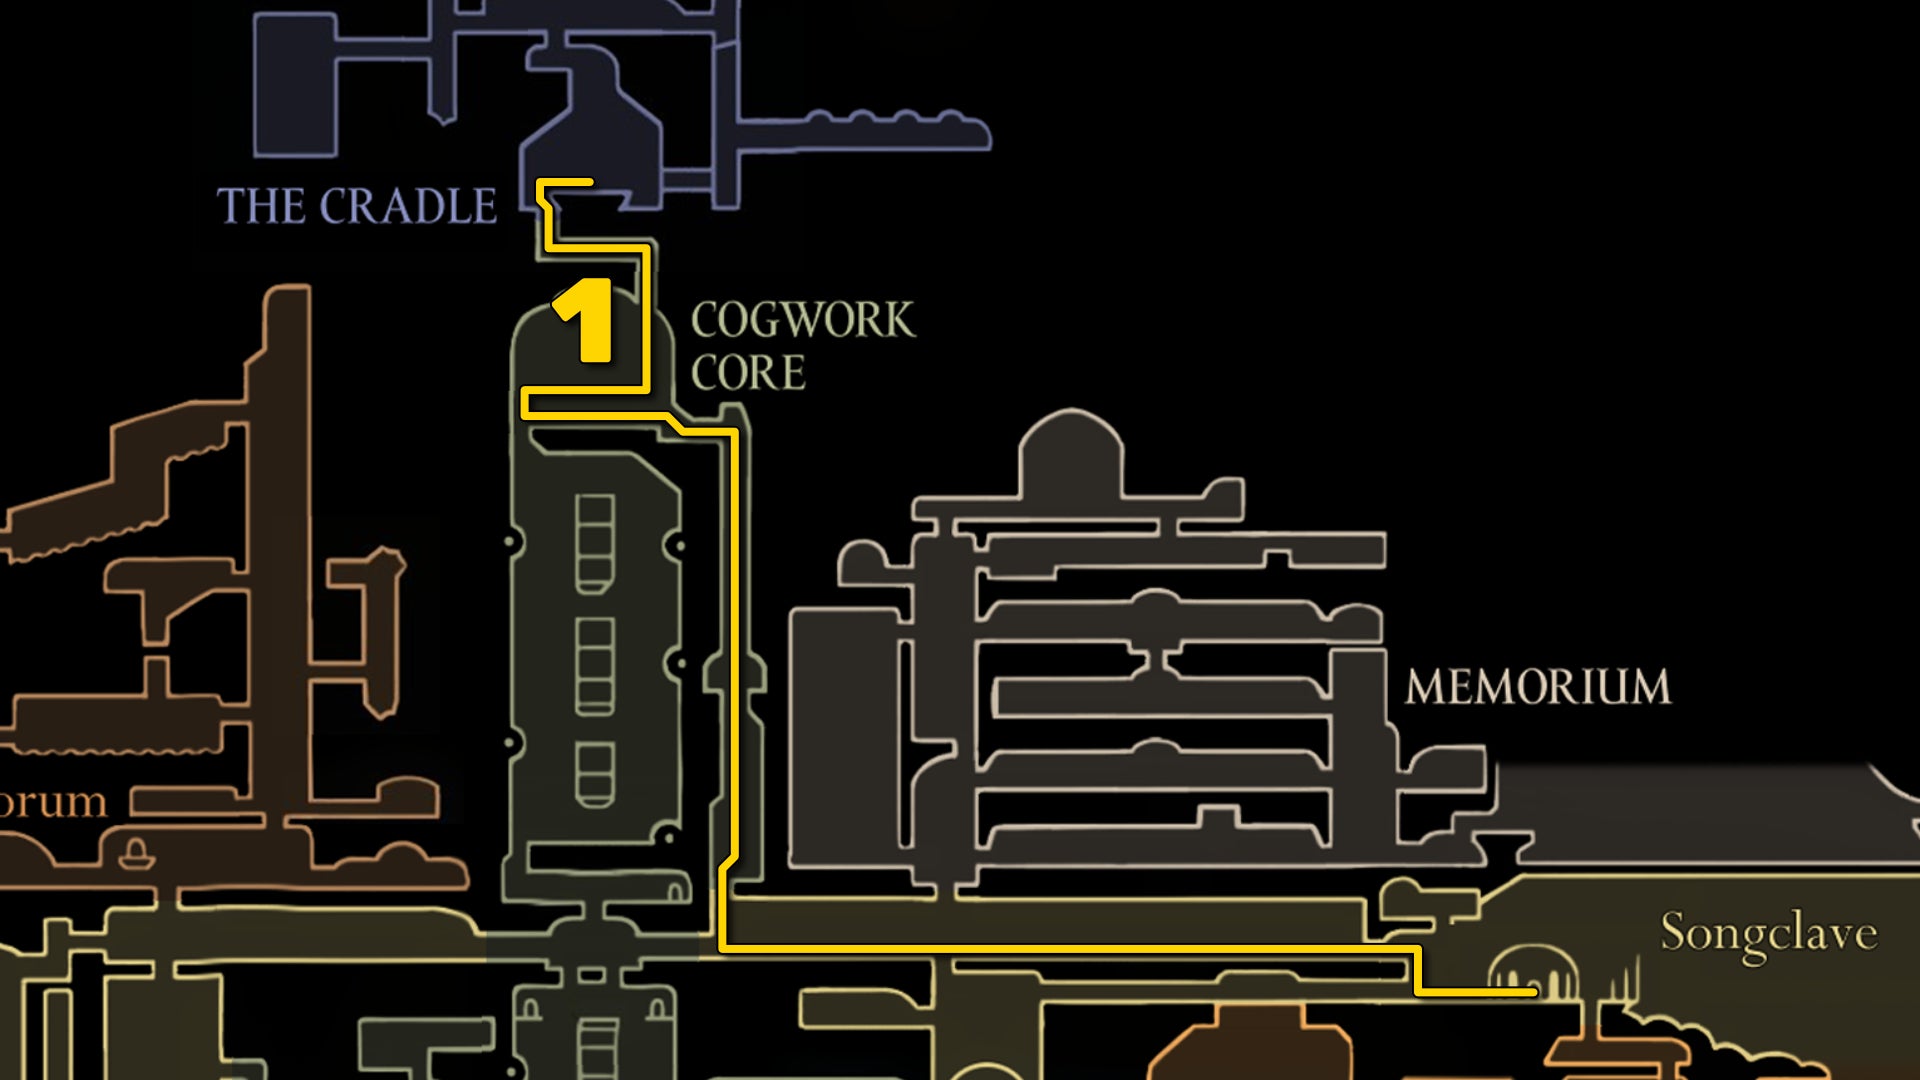
1. Descend the Cradle to reach Songclave.
When you first load your save after defeating Grand Mother Silk, Hornet will awaken from unconsciousness at the bottom of The Cradle. Bind to heal her, and then drop off the left-hand side. Walk along the ground here - a hole will open up beneath your feet for you to drop down.
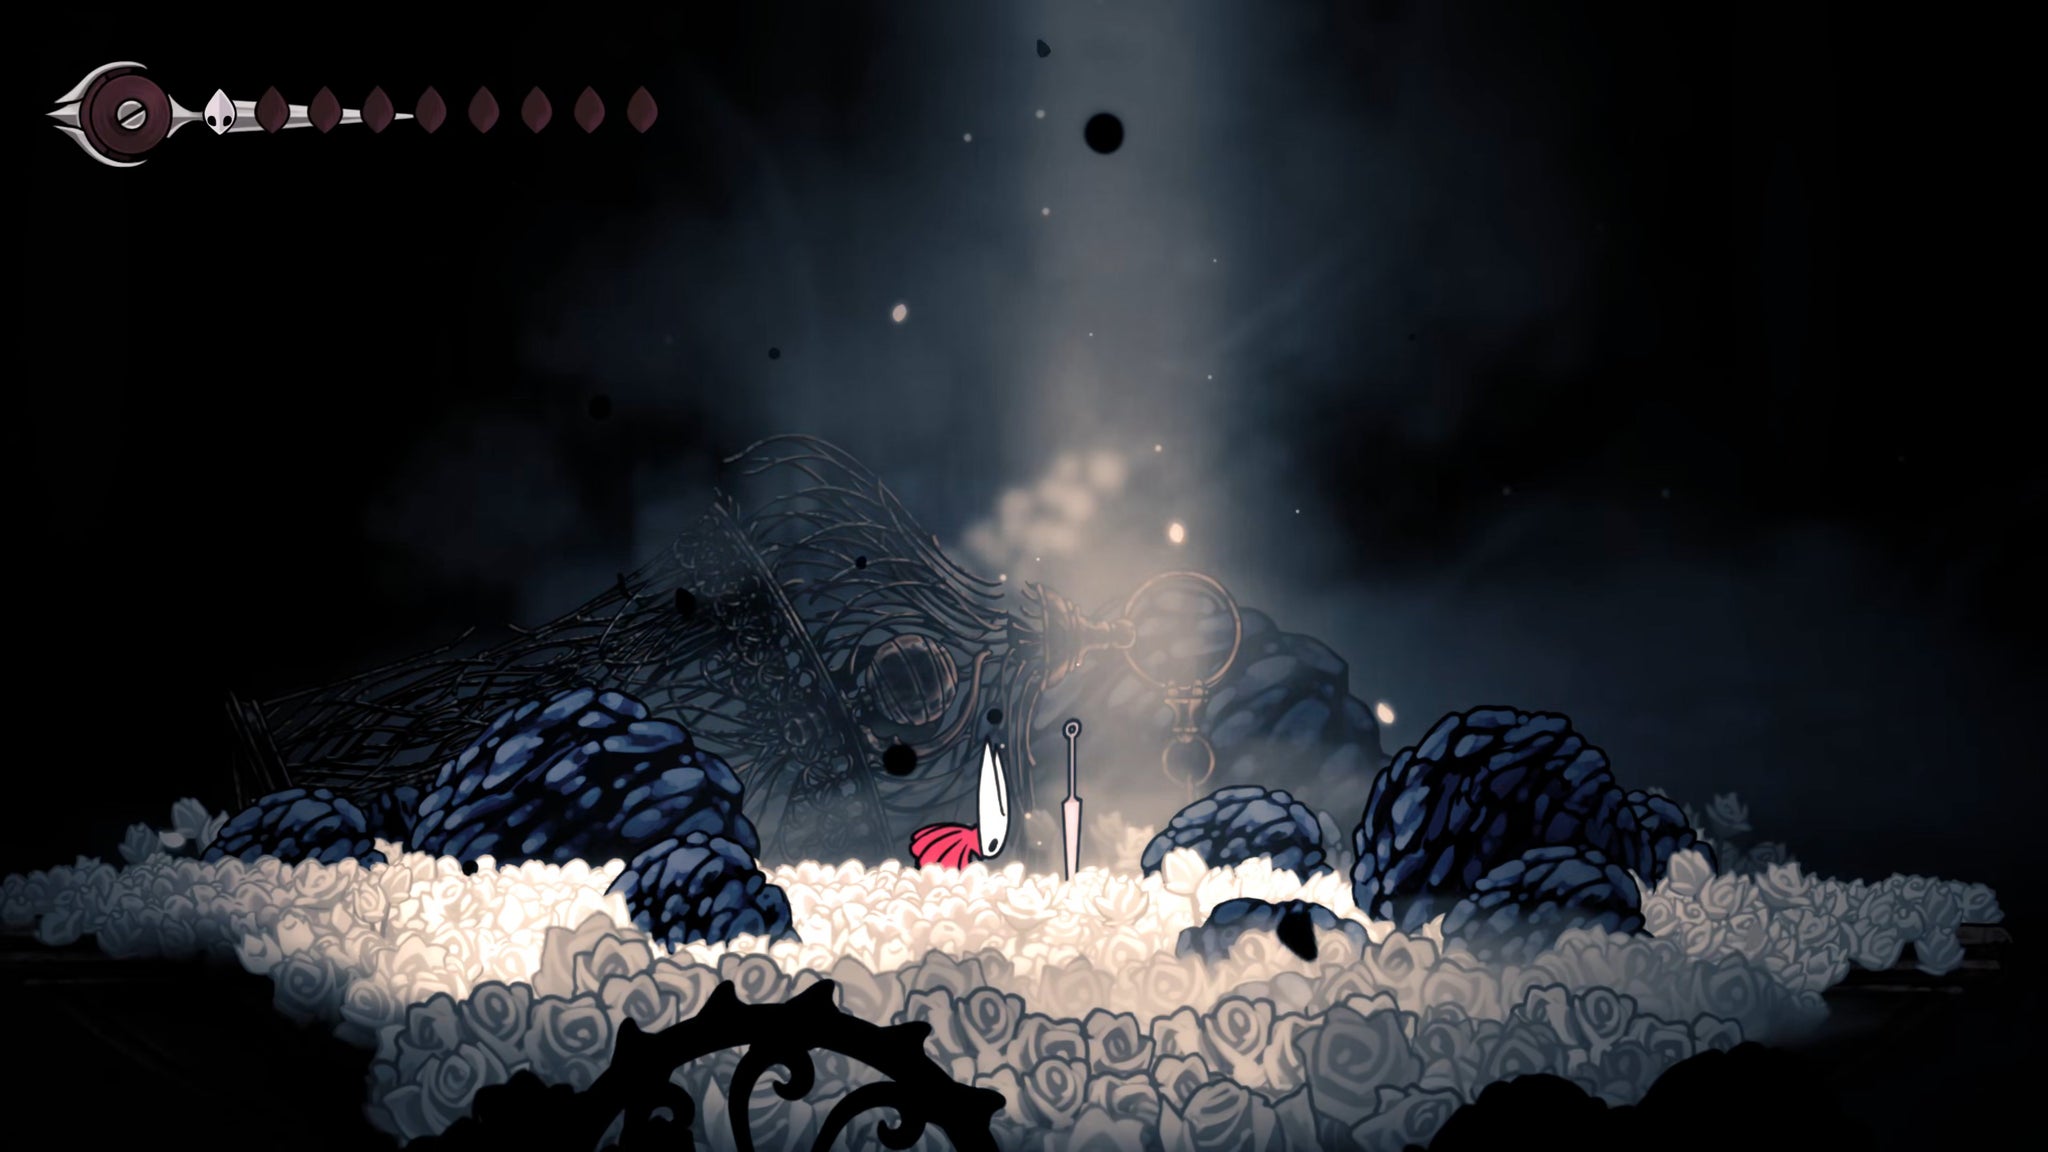

Make your way to the right in the tunnel, and drop down the hole at the end. At this point Hornet will have a bad turn for a few moments, like she did at the very start of the game in Moss Grotto. Drop down the hole in front of you - there's no way to soften the landing here, due to Hornet's weakened state she'll collapse onto the ground rather than landing on her feet.
Walk to the left, and you'll see that you're now in the top of the Cogwork Core, where you completed the pillar puzzle to obtain the Architect's Melody. Head to the far left side, drop down, and then follow the path right into the next room.
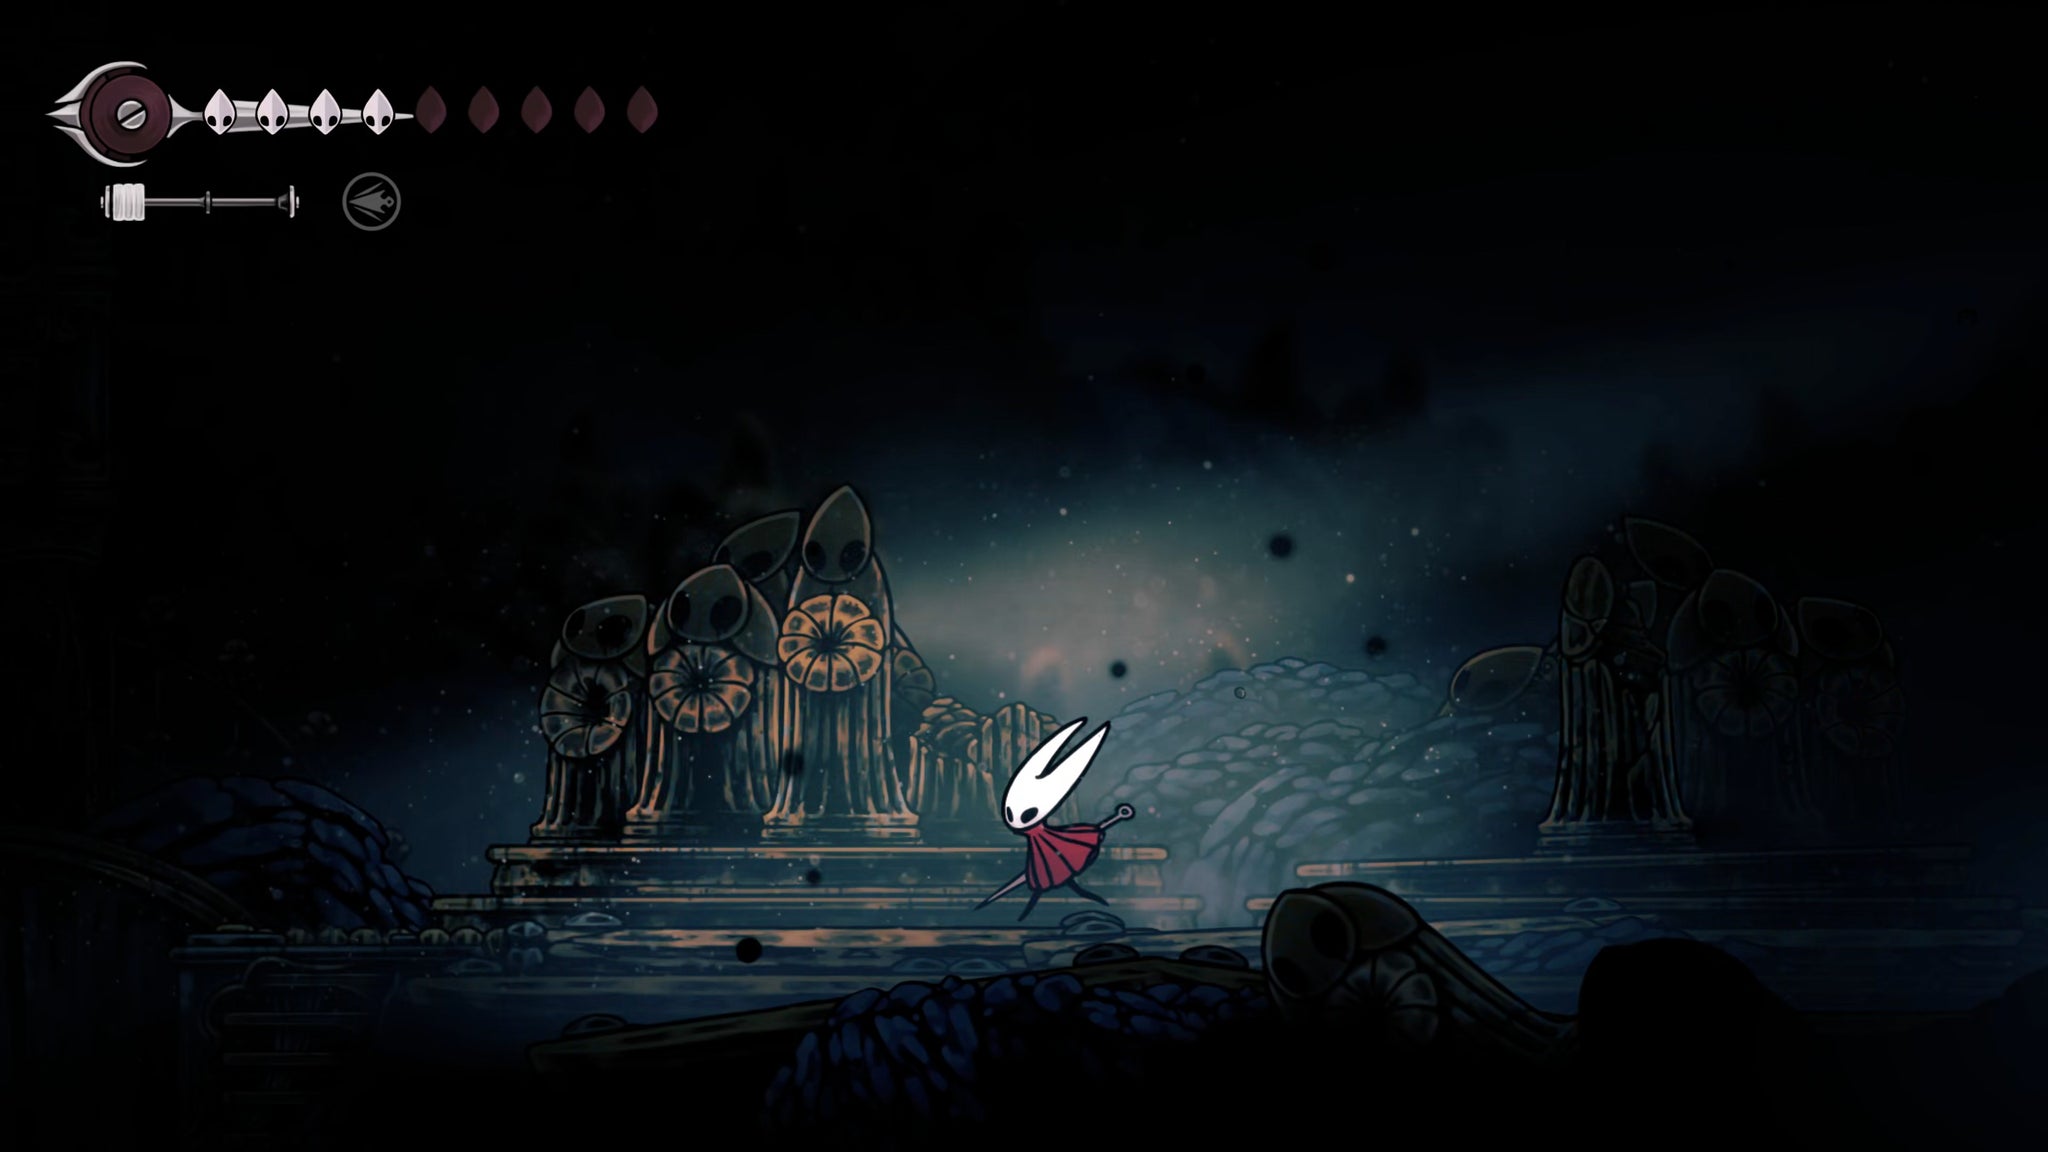

Drop down the shaft carefully to avoid the spinning saws.Partway down you'll see a ledge on the right with some breakable wooden struts. Break it open and then drop down the narrower adjoining shaft, timing your drop to avoid the steam vents below.
Follow the path down until the ground gives away beneath you, and you fall into an arena. This is a fairly quick arena fight, designed to introduce you to the new Void variants of enemies that you'll find dotted throughout Act 3. These greyscale variants have higher health, and augment their regular attack patterns with a couple of far-reaching Void attacks, firing projectiles at you or creating a large area-of-effect attack around themselves.
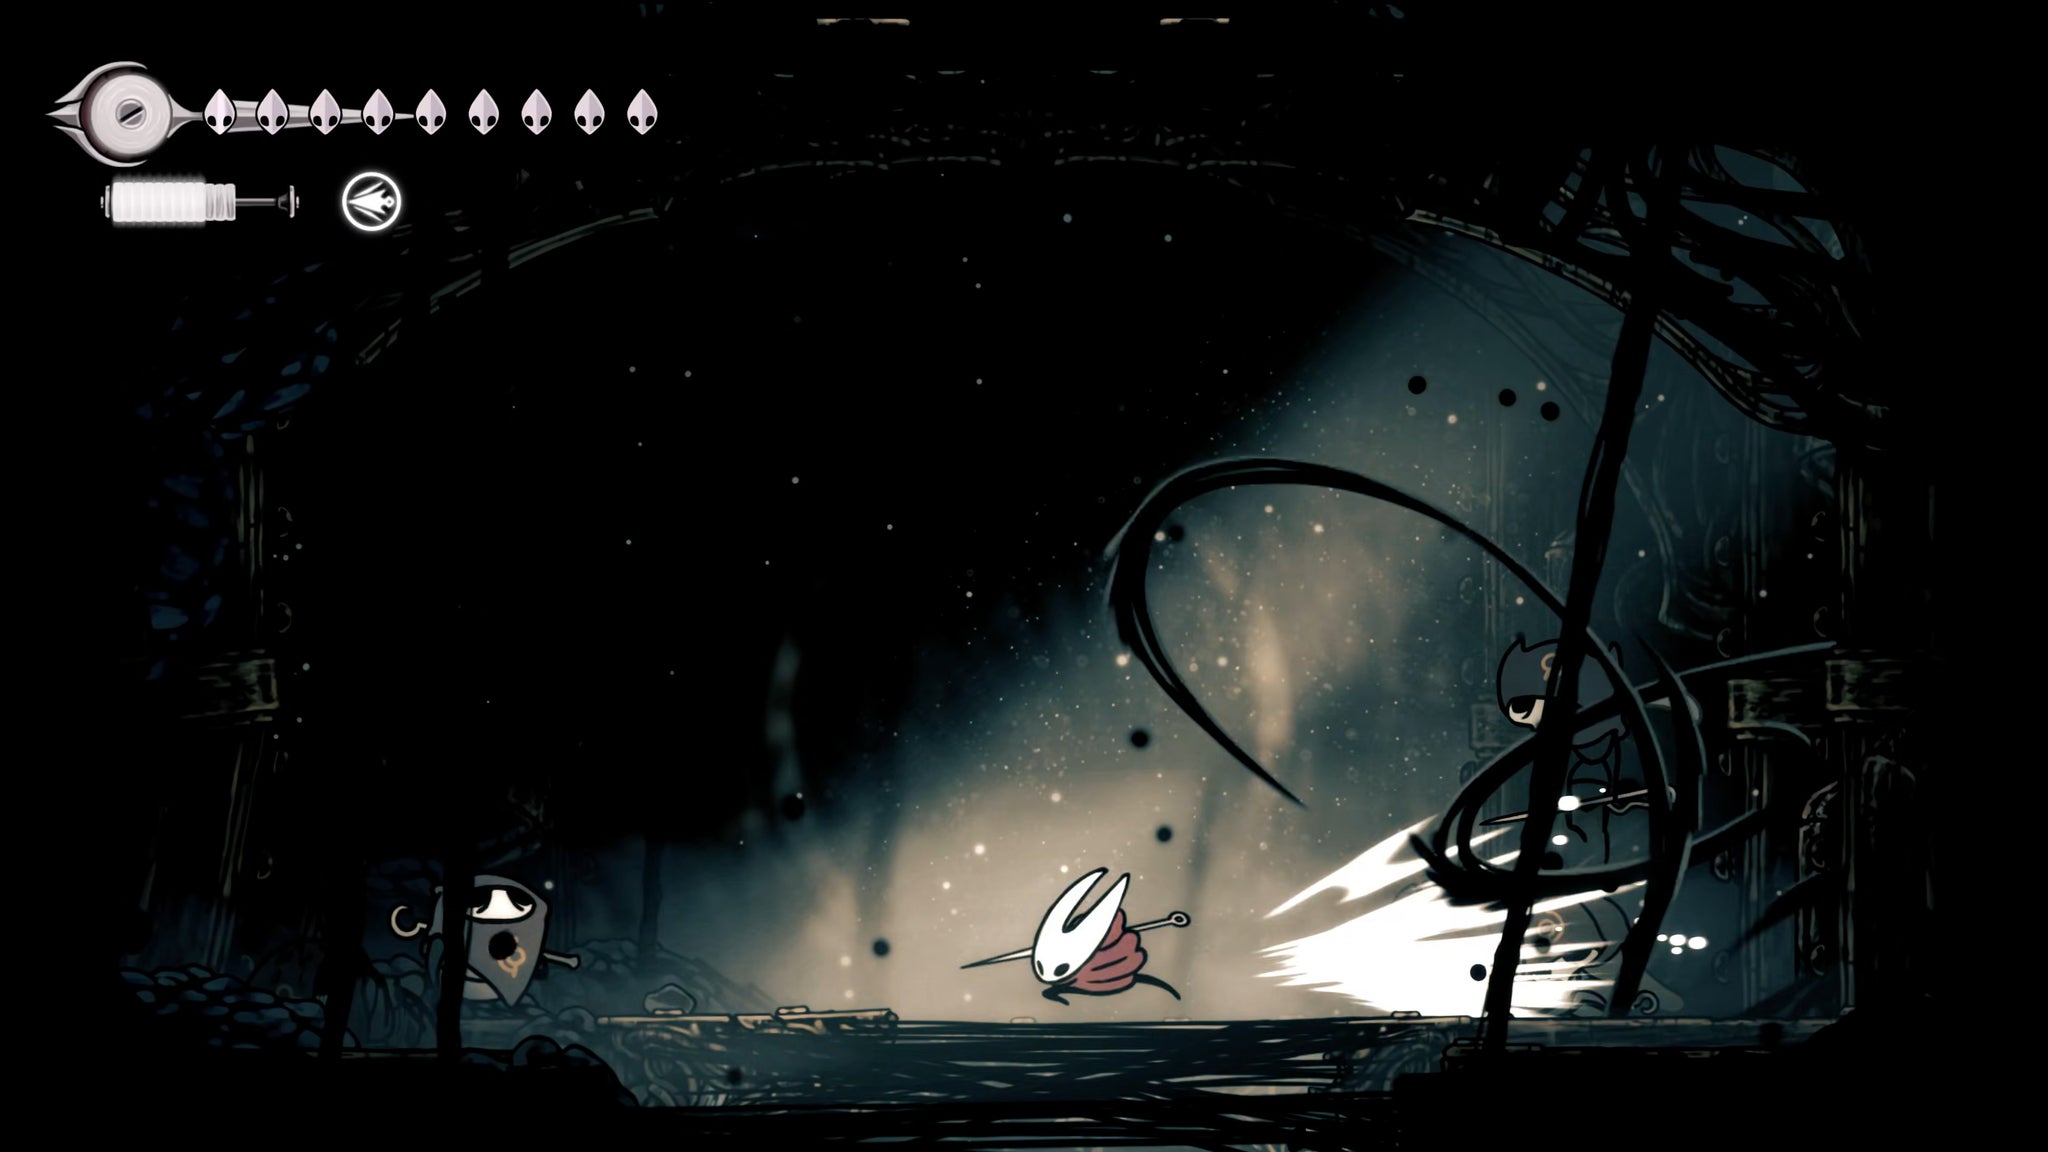
There are only two waves in this arena fight. Once you defeat both waves, drop down through the centre of the floor and follow the path down, floating as you fall to avoid the spikes. In the next room, you'll have another nasty turn - keep walking forwards until the ground gives away beneath you, and Hornet collapses.
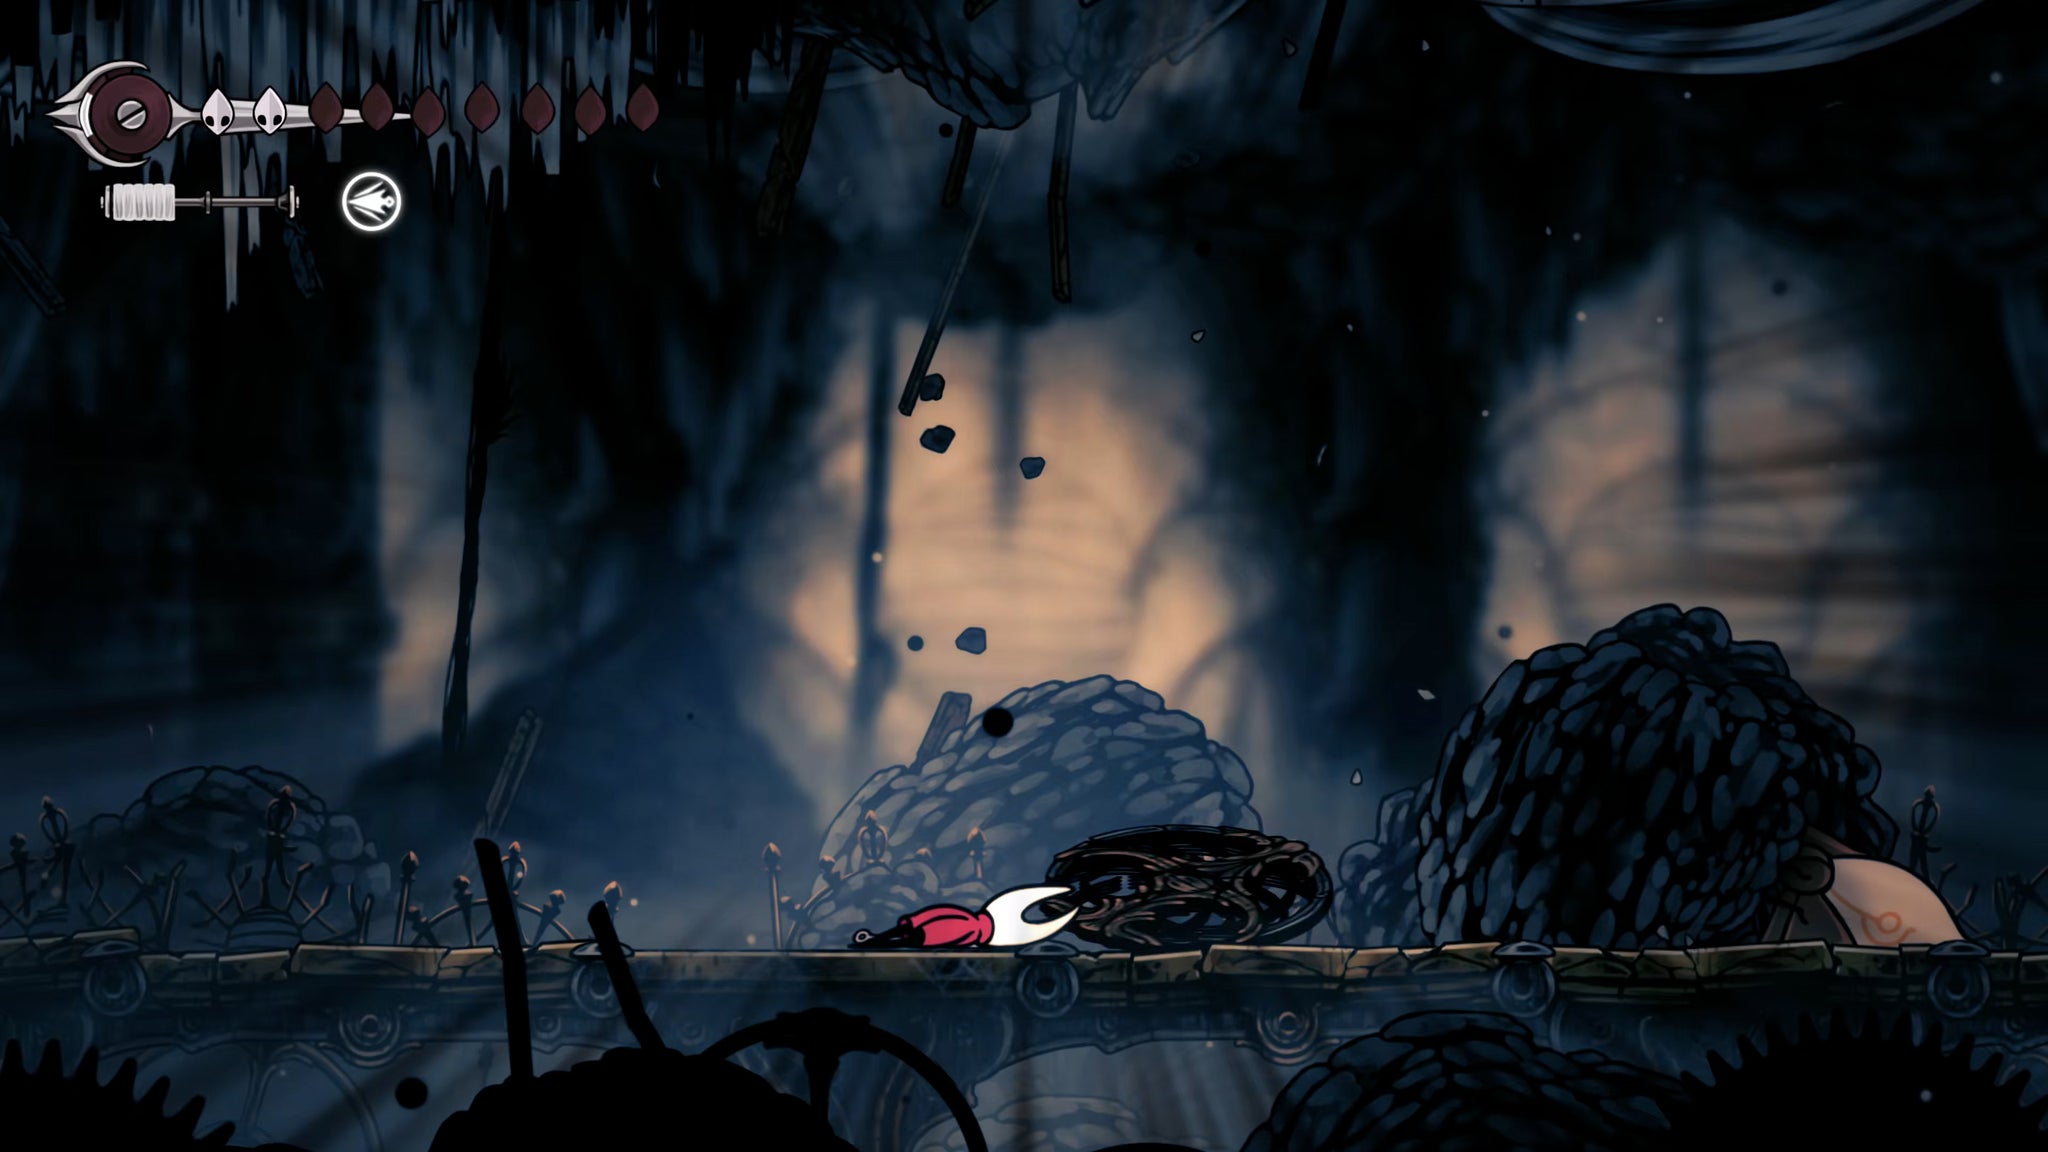

When Hornet reawakens, she's back in Songclave, speaking with Sherma - who has graduated to becoming the caretaker of the settlement. Exhaust her dialogue to find out where the original Caretaker has buggered off to, because you need to find him and his family to figure out how to undo the damage caused to Pharloom from the trap the Caretaker set.
2. Unlock the First Shrine Ventrica again.
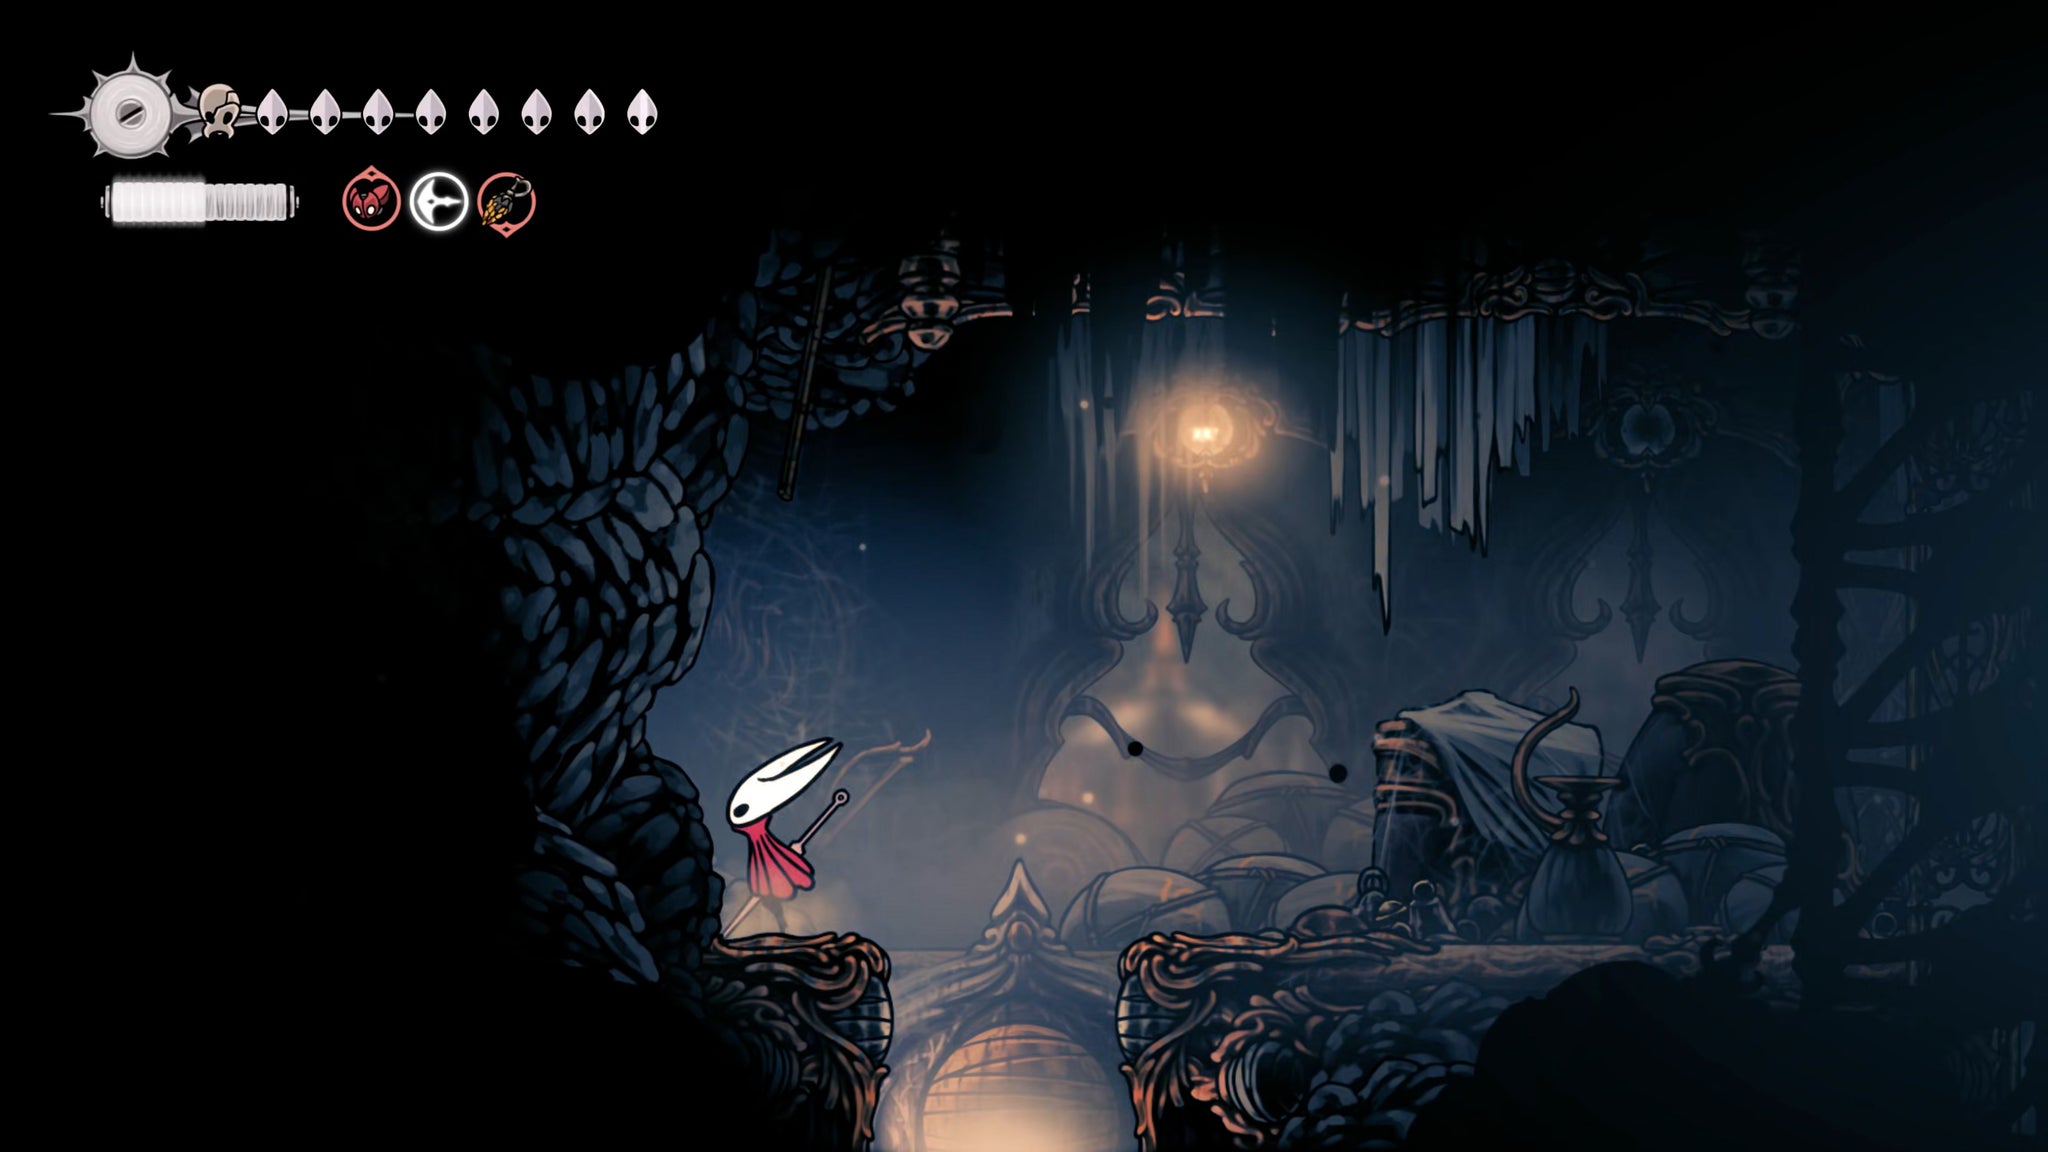
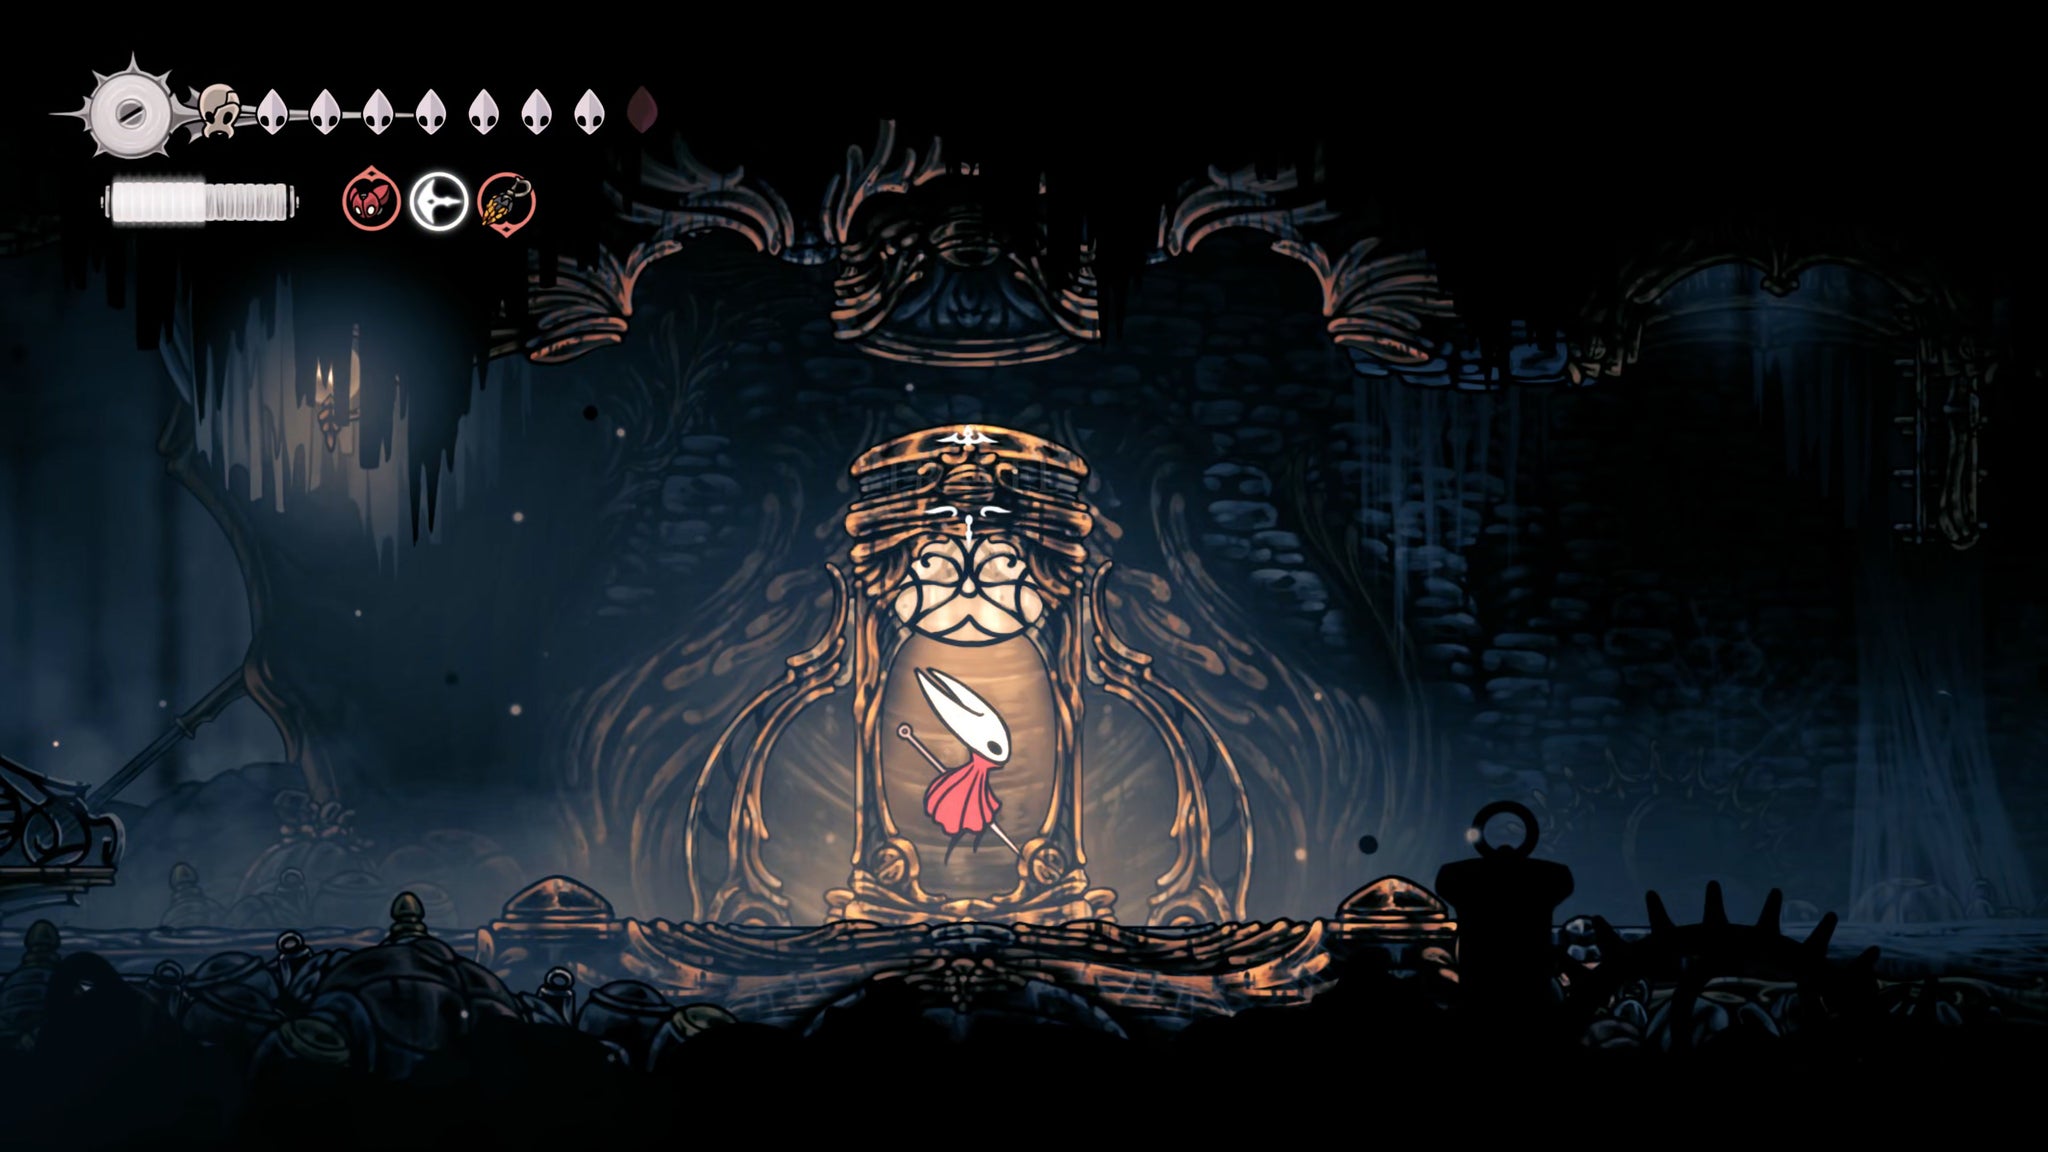
Rest at the Bench to the left of Songclave, and then (if you like) head up to the First Shrine Ventrica Station nearby. You won't get far, because the Ventrica is walled off from you now by fallen rubble, and you can't attack your way through it. This is the only Ventrica Station that's blocked off in this way, so it's worth unblocking it right now.
Head out the bottom-left exit from Songclave and drop down through the large rotating circle in the room past the corridor. From there, drop down to the very bottom of the main shaft in the Choral Chambers, and enter the Grand Bellway on your left. Skip over the Bellway itself for the moment, and use the Ventrica to travel to the First Shrine.
This will put you on the other side of that fallen rubble, and from this side, you can attack the wall to break it.

3. Defeat the Bell Eater to unlock Beastling Call.
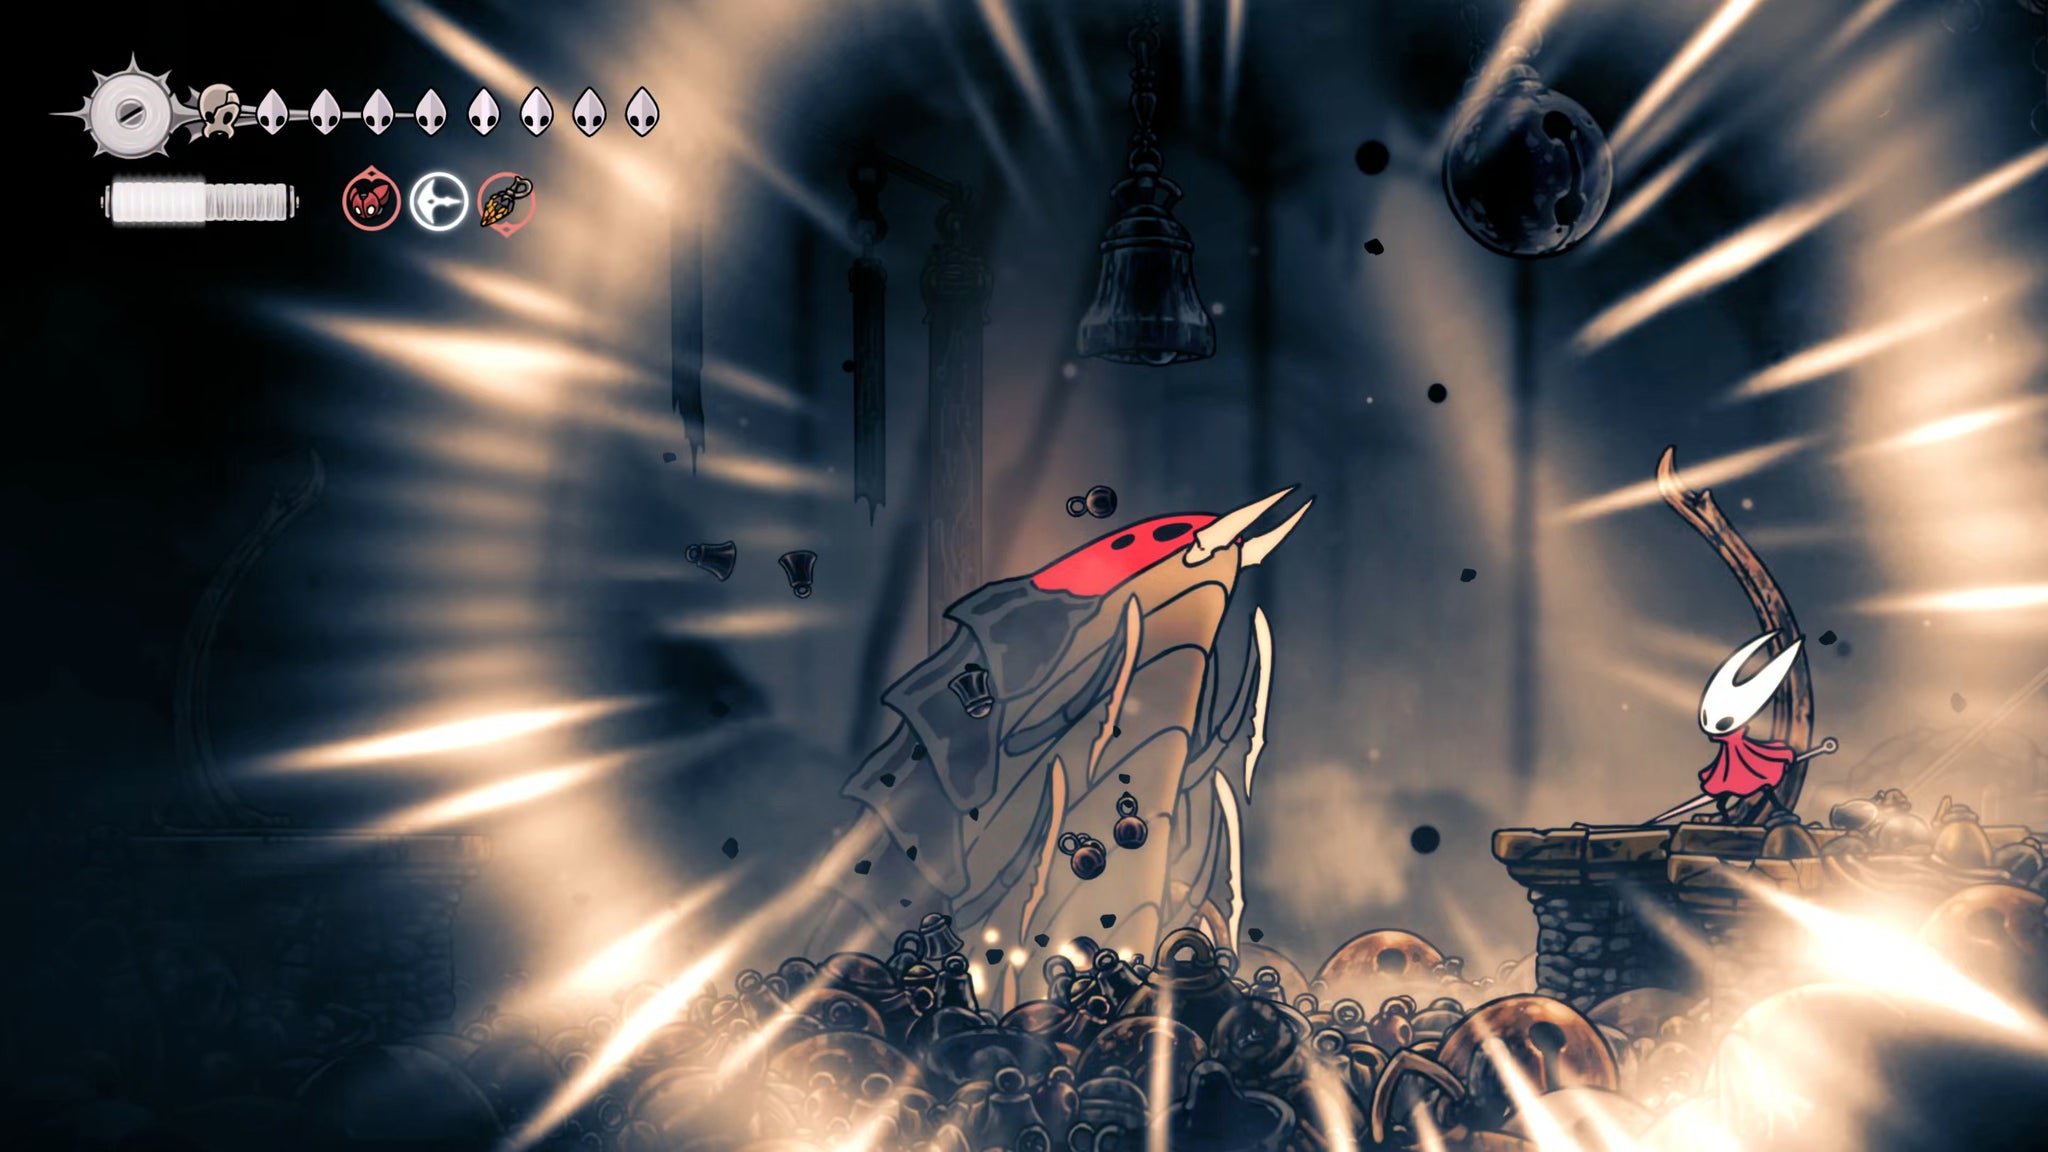
Use the First Shrine Ventrica to fast travel back to the Grand Bellway, and interact with the Bellway itself this time. Unfortunately, it appears that the Bell Beast has been supplanted by a nightmarish new creature called the Bell Eater. It appears, roars, and then dives back underground, leaving a hole through which you can follow it.
Interact with the hole to enter the tunnel. You won't have to travel far at all before a boss fight begins, pitting you against the Bell Eater.
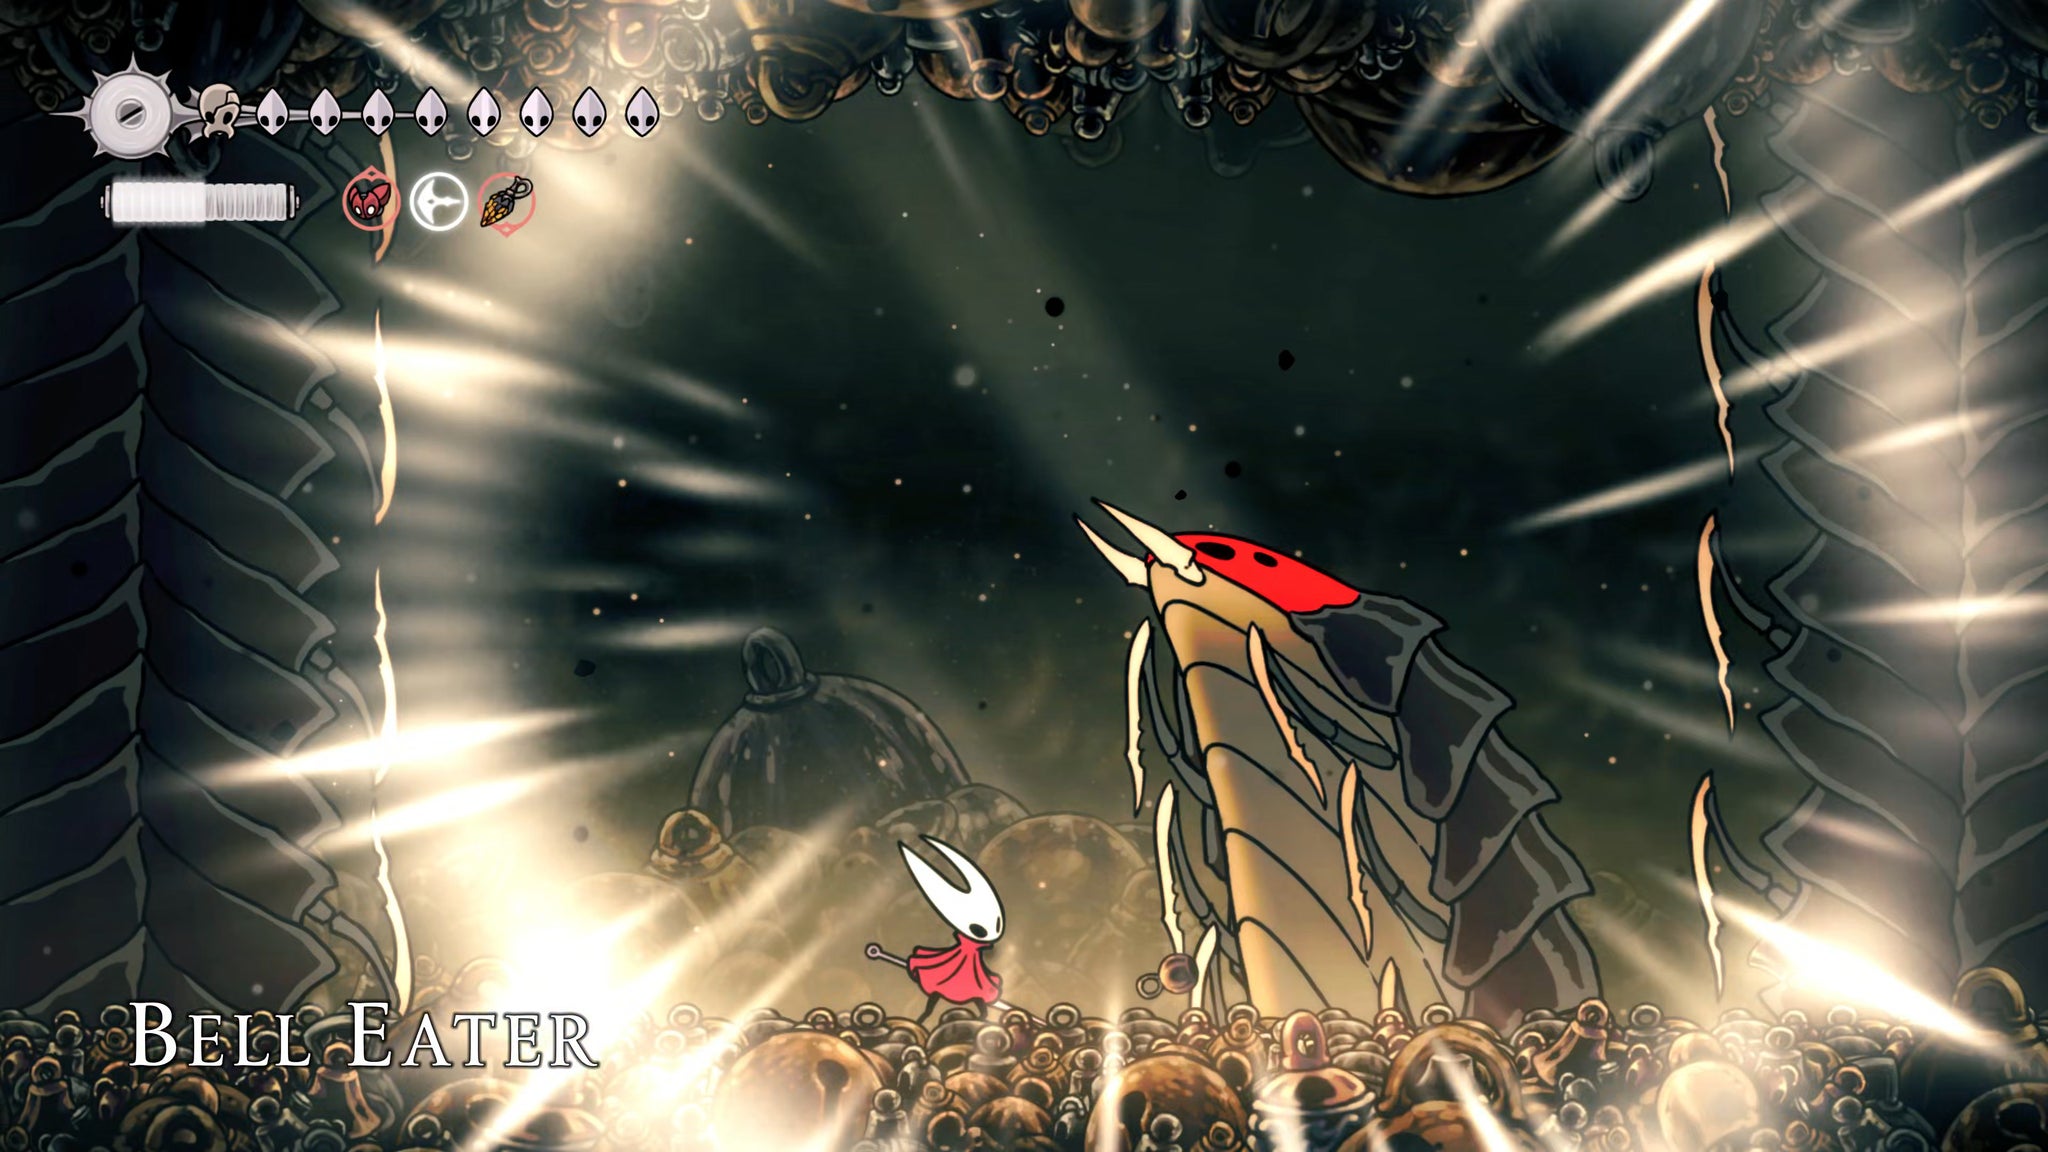
The Bell Eater utilises the same style as the Bell Beast, dislodging large circular bells to bounce around the arena for you to avoid; but physiologically it's very different from your old friend. The Bell Eater uses both its "ends" to fight. The front end either spins saws around it or spews red gobbets of goo at you, while the back end is more dangerous, firing out bouncing explosive balls of goo which are harder to avoid.
Because of the way the Bell Eater cordons off the sides of the arena with its lengthy body, you can't wall climb to avoid attacks. You have to use double jumps and mid-air dashes to evade attacks in a confined space, and keep up the pressure against whichever end of the creature shows itself next. You don't need to focus on one or the other - they're both the same creature, with the same health pool.
I found it to be worthwhile setting the Volt Vessels tool to its stake variant, and plunging it into the ground whenever I saw dust on the floor or ceiling to indicate the Bell Eater was about to emerge. Feel free to make this a tool-heavy fight, because the Bell Eater doesn't give you any real extended periods of time to attack it with your needle.

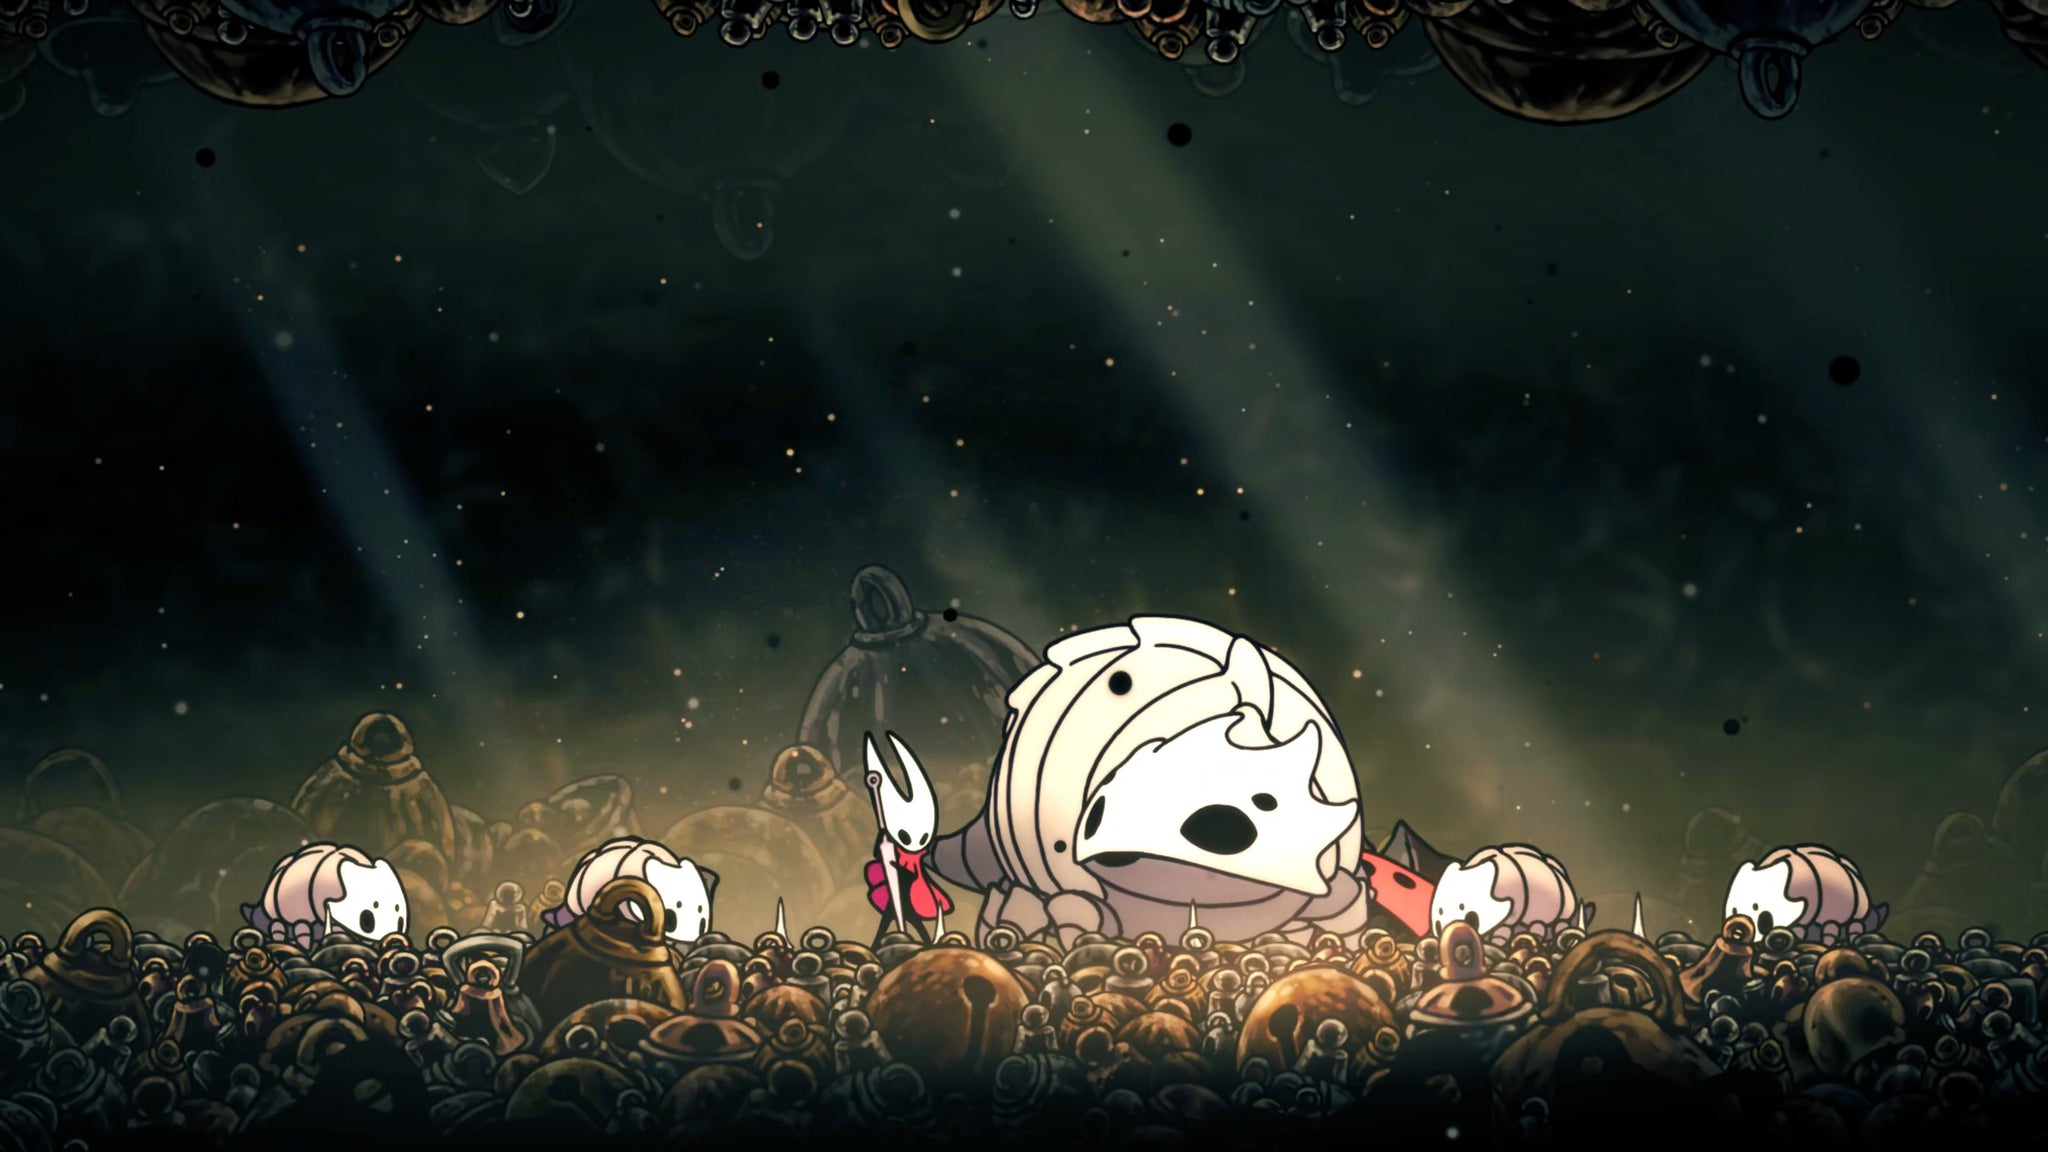
Once you've struck the final blow against the Bell Eater, it will disappear and then reemerge, before your friend the Bell Beast reappears and drives it back into the ground. The Bell Beast will emerge again and trill to you. Follow the prompt to play your Needolin while holding the upwards movement key, and you'll discover a brand new ability thanks to the Bell Beast's new babies: Beastling Call.
I highly, highly encourage you to make constant use of Beastling Call throughout Act 3. As long as you're standing on solid enough ground, you can play your Needolin (while holding up) anywhere in Pharloom, and the Bell Beast's children will appear and whisk you away to the last Bellway you used. It's a phenomenal time-saver, and adorable to boot.
4. Save Pinmaster Plinney in Shellwood.
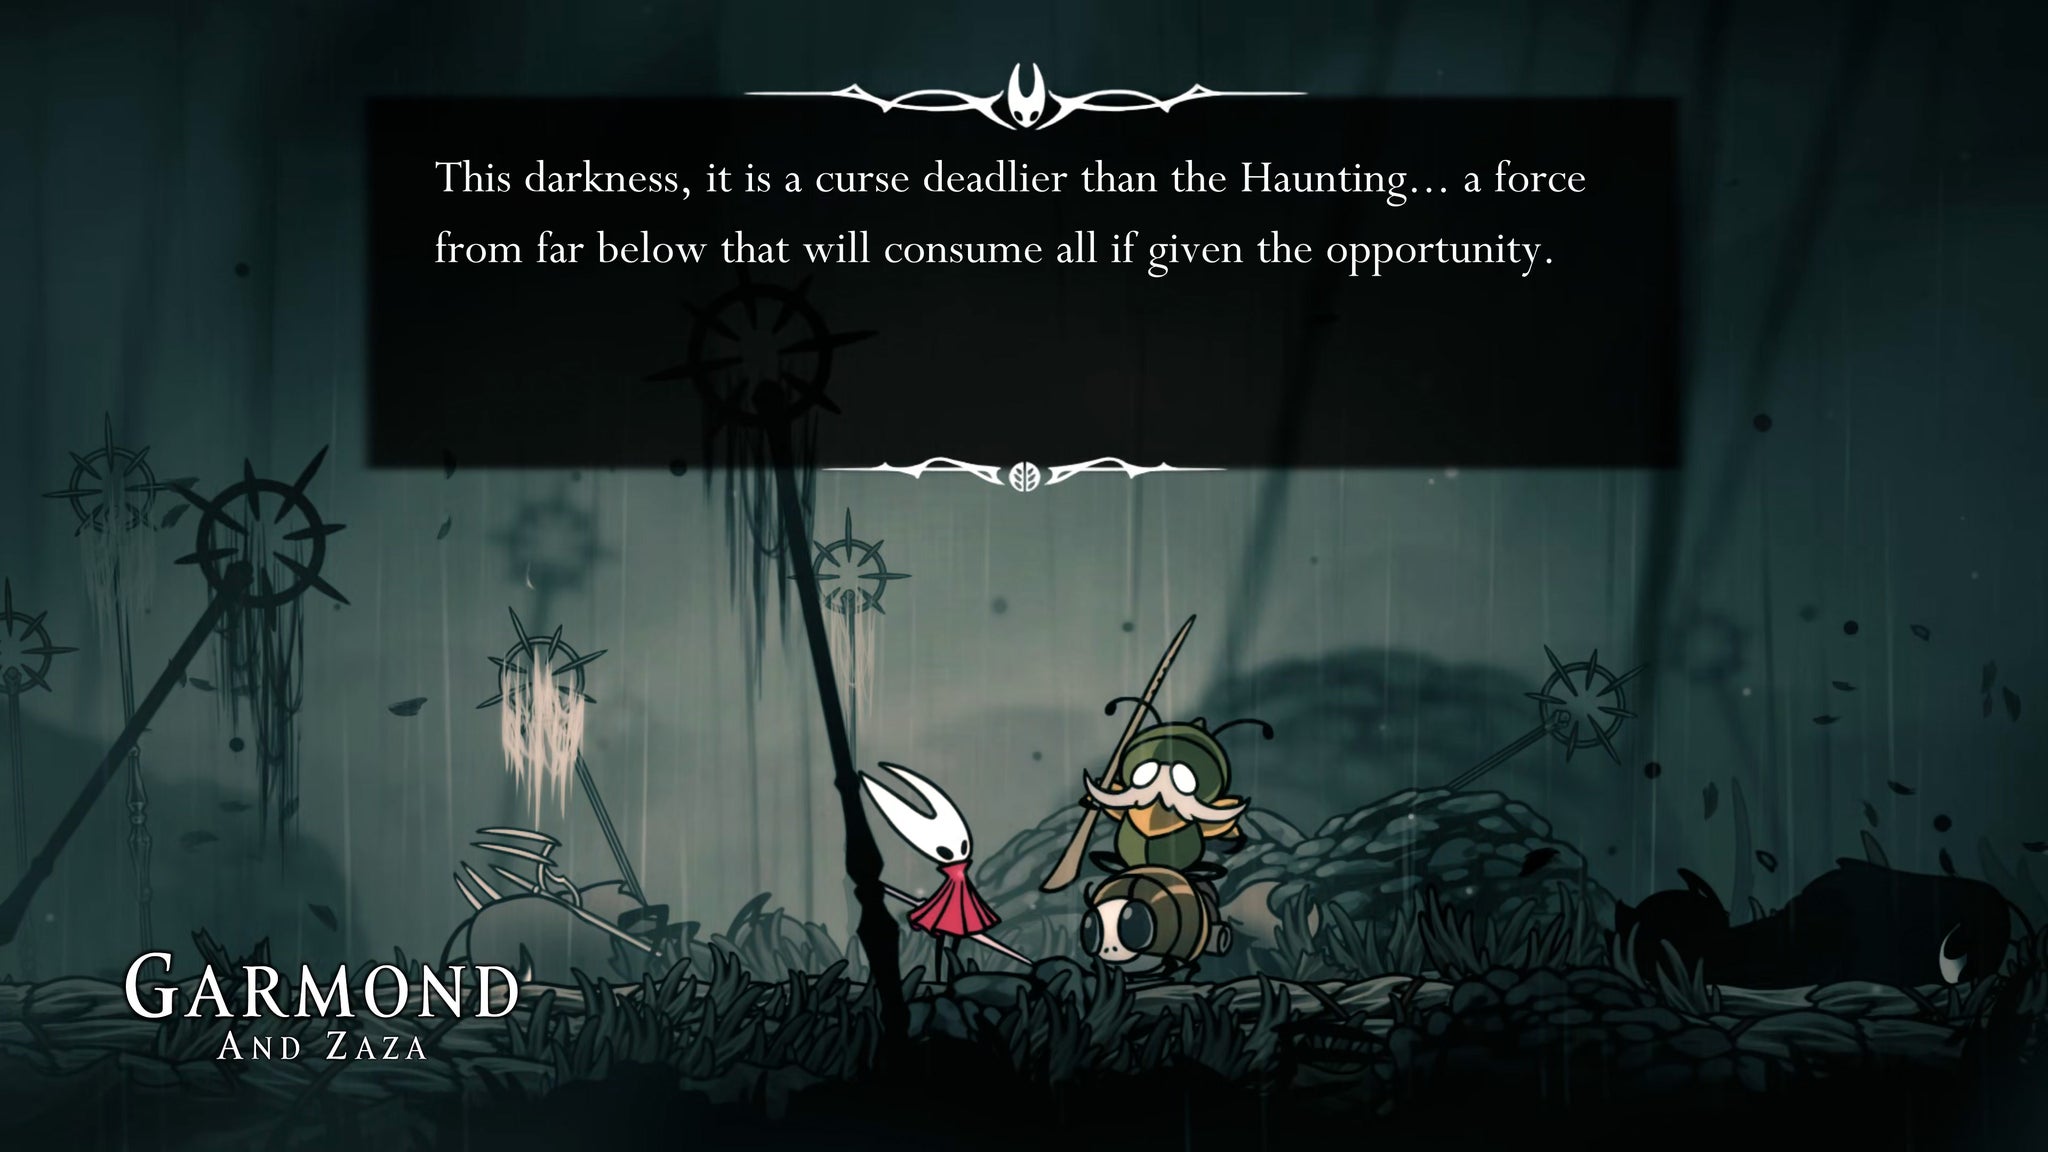
Now that the Bell Beast is able to travel the Bellways again, use it to travel to Greymoor, and exit via the top ledge. A short walk to the left in the next room will take you to Garmond and Zaza, busily fighting some Void-soaked Greymoor enemies. Once they're dead, exhaust Garmond's dialogue to learn a little more about what's been going on since the Grand Mother was defeated.

Then continue to the west, and take the path that leads you towards Bellhart. Once you get to the flat area at the edge of Greymoor where you duelled Shakra, you'll see that she's there again. Exhaust her dialogue to hear more about her role in defending Bellhart.
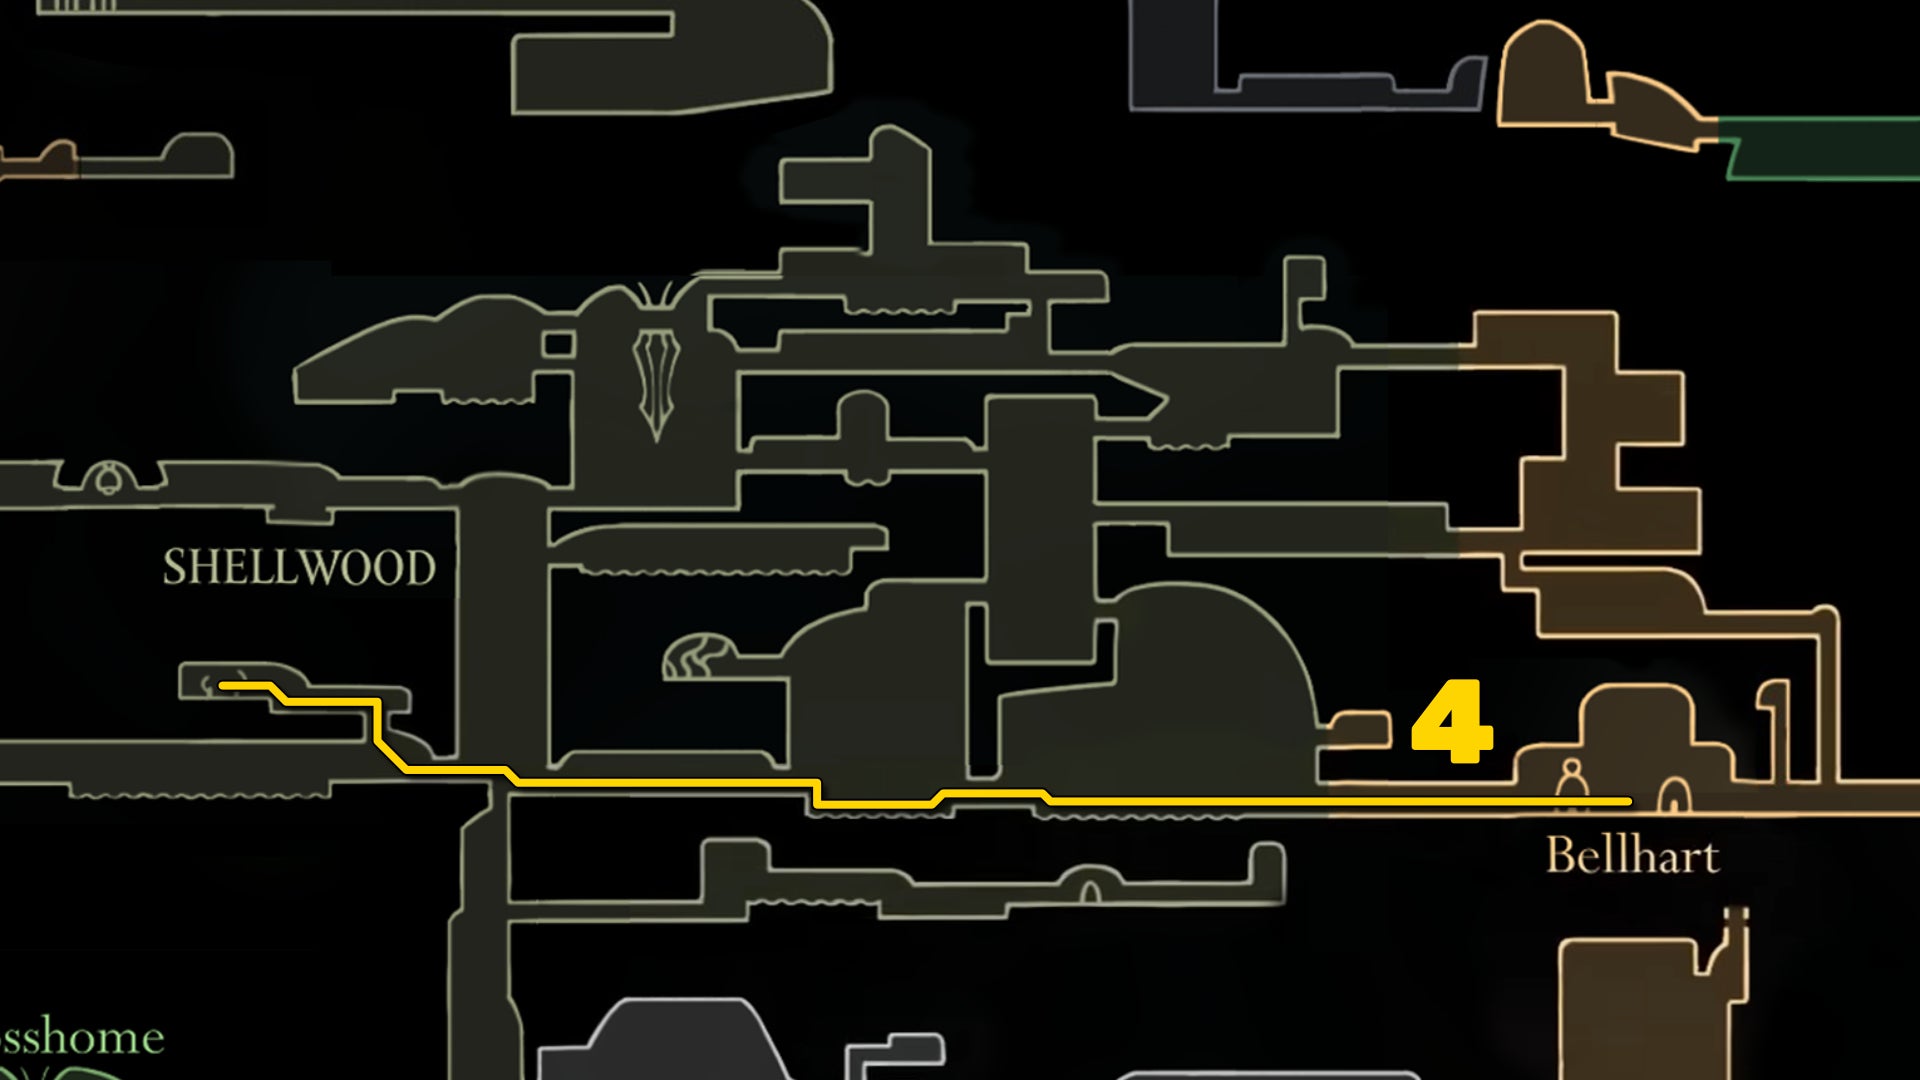
Now enter Bellhart itself. Feel free to speak with all the NPCs here, but in particular, go up to Pinmaster Plinney's Bellhome. You won't be able to enter it; on the door outside is a note you can read which says that Plinney has gone off to pay his respects in Shellwood.
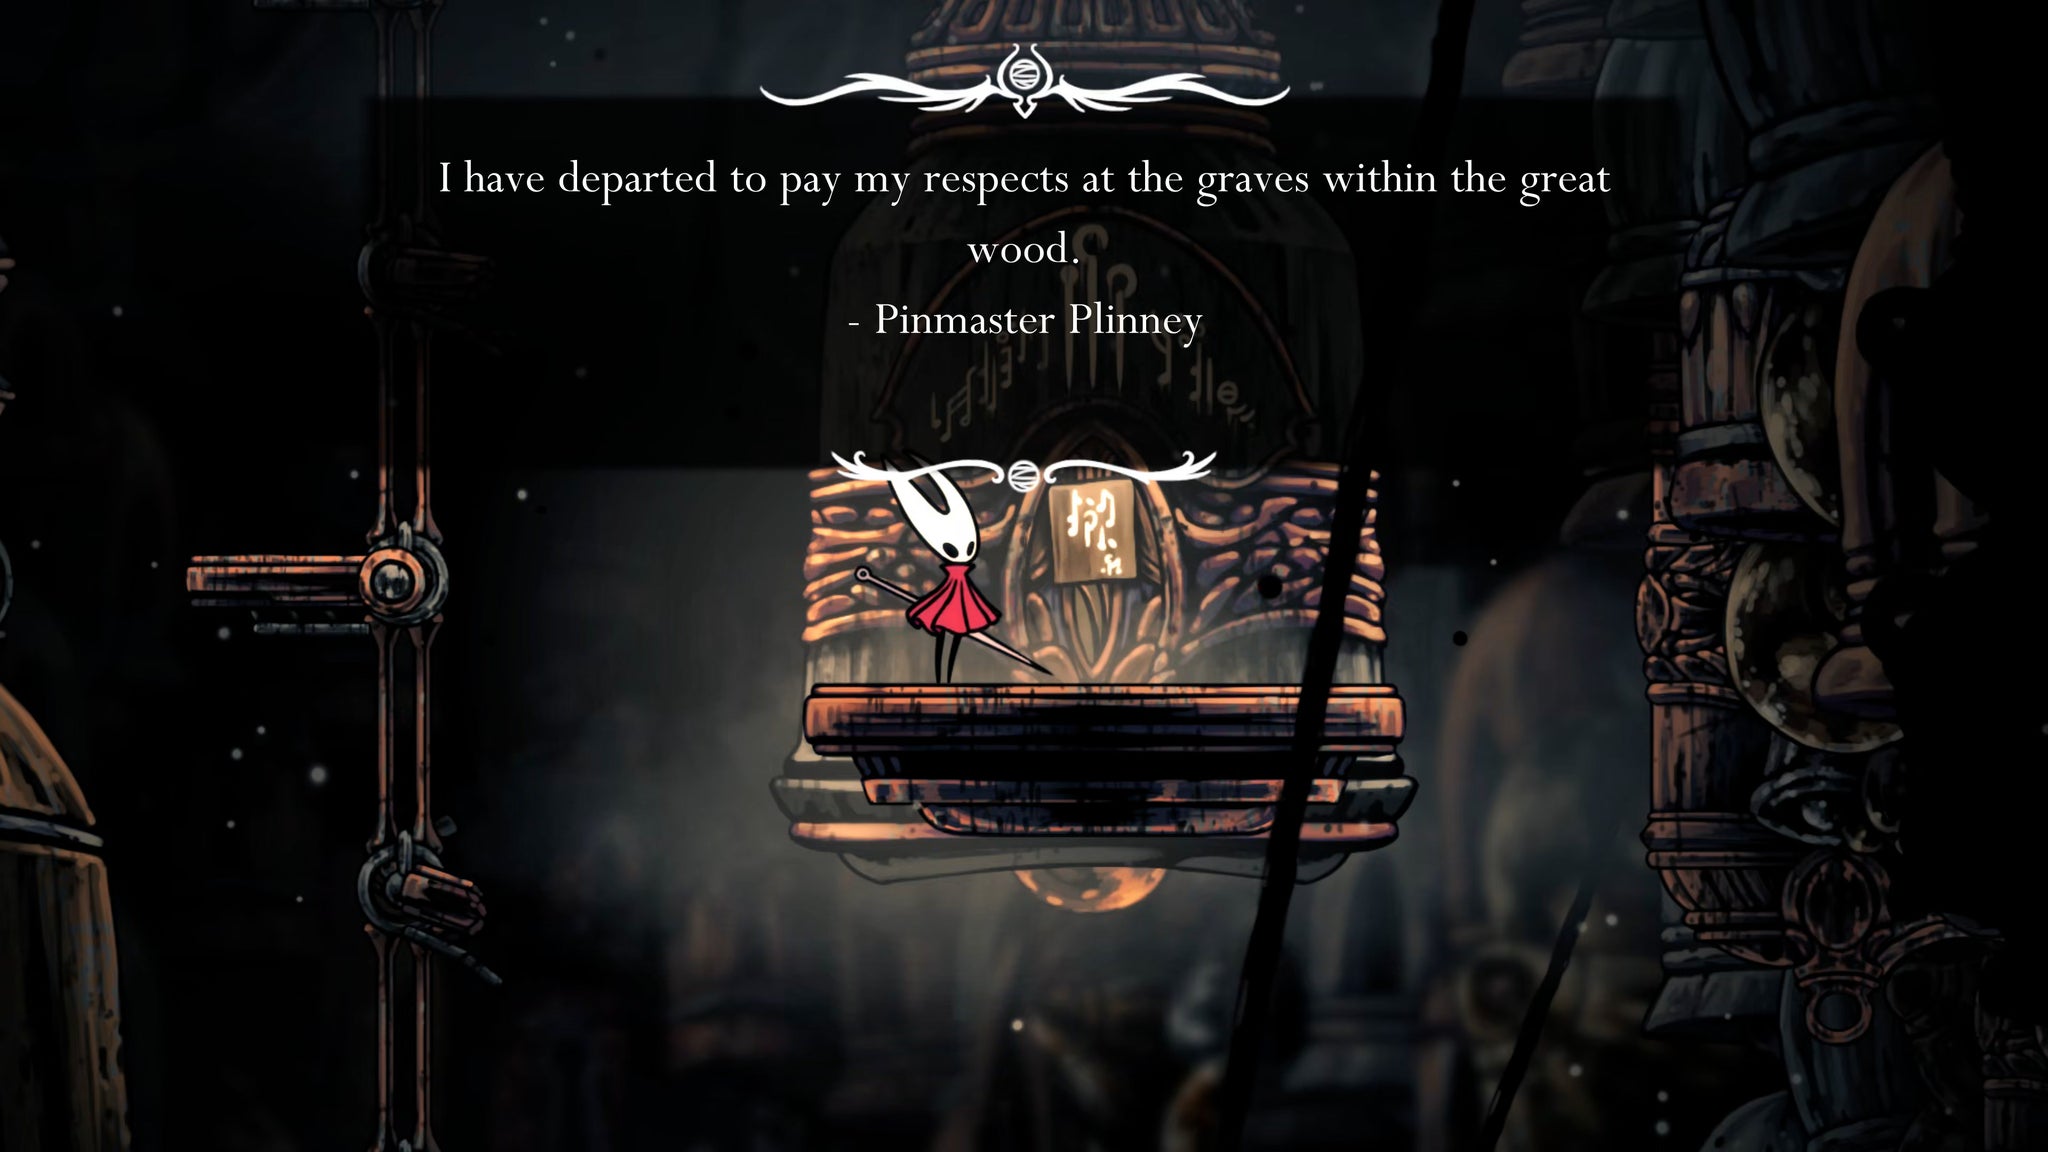
Exit to the left, into Shellwood. Head across the ground for the first four rooms, and then take the upper ledges to reach the small offshoot room where you once found a Covetous Pilgrim enemy.
In this area you'll find Plinney cowering while under attack by several Void-tainted Pilgrim enemies. Carefully and methodically dispatch these pilgrims, and the ones that follow. Don't underestimate them in this new Void state - they're pretty powerful. Take your time and use tools to make the job easier.

Once they're all defeated, exhaust Plinney's dialogue and get him to return to Bellhart post-haste. You'll be needing his Pinmaster skills for another weapon upgrade soon enough!
5. Speak with Mooshka in Fleatopia.
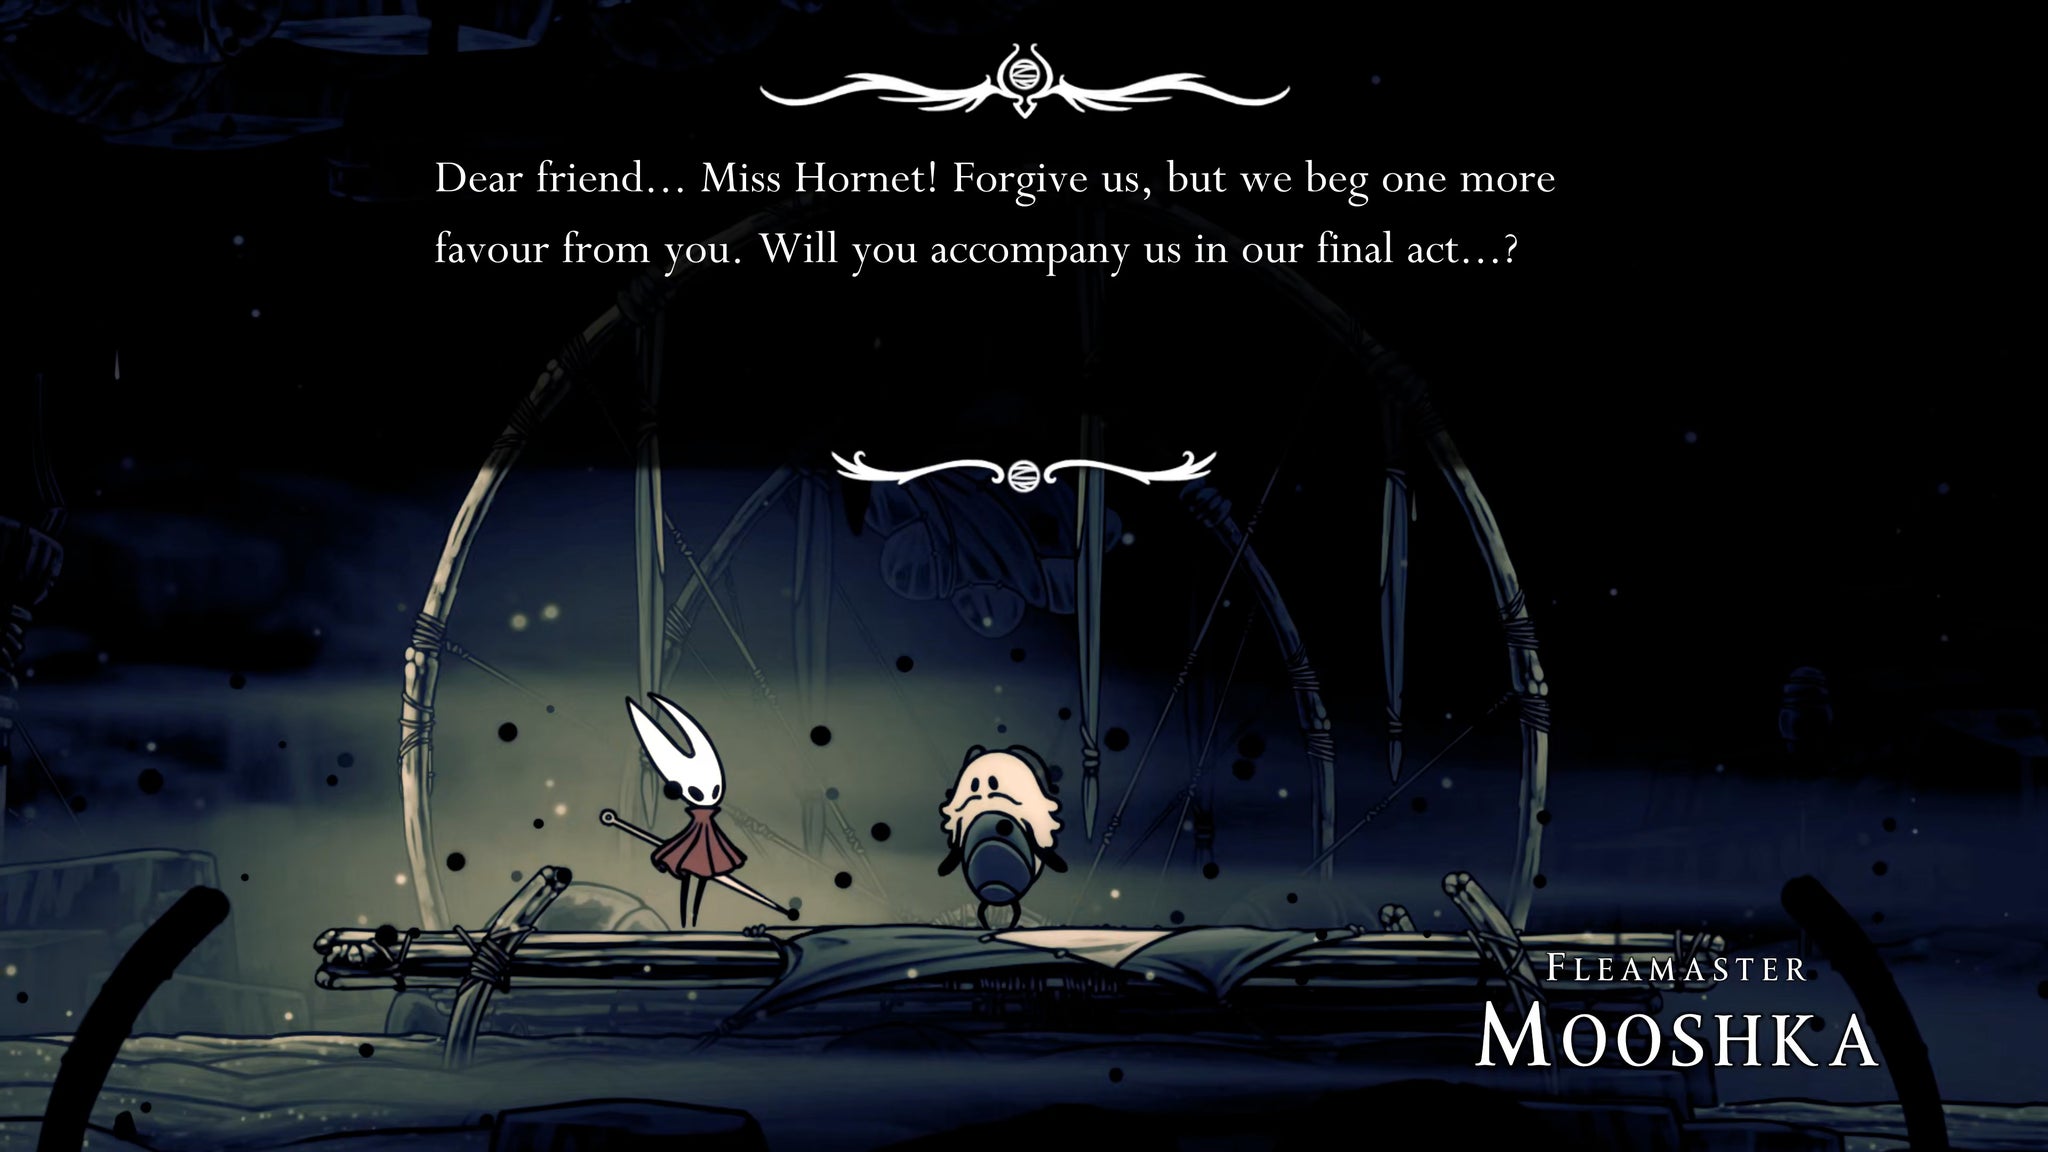
Now take the nearest Bellway to (I'm sorry about this) the Putrified Ducts. Exit left, and drop down to the next exit on your right - the shortcut you opened. From here you can take the easier path across, down, and then all the way to the end of the bottom corridor to reach Fleatopia.
Once in Fleatopia, speak with Fleamaster Mooshka. He'll be there looking and sounding rather glum and the prospect of a world that seems about to end. Exhaust his dialogue and promise the Ecstasy Of The End Wish.

Things will now take a rather unexpectedly wholesome turn. The Fleas have decided to celebrate the end of the world by putting on a grand festival here in Fleatopia, with three different minigames for Hornet to try her hand at. They're just too sweet, these Fleas.
6. Get the highscore in all three Flea games.
While you can now head off and return to Fleatopia whenever you like, I very strongly encourage you to stay here until you fully complete the Ecstasy Of The End Wish. You can do this by getting the highscore in all three of the Fleas' minigames. Speak with Mooshka to compete in Flea Juggle; speak with Vog to try Flea Dodge; and speak with Kratt to play Flea Bounce.
You can view the highscores at any time by inspecting the board to the right of Vog. It's not trivial to get the highscore - these minigames are pretty tough!
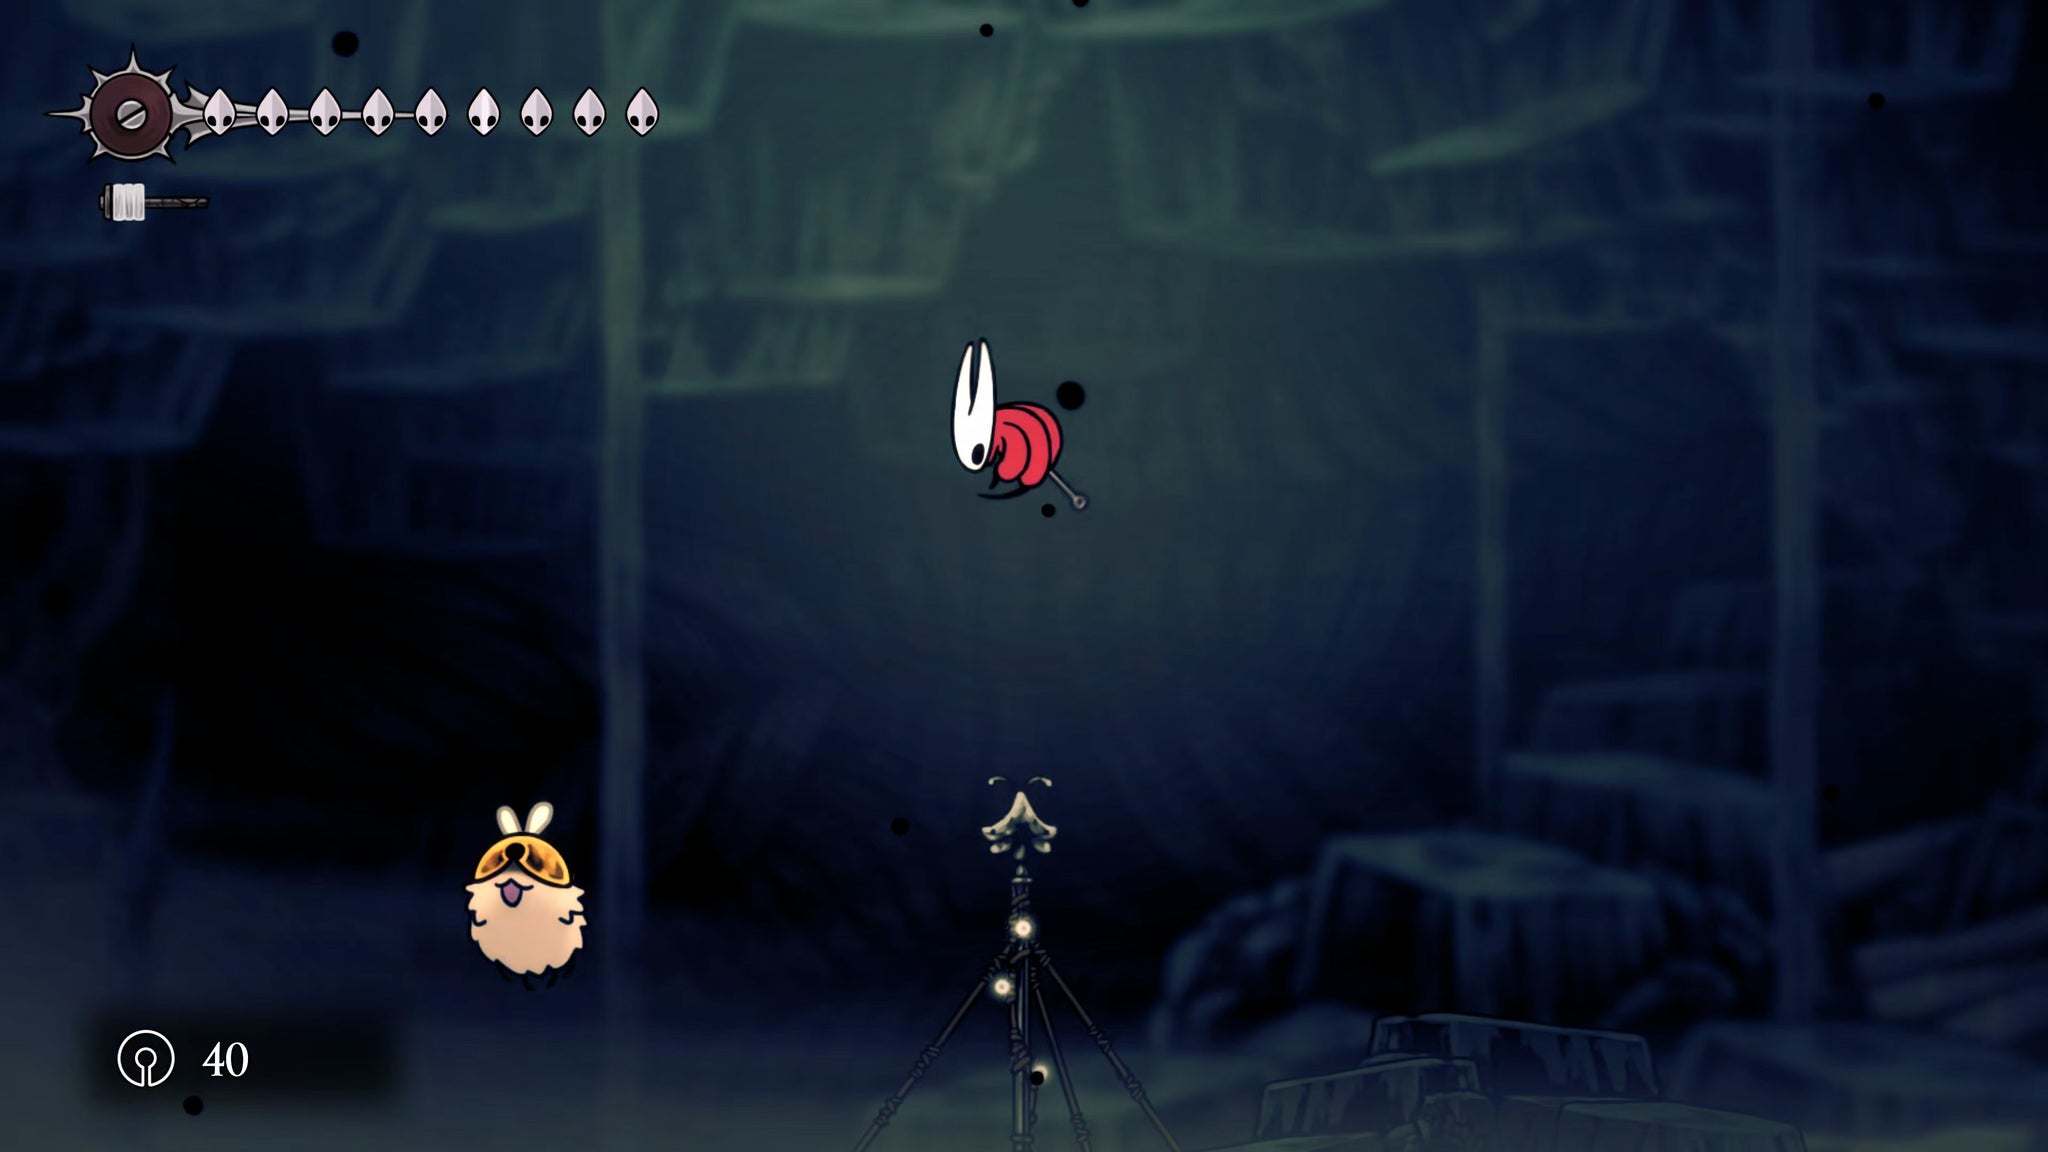
Flea Bounce is probably the easiest of the three games. You simply need to keep Hornet in the air as long as possible by Pogo-ing off the heads of the various Fleas who fly by. A couple of tricks to keep in your back pocket: use Clawline to move yourself far to the left or right when you need to; and also bear in mind that some Crests make Pogo-ing easier than others, so if you're struggling with one then feel free to switch it up.
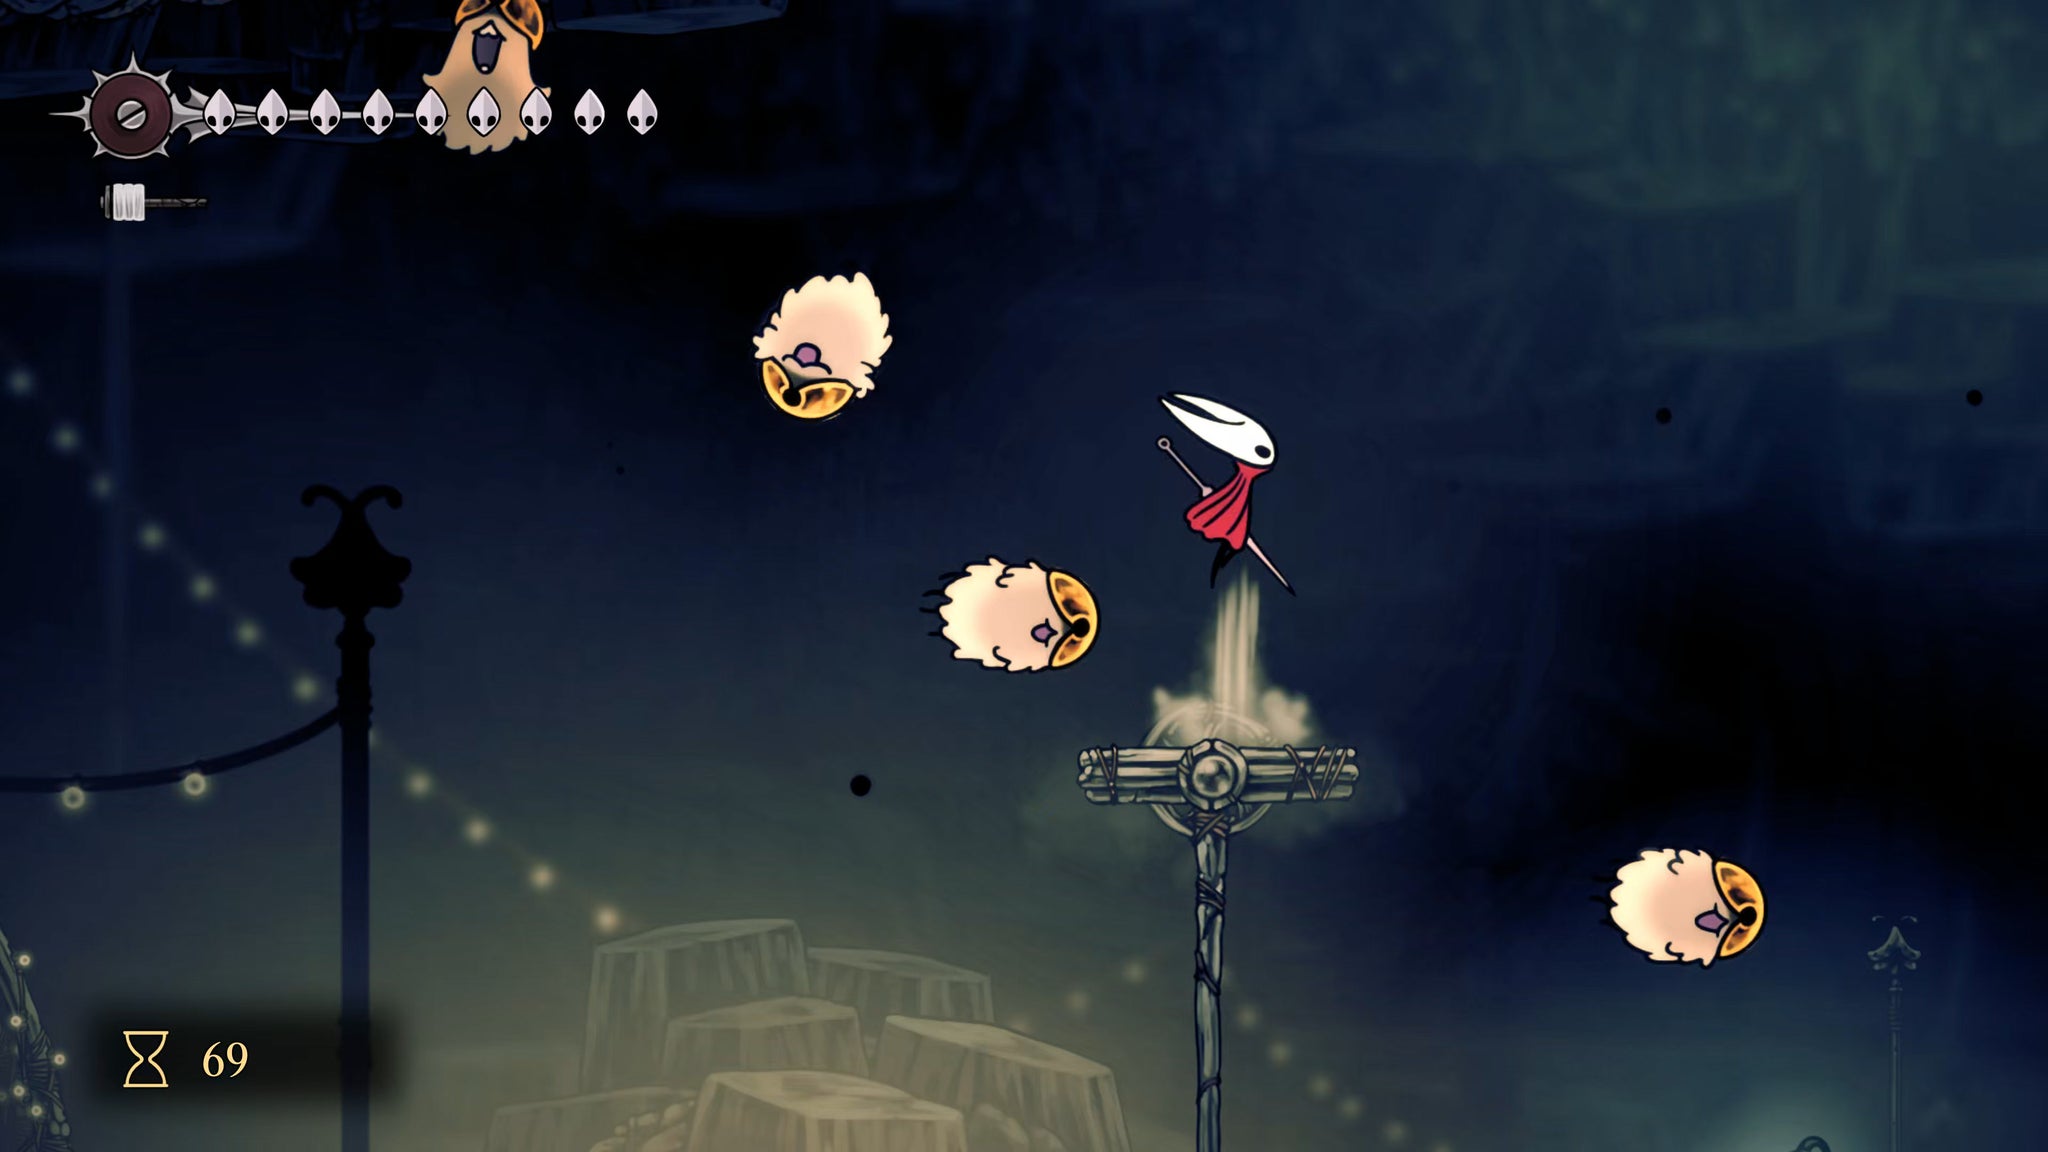
Flea Dodge is Vog's game. The aim is to stay on the platforms or in the air for as long as possible without dropping down to the ground, while tonnes of Fleas fly at you and attempt to knock you down. The key to this game is not panicking. Try to stay still until you need to move. The platforms will break from time to time, and others will be created, so you'll need to buy time floating. It's also not the end of the world if you get hit by a Flea - more often than not, you can save yourself with a quick clawline or dash.
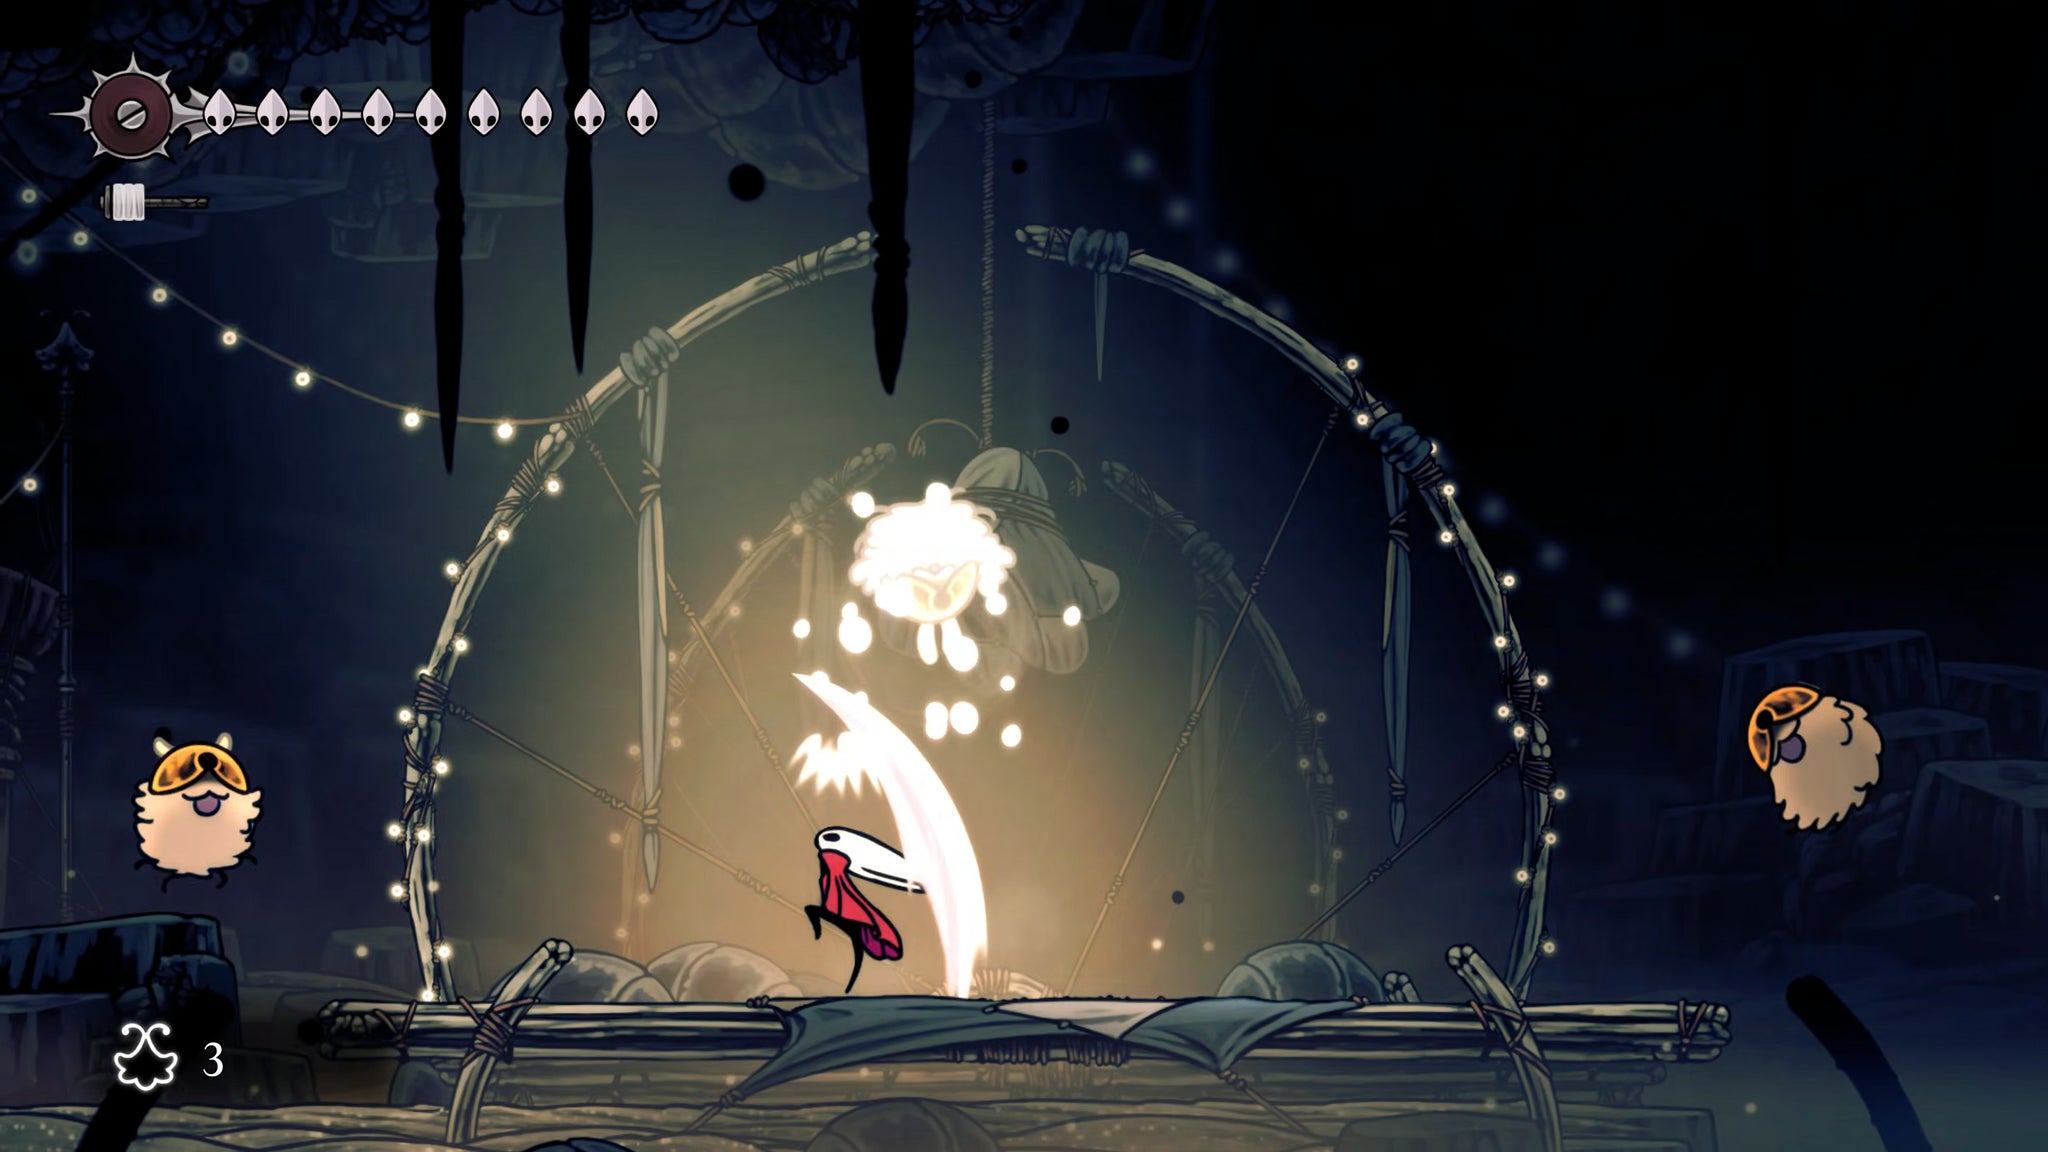
Flea Juggle is the hardest of the three games. You must attack upwards to "juggle" all the Fleas that appear in waves. The key to this one is to never jump, because doing so will mess up your timing. Things start easy, but once there are three Fleas being juggled at once you may need to immediately dash to the side after attacking one Flea, in order to reposition yourself to attack the next.
If you can't quite reach a Flea in time, you can attack to the side - this will send the Flea upwards just the same as attacking upwards. Try to avoid sprint-attacks, because the animations are slower. If you need to attack sideways, dash, then stop moving and attack.
Keep at it, and before long you'll have all three highscores. It's all very much worth the effort, because afterwards you can speak with Mooshka to end the Festival, and he'll allow you to burst open a big Flea piñata filled with tonnes of Rosaries, and the last Pale Oil you can acquire in Silksong.
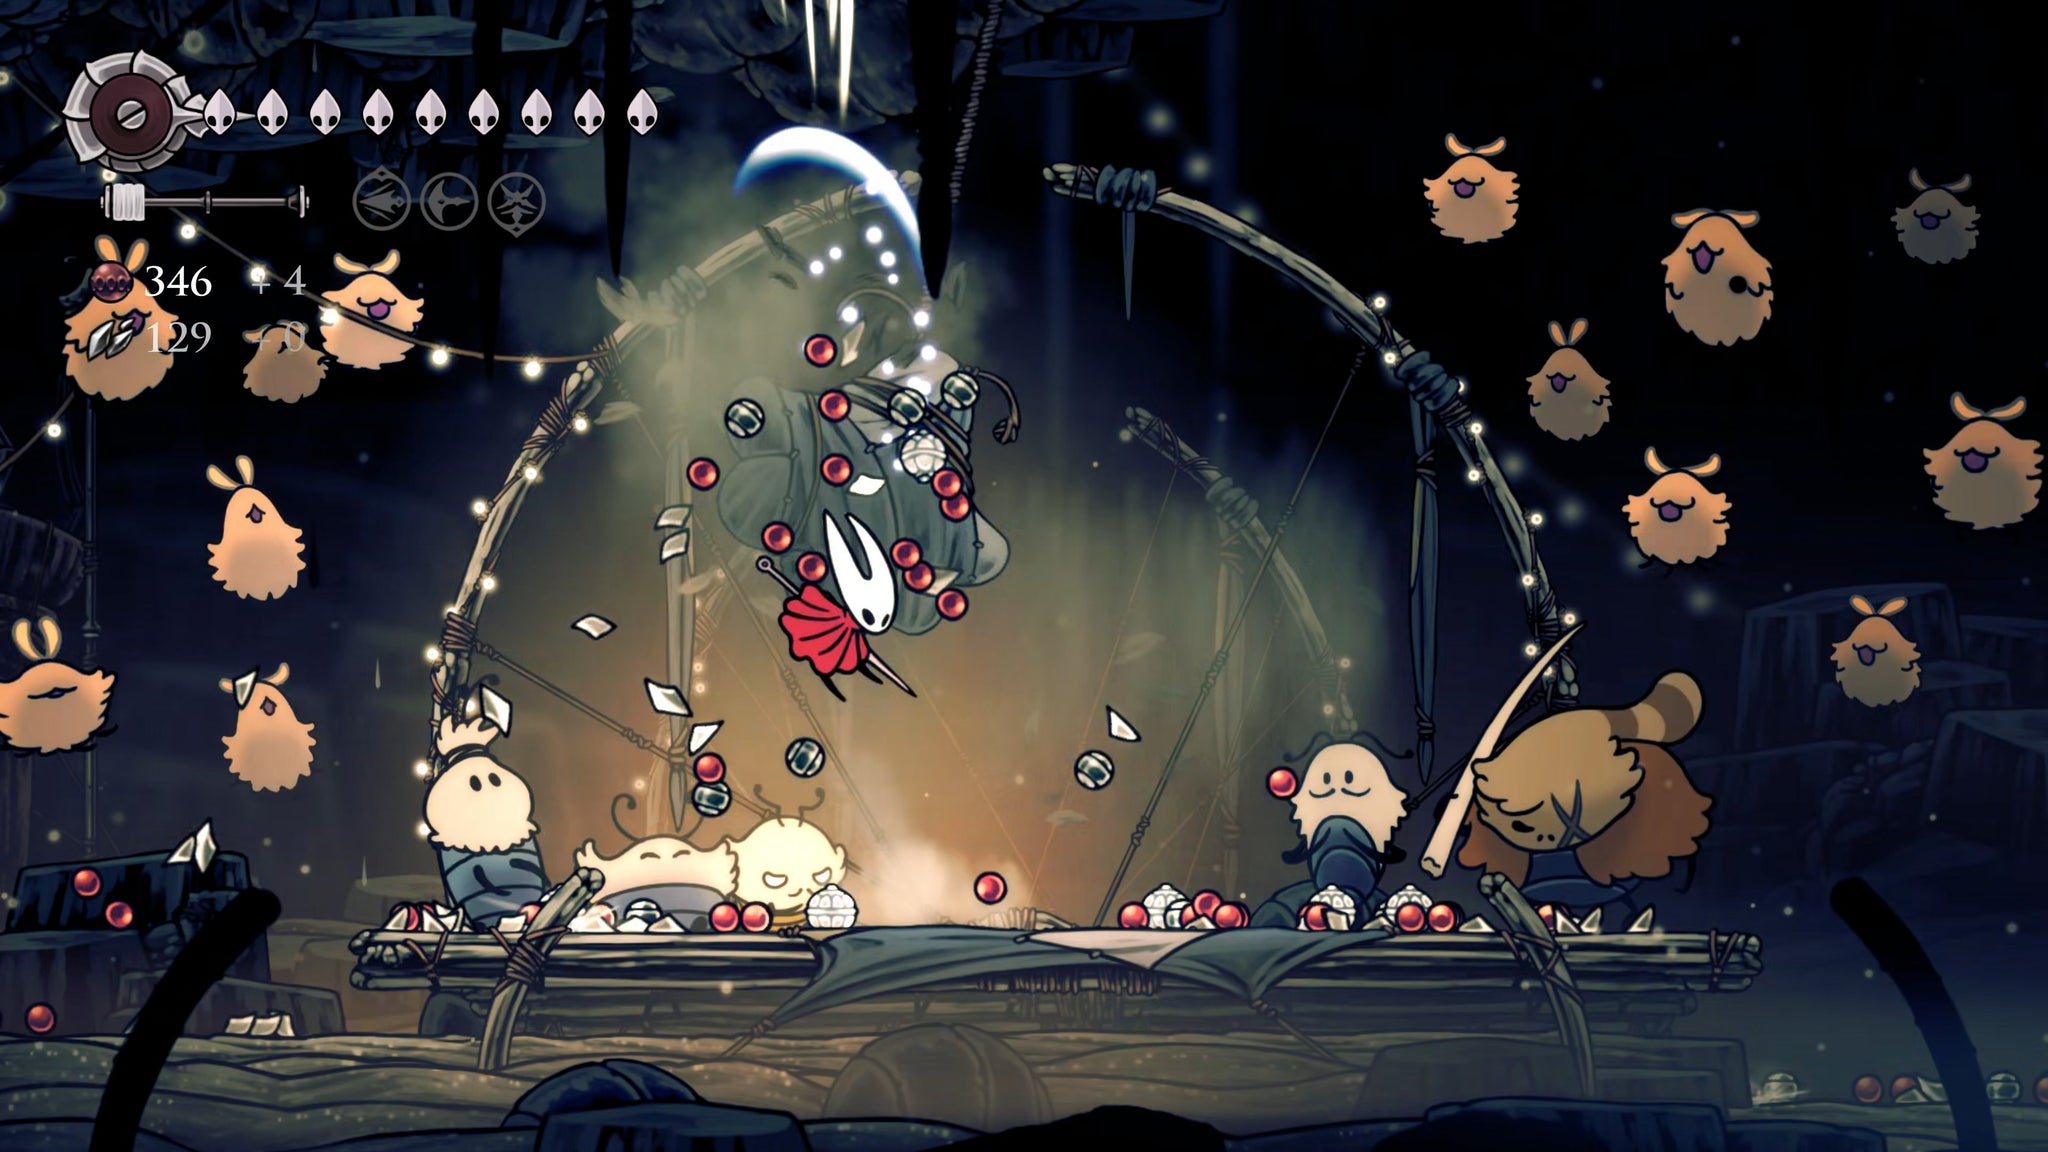

You know what to do now! Beastling Call your way back to the Bellway, travel to Bellhart, and get that final weapon upgrade. It costs 680 Rosaries, but you'll likely have enough after that piñata. Even if you need to do a bit of Rosary farming, it's worth it. That final weapon upgrade makes Act 3 so much easier.
7. Speak with the Snail Shamans in Moss Grotto.

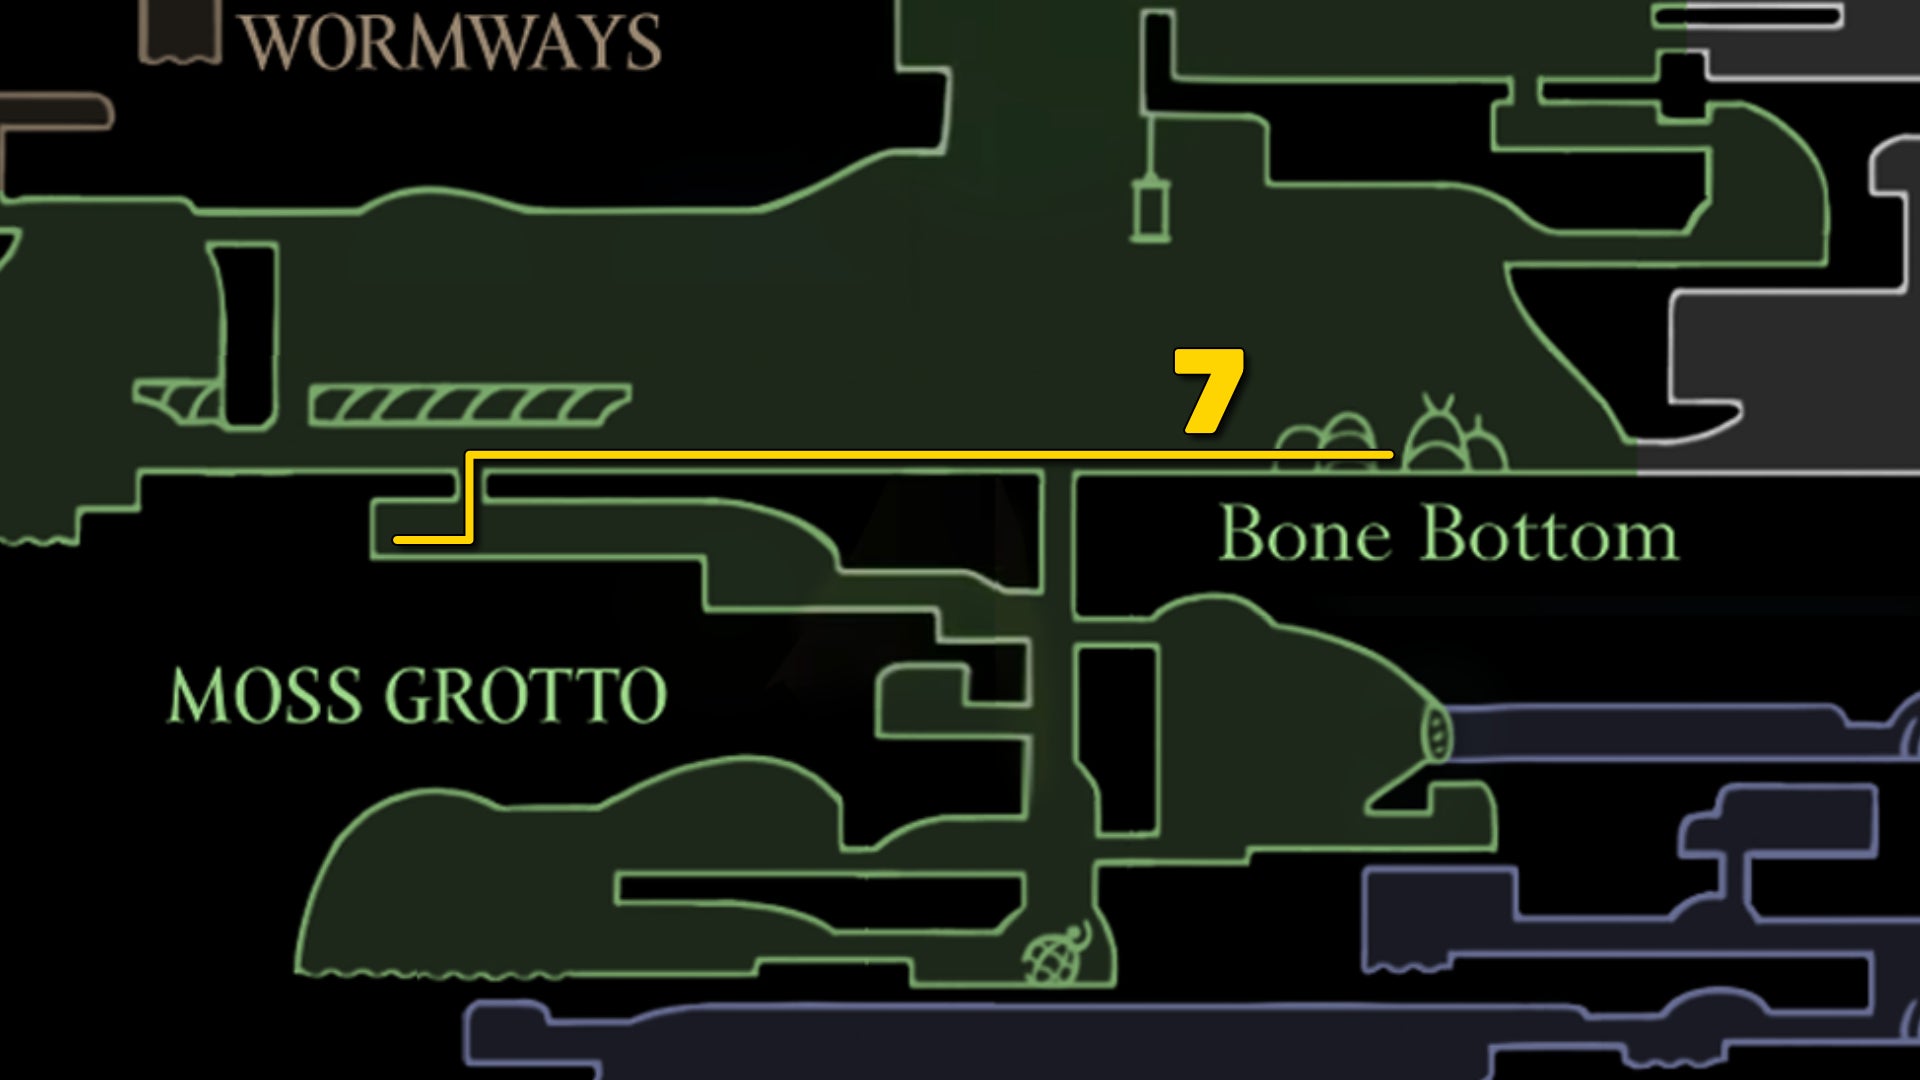
Now it's time to get back to the main task. Fast Travel all the way back to Bone Bottom. Mind the Snitchbugs pilfering around the village - they'll steal your Rosaries if they land a charge on you.
Head to the left, and enter the area where you first found the Chapel Maid. Drop down the hole here, and then go through the door on your left to enter the Ruined Chapel - finally open, after all this time.
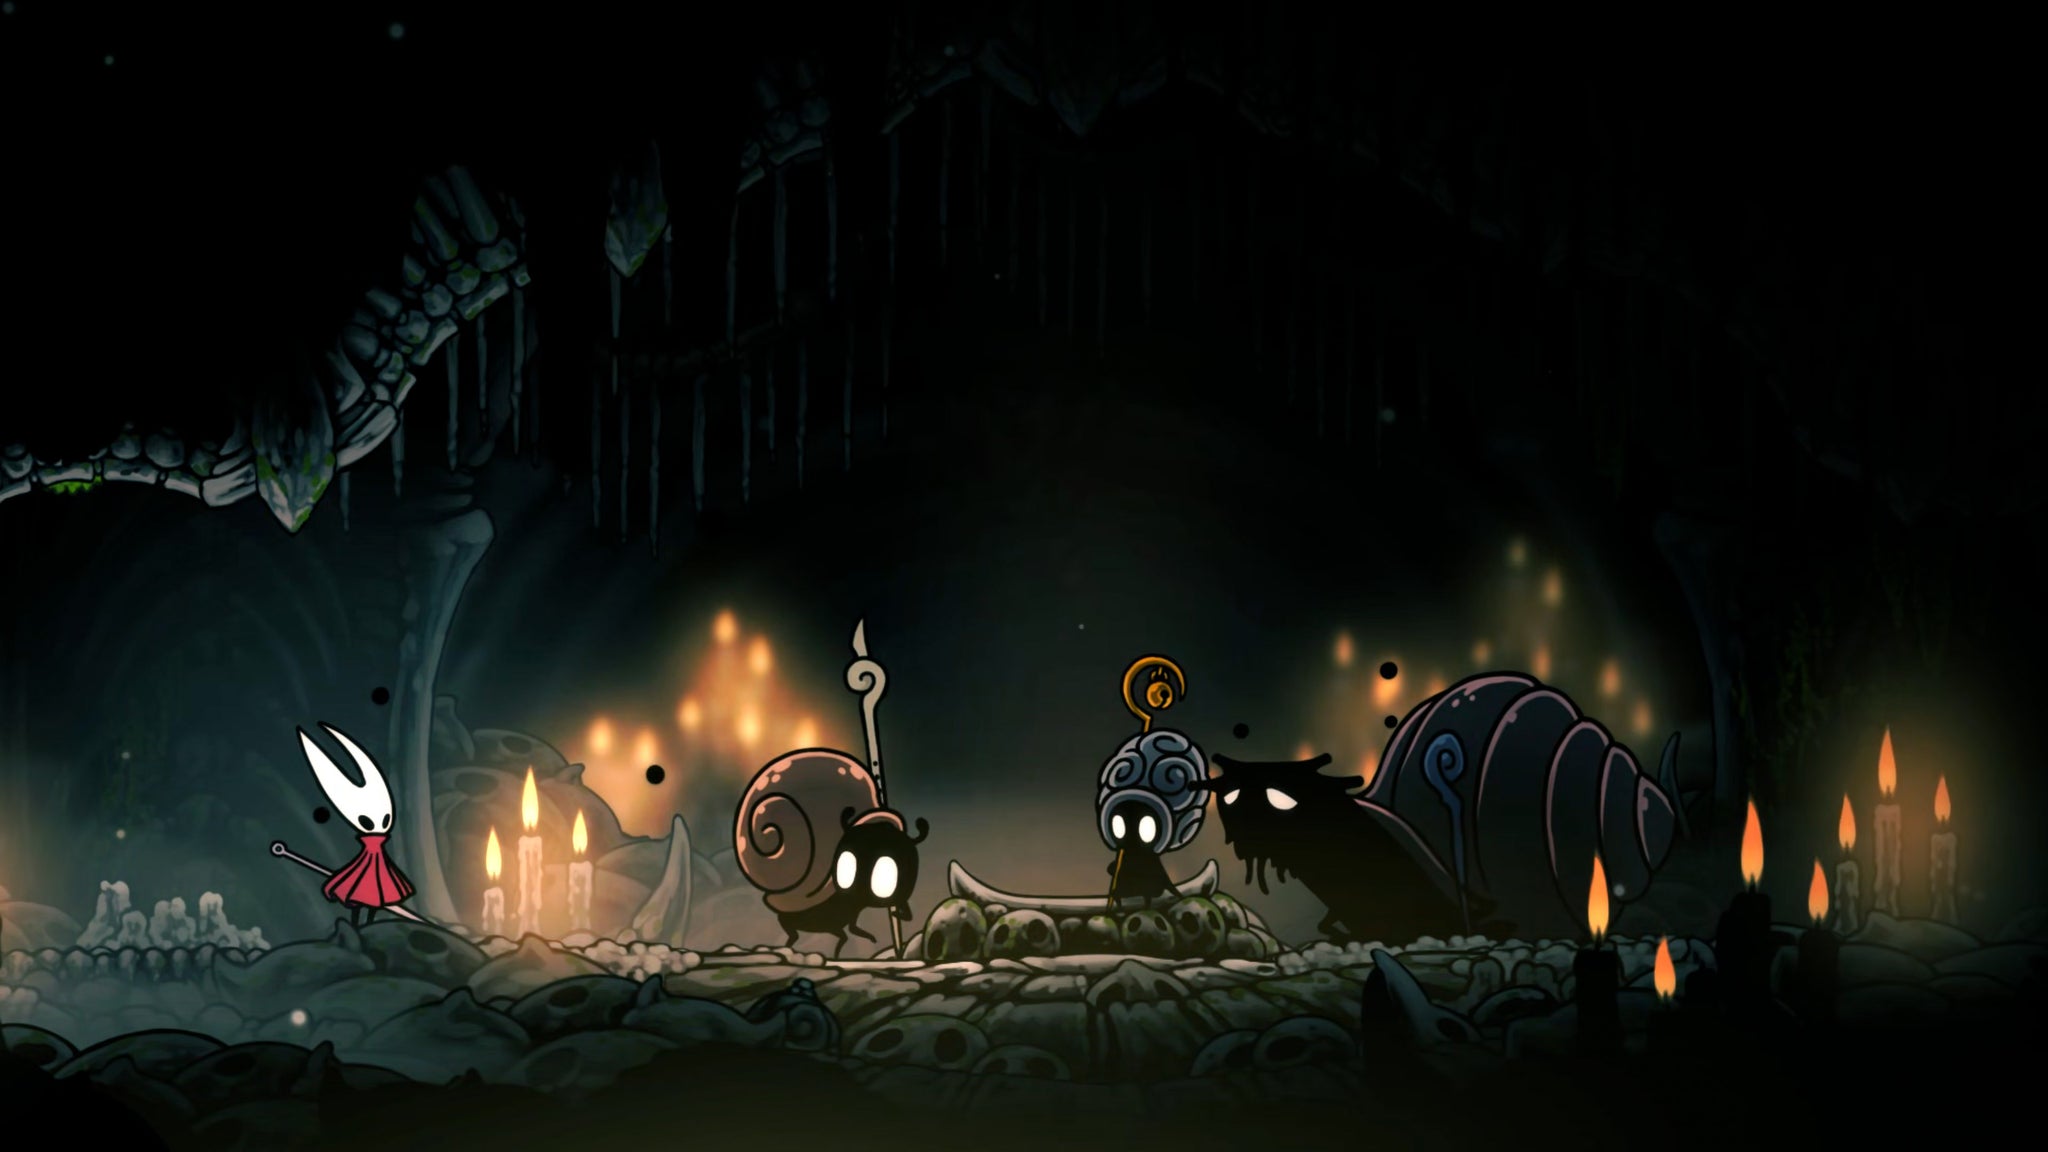
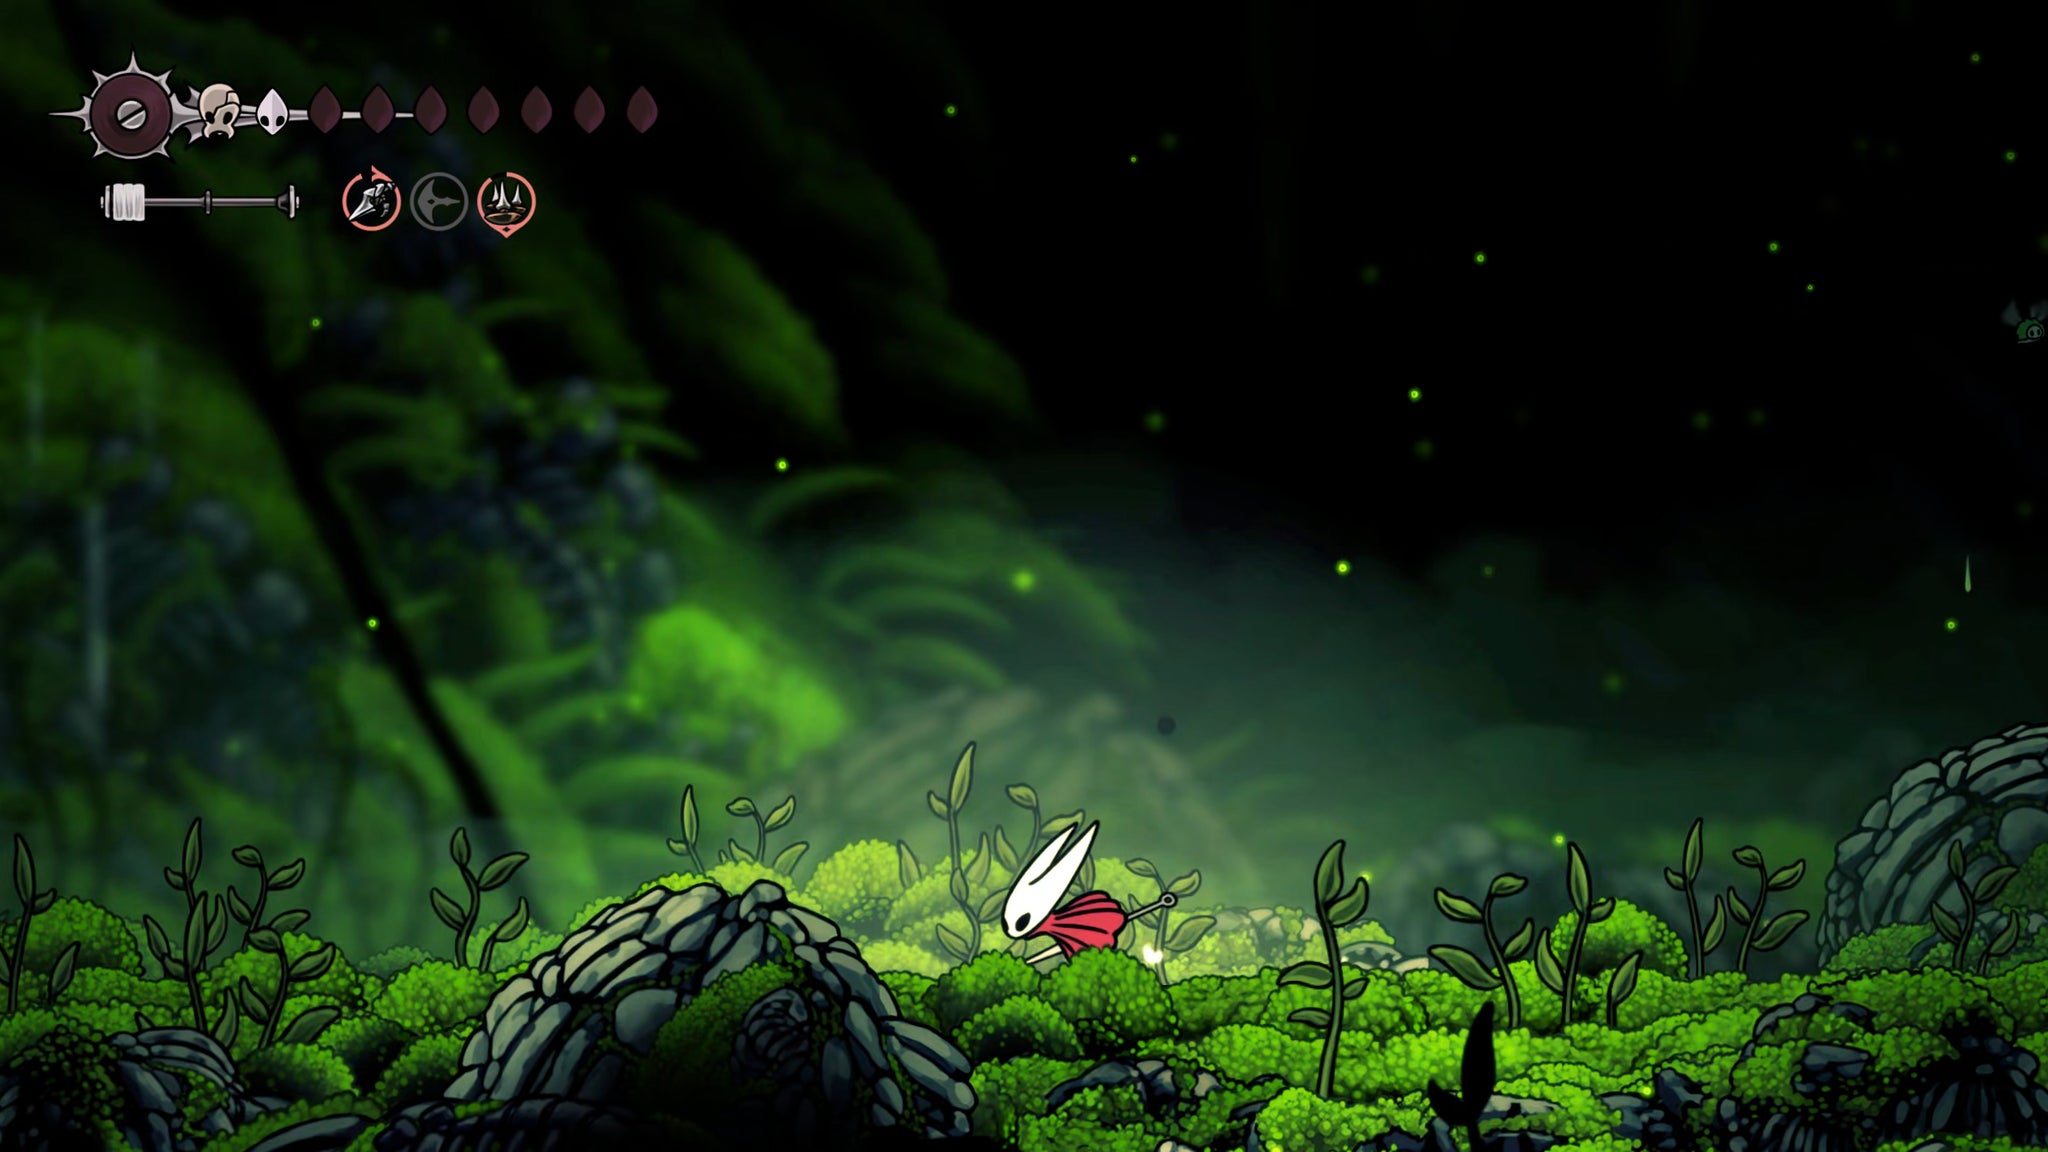
Inside, you'll find the Caretaker, the Bell Hermit, and the Chapel Maid - finally revealed as their true selves: the Snail Shamans. Speak with them, and your next quest will become clear. You'll need to use that big old diving bell you found at the deepest point of the Deep Docks, and descend as far into the earth as possible to find the cause of the Void seeping into Pharloom.
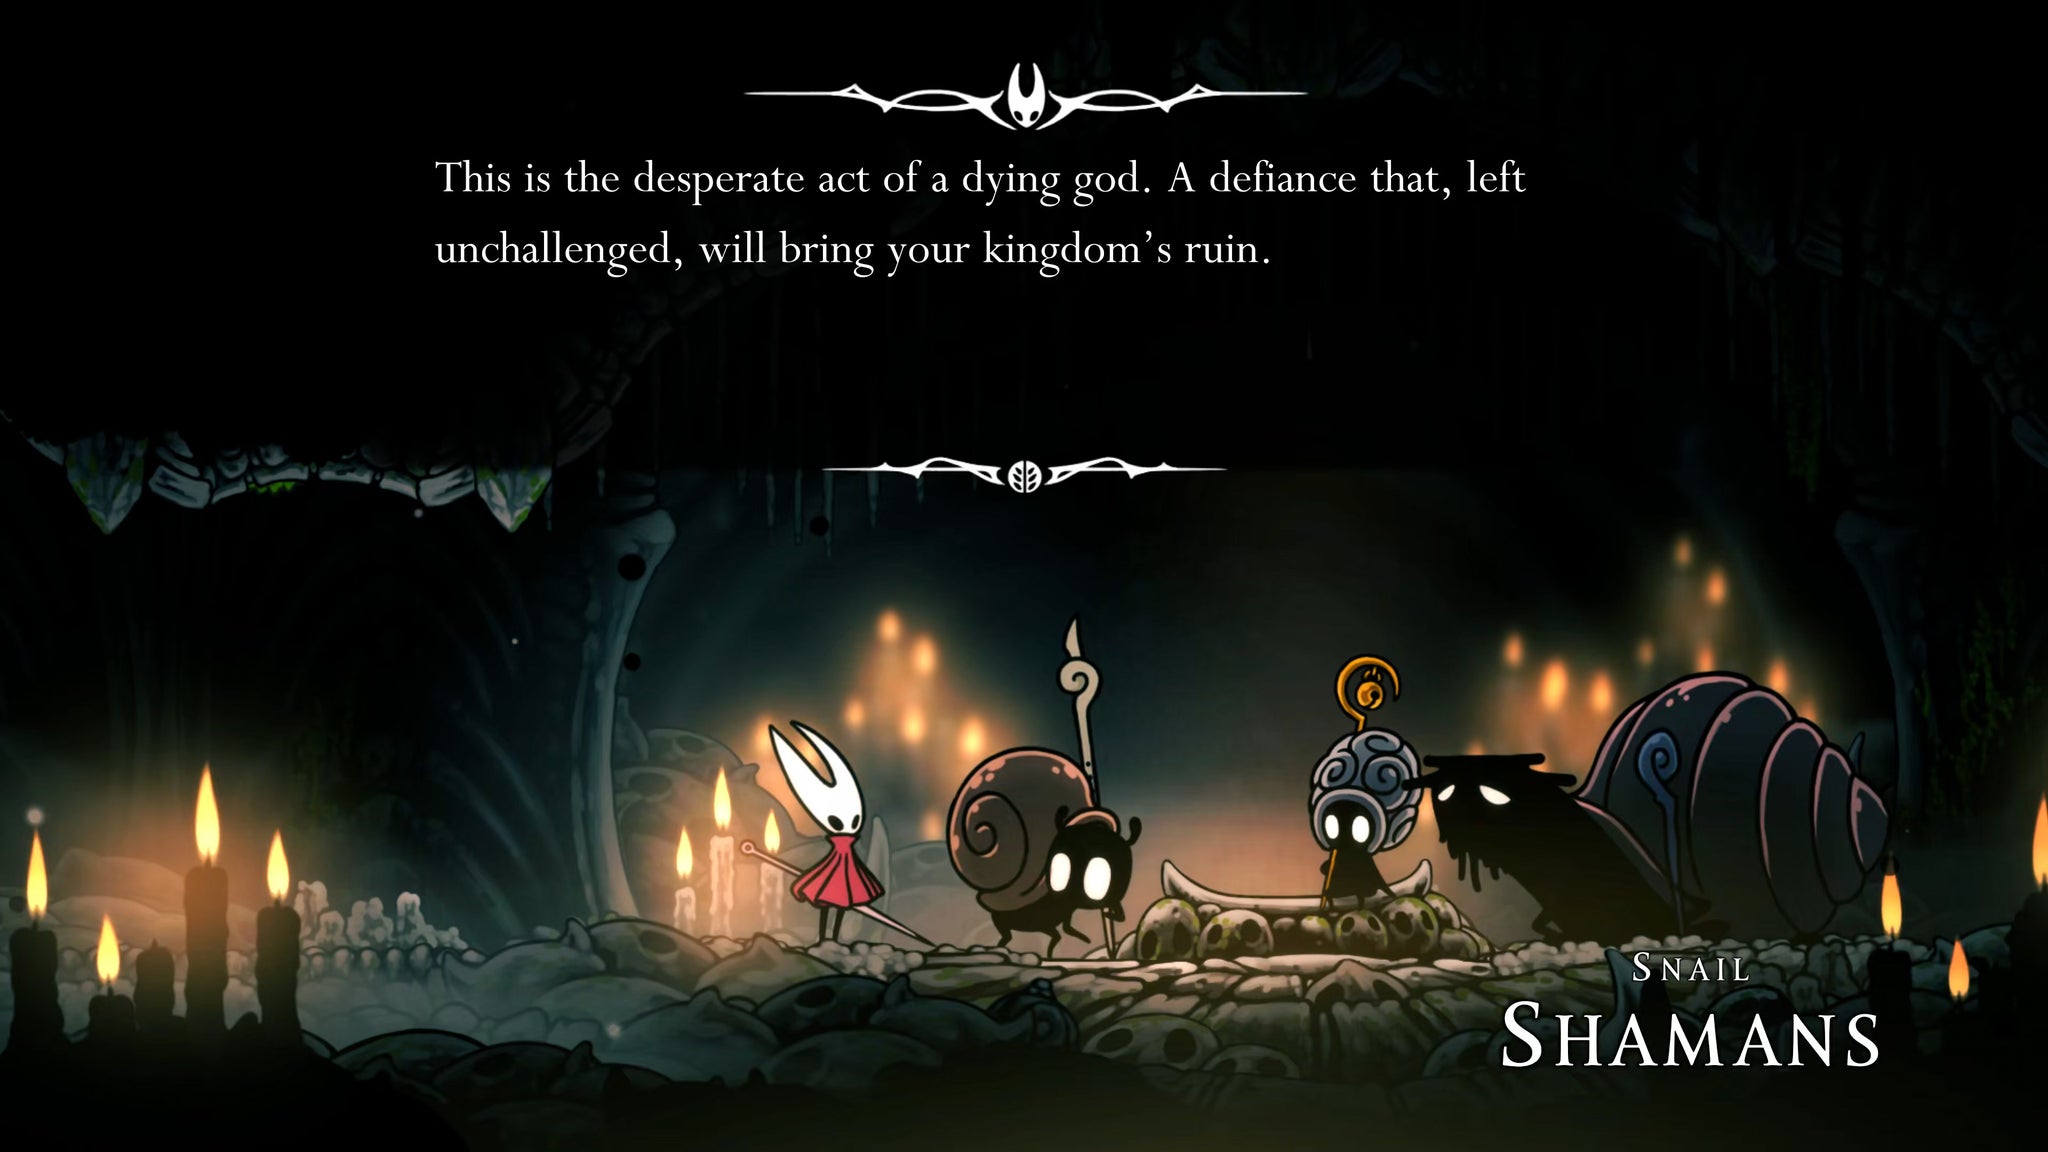
Hopefully this all helped you to get your bearings as you step into Act 3! I'll talk you through this next major task and how to go about completing it in Part 35 of our Silksong walkthrough, where we'll tackle the menacing Abyss at the bottom of Pharloom.
Read this next
- Ahead of Hollow Knight: Silksong's Sea of Sorrow expansion, Team Cherry have gotten their Traditional Chinese and German translation ducks in a row
- We may have glimpsed Silksong's Sea of Sorrow expansion in a six-year-old trailer
- Hollow Knight: Silksong's first big expansion, Sea of Sorrow, flows into our lives for free next year
