
Hollow Knight Silksong walkthrough: Part 37 (Verdania)
How to access the beautiful region of Lost Verdania


Looking for Lost Verdania in Hollow Knight: Silksong? At this stage of our walkthrough, there is only one area of the map left to discover: the beautiful lost land of Verdania. It's very tucked away, with barely a hint to its existence unless you stumble across it by accident - but it's packed with some of the most memorable and poignant moments in Silksong.
In Part 37 of our Silksong walkthrough, I'll show you how to access Verdania and use Elegy Of The Deep to peer back in time to reach Lost Verdania. You can then follow along step-by-step below to find everything of value in the region, and reach the beautiful and familiar final boss of Verdania.
Want the walkthrough for a different area of the game? Check out our Hollow Knight: Silksong walkthrough hub!
Verdania walkthrough steps:
- Meet Seth in Greymoor.
- Speak with the Grince Prince at the Verdania entrance.
- Use Elegy Of The Deep to enter Lost Verdania.
- Unlock the Sacred Shrine and first Statue Essence.
- Win the arena battle to reach the central shaft.
- Obtain the lower-left Statue Essence.
- Collect the remaining Essences.
- Defeat the Palestag.
- Enter the Green Prince's home.
- Defeat the Clover Dancers for the Conjoined Heart.
1. Meet Seth in Greymoor.
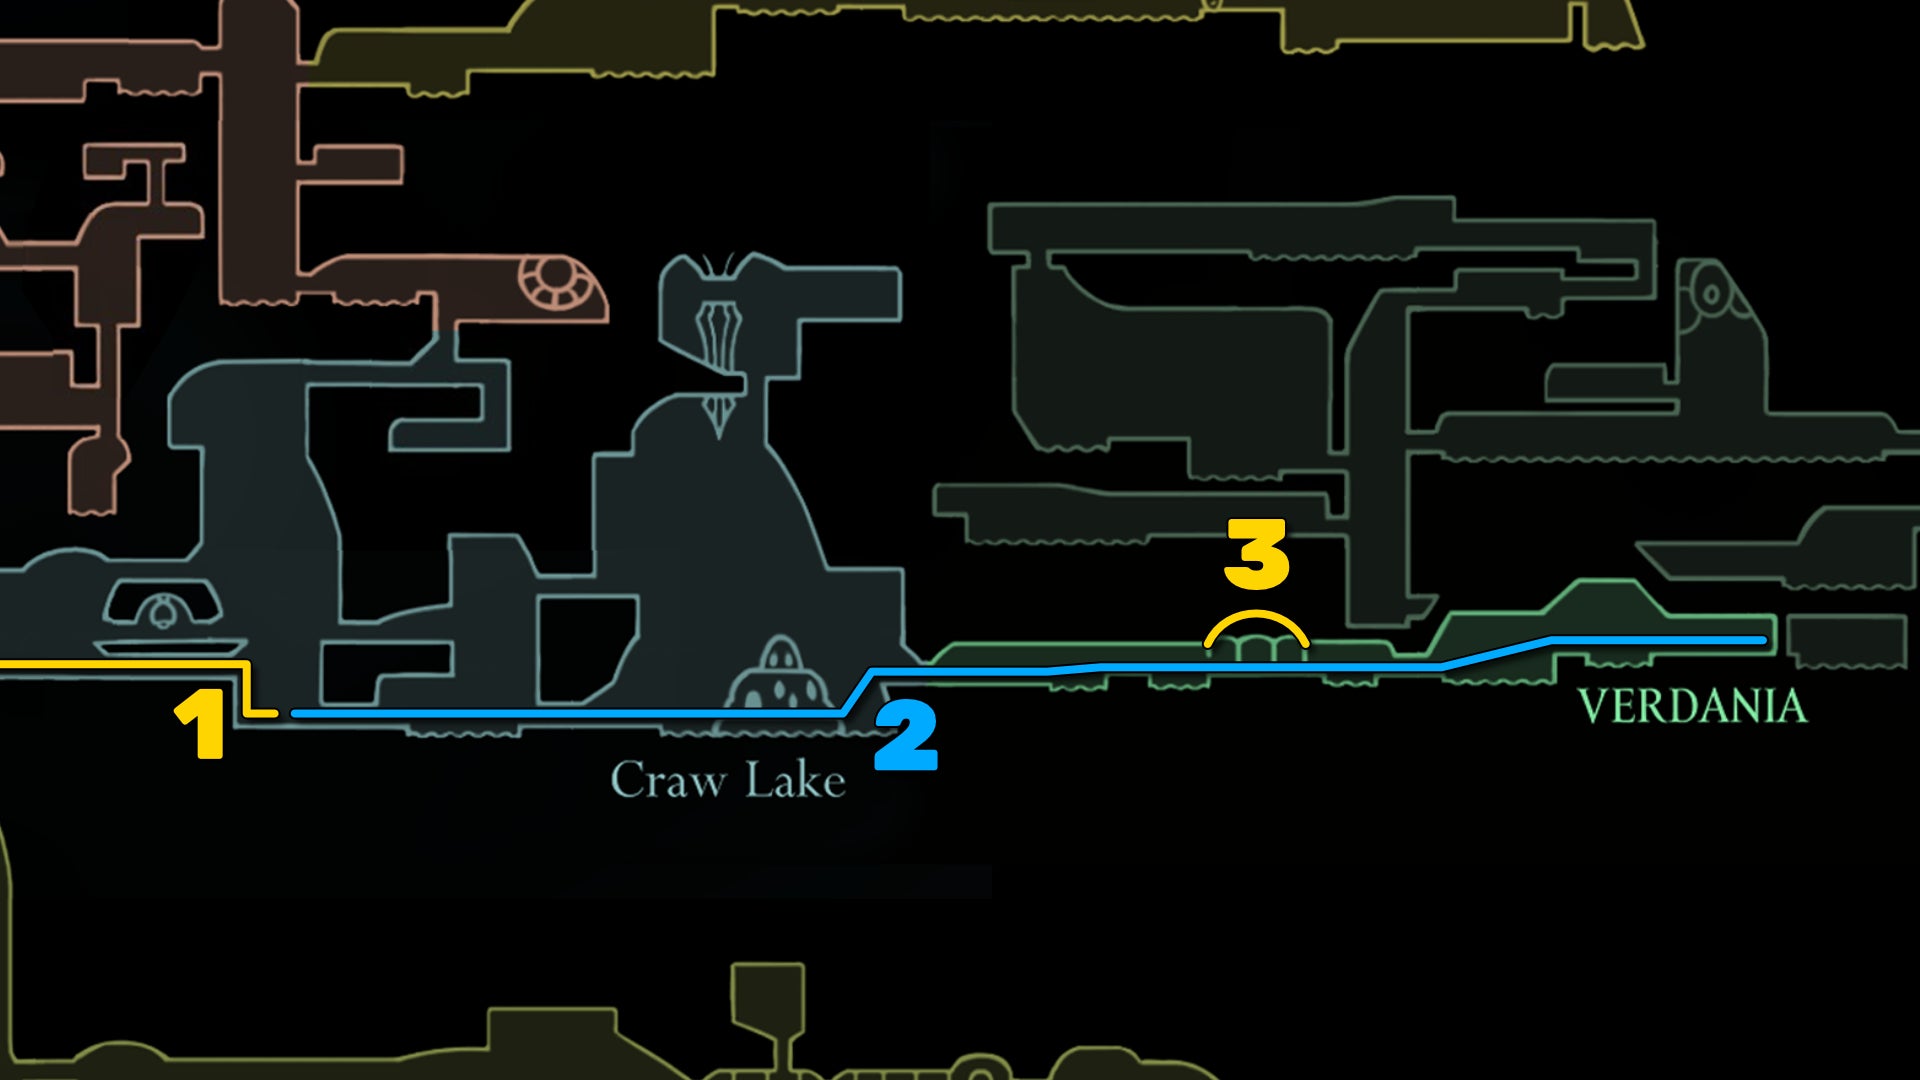
This step isn't related to Verdania, but it's on the way, so we might as well sort it out now. With the Old Hearts mission sorted, you'll start to see Shrine Guardian Seth cropping up in random places if you know where to look, and the first place is in Greymoor.
Funnily enough, the fastest way to get to East Greymoor is via the Far Fields Bellway. Just head there and ride the air currents all the way up to enter Greymoor, then start heading east. In the room past the nearby Bench, you'll find Seth sitting on a rock exactly where you once found Shakra and purchased the Greymoor map from her.
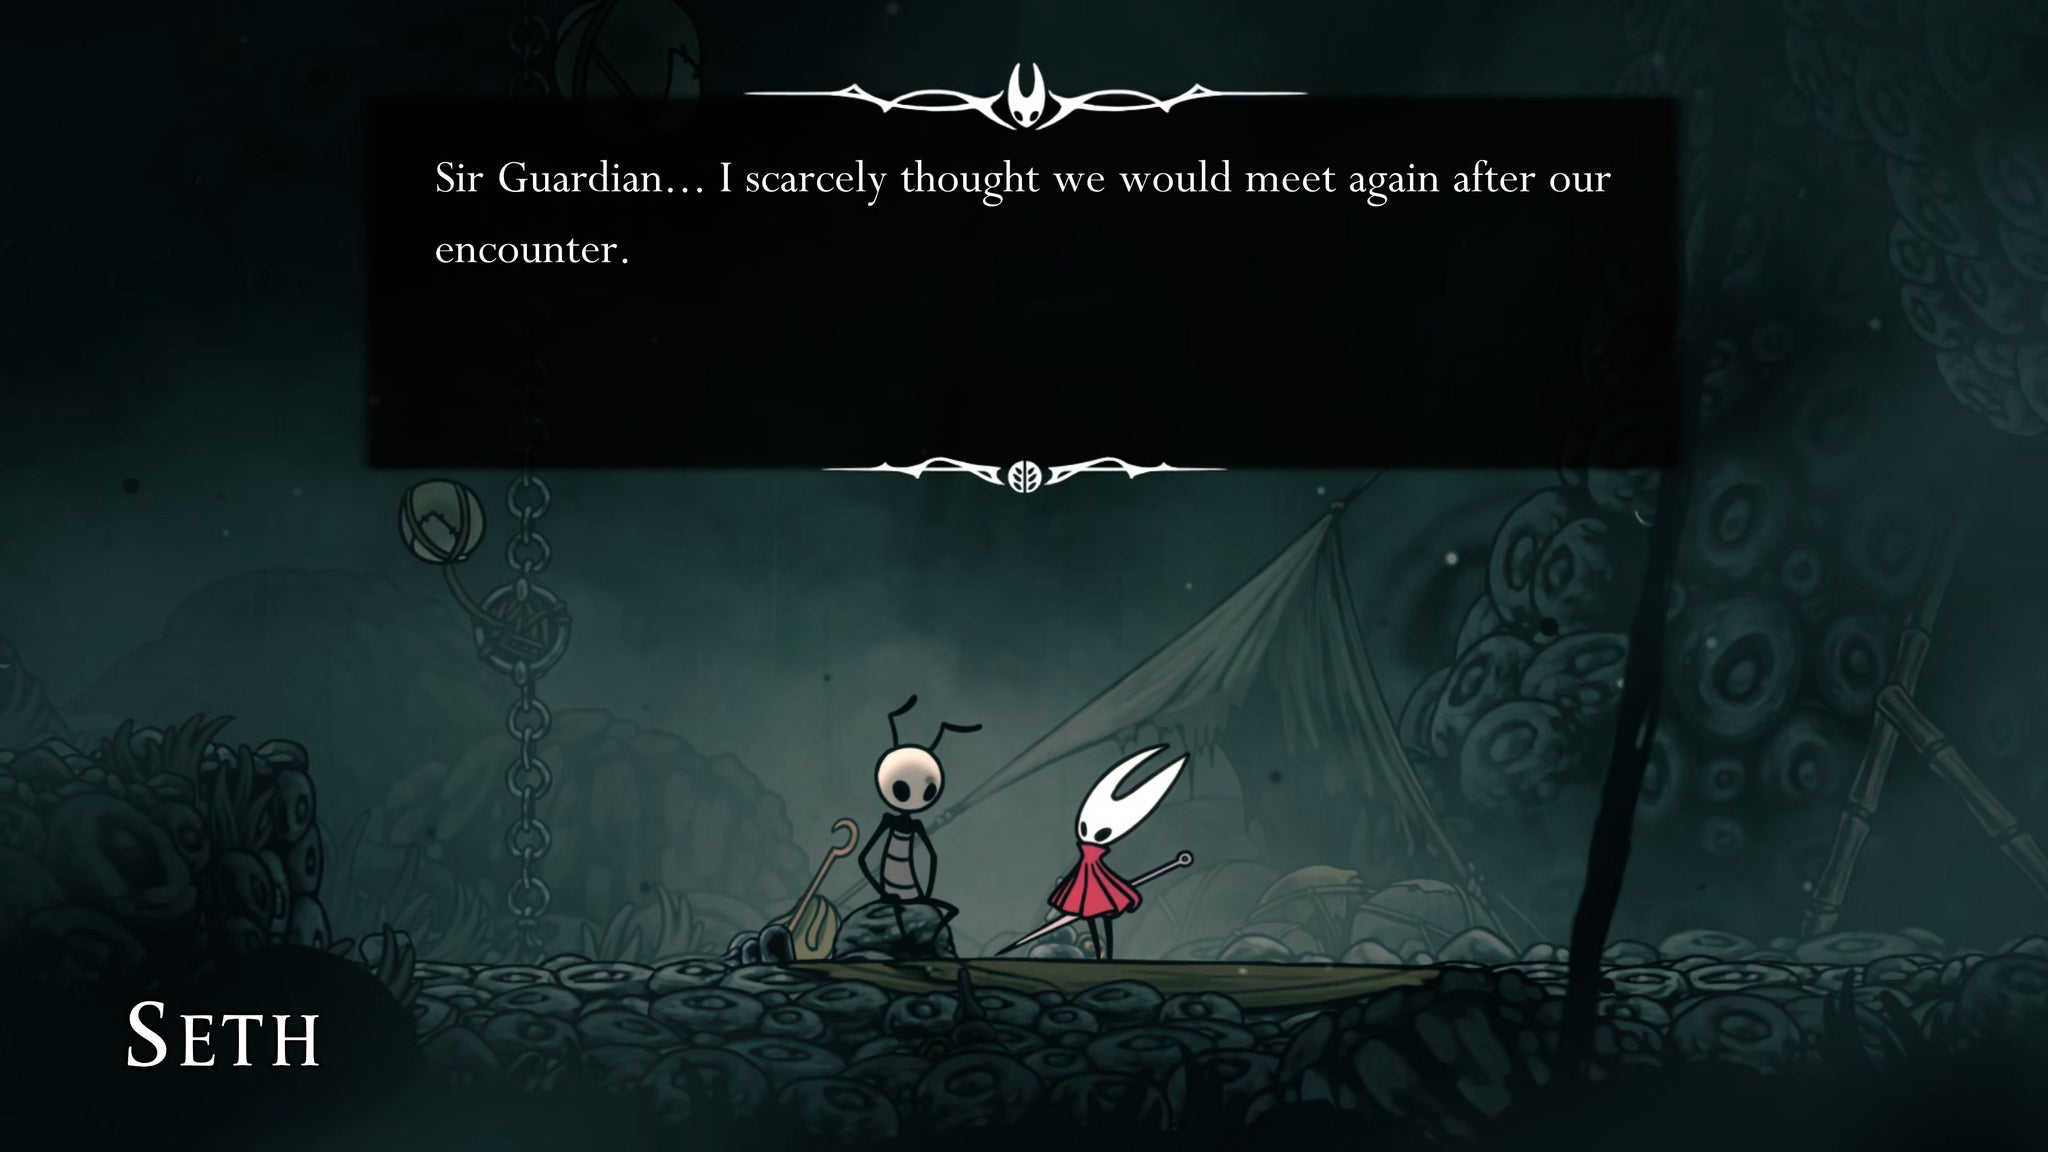
Speak with Seth, and it'll become apparent that he remembers nothing of his former life as Shrine Guardian for some reason. He seems lovely though, and intent on exploring the world. So leave him to it, and continue on to the east.
2. Speak with the Grince Prince at the Verdania entrance.
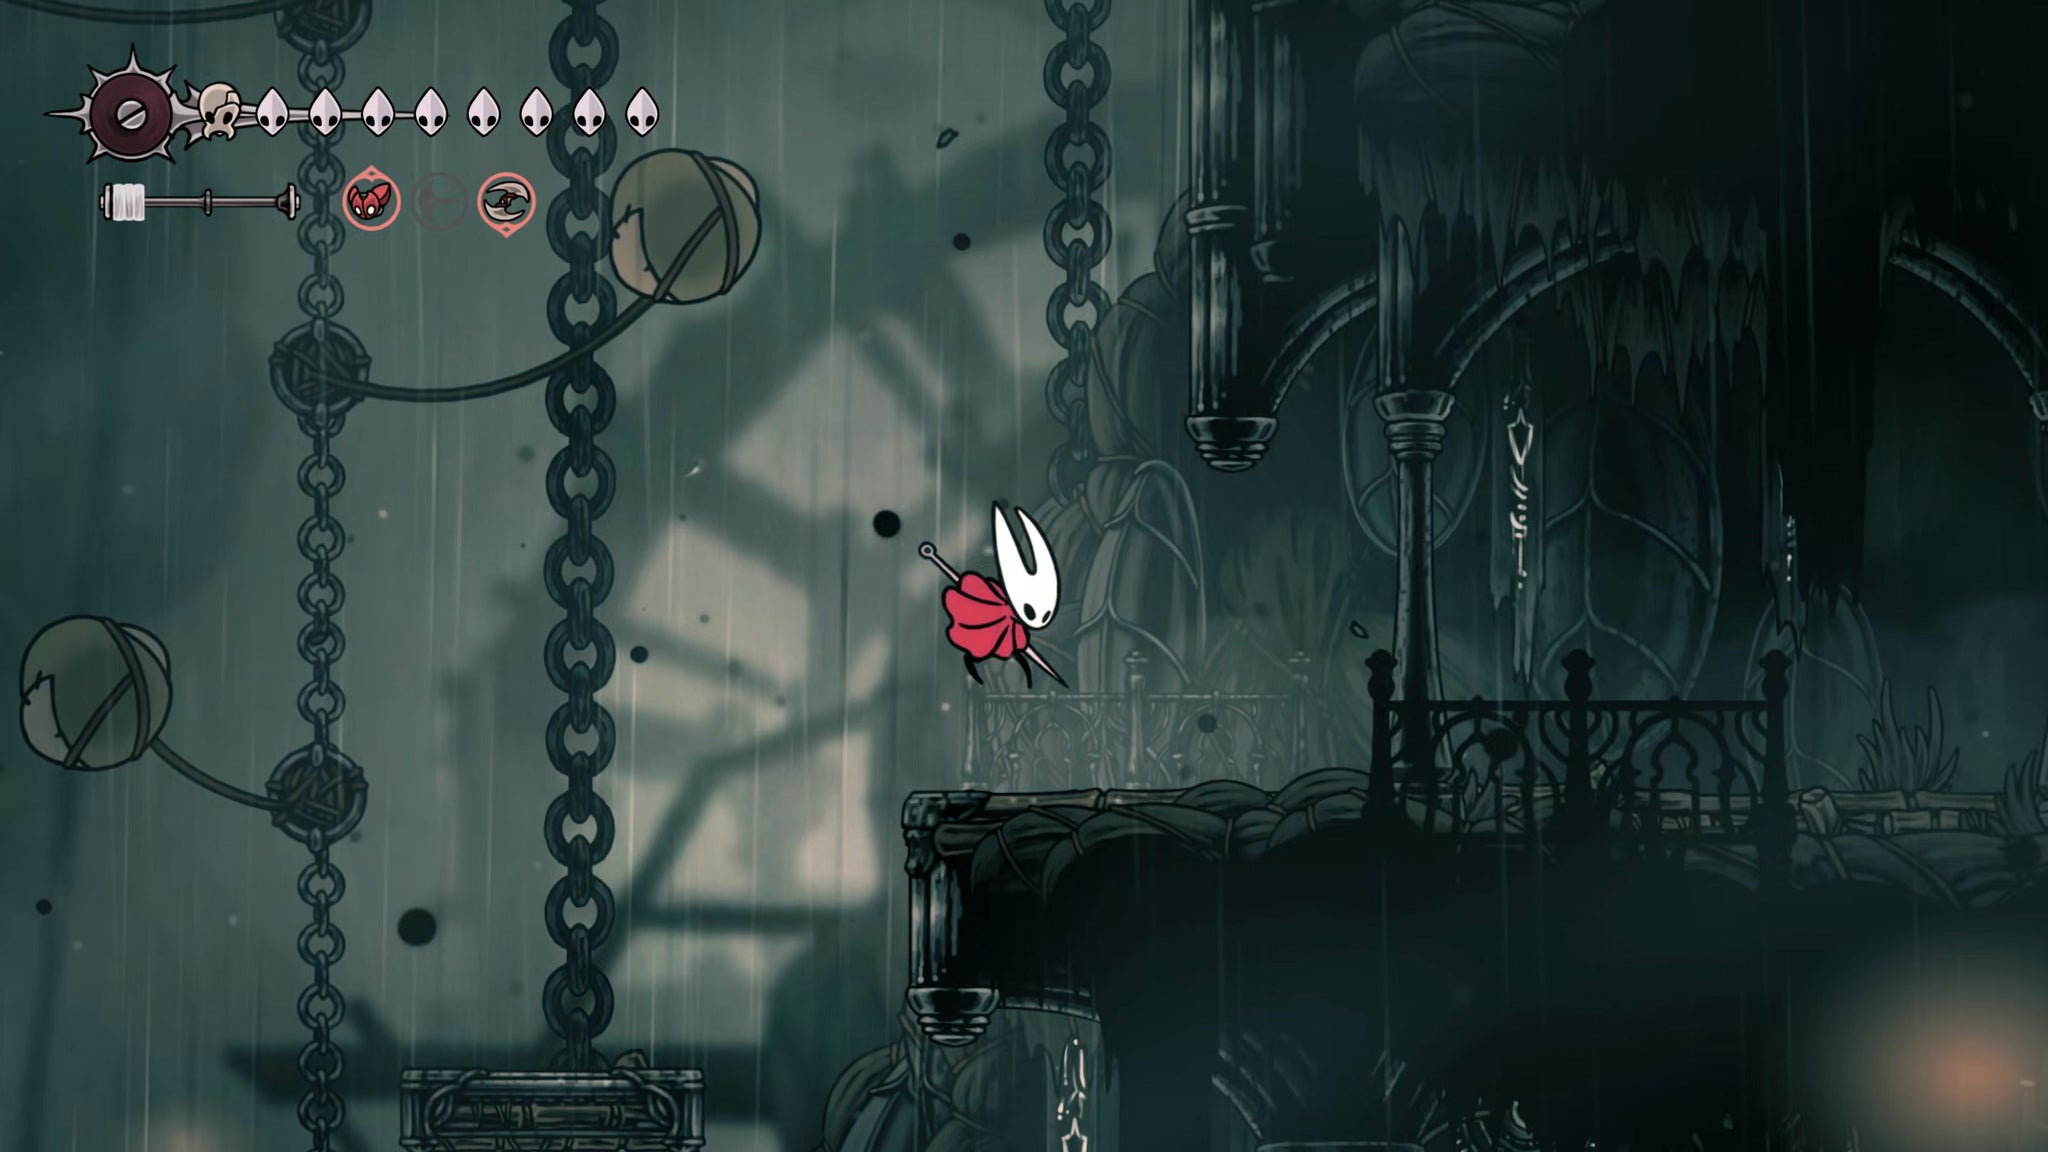

Head east into Craw Lake, and on the right-hand side of the lake you should see a new pathway a little way up through the right-hand wall. Pogo off the balloons nearby to reach this ledge and exit to the right.
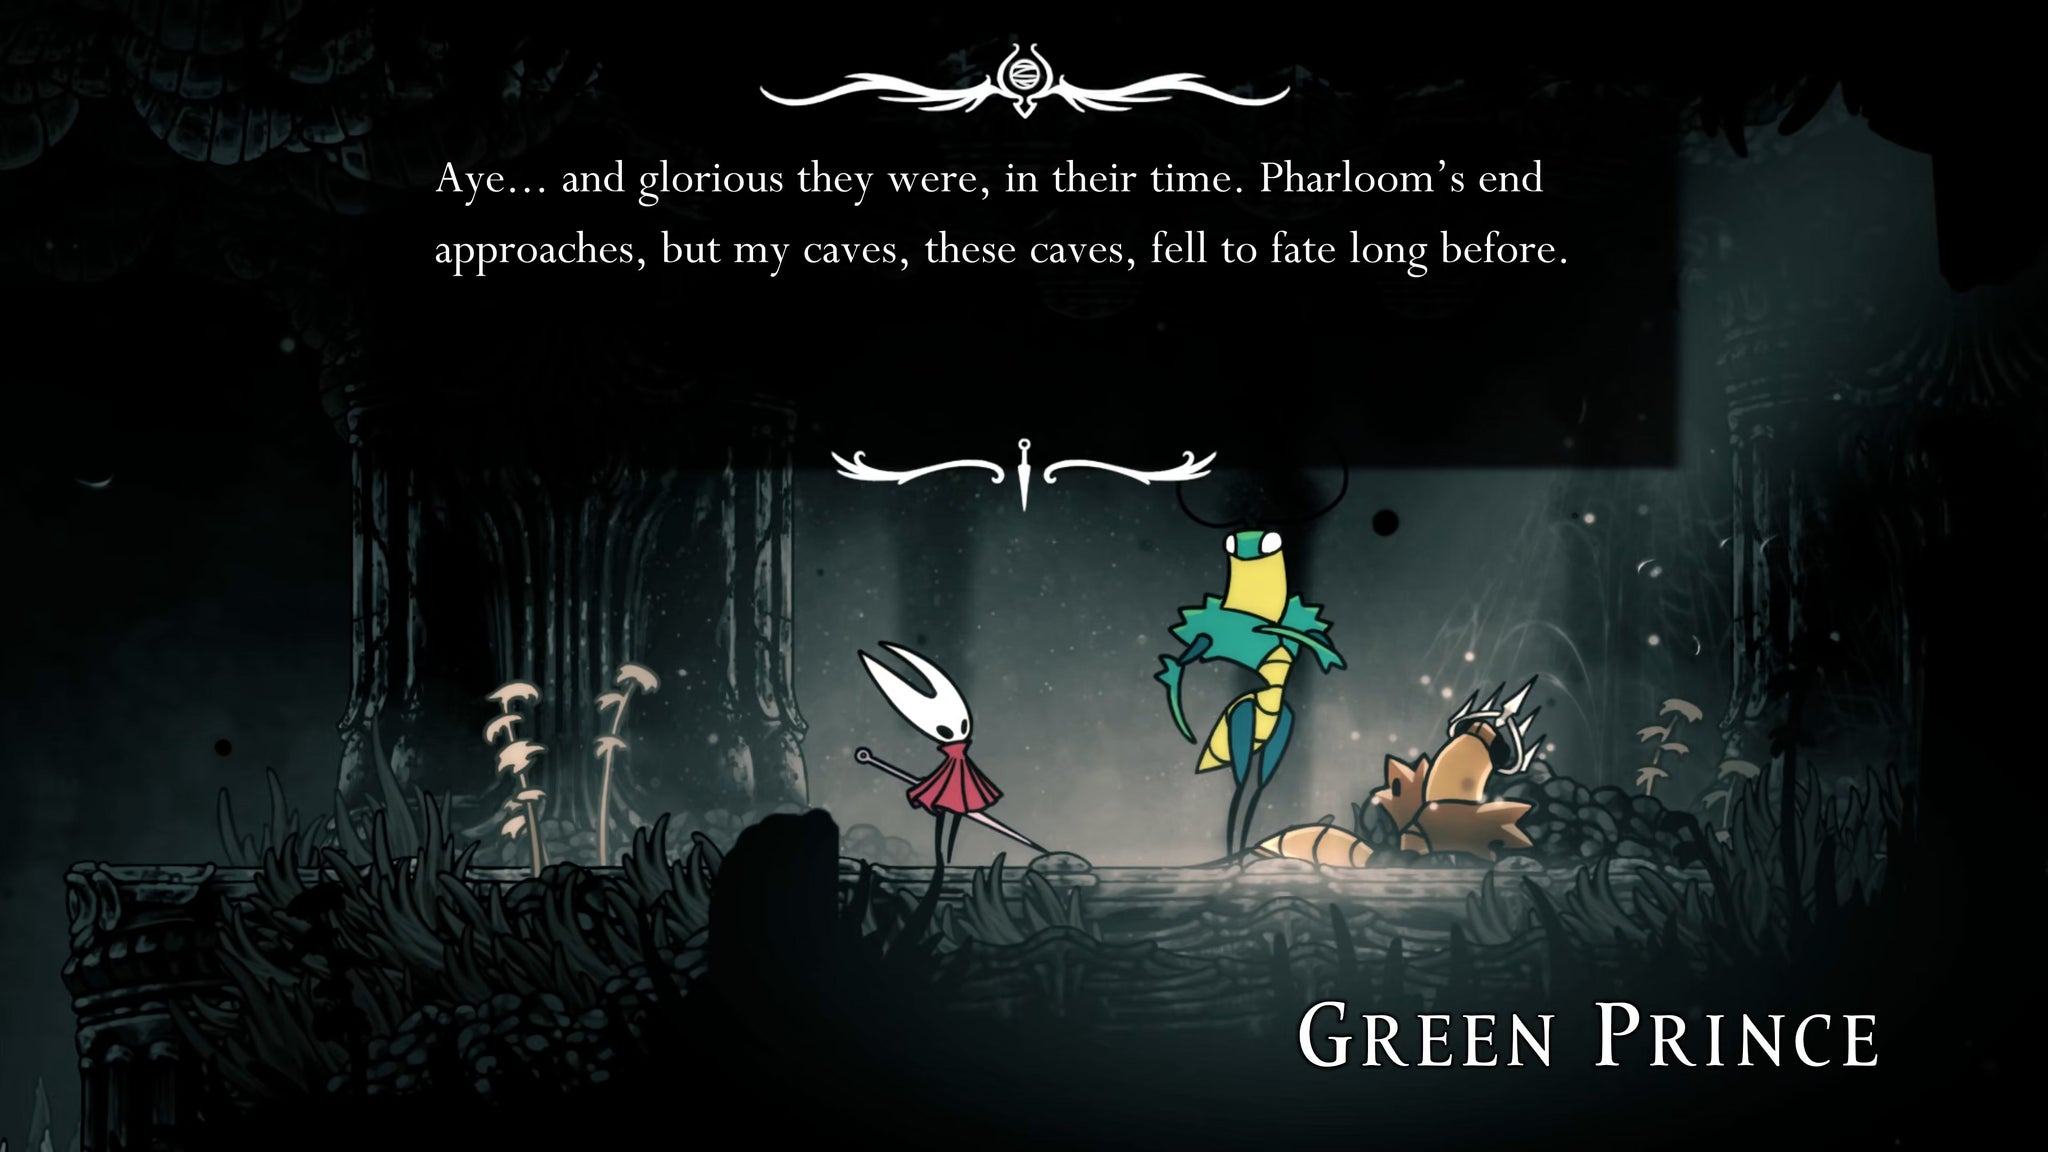
Surprise: you're already in Verdania. Wasn't that easy? Continue heading right past the spike pits, and you'll find the Green Prince, standing over one of the Cogwork Dancer corpses.
Speak with the Green Prince to learn about Verdania from its very own former royalty, and then permit him his silence for the moment.
Head past the Green Prince, and on the right-hand side you'll find a divot in the stone wall. Jump up into it, and attack the wall to the right. This is in fact a hidden breakable wall (as in, the breakable part is hidden behind the rock wall in the foreground), but a breakable wall it is still.
Head through it once it's broken, and make your way through the next room of spikes and Pharlids, minding the falling boulder as you climb the wall halfway through. At the end of the path you'll find a Bench, and a map of Verdania.
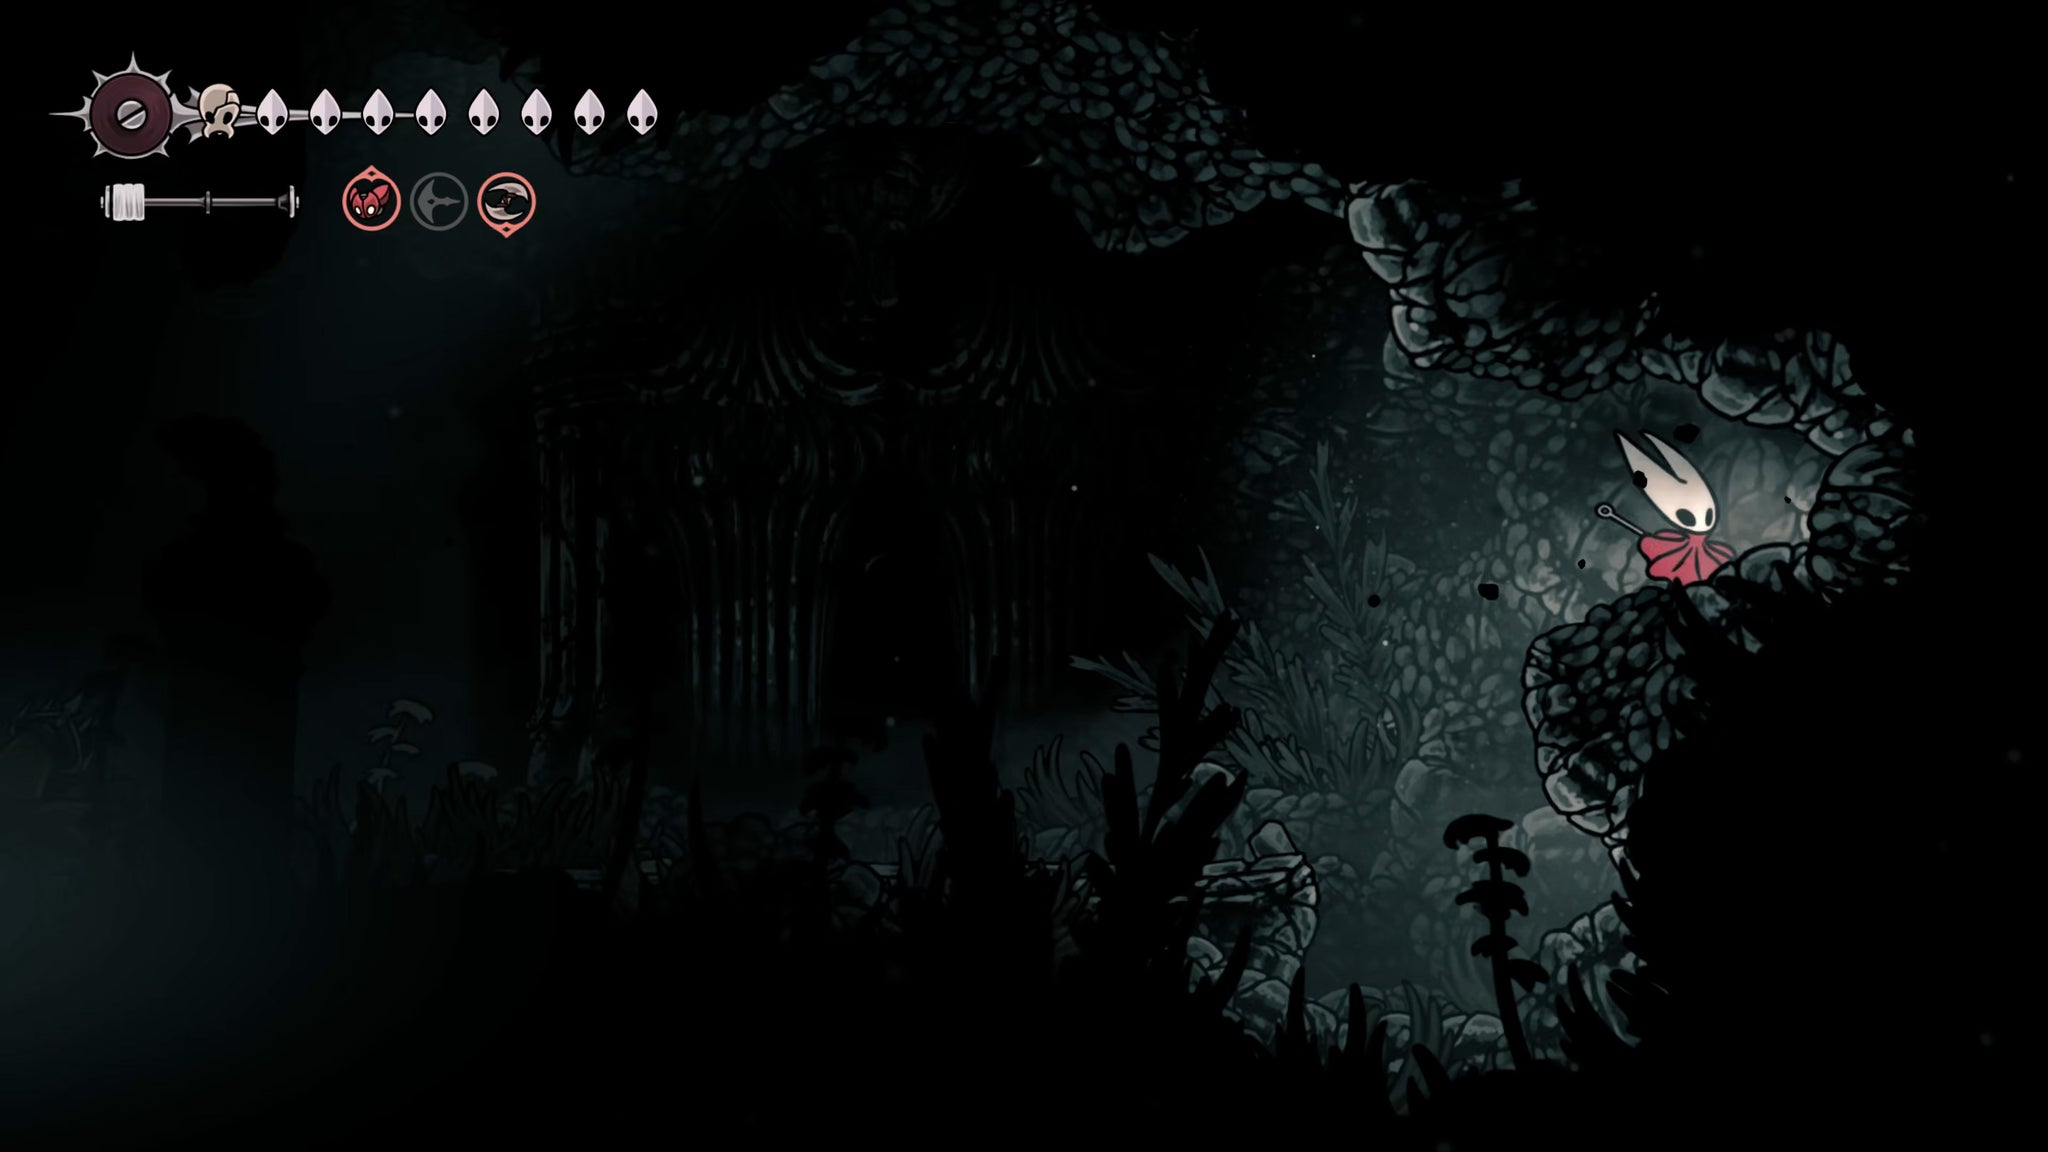

The map doesn't show much - it seems Verdania nowadays is a very small place, and you've already explored it all. Well, prepare yourself - it's time now to visit Lost Verdania instead.
3. Use Elegy Of The Deep to enter Lost Verdania.
Head back to the Green Prince, and use Elegy Of The Deep (play your Needolin while holding downwards). The Green Prince will begin to sing, and Hornet will fall unconscious, just as she did the previous times she used Elegy Of The Deep during the Old Hearts quest.
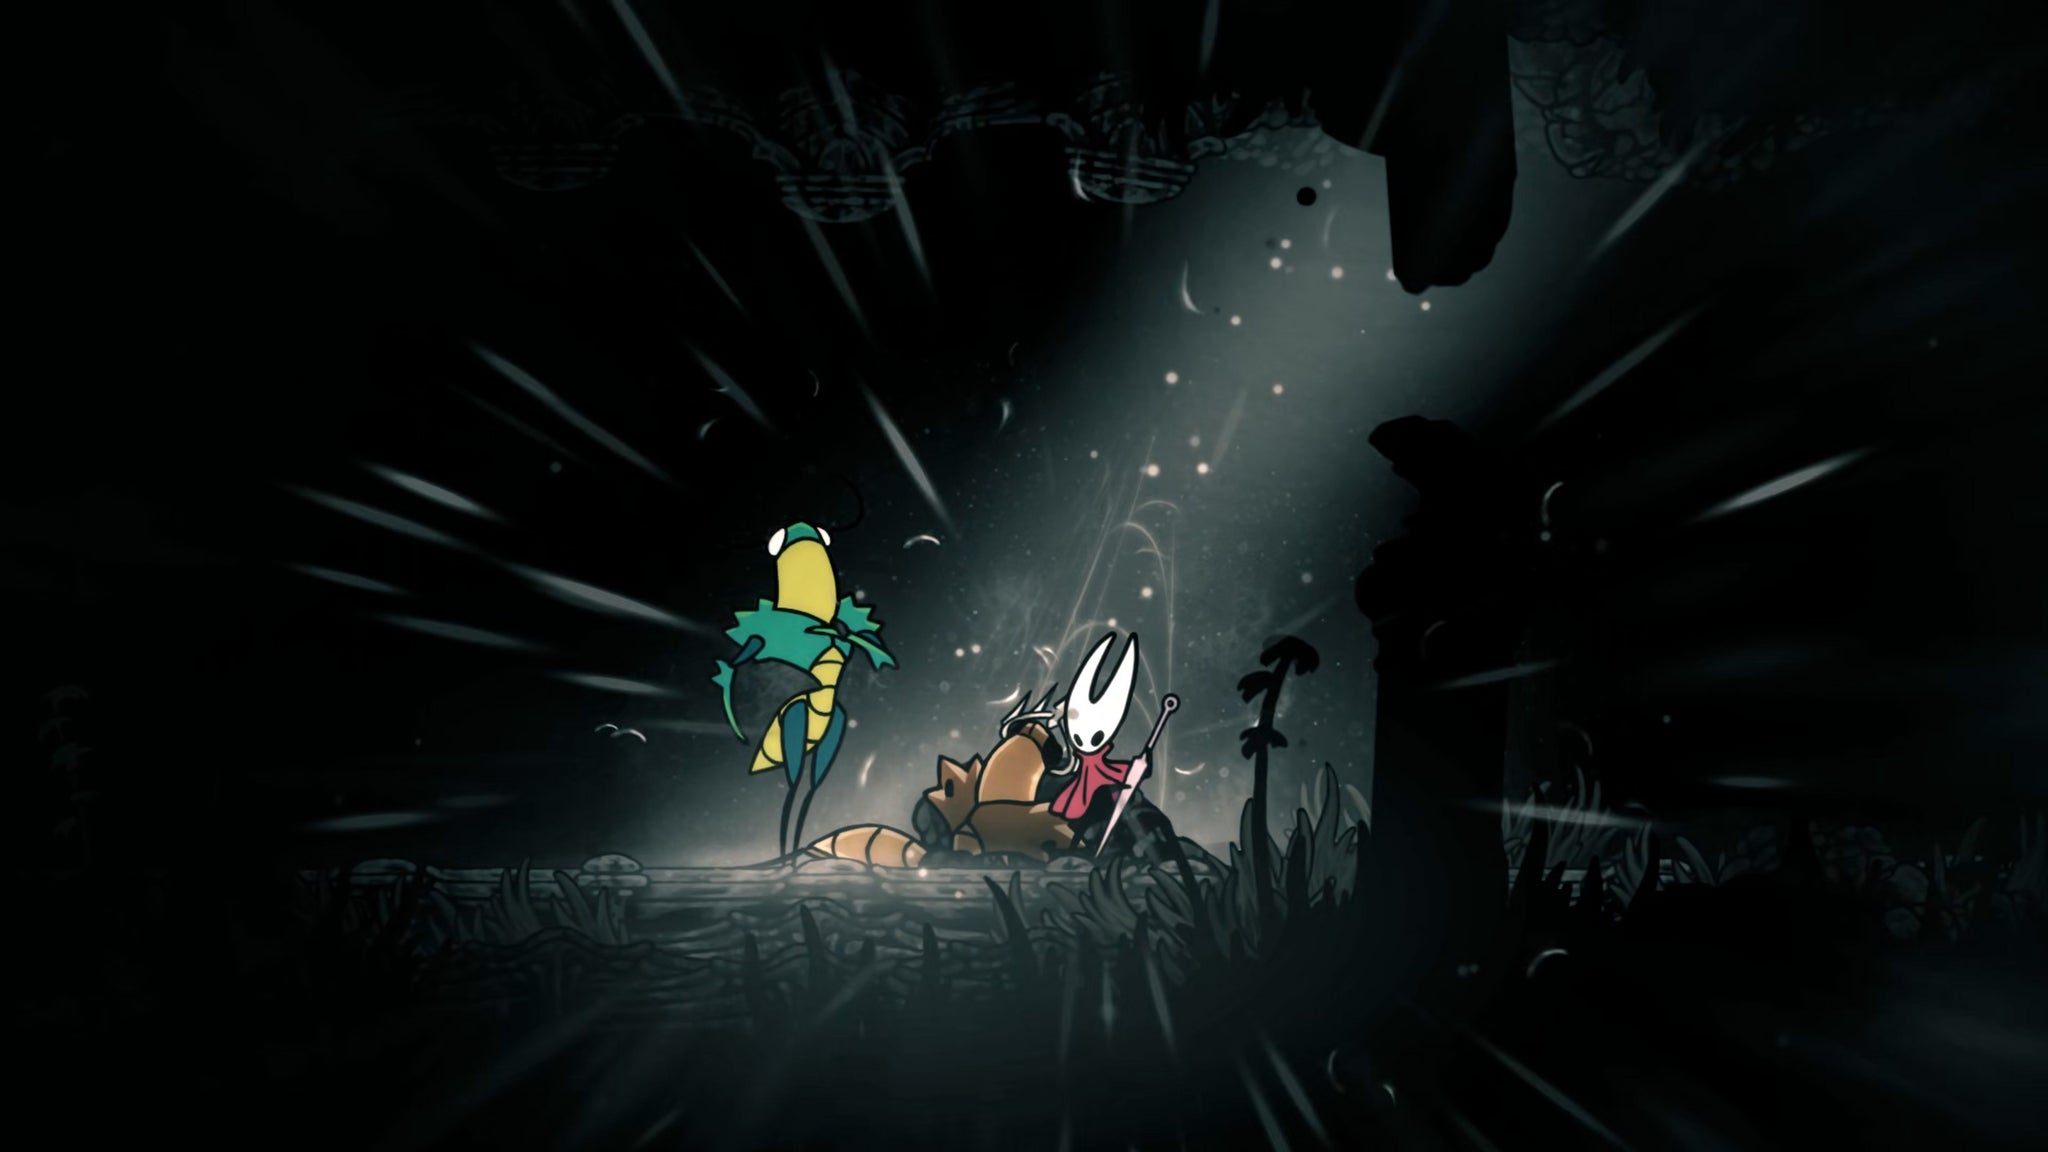

When Hornet awakens, she's back at the entrance to Verdania. Walk to the right, and you'll quickly discover a far more lively and vibrant Verdania than the one you just left. This is the true region to discover.
Cross the lake and you'll find the Green Prince there again. Speak with him if you like, and then exit to the right to properly begin your exploration of Lost Verdania.
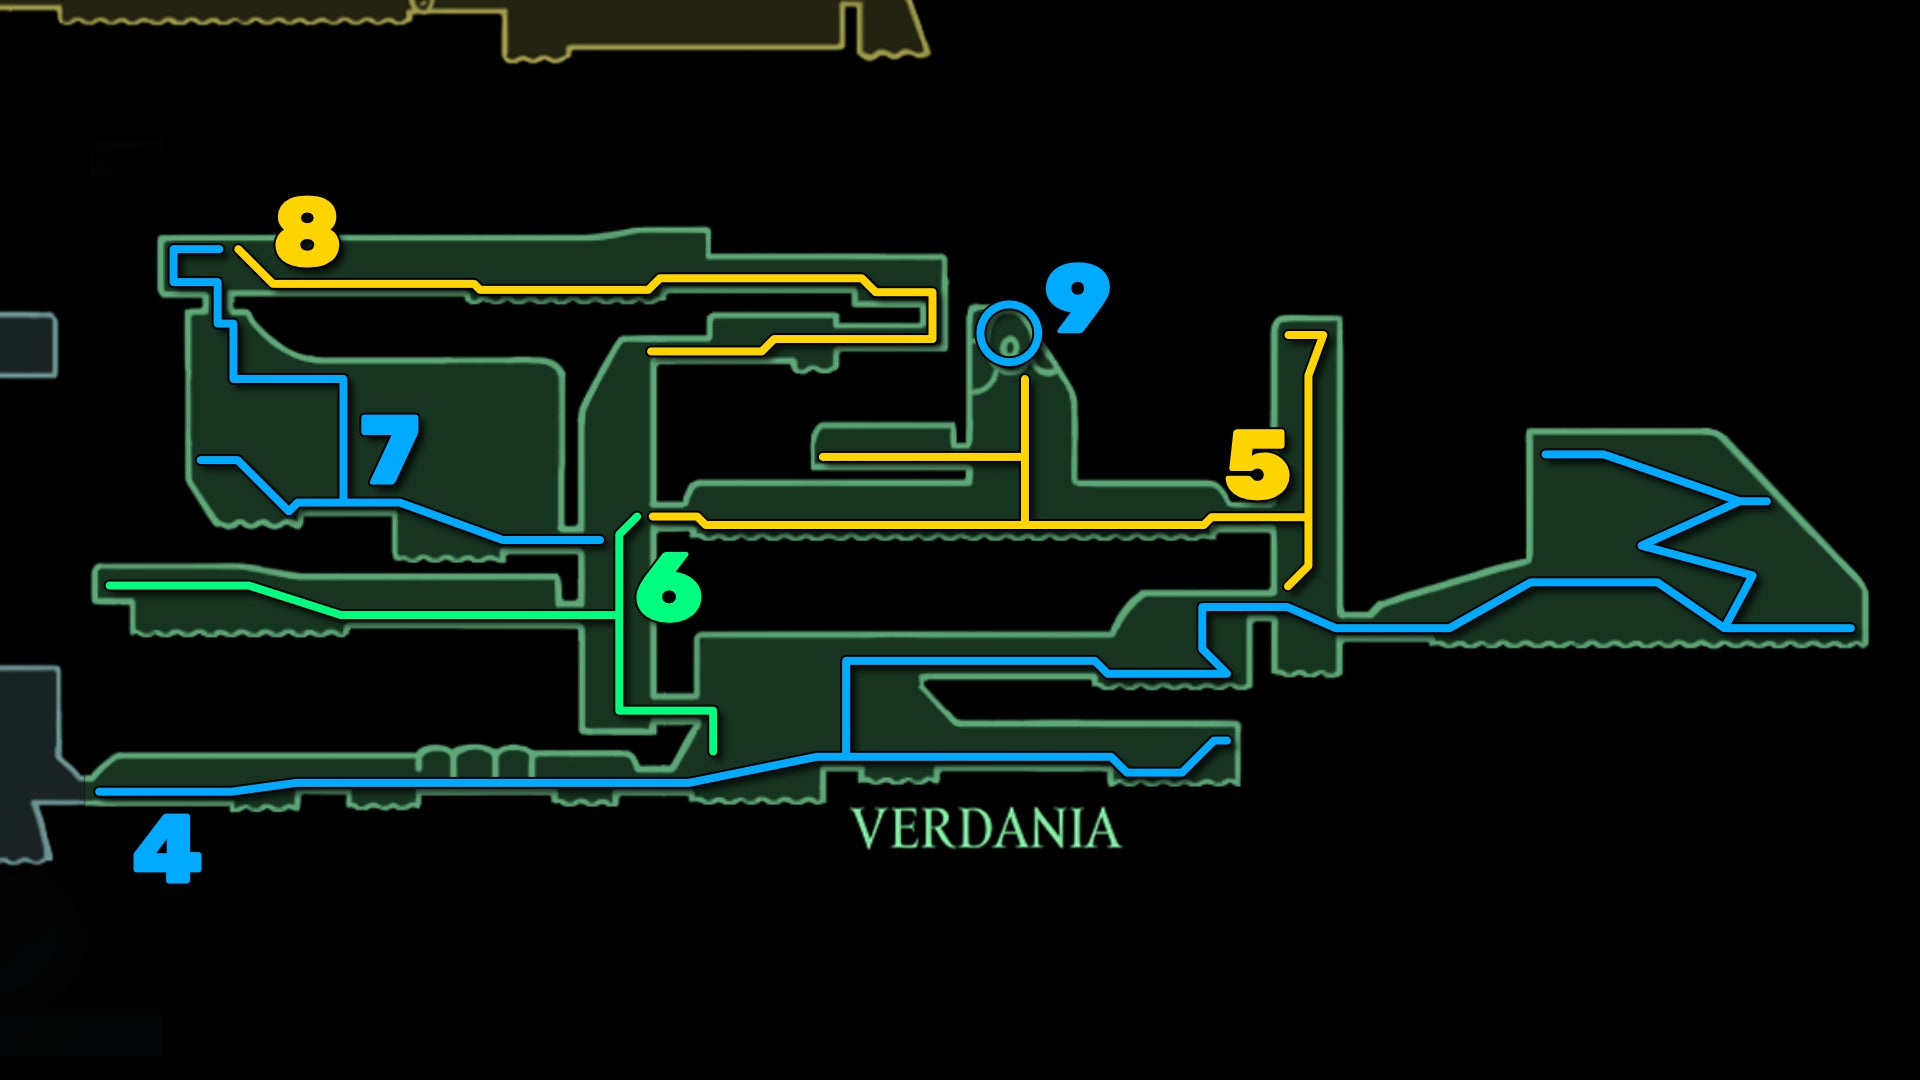
4. Unlock the Sacred Shrine and first Statue Essence.
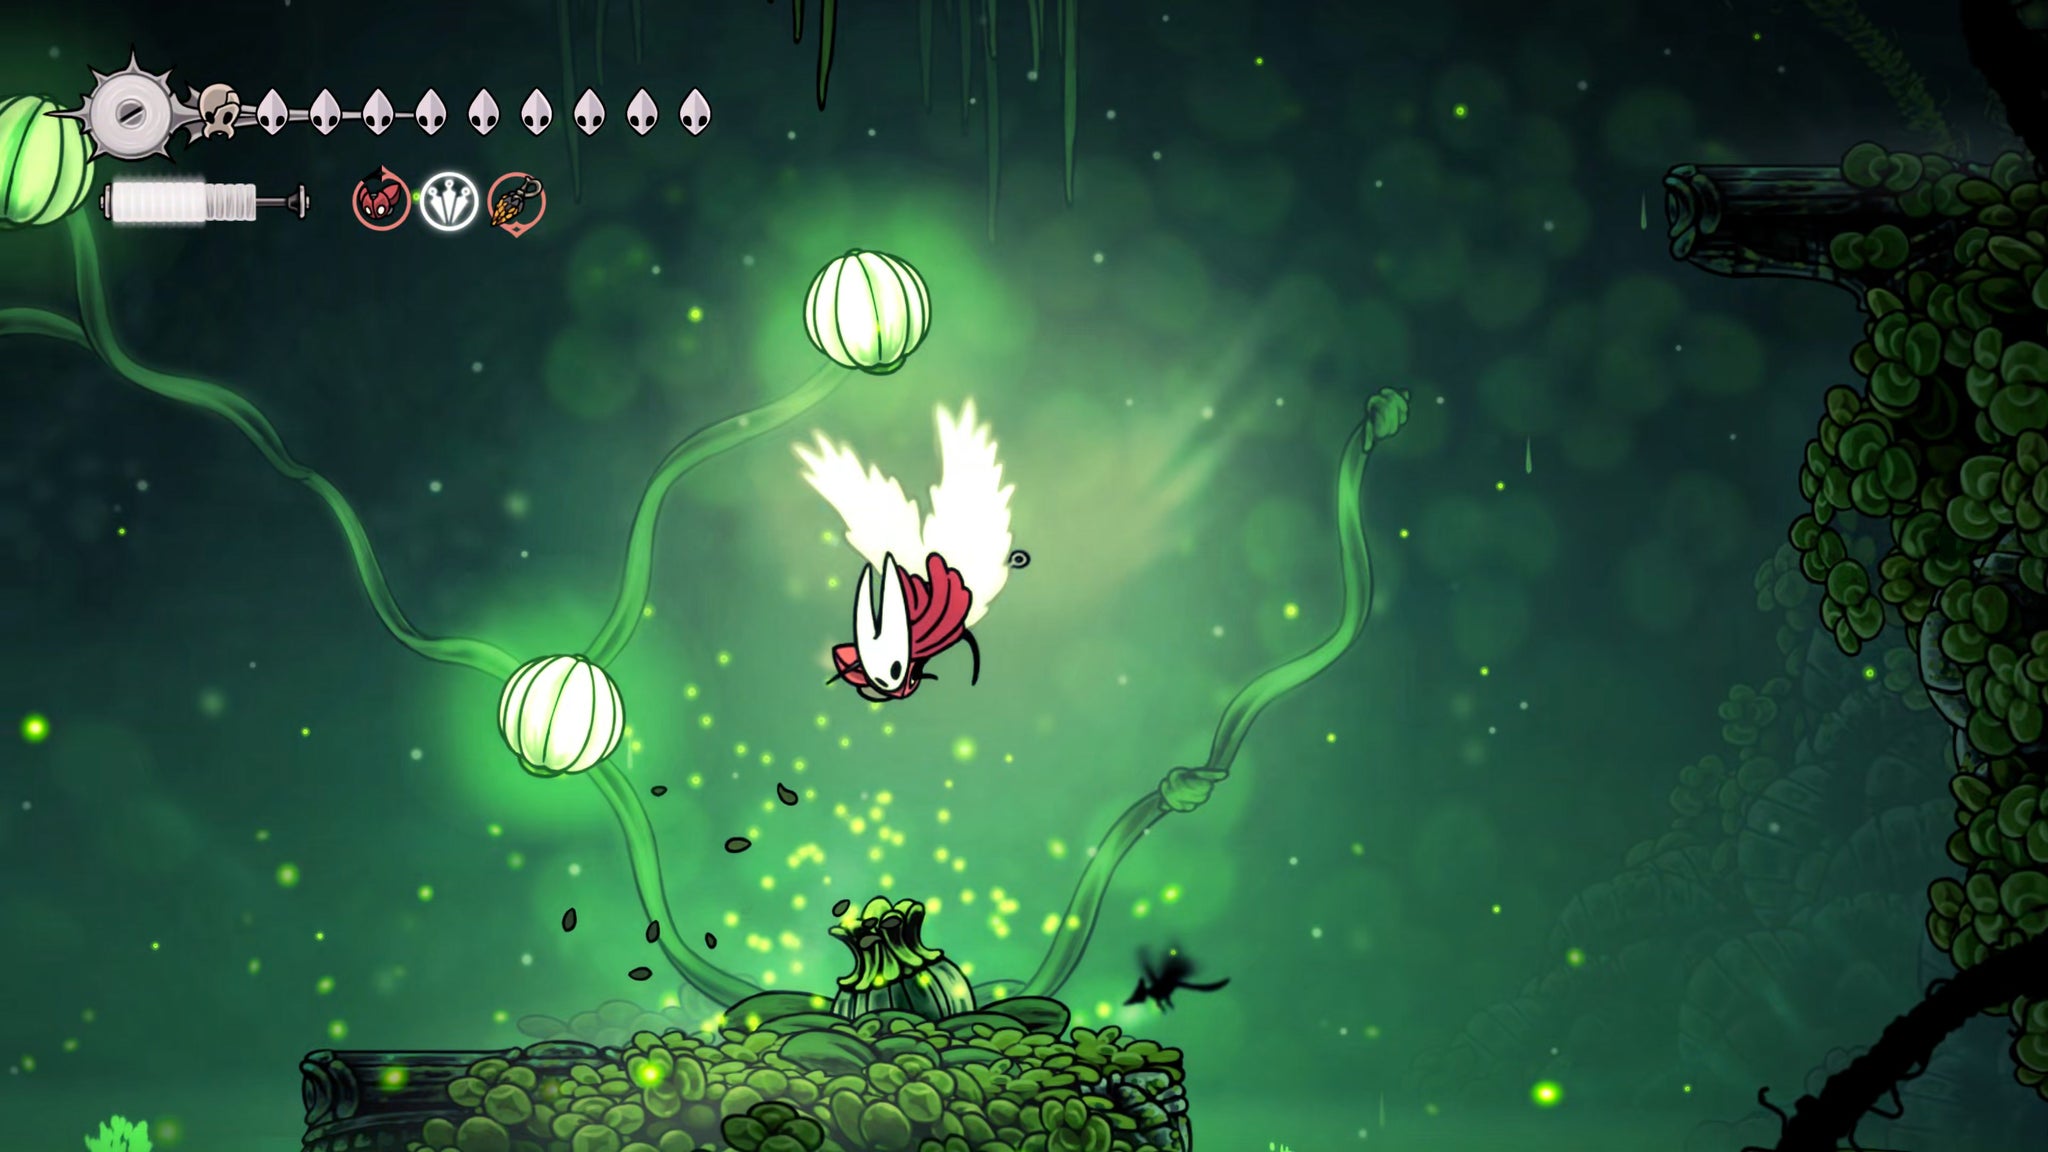
Lost Verdania has a similar traversal mechanic to the Sands Of Karak - hit the glowing plant on the floor to generate temporary Pogo points along specific routes. Use this to reach the upper ledge to your right, and then drop down and keep heading right past the next glowing plant for now.
A few steps further along the path, you'll see a strange statue in the ground. Attack it to break it - it will spawn a path of glowing white essence orbs which you must "collect" in order as quickly as possible. If you collect them all in order before the time limit, then you've essentially "solved" that statue.
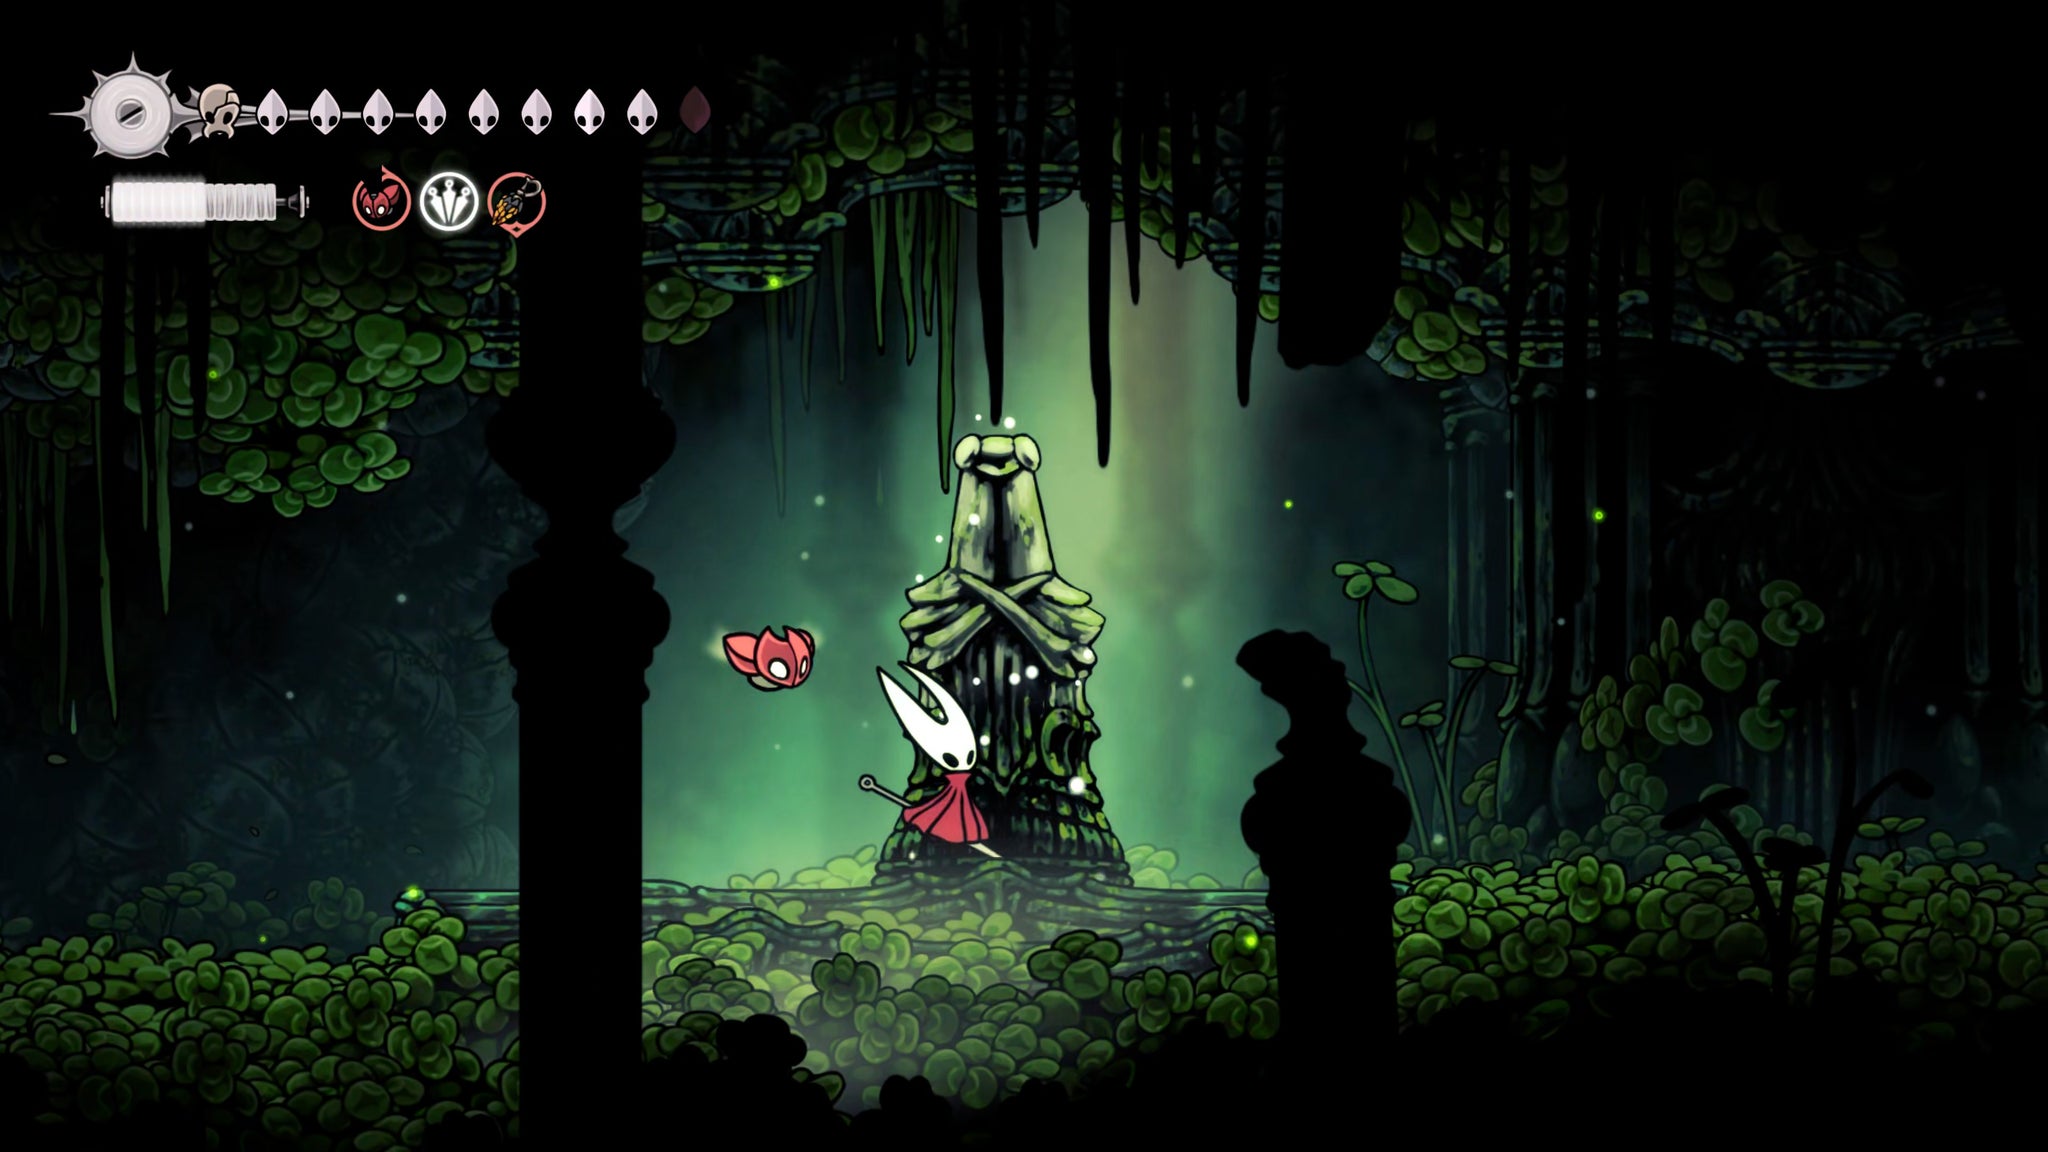

This is important, because you have to solve all of these "essence" puzzles dotted about Lost Verdania in order to reach the region's final boss. Not all of them are statues, so keep an eye out for anything that looks odd. I'll point you towards them as we continue.
Head back to the second glowing plant and use its nodes to bounce upwards, beyond the spikes, to the right-hand ledge at the top. Along this path you'll find a new enemy - a fast, teleporting enemy called an Escalion. Defeat it for the Hunter's Journal entry.
Then hop into the lake beyond, and be warned - one of the lilypads is actually a creature called a Nuphar. Stand on the lilypad and it'll try to bite you, but you have enough time to dodge out of the way. This creature, too, you can kill to receive its Hunter's Journal entry.
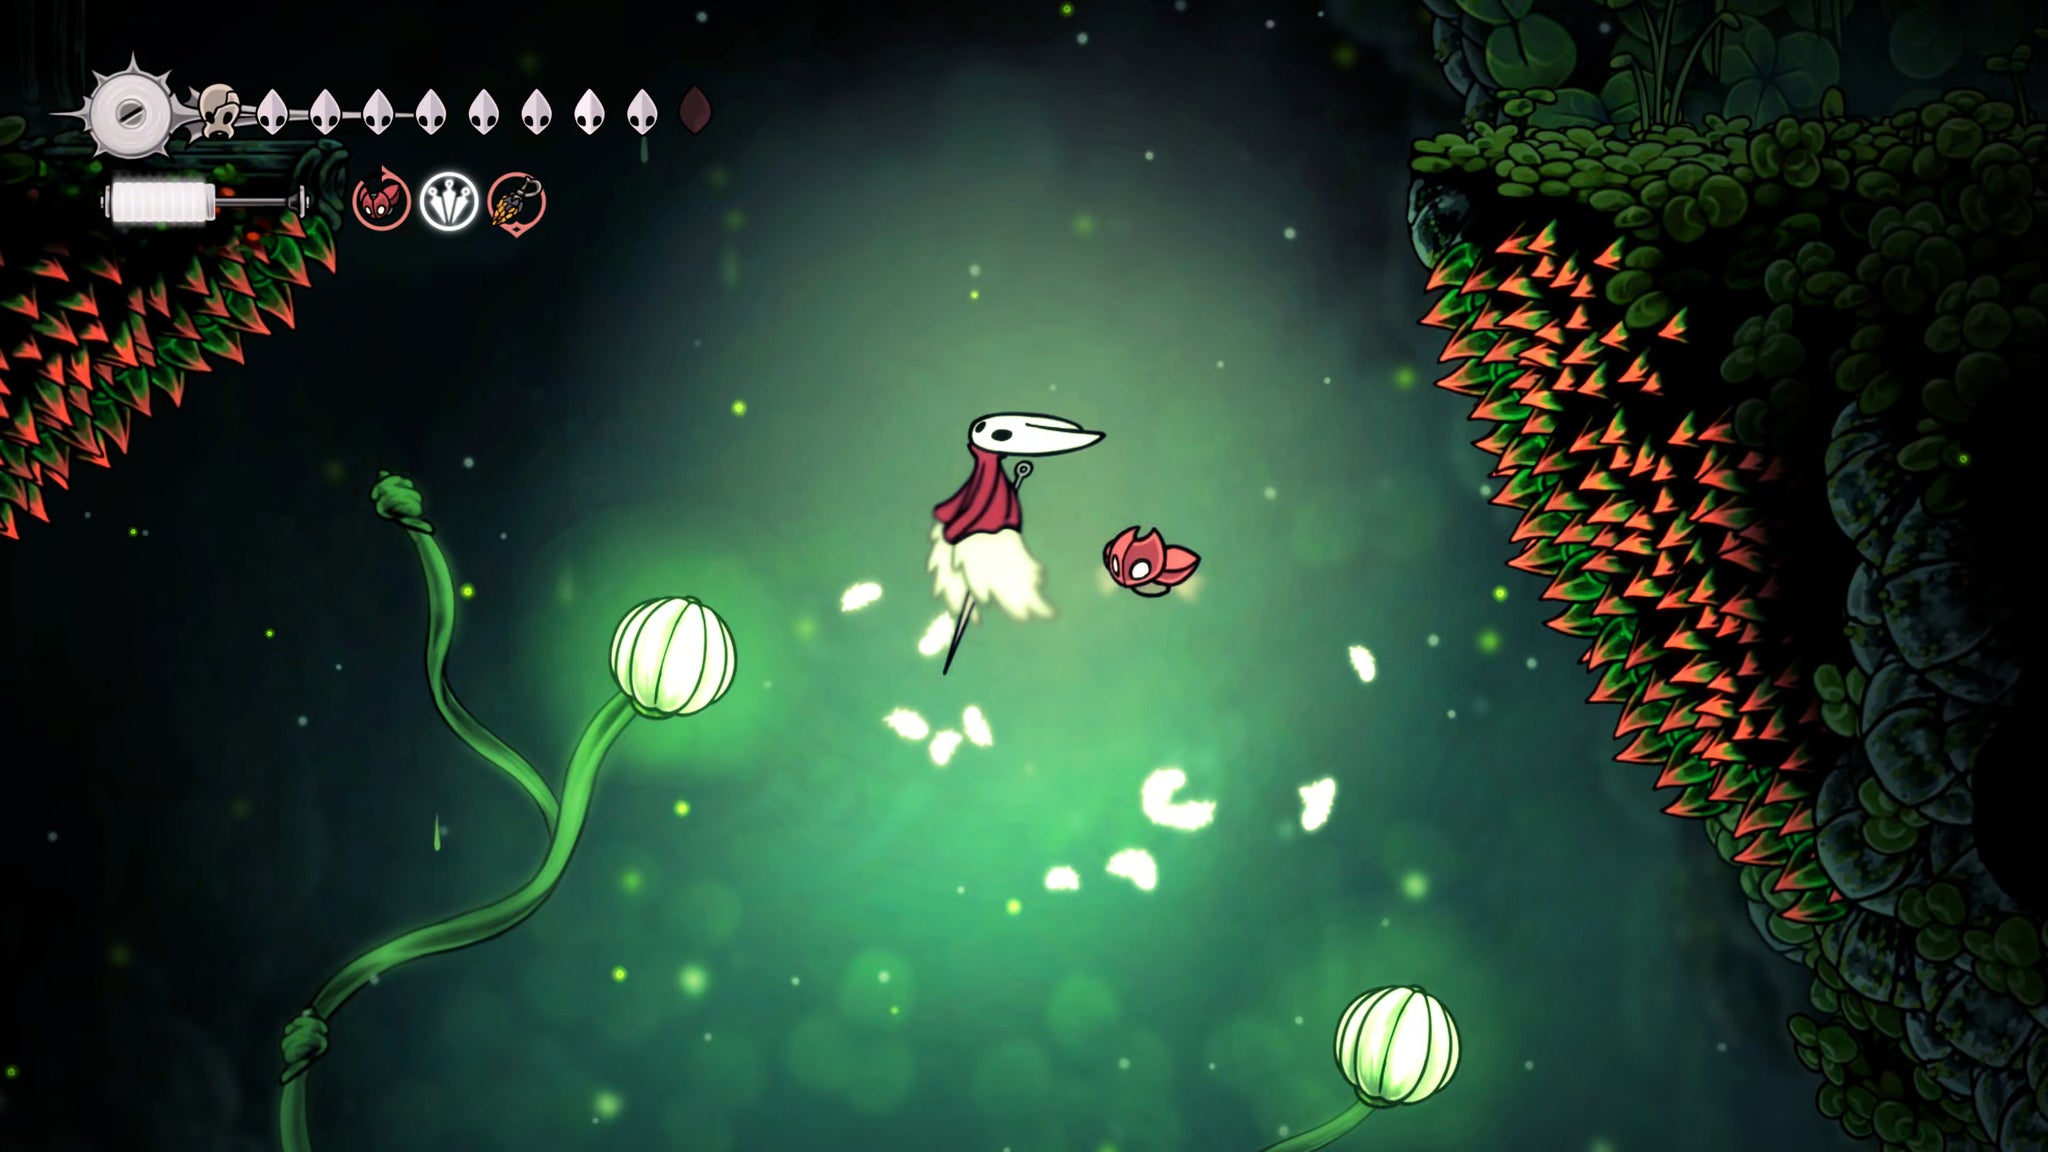

Next, use the plant on the right-hand side to ascend higher and exit via the top-right doorway to enter a vertical shaft. You can explore lower down for a couple of Silk-supplying green bulbs, but then head through the lower-right exit into the large room beyond.
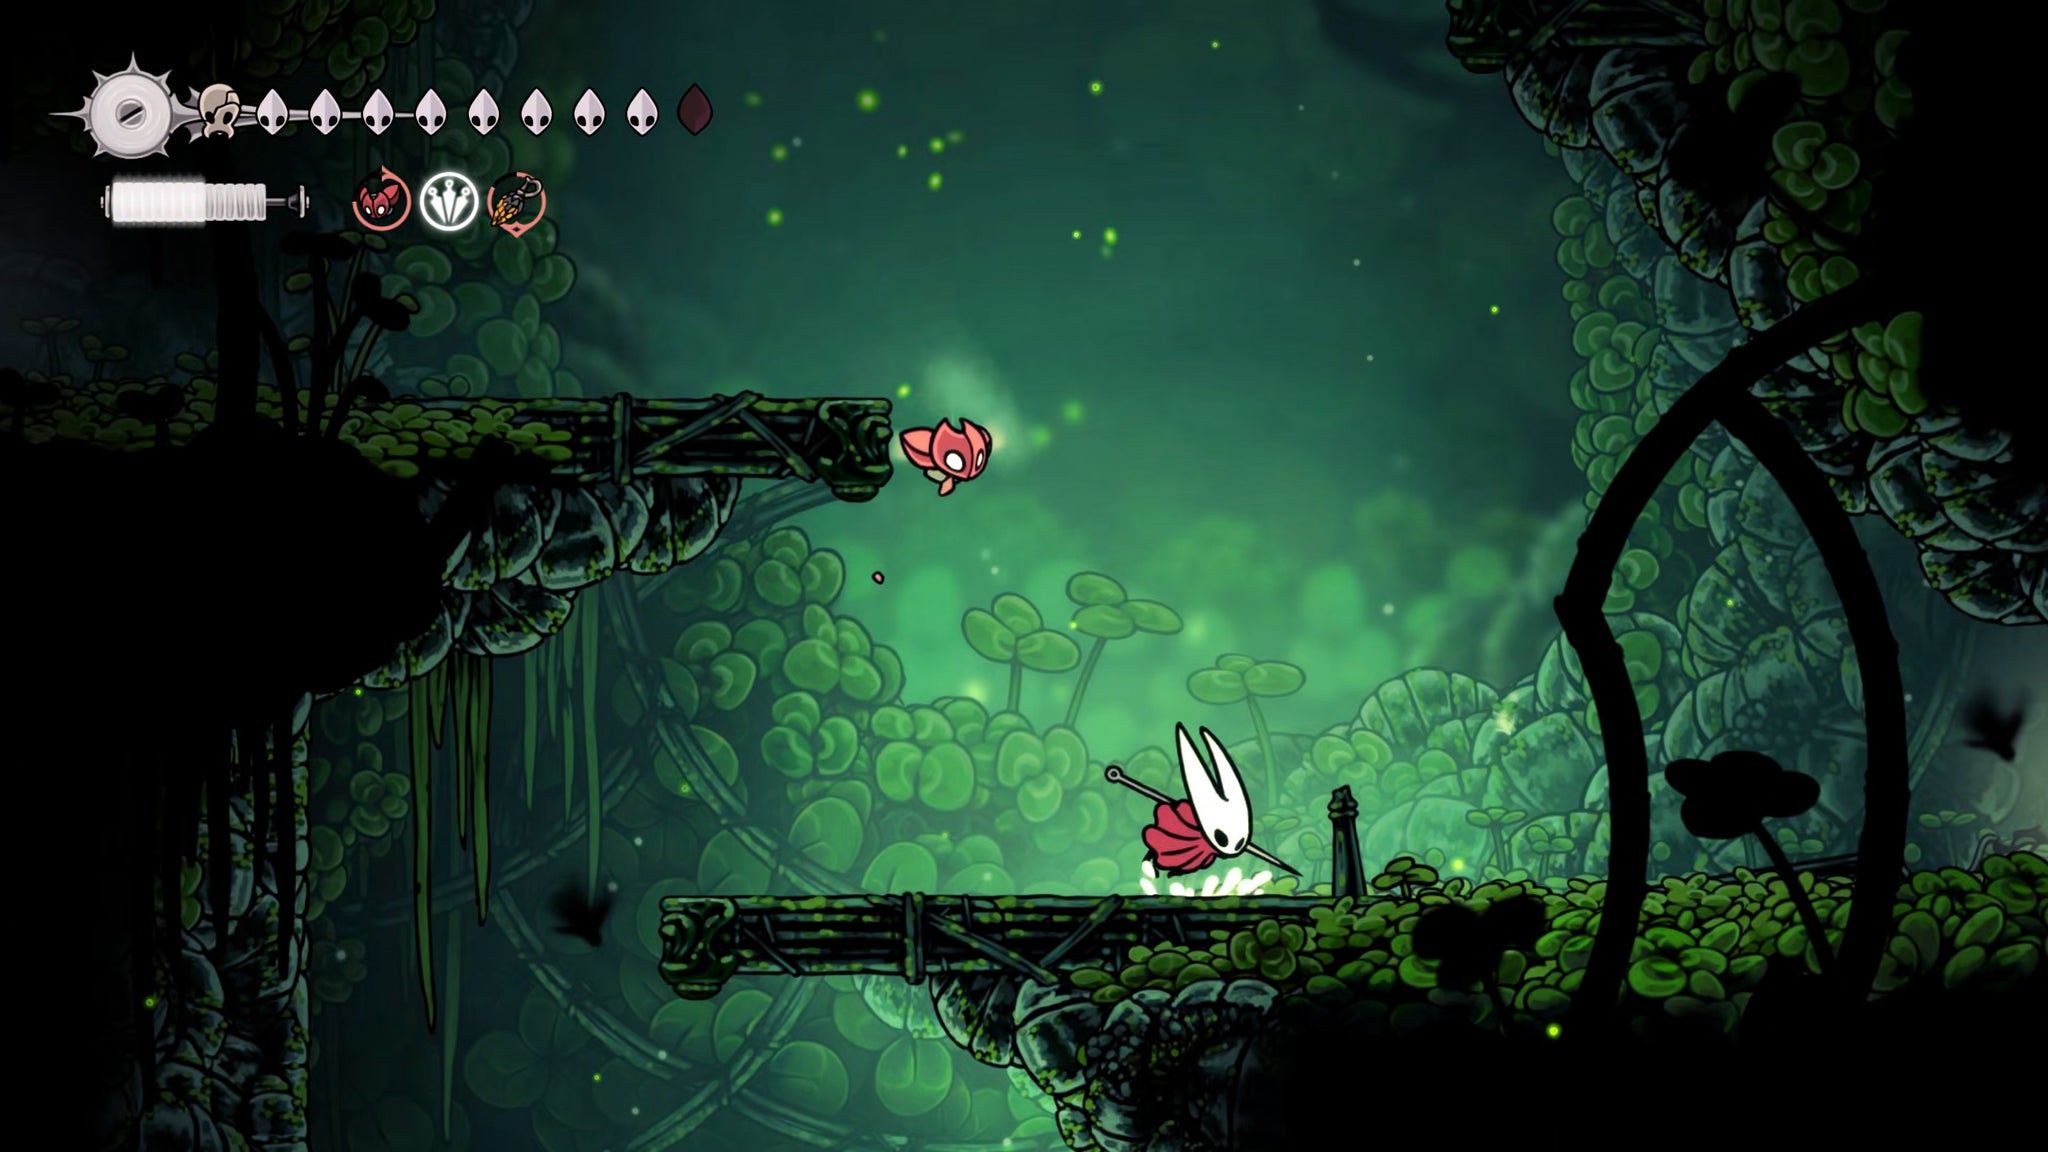

Sitting on the edge of the pond is the Green Prince again, so speak with him if you like, and then continue across the pond. Climb up to the higher ledge near the ceiling and then clawline across the spikes to your right to reach the other side. Here, guarded by a large (but relatively unthreatening) flying bug, you'll be able to inspect an old shrine in the ground. This shrine tells you to make "three fonts weep" - which means you need to activate three fountains hidden in this giant room.
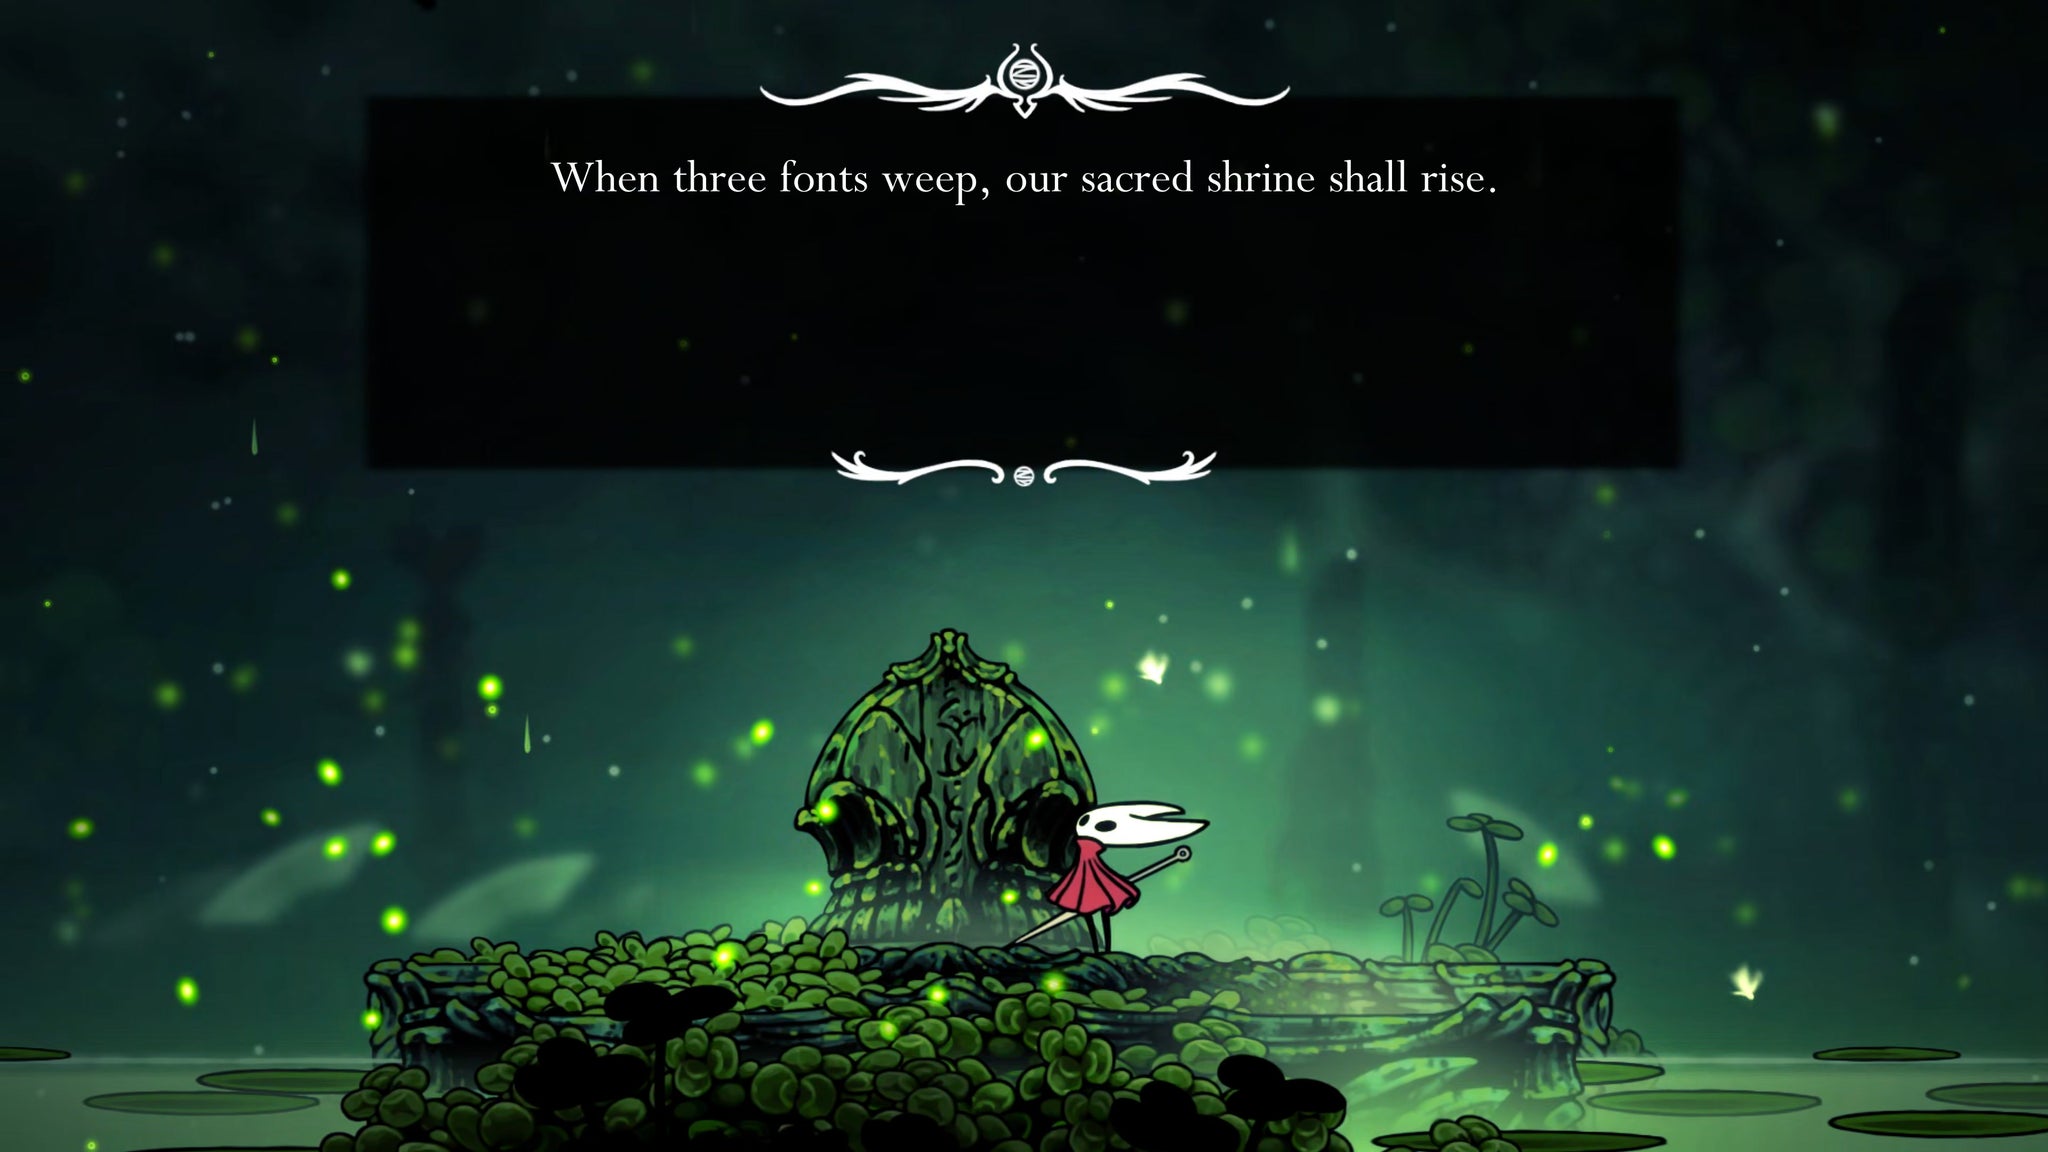
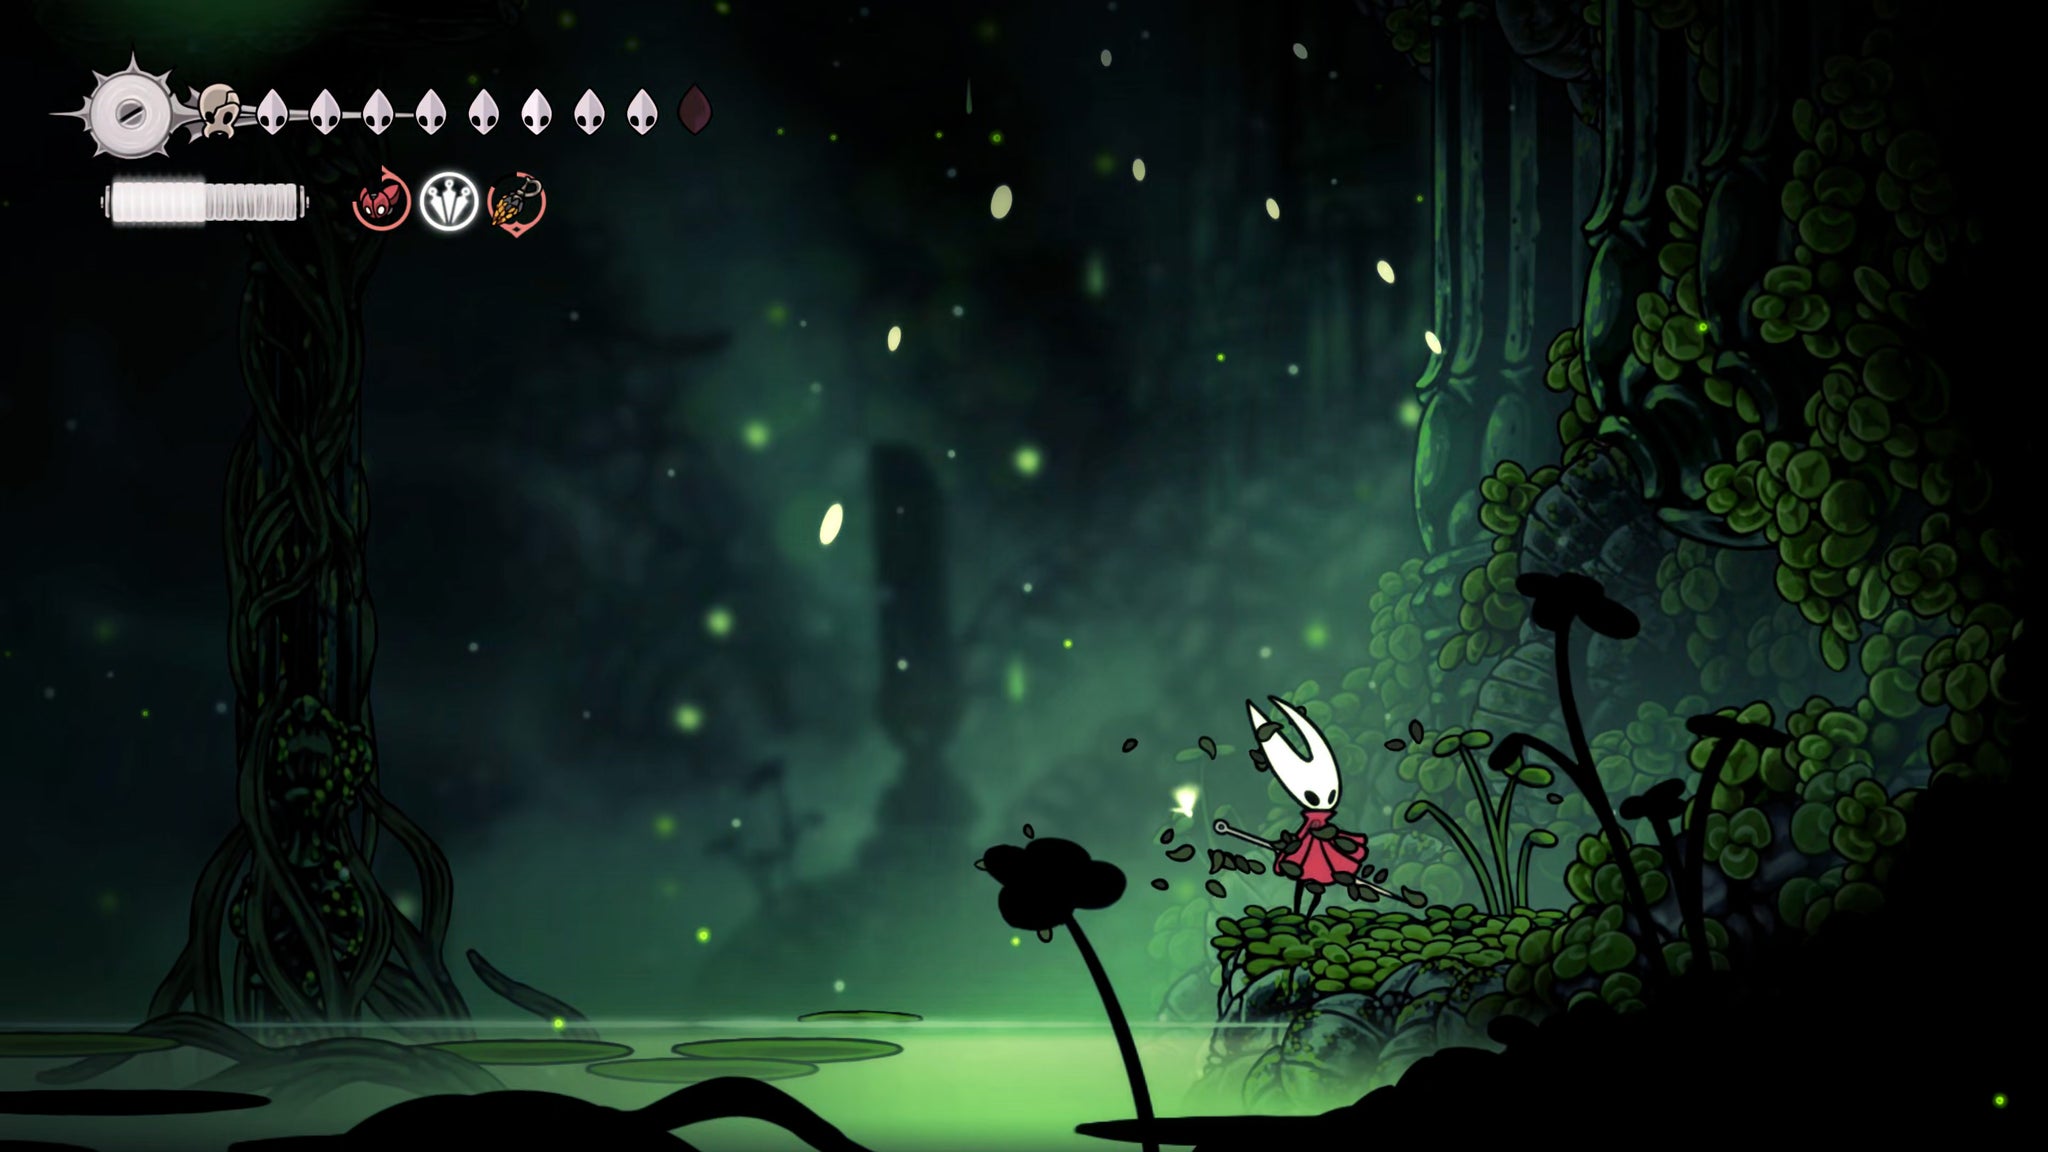

To find the first fountain, just swim across to the right and enter the hidden room through the wall at ground level. Stand on the pressure plate to activate the fountain.
Next up, climb the wall just above that hidden passageway entrance, and jump onto the upper-left ledge with the glowing plant. This is the first of three plants in the room, and their paths form a zig-zag up the room. The second fountain is on the right as you reach the end of the second plant's path. The third fountain is on the left, as you reach the end of the third plant's path.

After activating all three fountains, drop back down to the shrine and press down on the large pressure plate to open the Sacred Shrine properly. Inspect it once it's fully risen from the ground, and then play your Needolin when prompted to generate another path of essences just like the statues from before. They're all right next to you in an arc, so just collect them to complete the puzzle.
5. Win the arena battle to reach the central shaft.
Head back to the vertical shaft on the left, and climb up it to the very top, using the plant and orbs along the way. At the top is another statue; break it and collect the essence as it heads back down the shaft.
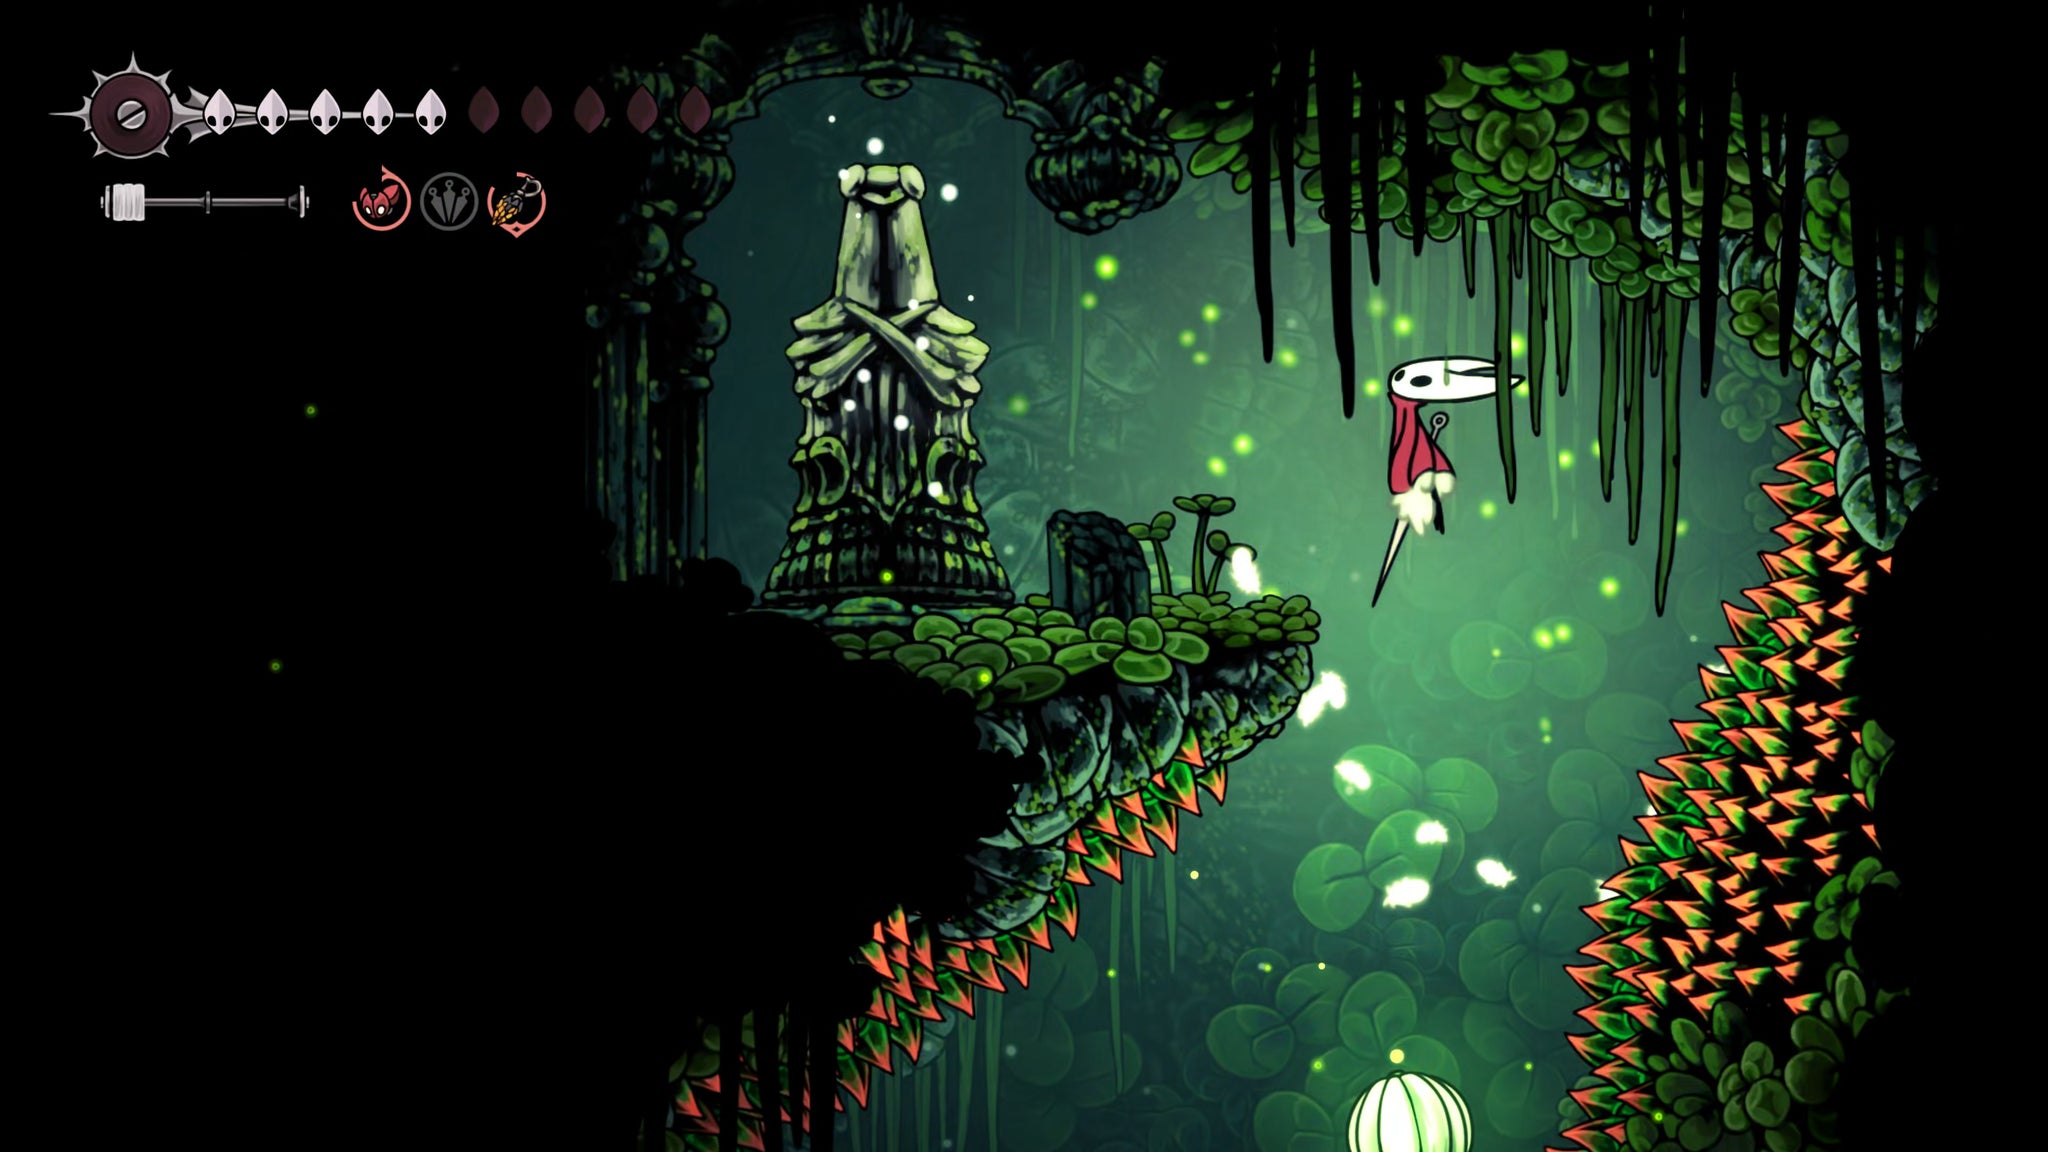
With that done, drop down to the left-hand exit about halfway up the shaft. Kill the enemies along your way until you reach the central ledge with the plant, and then use the plant's orbs to climb as high as possible. You'll see that the landscape starts to wither away into Silk as you climb. At the top, you can speak with the Green Prince again for some lore.
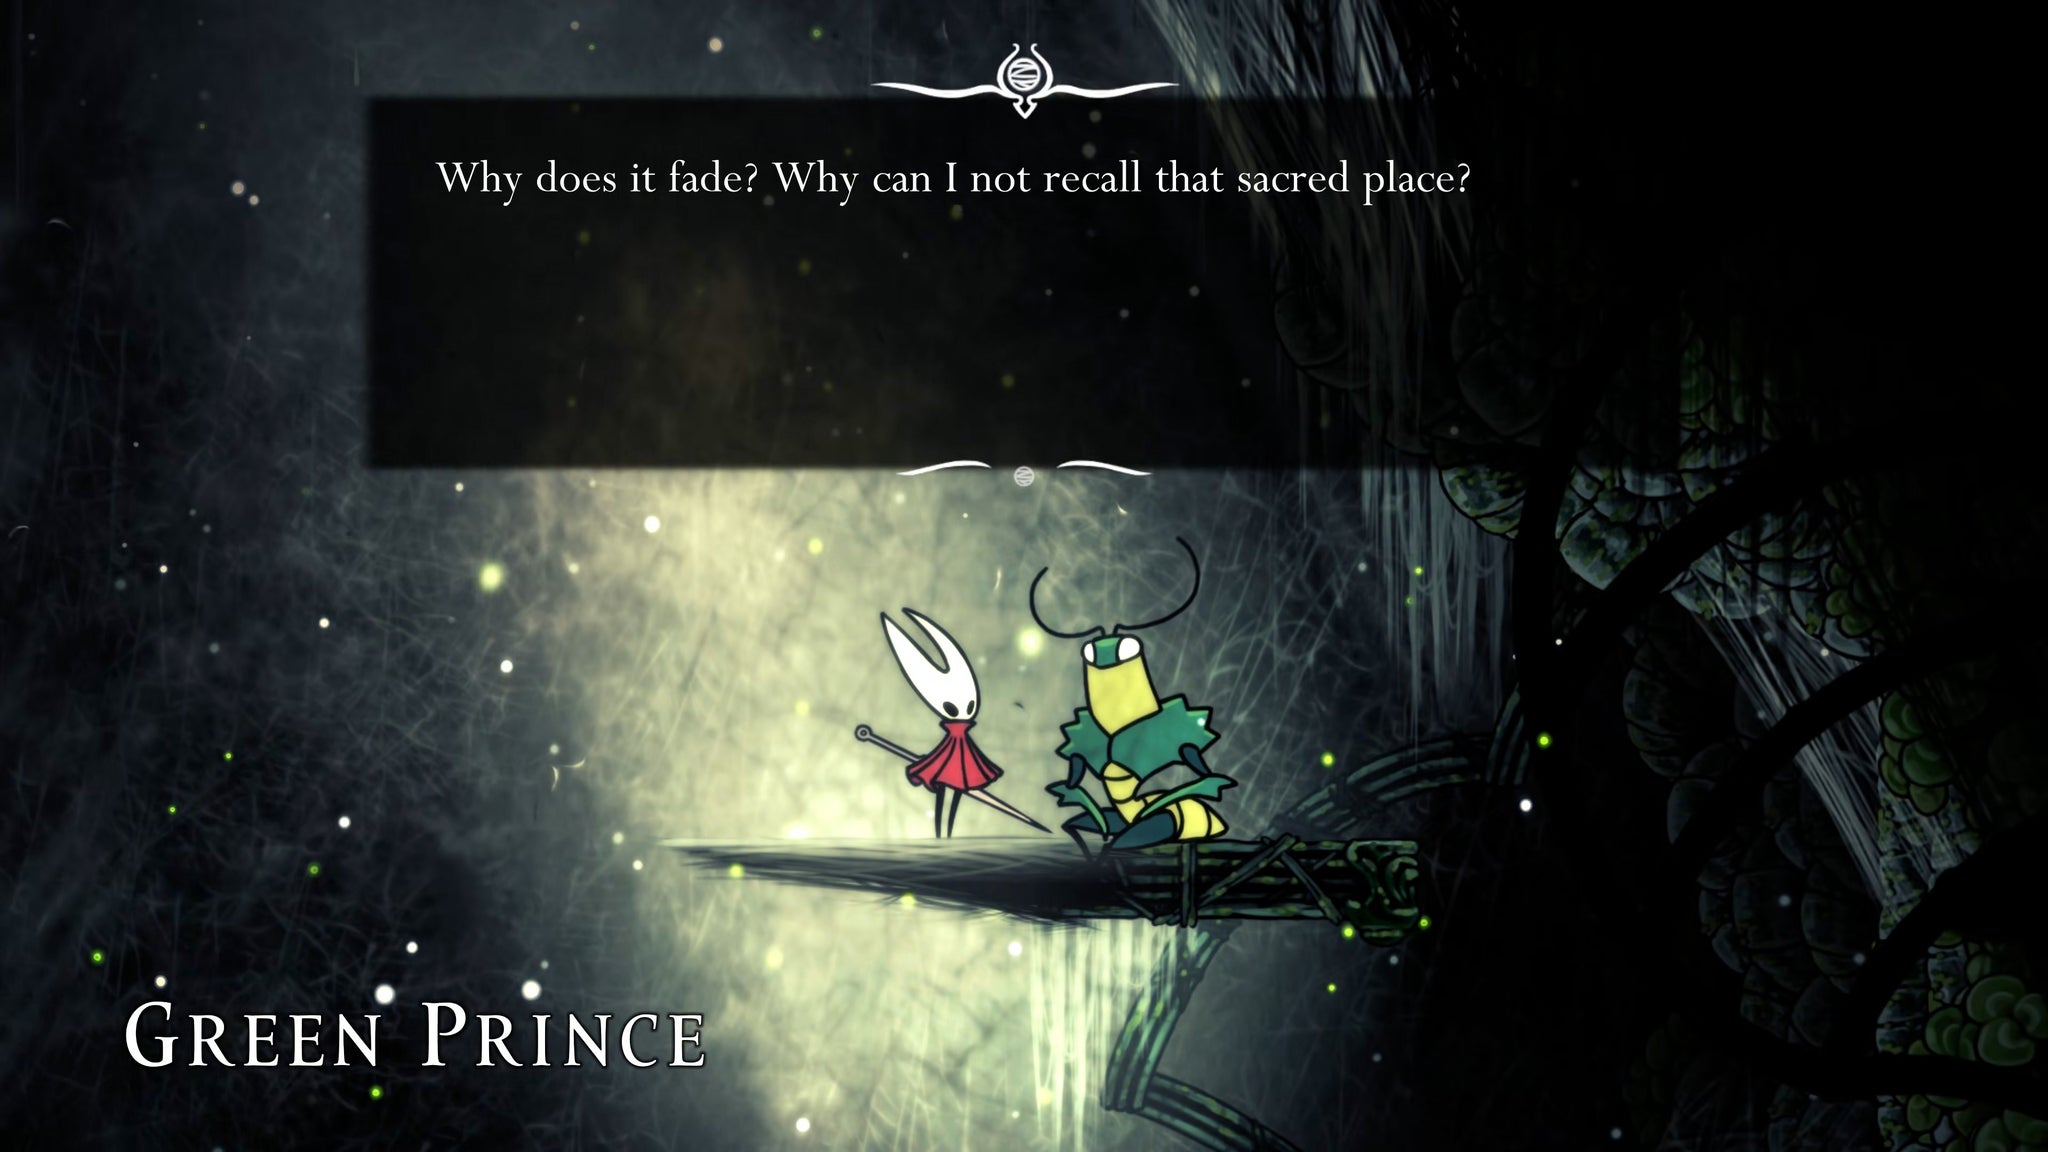
This area is the Green Prince's home, but he can't recall it yet - hence the Silk-y environment around him. Completing the essence puzzles around Verdania is what allows him to remember.
Drop back down to the left-hand doorway into a house. Inside is a small darkened corridor guarded by three flying Kindanir. Kill them, and then attack the glowing flower at the end of the corridor to generate more essence to collect. The path winds back on itself, first going low, and then going high.
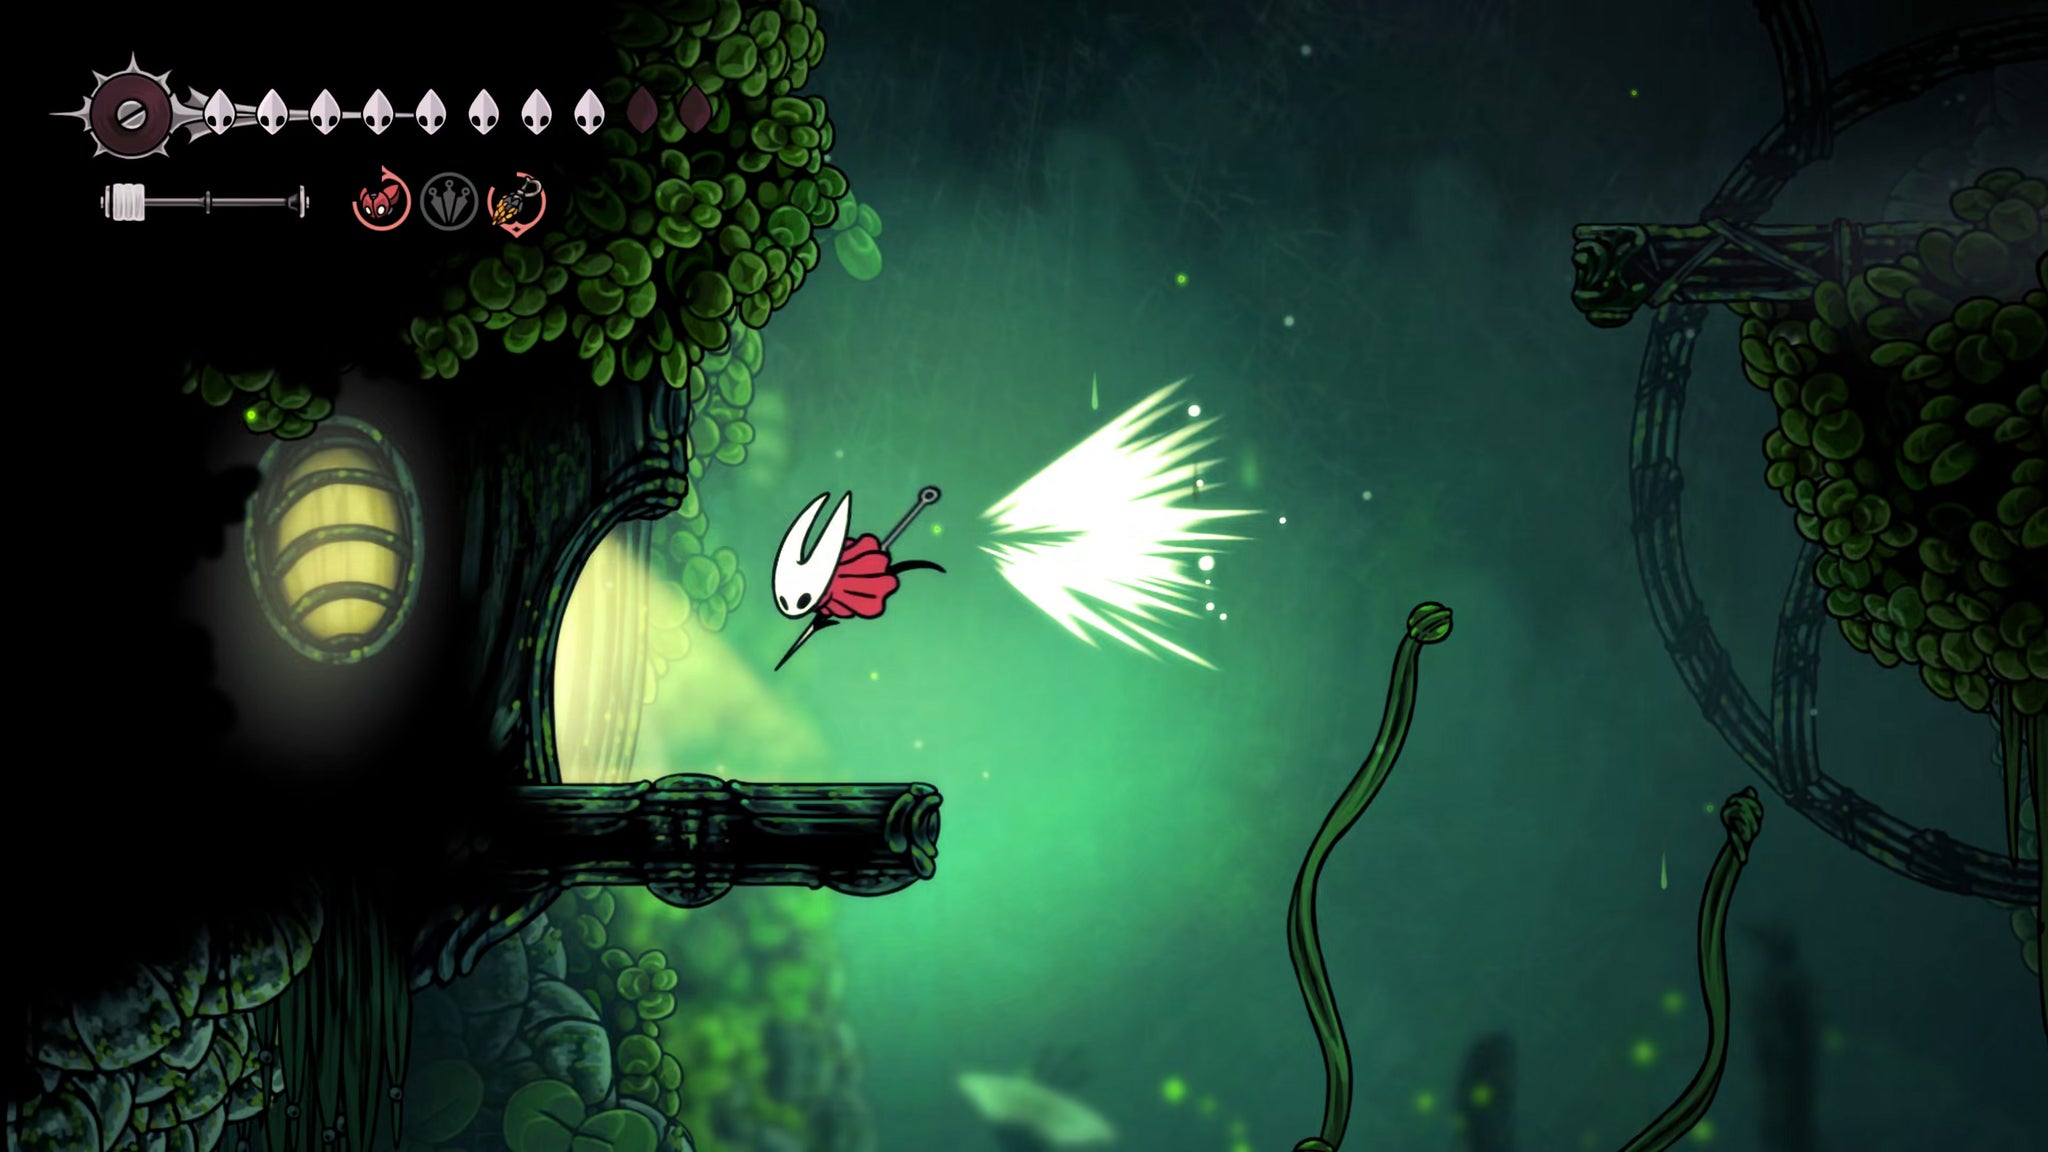

With that done, exit the home and drop back down to ground (or pond) level. Head across the lilypads to the left (one of them is another Nuphar so be wary), and you'll reach an arena gauntlet where you must square off against a number of Lost Verdania's enemies.
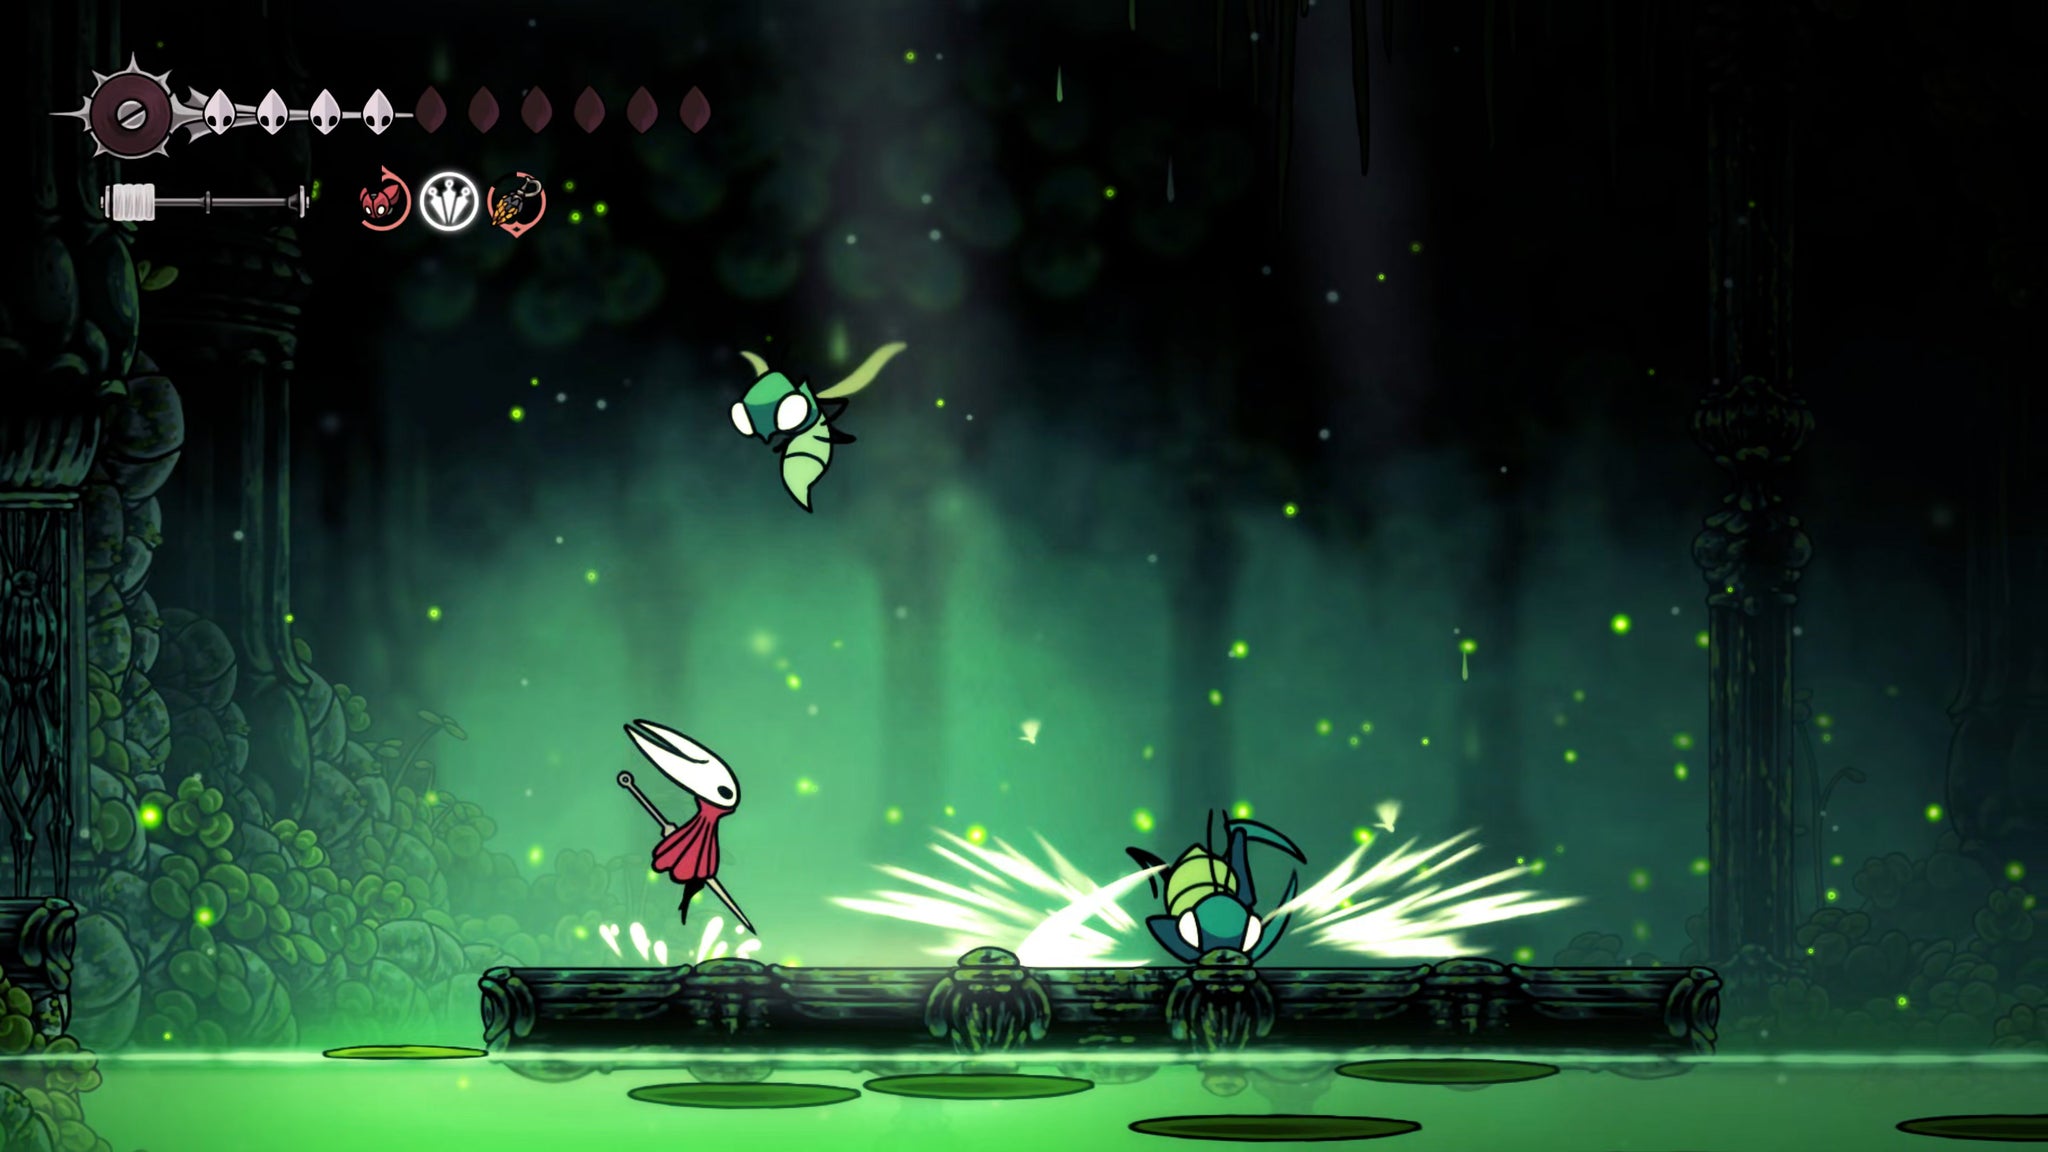
There are just three phases to this arena fight, and you've already met all these enemies, so it's quite a tame fight, all things considered. Once the battle is won, exit to the left and press down on the pressure plate to unlock the gate into another vertical shaft, which leads you to everywhere else of importance in Verdania.
6. Obtain the lower-left Statue Essence.
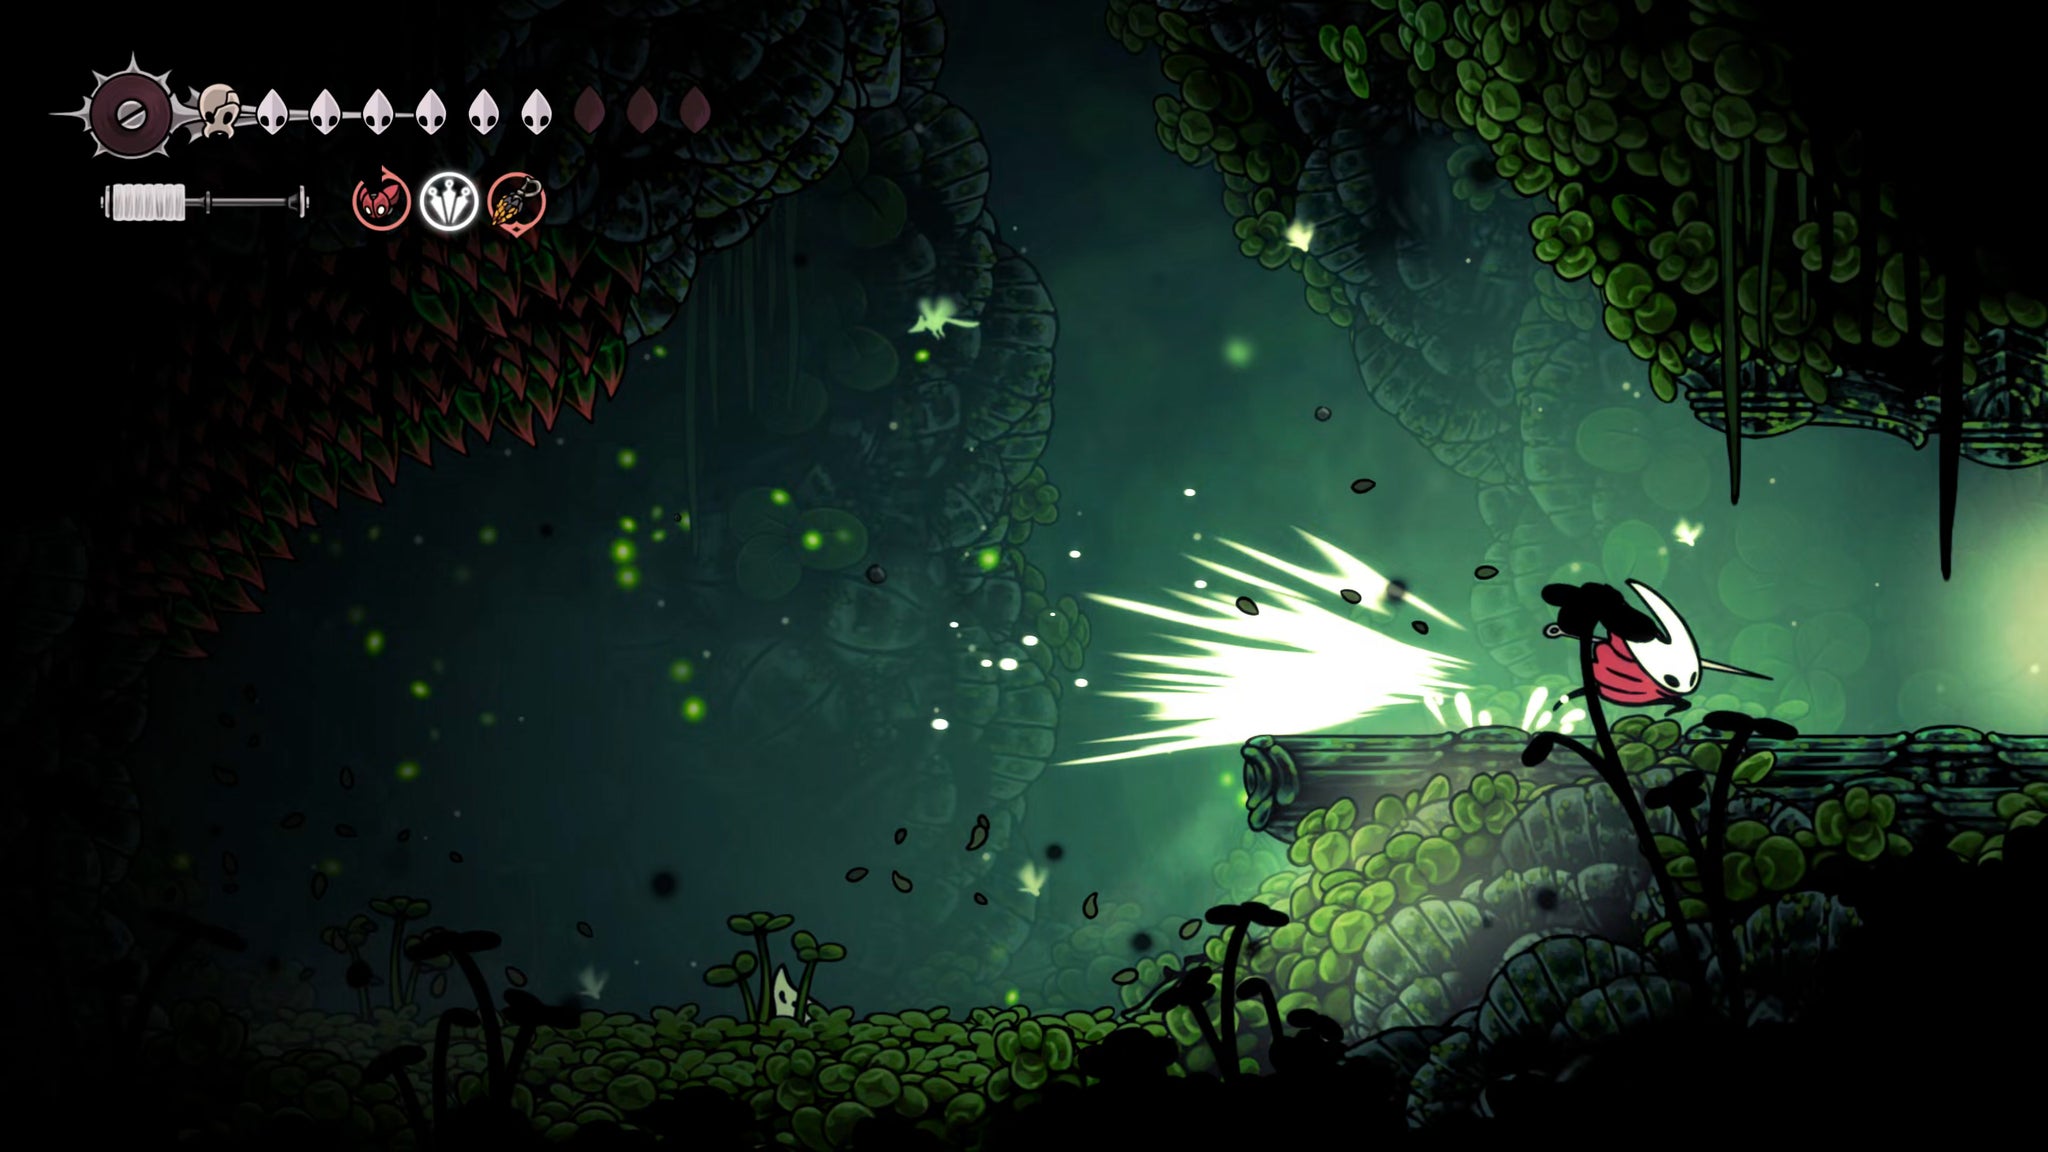

From this new shaft, first drop to the very bottom, past all the spikes, and take the right-hand exit. In front of you, at the bottom of a tunnel upwards, you'll see some bright green vines on the ground. Cut through them to unlock a shortcut up here from near the very start of Lost Verdania. There are enemies above you, but you needn't go there (unless you're inquisitive to a fault, like me).
Now head back into the shaft, and climb up to the nearest exit on your left - don't forget your Silk Soar for fast vertical travel.
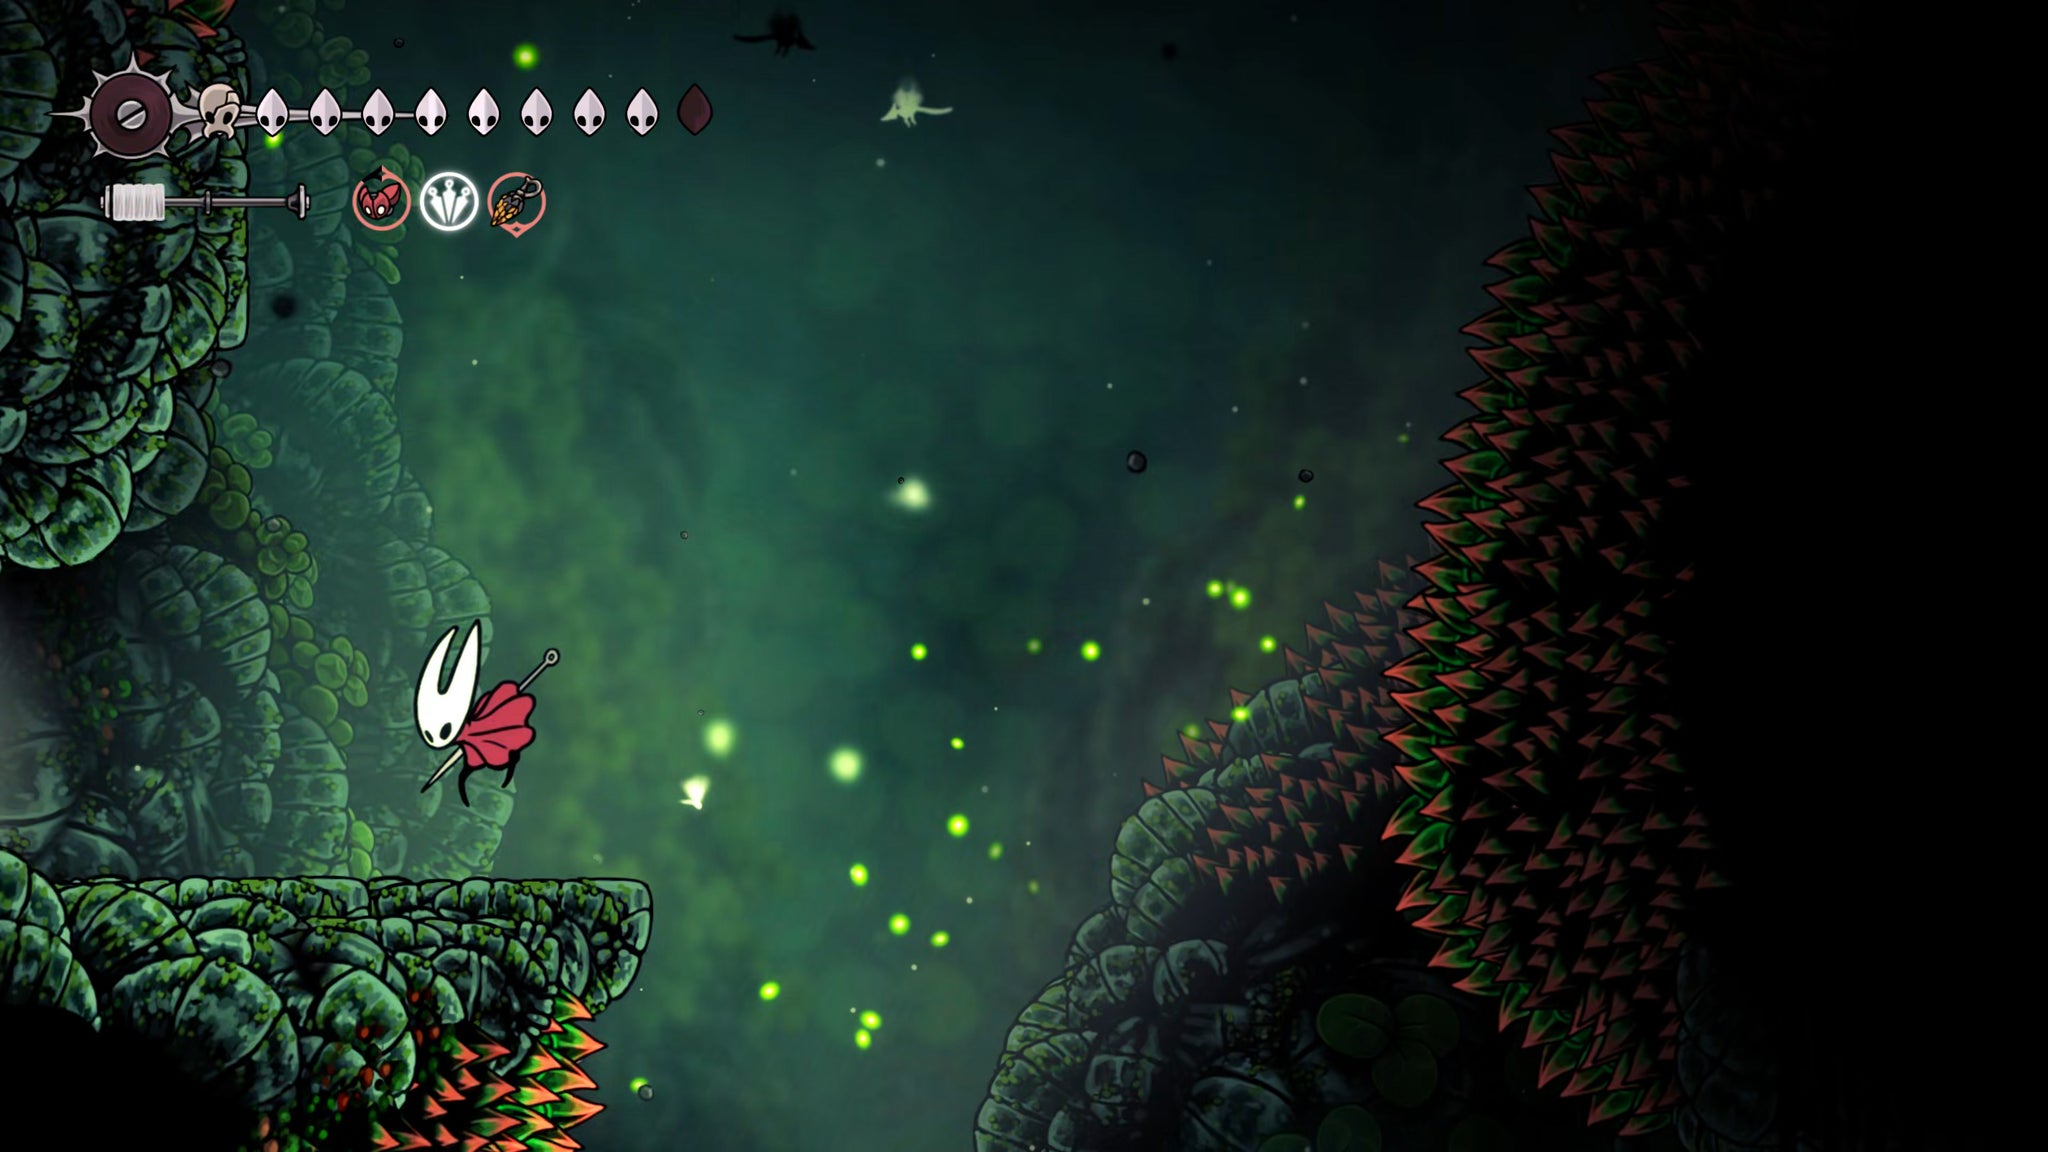

This next room is a corridor, along which you'll find two fast-moving enemies. It's best to deal with them one at a time, rather than rushing ahead and attracting both, because these enemies can't easily be outpaced - they'll just teleport to catch up with you.
Once they're dead, head to the upper ledge at the end of the room and break the statue there so you can collect its essence.
7. Collect the remaining Essences.
Head back into the shaft and climb up to the next left-hand exit. Inside are some new enemies called Cloverstags, which basically just jump around on set paths and otherwise don't react to you at all.
Head over to the left-hand side of the room, staying at ground level, and then walk through the grassy wall at the end to reach a hidden section of the room. Use the plant orbs to another statue, and collect its essence. Then return to the main part of the room.
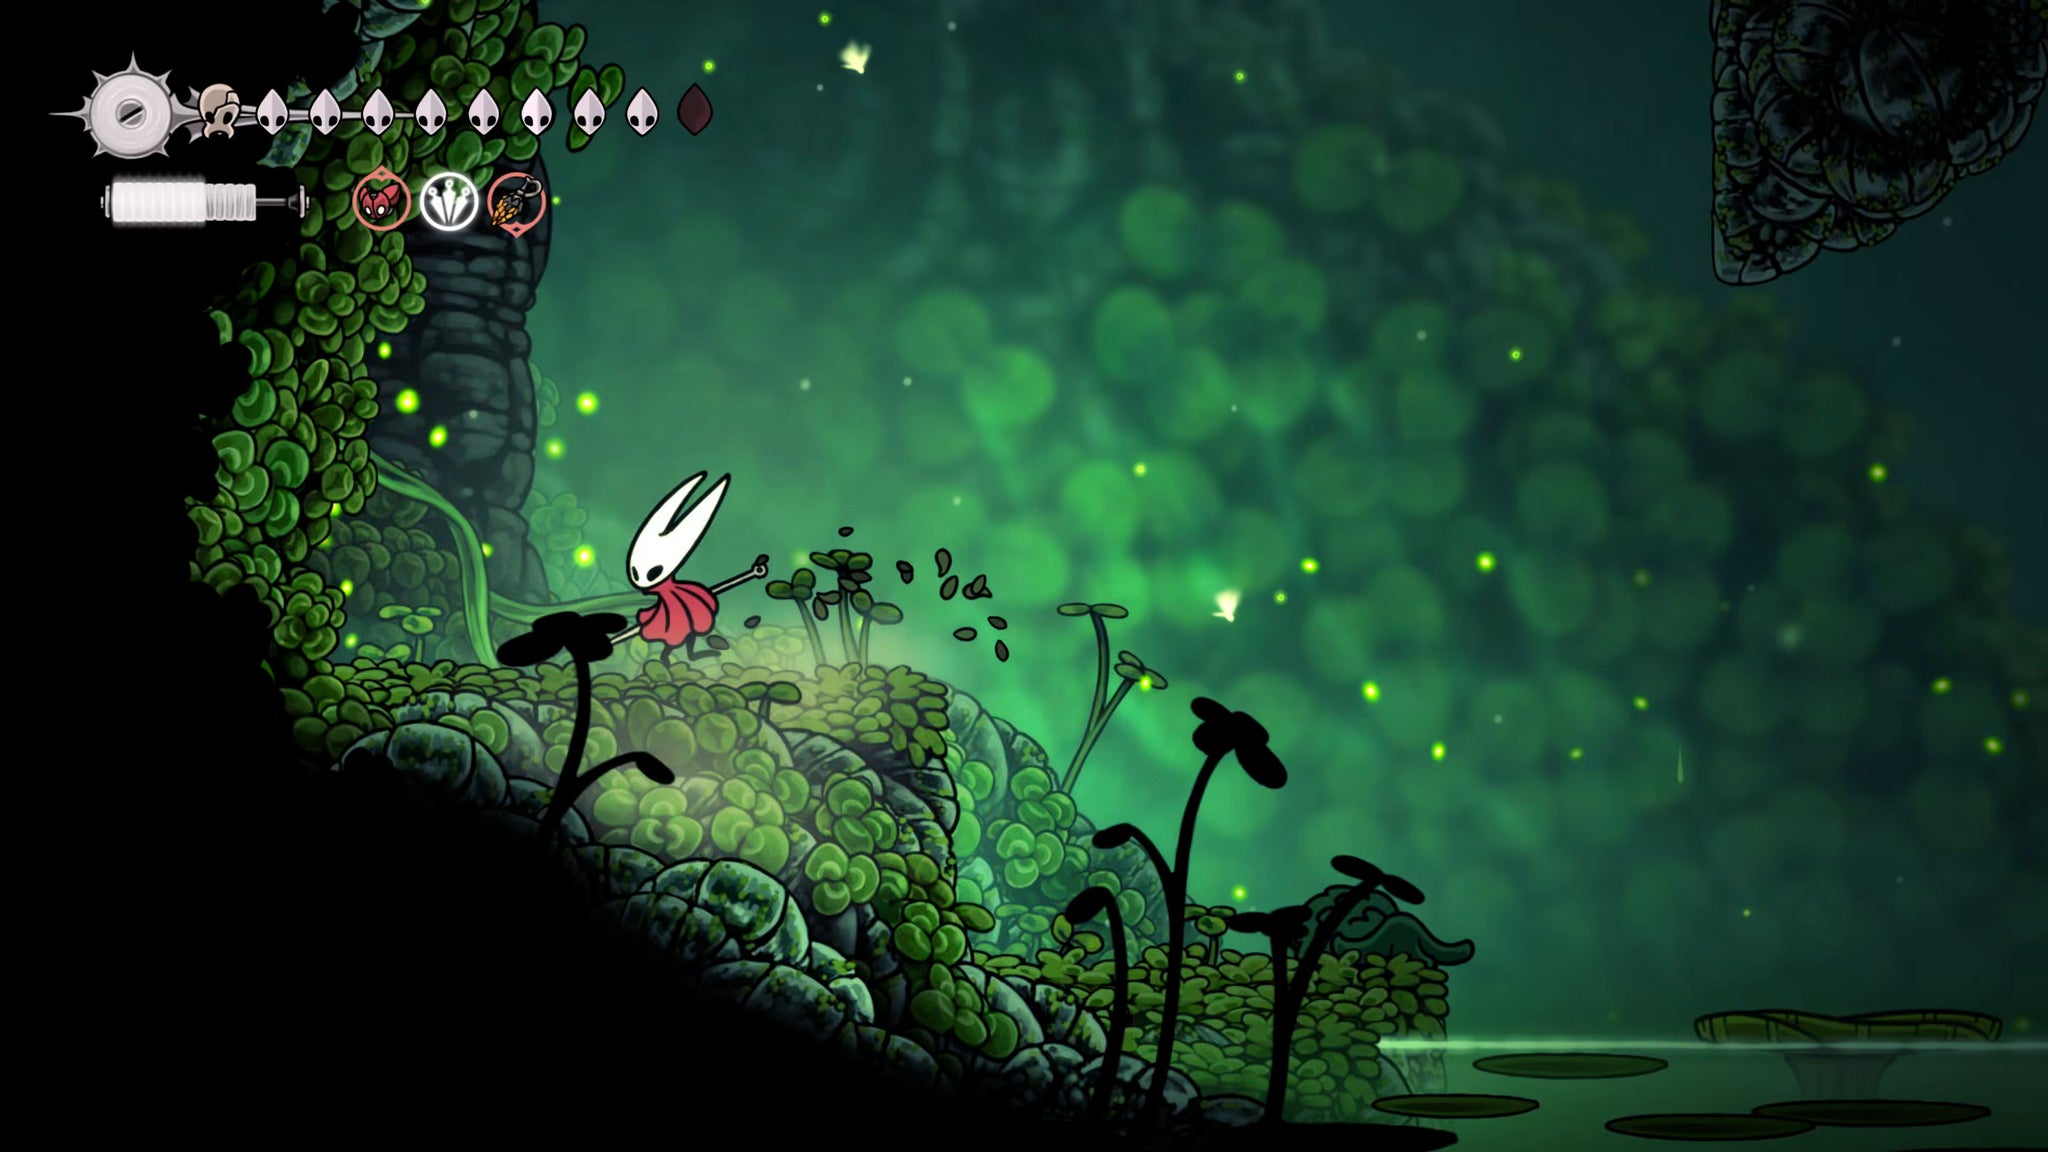

Now use the ledges in the centre of the room to climb up to the very top-left, where you'll find a ceiling exit upwards. You'll need to use Silk Soar to reach the topmost ledge below this exit.
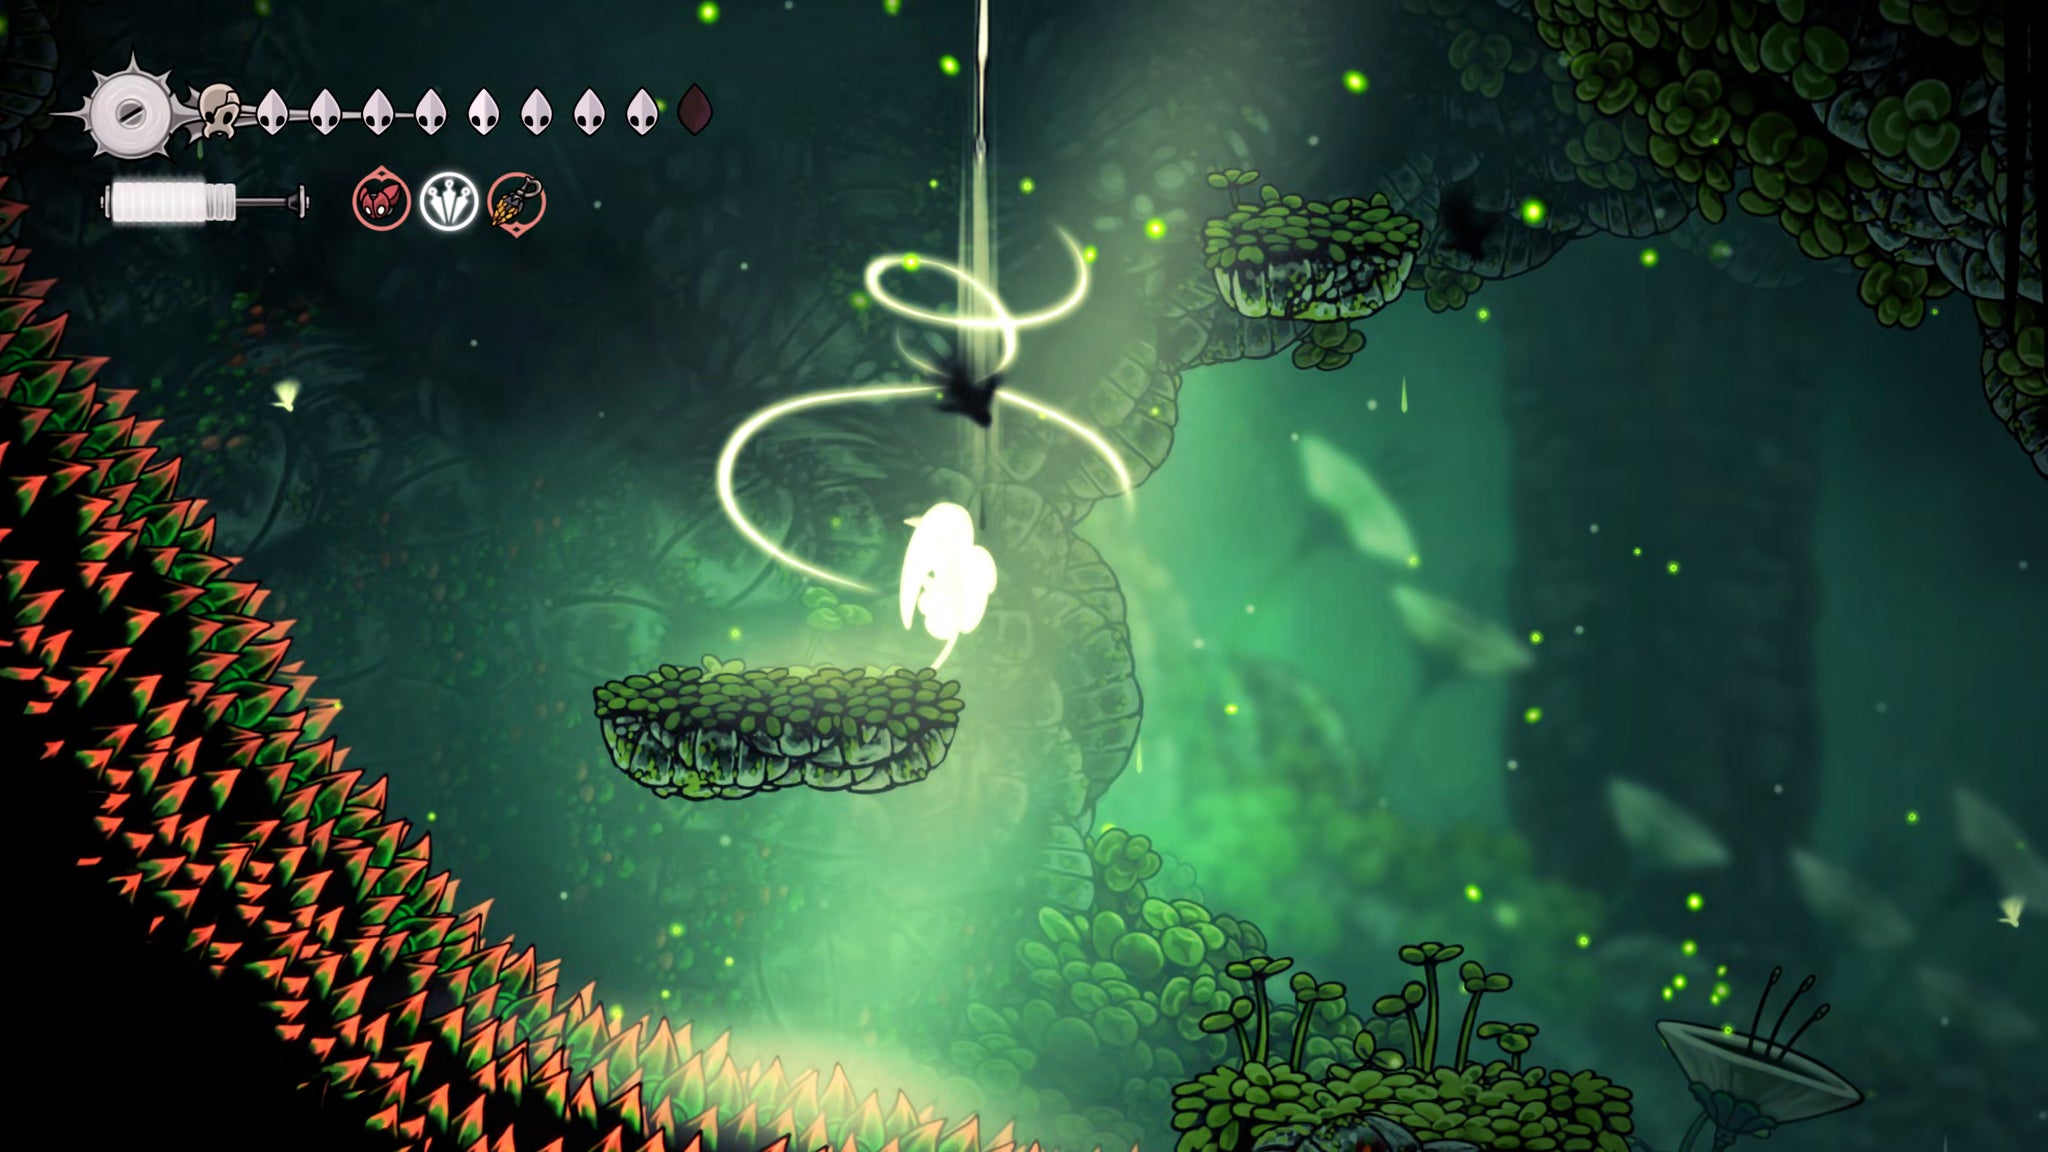

In the new room, use the wall to your left to climb up to the platform above you, and attack the glowing plant here. This will generate yet another path of essence to collect. Once you've done that, you can speak with Green Prince on the ledge to your right, if you wish.
8. Defeat the Palestag.
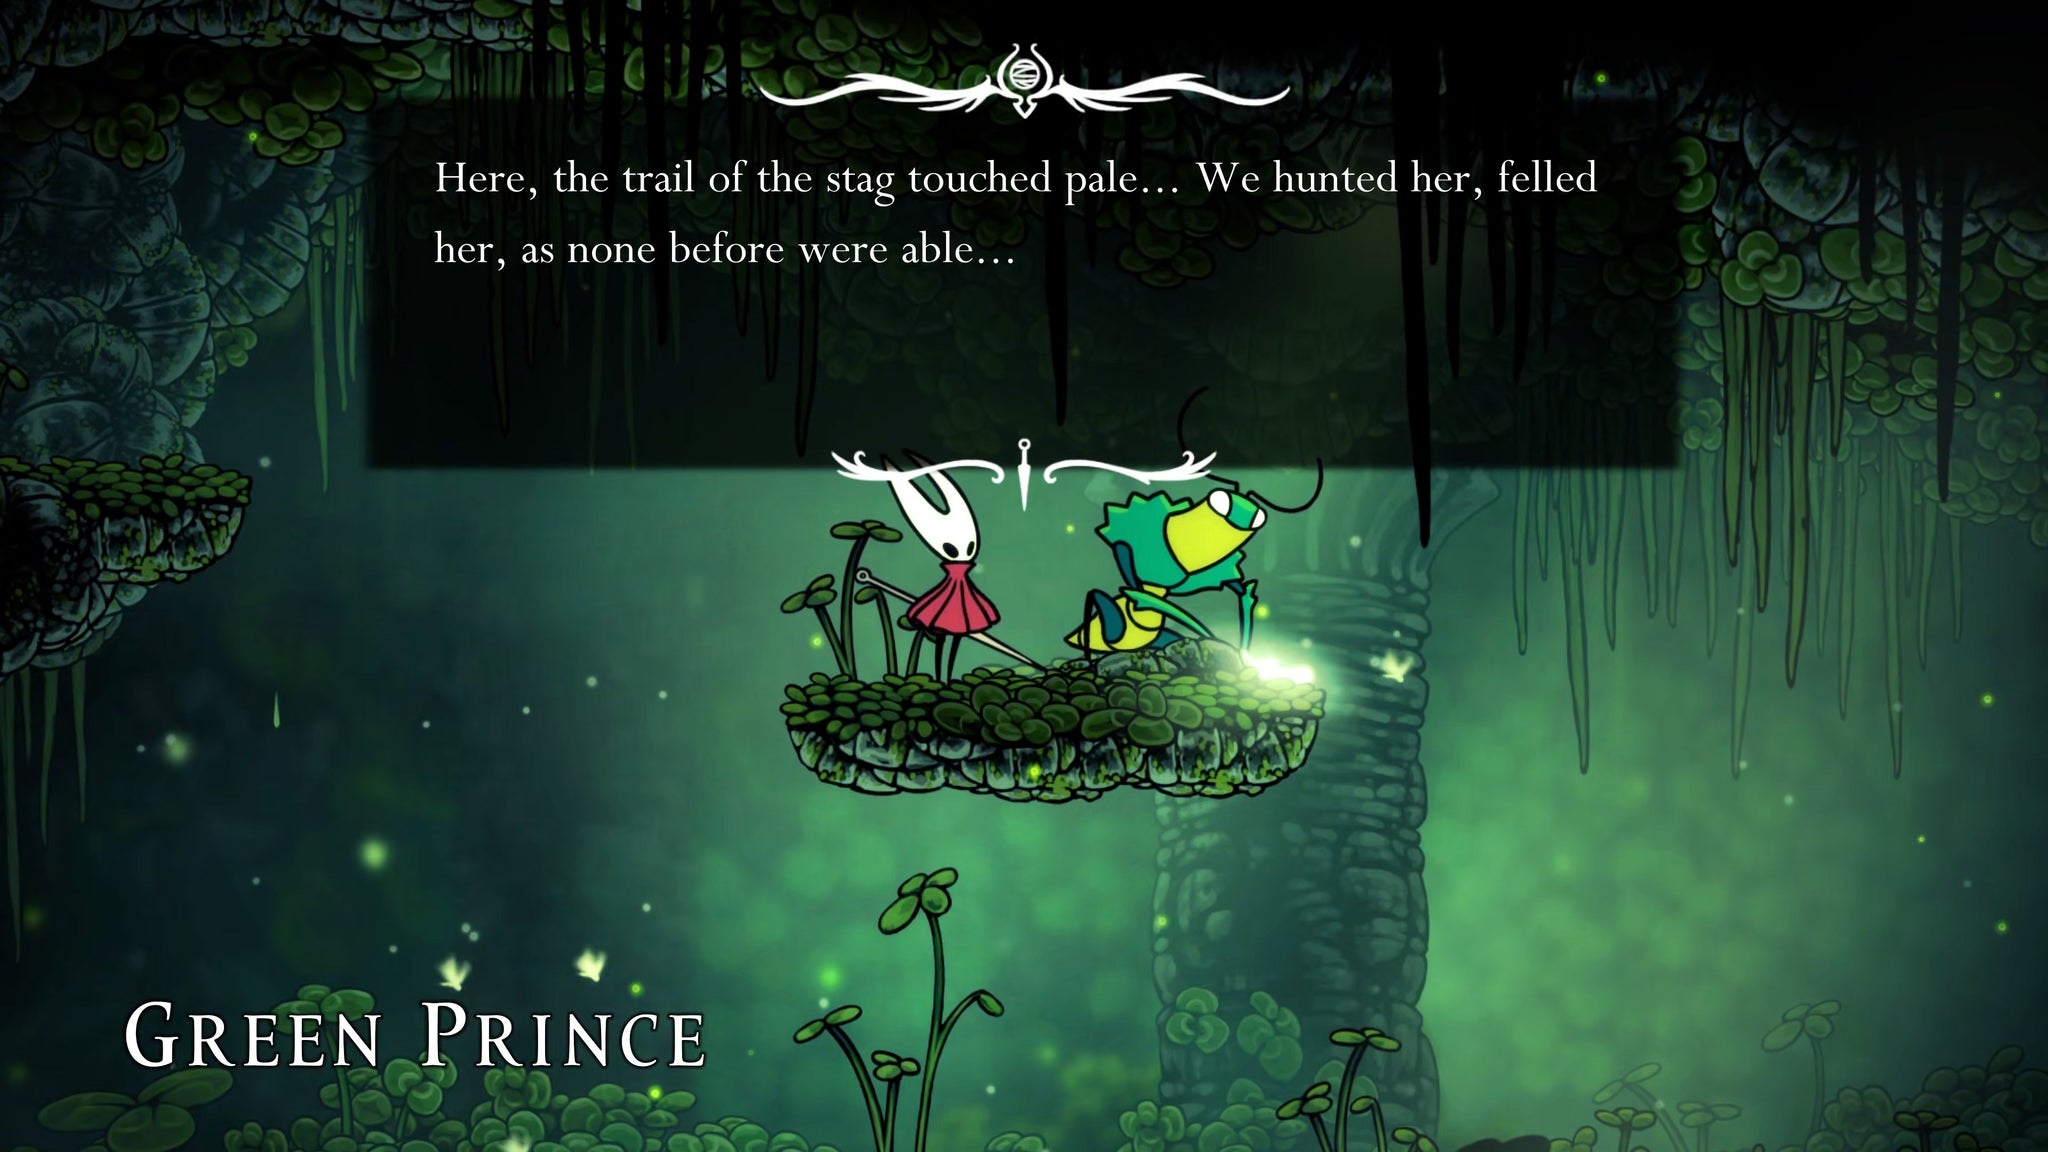
As the Green Prince implies, you're currently on the trail of a creature known as the Palestag - that's what those glowing marks on the ground are about. Continue on to the right of this corridor, and once you're past the pond section you'll catch a glimpse of the majestic glowing creature before it vanishes at your approach.
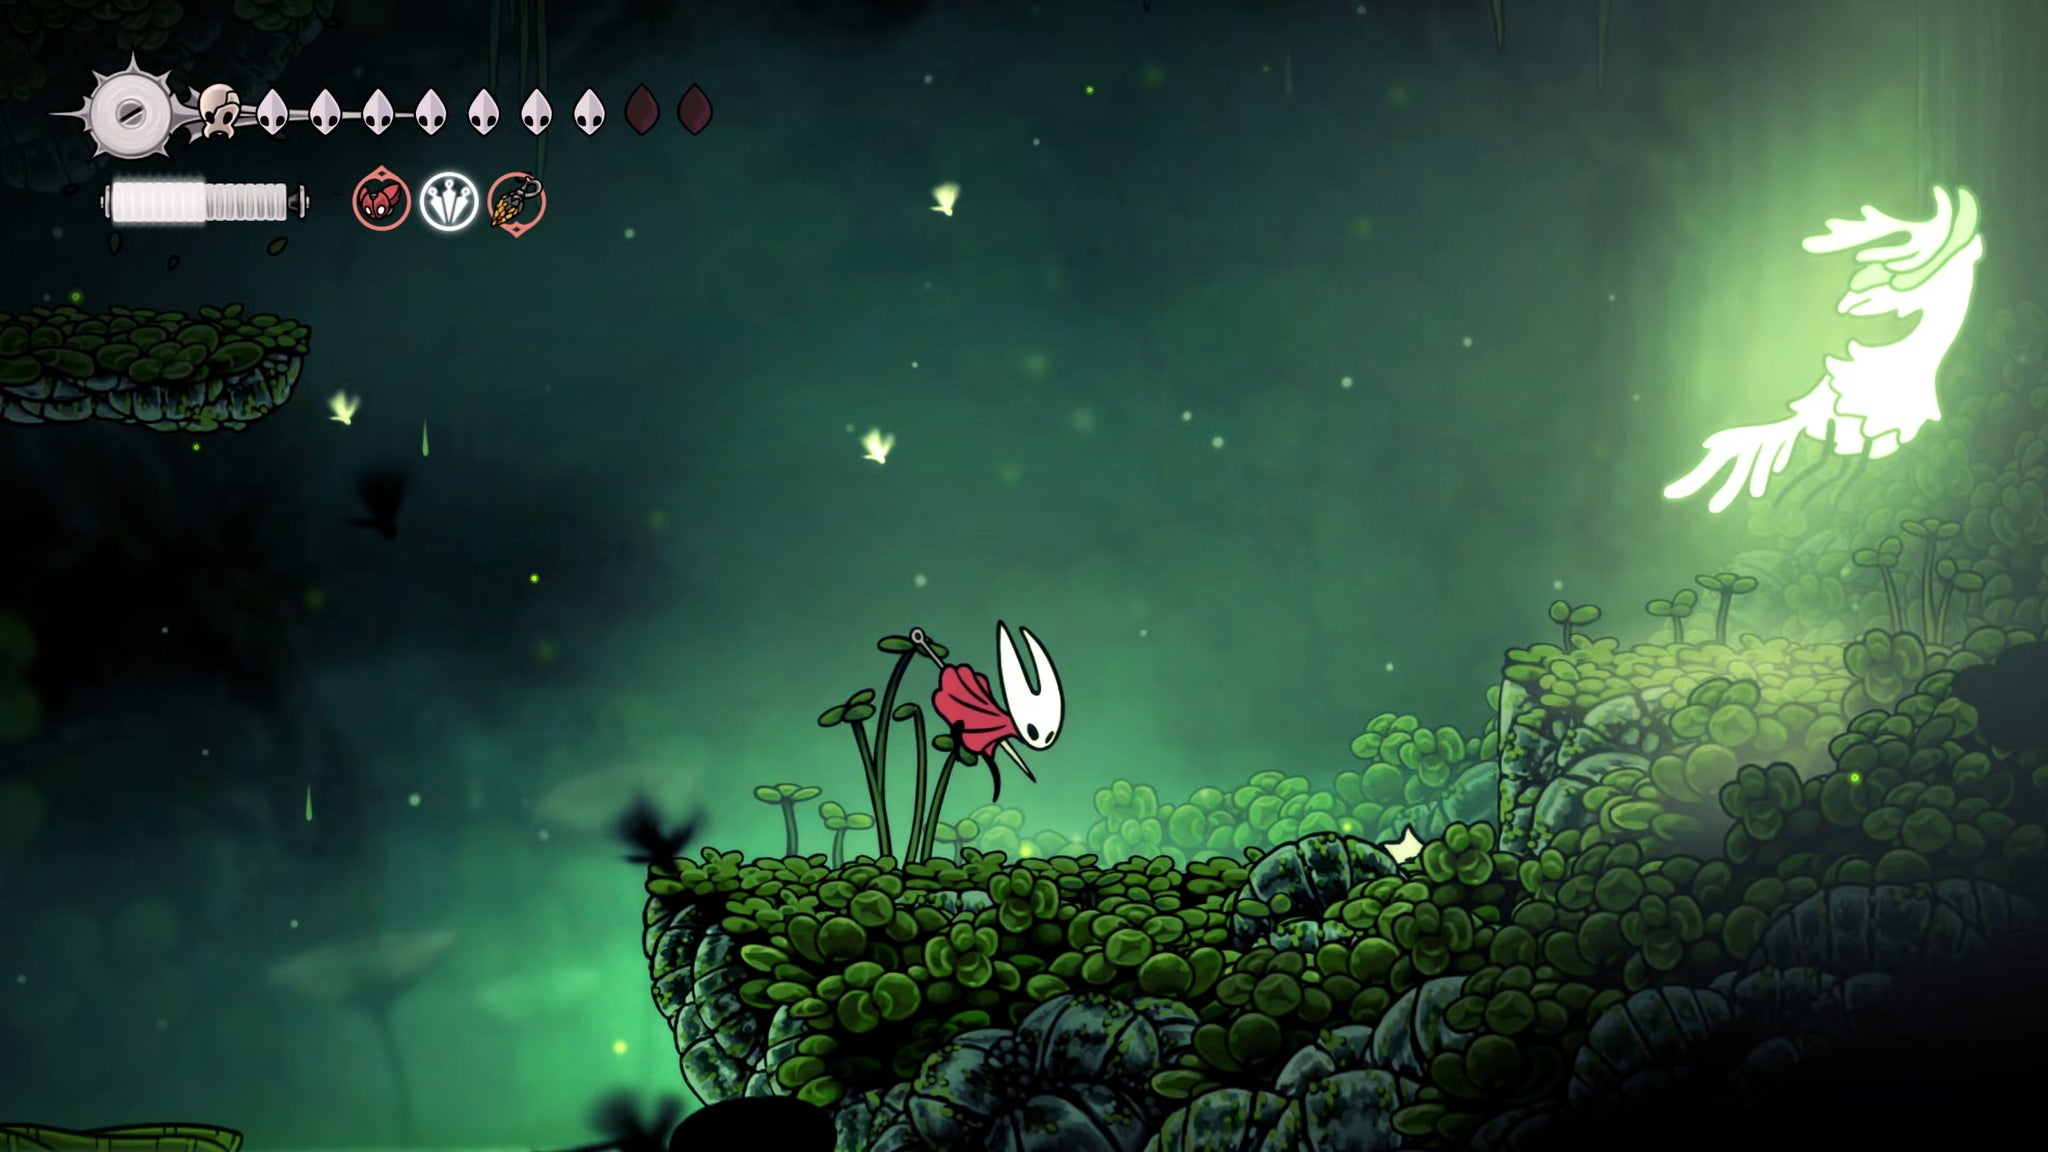
Continue along the path, and it will soon drop downward into the room below. From here, you can head left directly into the arena where you'll fight the Palestag.
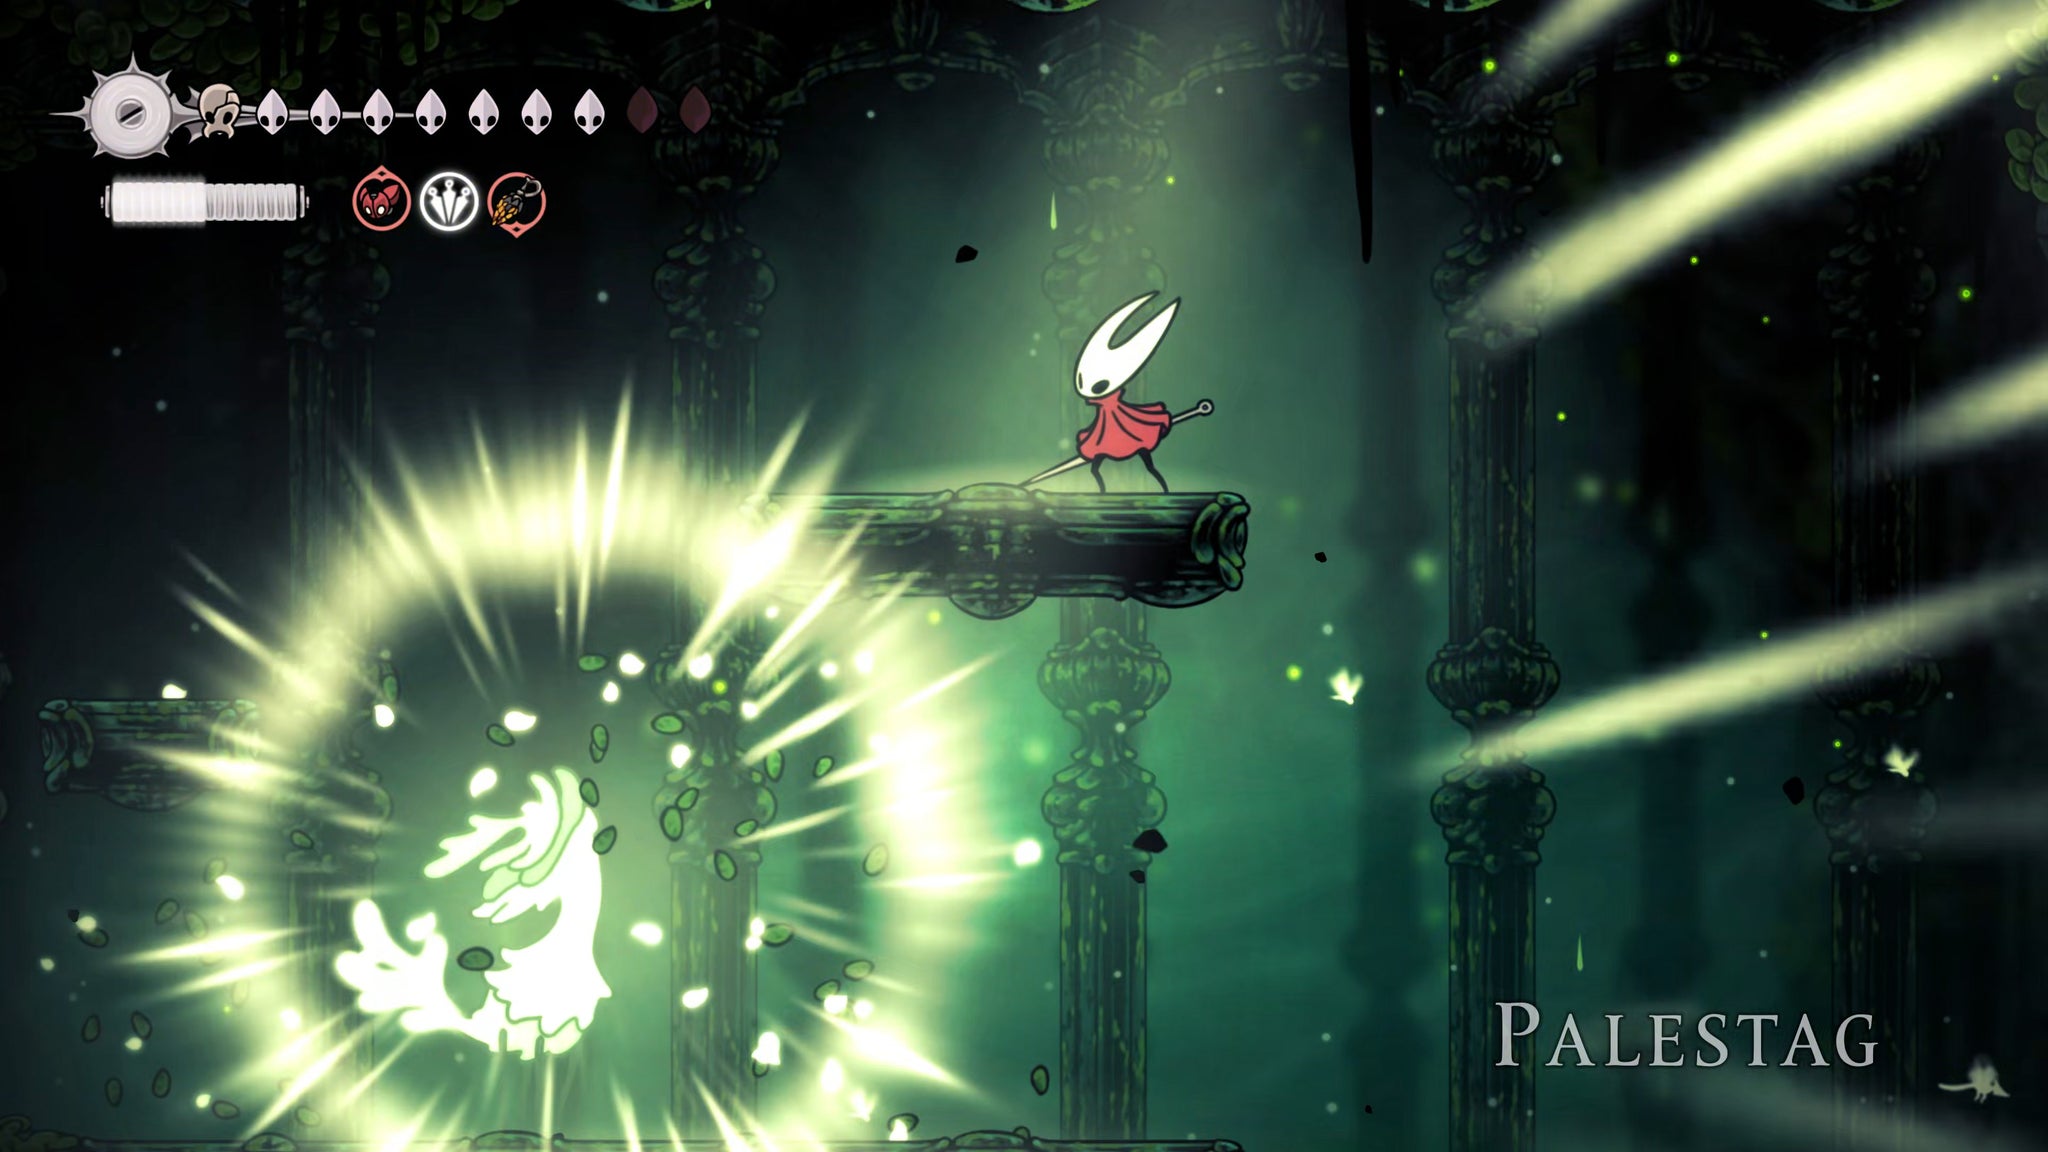
Defeating the Palestag is the final step of unlocking the Green Prince's home, so it must be done - sad though it is to end such a beautiful creature. It isn't half annoying though, as it attacks only by conjuring endless spinning projectiles of light at random heights to assault you. It also teleports away as you get close, so if you're reliant on melee attacks you'll only manage a single hit or two at most before you have to chase it to the other side of the arena again.
This is an extremely simple fight, really. There's only the one phase, although the Palestag will ramp up its rate of attacks as its health depletes. It can get mighty difficult to avoid every projectile in this arena, and you can't hide behind the ledges because the projectiles will go right through them.
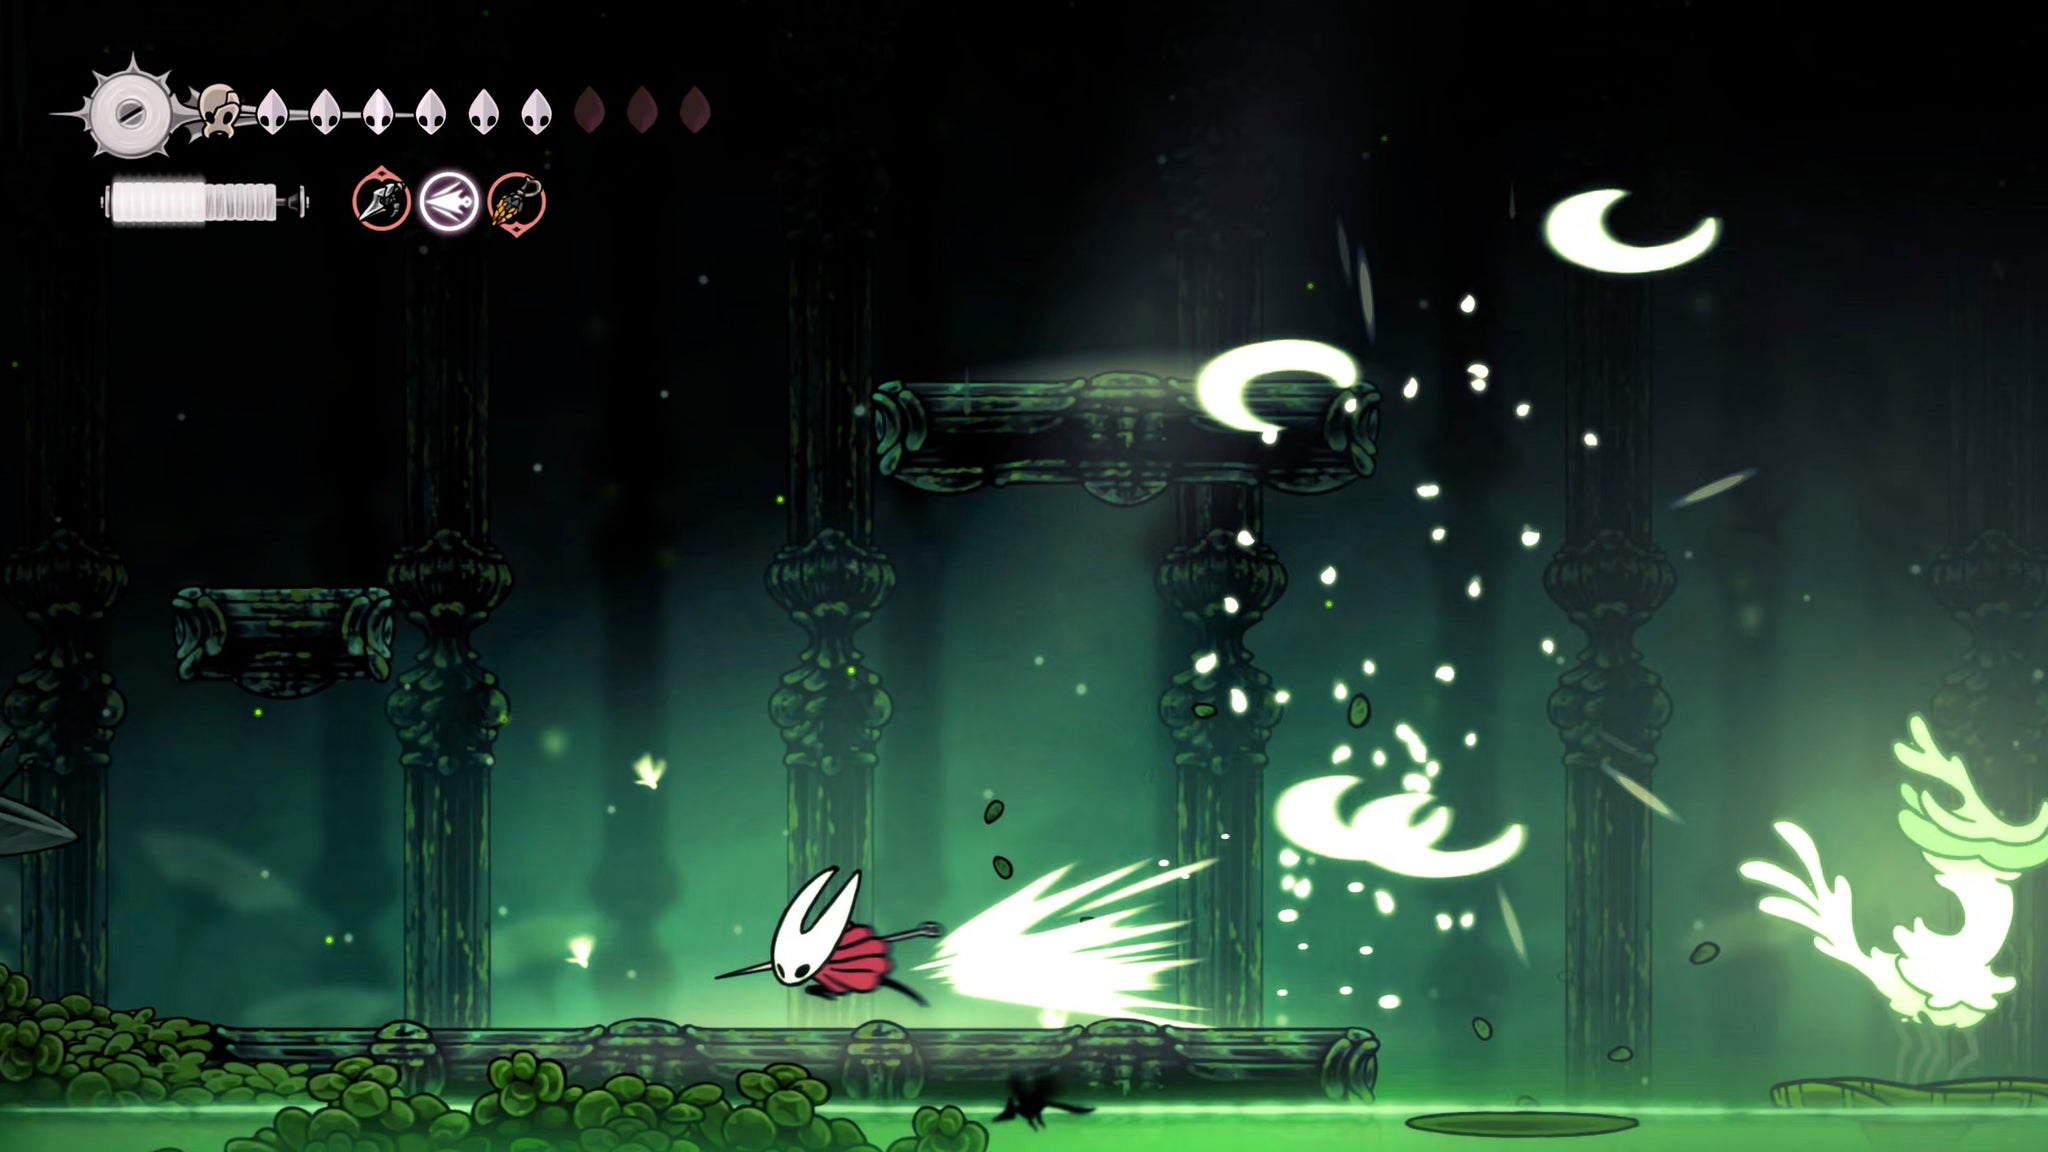
The best strategy against the Palestag is to equip yourself with powerful ranged attacks and burst it down quickly. I used my old reliable Silkspear imbued with electricity from the Volt Filament tool; and I also used my long-ranged Silkshot attack tool. With ranged weapons like these, you'll quickly realise that the Palestag doesn't have that much health to speak of.
Once it dies, it will leave behind a trail of essence to collect - the last of Verdania's remaining essence, thankfully. Collect it all, and then exit via the left-hand path and drop down from the top of the vertical shaft to reach familiar territory once more.
9. Enter the Green Prince's home.
Descend the shaft until you reach the right-hand exit halfway up, and then head east until you're at the base of the Green Prince's home once more. Climb up to the top and you'll find the Green Prince has disappeared, and so too has the Silk background. Instead there's a gleaming tree home to enter.
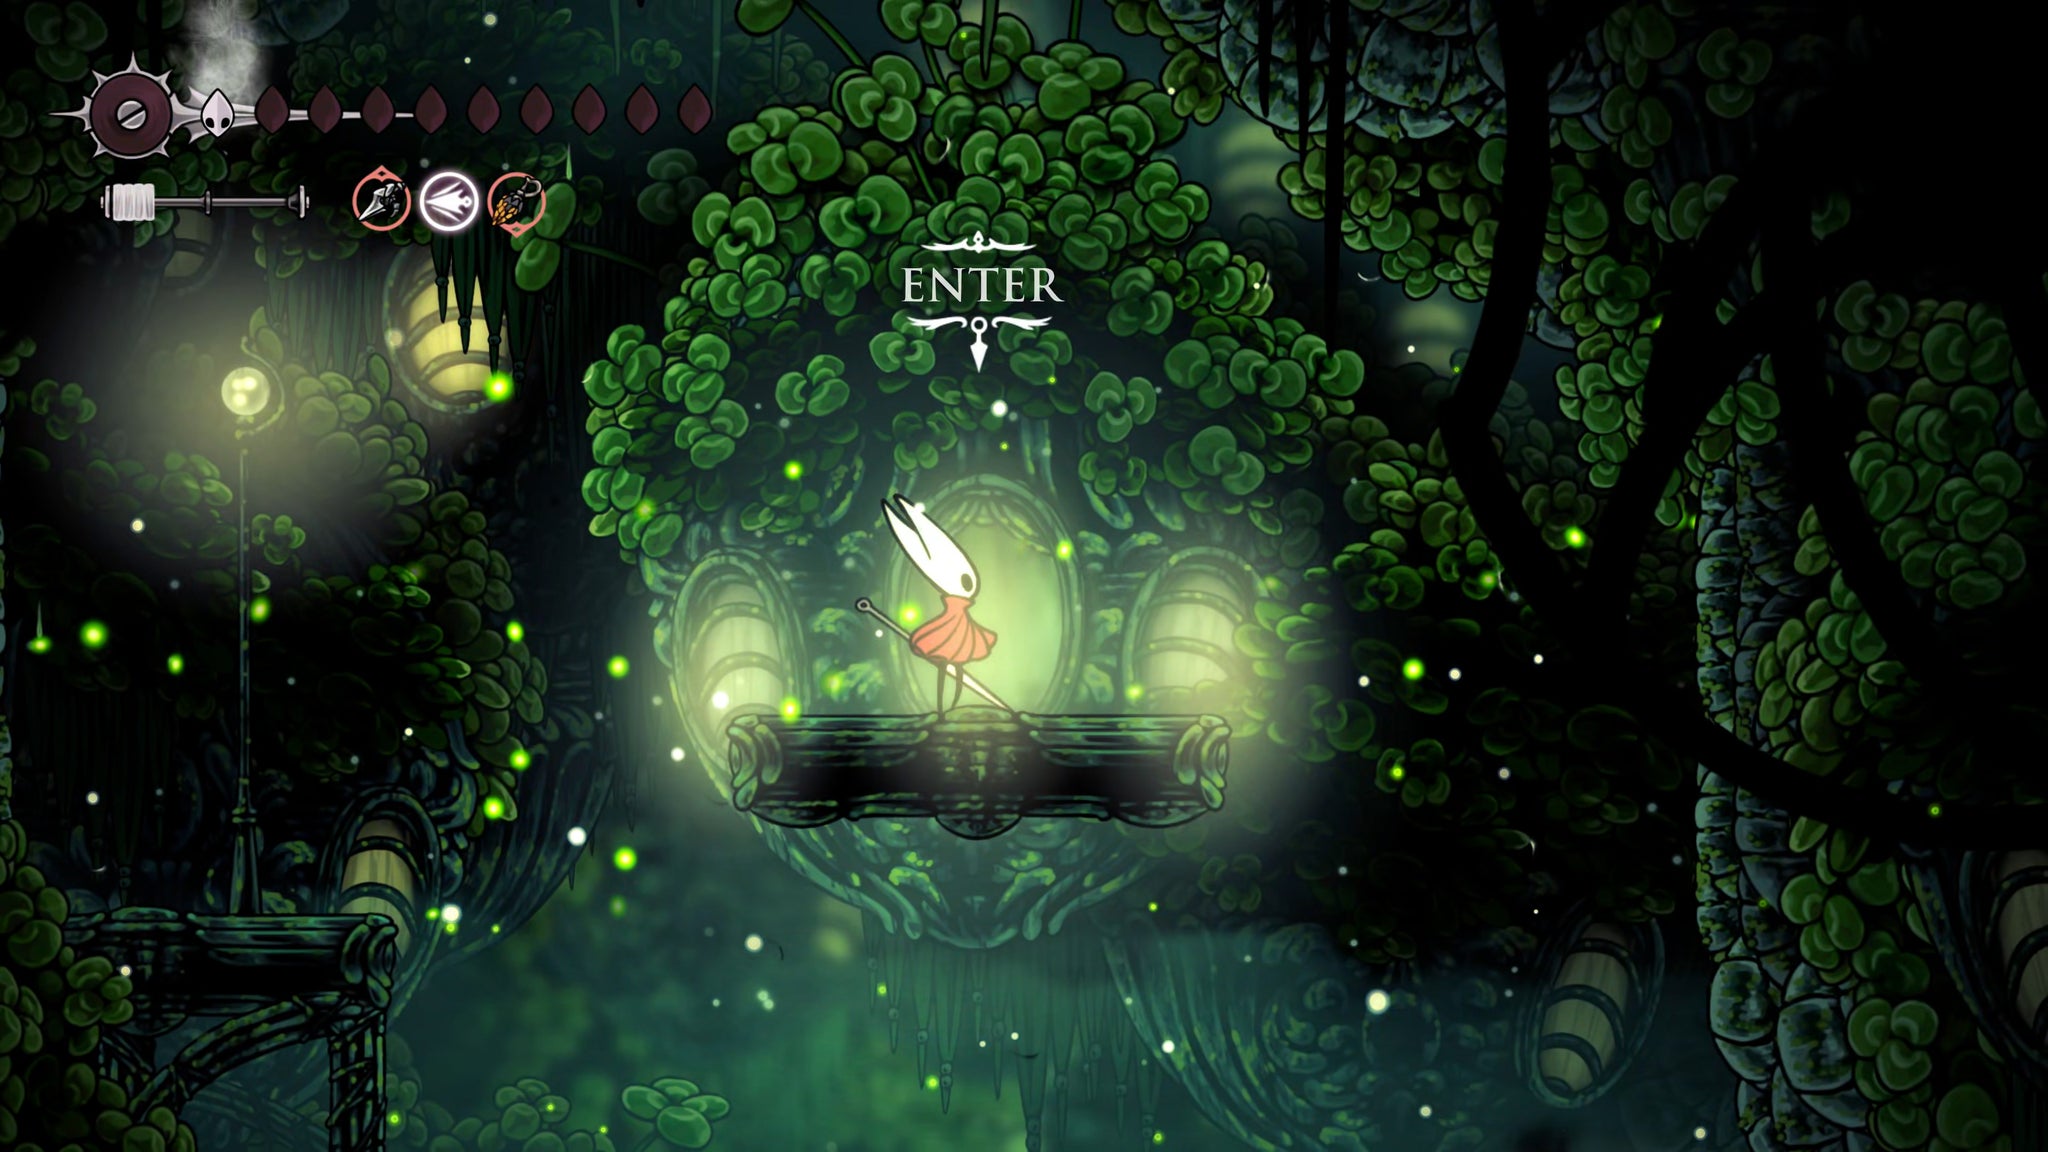
Once you're inside, head right until you reach a narrow shaft, then climb up it and head left. The other areas aren't worth exploring, but you can anyway if you want to.
Waiting for you at the top of his home is the Green Prince himself. He becomes angered at your "intrusion" into his thoughts, memories, and grief - and can you blame him, really? Thus begins the final test of Verdania - your fight against the Clover Dancers.
10. Defeat the Clover Dancers for the Conjoined Heart.
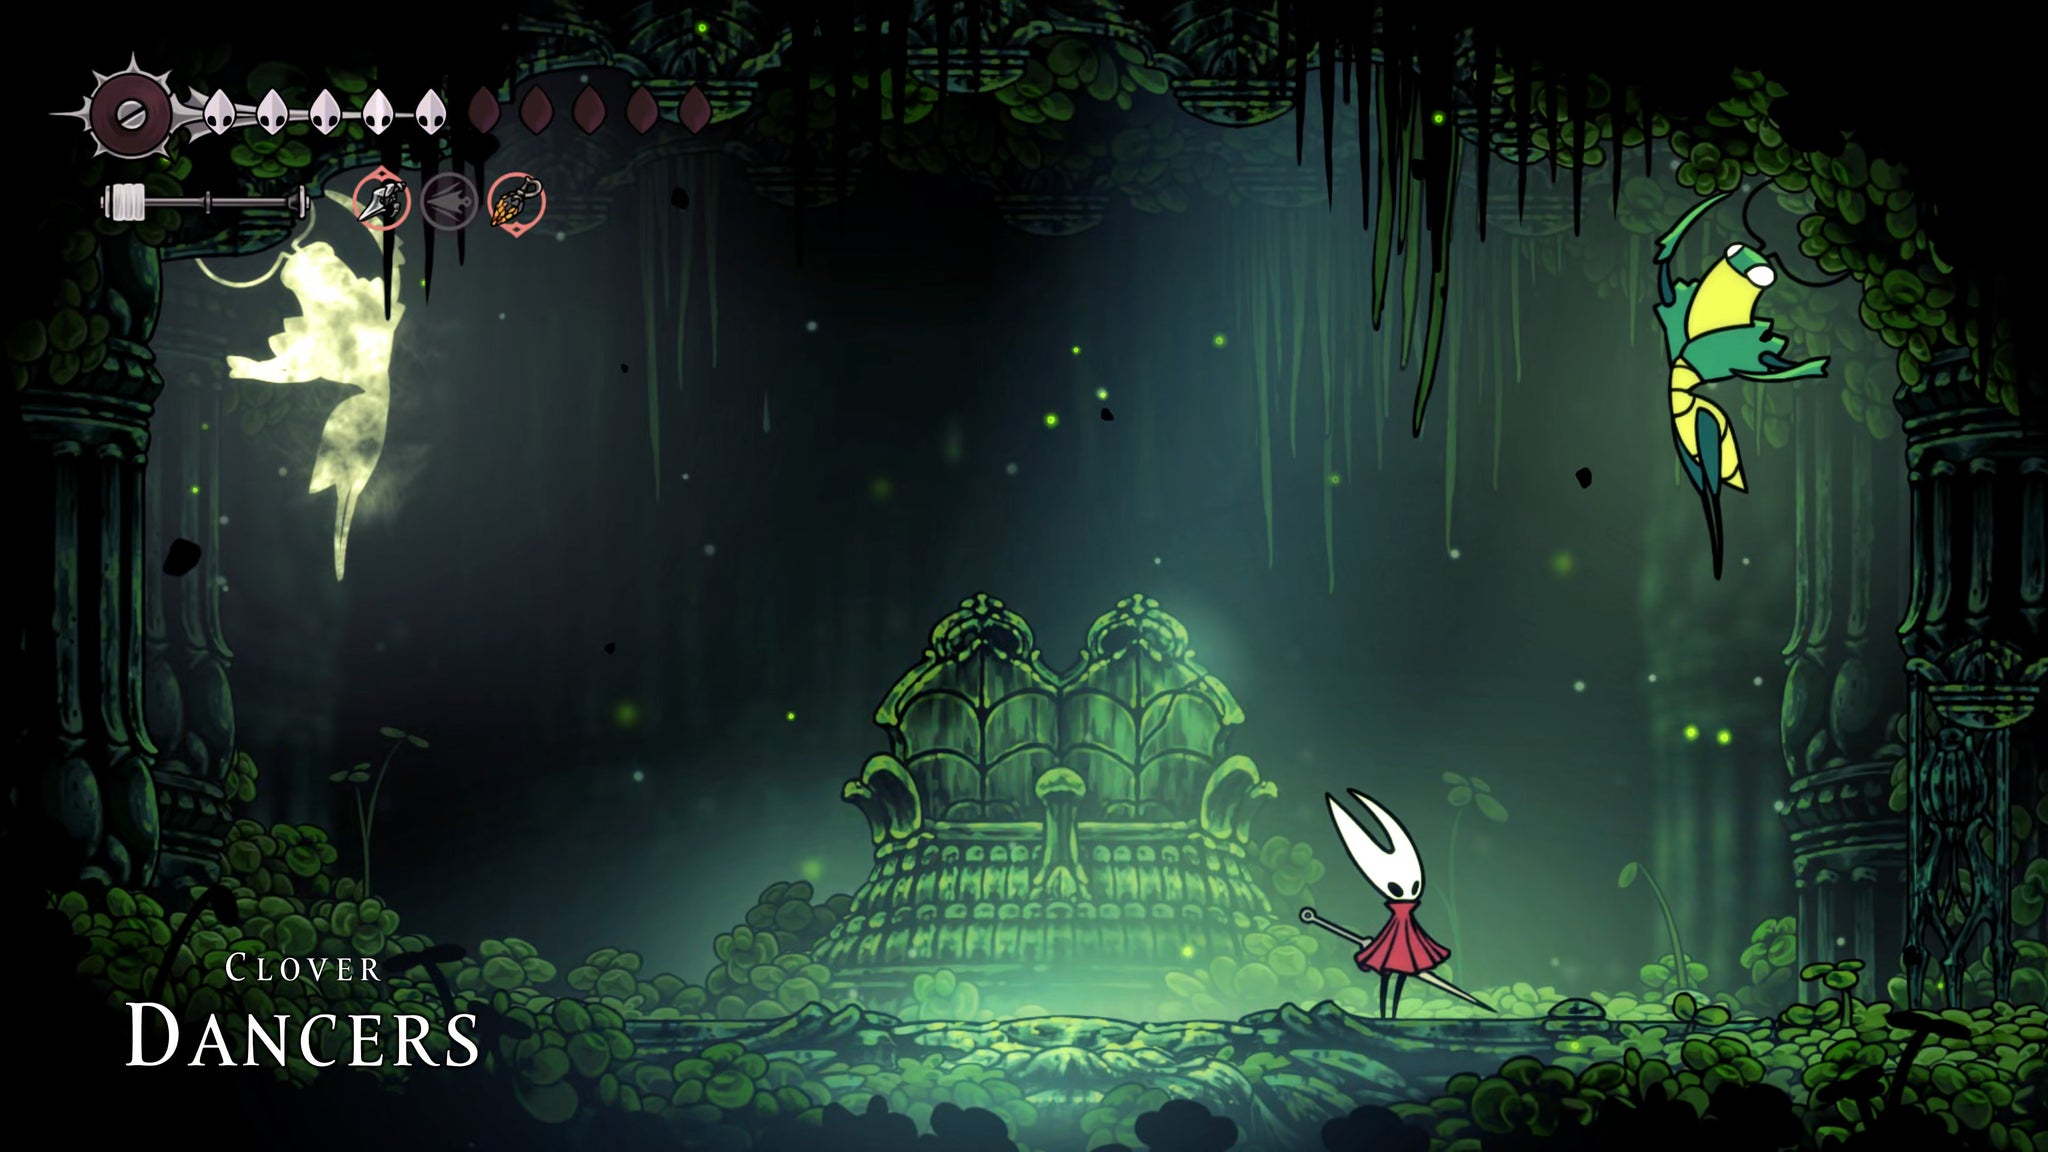
The Clover Dancers are modelled very closely to the Cogwork Dancers fight - or in fact, vice versa. So this fight should be very familiar to you.
The downside is that there are two key differences which make the Clover Dancers fight a fair bit harder. First: one of the Dancers is incorporeal. Only the Green Prince can be harmed, so you just have to evade the other Dancer.
Secondly, when the Dancers come together in the centre of the arena, they will generate a spinning vortex which can move either clockwise or counterclockwise. You can't dodge through the vortex to avoid it, so you have to run along with its rotational movement, using clawline if need be to quickly get over the Dancers to the other side of the arena.
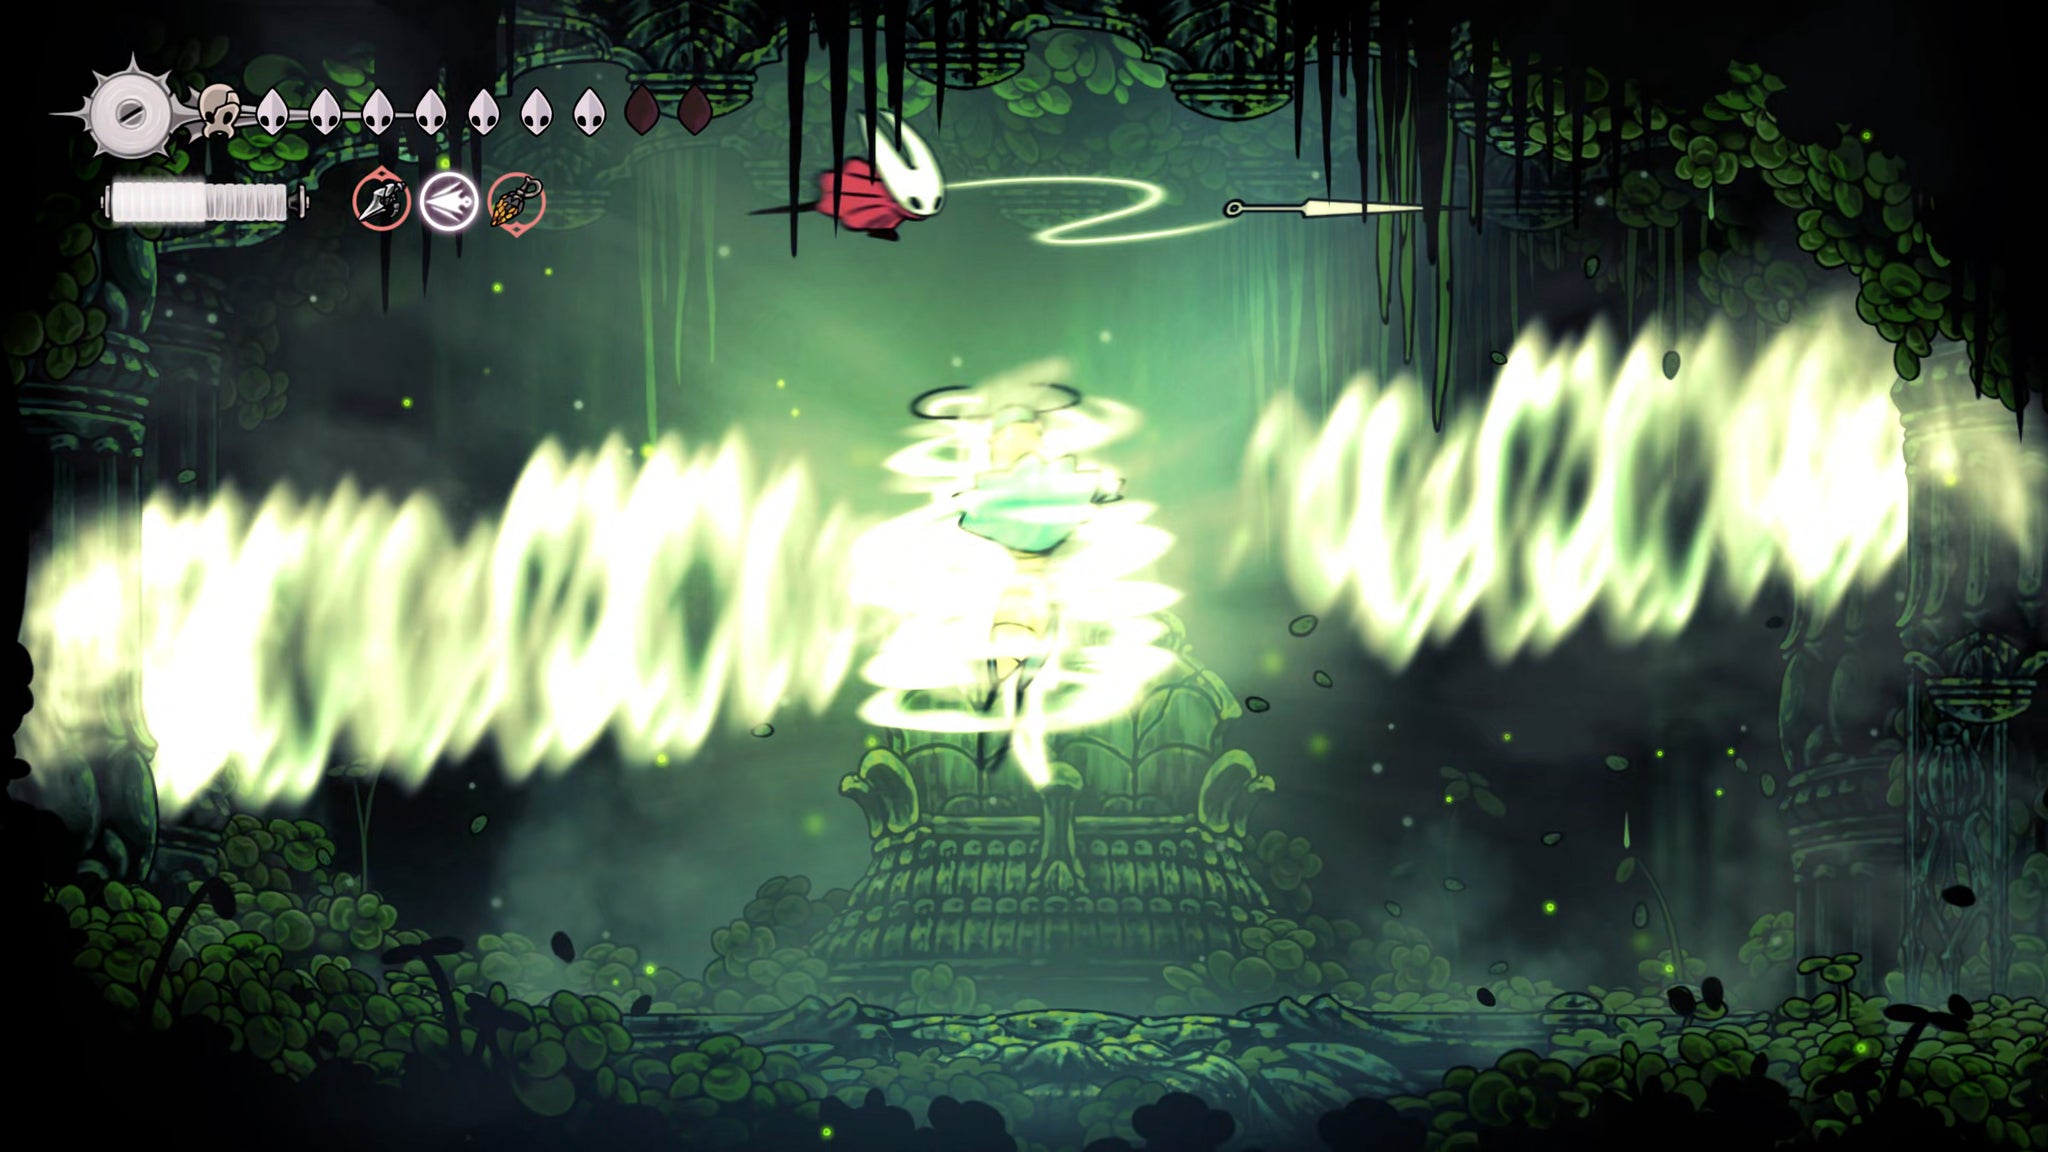
There are only two phases to the Clover Dancers fight, which makes it considerably easier than it may have been. In the first phase, the Dancers move in unison; in the second phase, they move out of step with each other.
Remember to give the Dancers a wide berth if they land on the floor, because they'll lash out in either direction while landing and hit you if you're nearby. Just focus on hounding the Green Prince wherever he goes. Because their movements are highly telegraphed, this is a great fight to use the Flintslate to augment your damage, because you will know ahead of time when might be a good moment to get several hits in.
As late-game bosses go, the Clover Dancers aren't that bad really. A bit of perseverance and you'll defeat them once and for all.
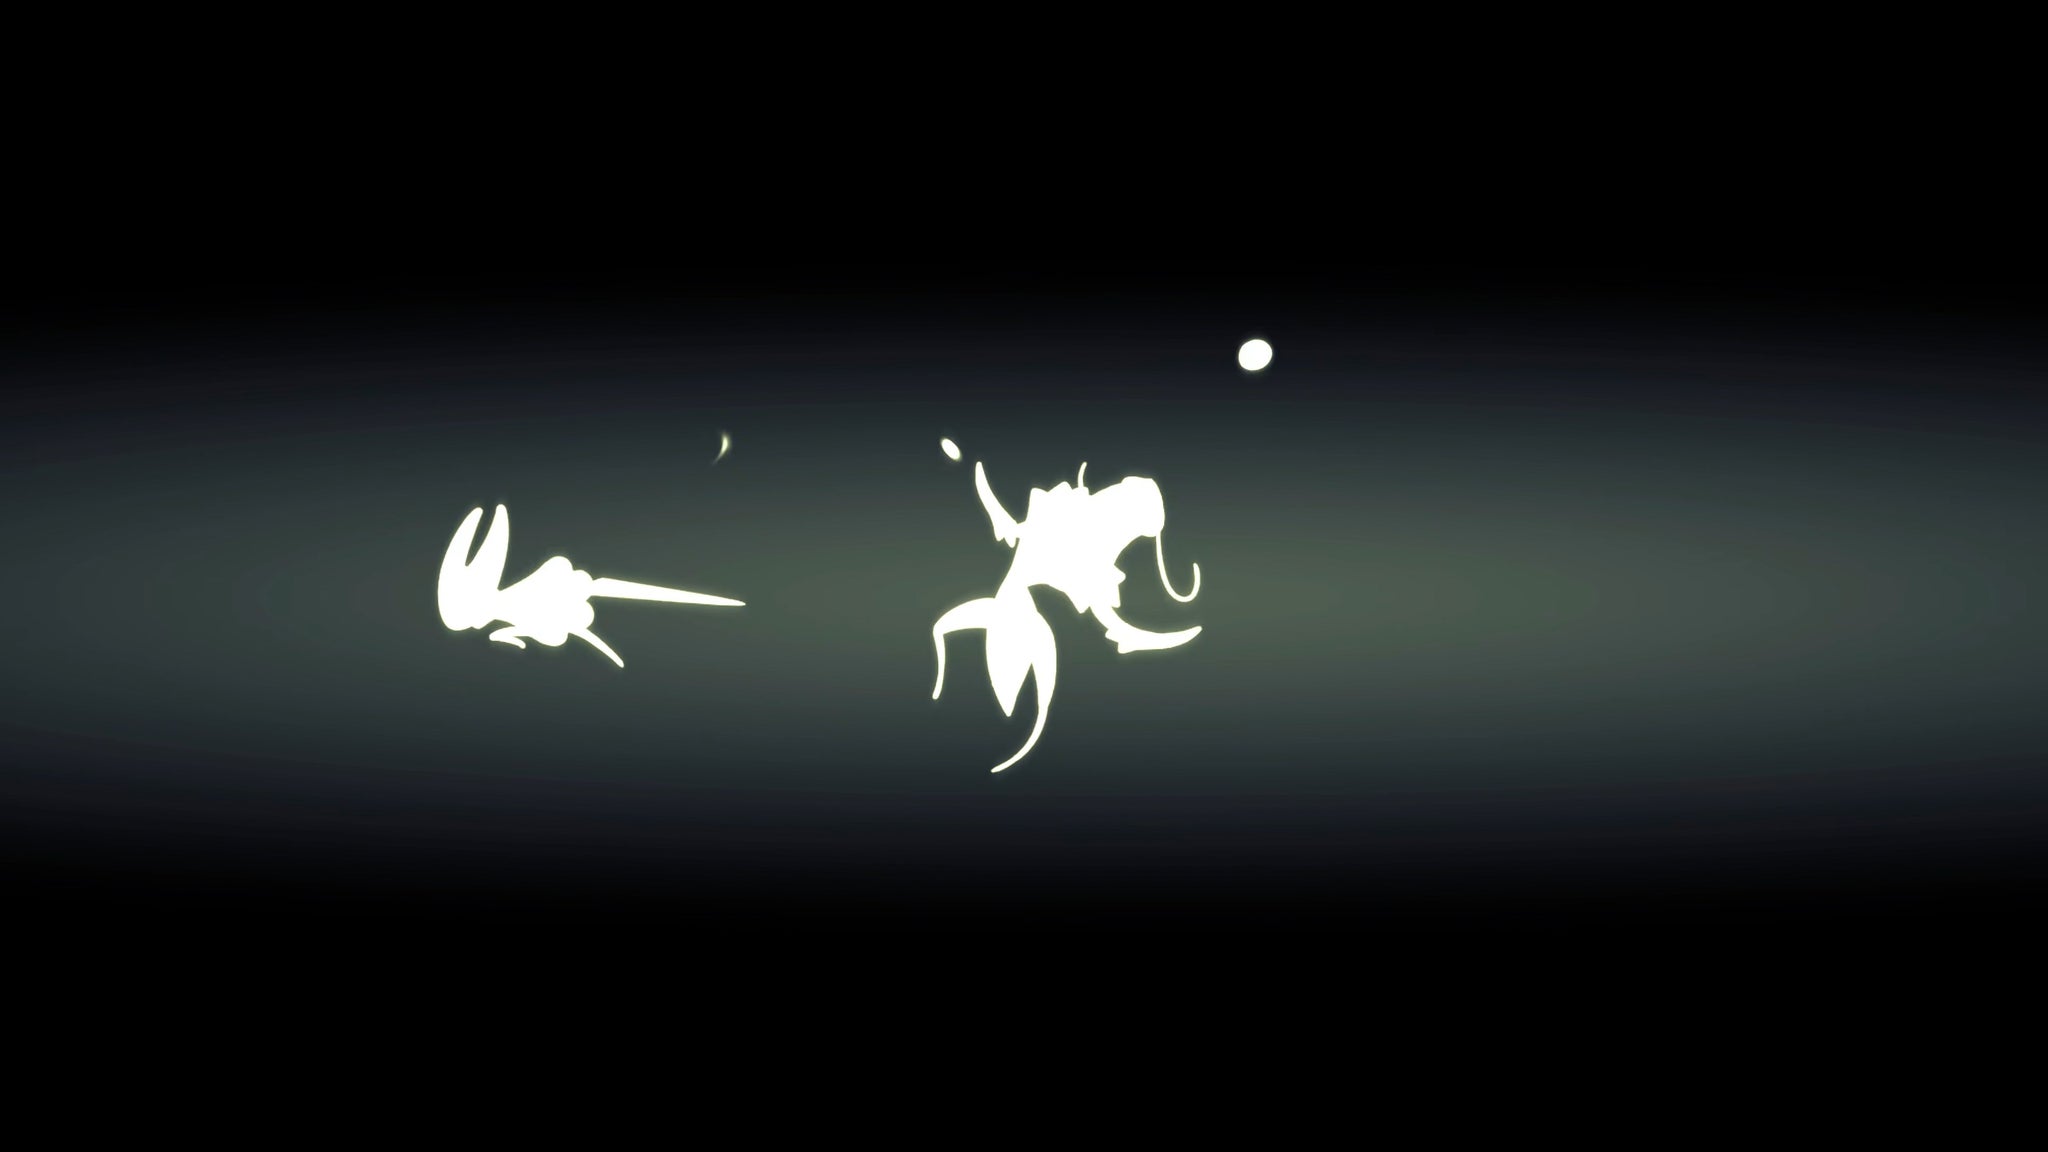
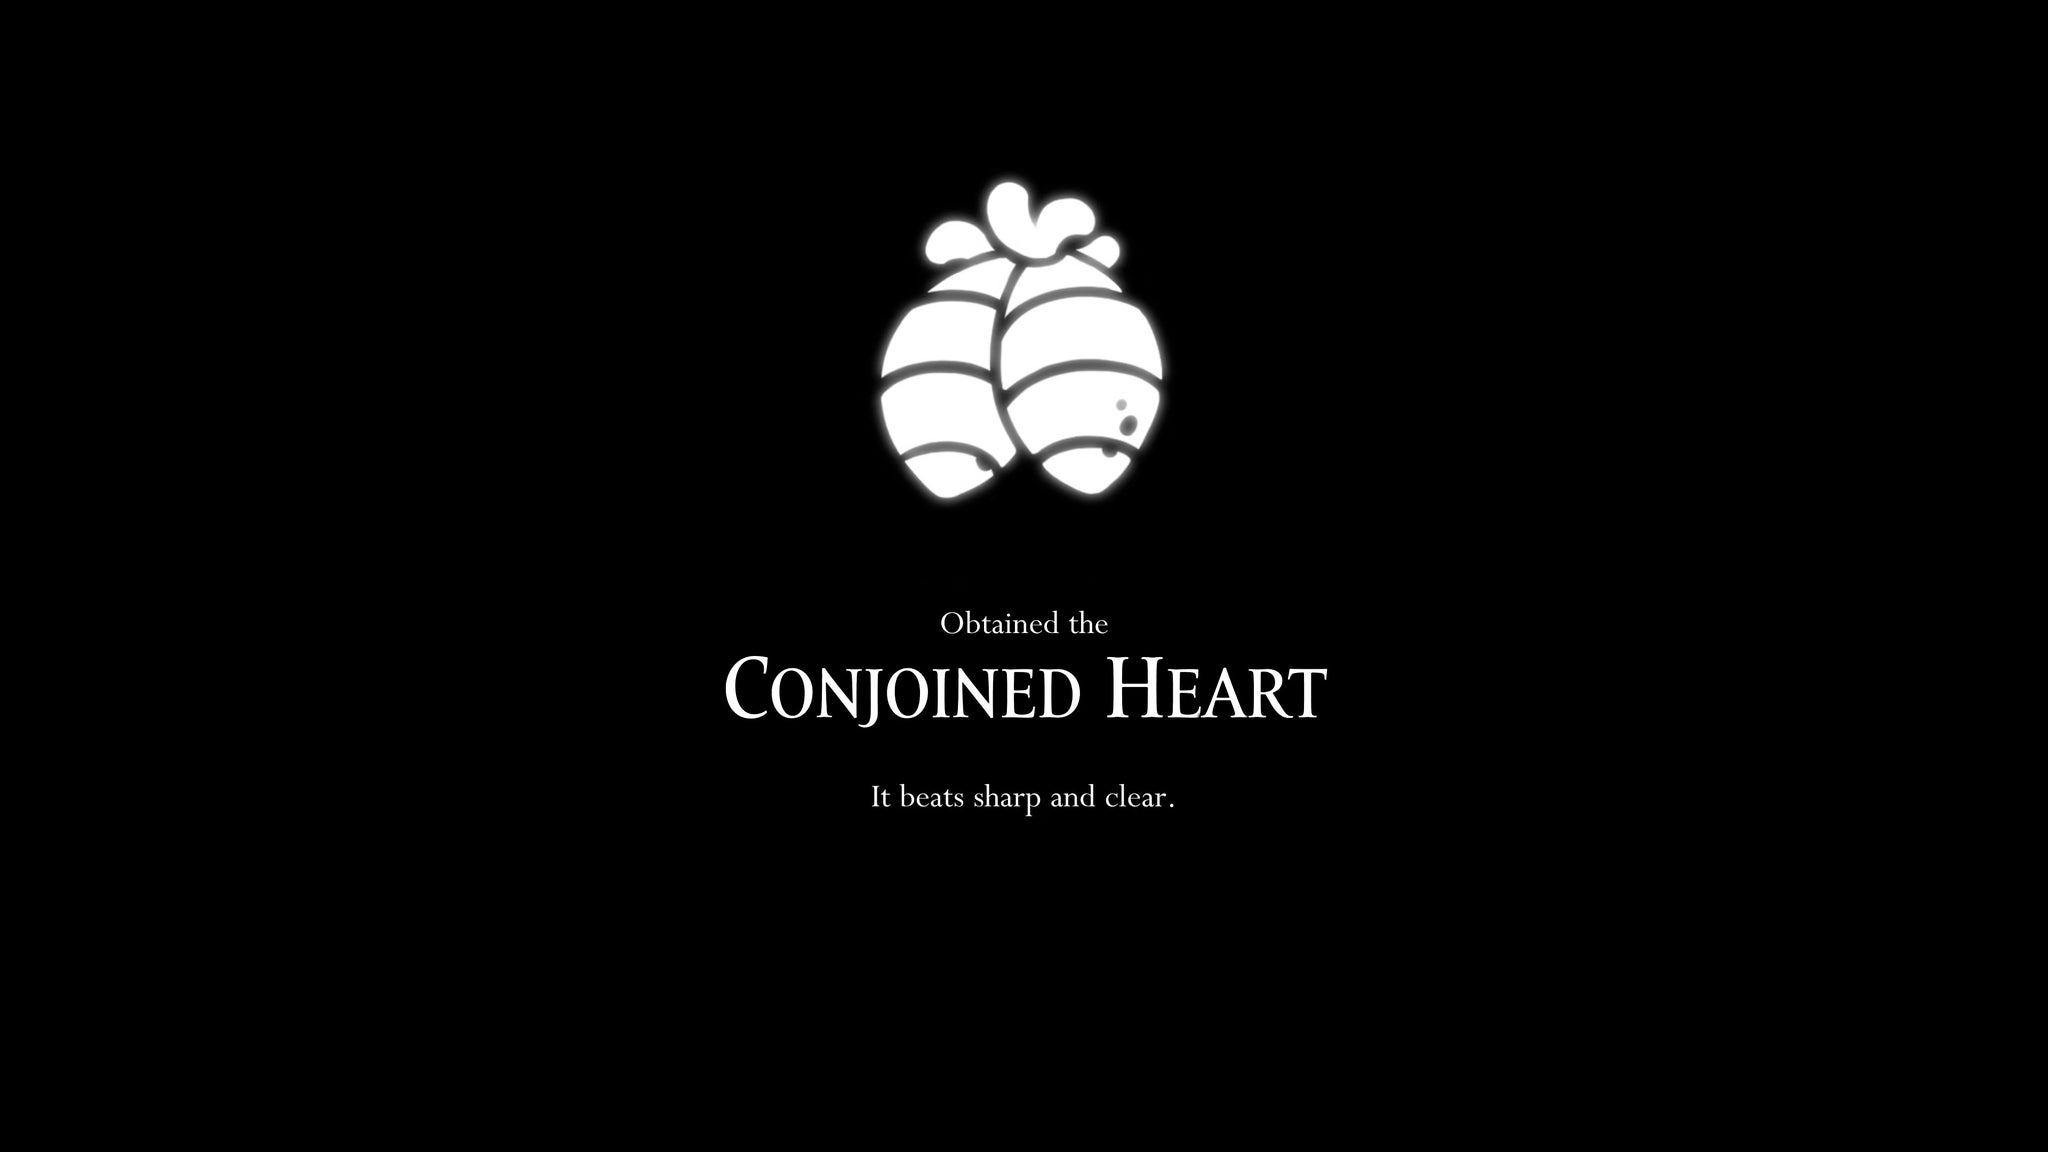
As a poignant reward for your efforts, once the fight ends you'll reawaken in Verdania, and before you the Green Prince is dead, huddled close with the Cogwork Dancer corpse. At their feet, you can take the Conjoined Heart as a memento to place inside your Bellhome in Bellhart.
Fun fact - the Conjoined Heart could actually have been used as one of the three Hearts needed for the Old Hearts quest. If you do this, then whichever Old Heart you leave out of the quest would become the memento to place in your Bellhome. I did it this way around because it feels neater. The Green Prince deserved his own story and chapter.
That brings our journey through Lost Verdania to an end. We're nearly at the Act 3 finish line, so it's now time to do a final wrap-up of various remaining quests and boss battles before we take the fight back down into The Abyss. Join us in Part 38 of our Silksong walkthrough to keep following along!
Read this next
- Ahead of Hollow Knight: Silksong's Sea of Sorrow expansion, Team Cherry have gotten their Traditional Chinese and German translation ducks in a row
- We may have glimpsed Silksong's Sea of Sorrow expansion in a six-year-old trailer
- Hollow Knight: Silksong's first big expansion, Sea of Sorrow, flows into our lives for free next year
