
Hollow Knight Silksong walkthrough: Part 38 (Act 3 Wishes)
A guide to completing all the remaining Wishes and quests in Act 3


Need a checklist of tasks to complete before finishing Act 3 of Hollow Knight: Silksong? Hopefully the checklist below can provide you with a decent idea of everything you have left to do in Act 3. If you've been following along with our Silksong walkthrough so far, then it's entirely possible to just go down into the Abyss and fight the final boss now. But there's still a lot of different side quests to complete, and Act 3 bosses to face. The Abyss can wait one more chapter.
In Part 38 of our Hollow Knight: Silksong walkthrough, I'll go over all the remaining Wishes and side activities to complete, as well as important remaining boss locations, and how to collect every single Memento before you finish the game.
Want the walkthrough for a different area of the game? Check out our Hollow Knight: Silksong walkthrough hub!
Act 3 Wishes walkthrough steps:
- Visit Flick The Fixer in The Marrow.
- Complete Zylotol's Act 3 quest in Wormways.
- Obtain the Curvesickle from Far Fields.
- Beat Sprintmaster Swift in all four races.
- Collect the final Memory Locket above Bellhart.
- Complete the Dark Hearts Wish.
- Complete The Hidden Hunter Wish.
- Complete the Hero's Call Wish.
- Defeat the Watcher At The Edge.
- Complete the Fatal Resolve Wish.
- Explore Brightvein inside Mount Fay.
- Meet the Second Sentinel in High Halls.
- Complete the Pain, Anguish, And Misery Wish.
- Complete Seth's questline for the Guardian's Memento.
- Accept the Craw Summons when it arrives.
- Complete the Passing Of The Age Wish.
- Collect the Surface Memento.
- Fill out your Hunter's Journal.
- Hang your Mementos in the Bellhome.
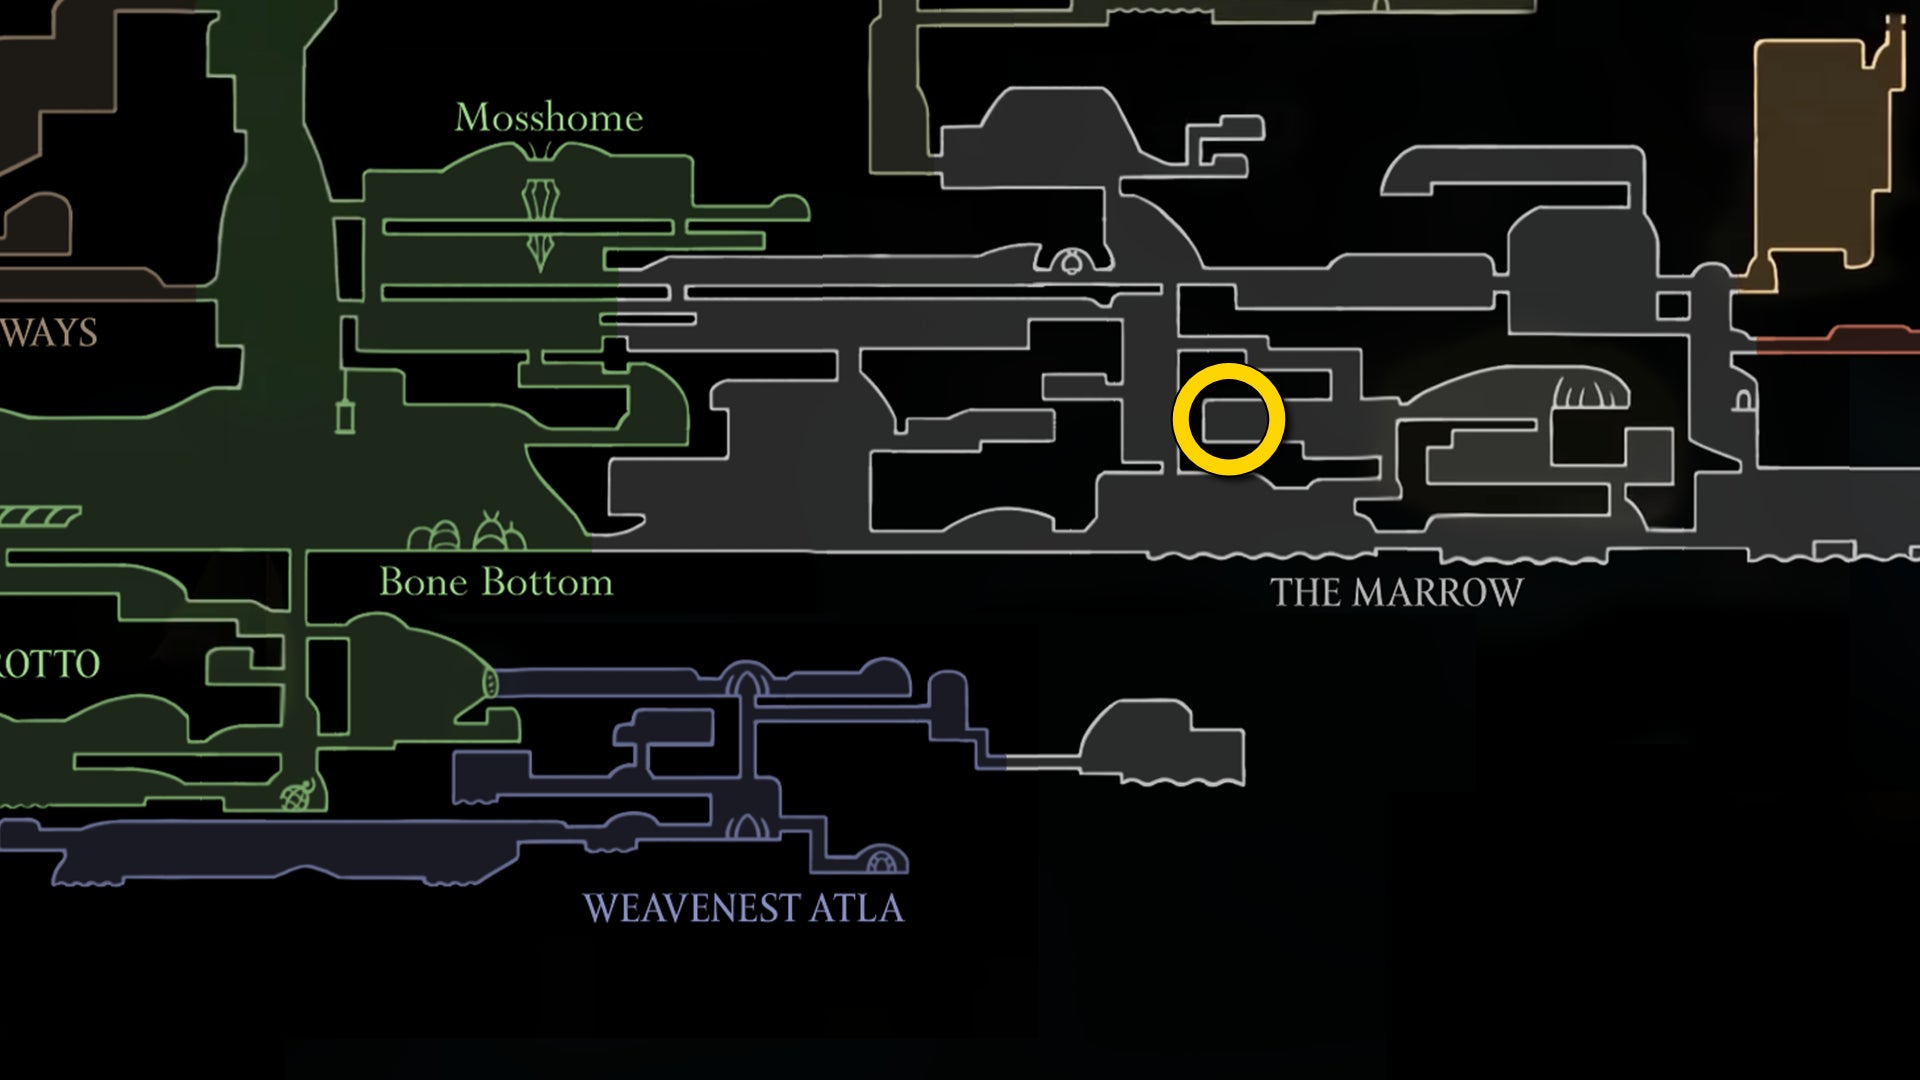
1. Visit Flick The Fixer in The Marrow.
The path I'm going to take through all the remaining quests and activities in Act 3 will move broadly from the bottom layer of the map upwards. There's nothing left to do in Deep Docks, so we'll start in The Marrow.
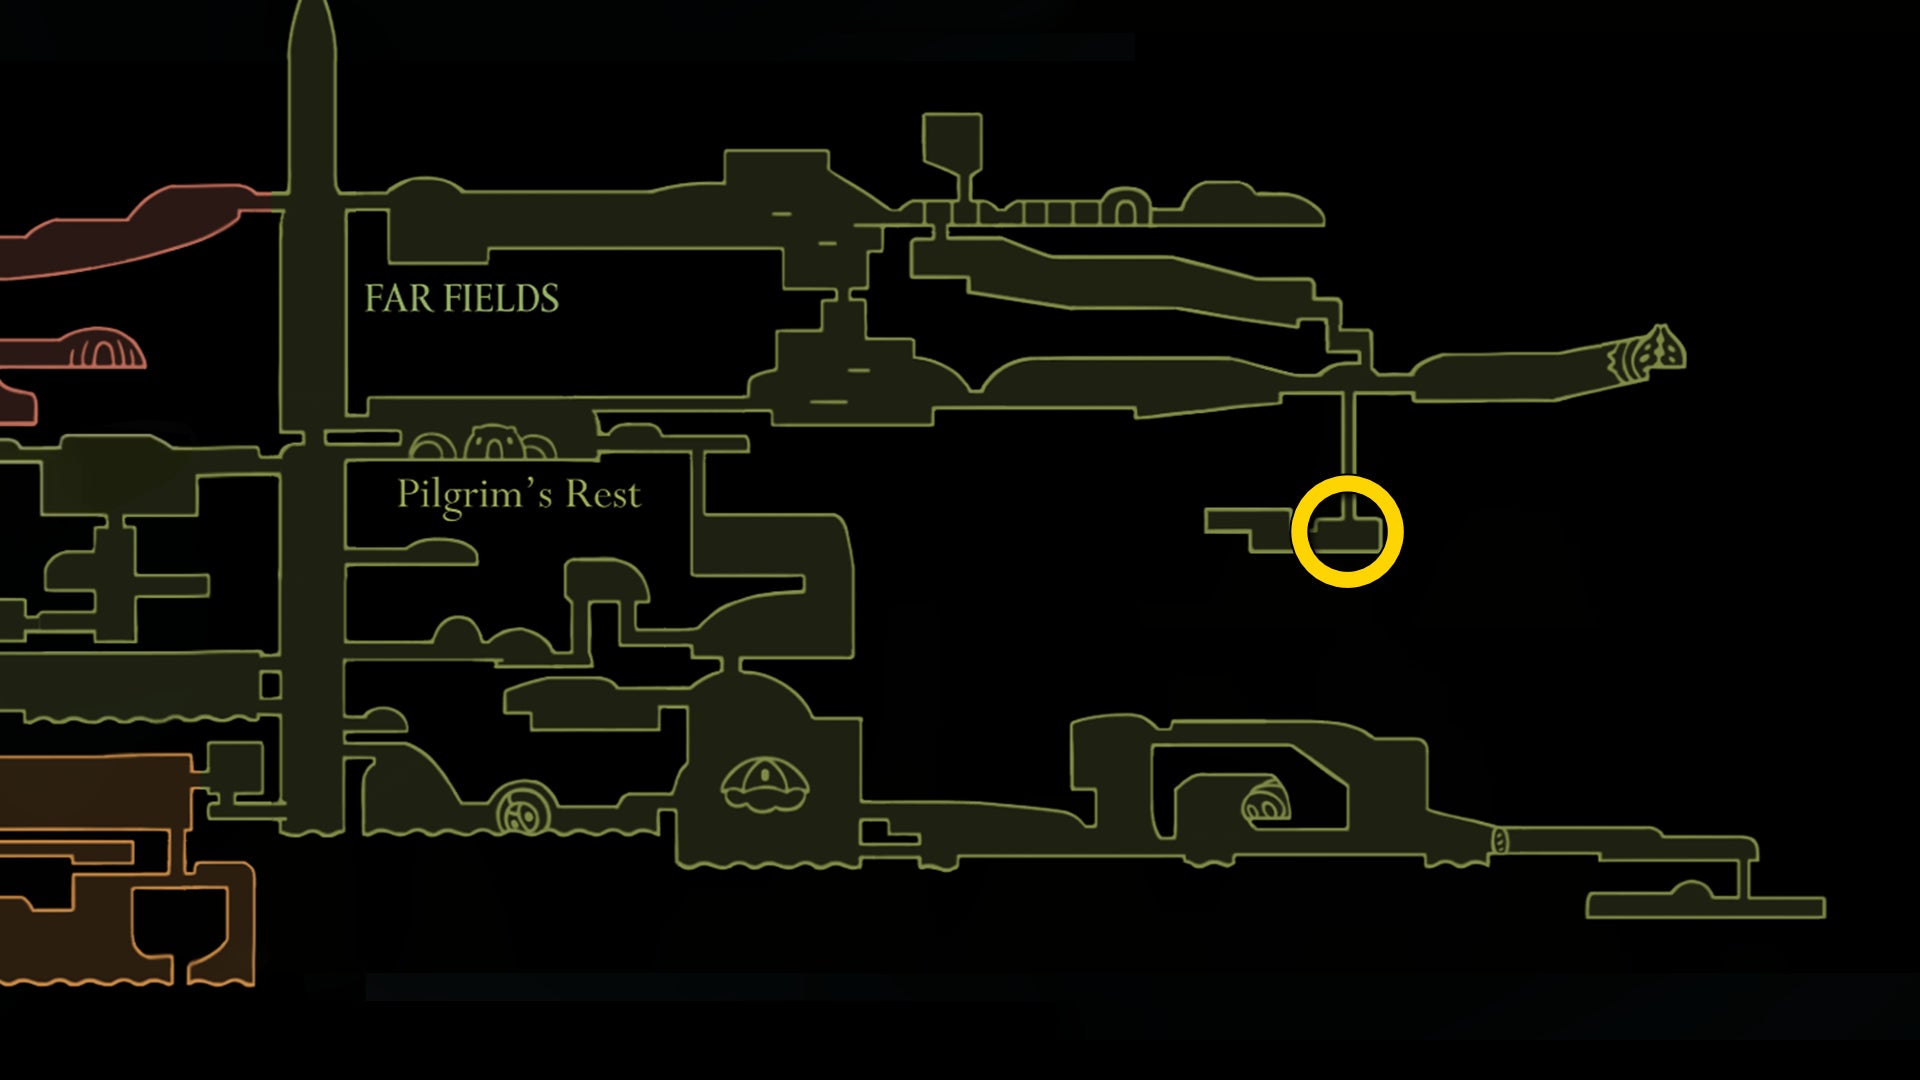
The only thing of interest in The Marrow is the new location of Flick The Fixer. From the Marrow Bellway, head down the hole to your right, beyond the Bench, and take the nearest right-hand path as you descend.
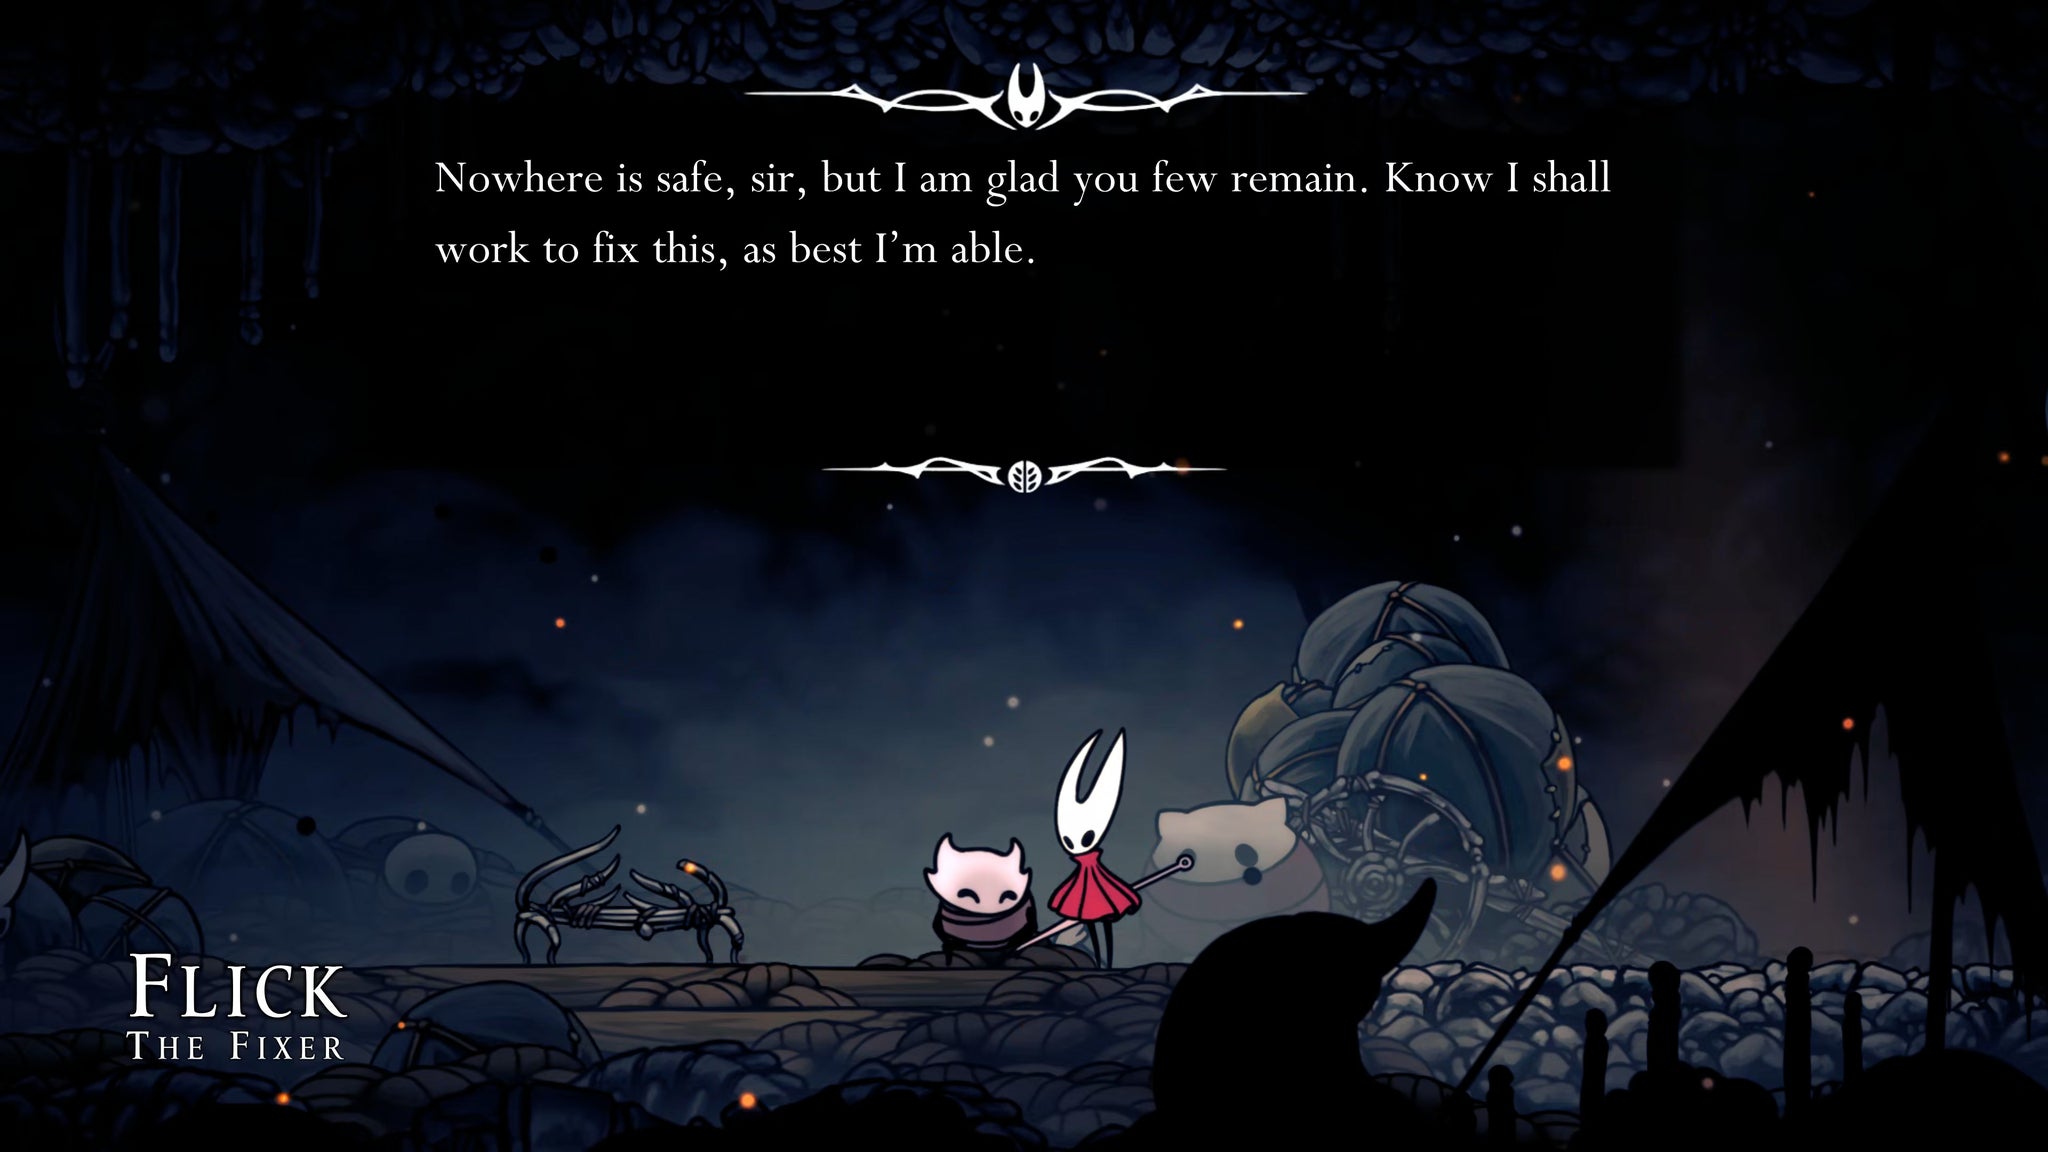
This path will take you down to the area where you first found the Flea Caravan. Obviously they've long since moved on, but the area has proven its benefit as a hardy defensible location, because it's now home to a few remaining Pilgrims who fled from Bone Bottom - including Flick The Fixer. Speak with him if you like here. He has nothing to offer you, but it's nice to know that this is where he's ended up.
2. Complete Zylotol's Act 3 quest in Wormways.
Next, head back to Bone Bottom, and you'll see that the elevator taking you upwards into Mosshome has been destroyed. But that's fine, because you can now Silk Soar.
Head upwards and jump over into the Wormways entrance. Take the shortcut path upwards to the top-left exit of the shaft, and visit Alchemist Zylotol - who's looking a little different now.
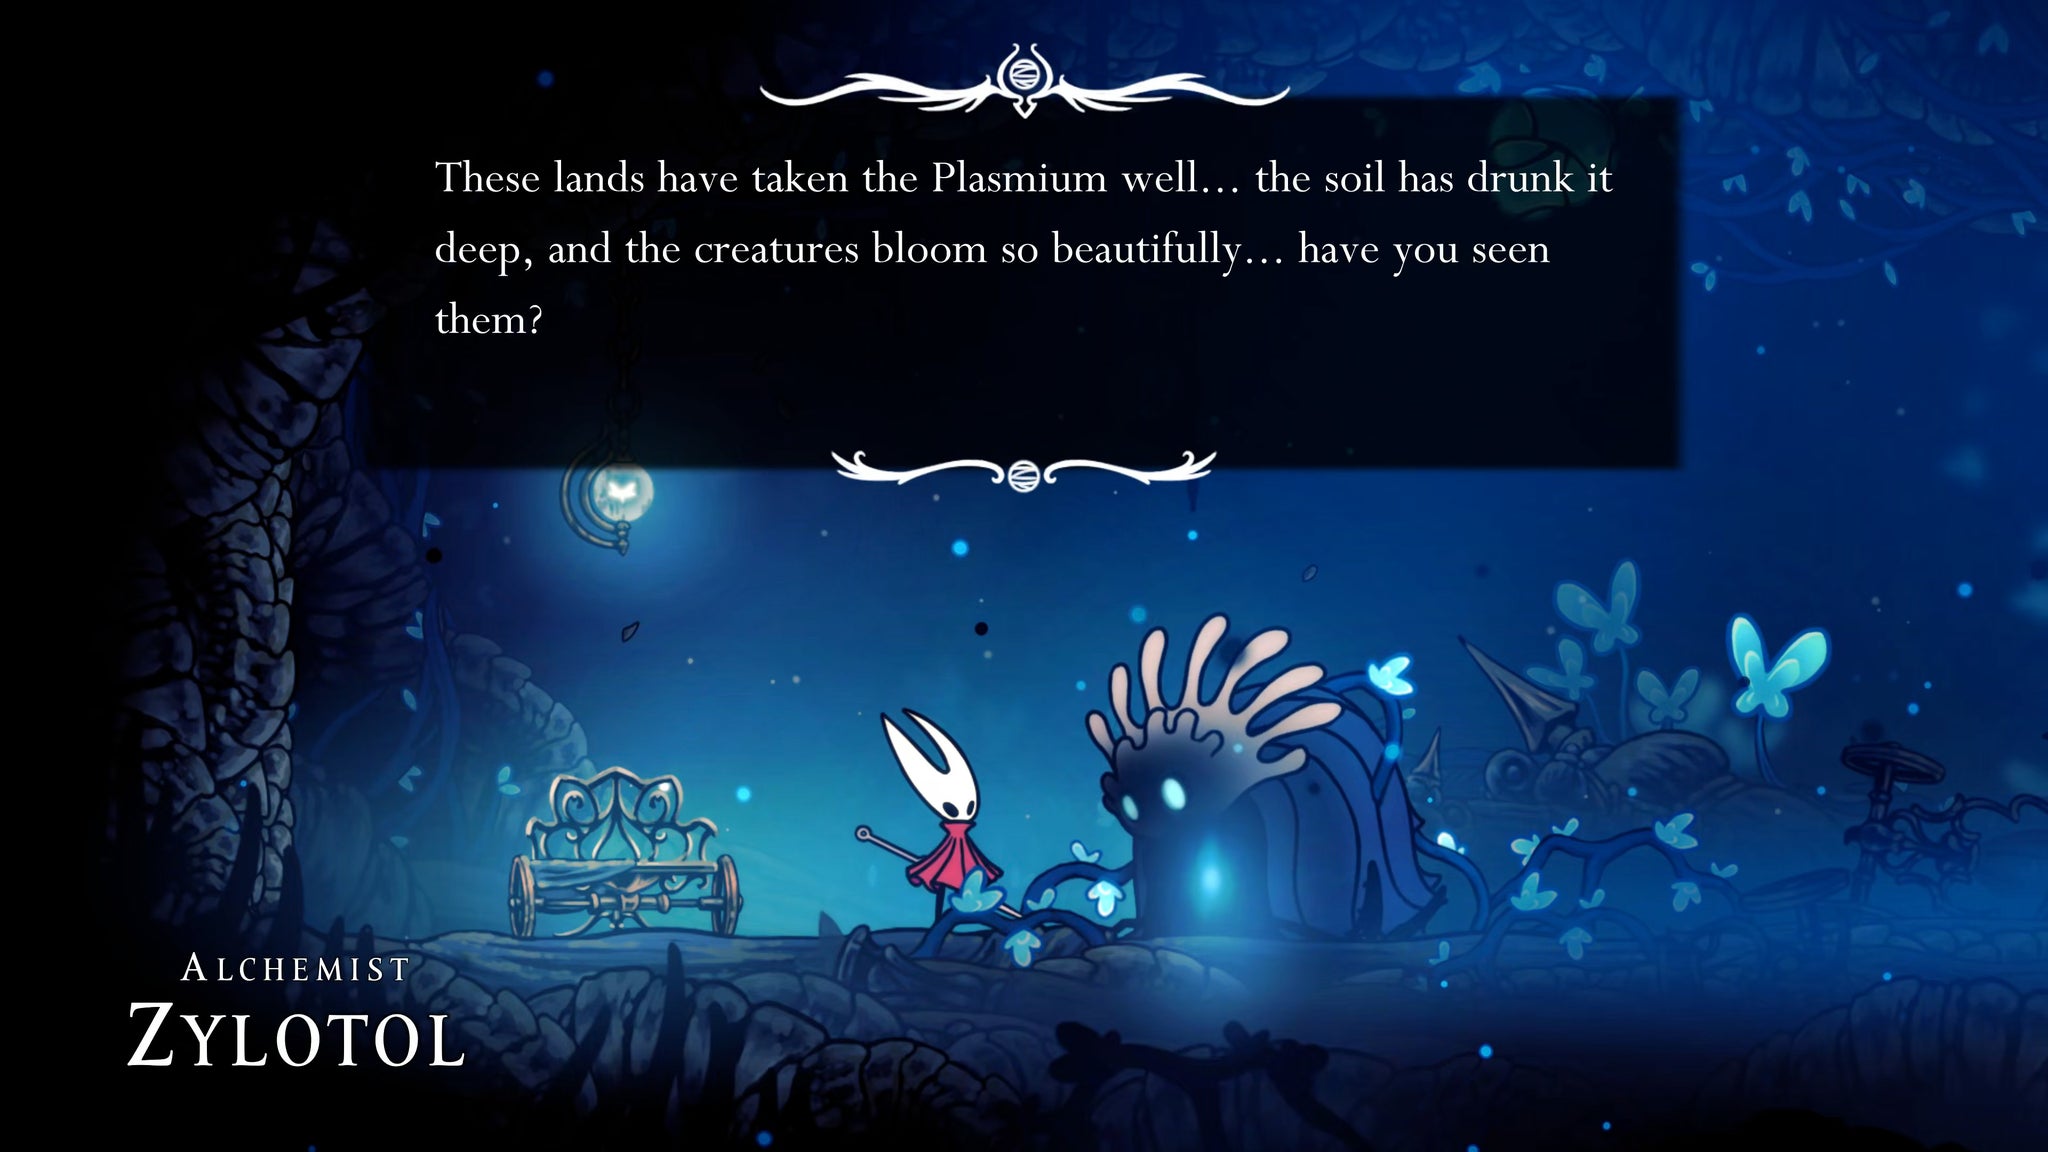

Accept Zylotol's "Advanced Alchemy" Wish, and he'll give you back the Needle Phial with which to collect Plasmified Blood from the creatures in the Wormways that have gorged themselves on Plasmium.
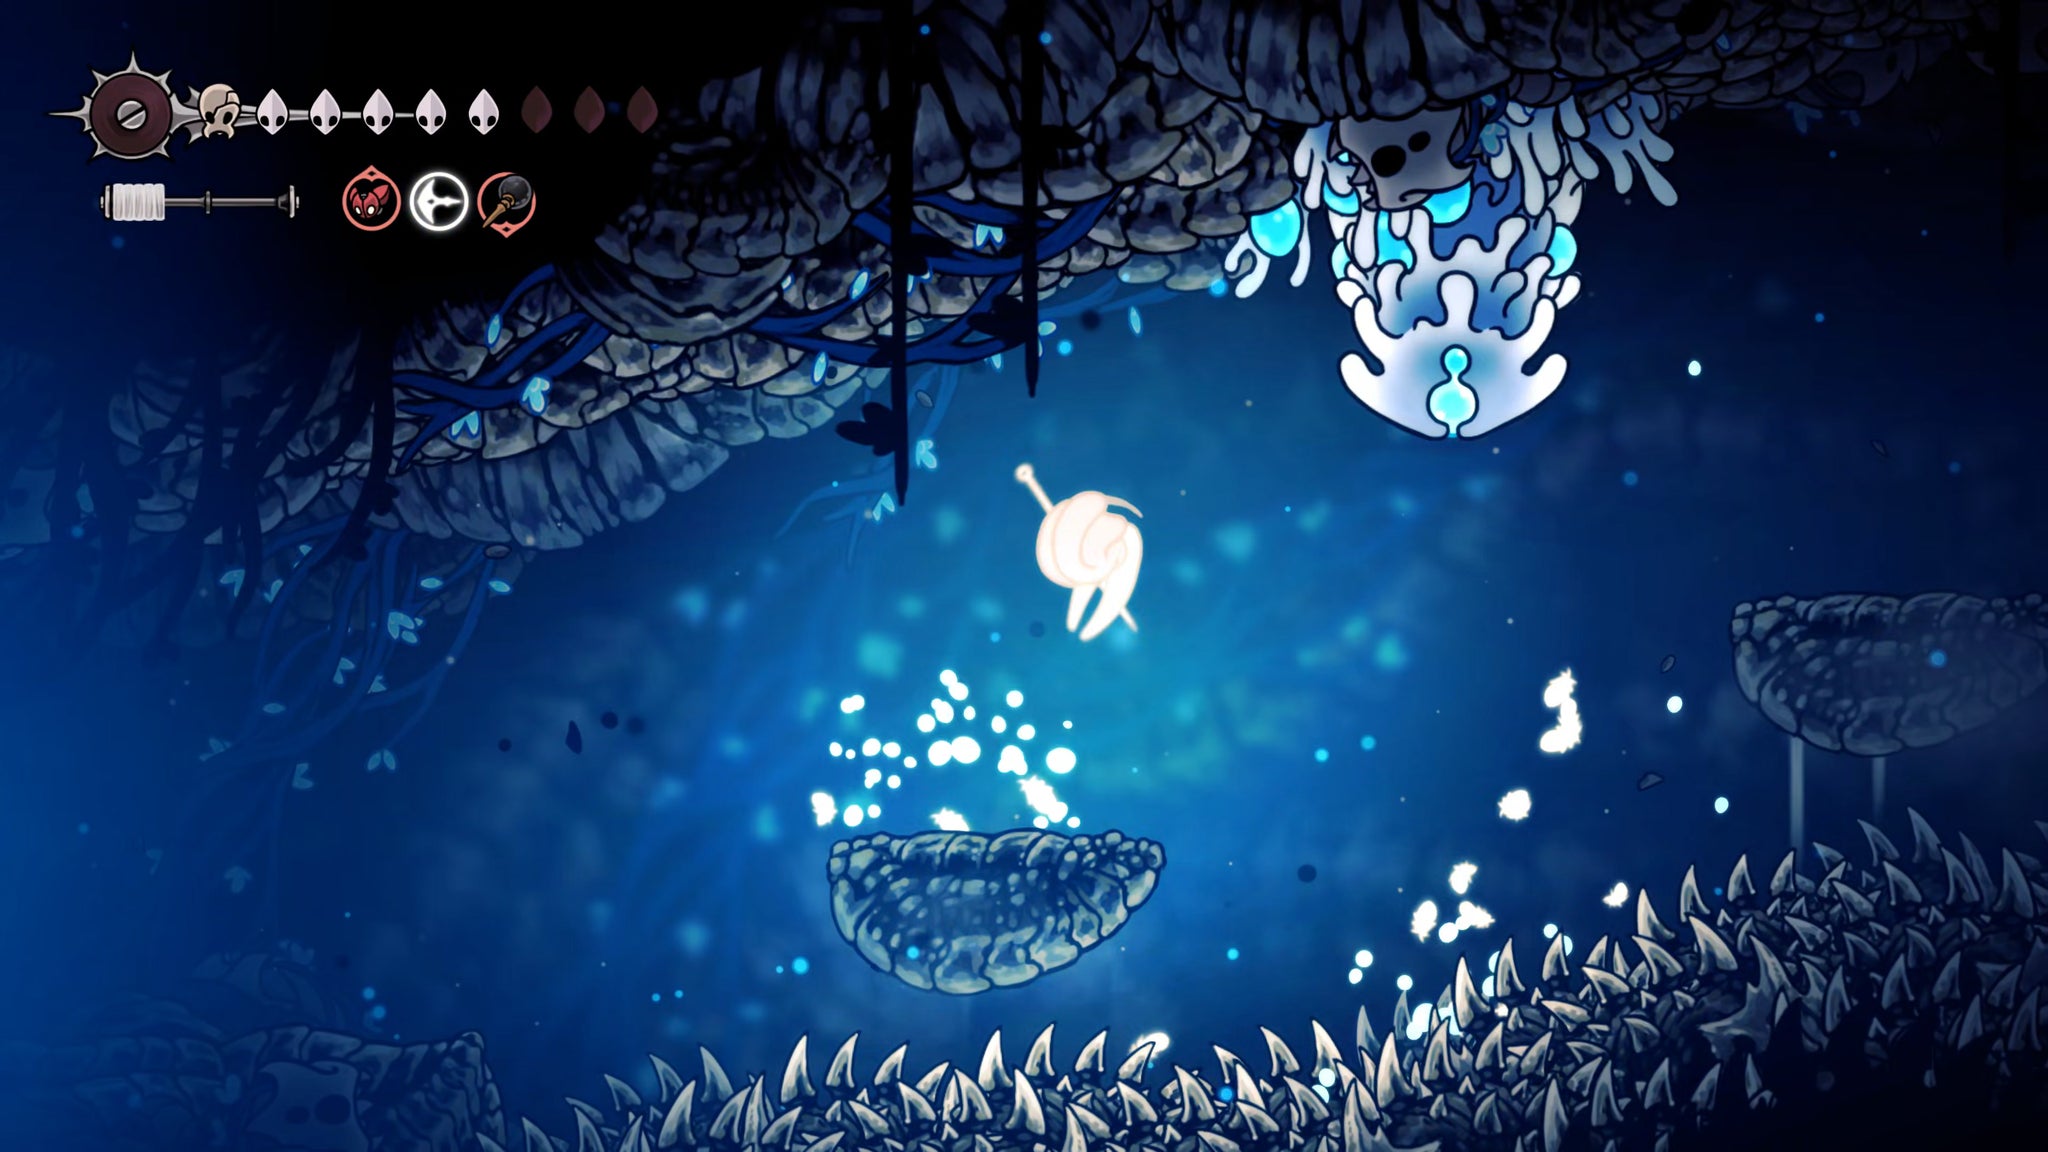
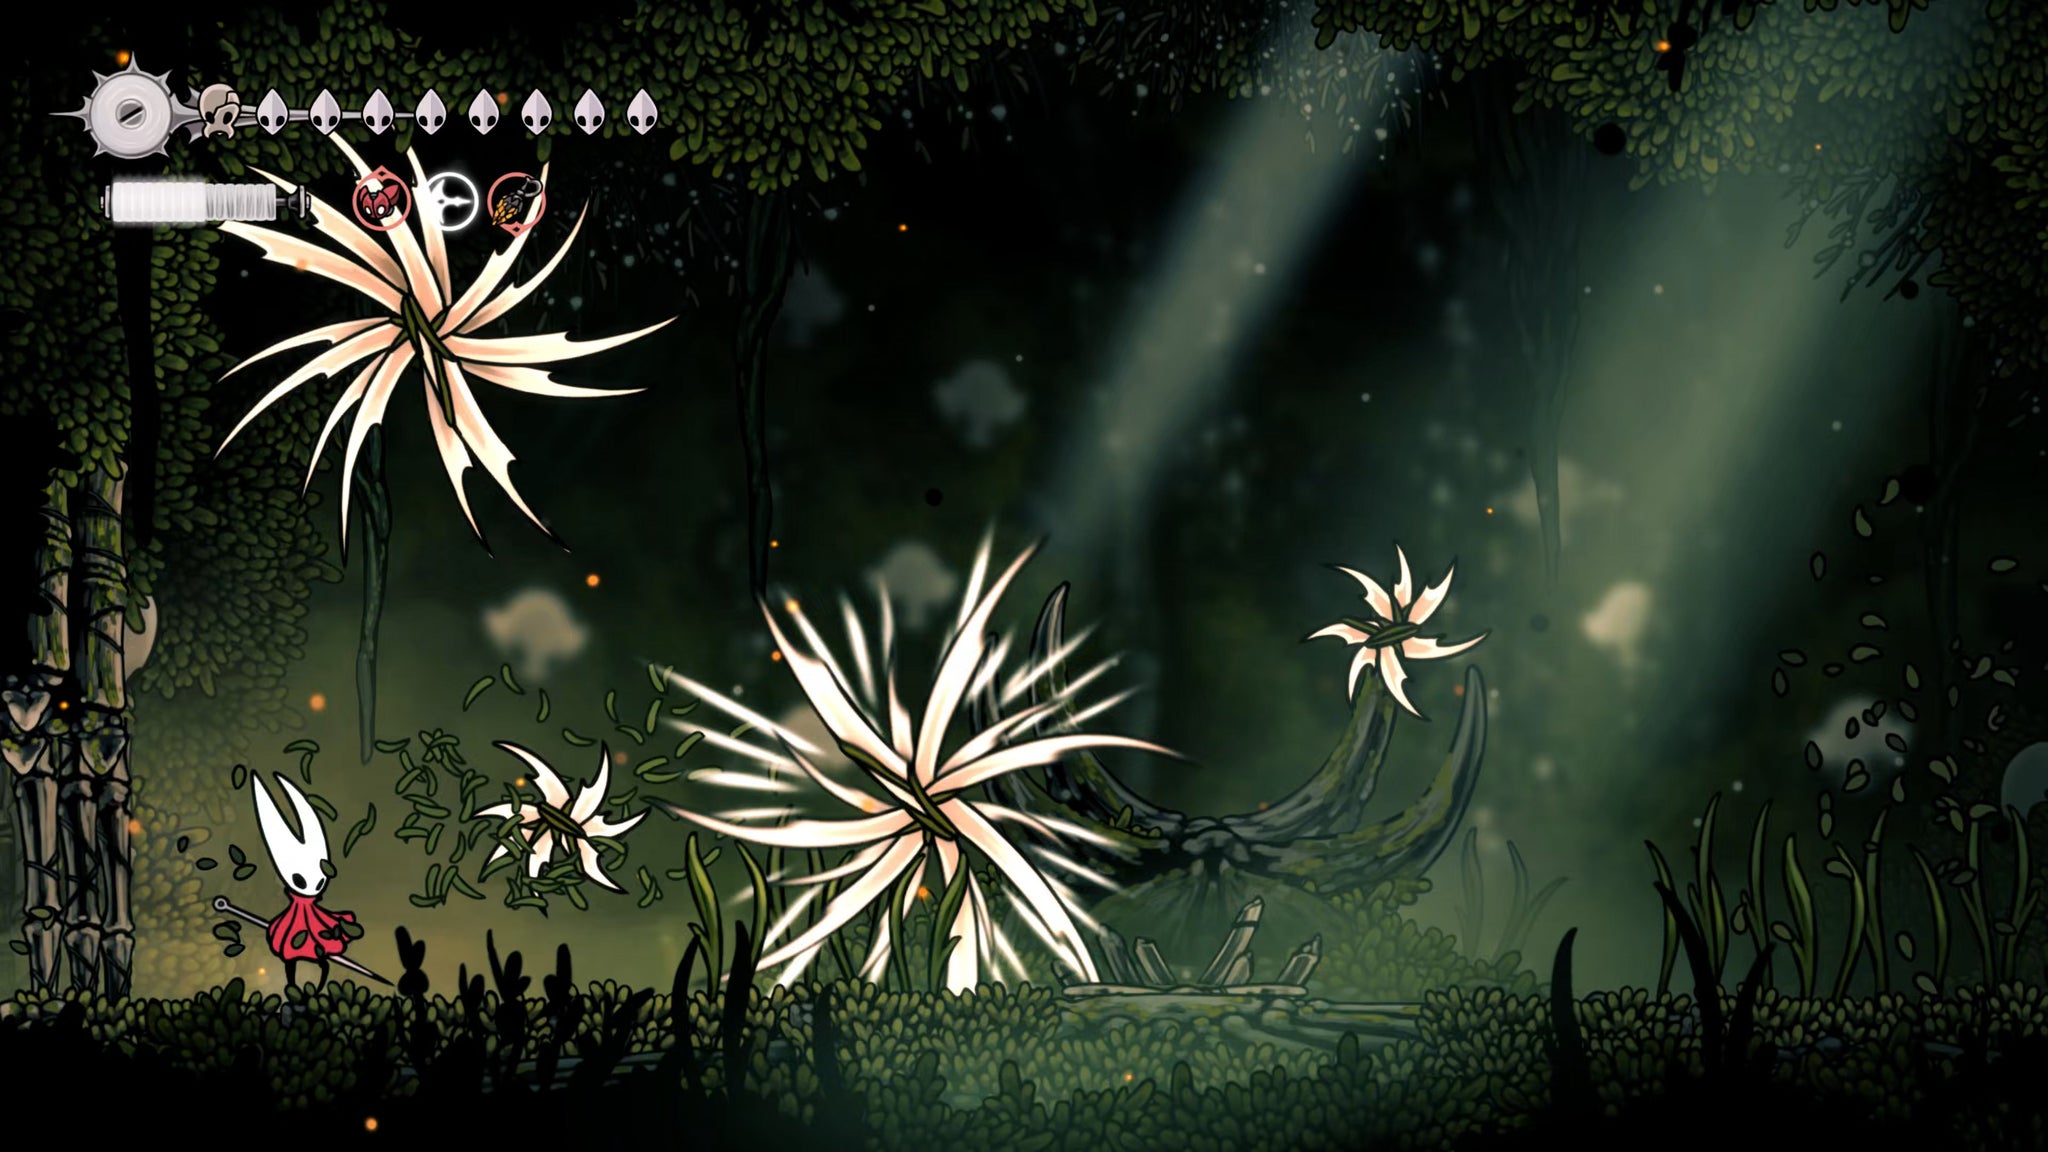
Said creatures are not hard to find if you head downwards, but timing the release of your Needle can be tricky. The easiest way to collect Plasmified Blood is just by dropping down from Zylotol's home into this upside down T-junction (screenshot above), where a plasmified Gromling will appear repeatedly and attack you. Extract its blood to kill it in one, then go back up to Zylotol's home and back down again just to respawn the Gromling. Rinse, repeat.
However, there is more to discover in the Wormways if you explore further down. Plasmidas now grow from the ceiling, and they can be very annoying to try to stick with your Needle Phial due to their fast-acting projectile attacks, so I'd just tackle them normally.
Make your way over to the large left-hand room of the Wormways directly beneath Weavenest Karn, and at the end of the path you'll find a breakable wall. Behind this wall is a room containing a new optional boss (of sorts) - Plasmified Zango.
Zango will basically just move back and forth across the room with increasing anger. You're free to come and go from this room - Zango's health and aggressiveness doesn't reset. However, Zango constantly regenerates his health - quite quickly, as well.
Either you can fight him normally, in which case it's a big long DPS check where you must output more damage (while avoiding his attacks) than the health he regenerates; or, you can stick him four times with the Needle Phial. Doing this will give you Plasmified Blood for the Advanced Alchemy Wish, and will also cut his max health right down each time, making it much easier to kill him.
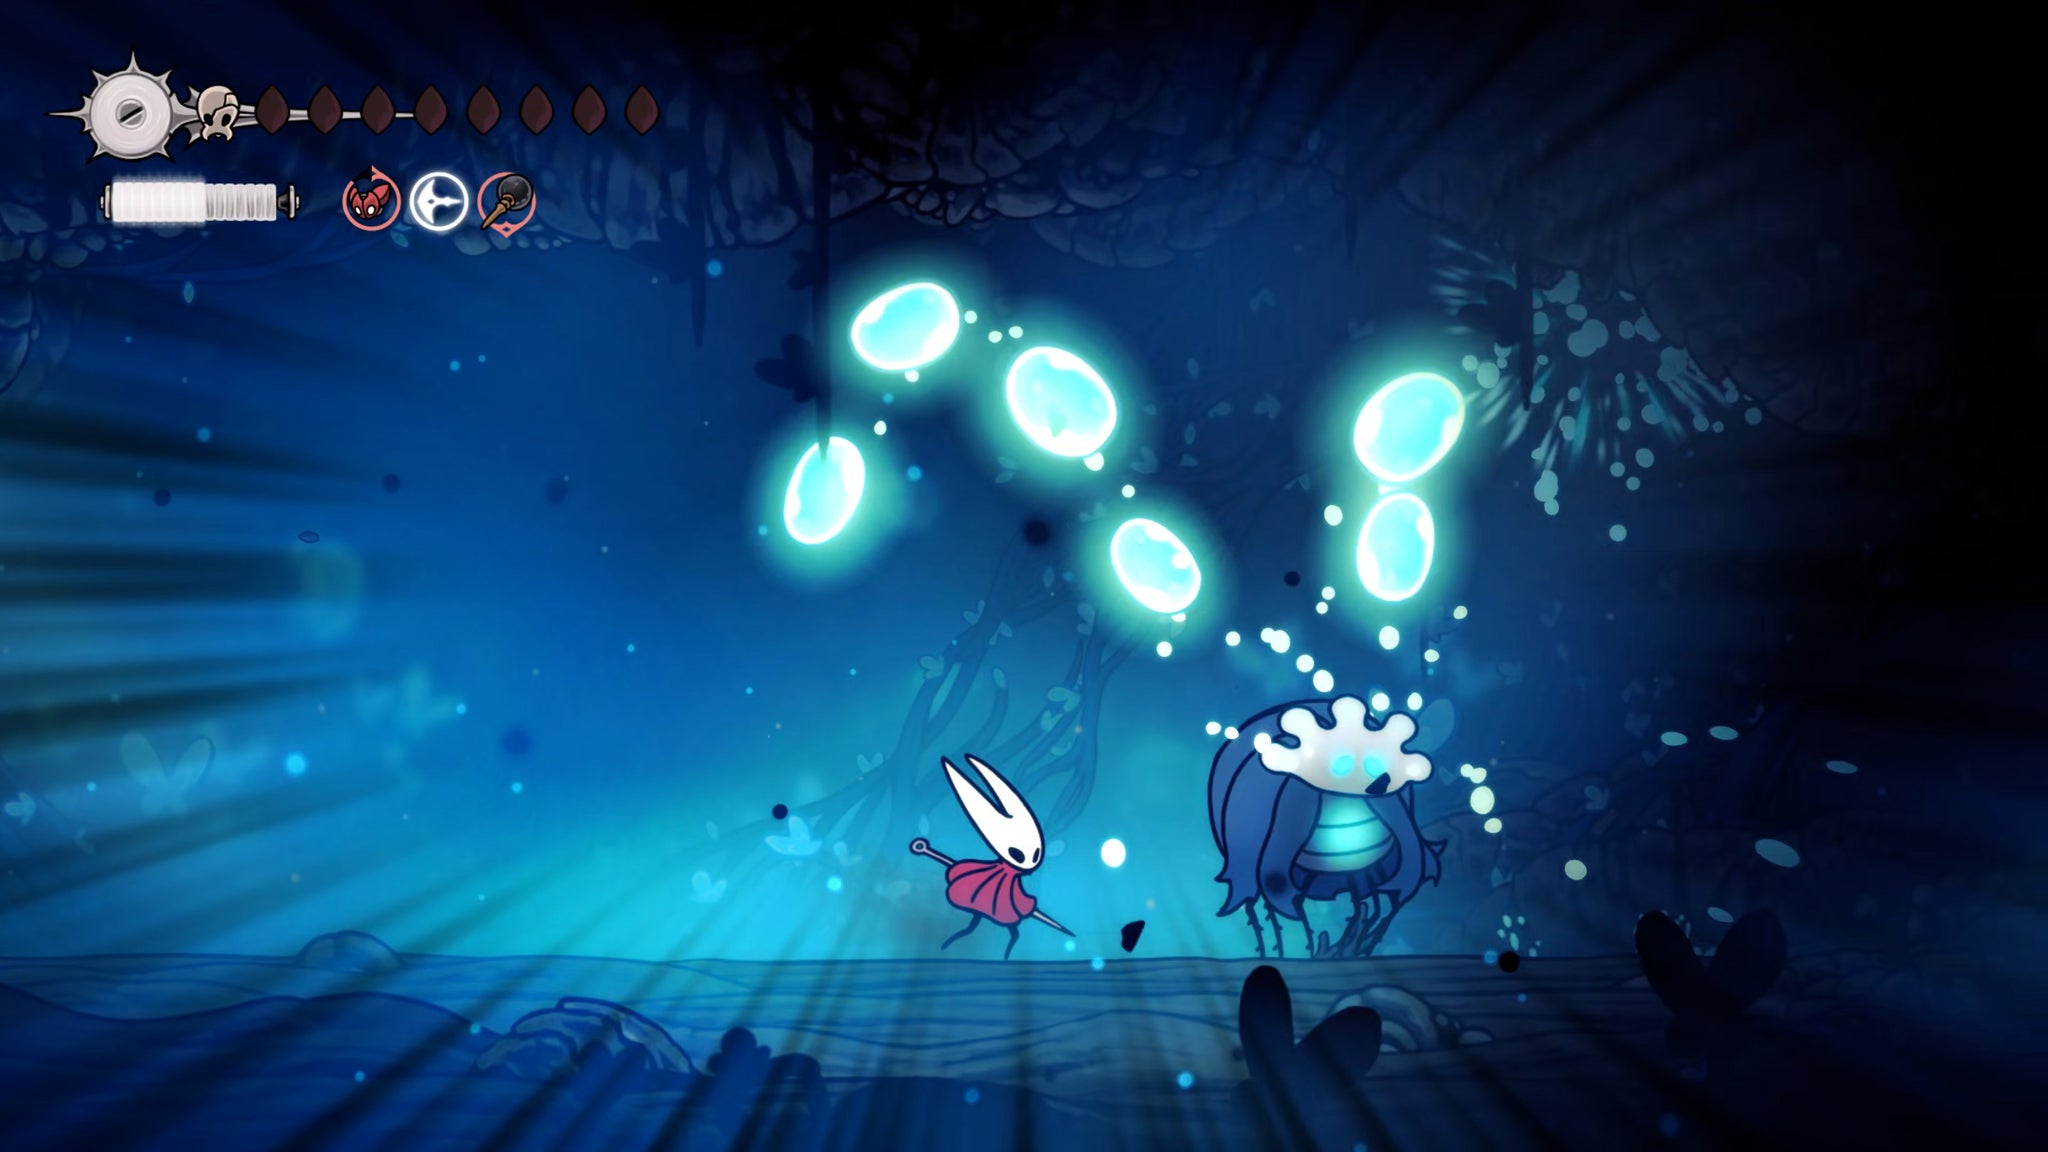
It is quite tricky to time the Needle Phial without getting hit by Zango's projectile spew, but keep at it as much as you dare and then finish him off with relentless damage.
Regardless, you can complete Zylotol's Wish with or without killing Zango. Once you have all the Plasmified Blood you need, head back up to Zylotol and exhaust his dialogue to complete the quest. He'll give you a special reward - the Plasmium Gland. This item isn't a tool, it's just carried forevermore in your inventory. But now that you have it, you can regenerate your Plasmium Phial tool using Shell Shards just like any other tool, rather than having to go back to Zylotol to refill it.
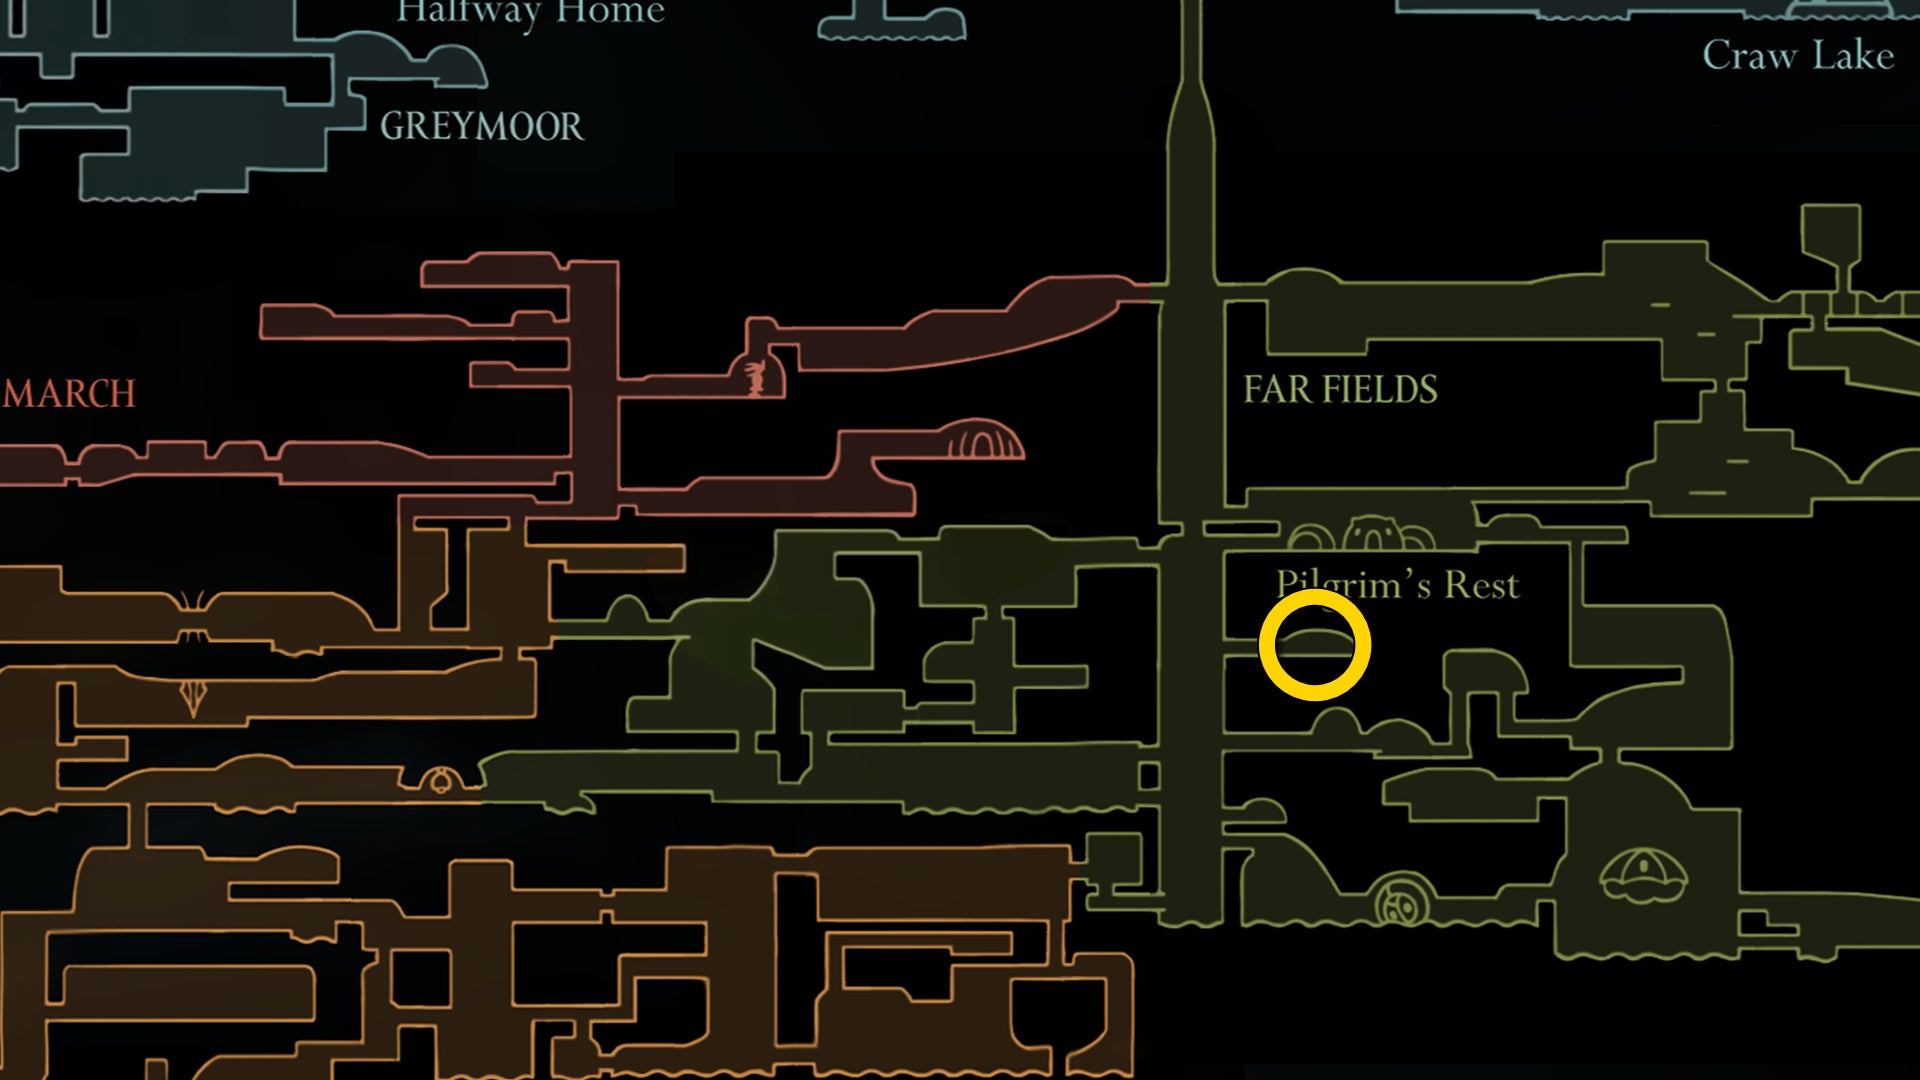
3. Obtain the Curvesickle from Far Fields.
Enough of the Wormways - time to head east now, into Far Fields. Take the Bone Bottom Bellway into Far Fields, and rest at the Bench. Next, and this is important: equip the Curveclaw attack tool while you're on the Bench. We're about to get an upgrade for it.
Exit out into the main shaft on your left. Ride the air vents upwards to the next exit on your right - you may remember this strange room as a sort of target practice room for the ant-people way back in Act 1. There's no one to fight in here anymore, but there are more targets hanging from the ceiling than there were.
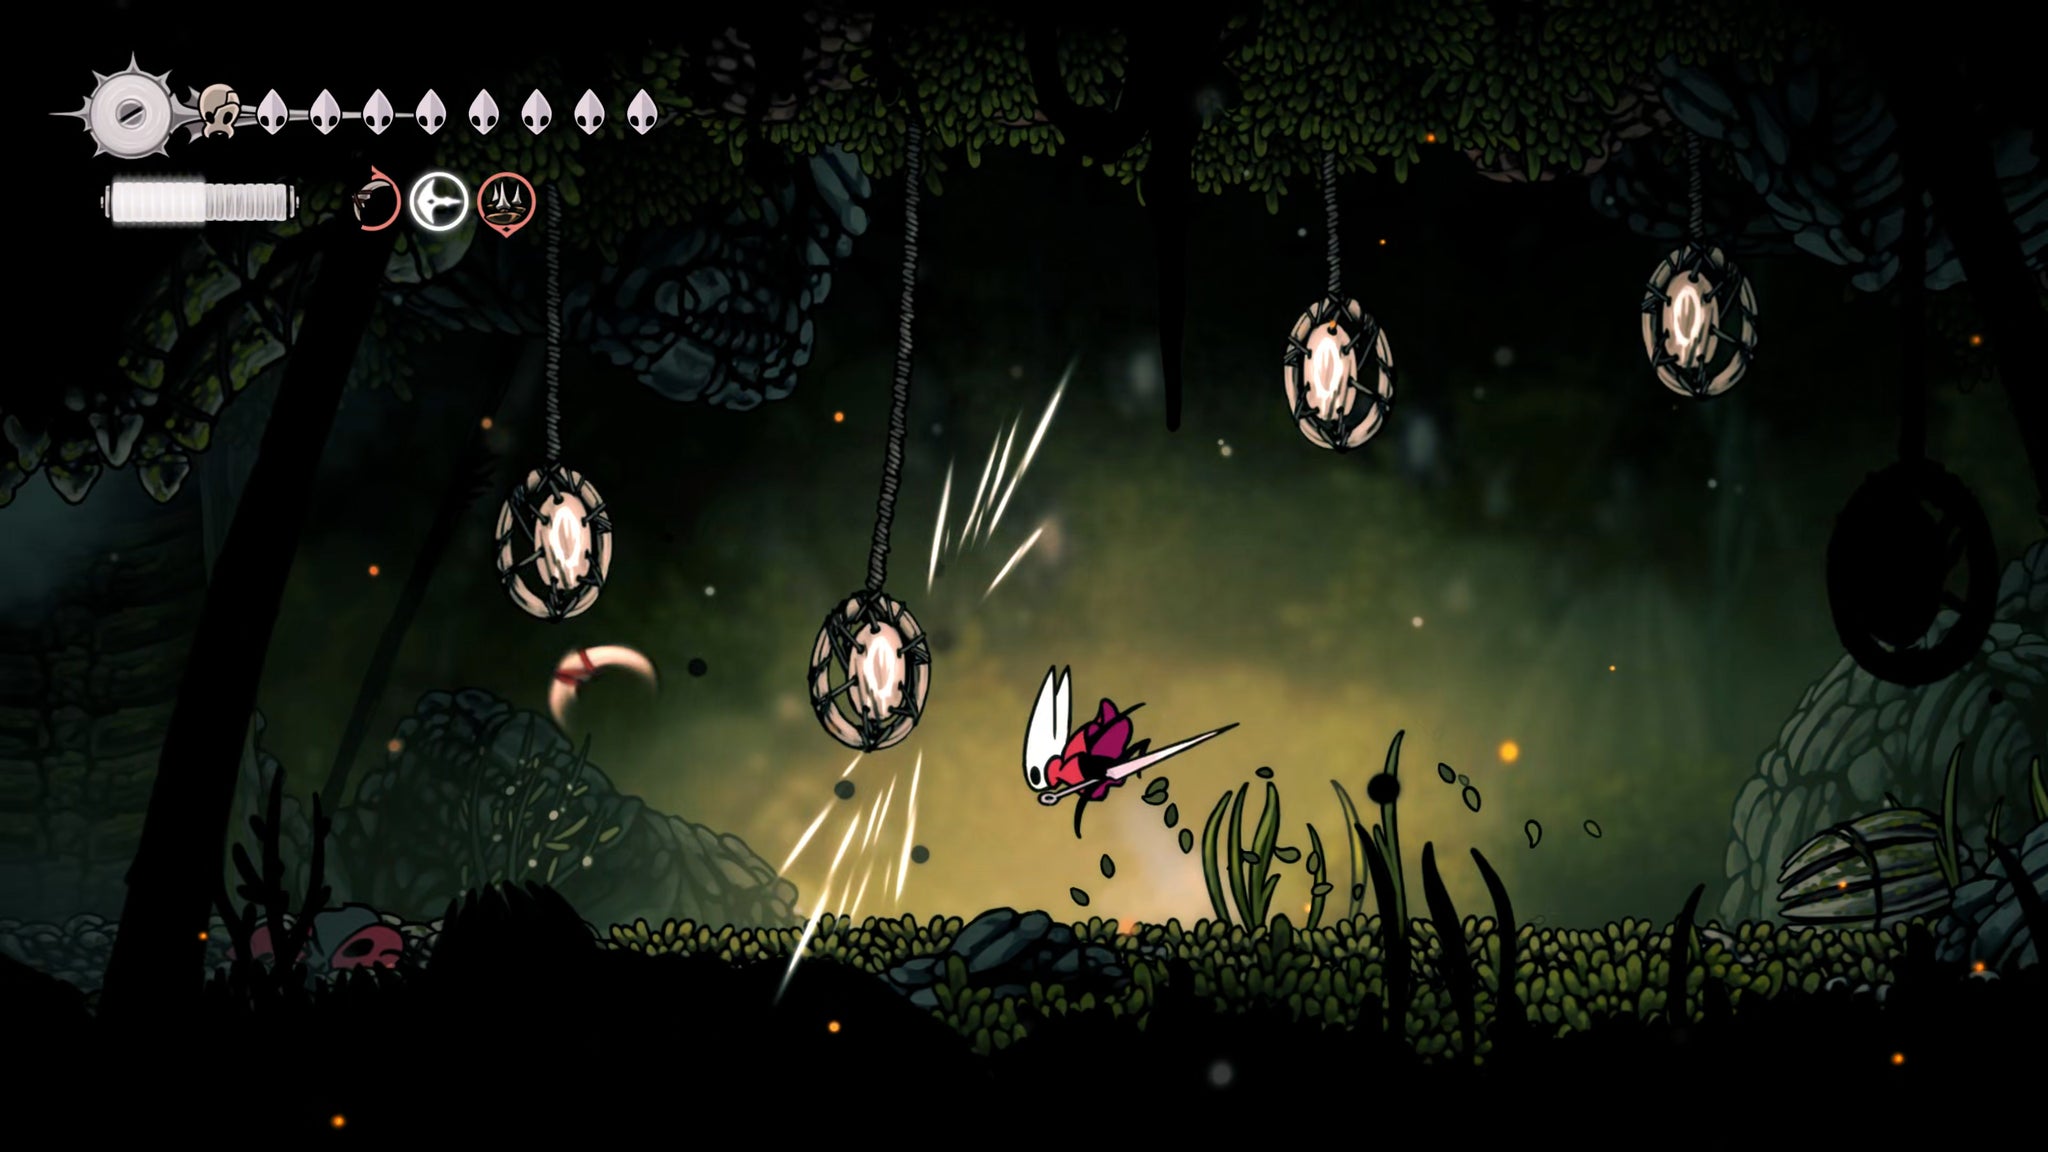

This is a secret puzzle. To solve it, stand on the right-hand side of the room and use the Curveclaw to hit all four targets at once using the unique arcing throw of the Curveclaw.
Hit all the targets with a single throw, and a non-hostile ant will appear from the ground. Interact with him to give him your Curveclaw. He'll then disappear.
Head back to the Bellway and rest at the Bench, then return to this room. On the ground, you'll be able to pick up the upgraded form of the Curveclaw: the Curvesickle. All this really improves is the tool's damage, but it's still worth doing.
4. Beat Sprintmaster Swift in all four races.
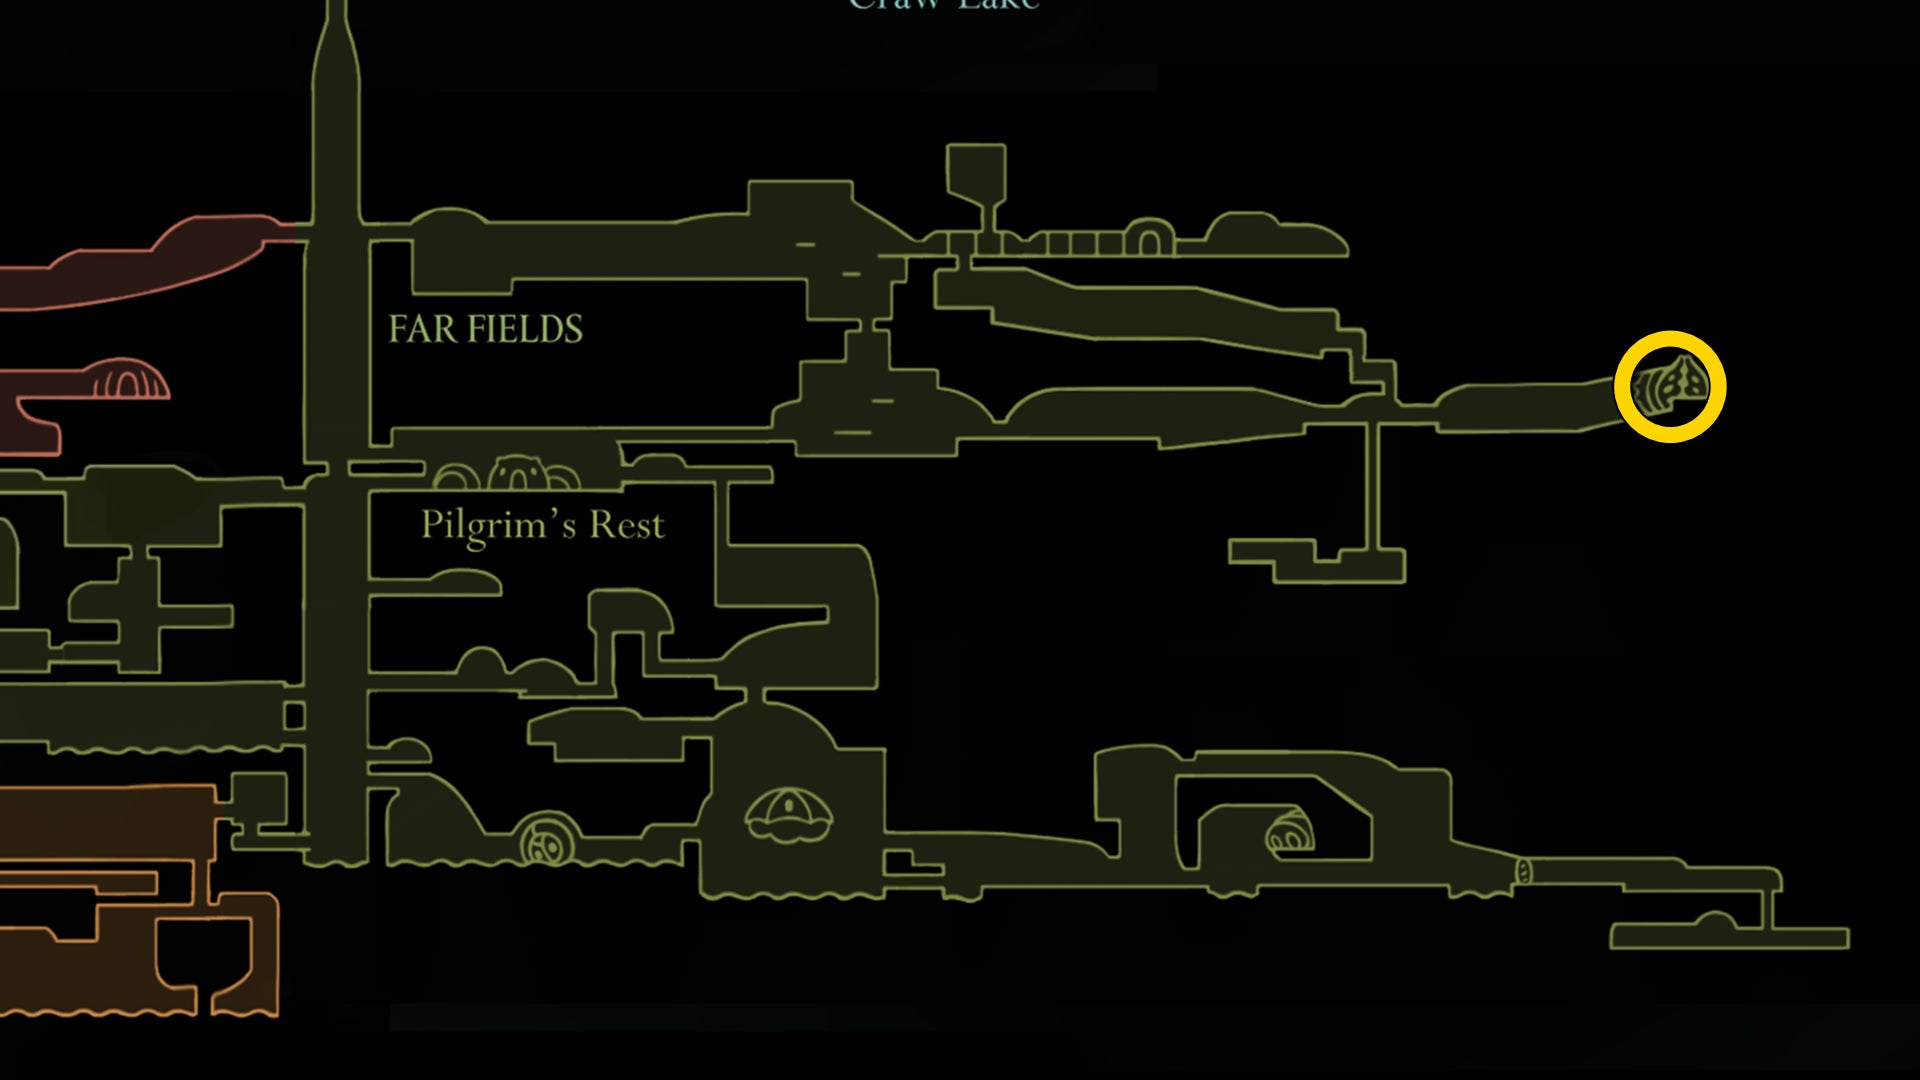
Head up the main Far Fields shaft and into the upper section on the right which you unlocked in Act 3 - where you found Skarrsinger Karmelita. You may have discovered this already, you curious little scamp, but for those who haven't, head to the very easternmost part of this sub-region, and at the end of a parkour corridor you'll find the entrance into a cave-like structure.
Inside, you'll find a Bench to rest at; and you'll also meet a new NPC, called Sprintmaster Swift. This curious bug lives to go fast, and has set up several racing tracks for you to take part in. Exhaust his dialogue and accept his quest - Fastest In Pharloom.
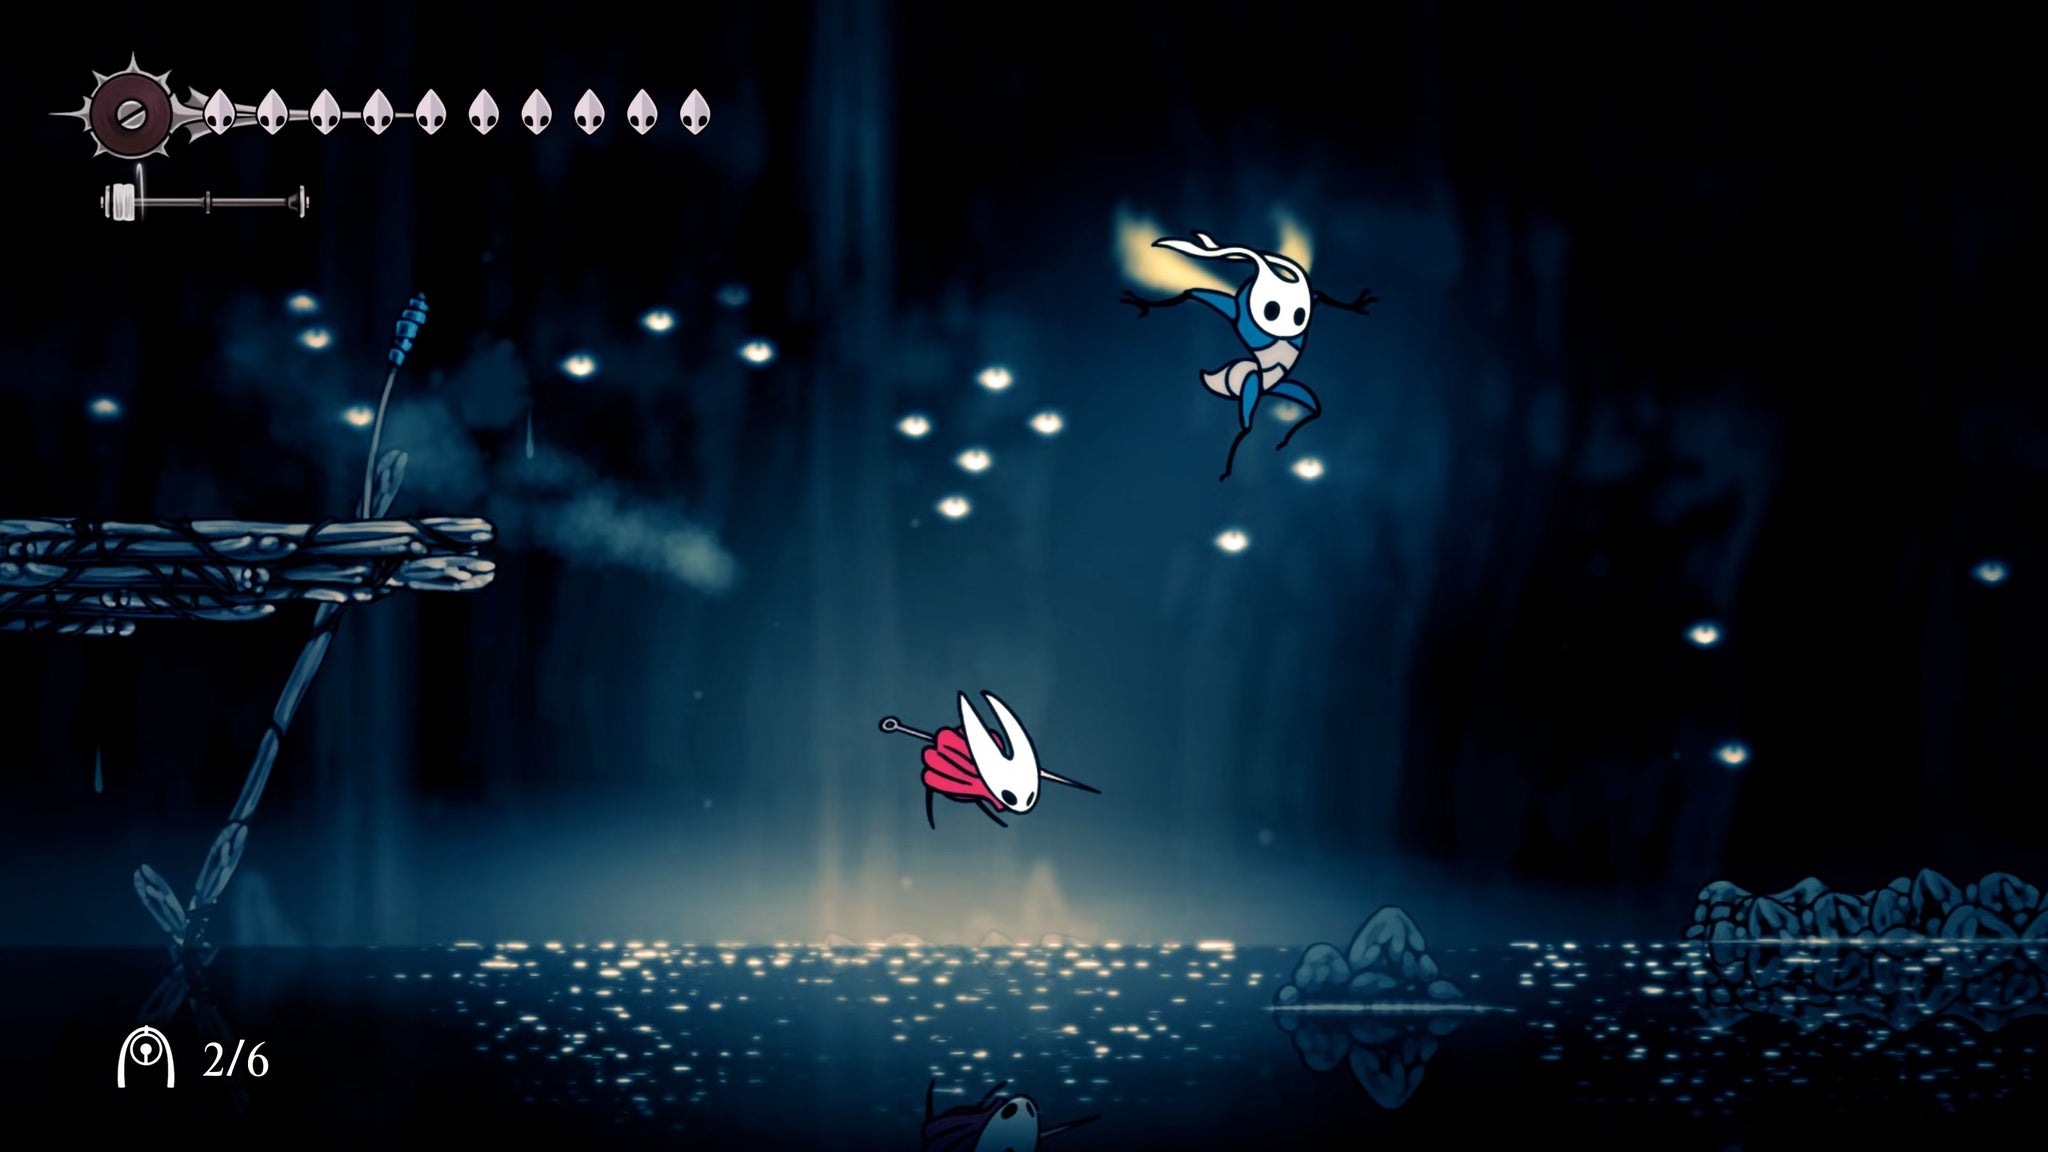
You then can challenge Swift to these racing minigames whenever you like. The courses get progressively trickier, with more of an emphasis on using Pogo bounces and clawlines as you go. Beat him in one race, and he'll prepare a more difficult course for the next one. Here are your rewards for beating Swift at the first three races:
- Race 1 Reward: 1x Rosary Necklace
- Race 2 Reward: 1x Beast Shard
- Race 3 Reward: 1x Mask Shard
Obviously the third race is the most important, because that Mask Shard is very valuable. However, there's one more reward to be gained.
Leave the area and travel elsewhere, then return to Sprintmaster Swift. By this time he'll have set up the final challenge. The course is the same as the last course you raced, but there are more laps. Beat him this time, and he'll give you the Sprintmaster Memento - the second of your Mementos, after the Conjoined Heart.
Mementos can be collected and hung up in your Bellhome. They don't do anything, but they're the ultimate Act 3 collectible. Collect all 8 Mementos and you'll truly have conquered Silksong.
5. Collect the final Memory Locket above Bellhart.
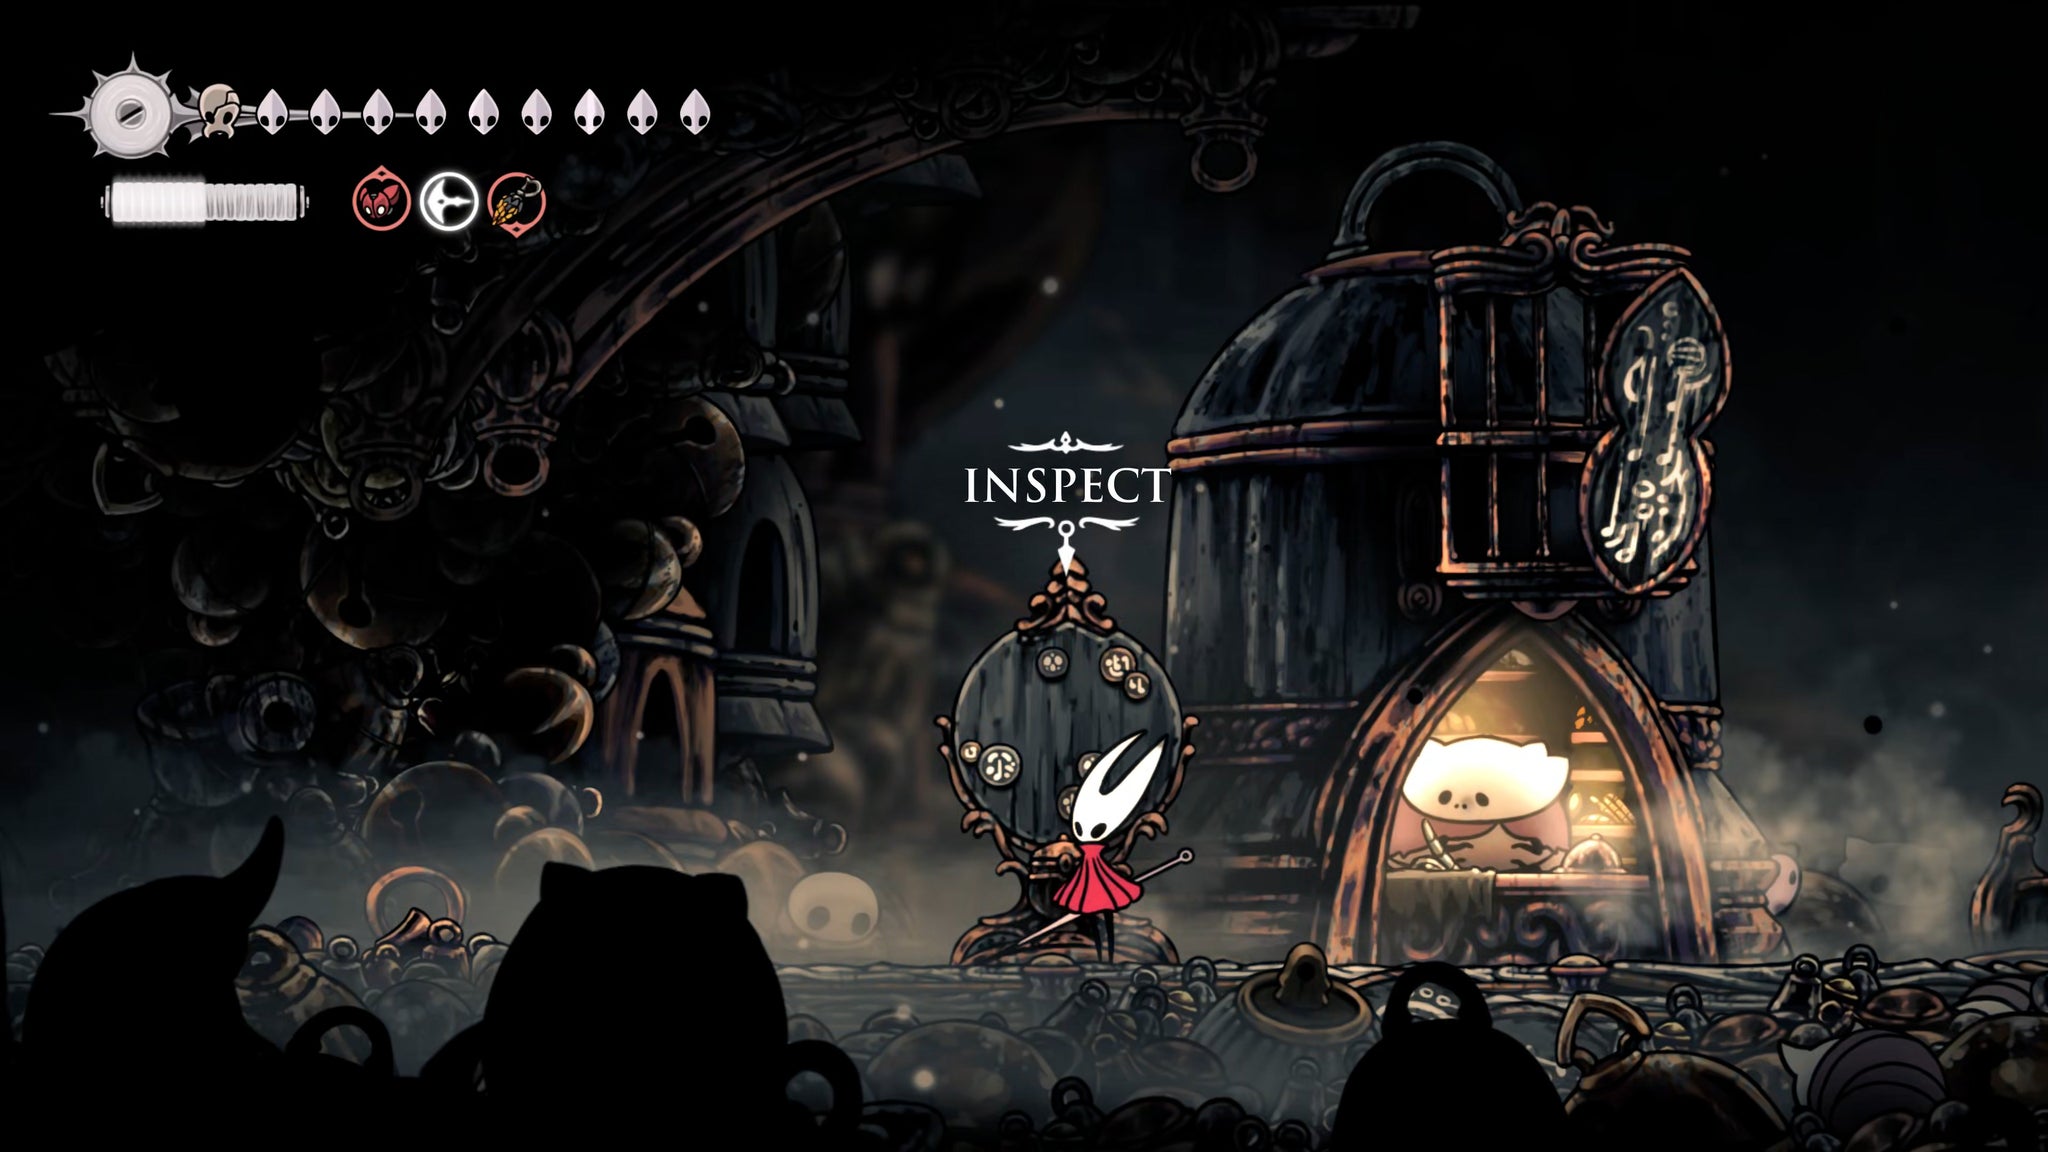
Return to the Far Fields Bellway (remember your Beastling Call, people!), and fast travel to Bellhart. There are two things to do here, and the first is to take a look at the Wishwall and accept every Wish there. There are three Wishes to accept from this Wishwall (though you may have accepted one or more already): Dark Hearts, The Hidden Hunter, and Hero's Call.
If you don't see the Hero's Call Wish here yet, don't worry. This quest is to do with Garmond and Zaza, and we'll go over it in a minute, but you likely just have to find them in a couple more places fighting Void-powered enemies. He tends to be in the lower regions in Act 3 - Deep Docks, Far Fields, and even Mosshome.
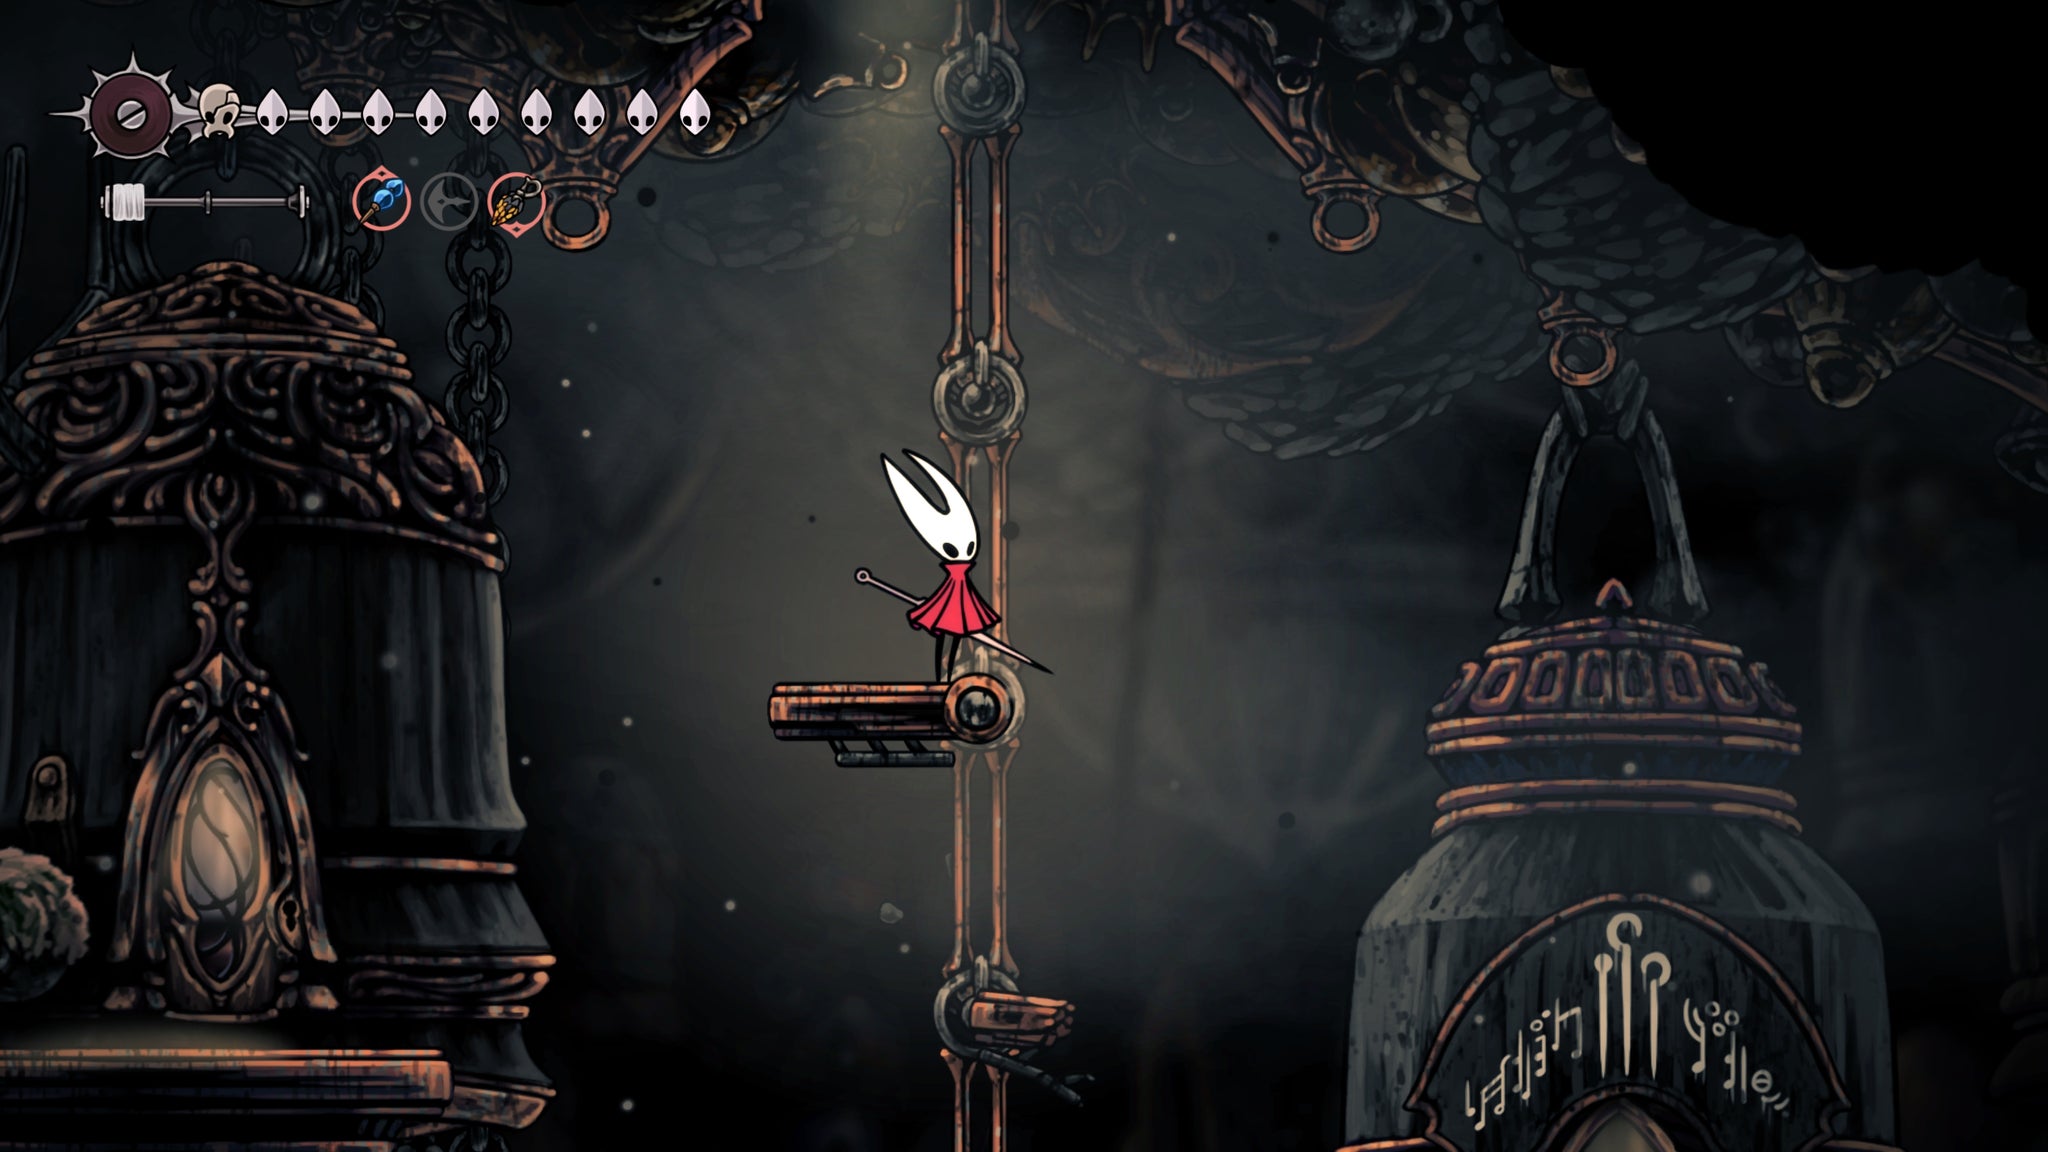
The other thing to do in Bellhart is collect your final Memory Locket. Climb onto the very top ledge in the upper section of Bellhart, and then Silk Soar upwards through the ceiling. Up here you'll find a tiny compartment containing your final Memory Locket, for upgrading the Shaman Crest.
6. Complete the Dark Hearts Wish.
This quest can be completed while you do other things in Act 3, but I'll mention it here: Dark Hearts simply requires you to kill 10 Void Masses. These Void Masses are dotted throughout Pharloom in Act 3, and there are nearly 50 to choose from. Once slain, they won't respawn.
Here's the full map of all their locations:
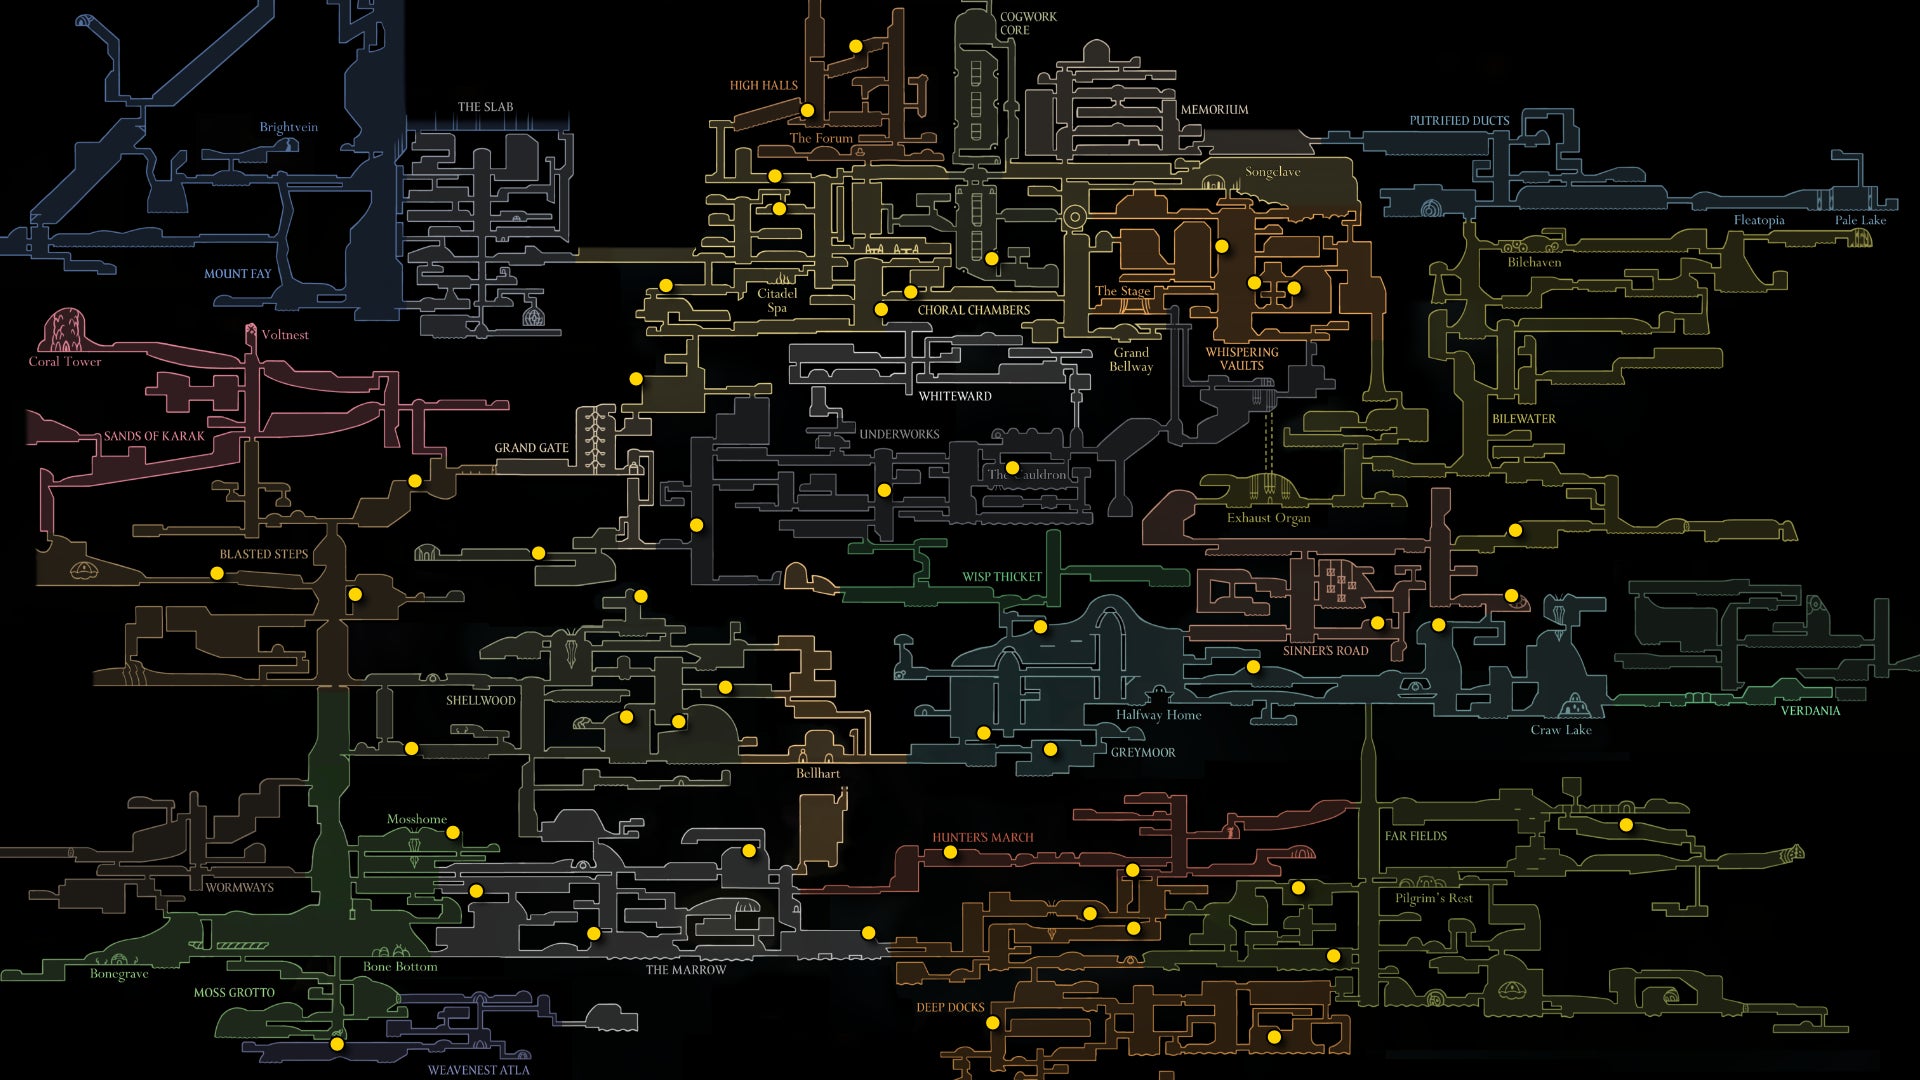
Once you kill 10 Void Masses, return to the Bellhart Wishwall to complete the quest, earning you another Mask Shard towards Hornet's tenth and final point of health.
7. Complete The Hidden Hunter Wish.
I'm sorry to make you backtrack slightly, but this quest involves returning to Far Fields - only for a short time, though. The Hidden Hunter Wish tasks you with defeating Gurr The Outcast, a powerful Skarrgard with a penchant for laying traps. Head into the Act 3 part of Far Fields once more, and make your way towards Sprintmaster Swift's home.
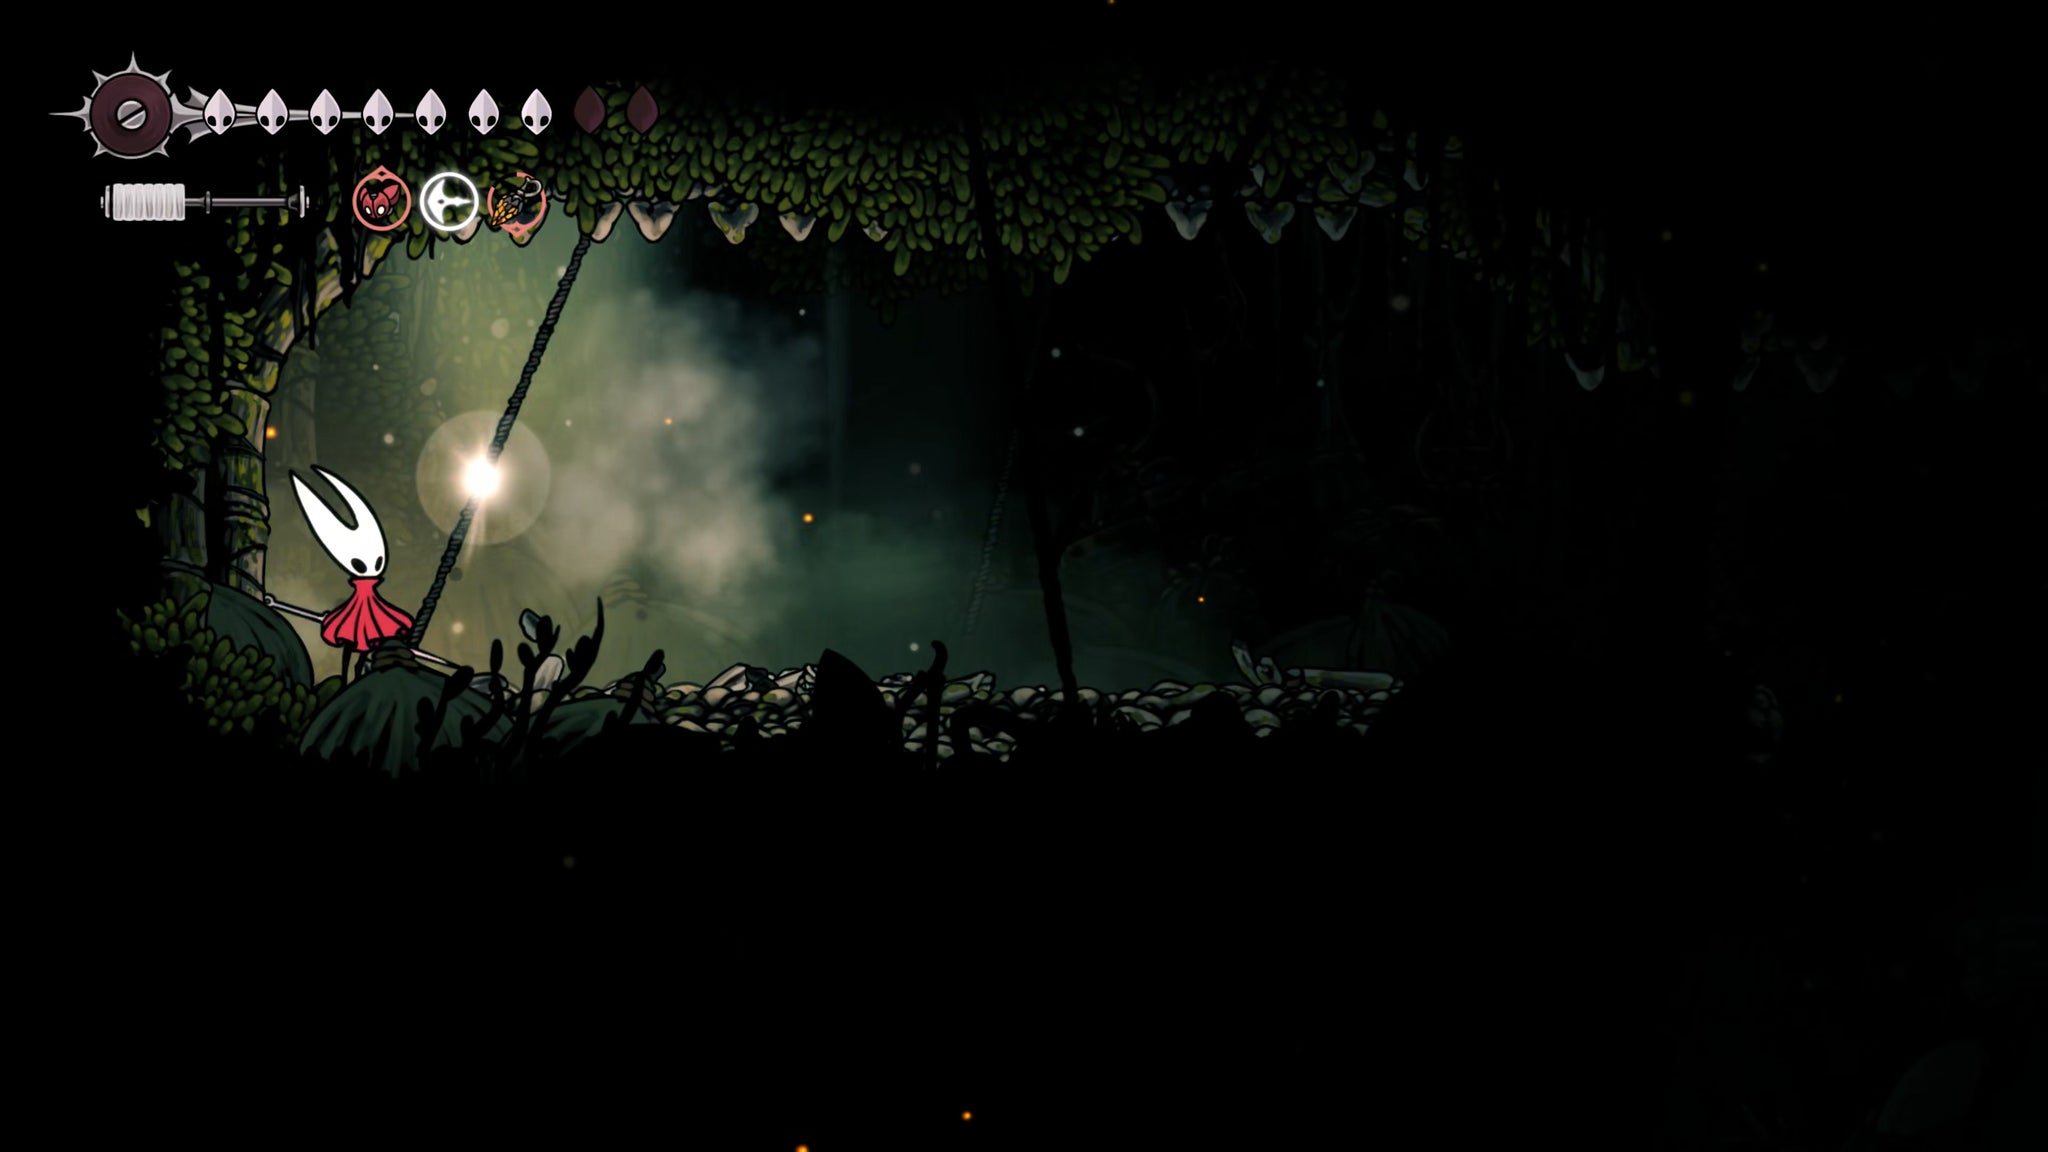
On the way there, just under the path that leads upwards towards Karmelita's home, you'll see an item on the floor that you can use to "Track" your prey. Interact with it, and a trap will instantly ensnare you and drag you down into Gurr's arena.

Gurr isn't a pushover, but nor is he terribly dangerous. He moves around quite a lot and can buffet into you to cause damage, but his main gameplan is to throw tonnes of airborne spike traps at you, which work in a very similar fashion to your own Sting Shard tool.
Avoid the traps as much as you can, obviously, and hit them from the side to trigger them safely. They'll stay until you do something about them, so you really need to proactively destroy the traps. Otherwise, Gurr is fairly simple, and lacks the health pool that would turn him into a real threat. Stay aggressive, and use your Flintslate to end this fight quickly.
Once the fight's over, follow the path to your left and, on a string guarded by a pressure plate trap, you'll find the Grass Doll - Gillie's missing item and the main quest item you need to return to Bellhart's Wishwall. You're then free to Beastling Call and fast travel back to Bellhart to turn in the Grass Doll and obtain another Mask Shard for your good work.
8. Complete the Hero's Call Wish.
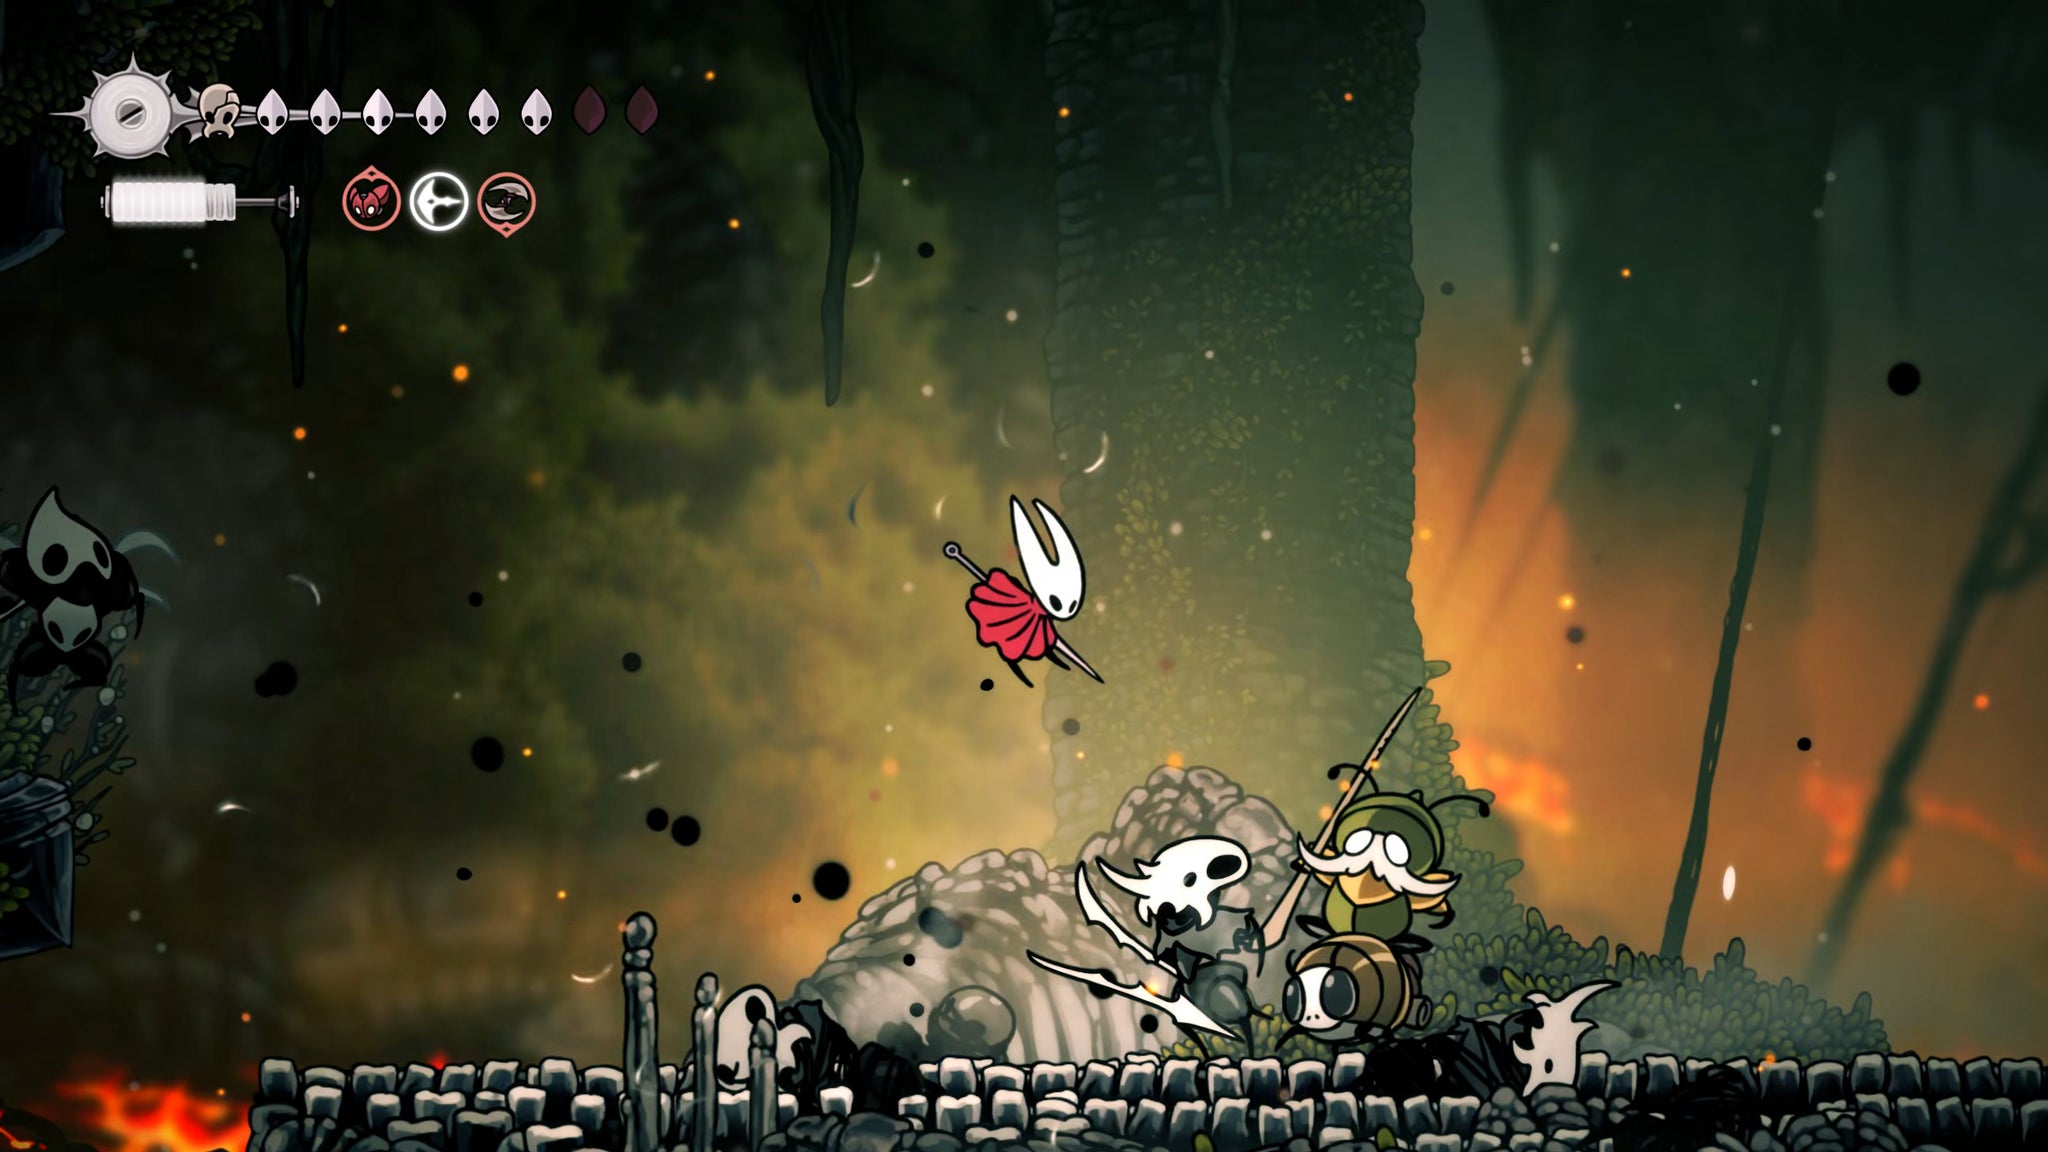

After enough time (or enough encounters with Garmond and Zaza fighting Void-powered enemies), you'll be able to accept the Hero's Call quest from the Bellhart Wishwall. Once you have this quest, head to the Blasted Steps Bellway. As you arrive, you should see Zaza - Garmond's mount - on the left-hand side of the Bellway, calling for you to follow.
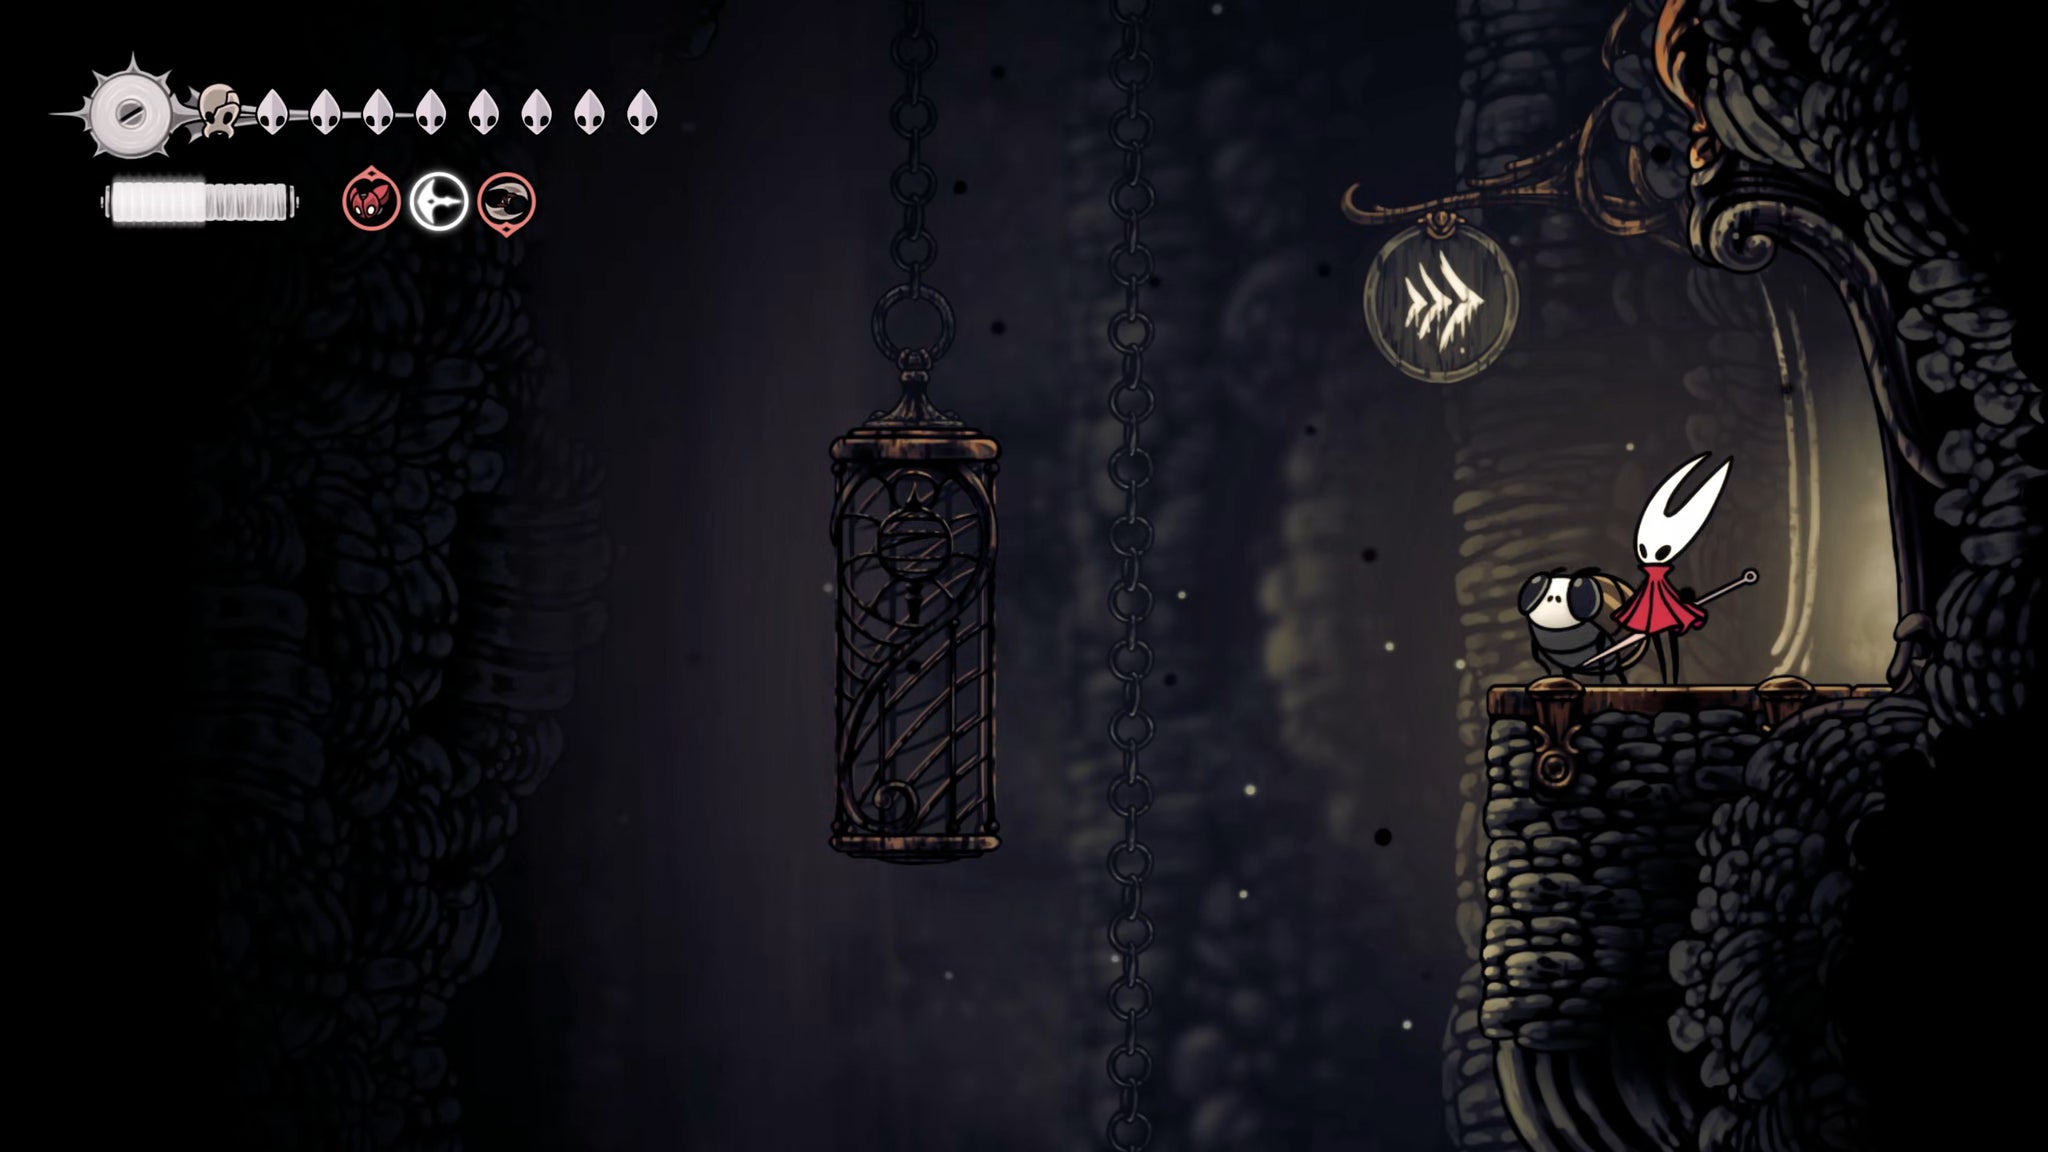
Follow Zaza into the shaft to the west, and down to the bottom-left exit - the path that once took you to Lumble The Lucky. Jump across the pits and into the next room, where you'll need to - rather unfortunately - face off against the Void-addled Lost Garmond.
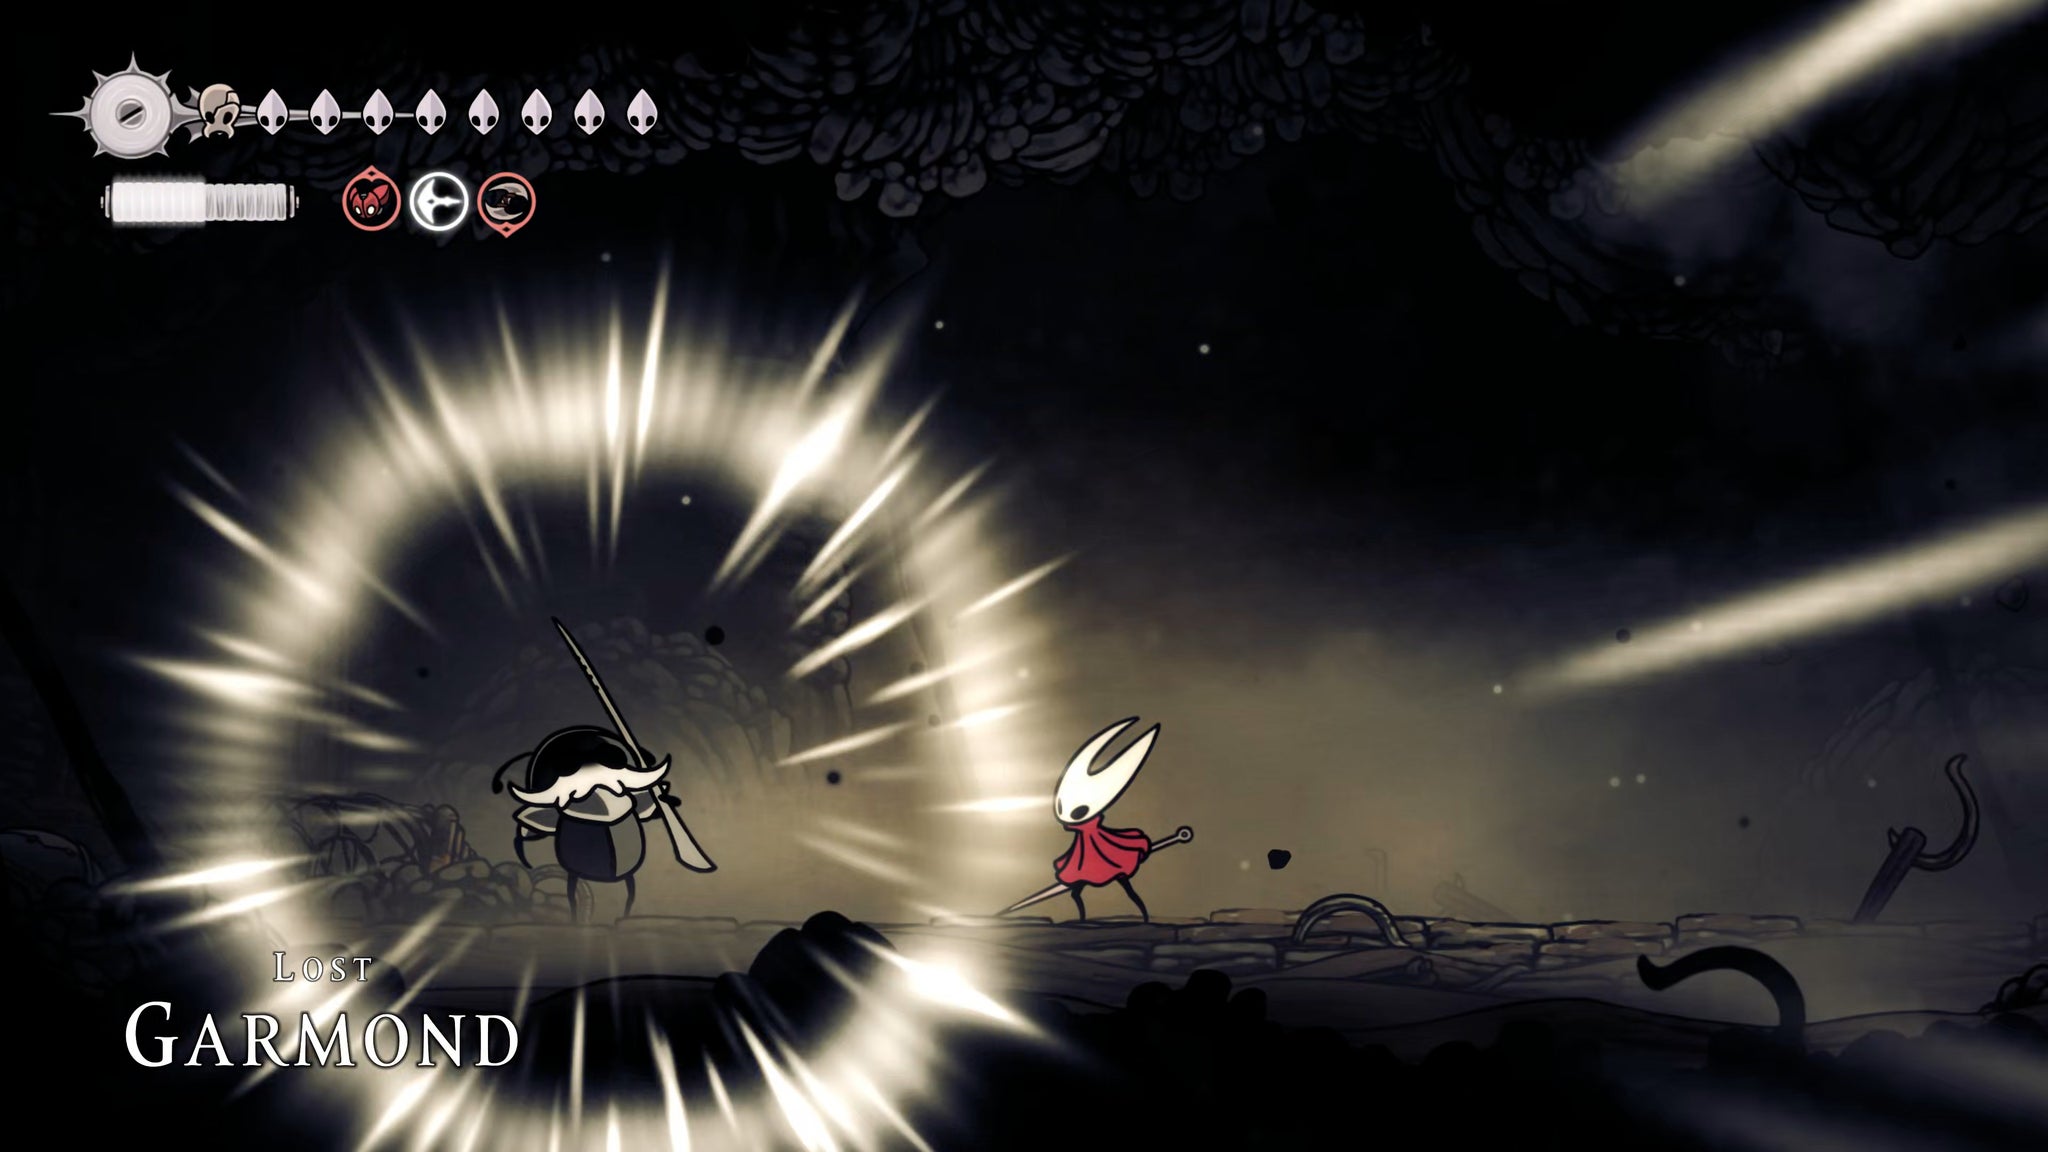
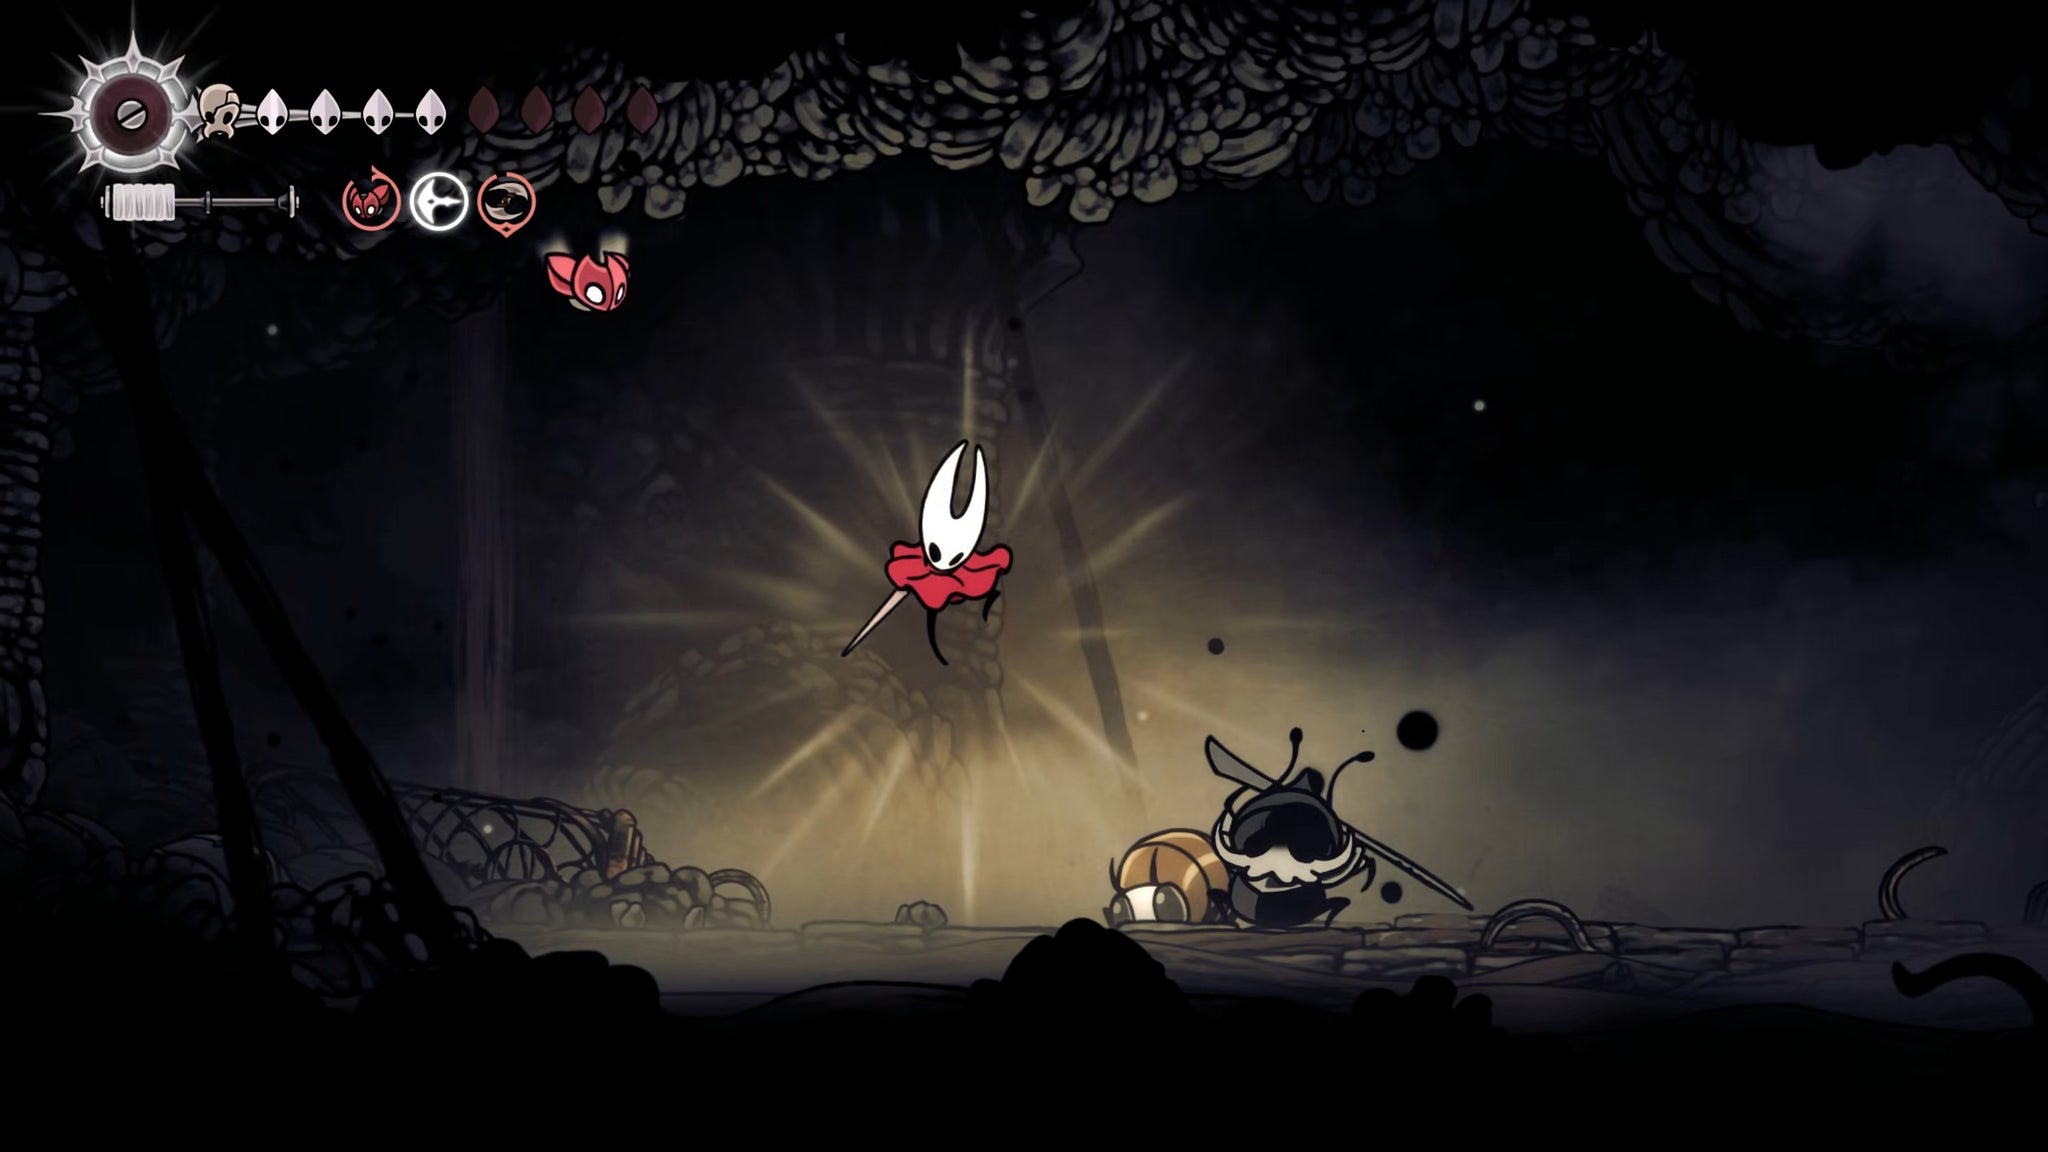
Lost Garmond is quite a bit trickier than the friendly duel you had with Garmond back in Act 2. The most obnoxious of his Void attacks involves spewing projectiles out in a fan-like fashion from side to top. The best way to avoid this is by staying decently close to Garmond (though not so close that you can't see that first projectile coming), and then jumping over him as he fans the attack upwards.
Generally the trick to this fight is staying airborne. He has one dangerous attack where he jumps upwards before launching an attack directly downwards, and if you don't see it coming it'll hit you while you're Pogo-ing off the top of him. But aside from this, he is most dangerous when you're both on ground level, so you should spend a lot of this fight jumping over him.
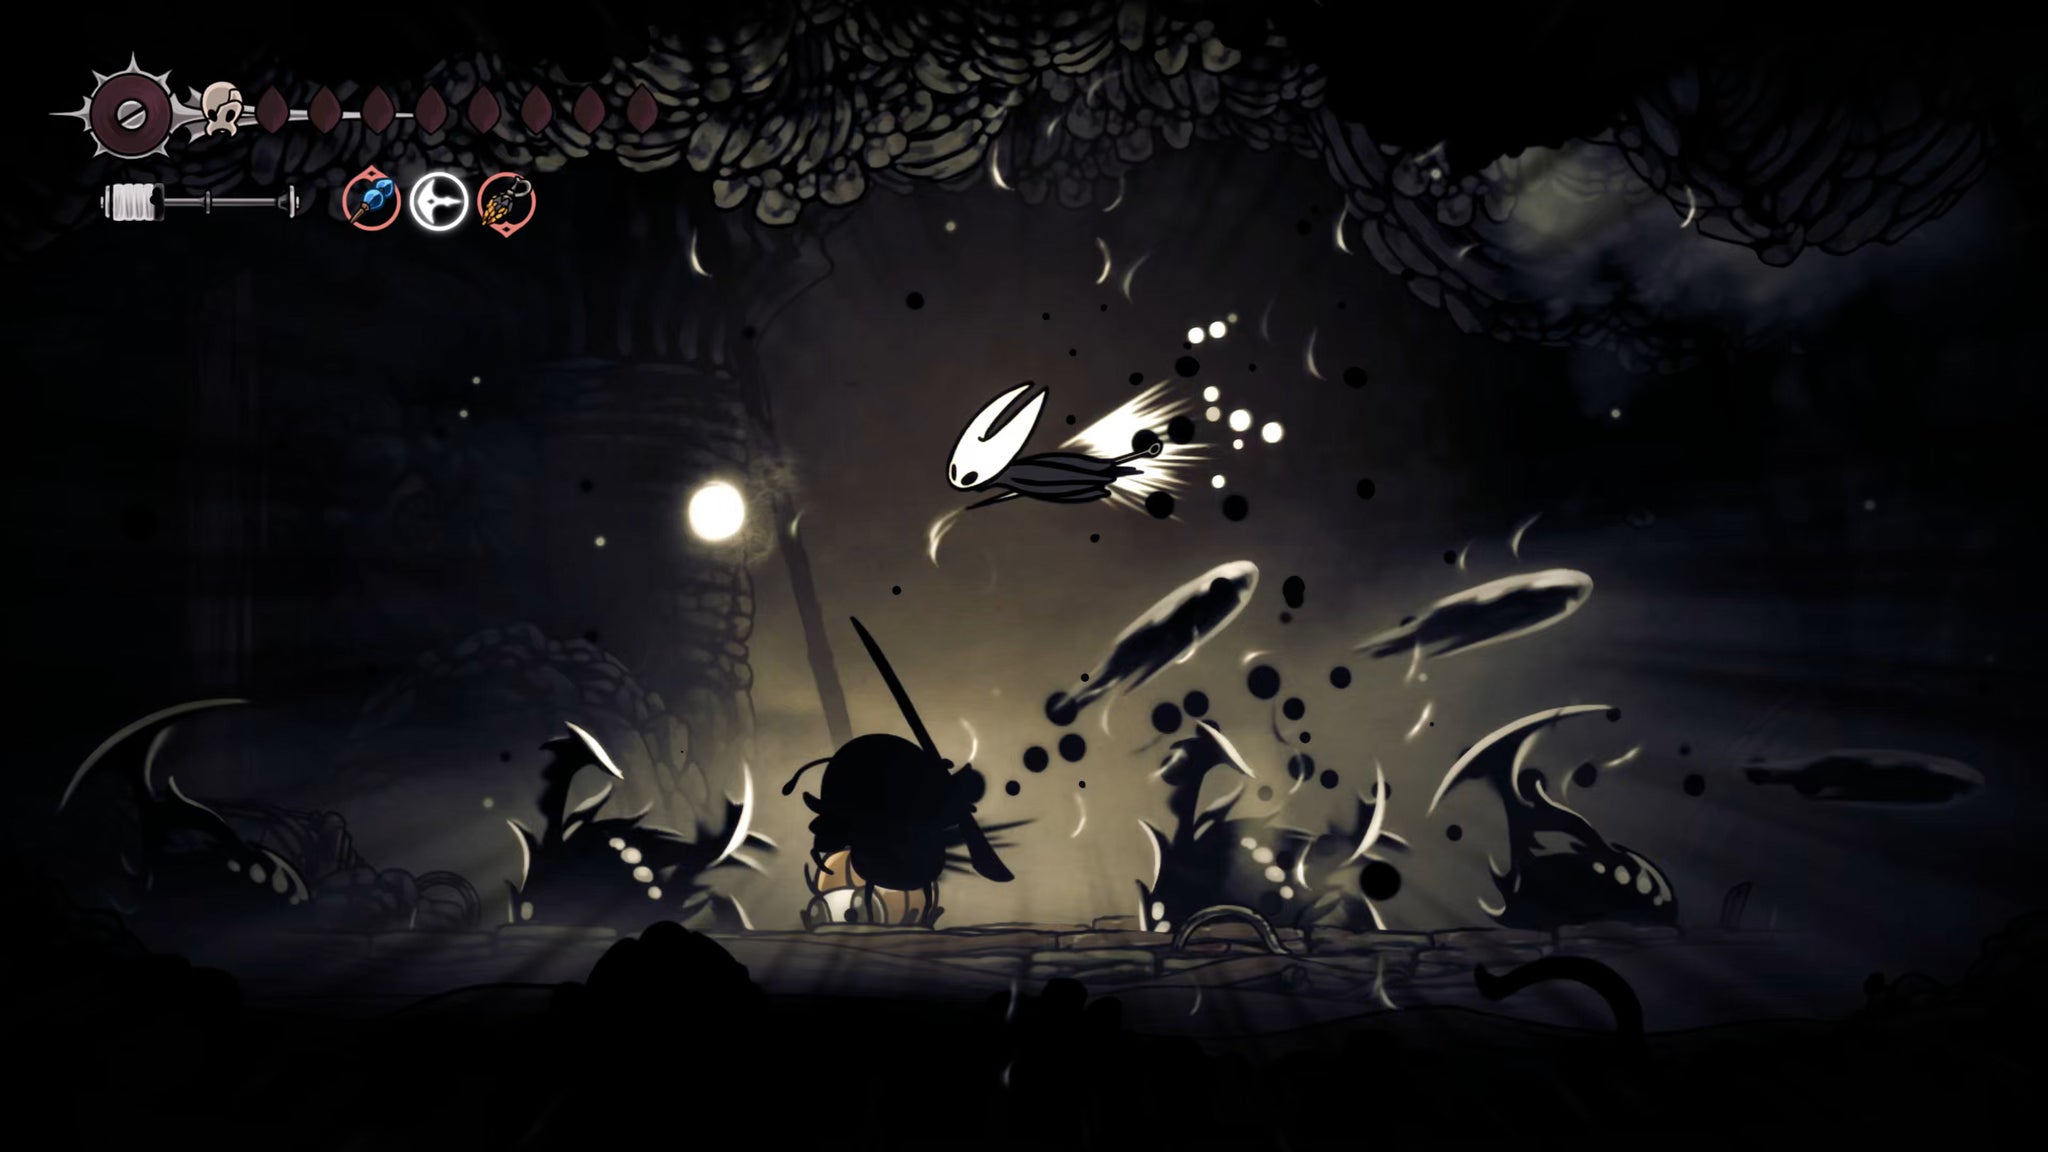

Lost Garmond only has the one phase, so it's not so tricky once you're used to his Void attacks. Strike the final blow, and you'll knock him free of the Void clouding his mind. Speak with him afterwards, and you'll complete the Hero's Call Wish, and obtain the Hero's Memento.
A poor trade for having to be part of probably the saddest moment in all of Silksong immediately after the quest ends. Once Zaza goes up to Lost Garmond, you can play your Needolin for some extra-sad words from Zaza herself.
9. Defeat the Watcher At The Edge.
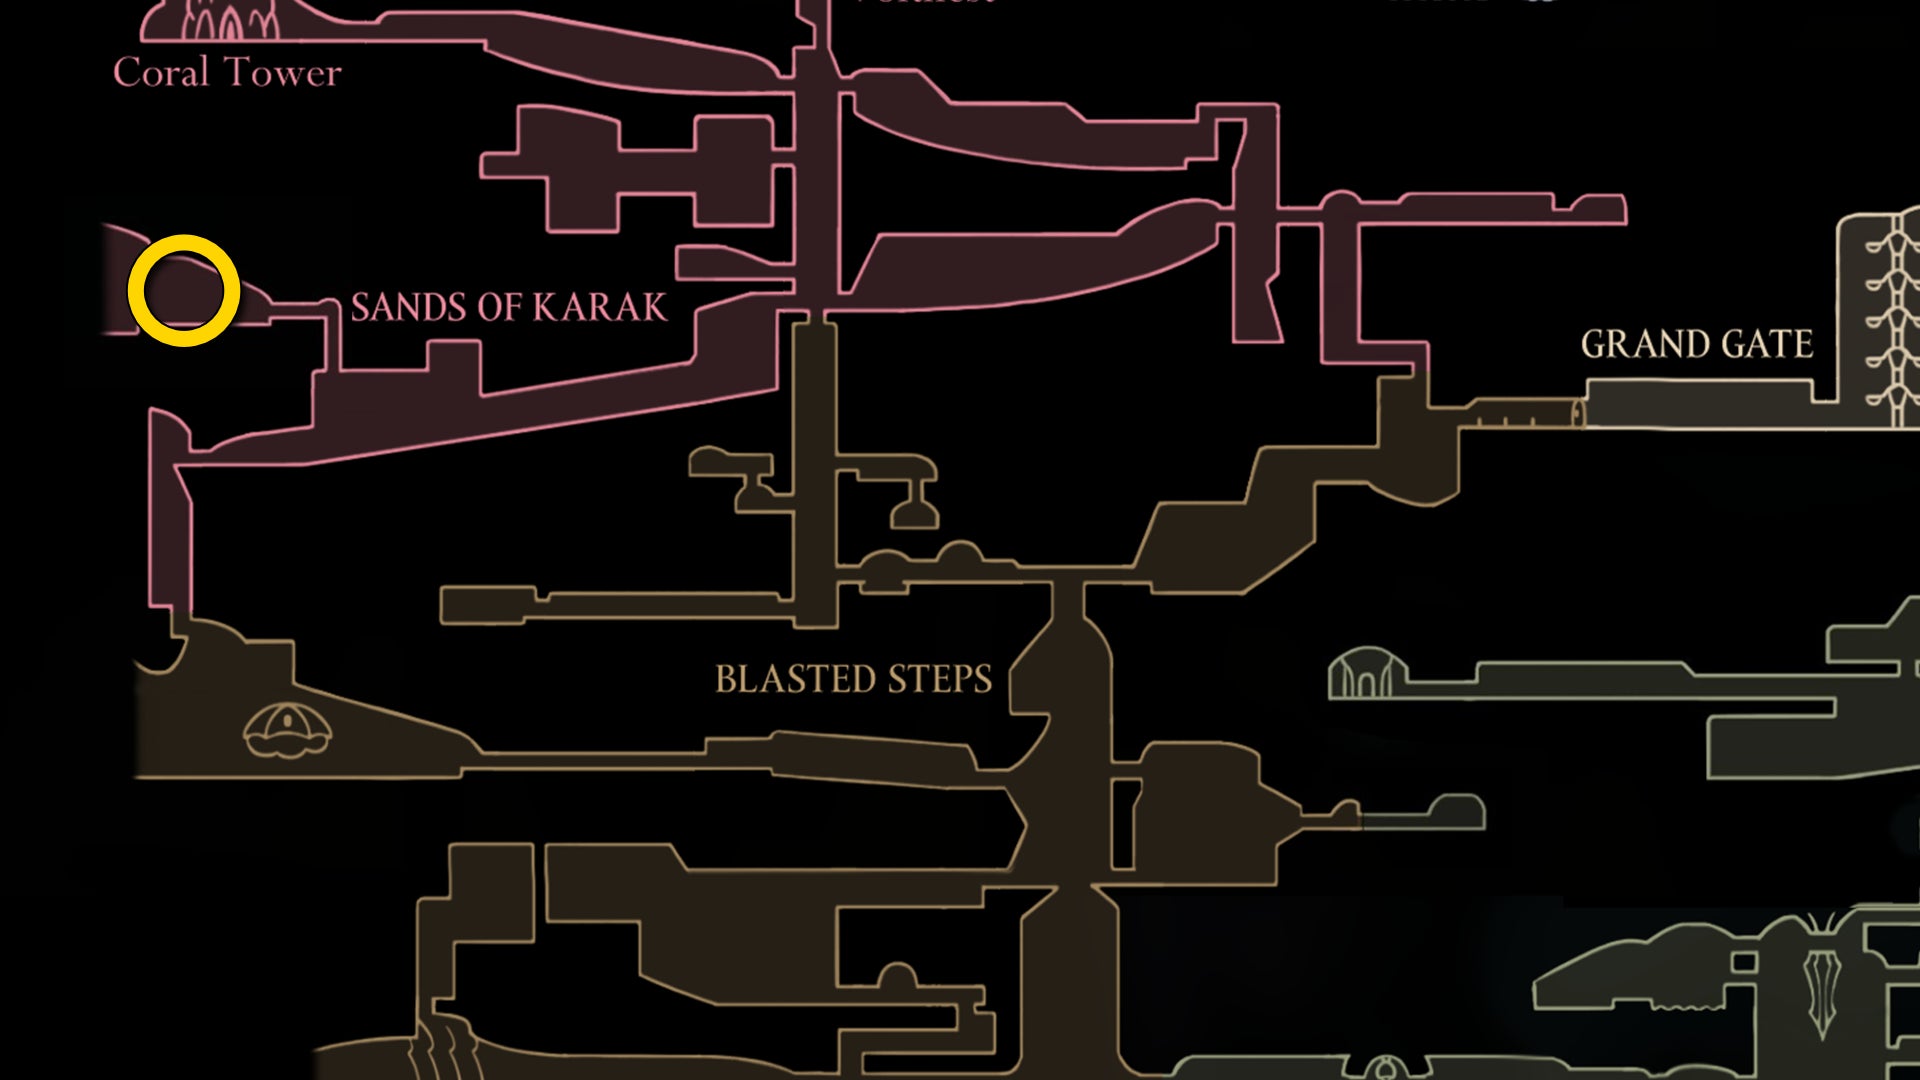
Go back to the Blasted Steps Bellway and rest, then head out to the east and drop down the hole. Follow the western path below, past the Great Conchflies arena and all the way to the Pinstress's home.
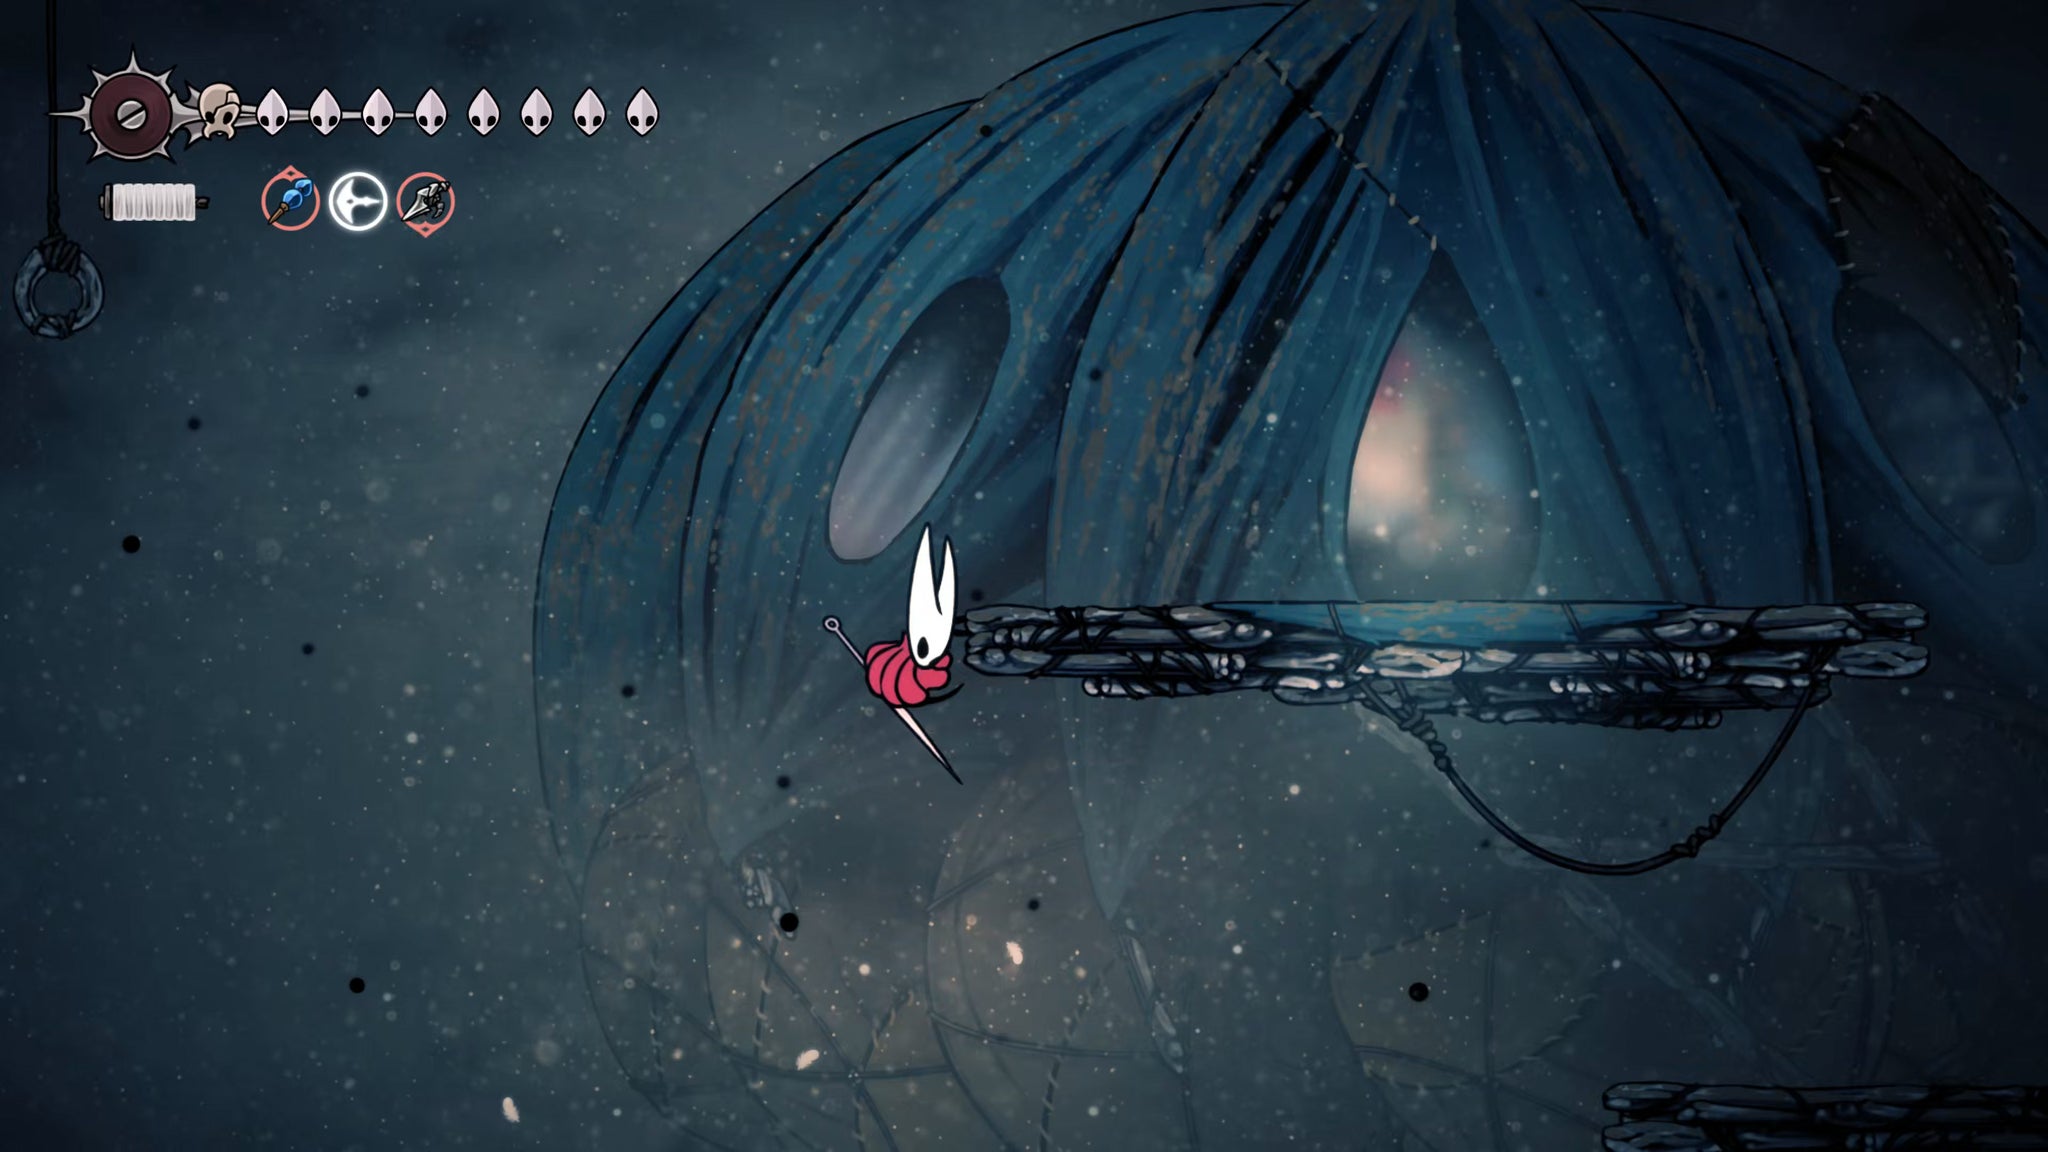

Head inside the Pinstress's house and rest there to reset your spawn point. This is the best Bench from which to fight the next boss, which we'll get to in a moment. You should also take this opportunity to inspect the note left behind on the table by the Pinstress. She's departed to Mount Fay, and awaits you there for a duel.
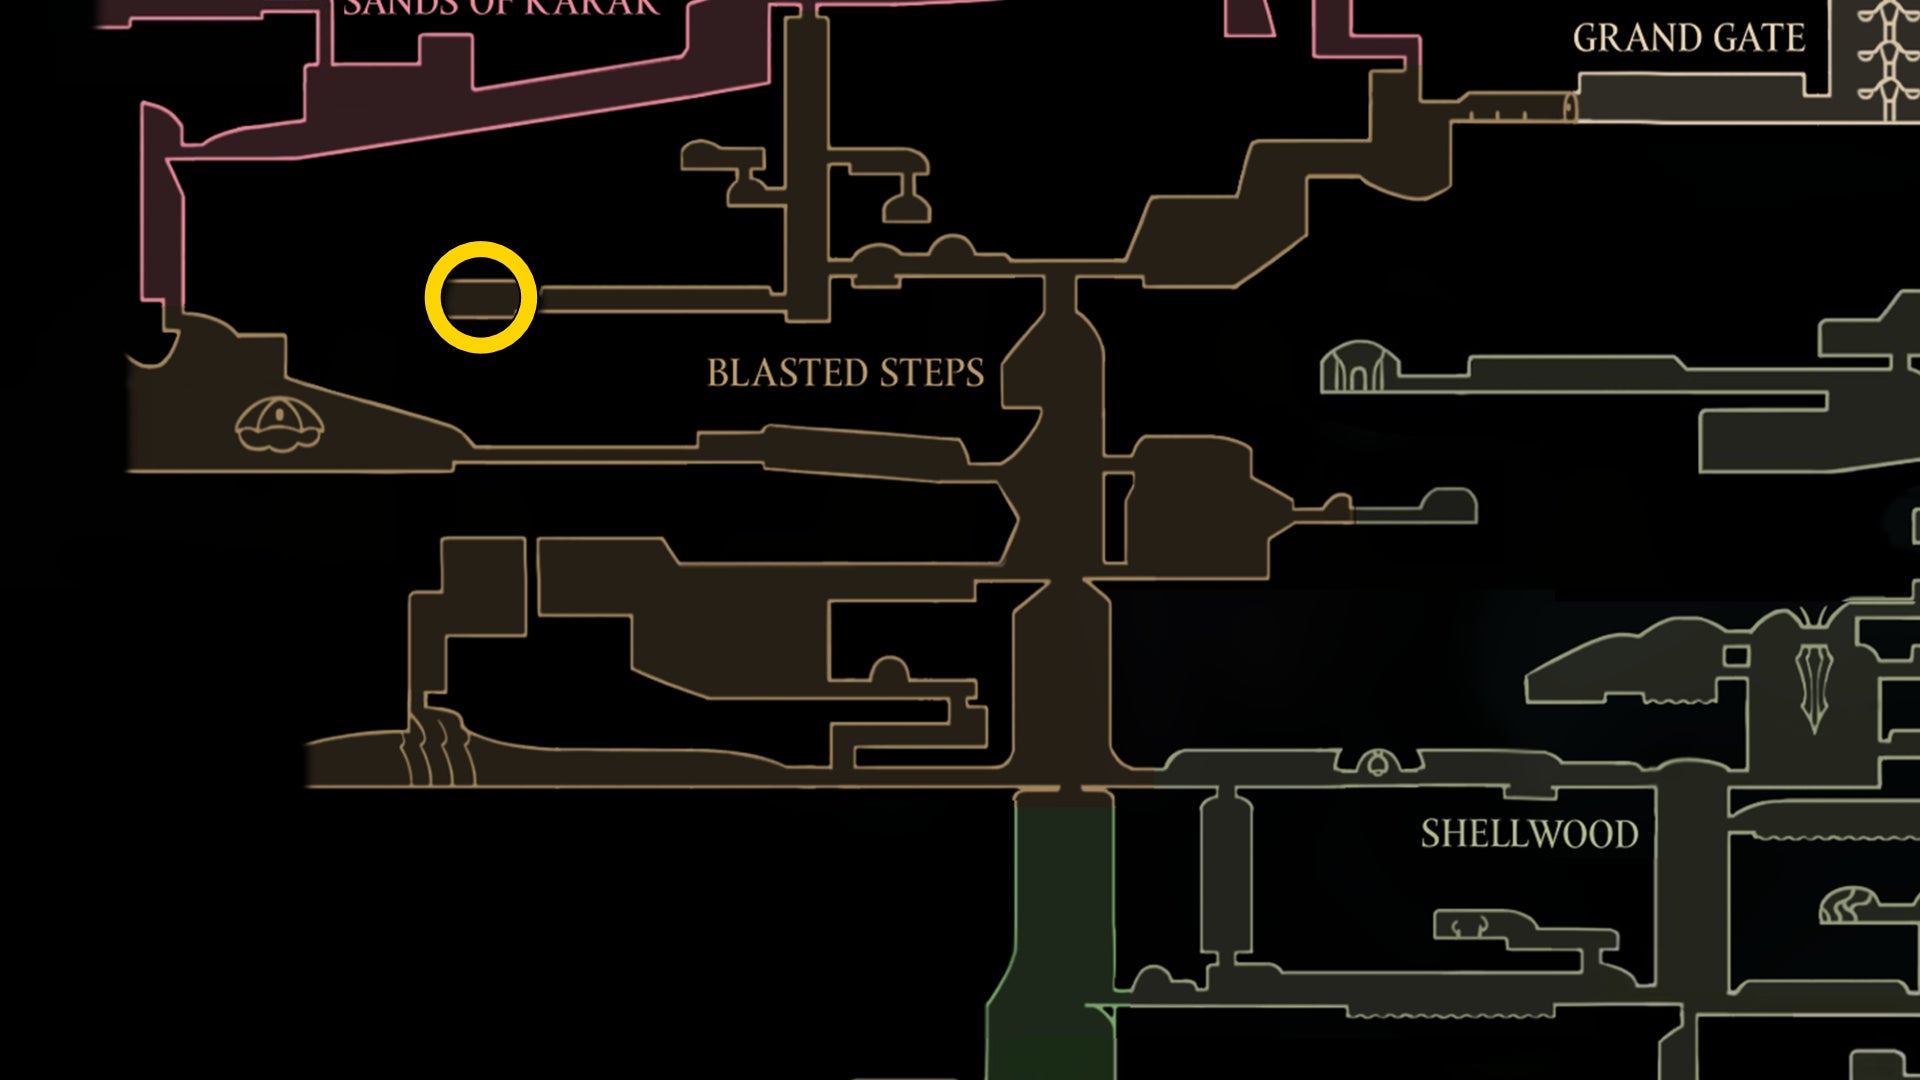
Go ahead and accept the Fatal Resolve Wish, but before we get to fulfilling that Wish, there's the aforementioned nearby boss to defeat. Exit the Pinstress's home and use the clawline hooks and ledges above you to enter upwards into the Sands Of Karak, using exactly the same path you used to discover the region in the first place.

Once you're at the top of that path and you're in the first "proper" room of the Sands Of Karak, follow the paths of the first two yellow orbs to get to the centre, and then follow the left-hand path of the third orb. You've been here before - this path takes you to a small ledge in the top-left corner where you once found a Memory Locket, guarded by a Conchfly.
Once you're here, stand on the right-hand edge of that final ledge, and Silk Soar upwards through the ceiling. This will take you to a hidden room on the very western edge of the map, where there's nothing but sand and raging winds. Towards the end of the path you'll see a frozen statue of an armoured warrior. Play your Needolin next to the statue and it will awaken, beginning your fight with the secret Watcher At The Edge.
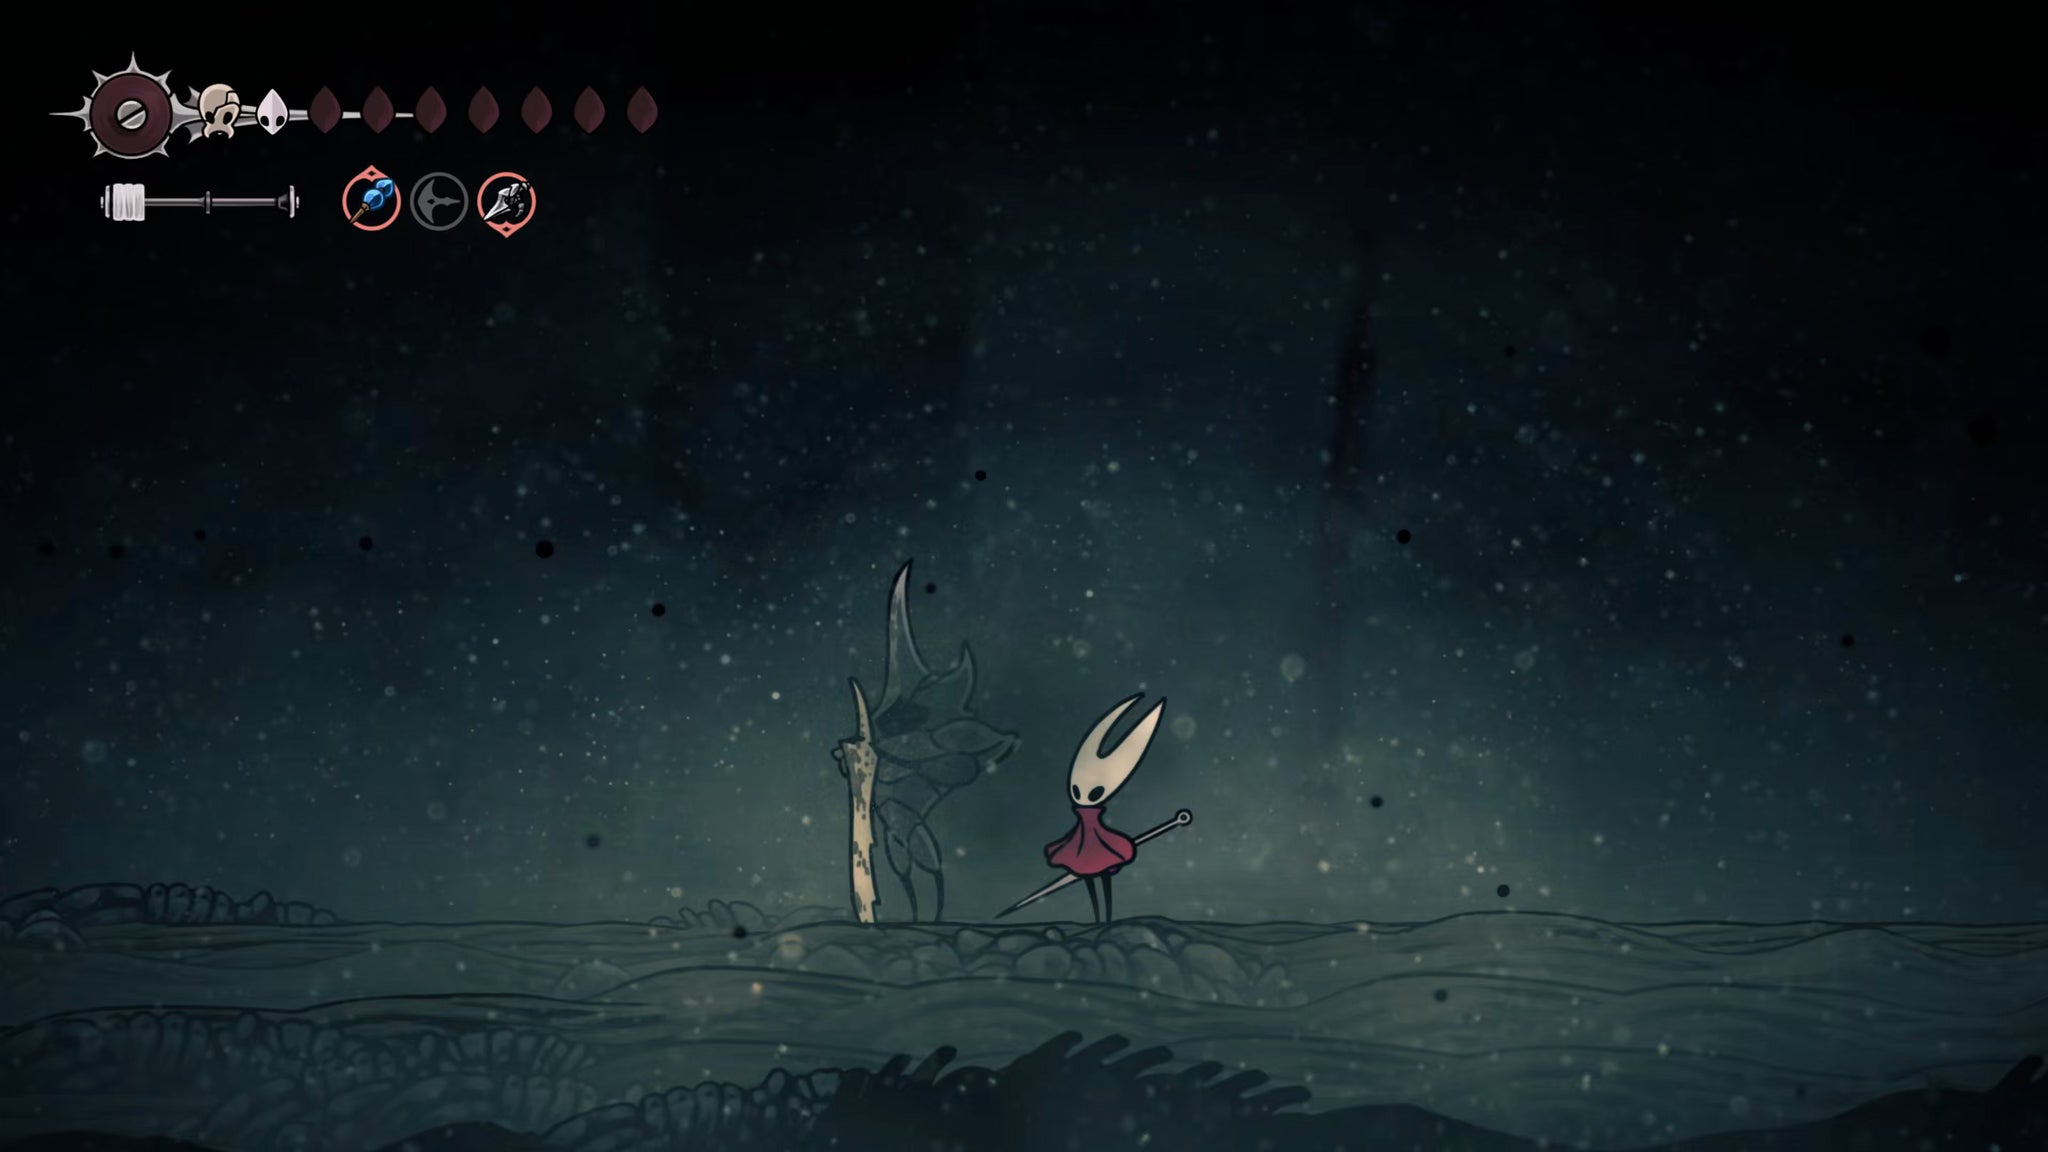
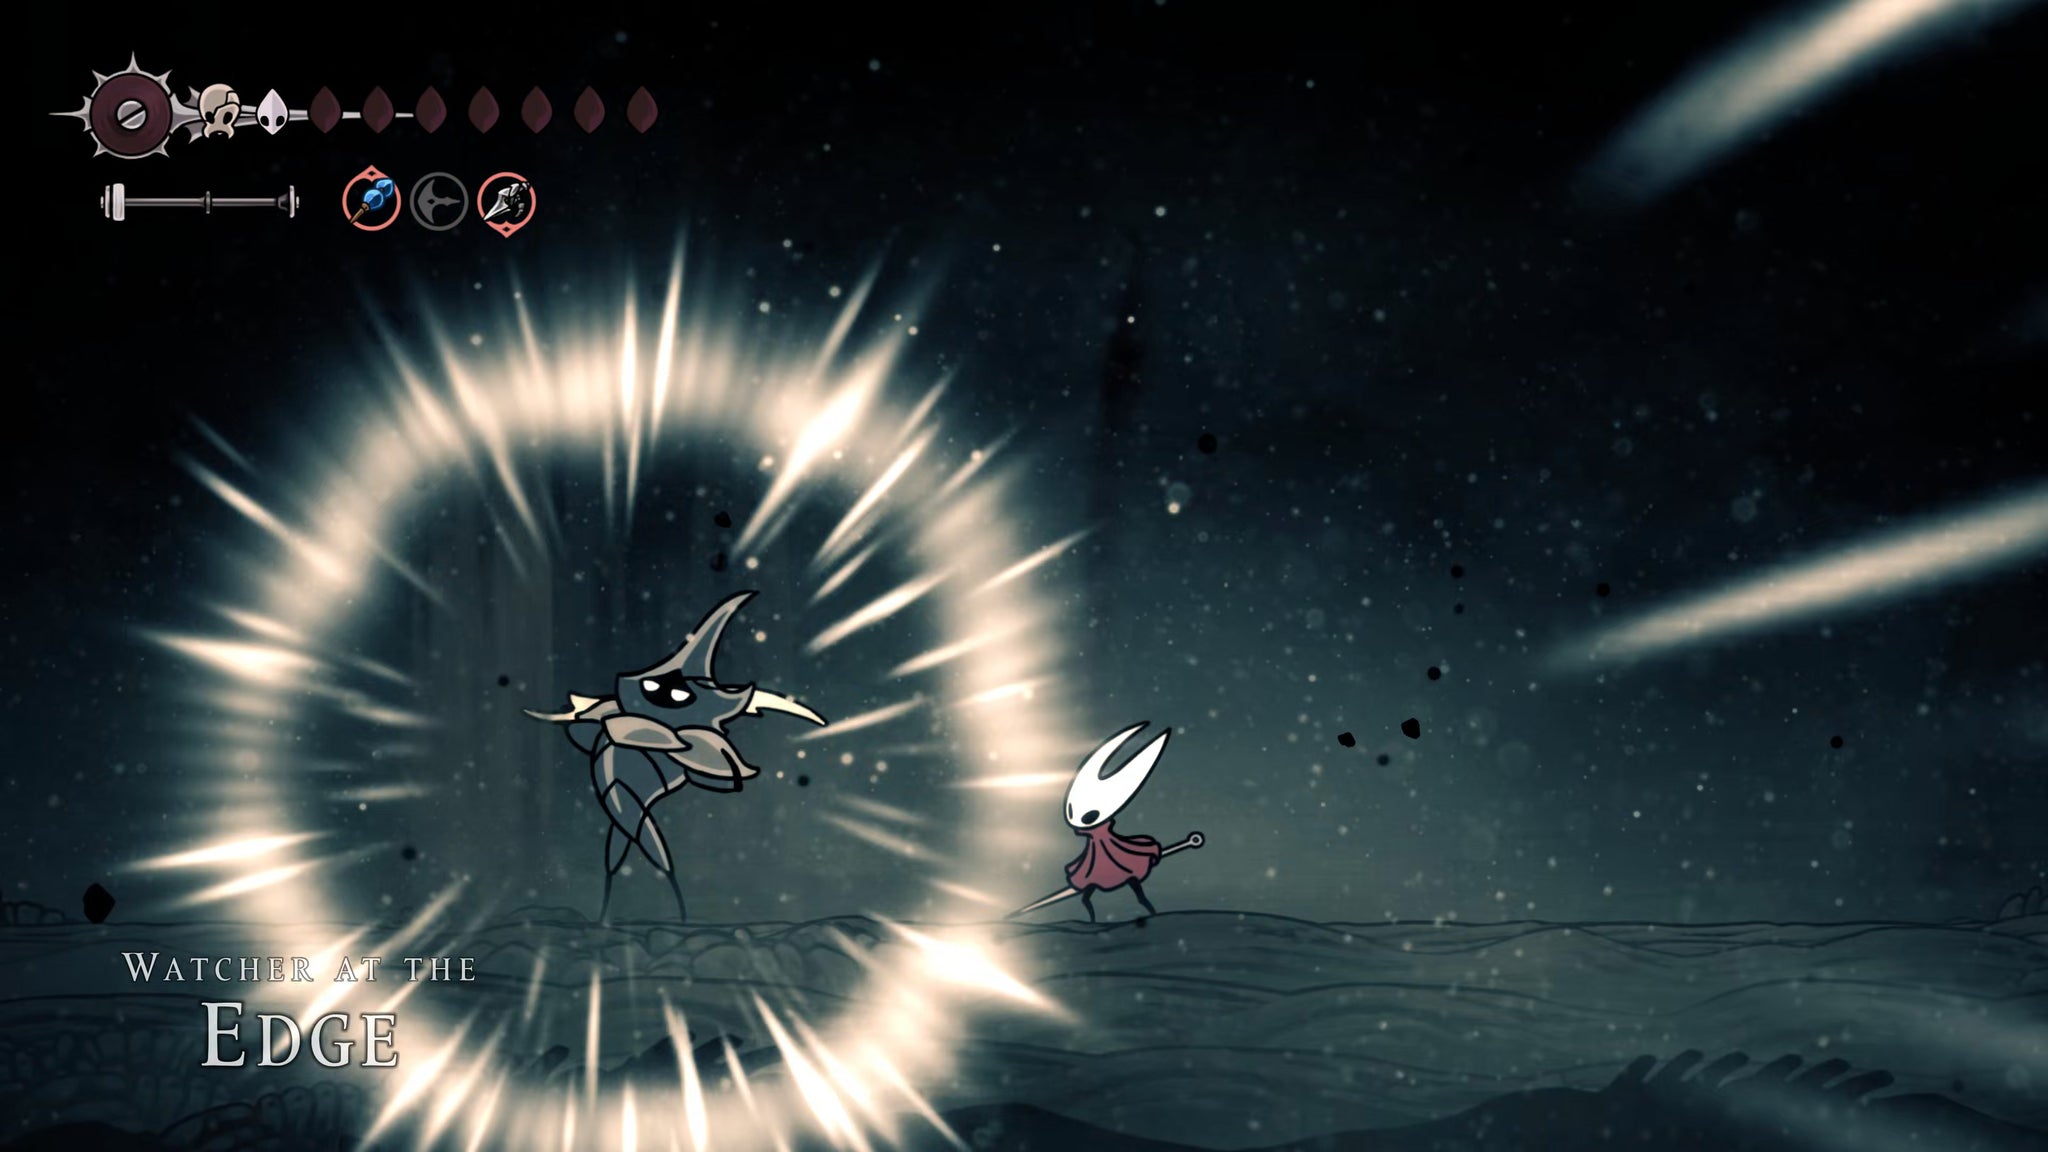
The Watcher is aggressive, and hits like a truck - but his attack patterns are very simple. He has a leaping uppercut, after which he descends into a downward slash; and also a more straightforward jump attack, and a couple of ground-level combos.
The first attack is the most deadly; he telegraphs it only by striking a low blocking pose a moment beforehand, and then the attack comes out very quickly, giving you little time to react. His reach is also considerable; it's best to dodge away from his uppercut but then dodge under him as he descends, to make sure you're not hit.
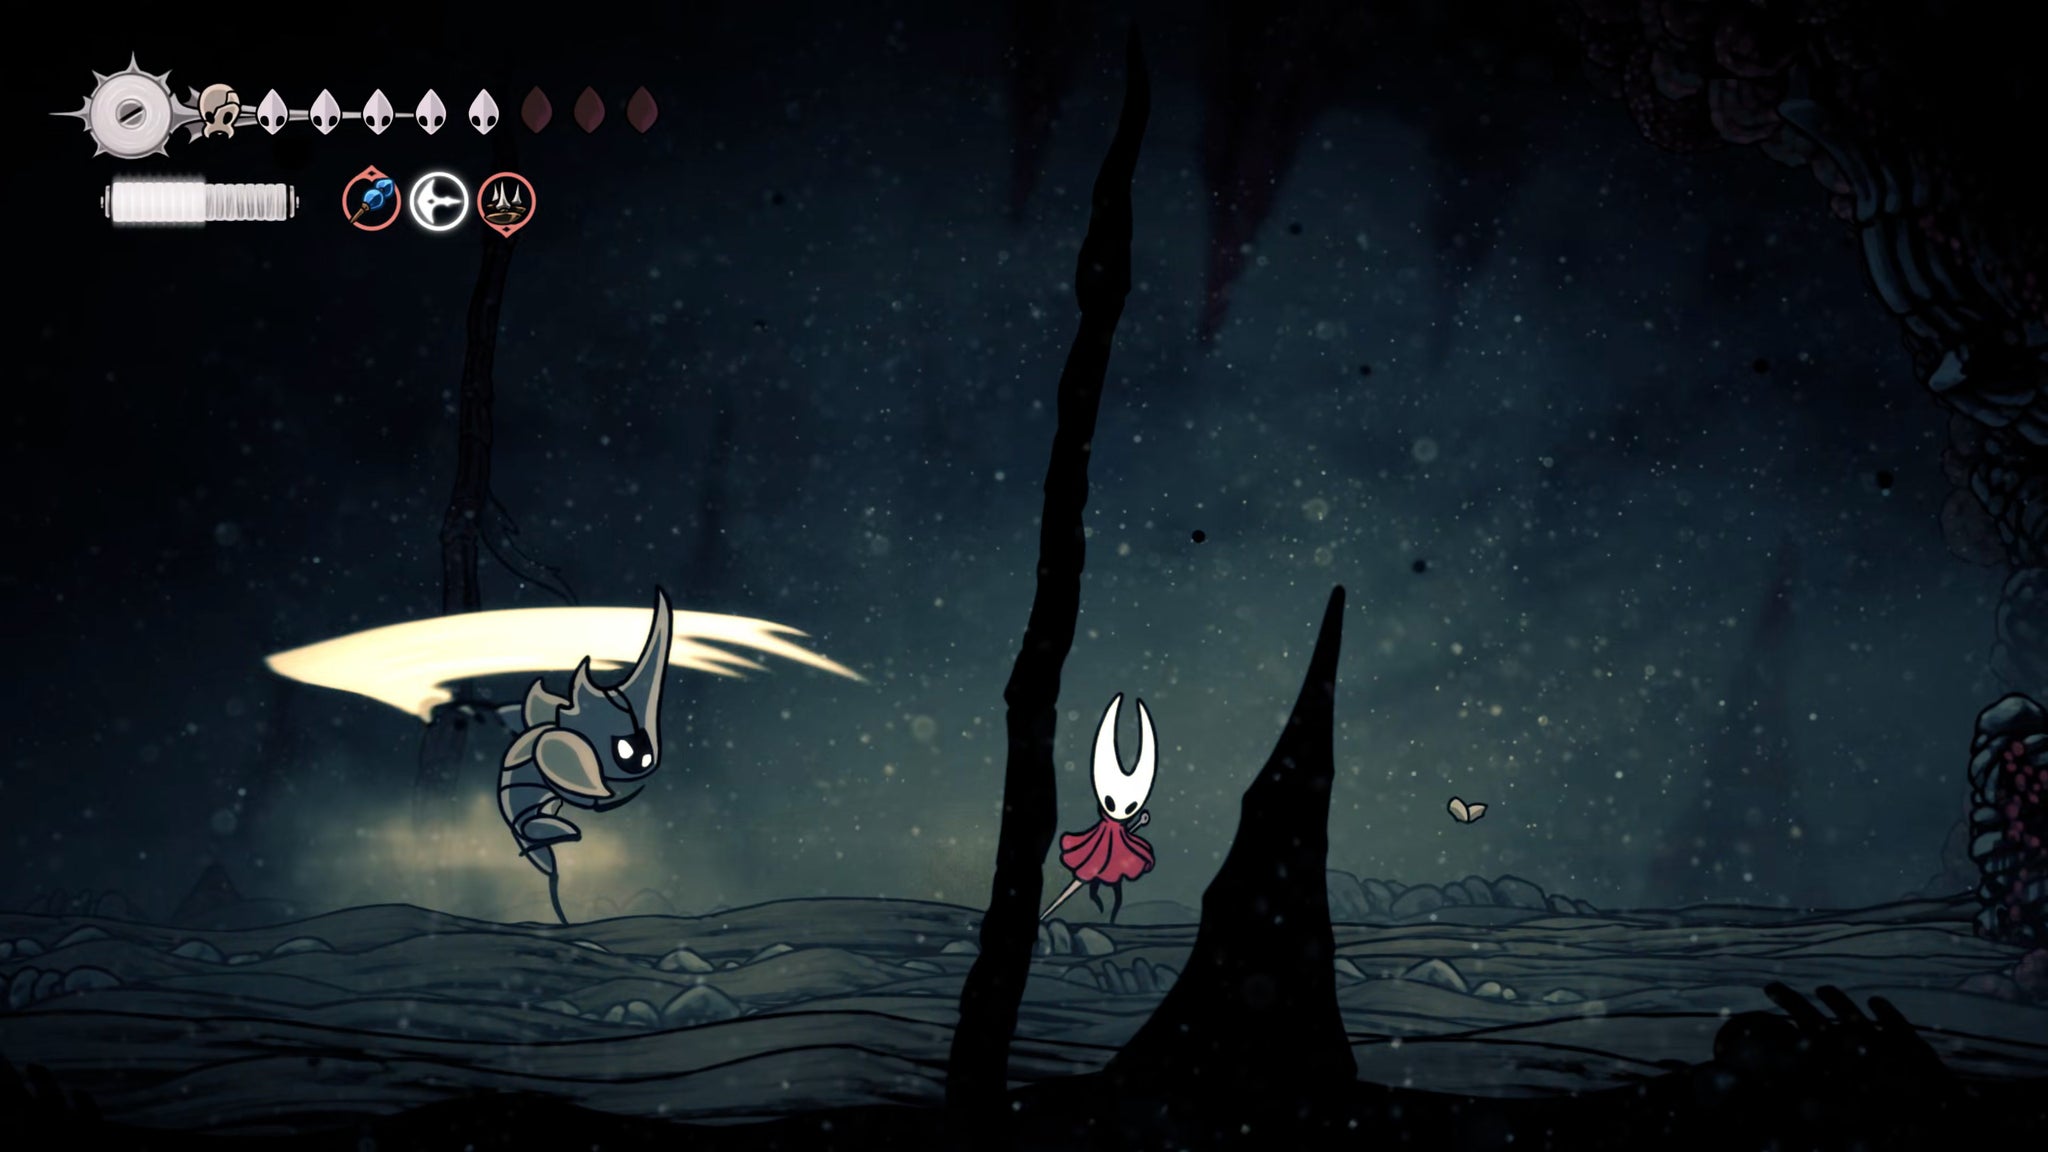
The Watcher's relentless aggression is pretty scary, but because his attacks are so simple and grounded, you can quite quickly learn where to stand so that the attacks just miss you, and then dodge in to punish him with an attack or two.
You can be fairly flexible with your tools in this fight - there are many that can be handy here. Generally I would prioritise healing with the Injector Band and Multibinder, but otherwise you can use whatever you like.
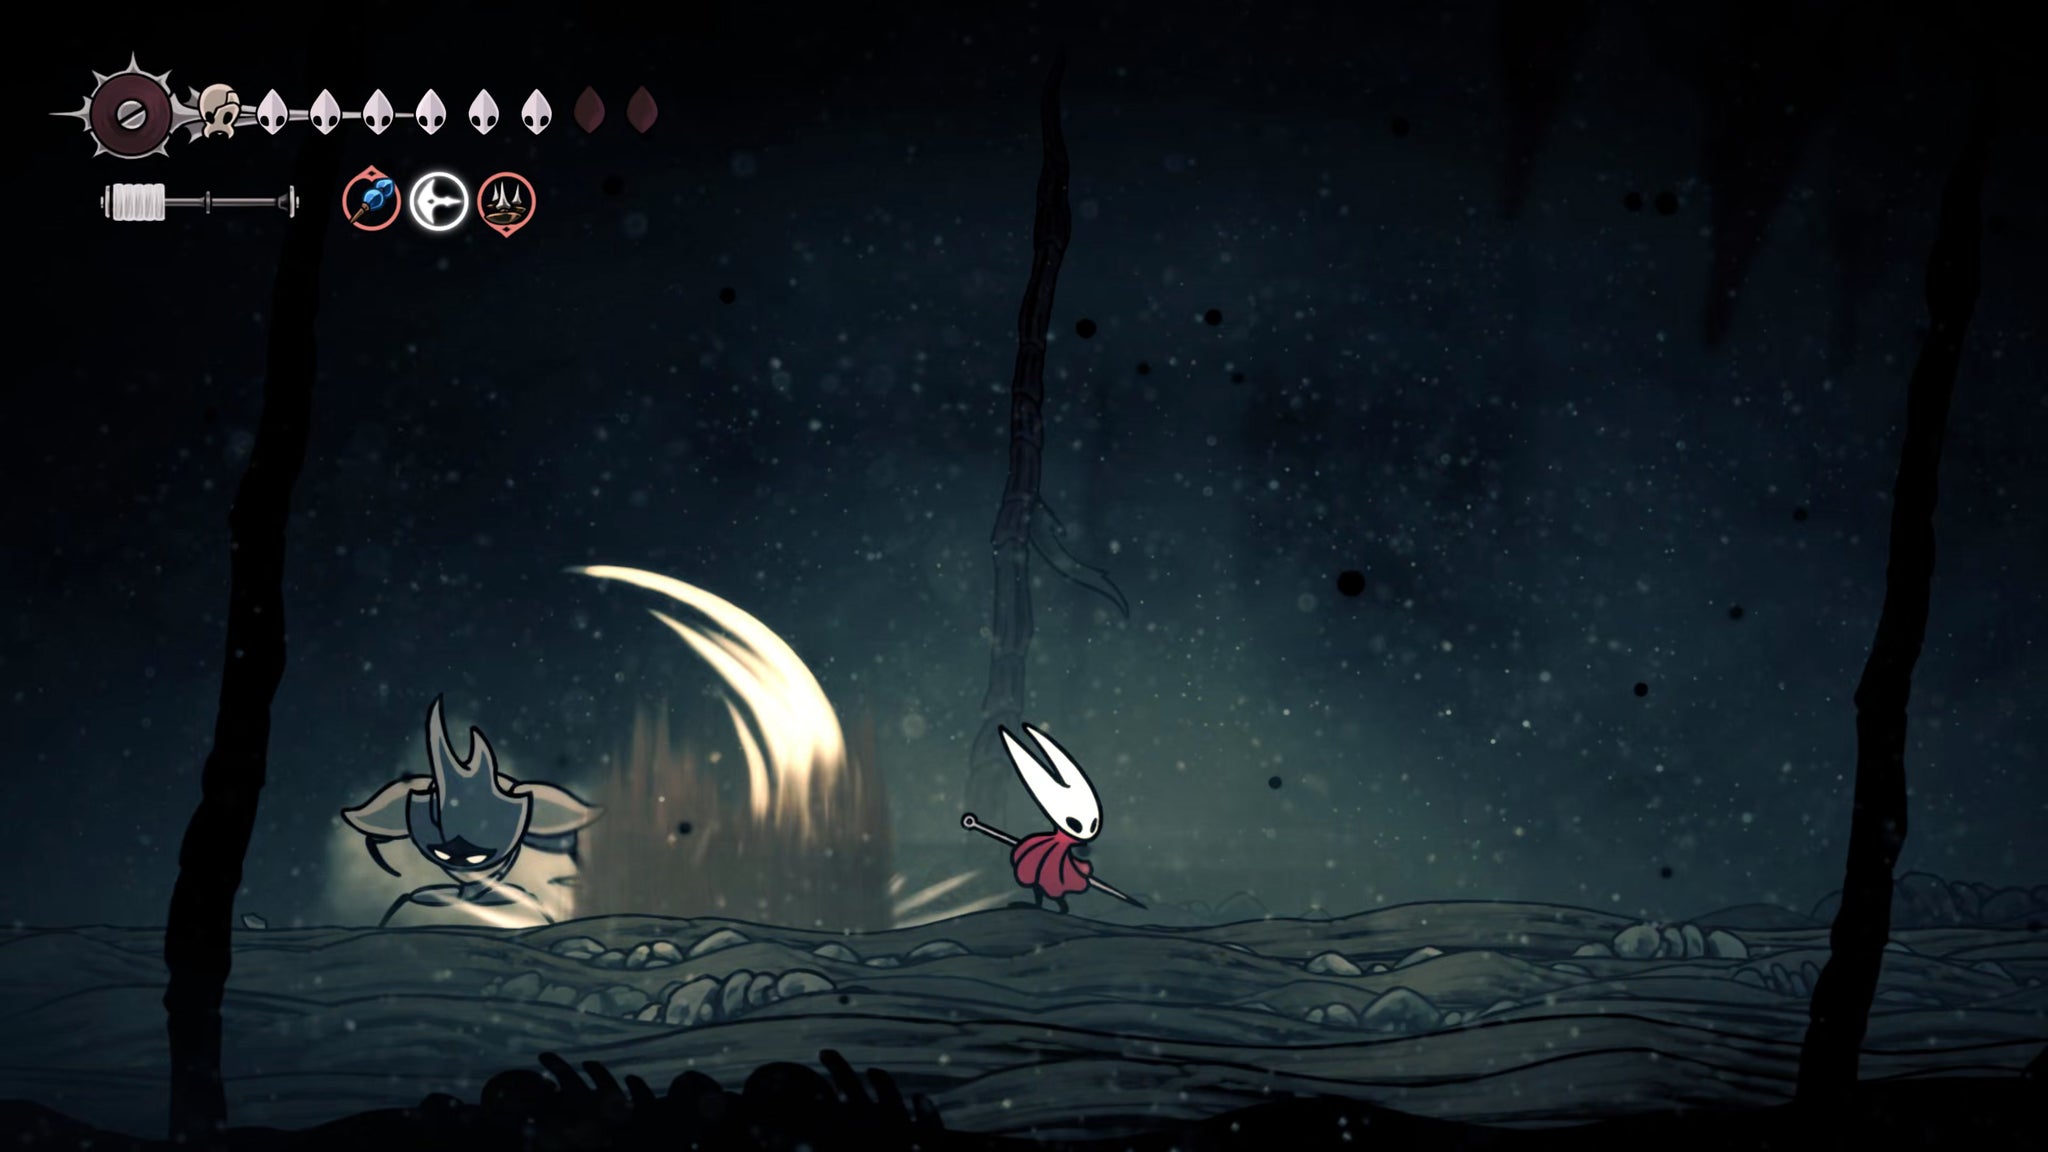
With patience, you'll handily defeat the Watcher At The Edge, and as your reward you'll gain the Grey Memento to hang in your Bellhome as proof of your exploits.
10. Complete the Fatal Resolve Wish.
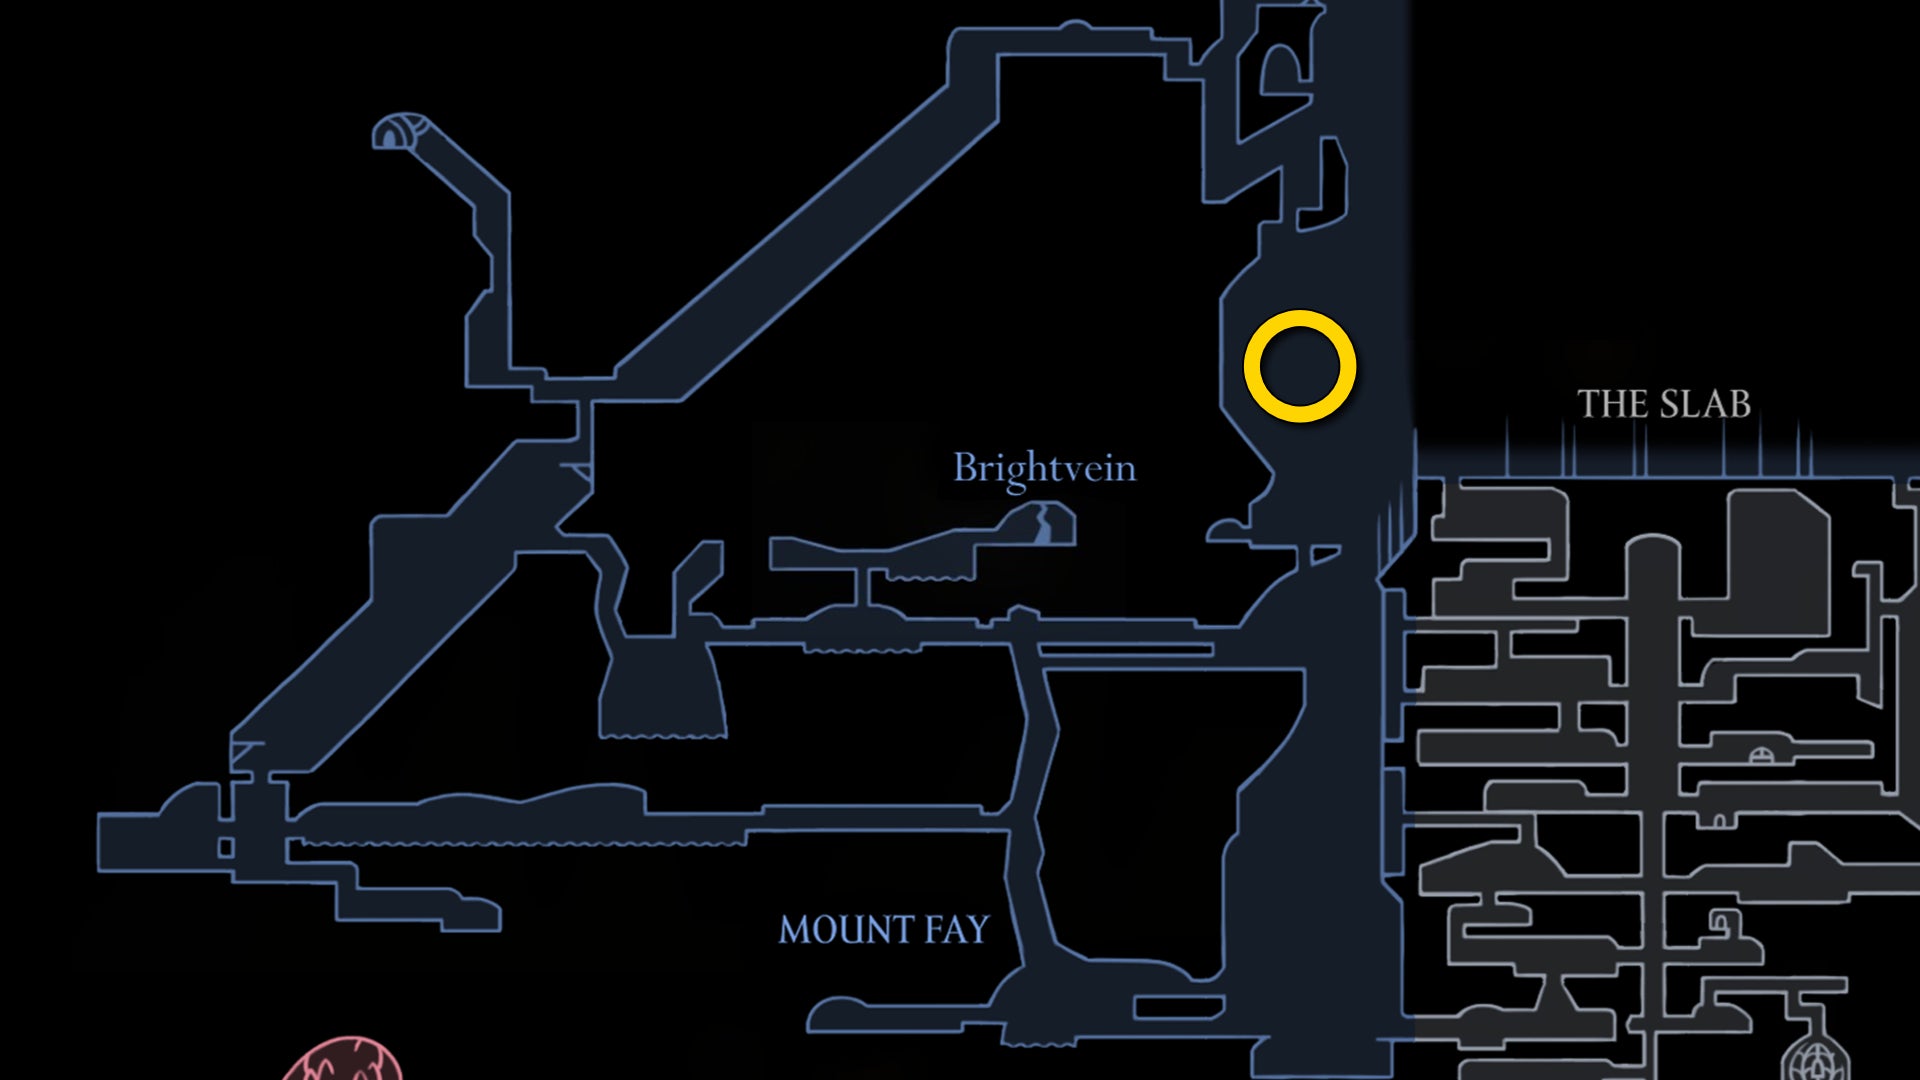
Now head back to the nearest Bellway and fast travel to The Slab. Once you've arrived, exit west into Mount Fay and begin the climb upwards. It should be far easier this time round, what with your Faydown Cloak and Silk Soar abilities!
Your goal is to reach a wide platform about two thirds of the way up to the summit, a short distance above the Bench at the halfway point. Be sure to rest at that Bench first, just in case you die.
Once you reach this ledge, you'll see the blue snow-covered form of the Pinstress, lying motionless on the ground. Don't fret, she's just a heavy sleeper. Attack her a few times until she wakes up, and exhaust her dialogue. You can then challenge the Pinstress to the duel she seeks.
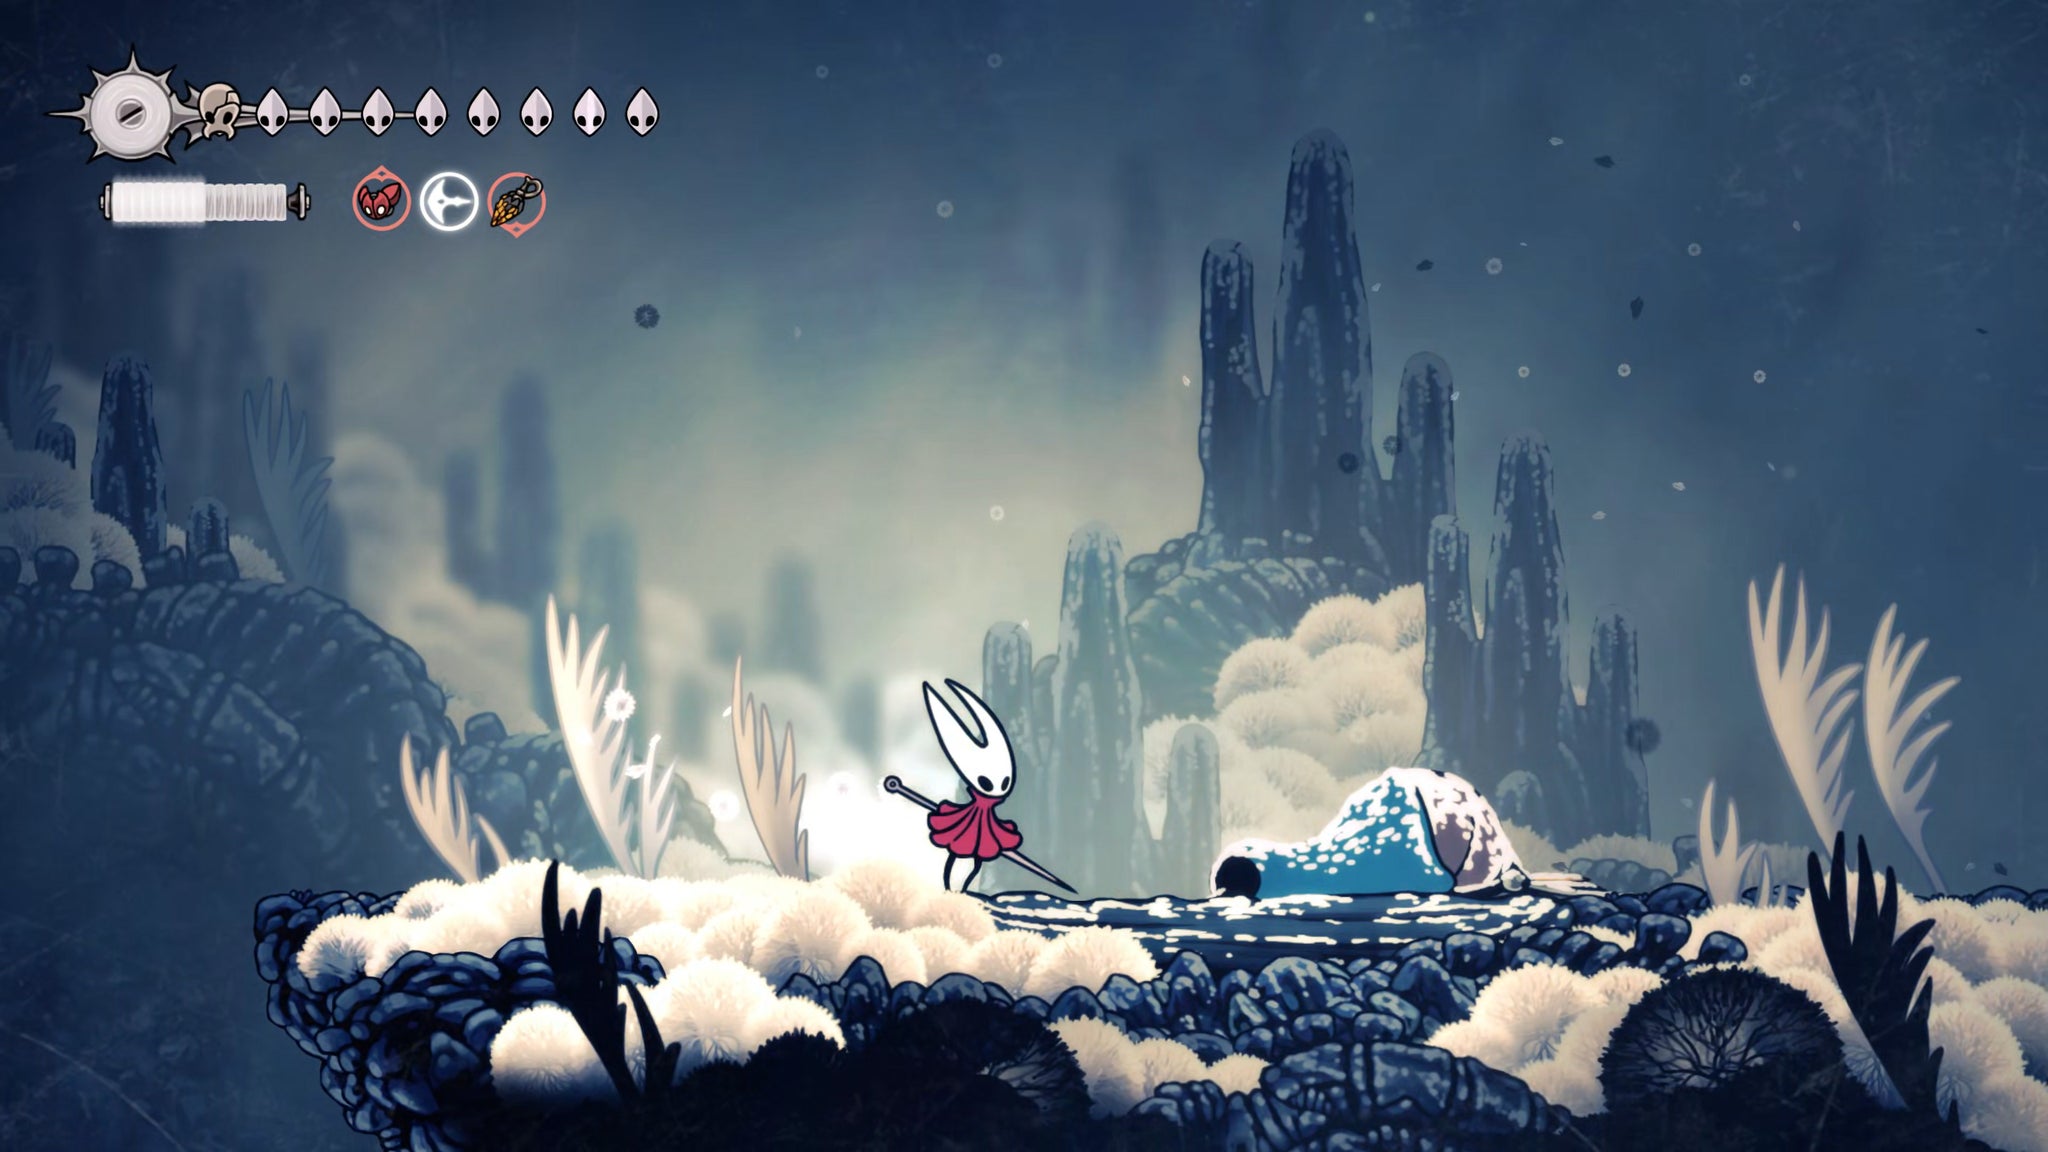

I found the Pinstress to be a bit of a pushover, so I don't expect you'll have too much trouble with her. She strikes me as a slower, more telegraphed, less deadly version of Shakra. She teleports around and throws fans of daggers which can be tricky to avoid at times, but it's never enough to put you in lots of danger.
What may trip you up at first is her strongest move - a leap and downwards slam, which she then immediately follows with a charge to one direction and then a charge to the other direction. It's the follow-up that you likely won't expect at first, but it won't take you long to learn to just jump over these attacks.
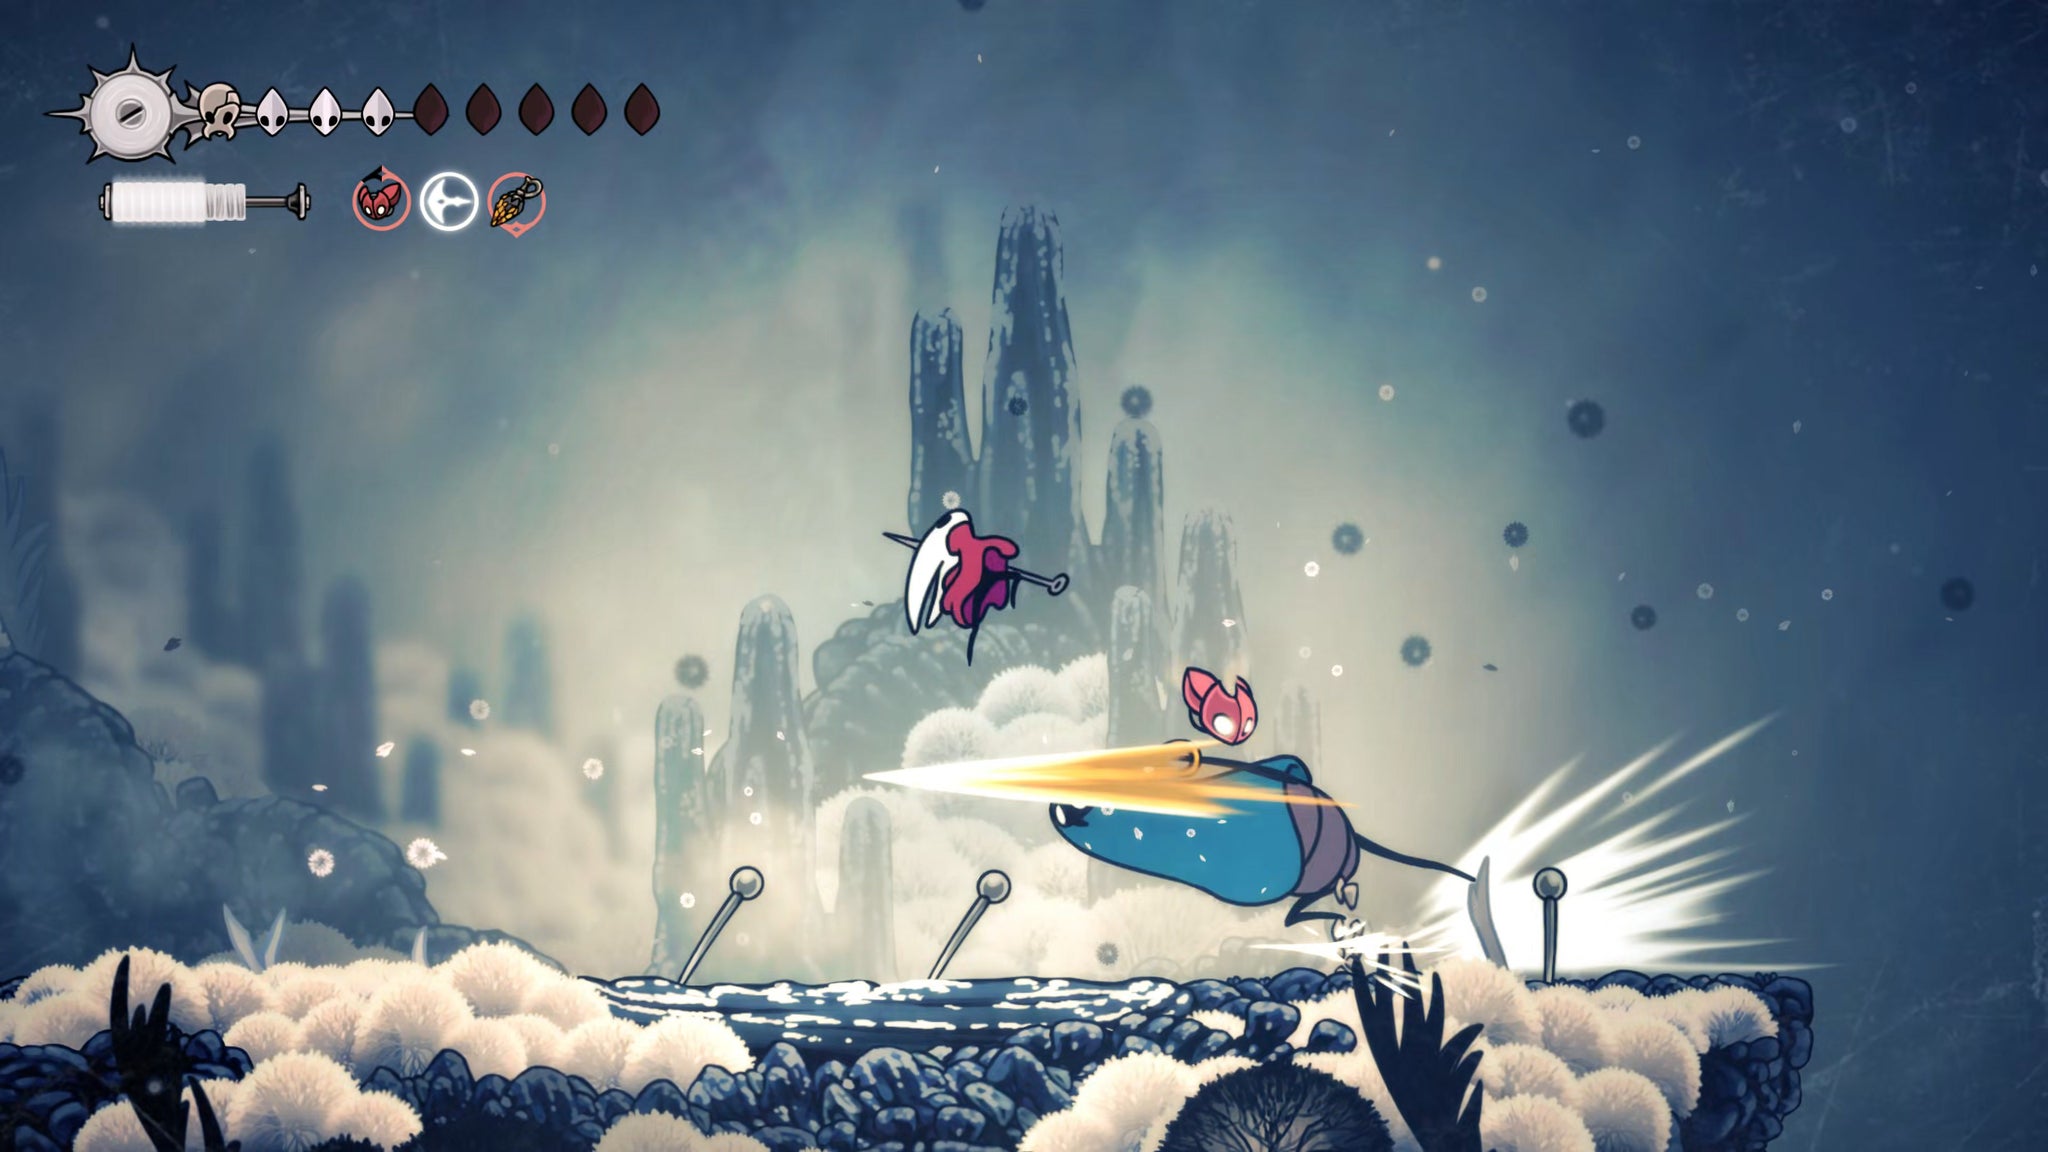
In her second phase the Pinstress will start to use X-shaped slash attacks like the Second Sentinel, and she'll fire more pins in quick succession. Still, none of it is too taxing compared to many of the other bosses you've defeated so far in Act 3, or even Act 2. Deal the decisive blow, and then leave her alone until she awakens and sits down to speak with you.
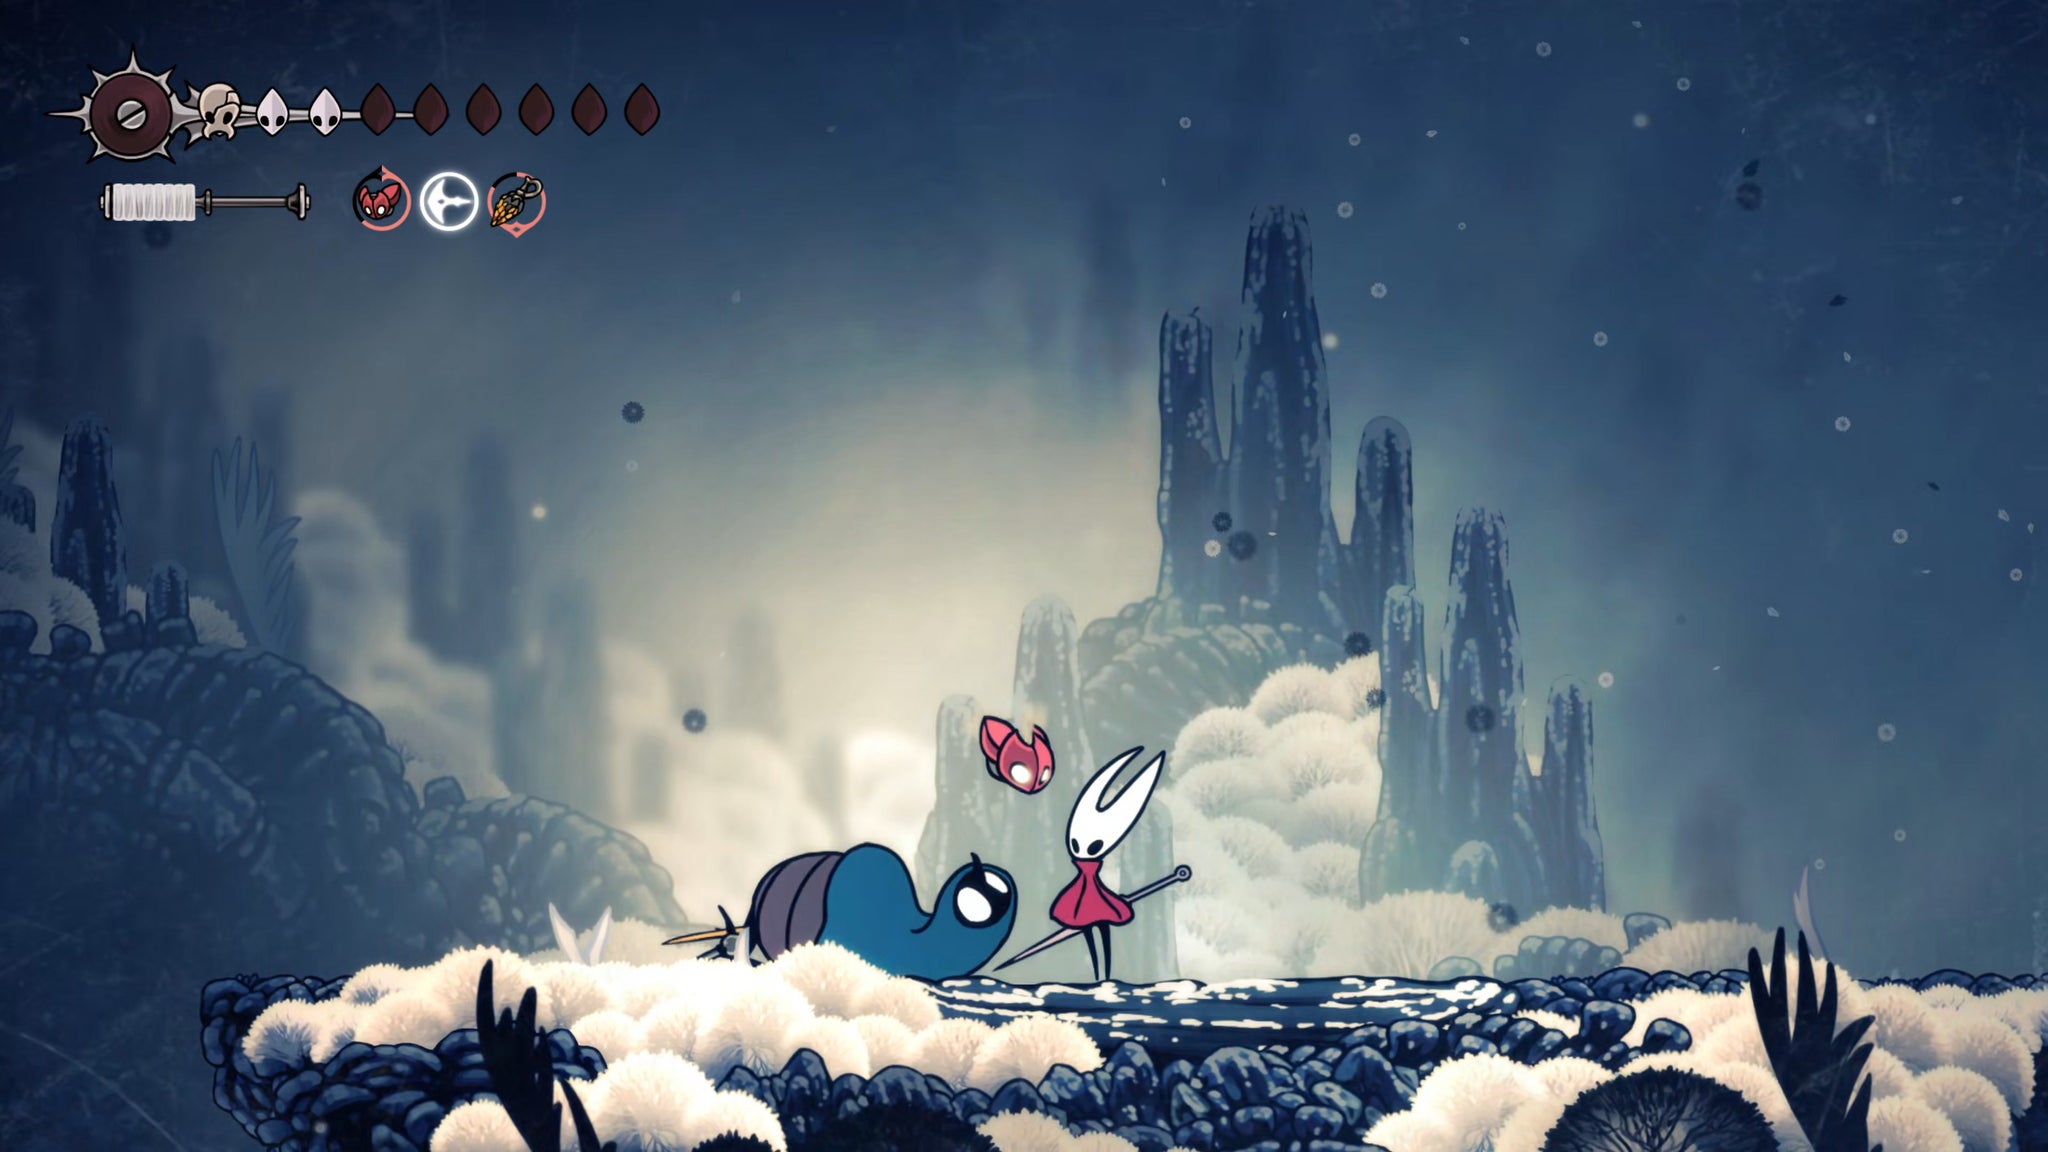
Talk more with her and she'll bestow upon you her final reward - the Pin Badge. This tool reduce the charge-up time of your Needle Strike (your hold-down-to-attack move). Handy, but not the most useful of tools in all honesty.
Still, you'll complete the Fatal Resolve Wish, and at this point the Pinstress will also mention something about a secret crystal cavern somewhere in Mount Fay. So that's where we'll go next!
11. Explore Brightvein inside Mount Fay.
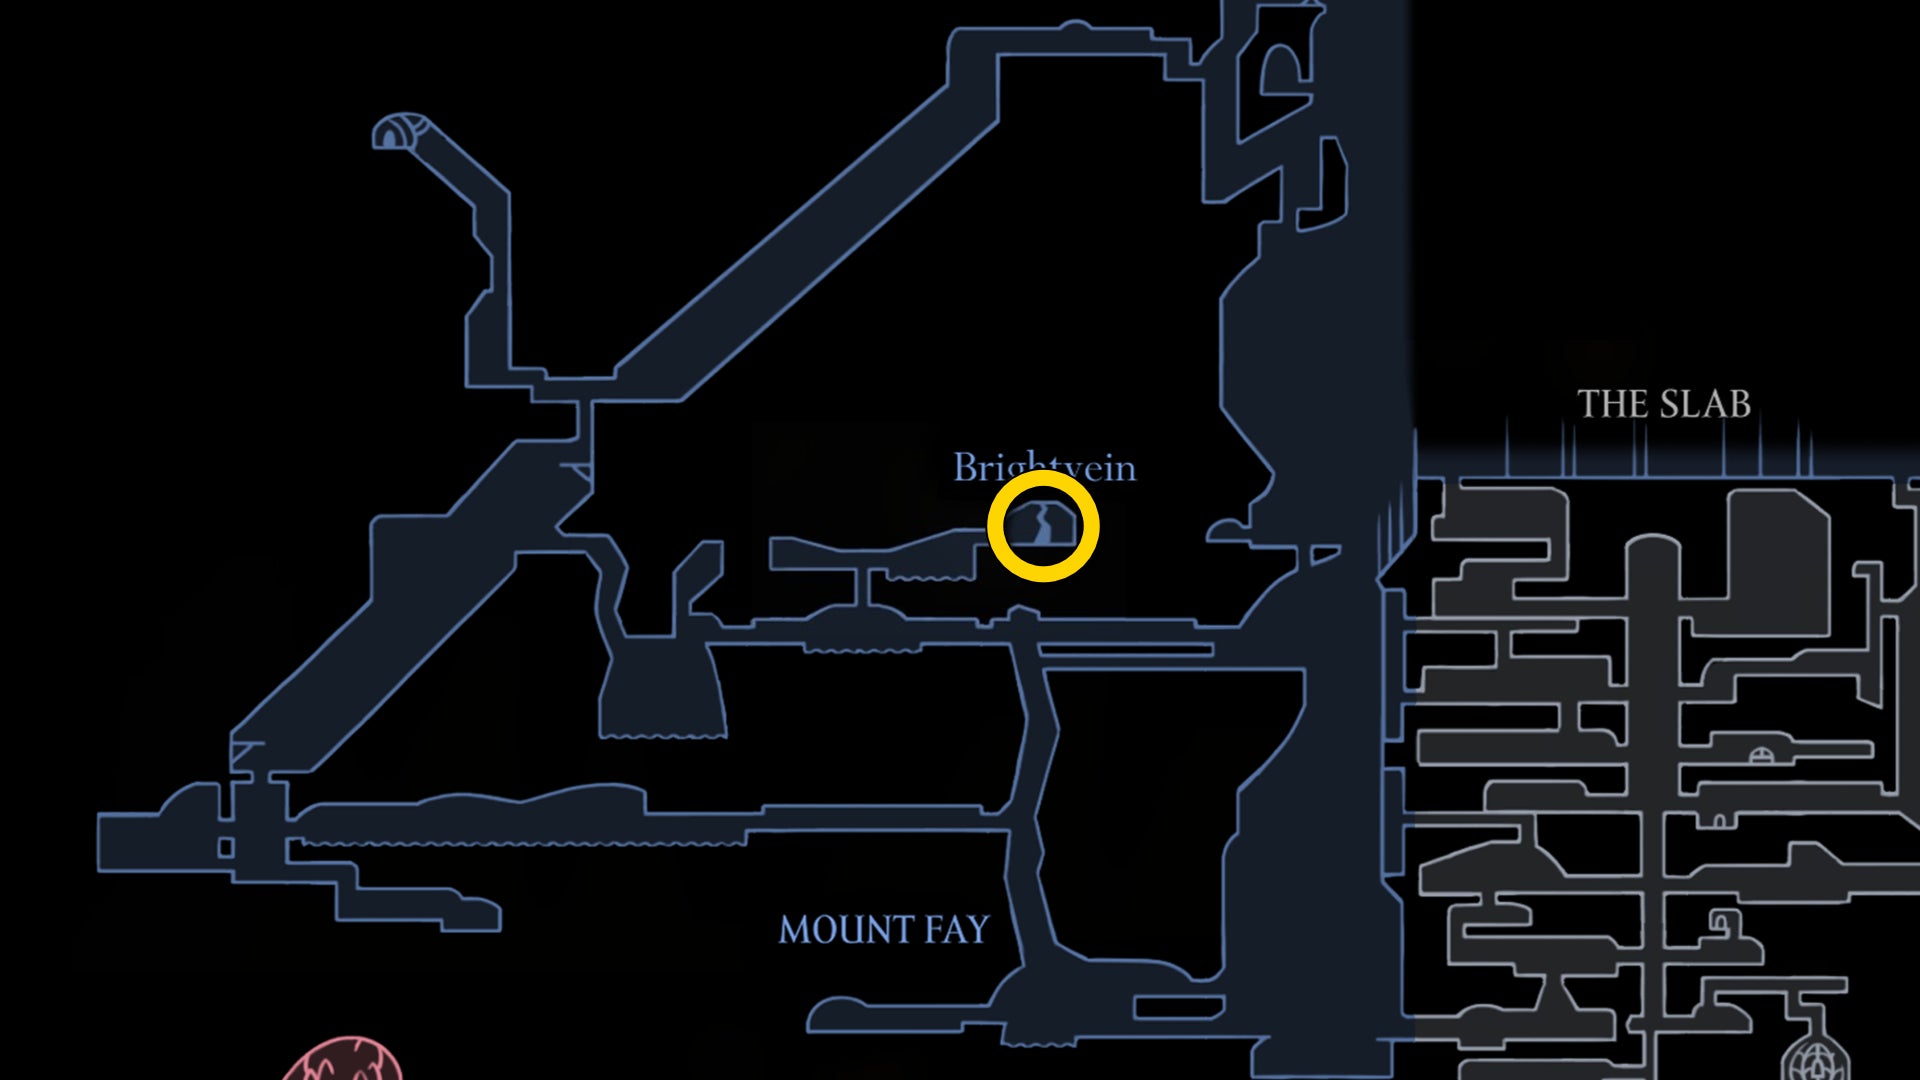
The secret crystal cavern in question is called Brightvein, and it's not at all far from your current location. Drop back down to the Bench below (and rest there if needed), then head further down into the next screen, and take the upper of the left-hand routes into the mountain.
Destroy the Servitor Boran enemy along this path, and then jump over the gap into the next room with the frozen lake. Clawline to the Mnemonid floating in the air, and land on the small platform in the lake. Then Silk Soar directly upwards.
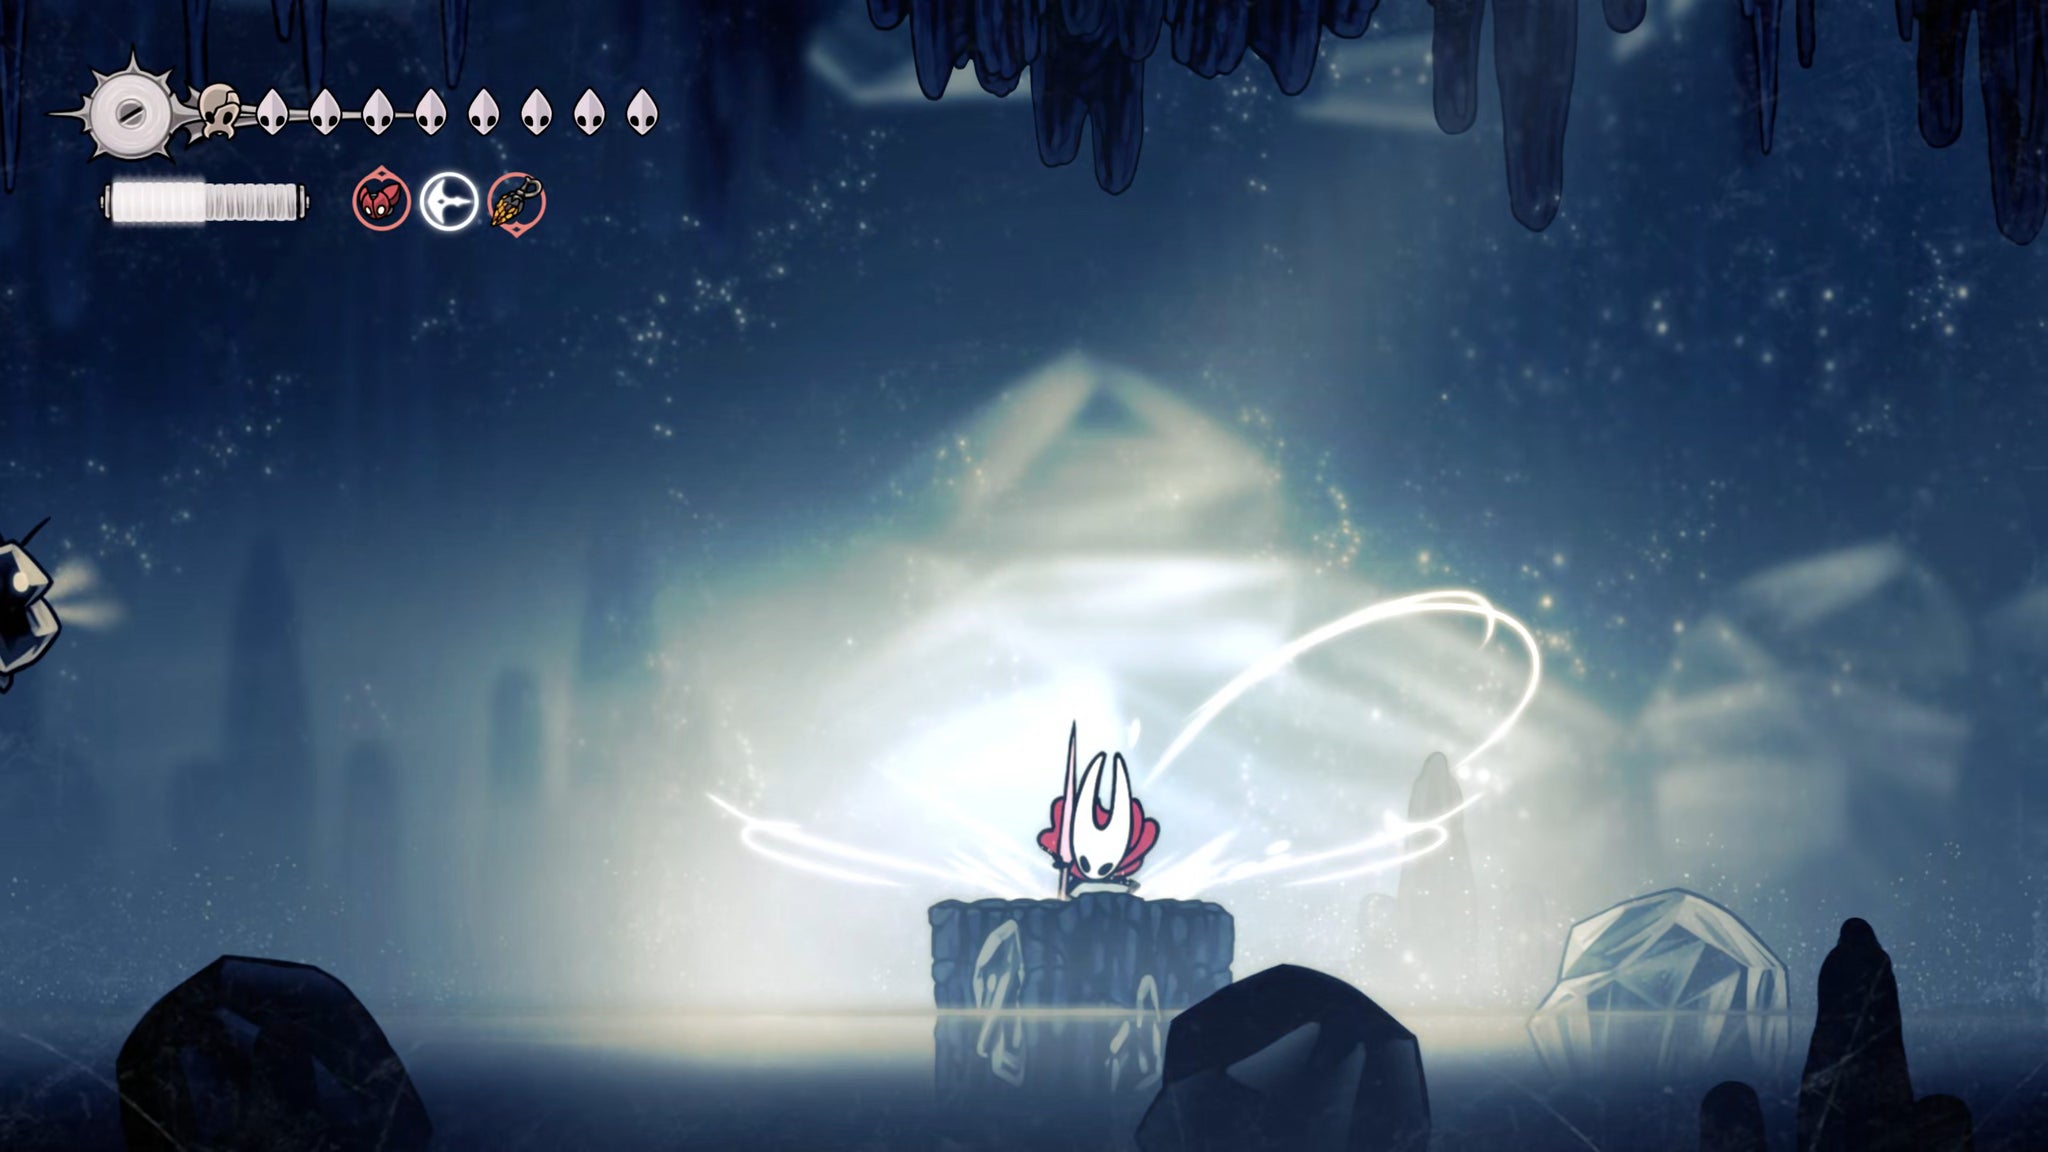
On the left you can inspect a deposit of Magnetite for your Materium; after that, head to the right and cut your way through the ice to get to the top-right exit. The easiest way to do this is to stand on the far-right ice crystal in the lake on ground level, and Silk Soar upwards.
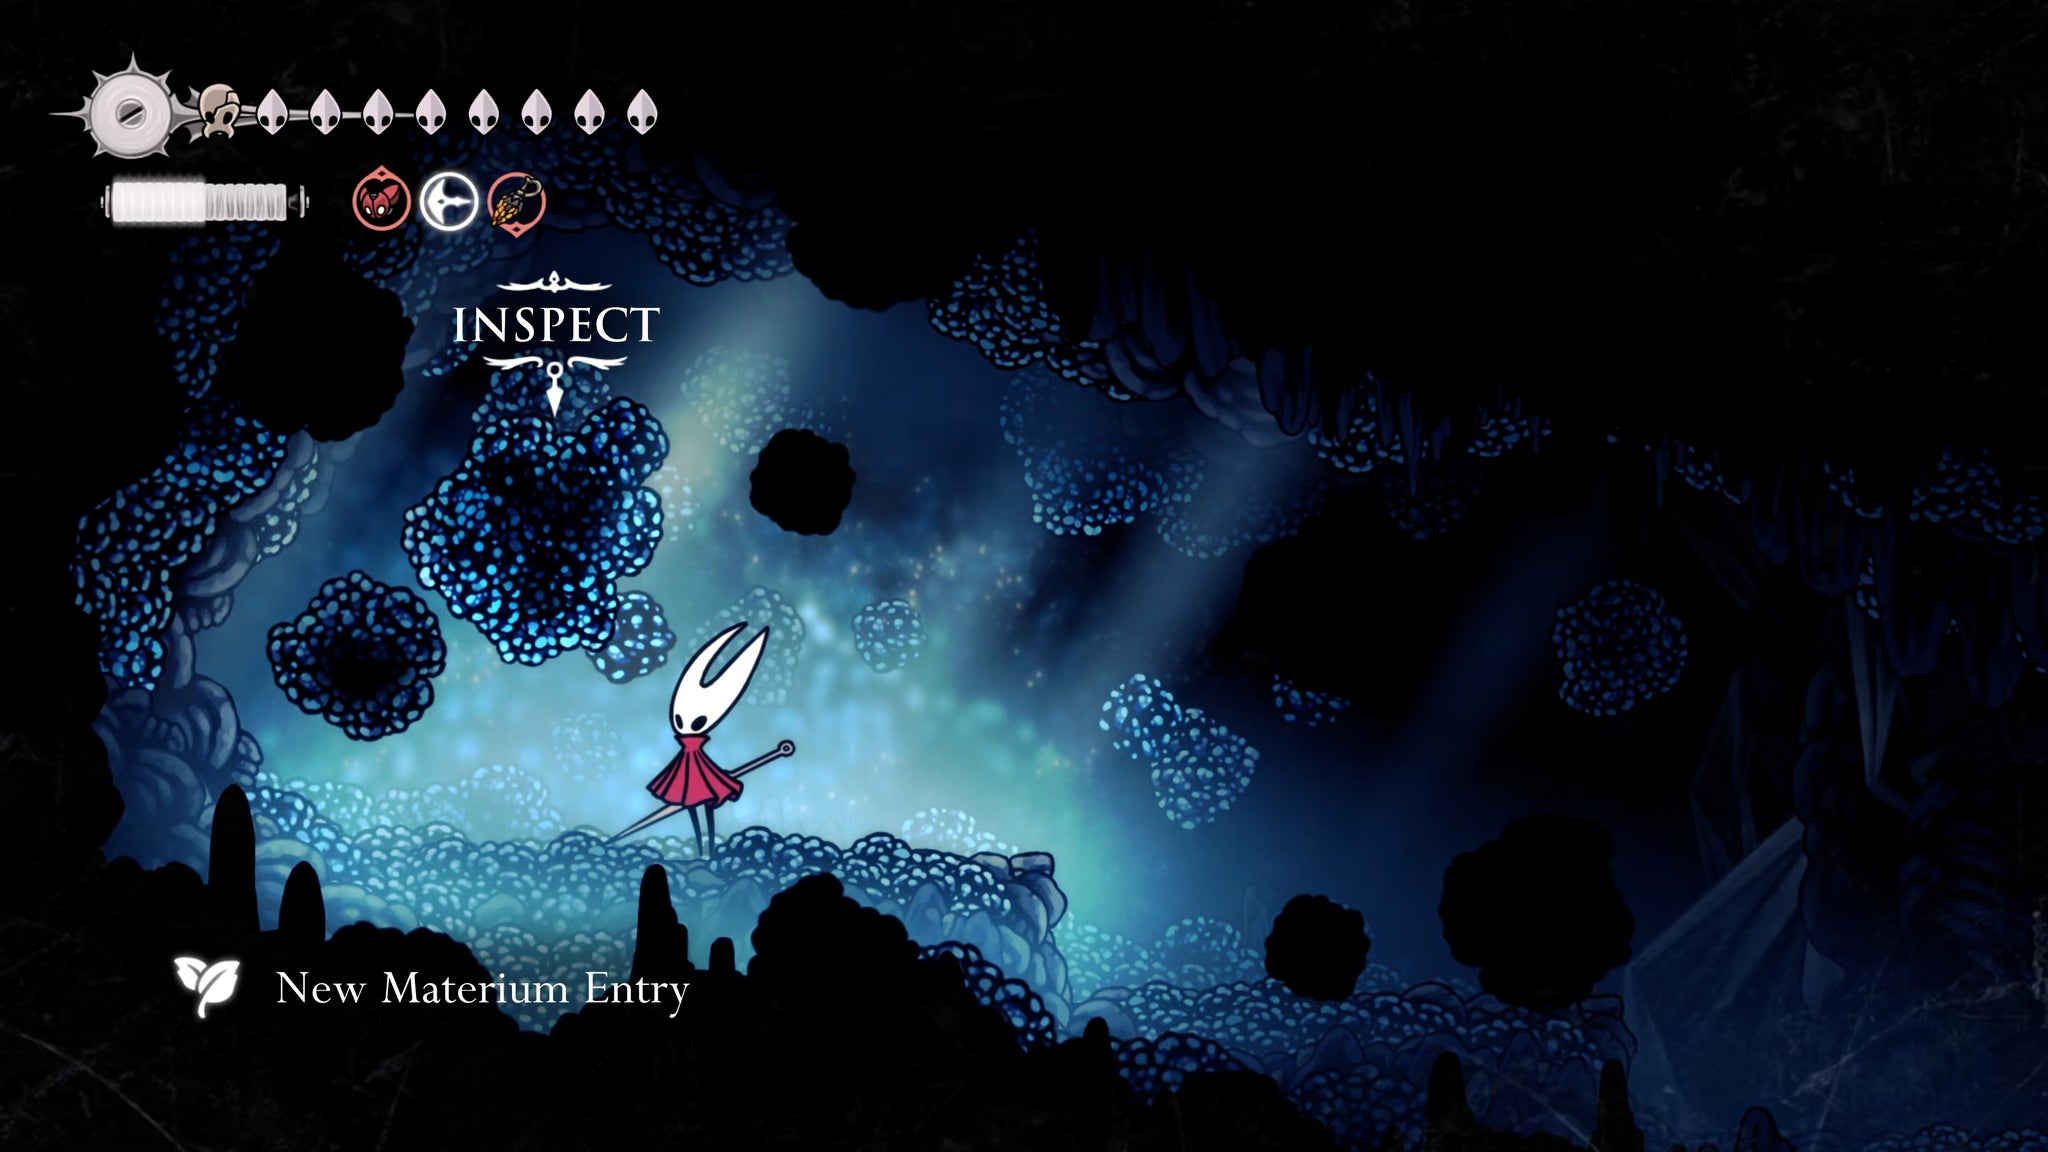

In the next room you'll see an entrance into Brightvein itself. Enter, and you'll find a parkour course heading upwards, where you'll need to employ all your abilities to reach the very top. Along the way you'll meet extra-large versions of those flying crystal critters, called Mnemonords. Kill one while you're here to add it to your Hunter's Journal.
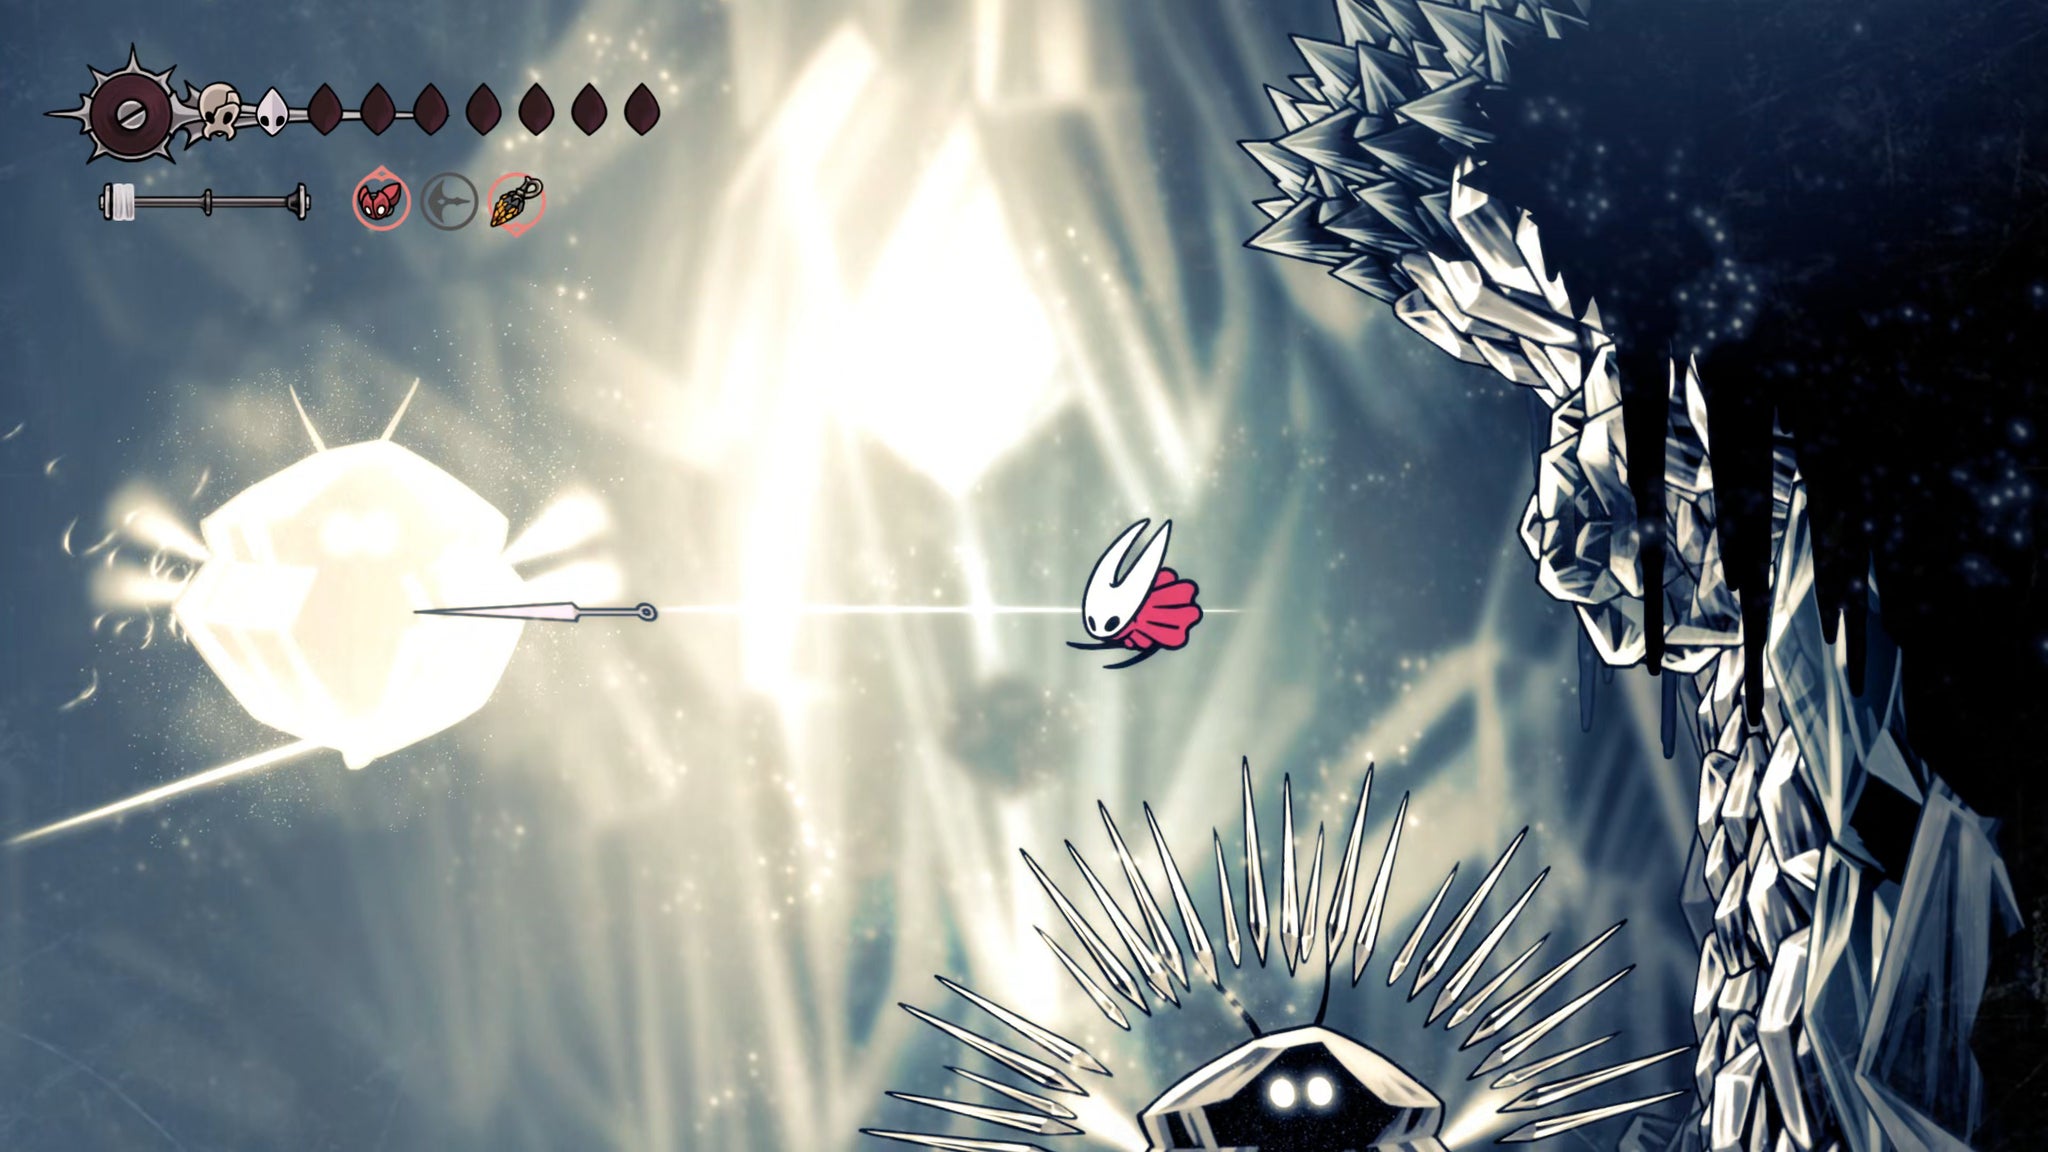

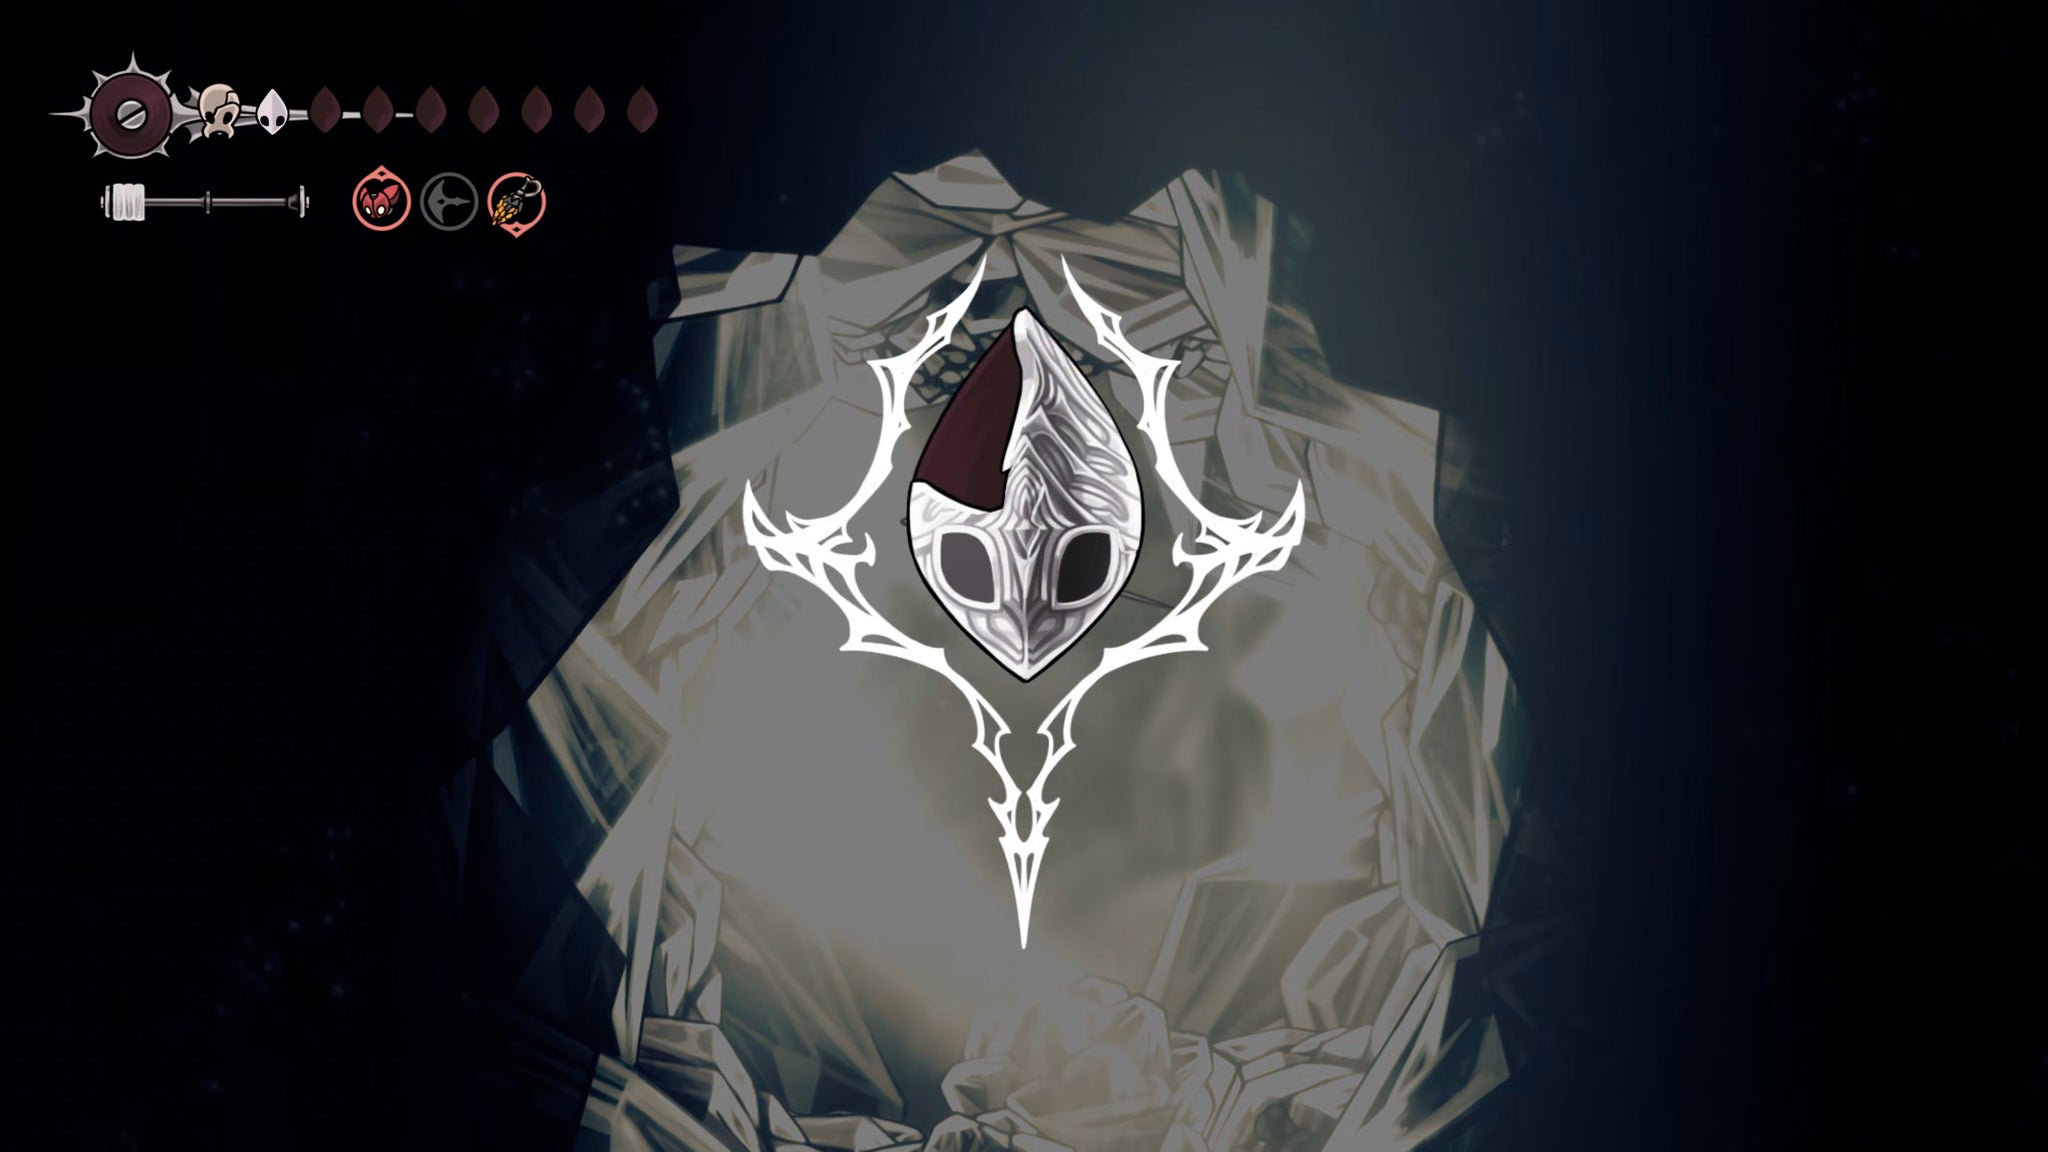
Once you reach the topmost ledge, Silk Soar upwards through the ceiling and you'll find a rock at the top. Attack the rock to break it and you'll be able to collect your final Mask Shard. Welcome to 10 health points!
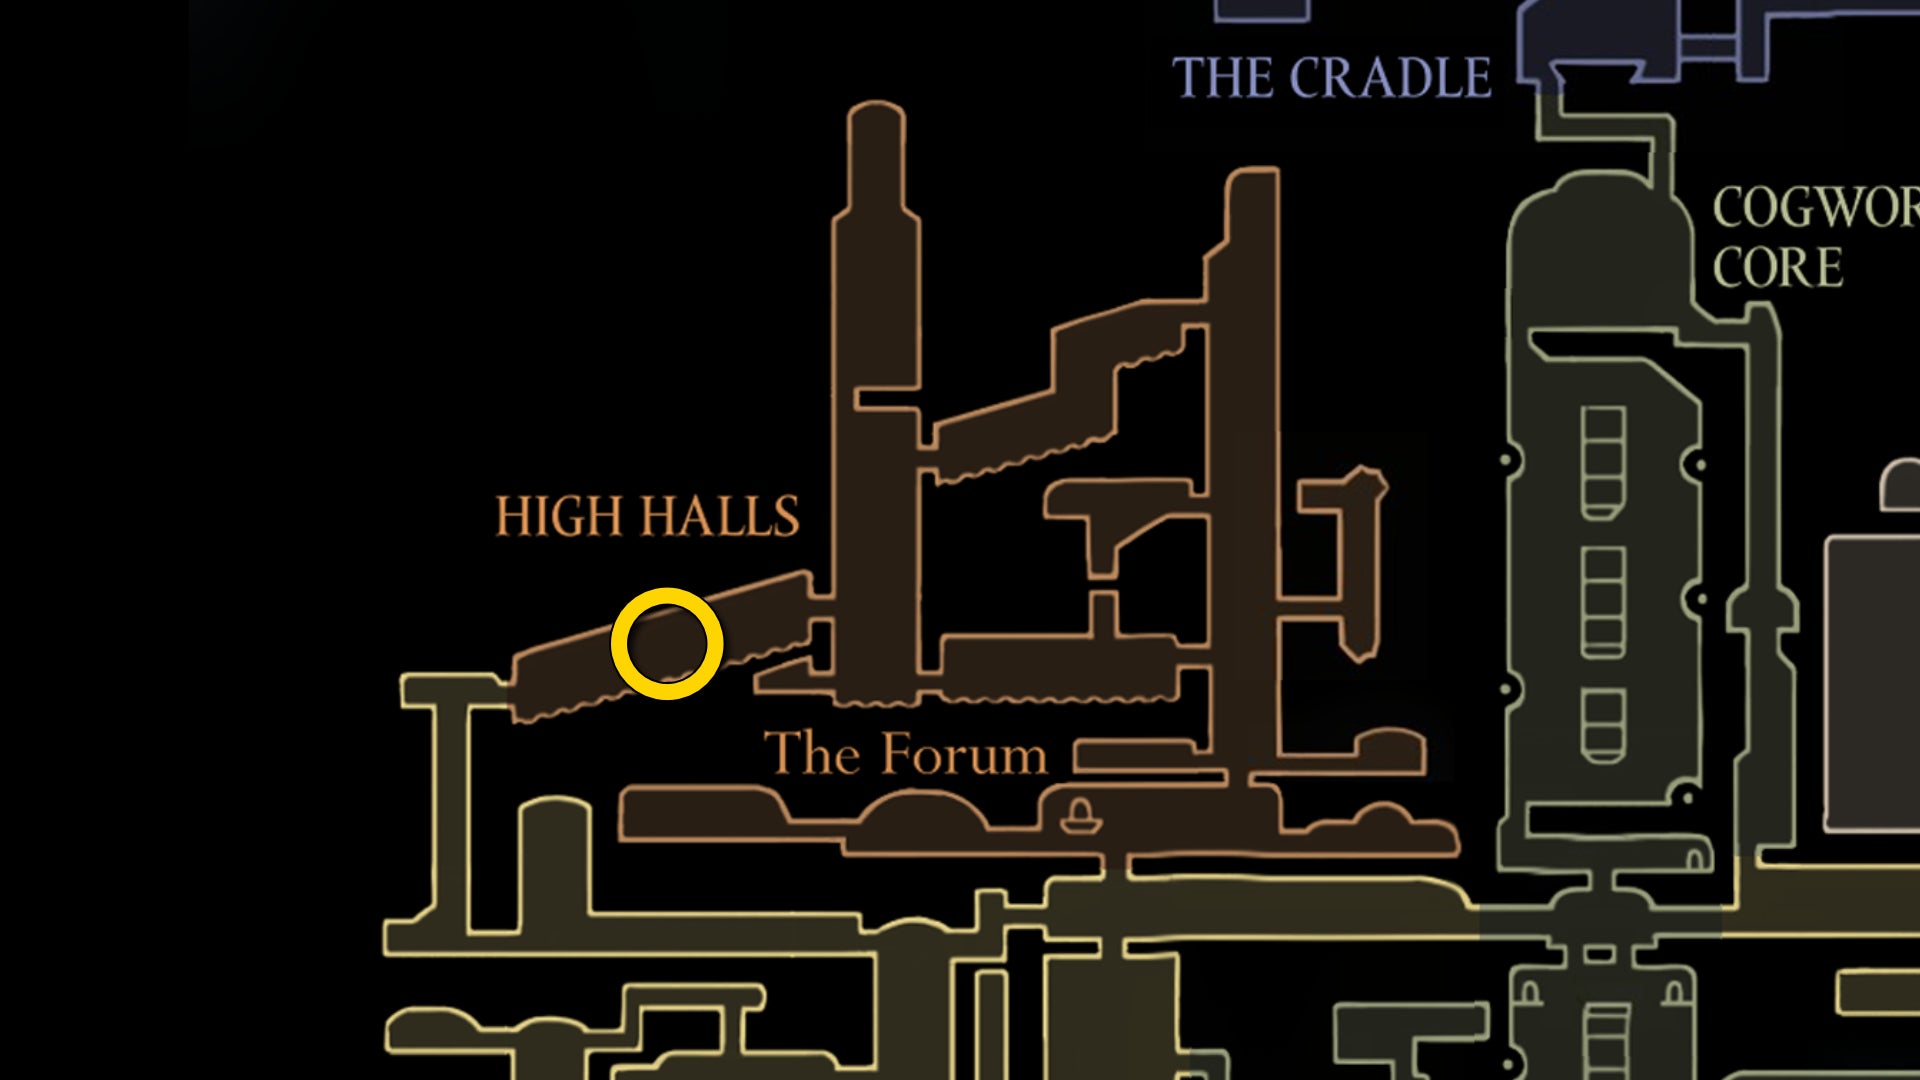
12. Meet the Second Sentinel in High Halls.
There are a couple of very quick steps to take at the top of the Citadel now, so make your way back to The Slab Bellway, and travel to the Grand Bellway. From there, switch to the Ventrica system and fast travel to the High Halls.
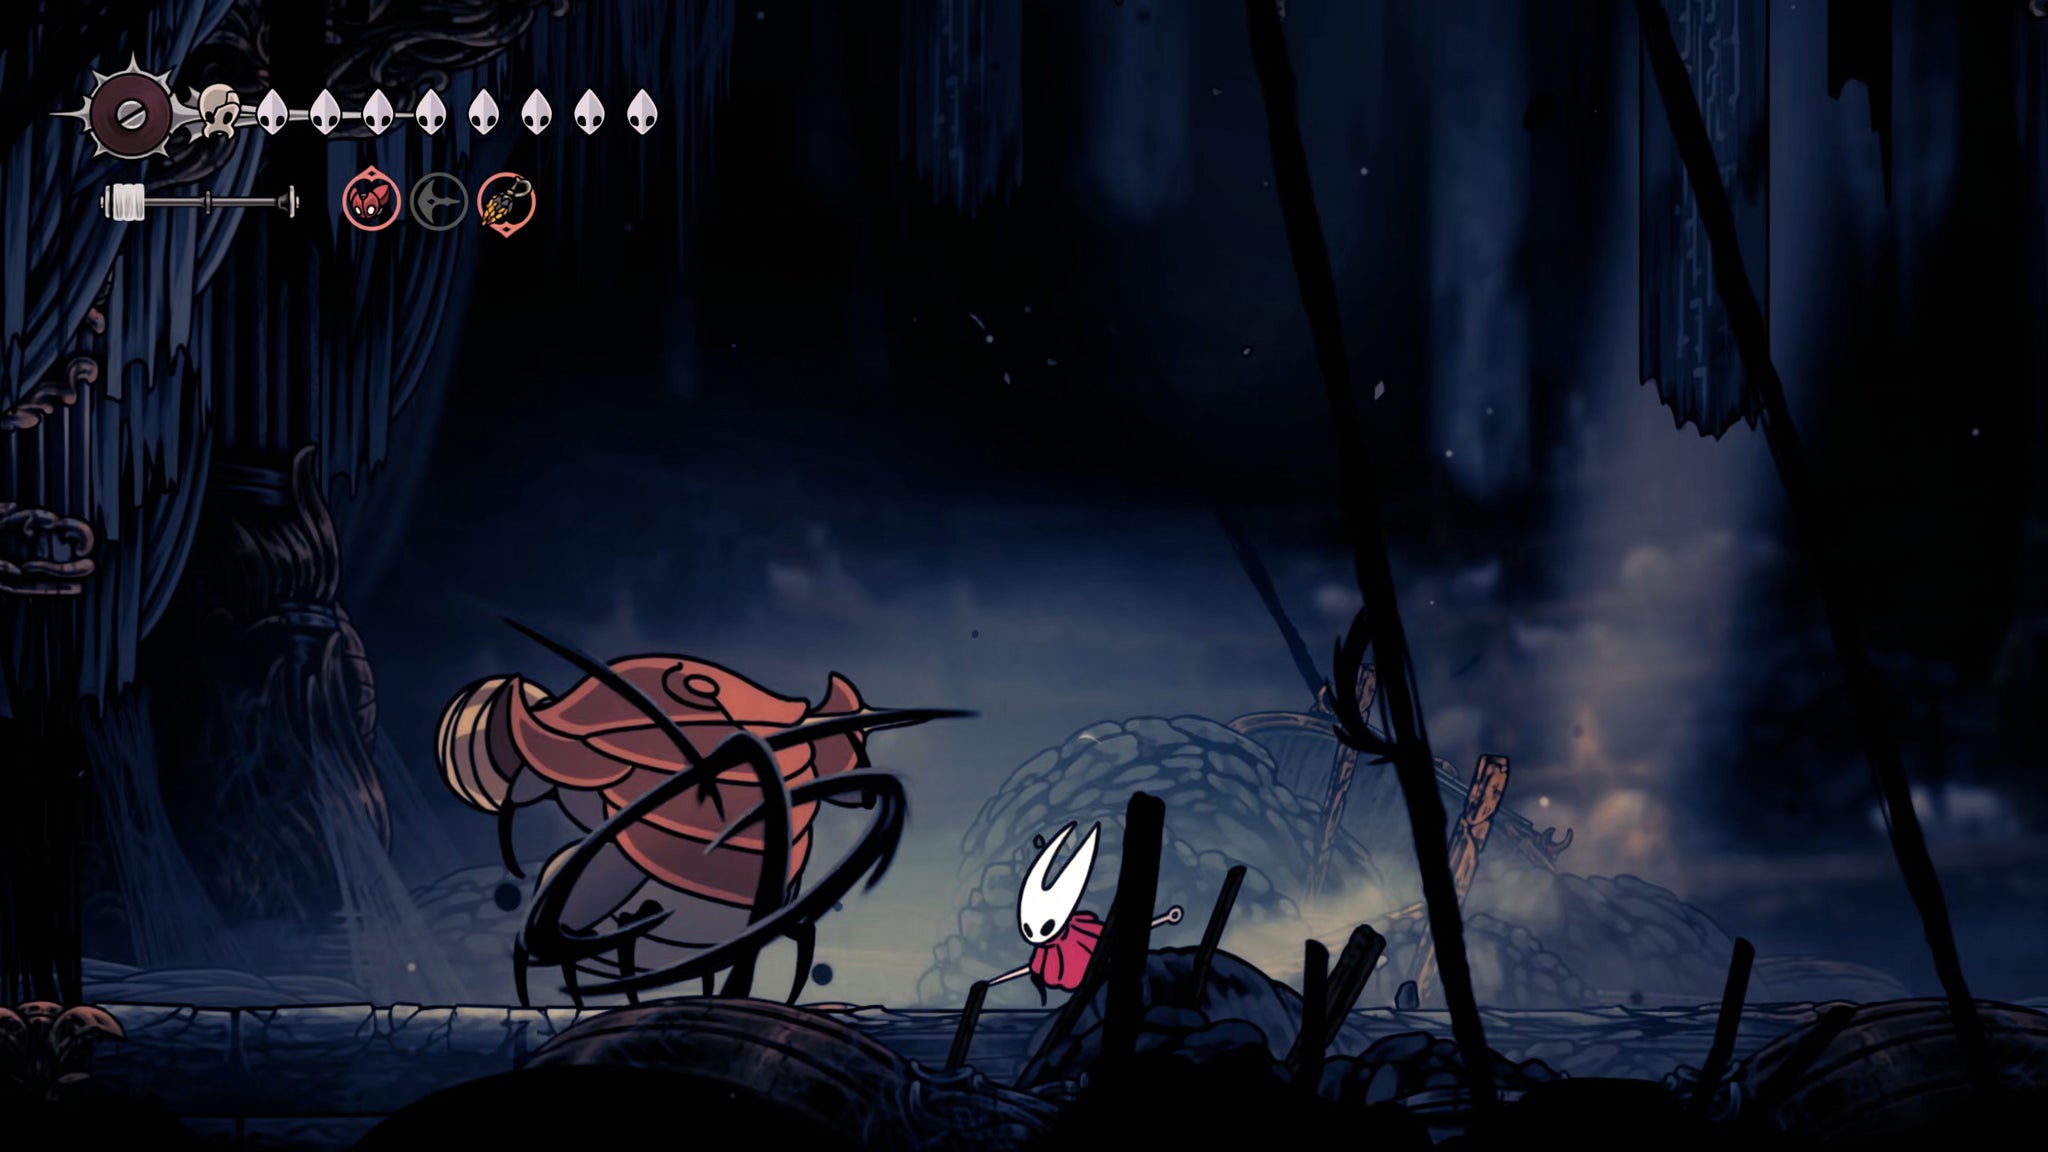

Head across to the left from the High Halls Ventrica, as far as you can go. On the way, you'll meet a nasty foe - a Void-powered Choir Clapper. Underestimating this enemy can lead to an unfortunate death, so take your time with it.
After the fight is won, keep heading left. At the end you'll reach the point where you once obtained the Conductor's Melody from the mysterious half-hidden figure, Conductor Ballador. He's gone now, but left behind on the floor is a Rune Harp for you to collect - the last of Scrounge's collection.
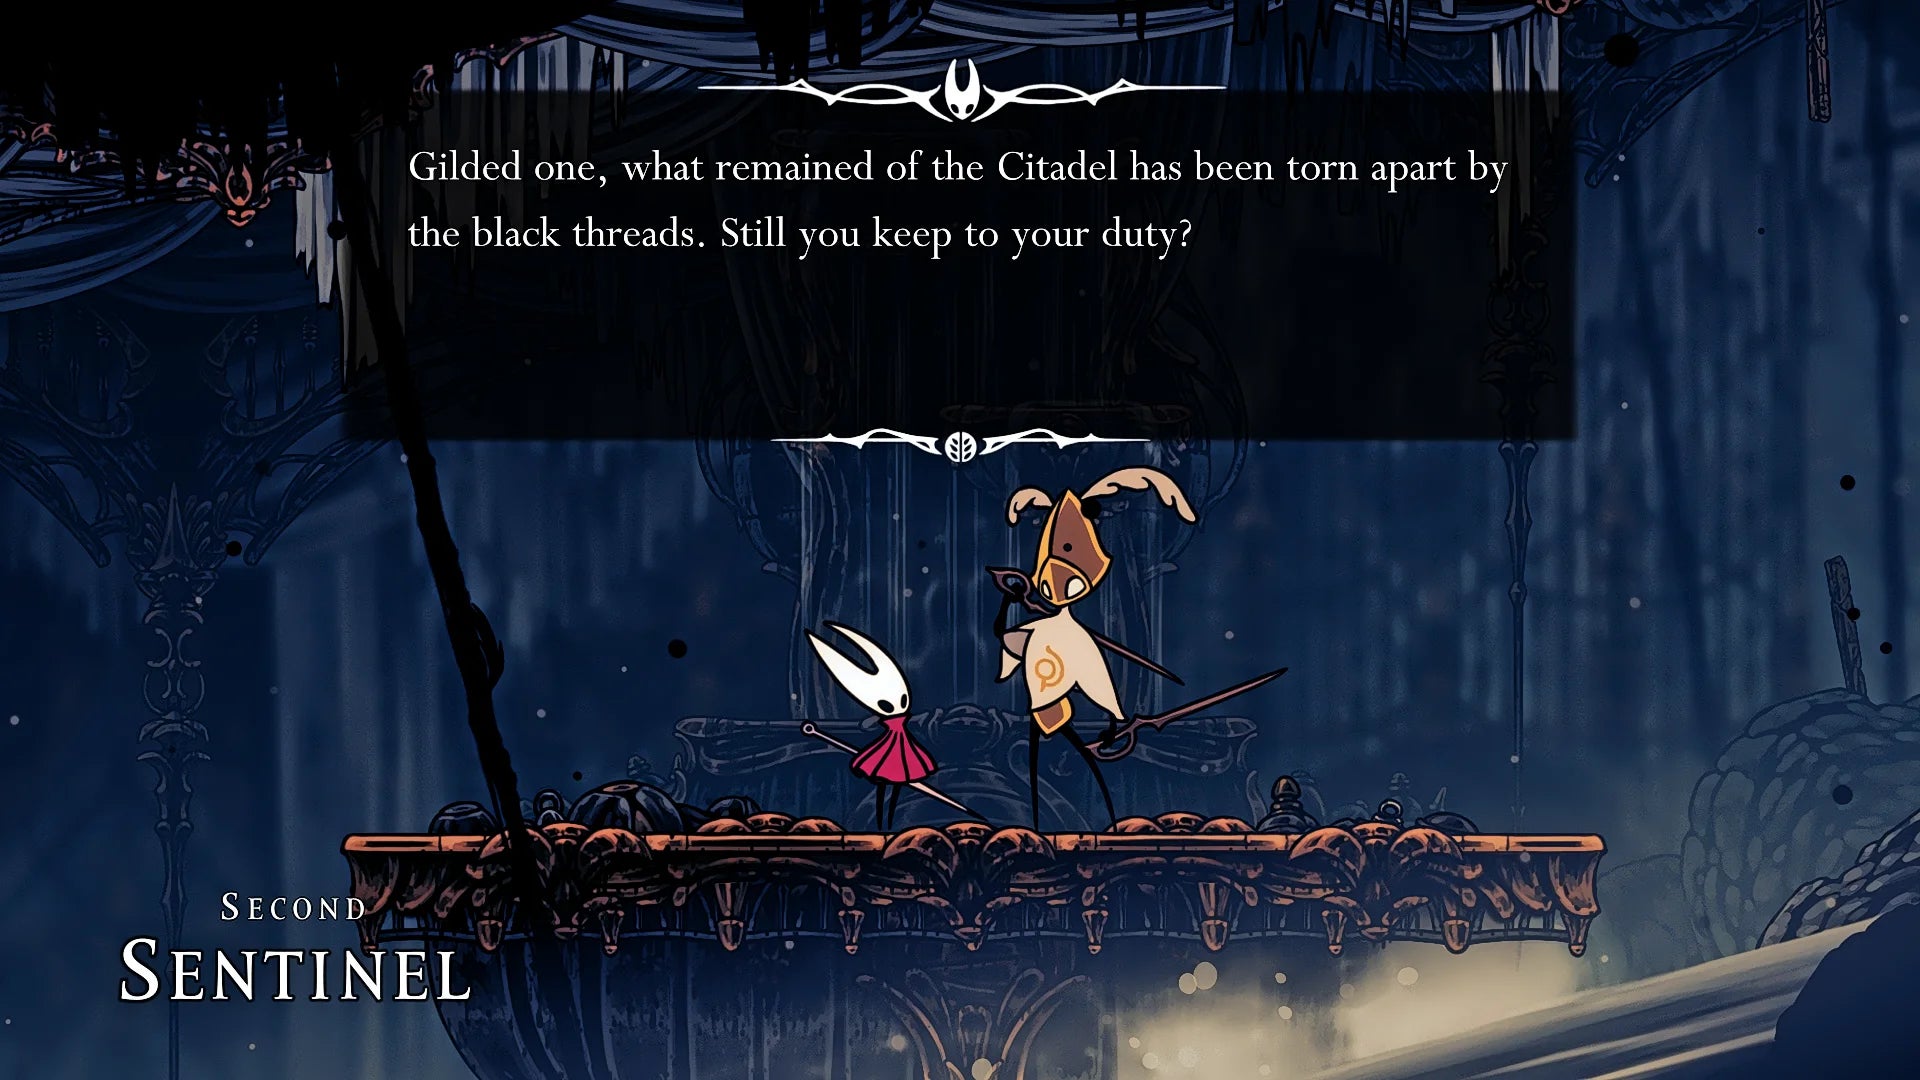
Now backtrack to the right and drop down into the Choral Chambers. From here, head left until you reach the shaft that leads up into the High Halls again. In that first slanted corridor of High Halls, you should find the Second Sentinel engaged in battle with some Void-ened enemies. Once the fight is over, you can speak with the Second Sentinel for a bit of extra dialogue.
13. Complete the Pain, Anguish, And Misery Wish.
You're done with High Halls now, so head down into Songclave for your next task. On the Wishwall here (if you haven't accepted it already), you should find a new Wish called "Pain, Anguish, And Misery". Those all sound like things we want to be a part of!
The objective here is to defeat a second, more powerful variant of the wonderful Trobbio from Act 2. You can find him in exactly the same place as before, in The Stage of the Choral Chambers. Before you fight him, I recommend heading back down to the Grand Bellway just below The Stage and resting at the Bench there for an easy nearby respawn point.
Once you're ready, climb up into The Stage via the left-hand entrance and walk into the centre of the stage itself to begin your fight with Tormented Trobbio.
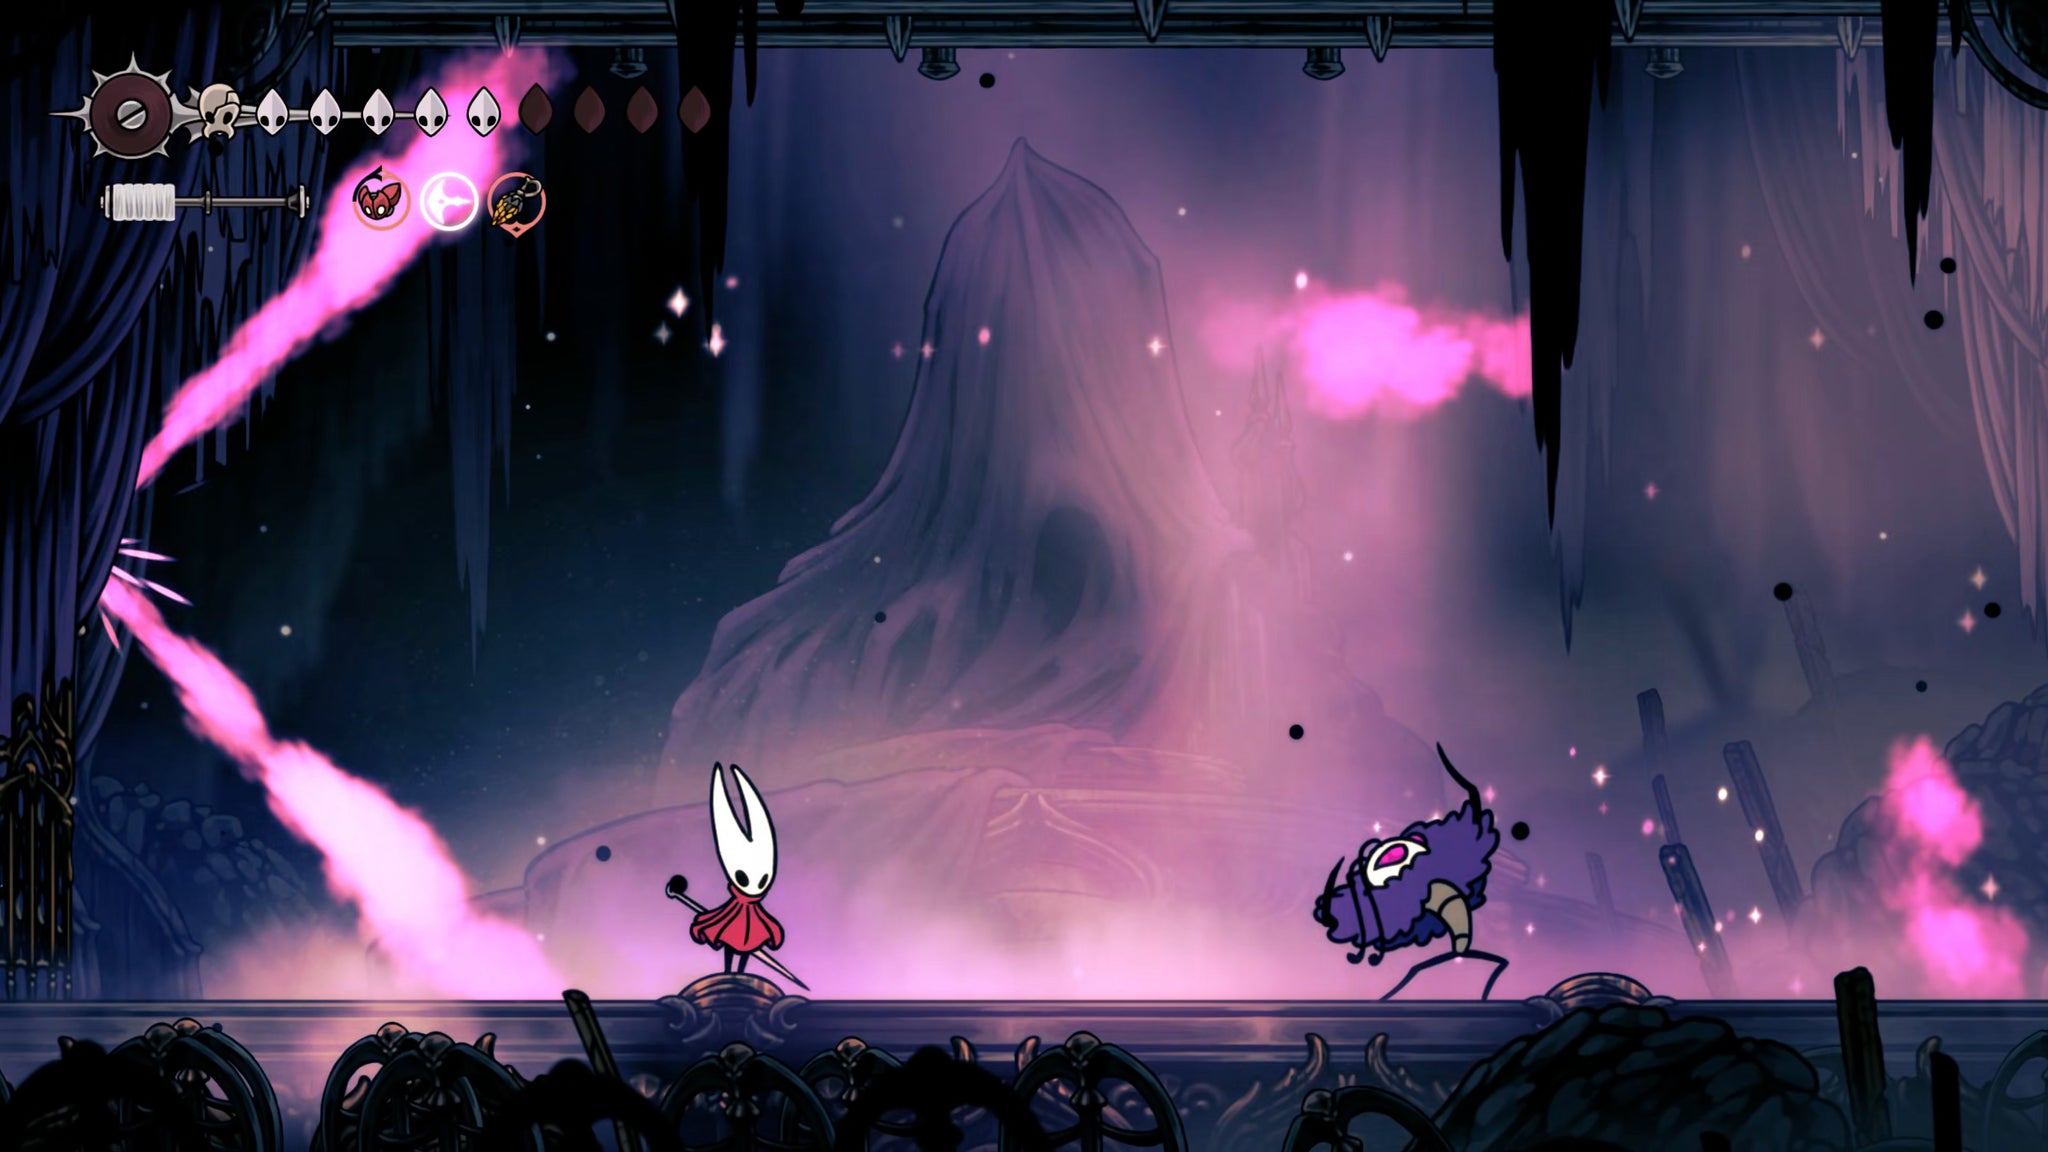
You'll recognise a lot of Trobbio's same attacks from your previous fight with him, but there are some subtle and tricky evolutions. Tormented Trobbio's whirlwinds now leave behind a trail of small explosions which you'll need to avoid, and he also has access to a couple of new attacks which fire out lines in a "+" or "x" shape.
Just as before, Trobbio's gameplan involves filling the arena with lights, smoke, and distractions; and your gameplan is to remain calm in the face of it all. The more deliberately you can move Hornet in this fight, the better. Don't dash when a simple walk will do. Don't jump until you need to. Trobbio is good at punishing incorrect movements, but taking that advantage away from him makes the fight far easier.
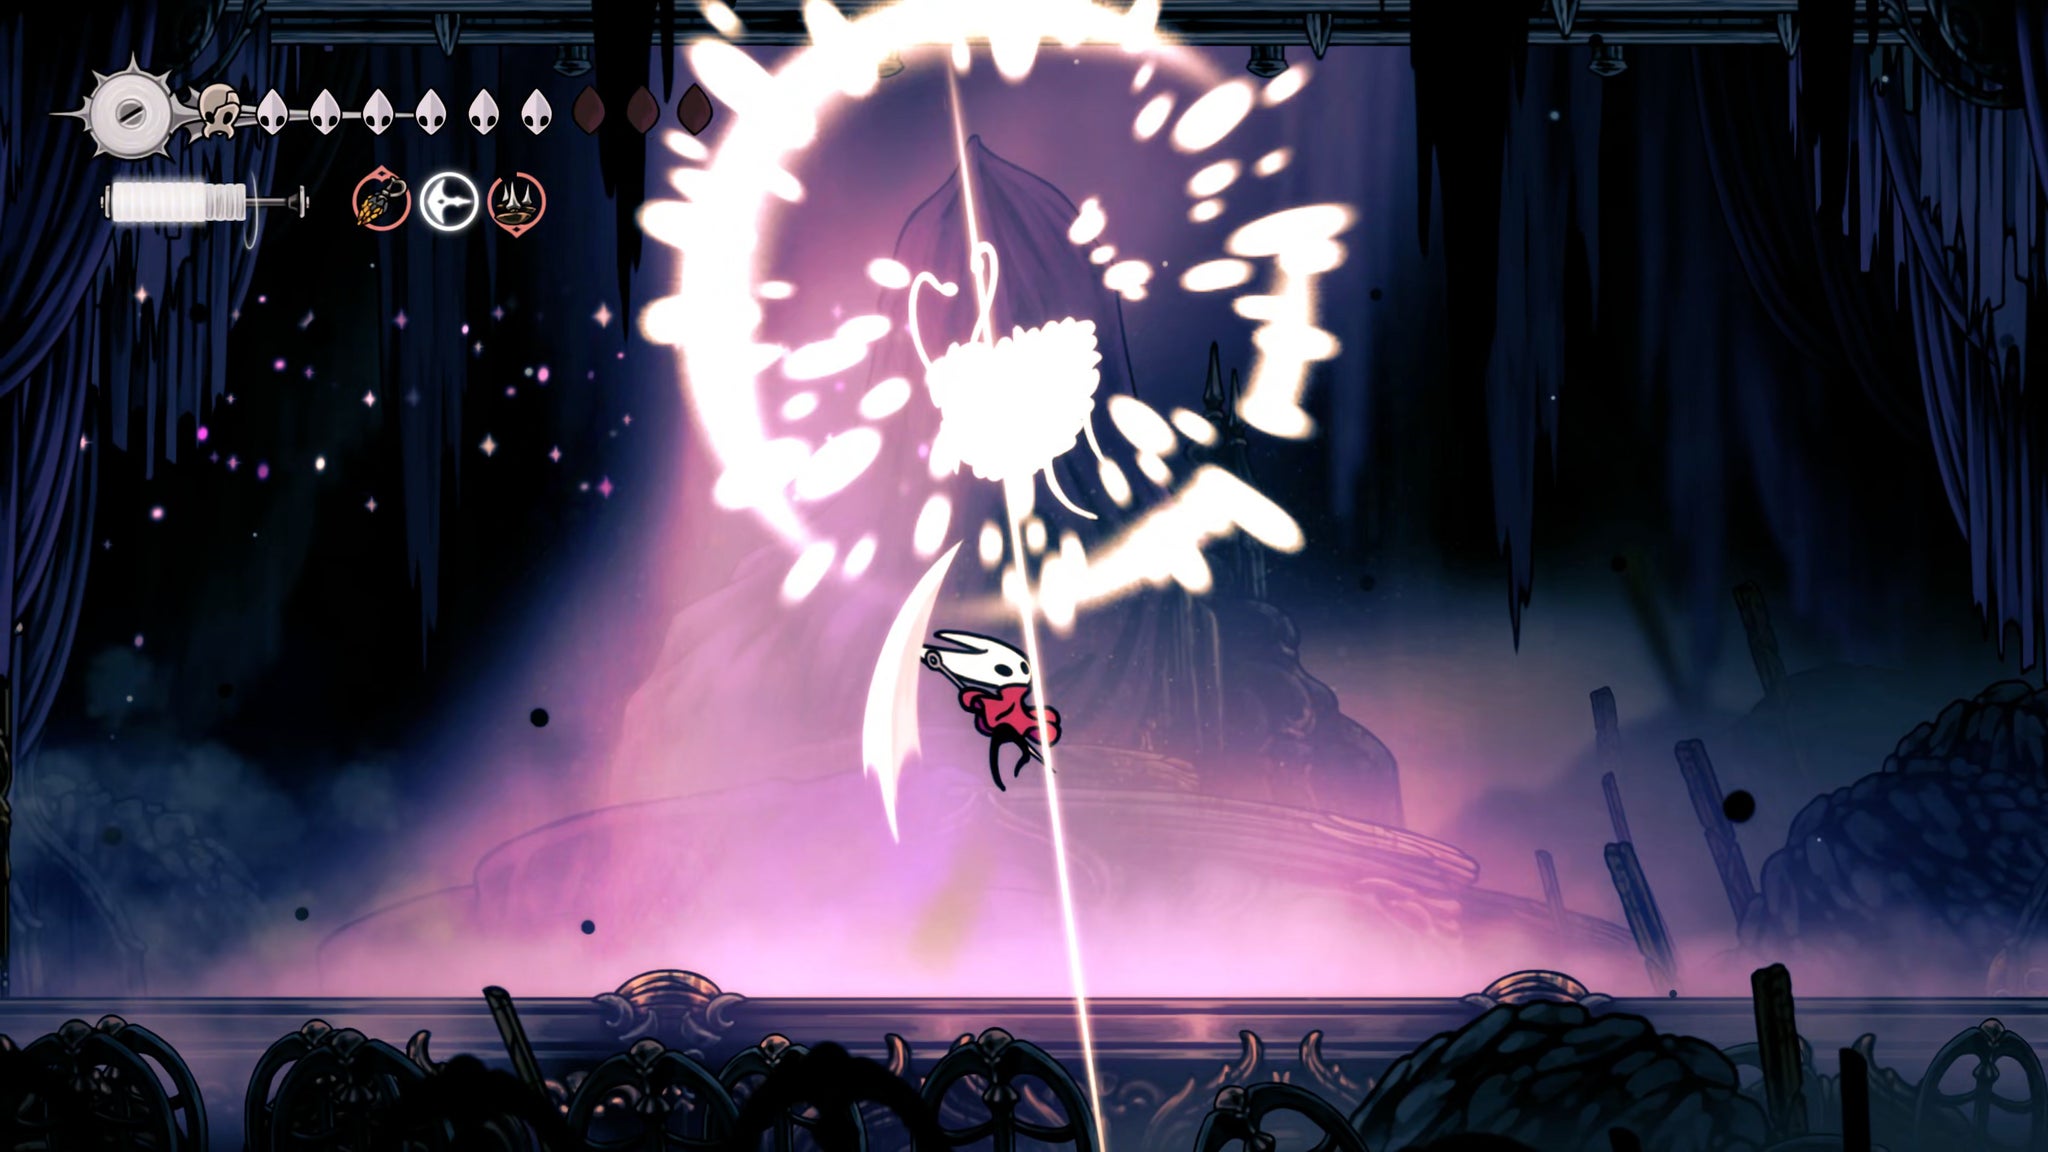

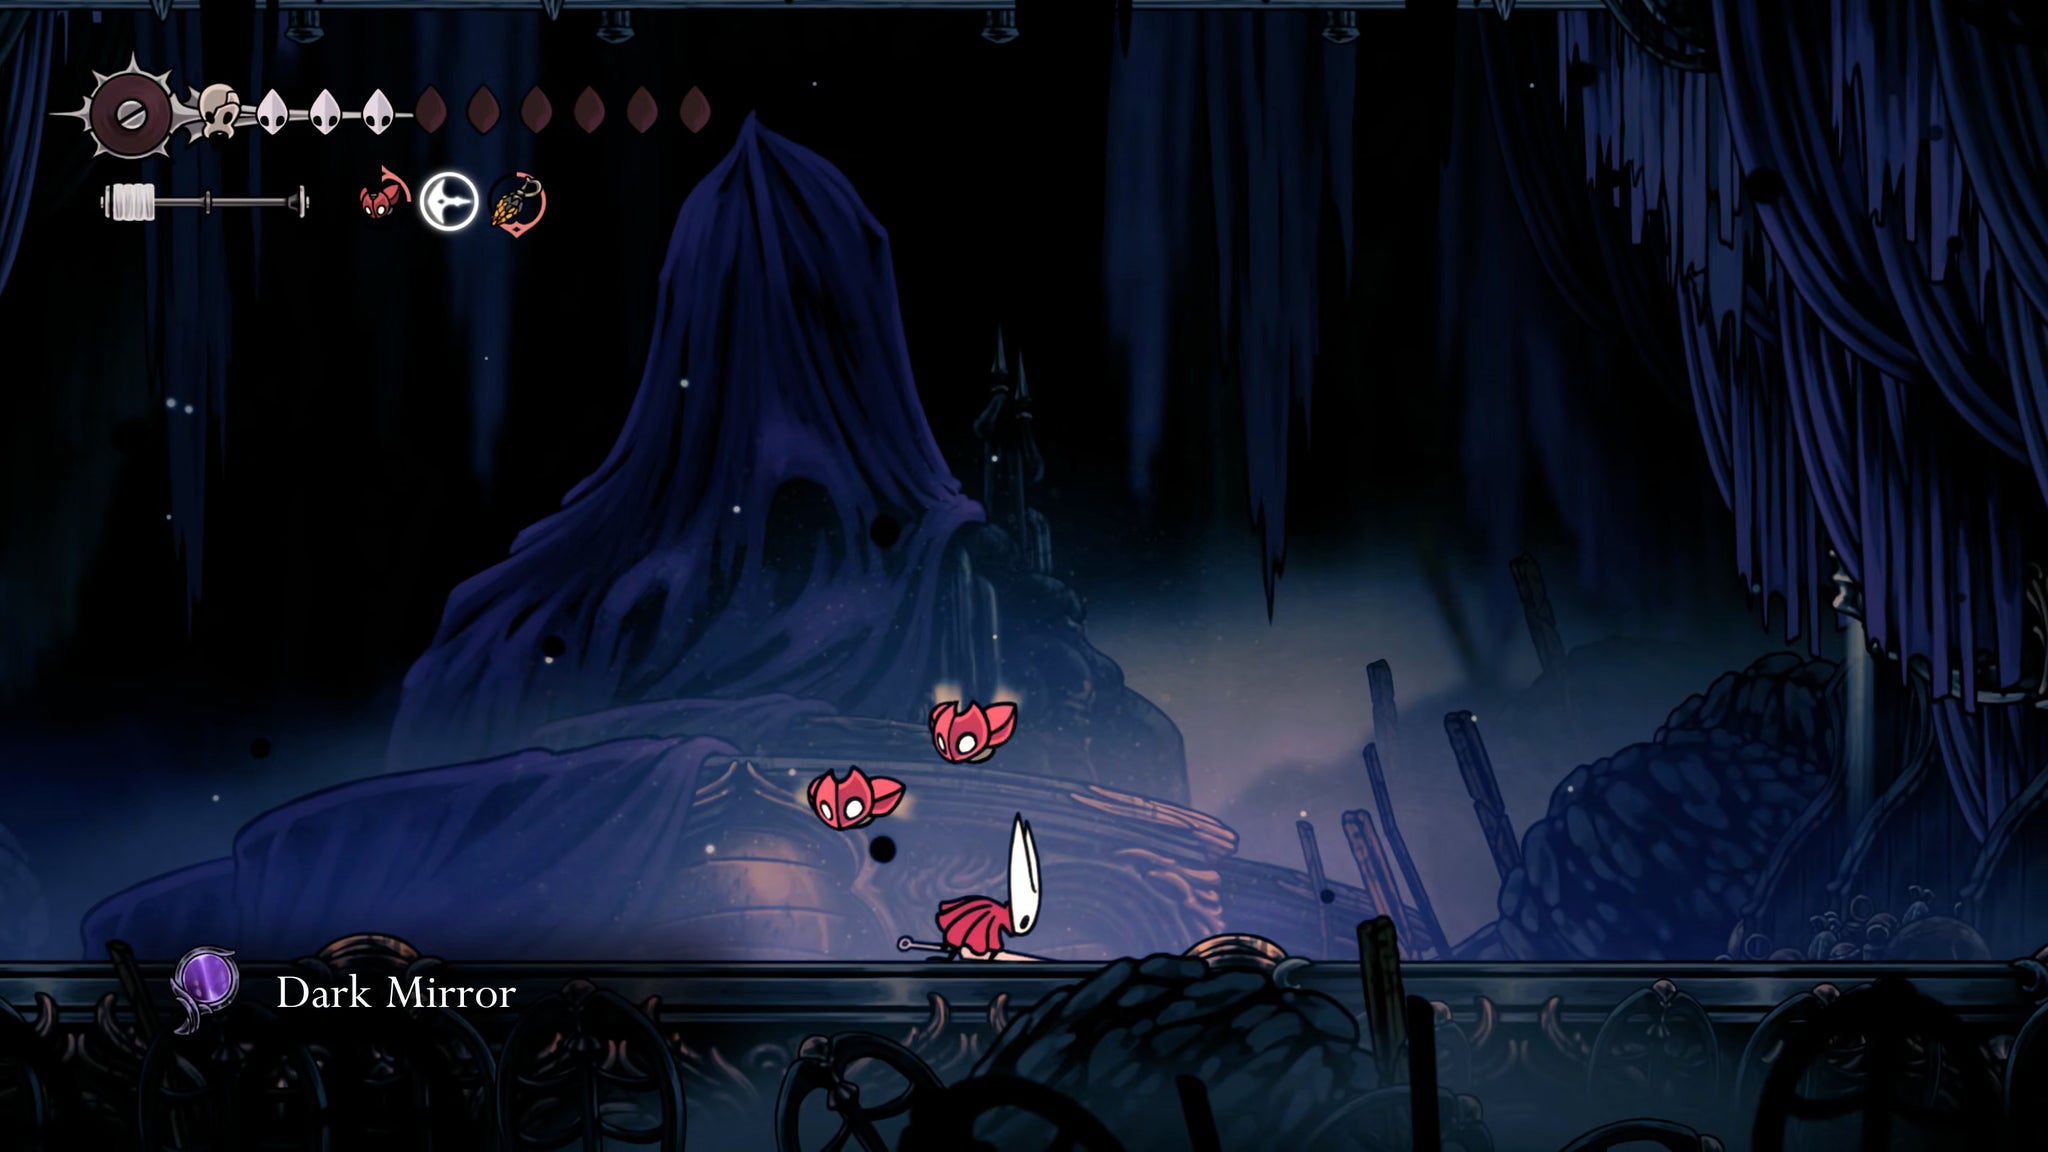
Strike the final blow, and then wait for Tormented Trobbio's hilariously melodramatic death. You'll then see the "Pain, Anguish, And Misery" Wish completed, and from out of the floorboards will pop an item.
Loot it to obtain the Dark Mirror, which automatically combines with the Claw Mirror to create the upgraded Claw Mirrors. This tool works identically to the original Claw Mirror, but deals nearly double its former damage.
14. Complete Seth's questline for the Guardian's Memento.
One of the last remaining Mementos in Silksong is locked behind the questline of an Act 3-exclusive character whom you've already met (and fought): Shrine Guardian Seth.
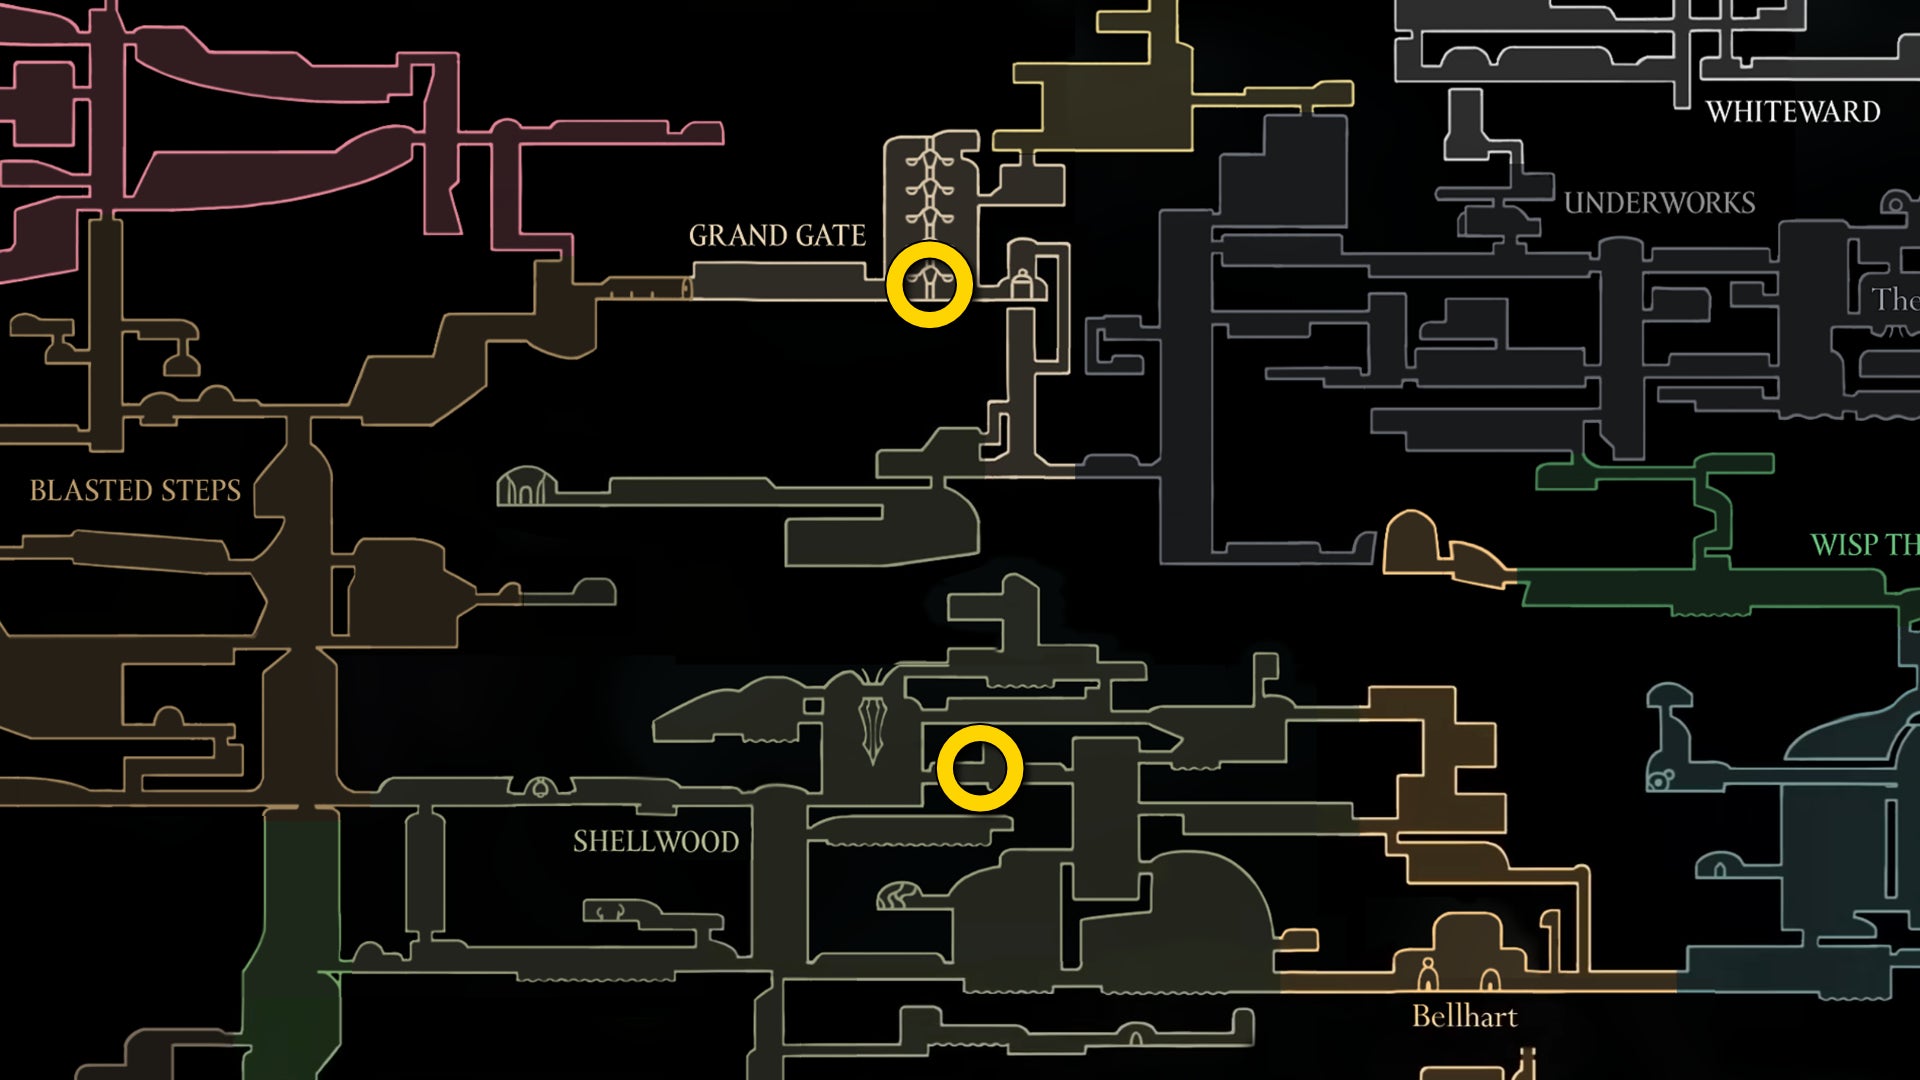
To complete this questline, you have to meet and speak with Seth at each of the locations he appears at after defeating him outside Nyleth's shrine. If you've followed along with our walkthrough you should already have met him in Greymoor, to the west of Craw Lake.
Next, head to the Shellwood Bellway, and exit to the right. Head through the next couple of rooms until you reach the bottom of the large room from which you once obtained the Cling Grip skill. Then take the bottom-right exit from this room, and you'll find Seth again.
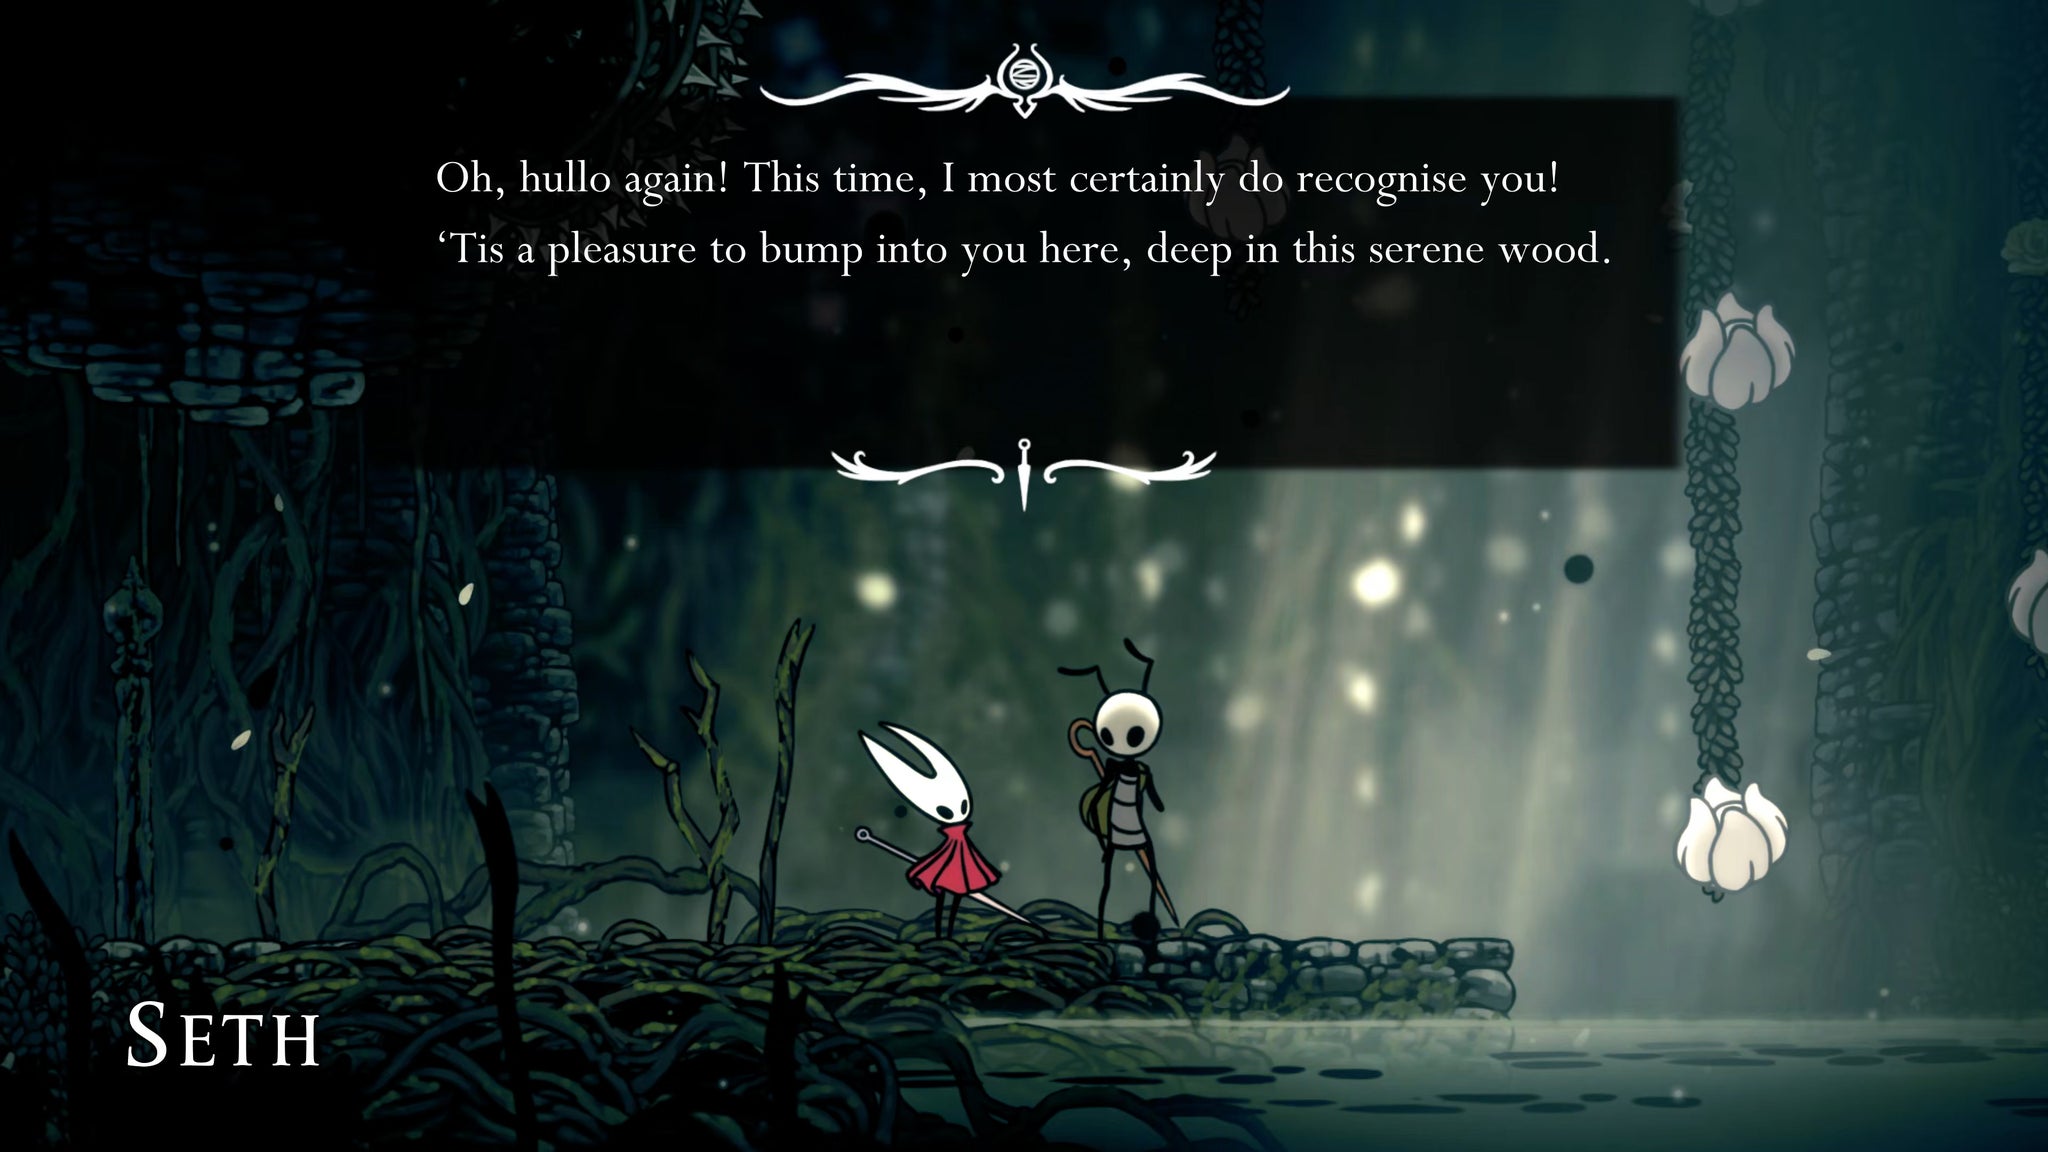
Speak with Seth here, and then Beastling Call back to the Bellway and travel to the Blasted Steps. From here, head down that old familiar path to the Last Judge's arena and beyond, into the Grand Gate. Here you'll meet Seth once more and can speak with him again.
Finally, fast travel to the Putrified Ducts, and make your way into Fleatopia. Here, you'll find that Seth has made his final home among the Fleas, and seems very happy. How heartwarming! That warm feeling might be overtaken slightly by forlorn rage, however, when you realise that Seth has been playing the Flea minigames and has most likely knocked you off the top of the scoreboard.
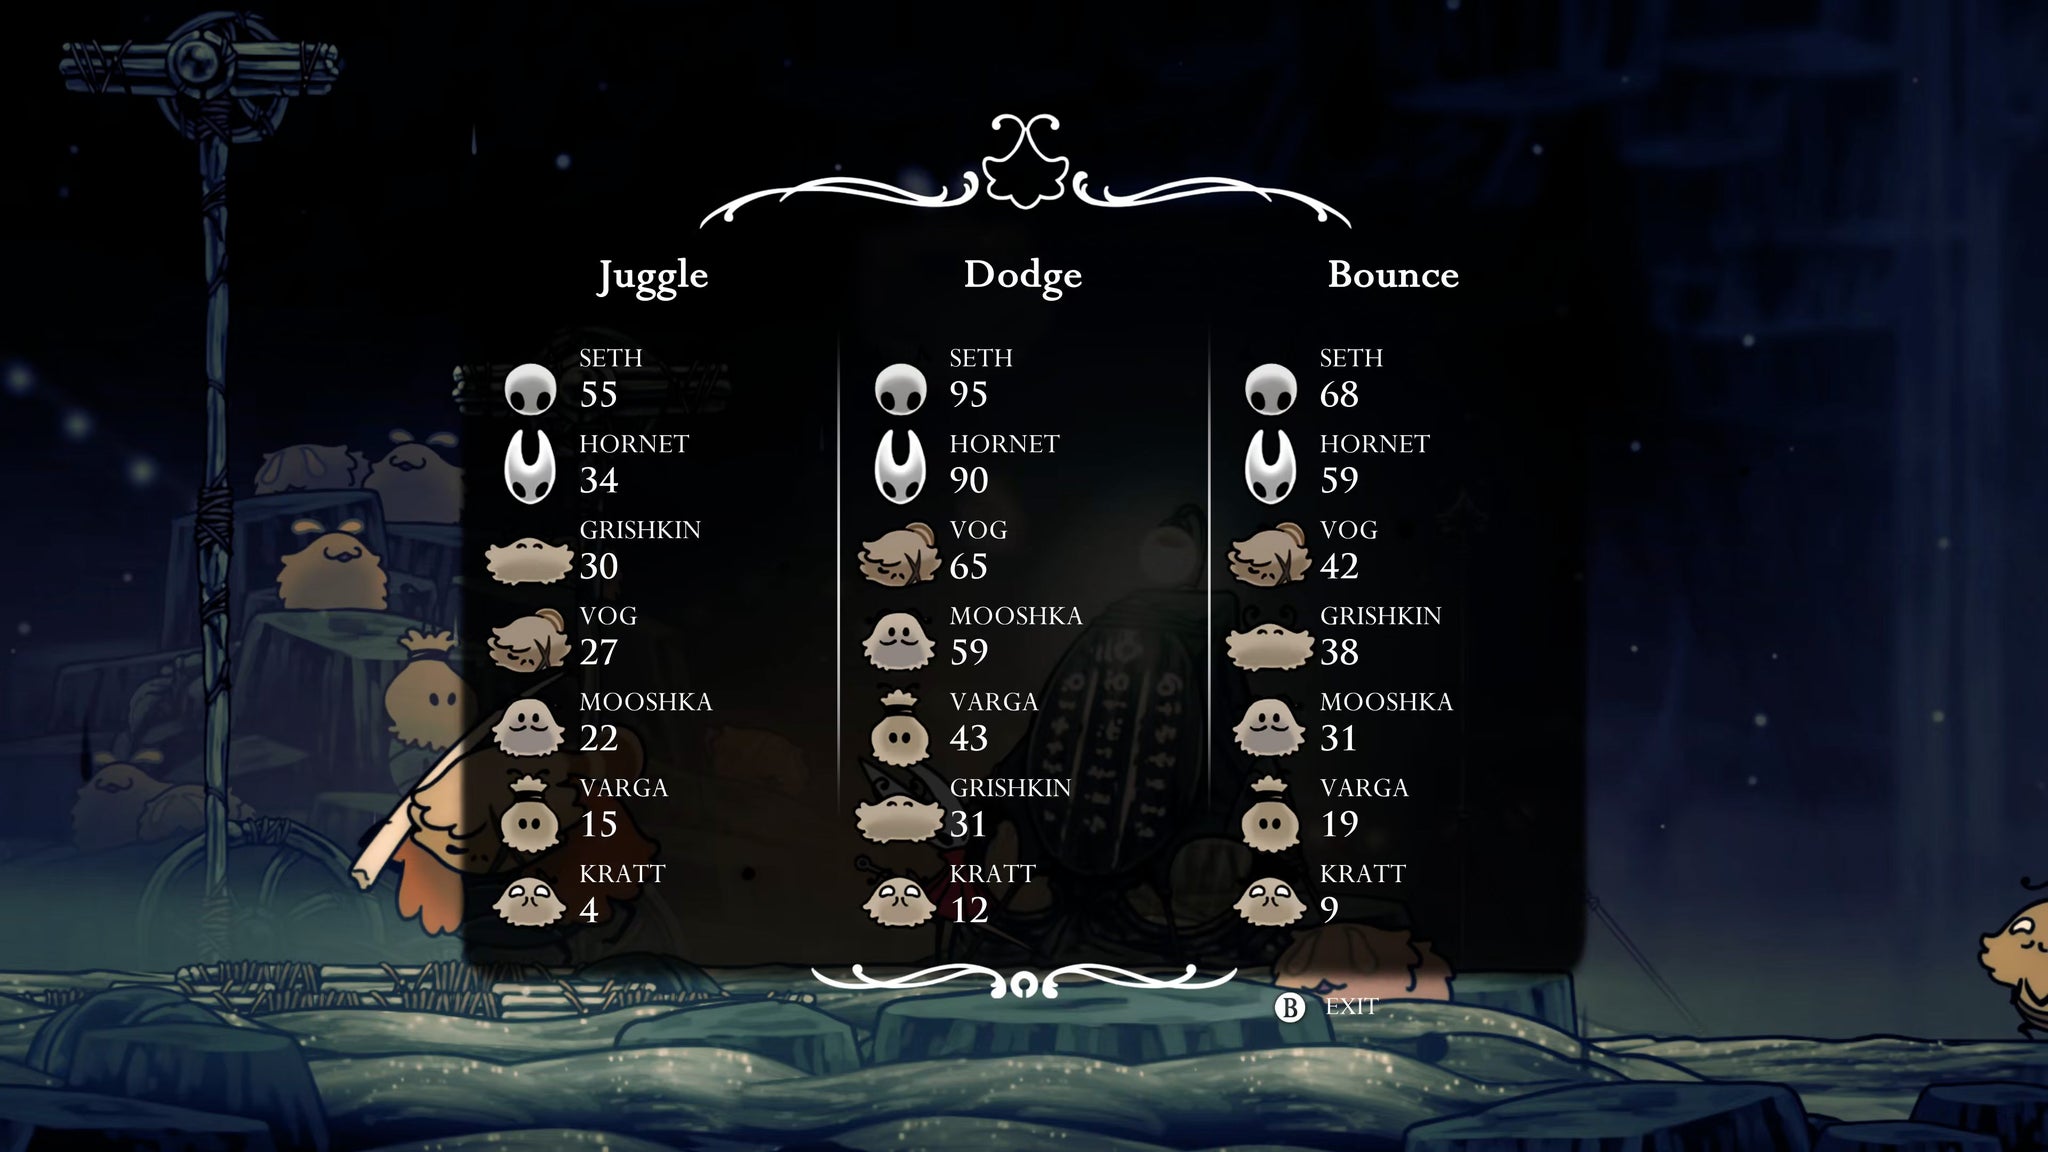
True completionists, now's as good a time as ever to prove yourself queen of the Fleas by beating all of Seth's highscores in Flea Bounce, Flea Dodge, and Flea Juggle. Once you do this, you can speak with Seth to obtain the Guardian's Memento.
While you're here, just to save time for later on, swim across to the other side of the Pale Lake, and climb the ledges up to the top. Stand on the far left side of the top ledge, and Silk Soar up through the ceiling to find a curious mushroom-filled area.

Interact with the tablet here for some intriguing lore, and accept the Passing Of The Age Wish. We'll return to it in a short while!
15. Accept the Craw Summons when it arrives.
I'll place this step here, but really this quest is entirely dependent on when you receive the Craw Summons. The Craw Summons is an item that is delivered by Craw to your feet - an event that can randomly happen at any point in Act 3 whenever you rest at a Bench.
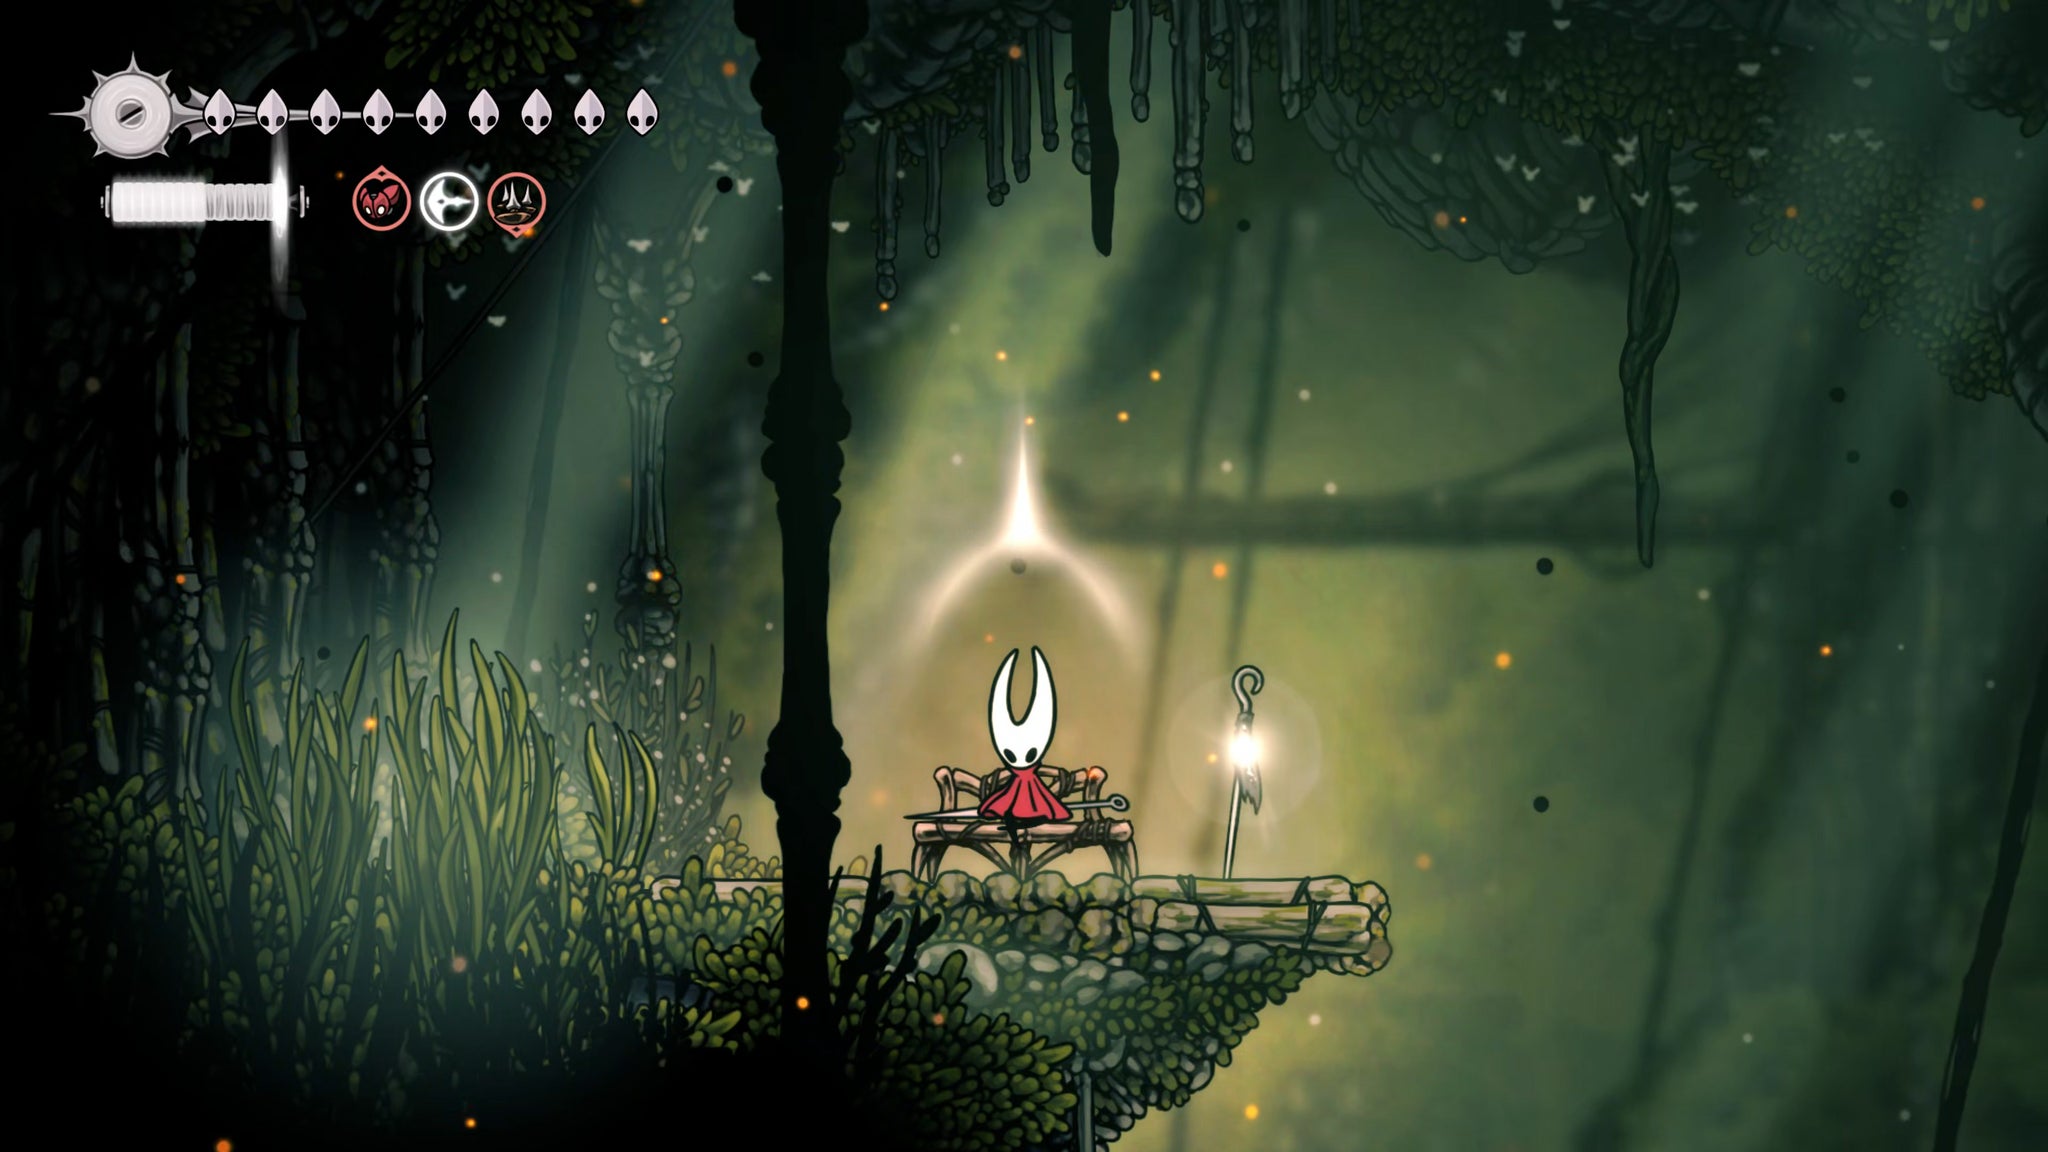
Loot the pin by the Bench when it happens to receive the Craw Summons. Once you have it, travel to Greymoor and make your way to - yes, you guessed it - Craw Lake.
Enter the main building on ground level in Craw Lake, and drop down to the bottom once you're inside. On the right-hand side you'll see a door; interact with it and offer up your Craw Summons to be admitted entrance.
Drop down the hole just beyond the door, and follow the path to your left to enter the arena of the Court Of Craws.

The Court Of Craws is home to an arena fight consisting of 6 waves, the last of which pits you against the Crawfather boss. The waves consist of the following enemies:
- 1x Squatcraw Juror, 1x Tallcraw Juror
- 2x Craw Jurors
- 2x Squatcraw Jurors
- 2x Craw Jurors
- 2x Tallcraw Jurors
- The Crawfather
All of these "Juror" variants count as new enemies in your Hunter's Journal. They're functionally identical to their regular variants, but they wear a metal crown which blocks attacks from directly above.
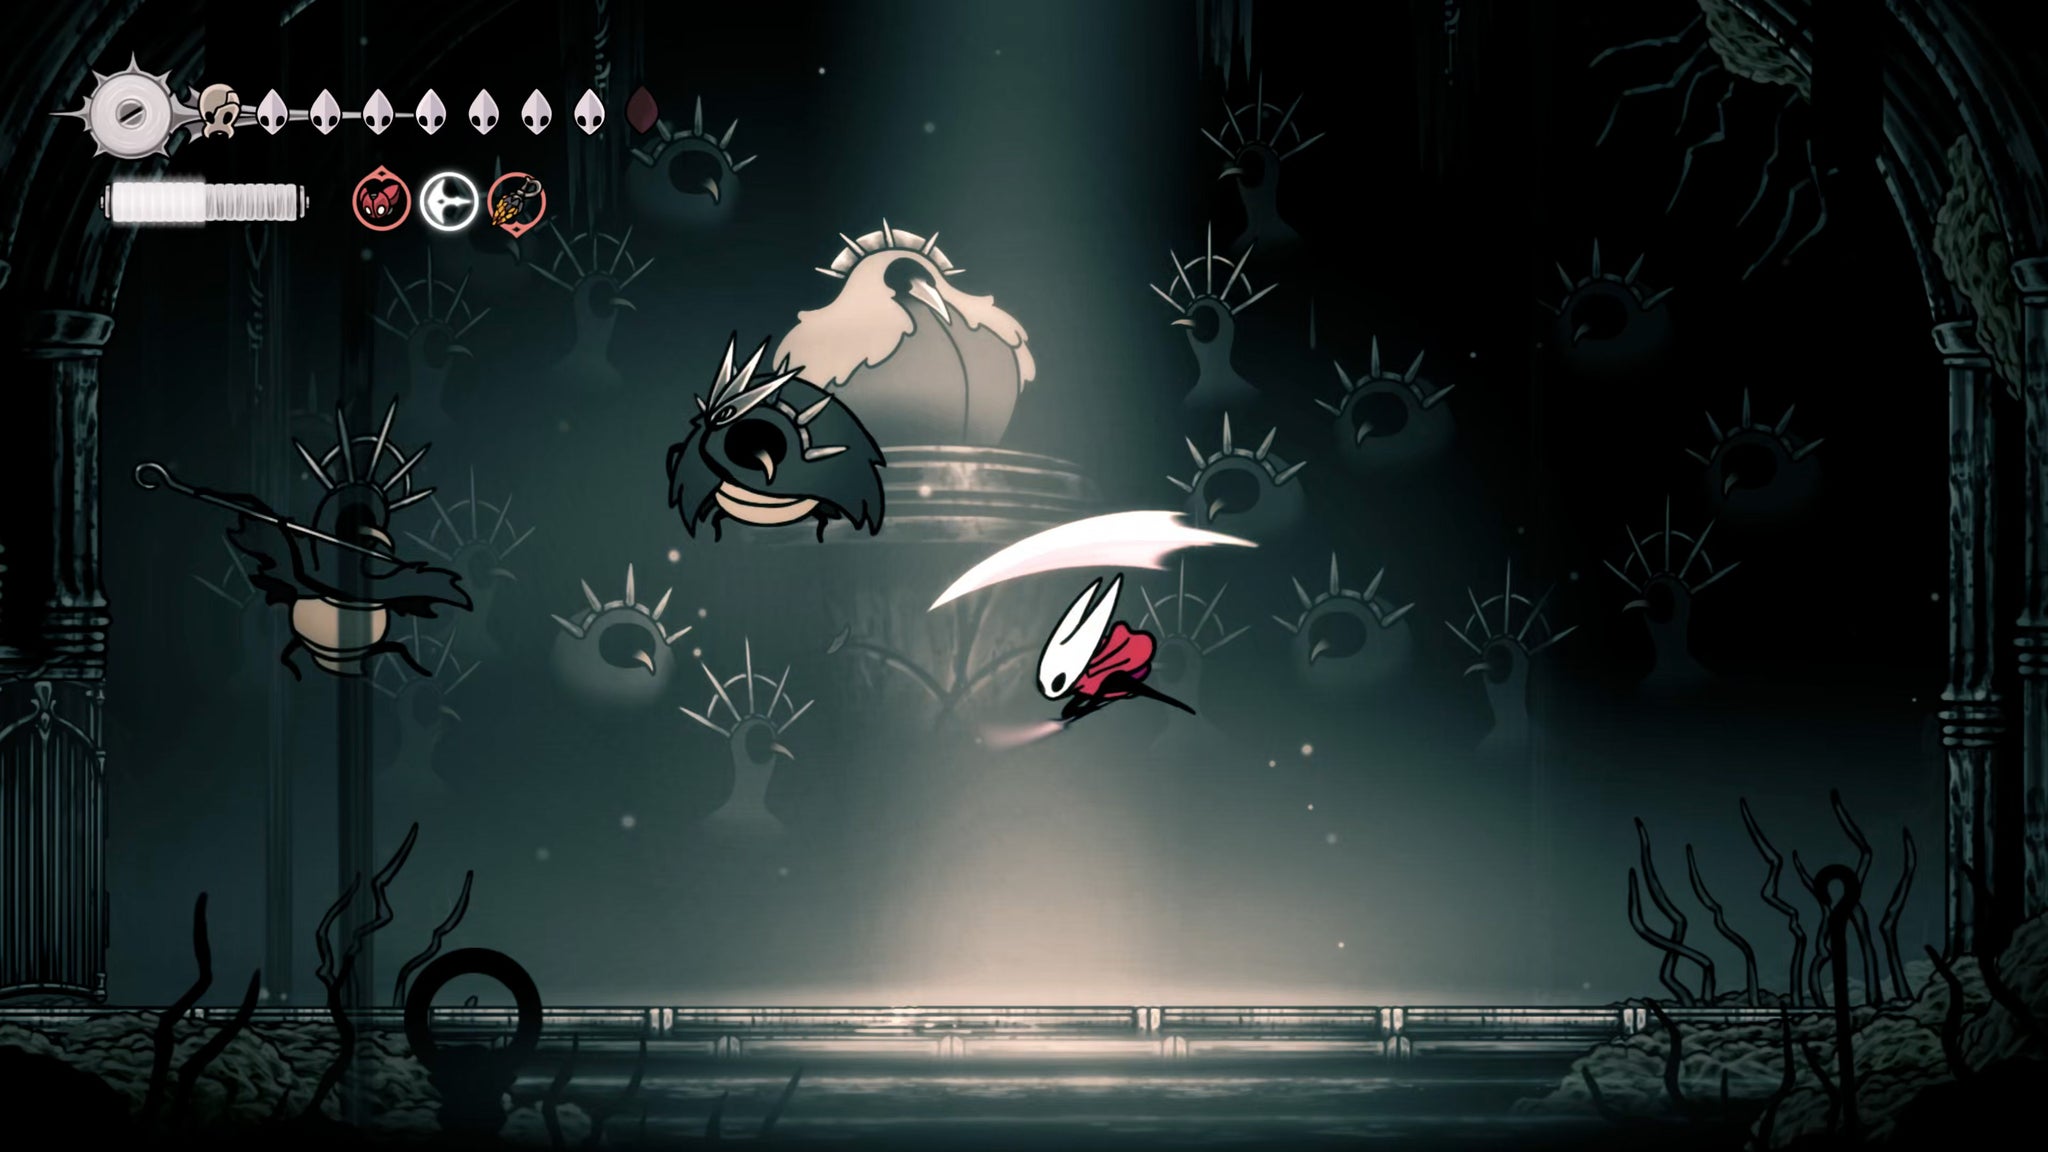
The Cogfly is worth its weight in gold in this fight, as you're up against so many flying enemies. Still, you're never overwhelmed with numbers during this fight - you're almost always just against 2 enemies at once, and it's not too difficult to avoid their attacks and chip away at their health until you reach the final boss.
The Crawfather appears on the final wave. He has a charge attack where he pecks along the ground, which is fairly easy to jump over; and an attack where he leaps into the air before flying downward to the ground, which is also pretty easy to avoid just by dashing beneath him.
These movements get slightly more difficult when the Crawfather summons a minion to hound you, but I would try to ignore the minion for the most part and just burst down the Crawfather as quickly as possible. This is yet another fight where aggression is rewarded, as long as you don't get too banged up in the process.
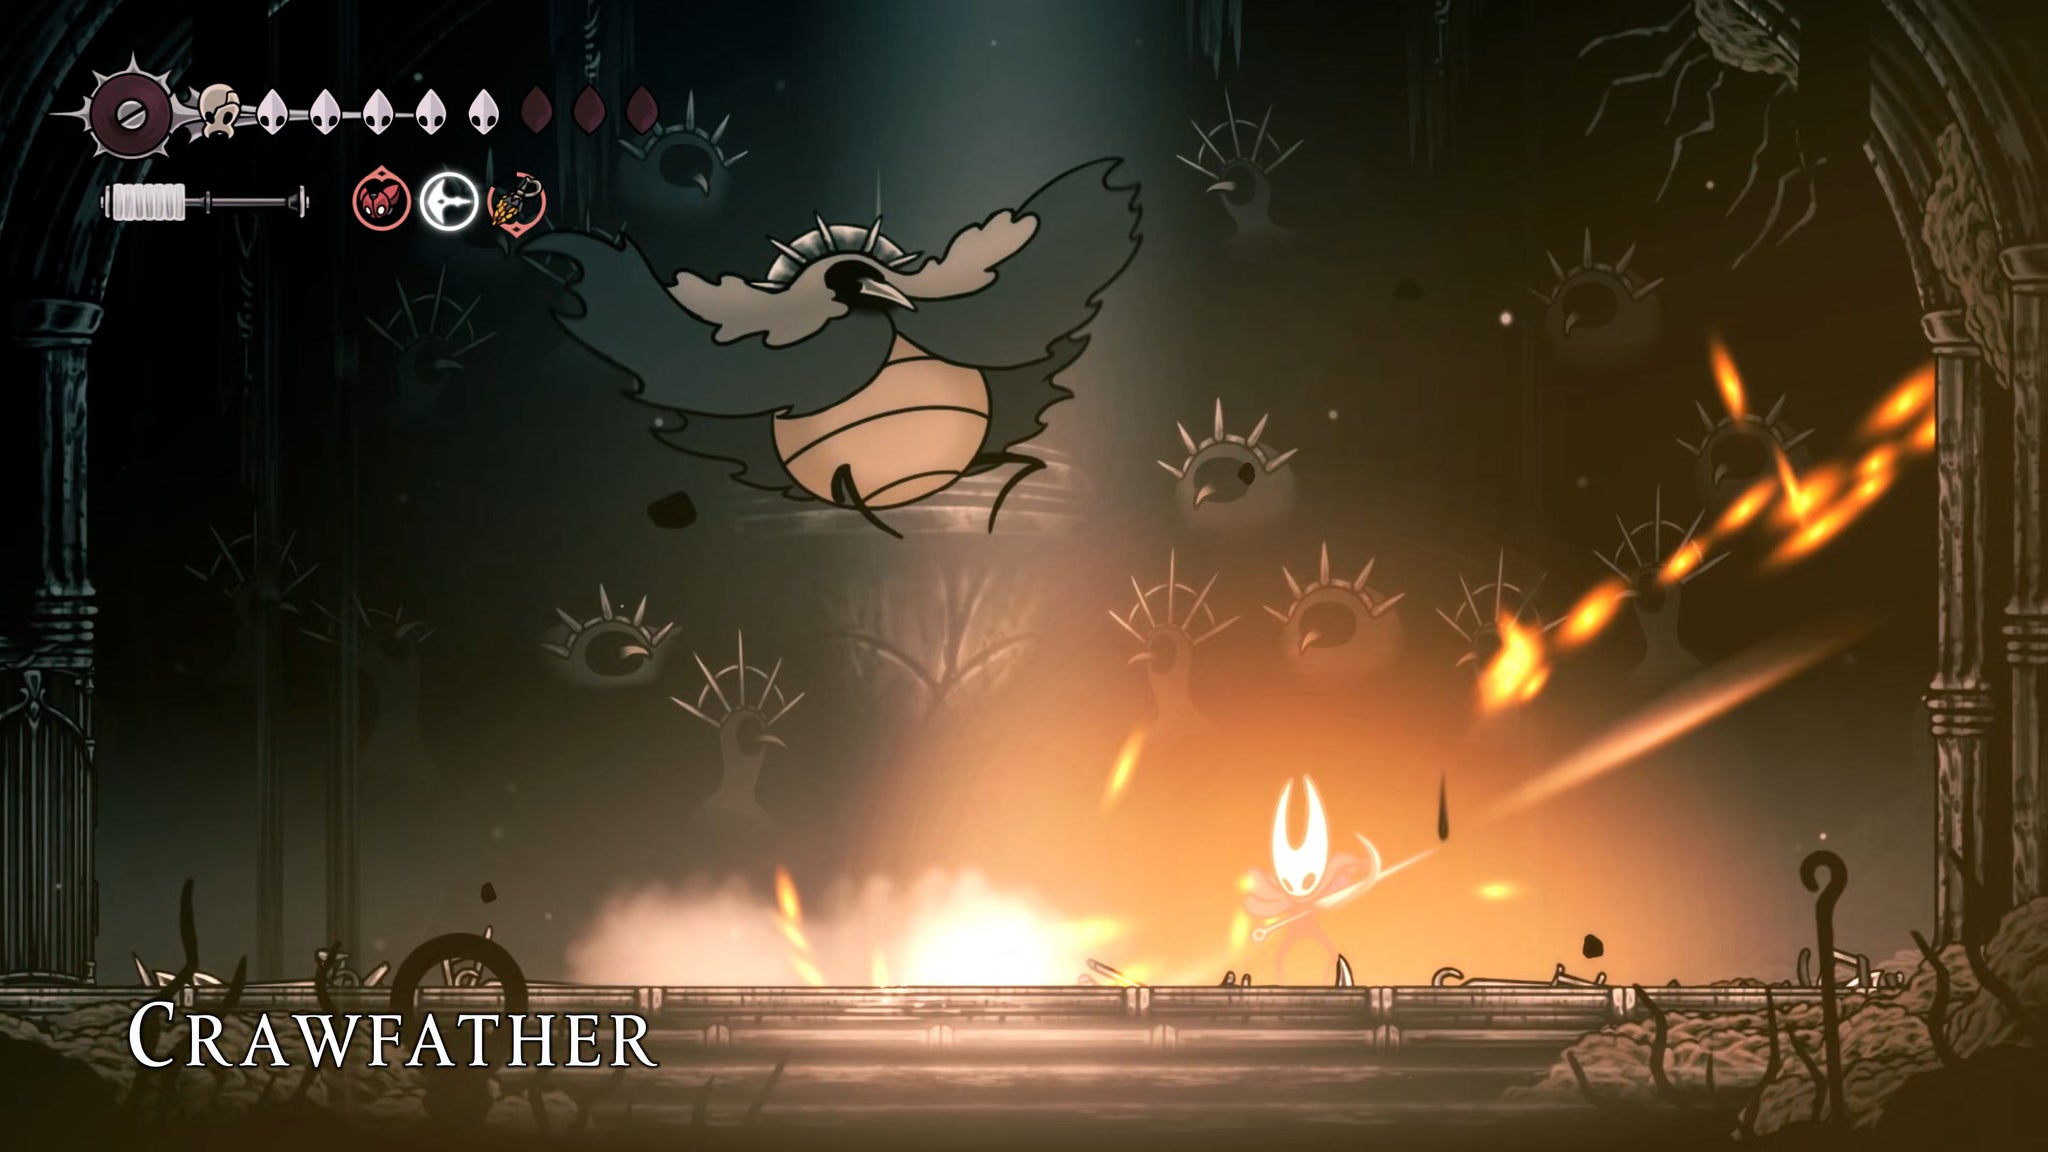
As the Crawfather weakens, he'll begin to summon more minions at once, which is admittedly very annoying. You can use Silk abilities and other tools to cut them down quickly. The other new trick the Crawfather learns is an attack which fires a bunch of spiked chains in all directions, but this is again fairly simple to avoid. Eventually you'll cut him down, and receive the Craw Memento for your trouble.
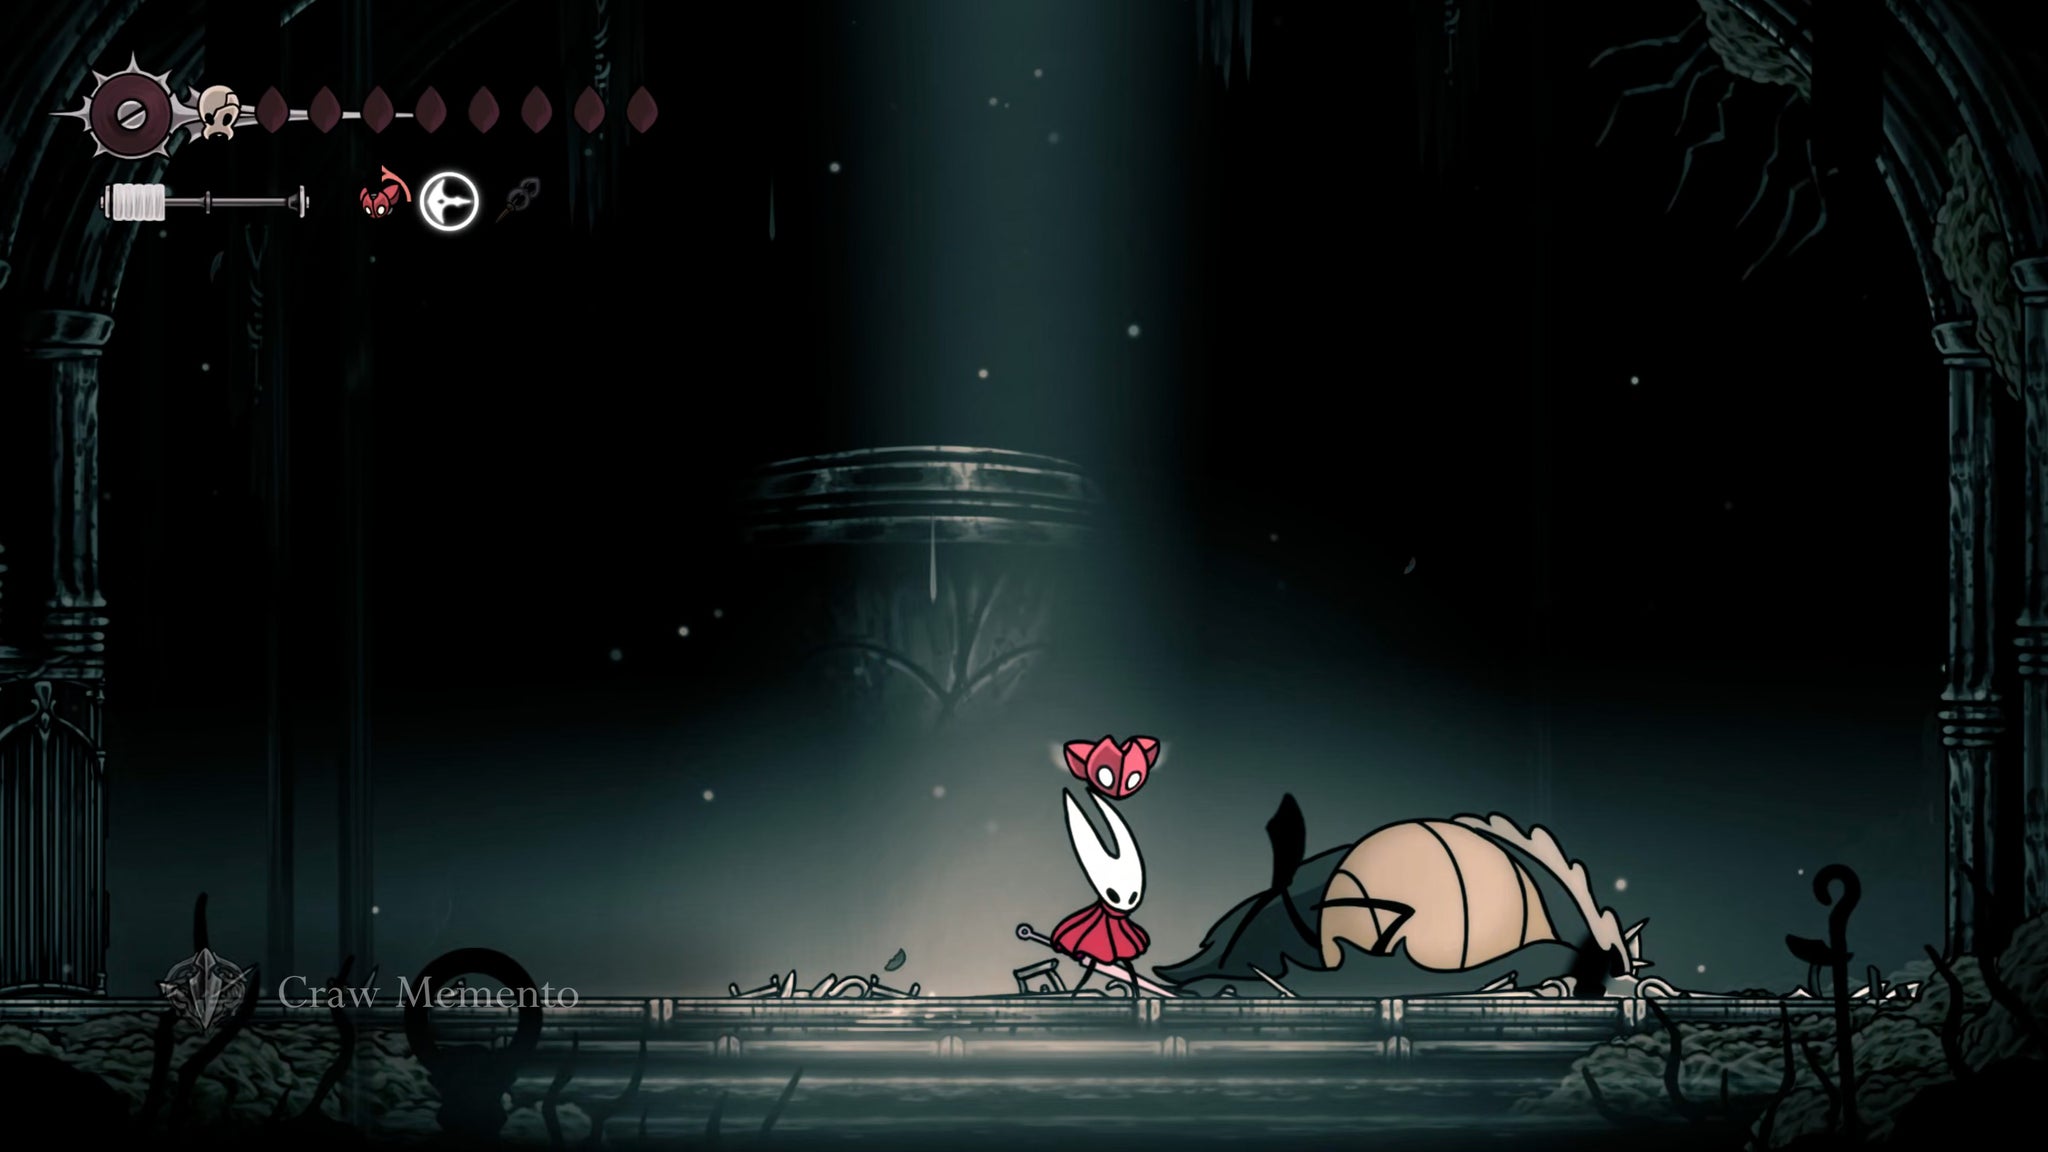
After the fight, the left-hand door will open. Head through it and follow the path upwards to loot the Crawbell from the floor. This item can be hung outside your Bellhome in Bellhart, and will periodically be filled with Shell Shards as a slow but endless supply forevermore. Keep following the path upwards and break the wall at the end for an easy path back up into Greymoor.
16. Complete the Passing Of The Age Wish.
The last side quest to complete is the Passing Of The Age, a Wish which has special implications for the future of Hollow Knight and Silksong. See the instructions above at the end of Step 14 on how to begin this quest, in case you missed it before.
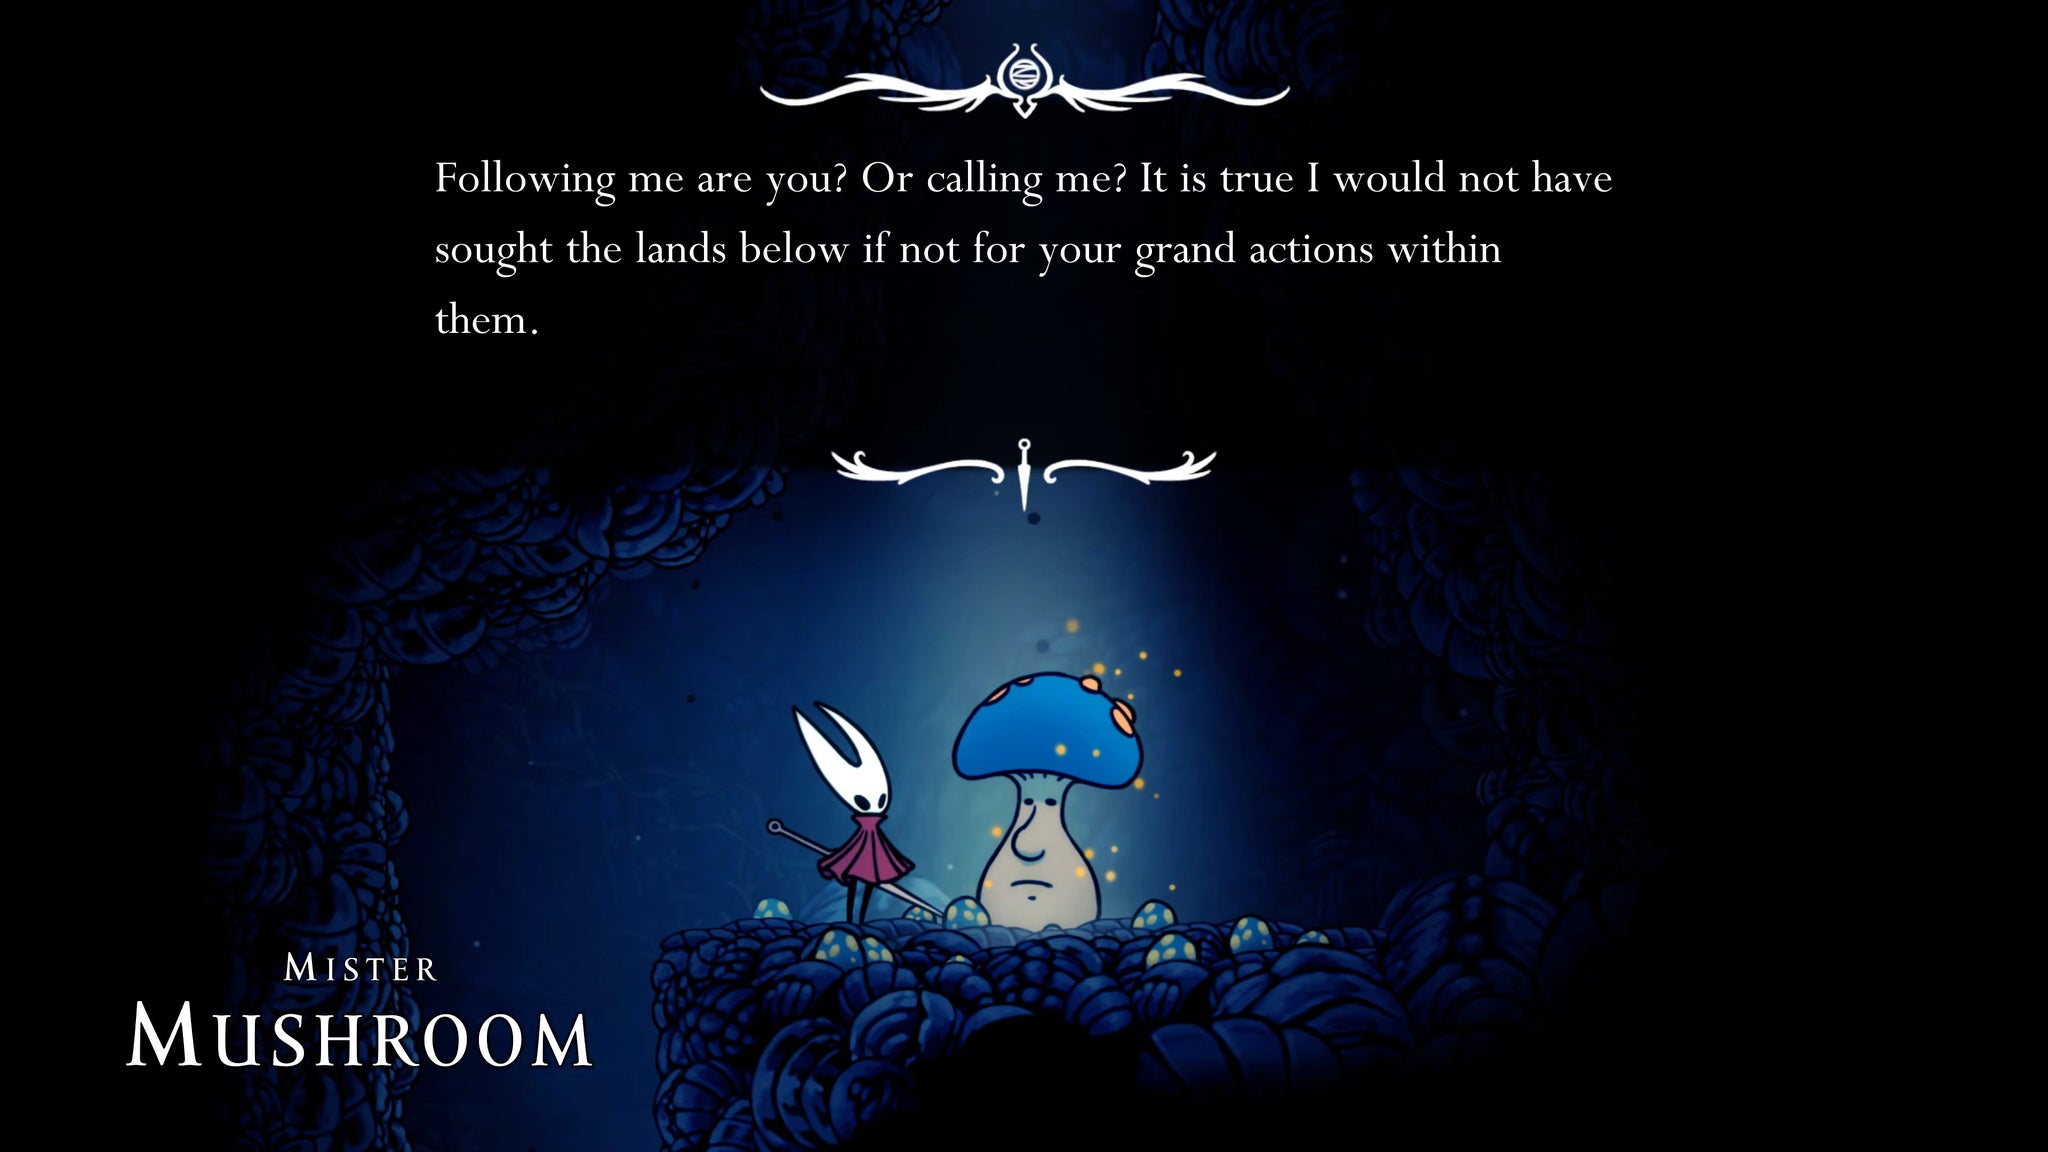
This quest involves solving the riddle offered to track down the various locations of Mister Mushroom (also known as the Herald), an enigmatic character from the first Hollow Knight. There are 7 locations you must visit, each of which relates to one line of the riddle. At each location you'll see a particularly mushroom-y section of ground. Play your Needolin here to summon Mister Mushroom, and speak with him.
The seven Mister Mushroom locations are:
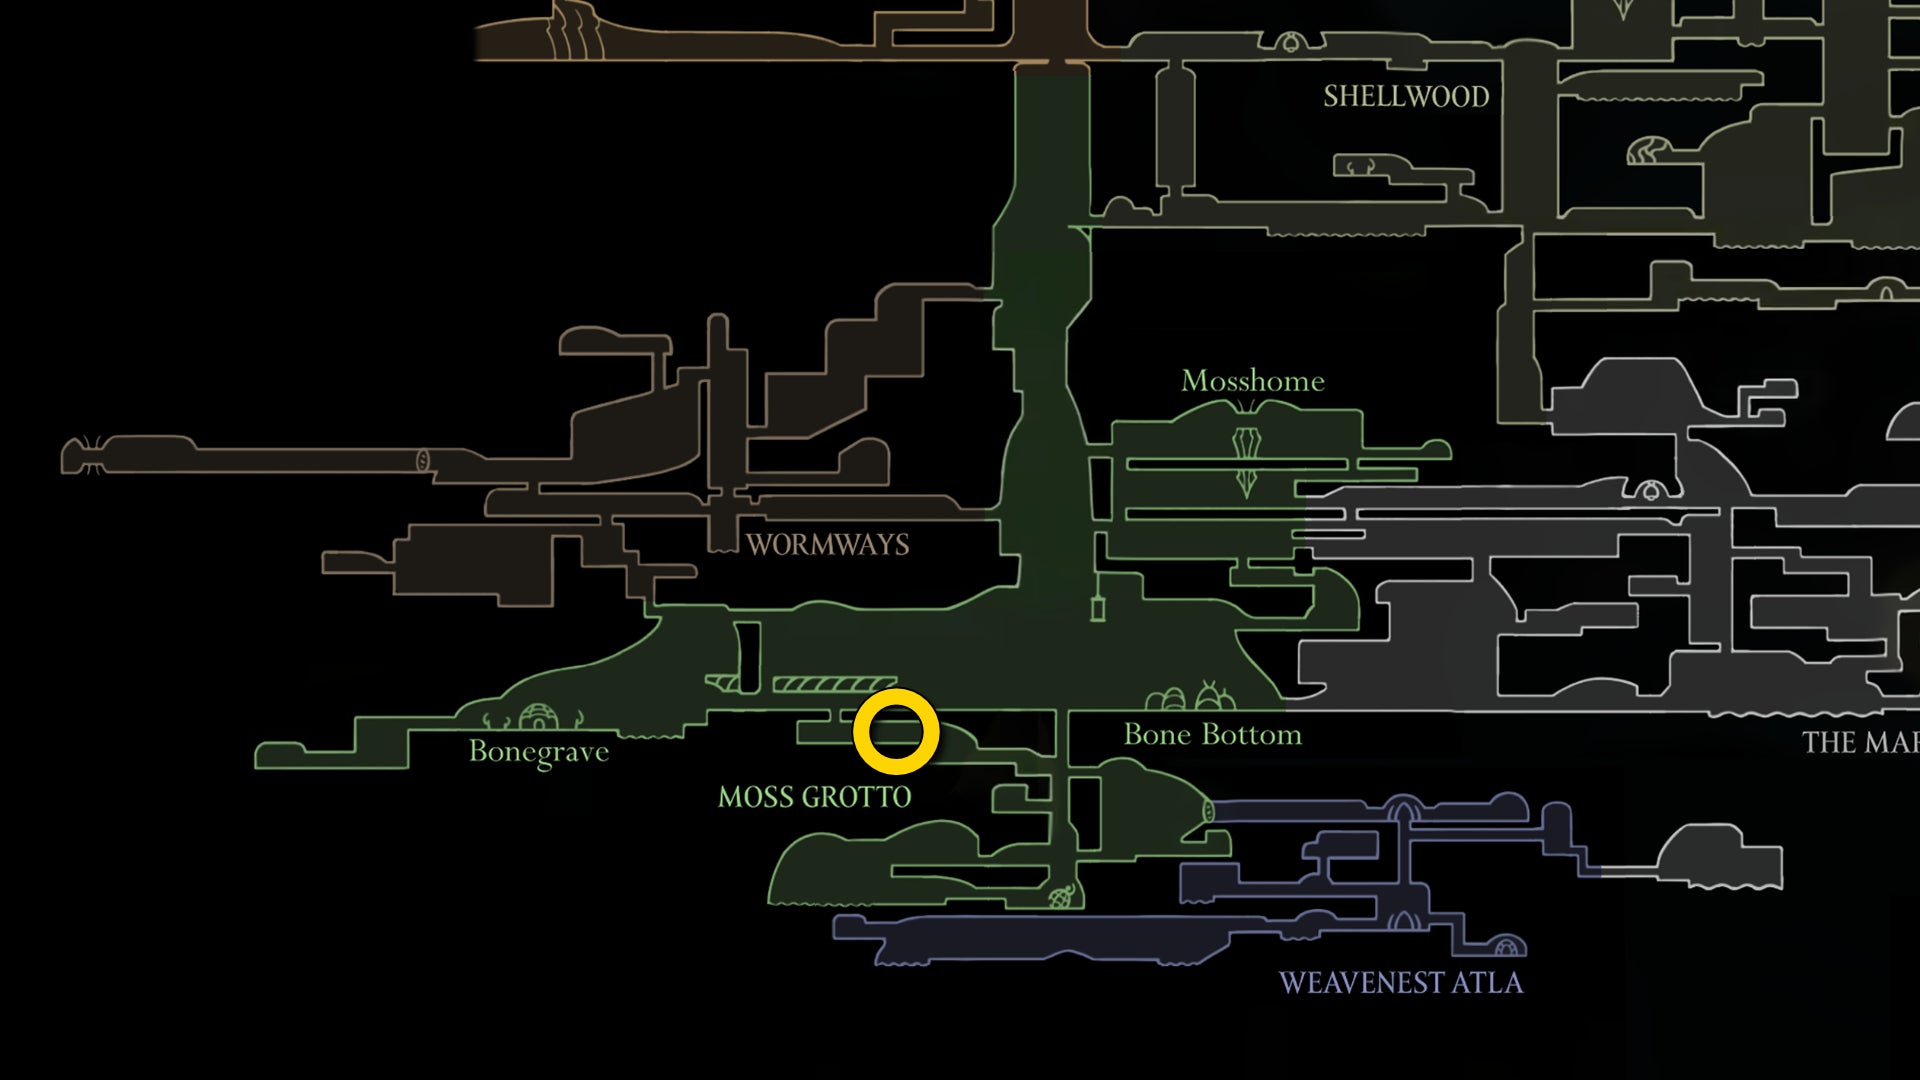
- Riddle 1: Under chapel fallen to the monarch's might.
- Location: Moss Grotto, near the Ruined Chapel entrance.
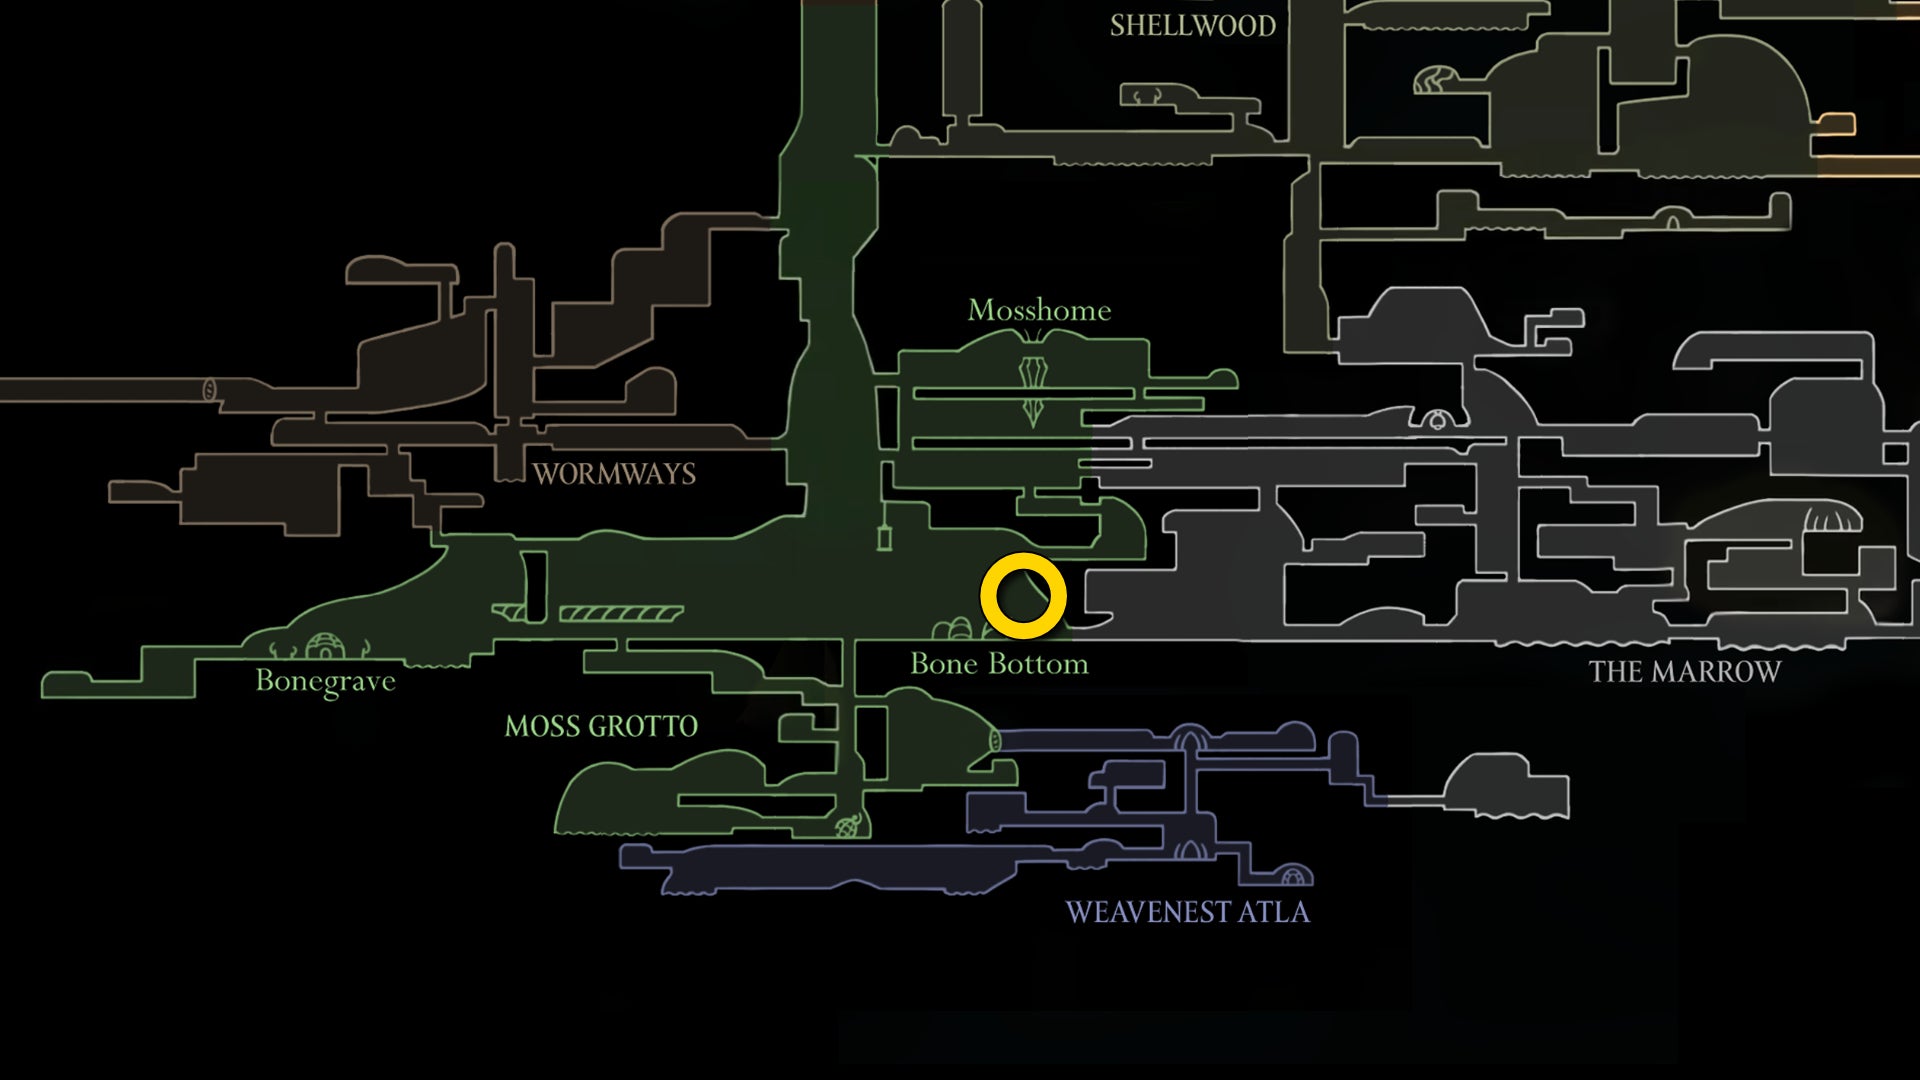
- Riddle 2: Over camp collapsed to the black thread plight.
- Location: Above Bone Bottom, where Shakra used to stay.
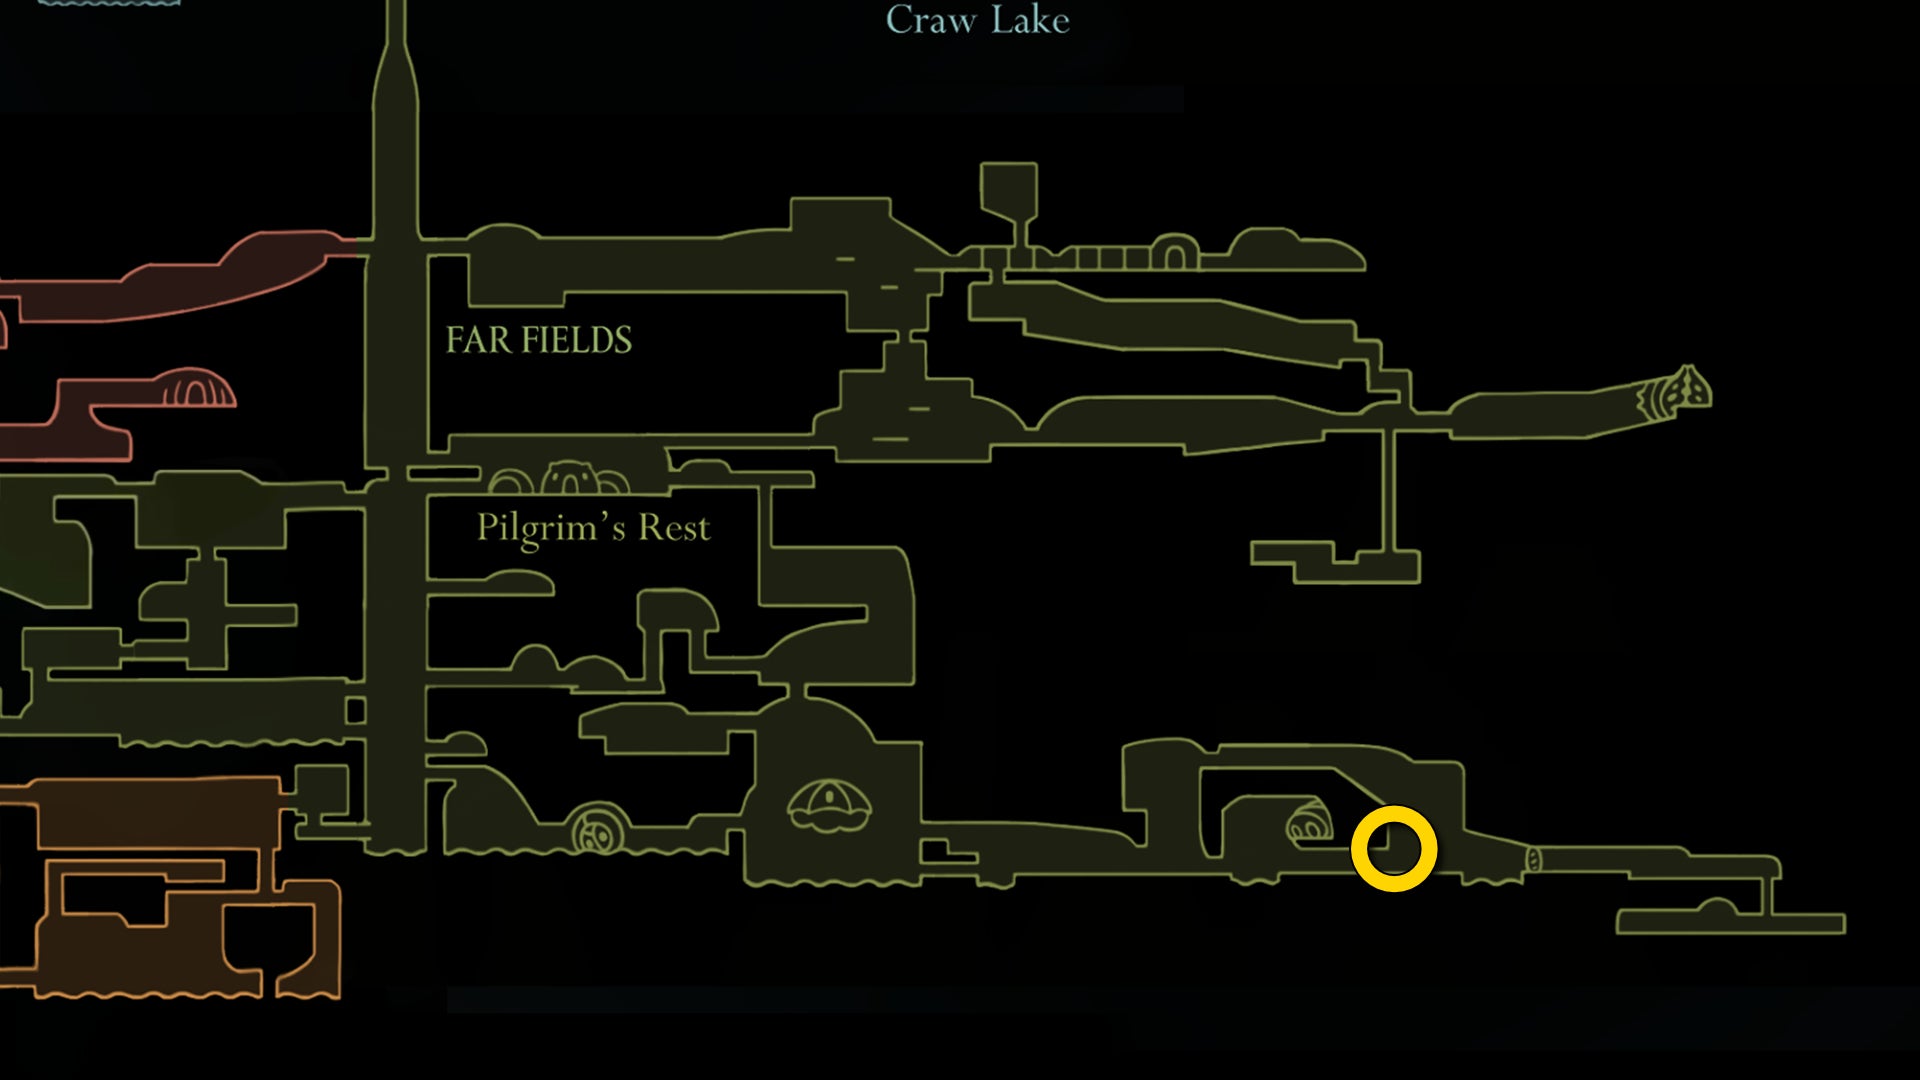
- Riddle 3: Scorched field on edge, shells black and burned.
- Location: East Far Fields, in the Hoker caves near the Weavenest.
- Riddle 4: Up towers spinning, near the surgeon spurned.
- Location: Just below the entrance to the Wisp Thicket in Greymoor.
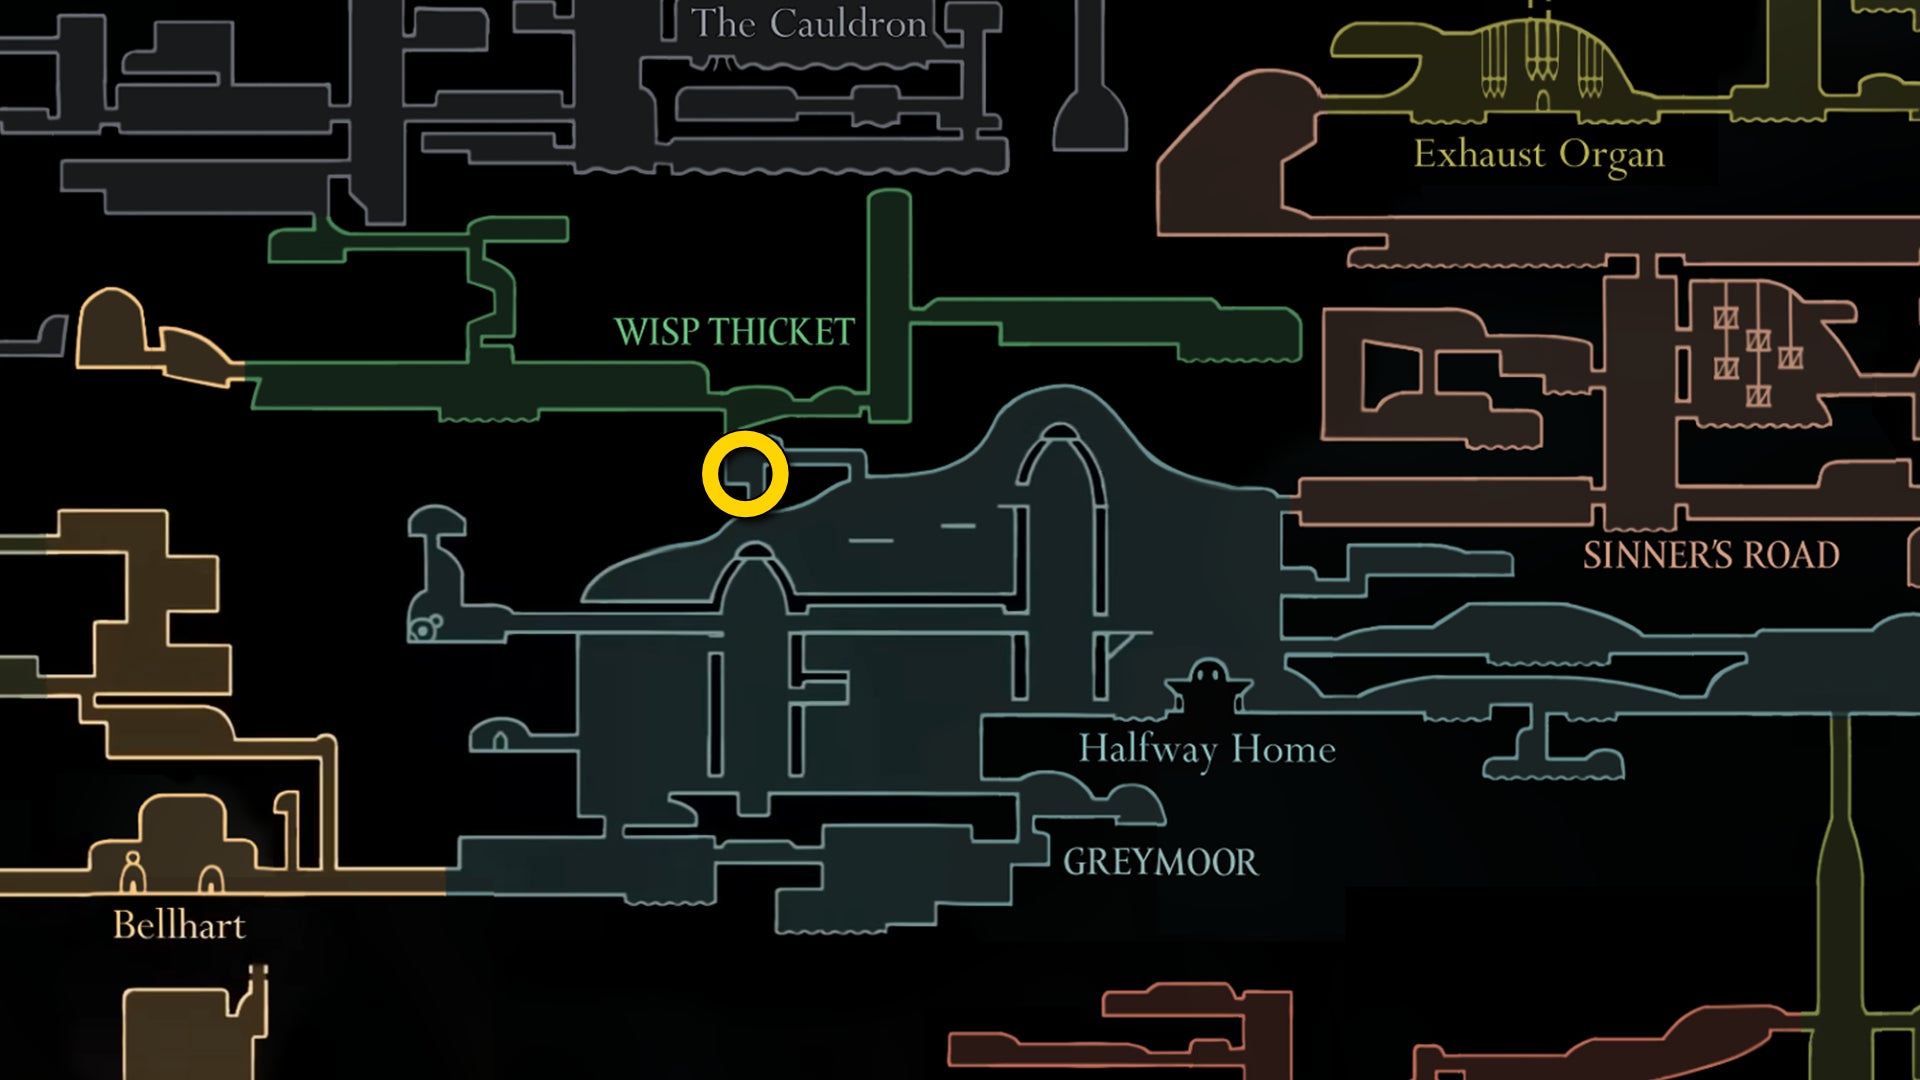
- Riddle 5: Cage of one who raged against the silken lie.
- Location: Outside the First Sinner's arena in The Slab.
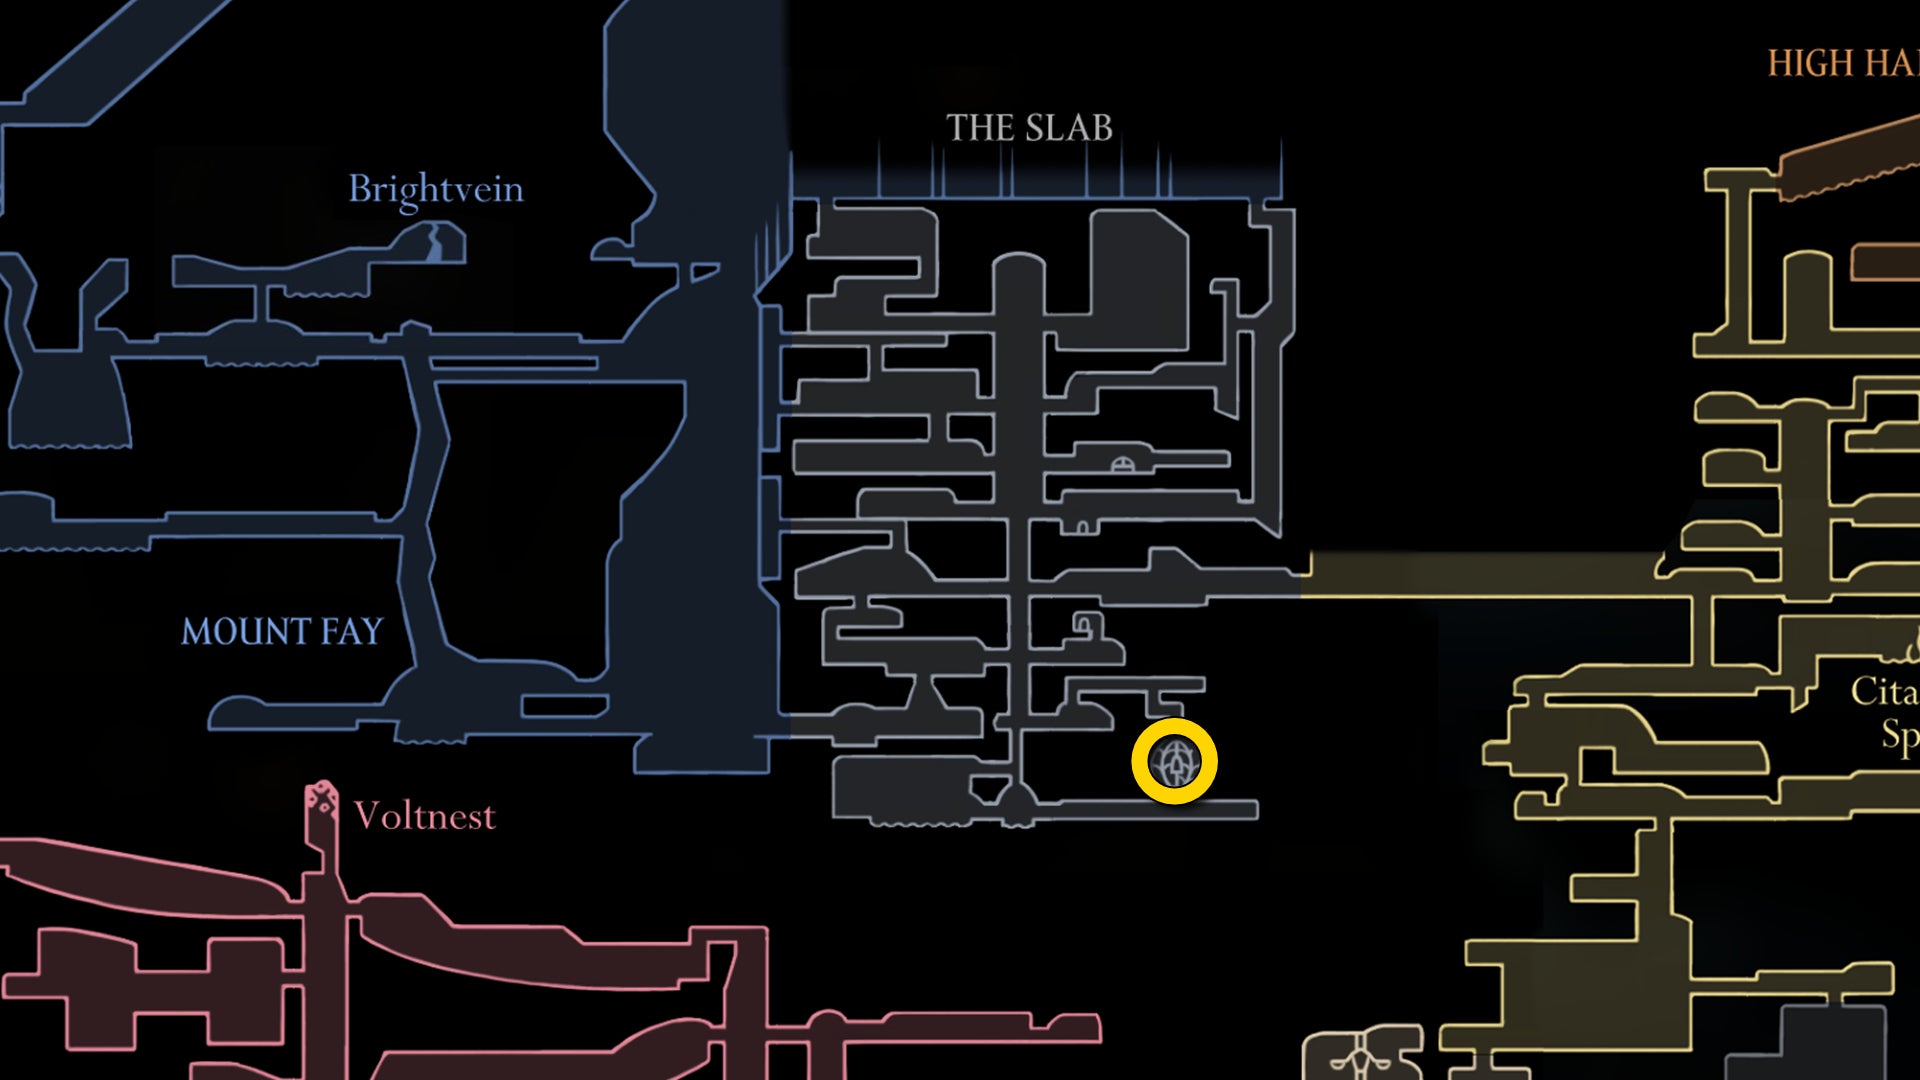
- Riddle 6: Fell heart of frost, who soars on high.
- Location: At the summit of Mount Fay.
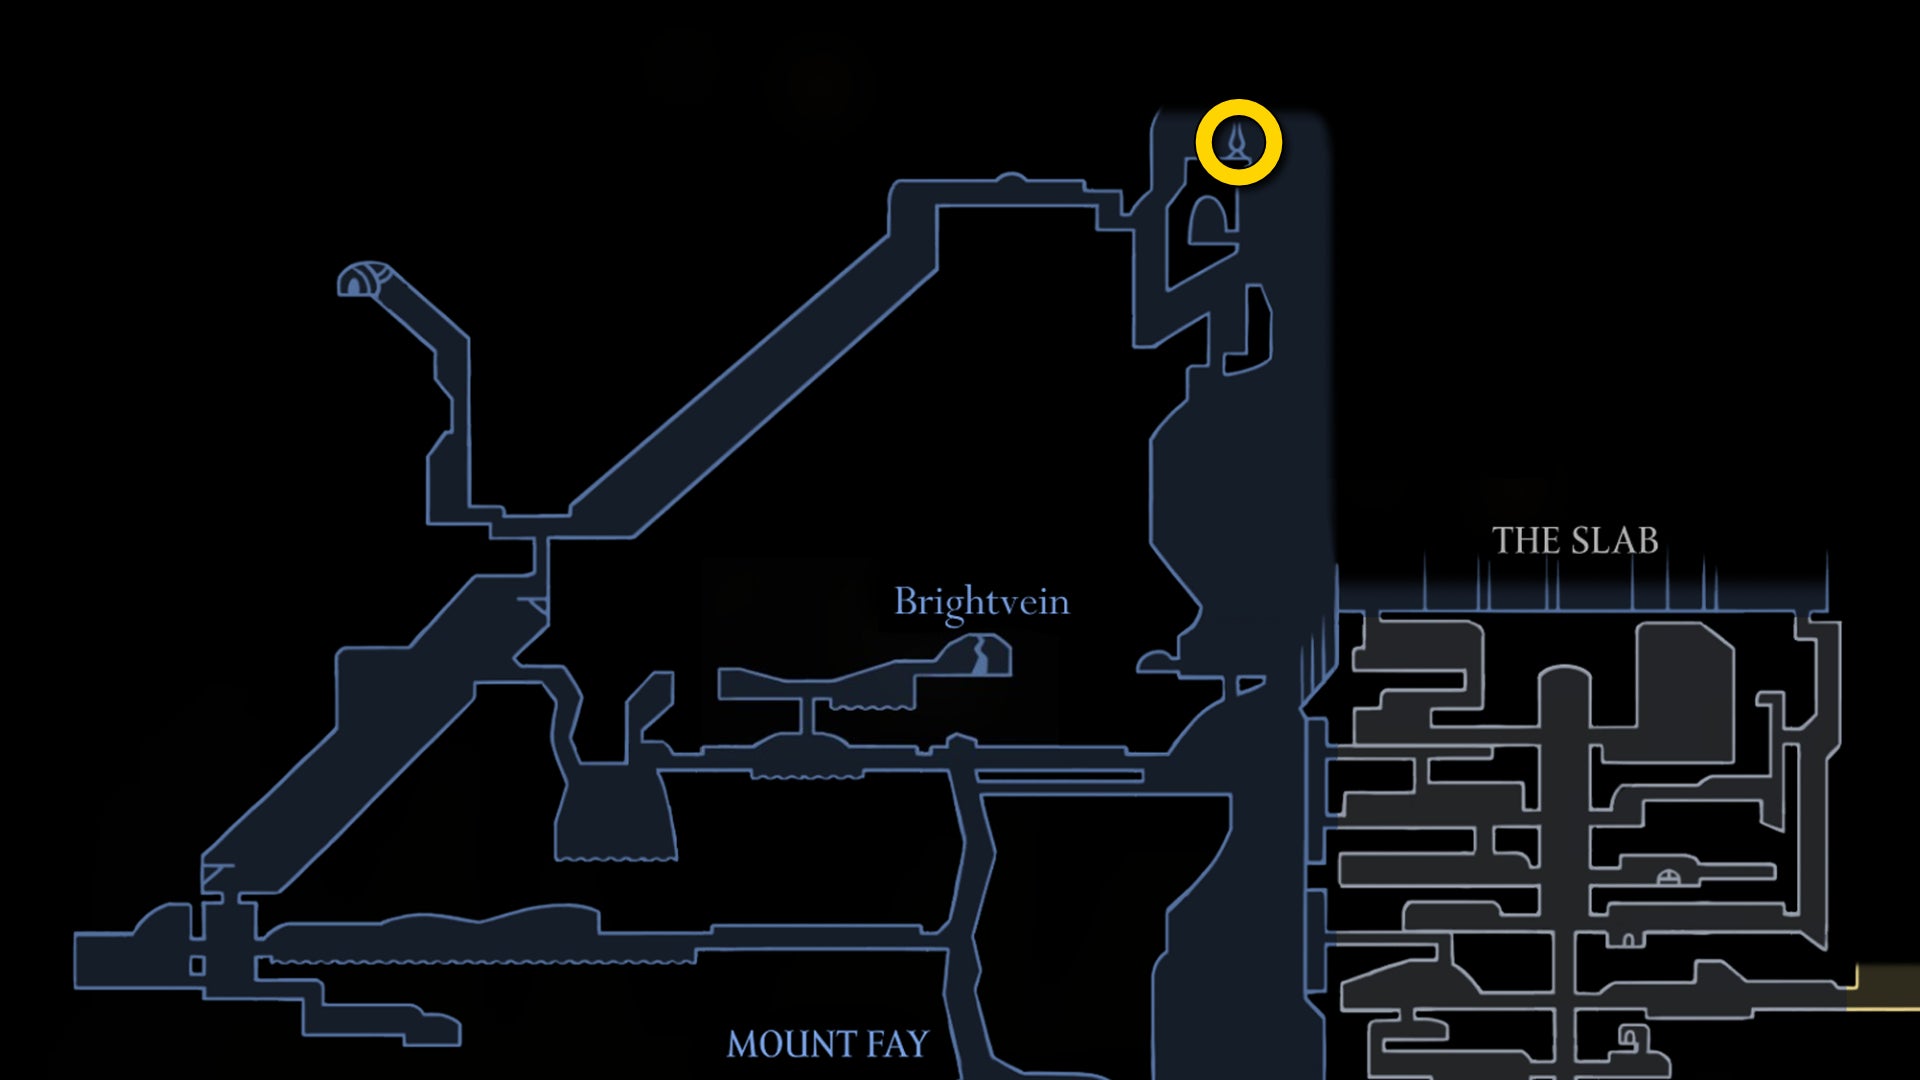
- Riddle 7: Past cradle's peak, last test of fitness.
- Location: Atop the parkour course north of The Cradle.
All these are places you've visited before and can reach easily, except the last location, which involves delving far above The Cradle. Along the way, we'll also be able to pick up the last Silk skill in the game, so I'll show you all of these steps in more detail below.
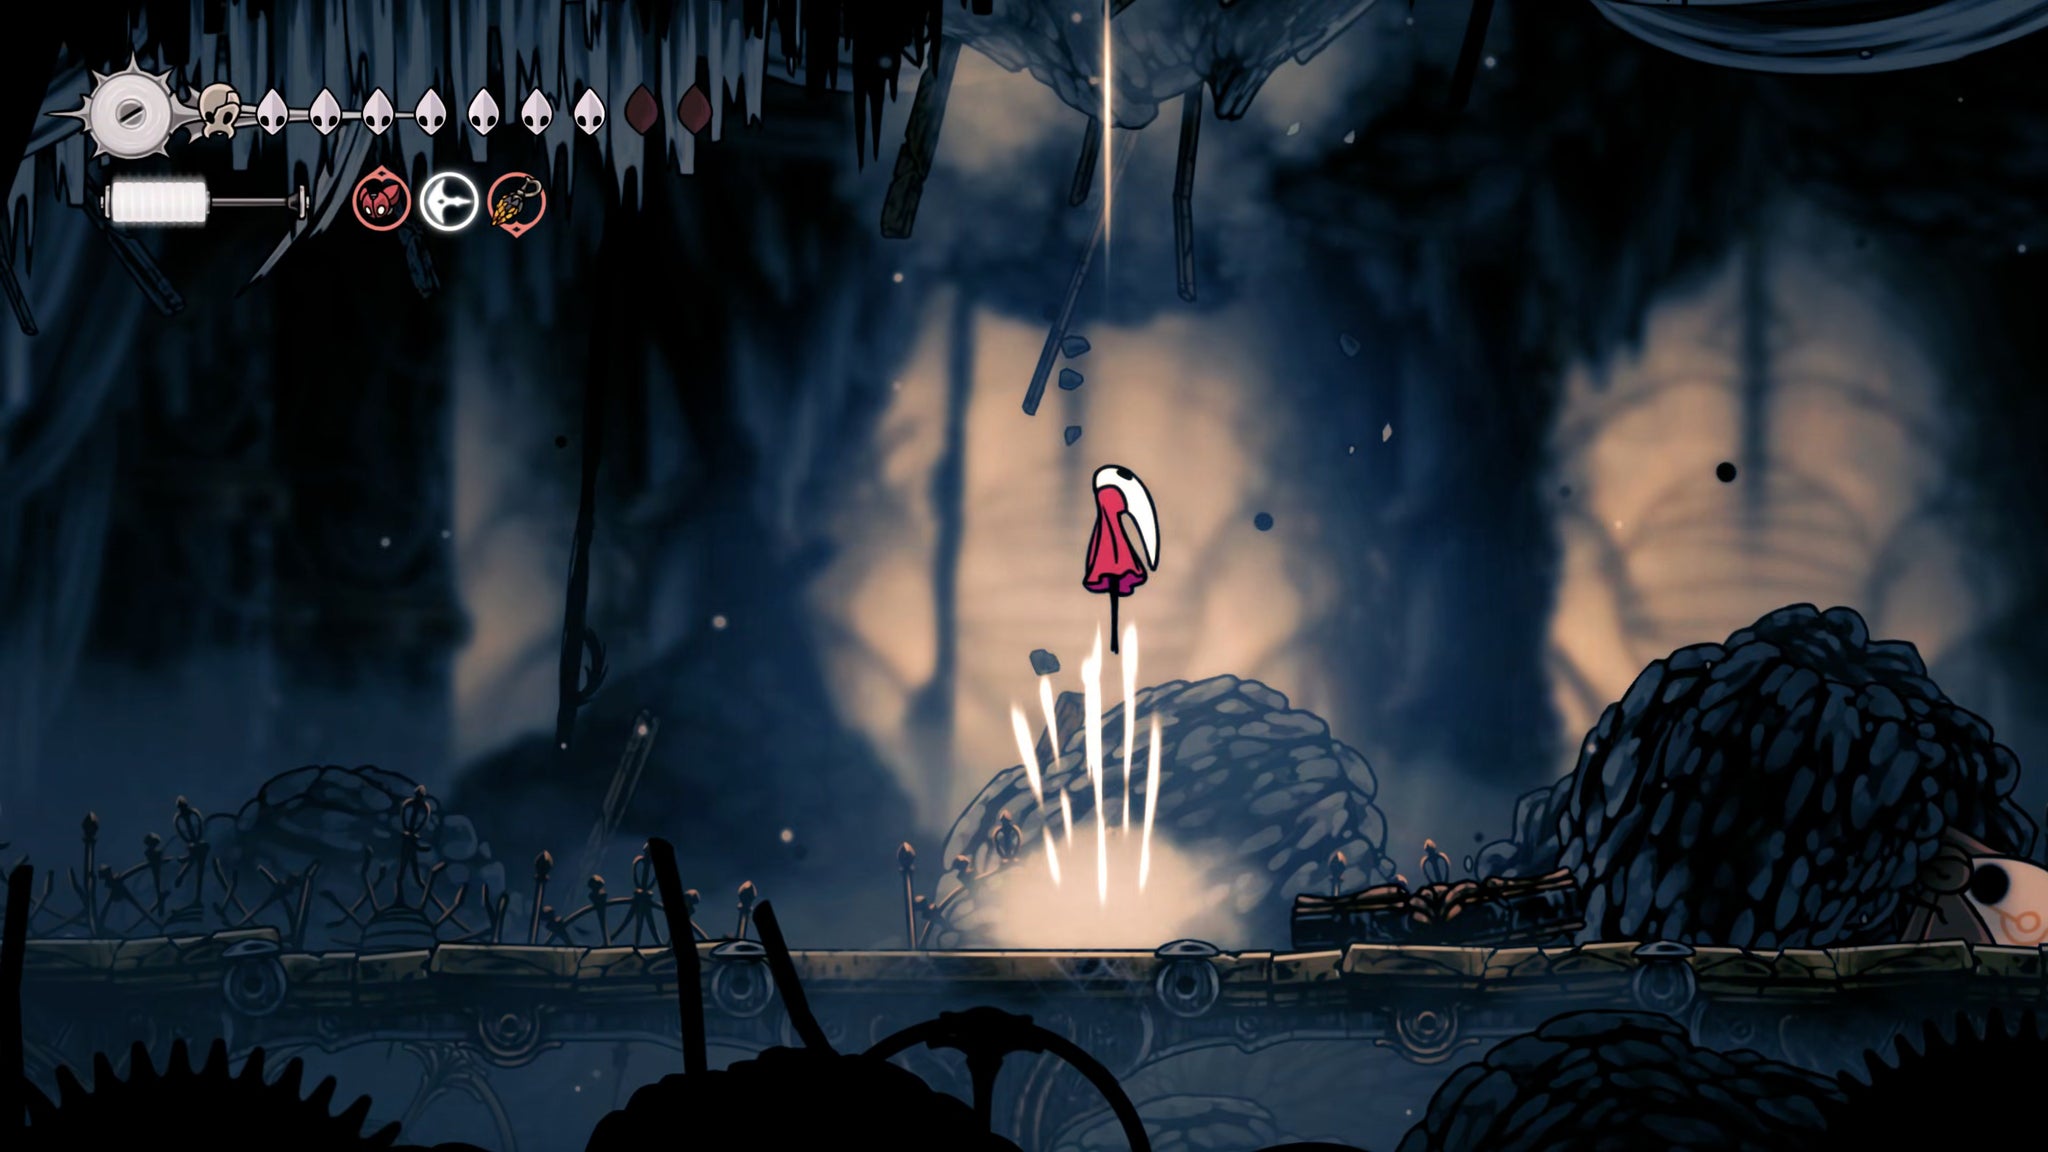

First we need to get back into The Cradle, and if you head to the Terminus Station you'll find the way out is blocked. So, fast travel to the First Shrine instead, and head over to the end of the long corridor just east of the Cogwork Dancers arena. There you'll find a section of caved in ceiling where you can Silk Soar upwards.
Follow this path up past the spikes and you'll reach the arena where you were first attacked by Void enemies at the start of Act 3. Silk Soar upwards through the top of this arena, and continue climbing until you reach the site of the pillar puzzle at the top of the Cogwork Core.
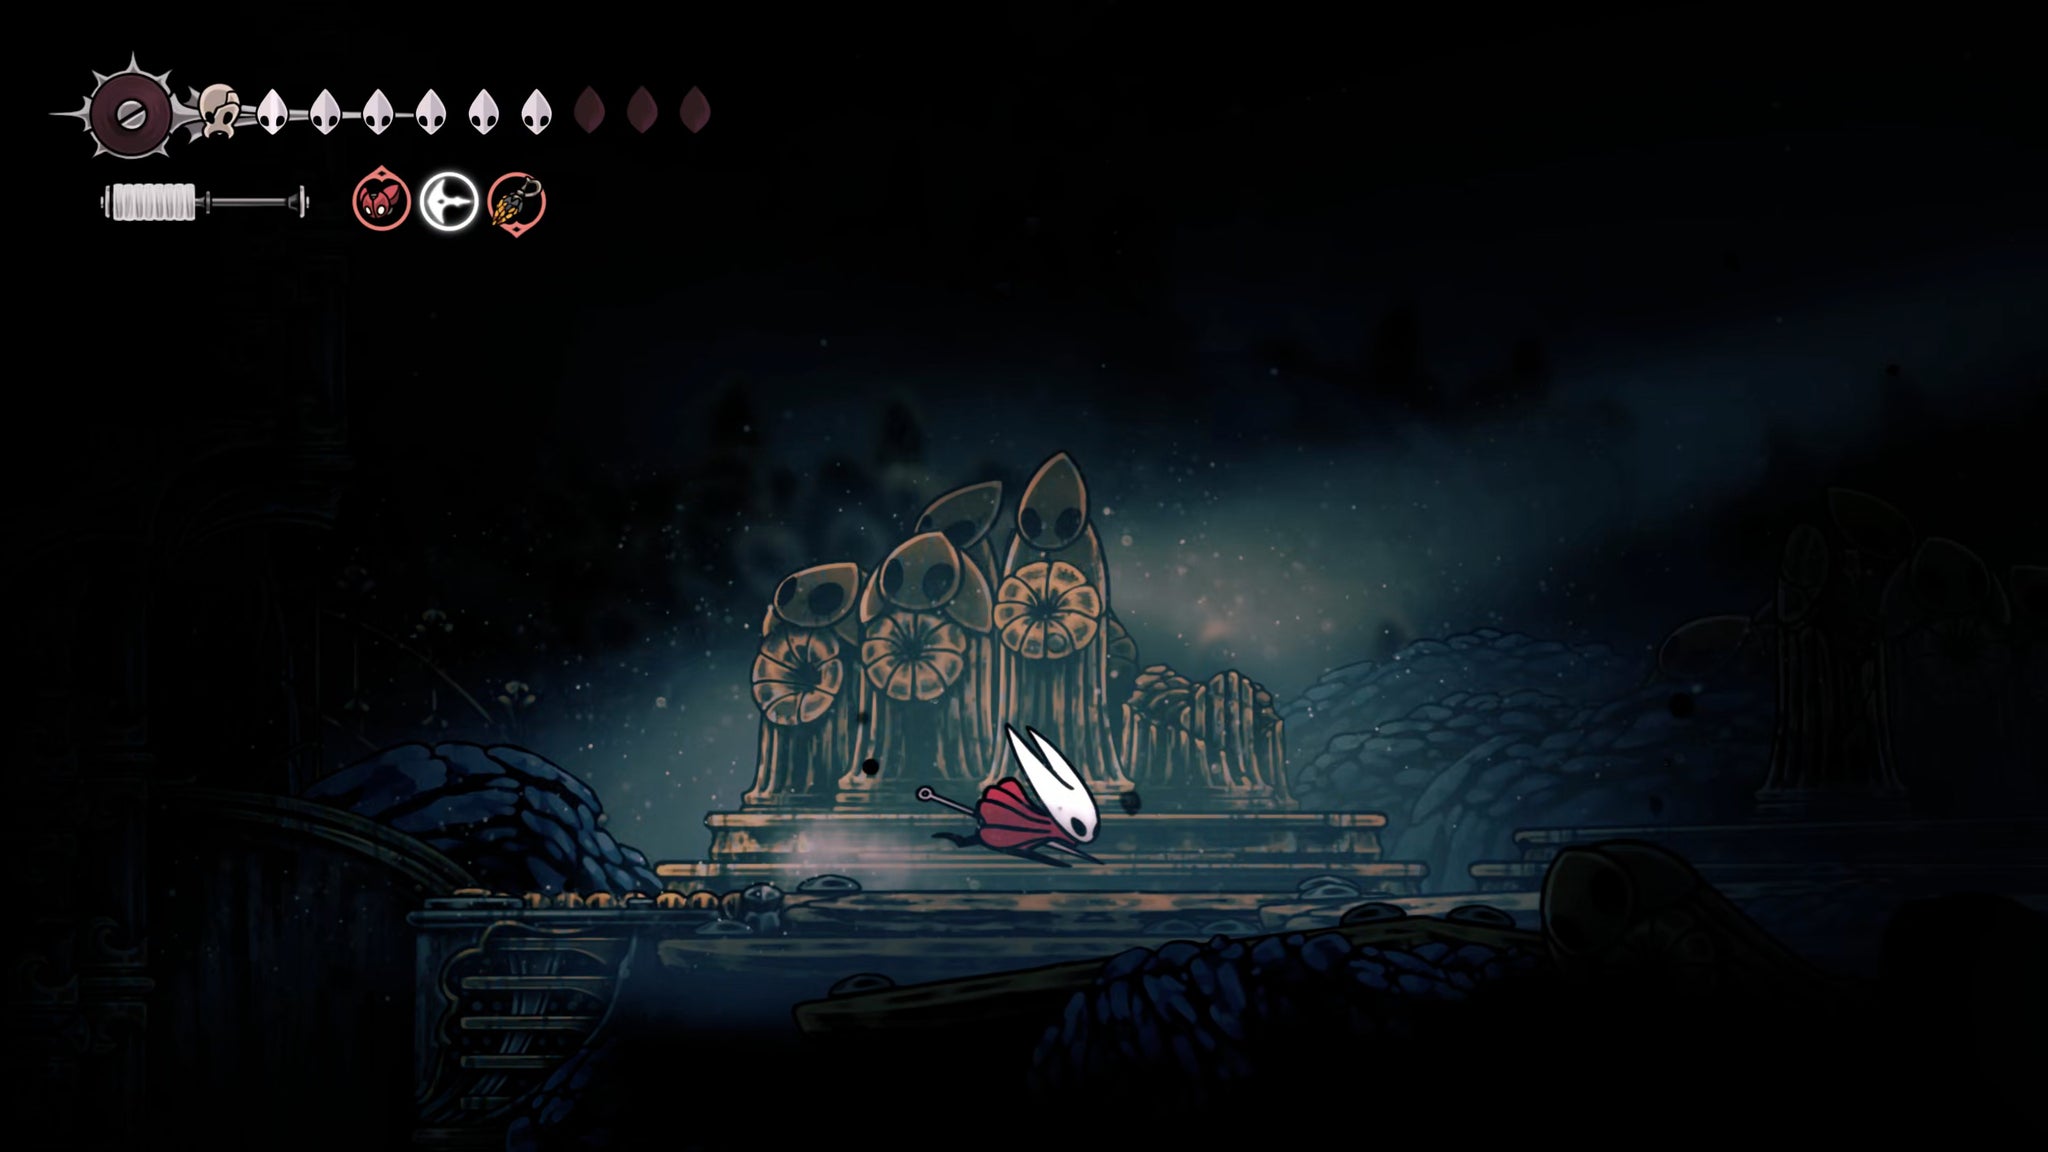
Head over to the right-hand side of this room, and stand in the middle of the little pile of rubble. Then Silk Soar upwards into the tiny shaft above. If you miss it the first time, readjust and try again.

Follow the path upwards and you'll reach the room of white flowers where you fought Lace. Silk Soar up through the centre of the ceiling, and drop onto the ledge on your left once you're at the top.
Continue following the path upwards through the next couple of rooms, where you'll have to start parkouring and clawline-ing your way around spiked surfaces. Once it looks like you have nowhere else to go, Silk Soar your way up to the top ledge. Here you'll find the amputated arm of Grand Mother Silk, lying on a rock. Interact with it to claim your final Silk Skill: Pale Nails.
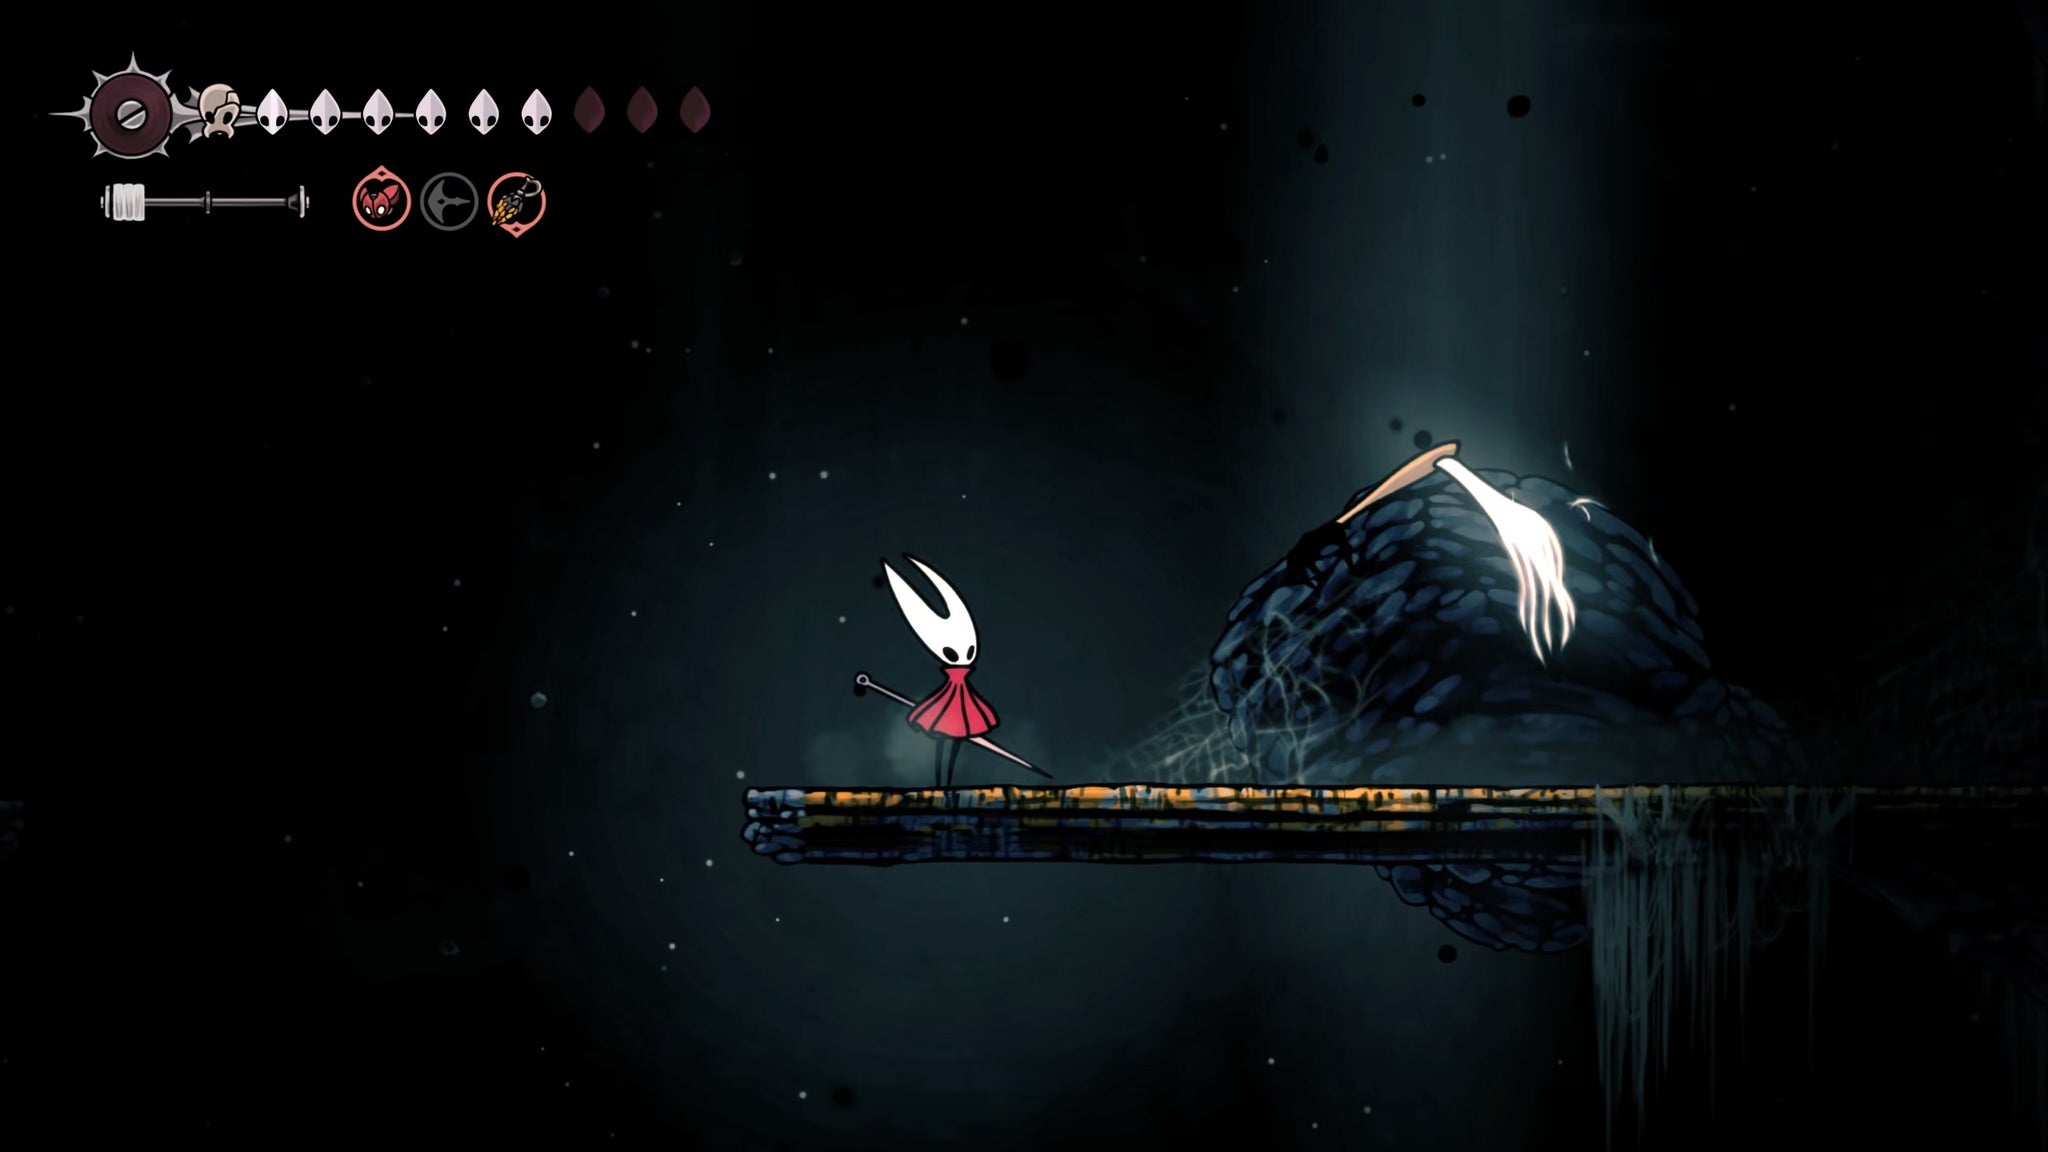

Pale Nails is a powerful Skill for use in open arena fights and against flying enemies. Using it conjures three large Silk nails above your head which home in on nearby enemies, dealing high damage. Pretty handy, but a little late in the game now, I'll admit.
Now for the really hidden bit: you see the Silk that's hanging down from the platform you're standing on? Stand above the left-hand side of that Silk, right on top of the lowest-hanging section - and then Silk Soar upwards. You'll soar up through the ceiling into another hidden area above The Cradle, where you can enter a cave opening.

Parkour your way through the next room, and you'll find the last remaining Bench in Silksong. Definitely don't forget to rest here, because what follows is by far the hardest parkour challenge in the game. From here onwards I recommend you equip the Ascendant's Grip to make timing jumps from the wall easier.
Exit to the right and start climbing. You'll soon reach some tricky sections where you'll need to clawline to the opposite side and then double-jump immediately to reach the next wall up.
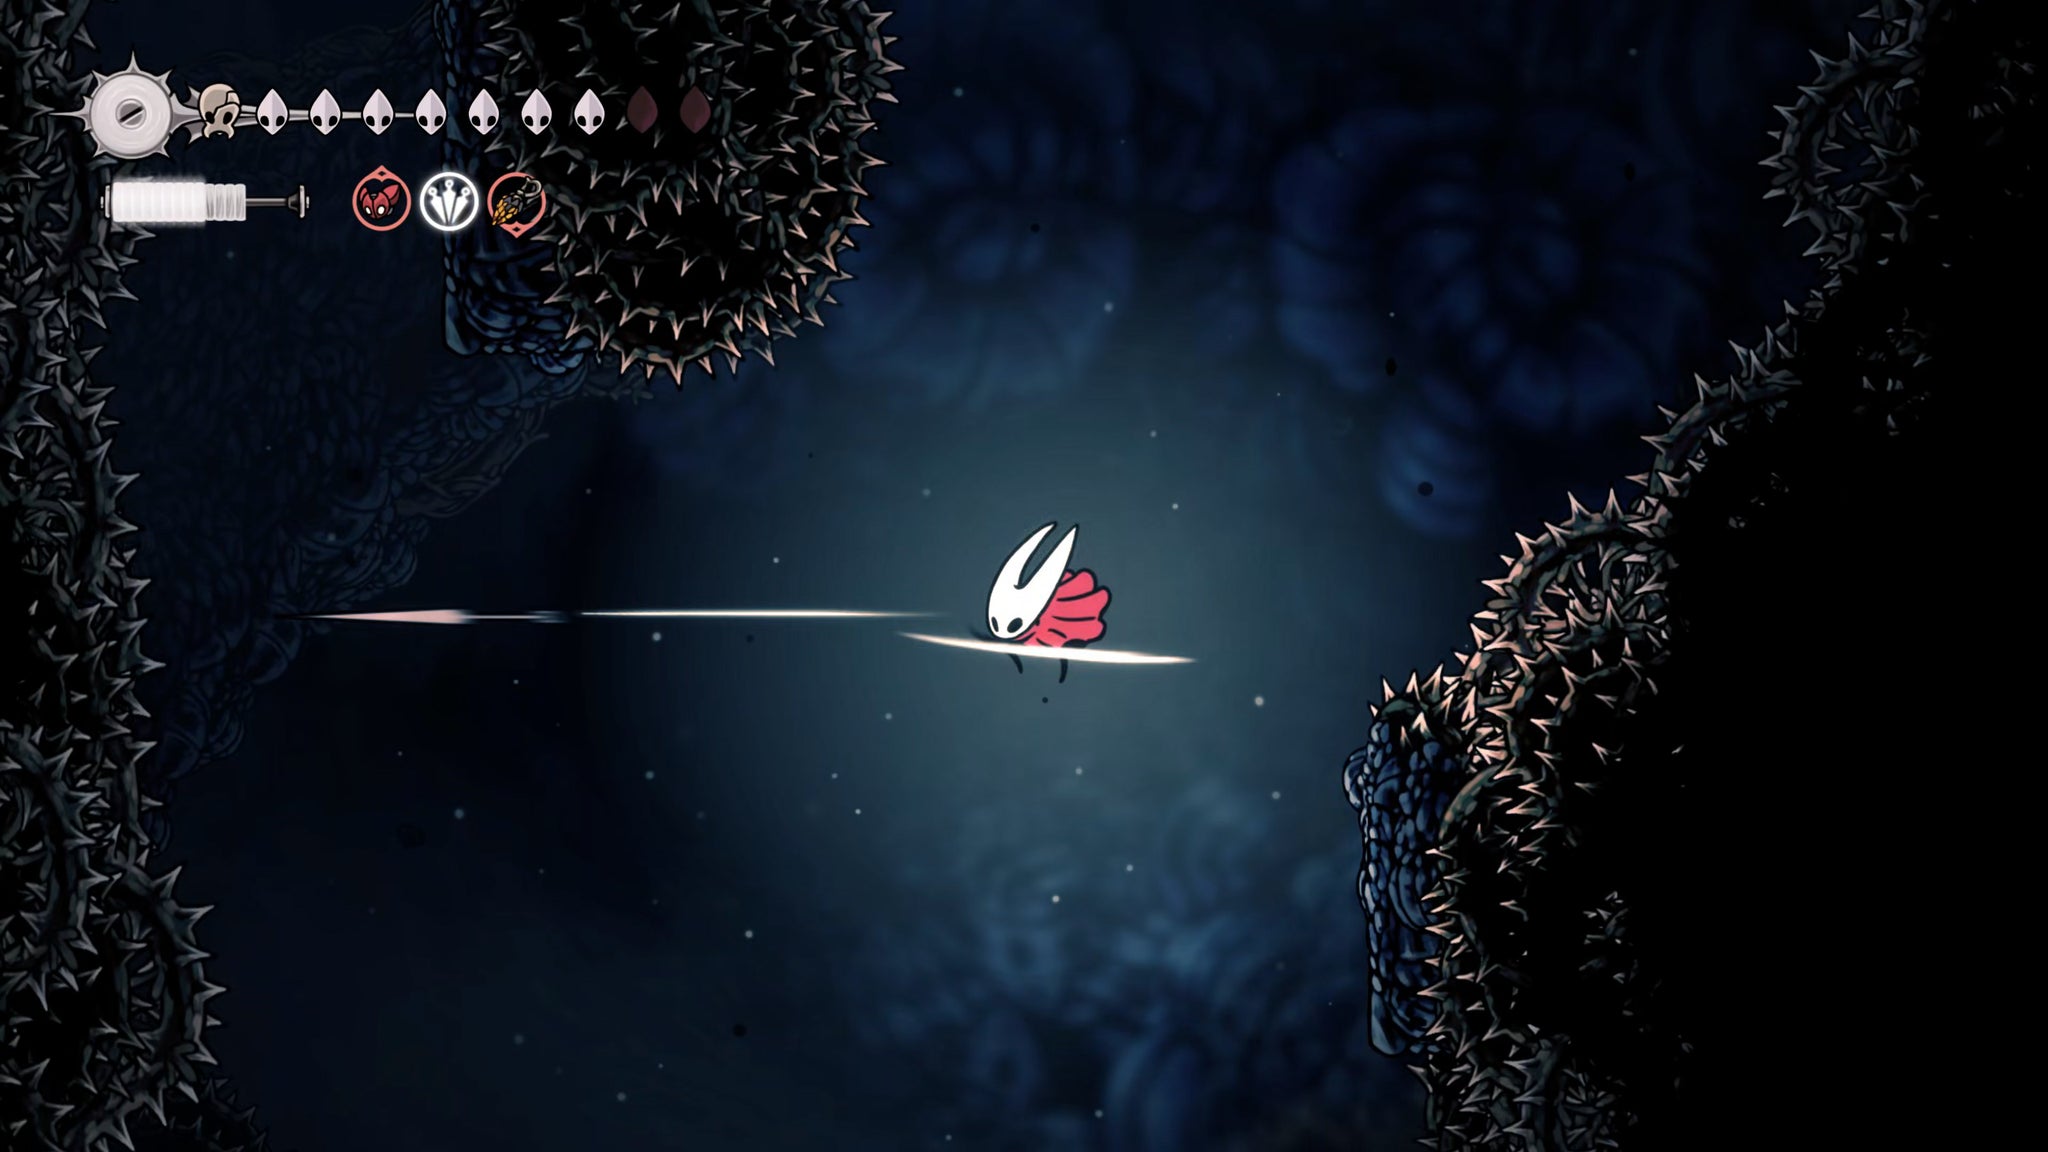

Once you reach the upper tunnels, you'll find one of the few remaining creatures to discover in the game: Garpids. These strange dark blue worms are much like the Groms you constantly see in the Wormways. Slash at them to get the Hunter's Journal entry, and then just treat them as obstacles to avoid going forward.
Continue climbing upwards through a very tricky room where you'll need to make constant use of that clawline-then-double-jump trick. After that you'll have to navigate some more tunnels guarded by Garpids, and then you're at the final, hardest part of the whole parkour challenge.
In this last section, you'll need to climb up a very long way, using every trick at your disposal - including Pogo-ing off the tops of a new kind of constantly moving flying enemy called Imobas.
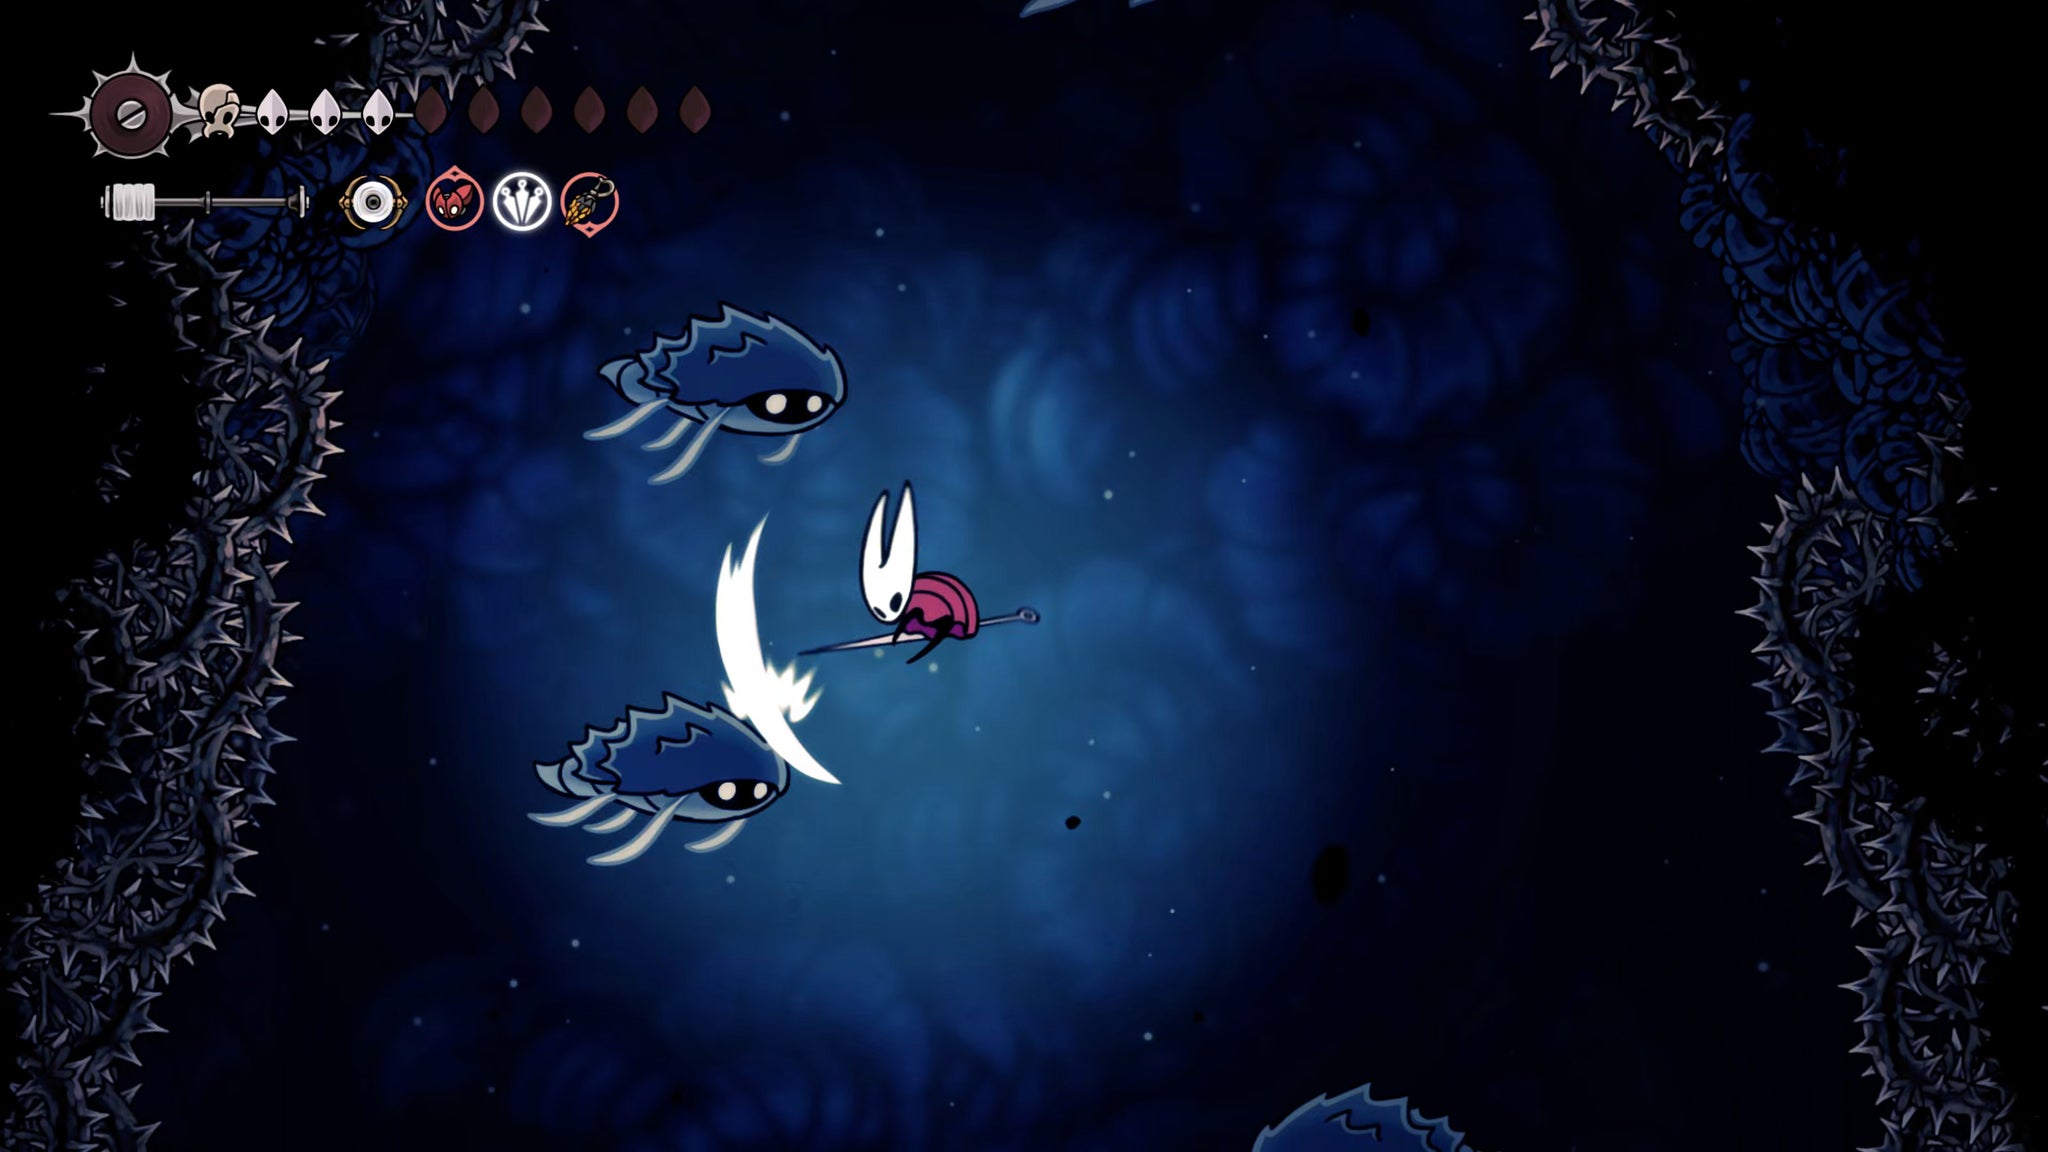
This is very challenging, so take your time and try not to get too frustrated with yourself. With some perseverance, you'll finally reach the top - and immediately there in front of you, you'll find the final section of mushroom-y ground.
Play your Needolin once more to summon Mister Mushroom, and speak with him for a more frank discussion than you've previously had. Mister Mushroom will then fly off upwards, completing the Passing Of The Age quest.
17. Collect the Surface Memento.
There's one more place to visit high above The Cradle. From the exact point where you finished the Passing Of The Age Wish, wall-climb upwards through the ceiling and you'll arrive on... the surface.
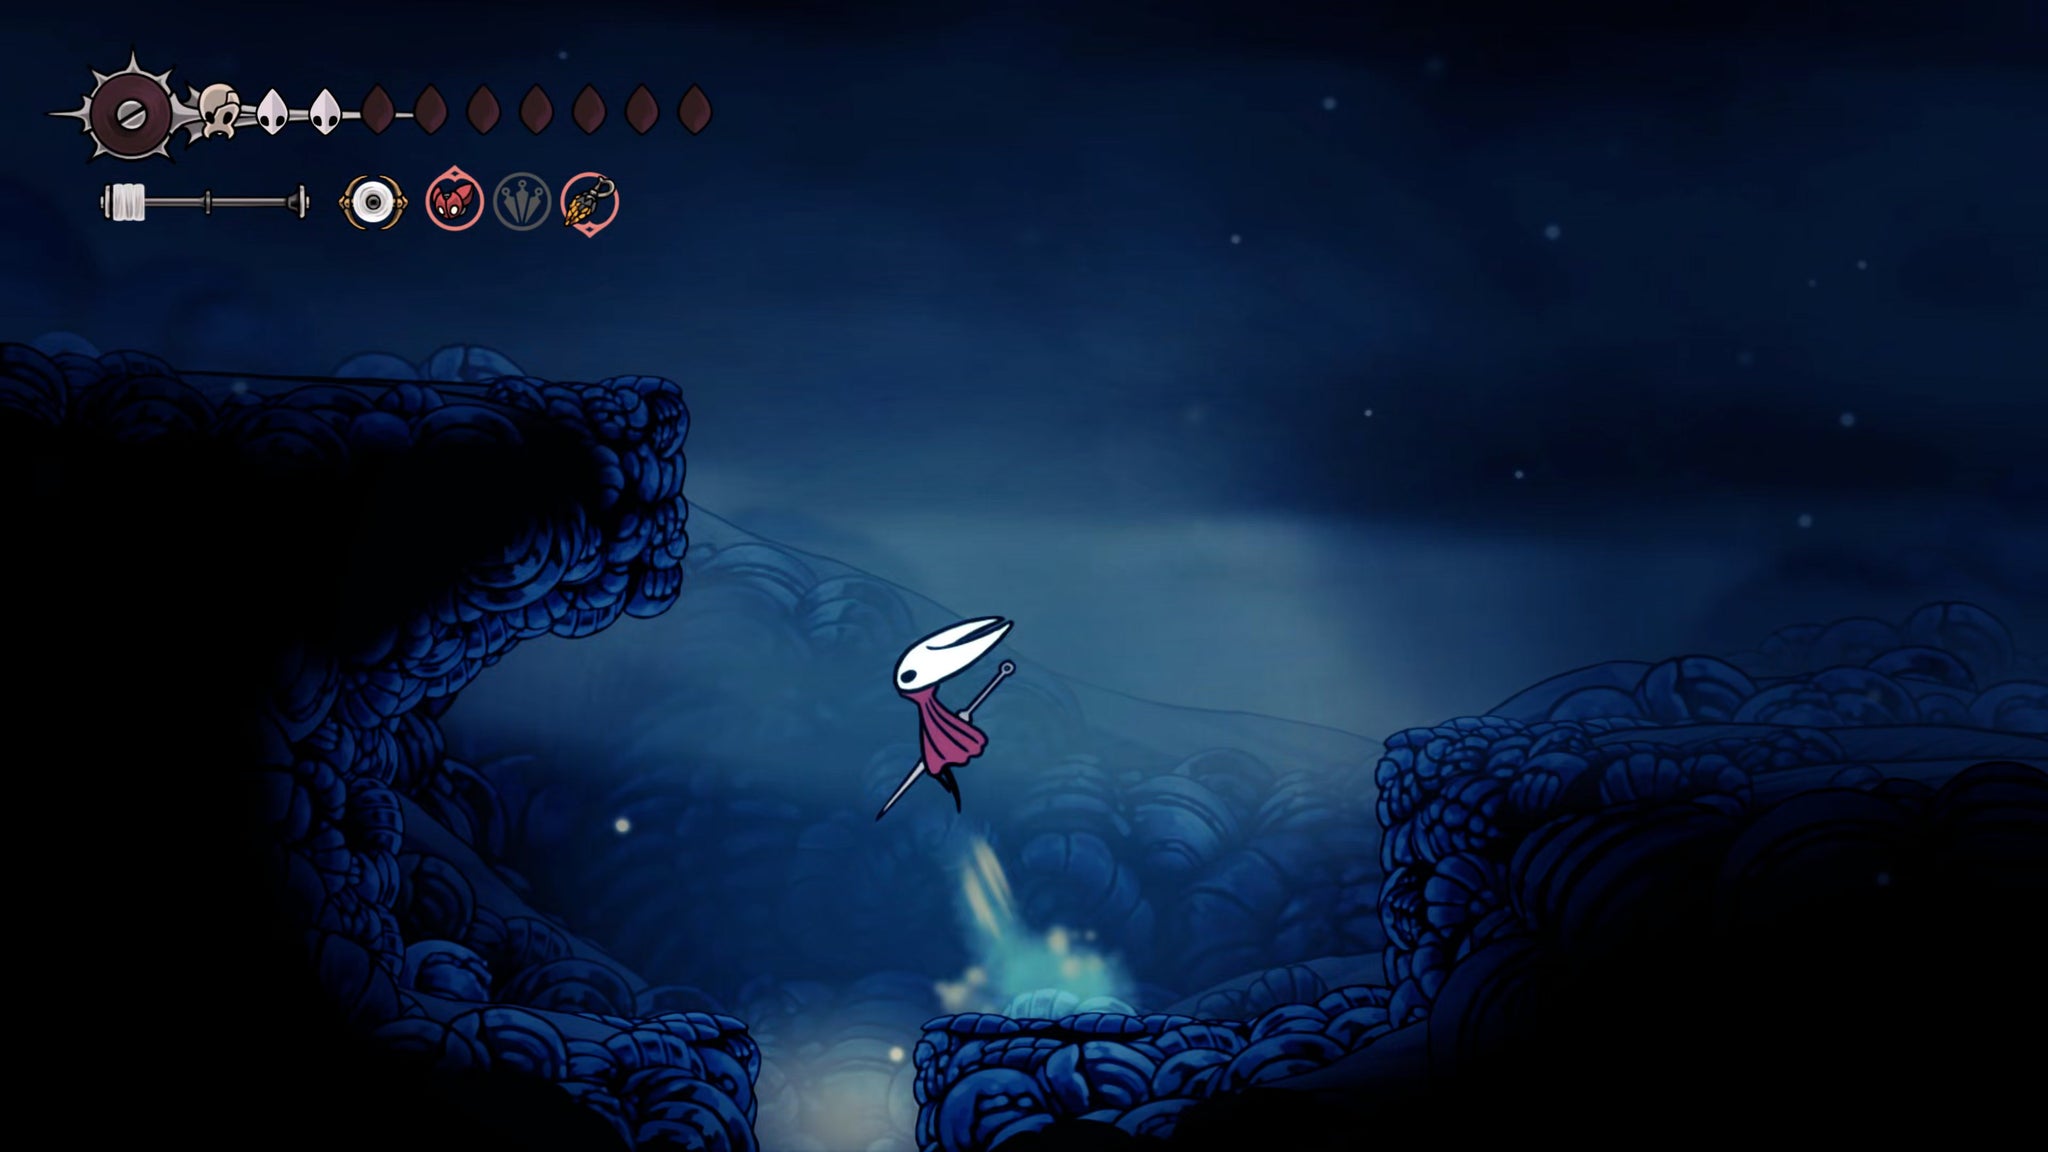
There are some small, non-hostile critters called Skrills here which you'll have to kill at least once to get the Hunter's Journal entry. If you head left then you'll eventually be forced to stop, in similar fashion to that time near the start of the Blasted Steps.
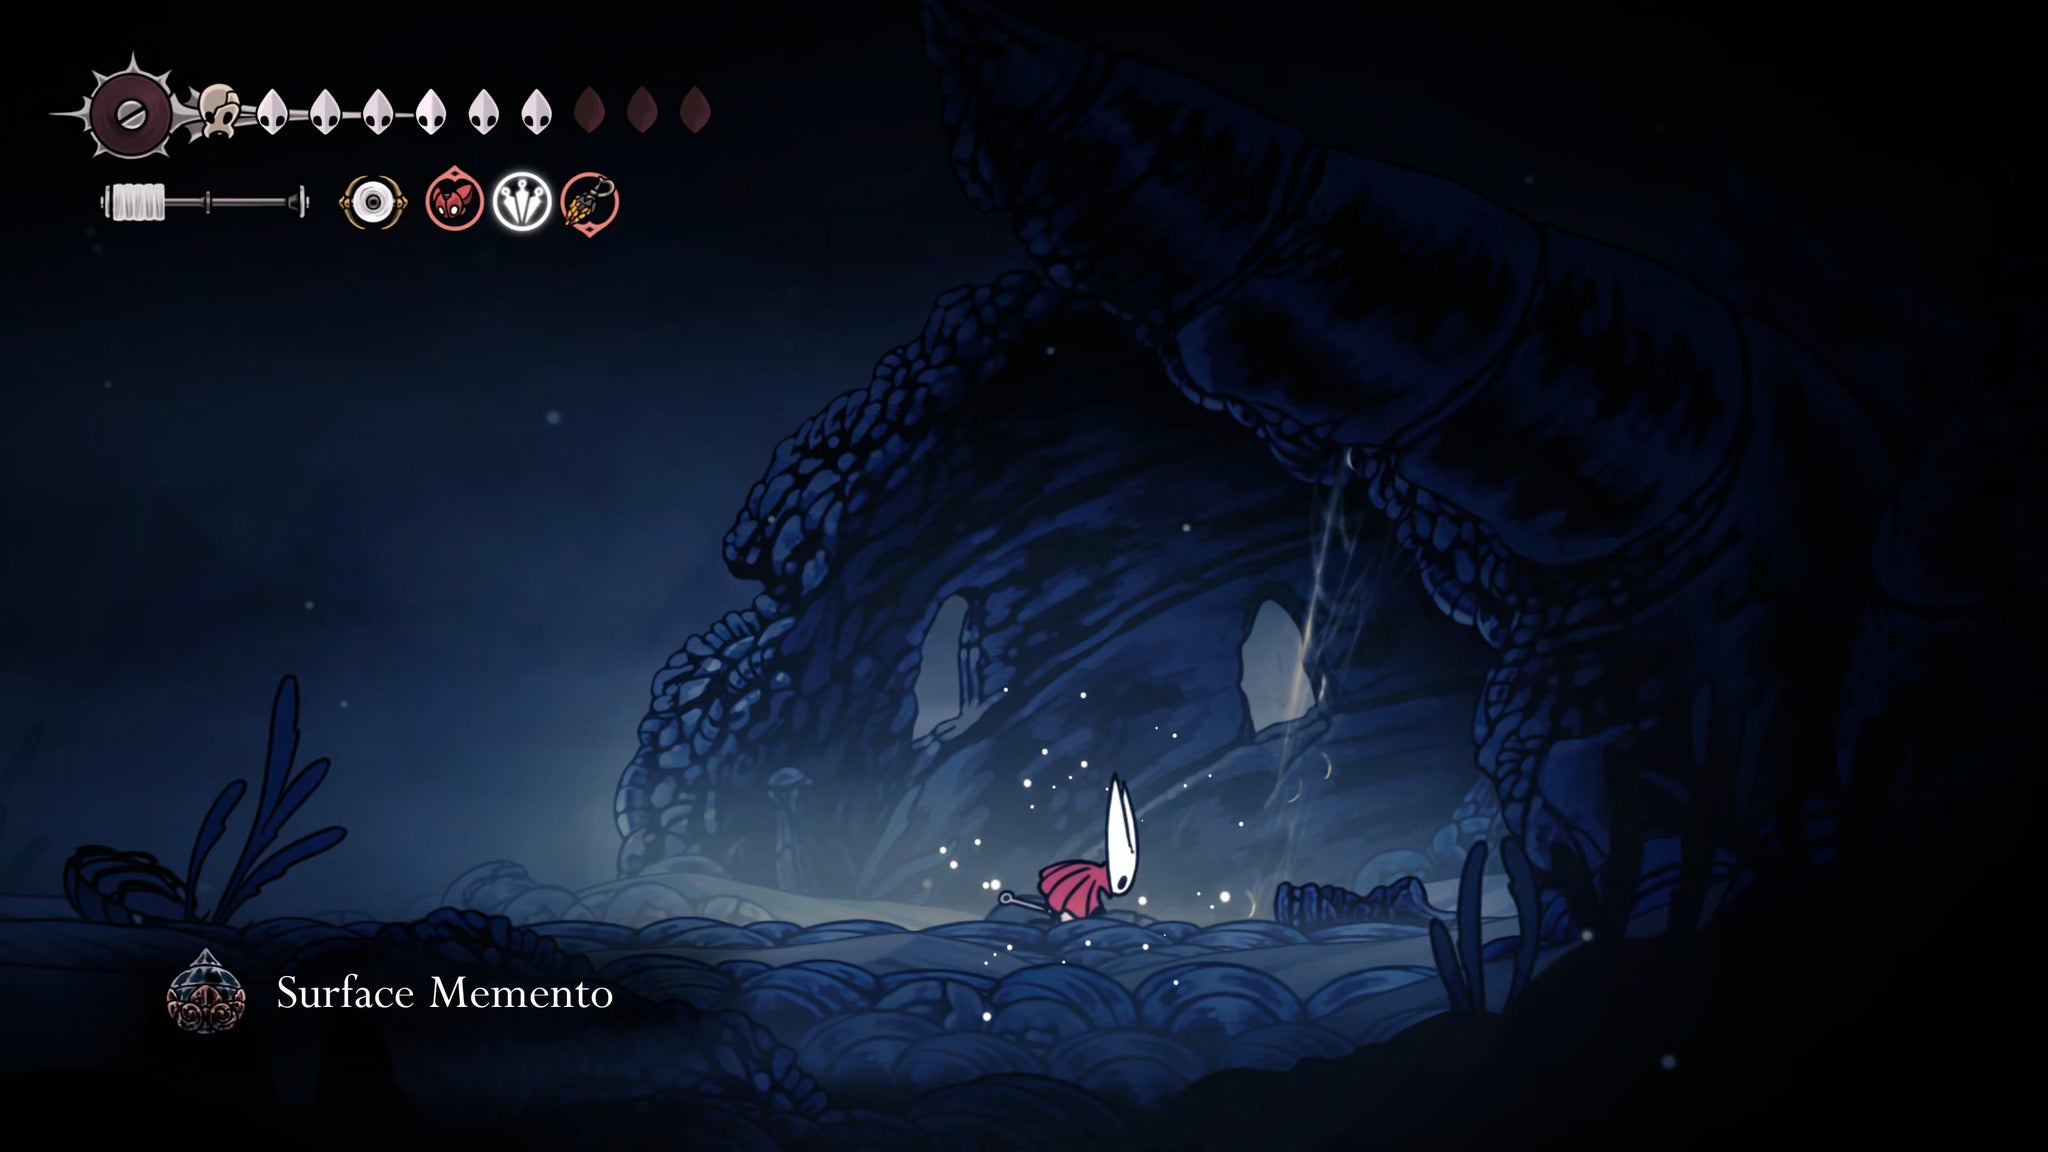
So head to the right instead, as far as you can go, and you'll find the remains of a little settlement, known only as the Nameless Town. There's just one thing to do here: cross over to the far-right side, until you're under the big horn-like rocky outcrop. Then play your Needolin until an item drops from the rock.
Loot the item to obtain the Surface Memento - proof of your incredible northward journey. Now you can head back to the left, and instead of jumping upwards onto the upper ledge, head down past the spikes to find a cave entrance which will fast travel you back down into Pharloom.

18. Fill out your Hunter's Journal.
This is optional, but at the same time, you've got every Memento but one now. Alas, you might be in for a bit of a grind if you want that last one, because to obtain the Hunter's Memento you need to completely fill out the Hunter's Journal, including Hornet's personal notes on every single creature.
I can't offer you any more guidance on this - you already know where all the creatures reside. Best of luck!
19. Hang your Mementos in the Bellhome.
One final touch before you complete Act 3: return to your Bellhome in Bellhart, if you haven't already done so. Take some time to relax, hang your Crawbell outside your home, and then sit at your desk to add all of your hard-won Mementos to your personal collection.
You should also use this moment to hand in those last few Relics to Relic-Seeker Scrounge. And if you like, have one last talk with the NPCs you care about before ending your journey at last.
That's it, we've wrapped up every last Wish, questline, and activity worth doing in Act 3 of Silksong. Now it's time to finally end the game by defeating the final boss. Join us in Part 39 of our Hollow Knight: Silksong walkthrough for guidance on this ultimate challenge.
Read this next
- Ahead of Hollow Knight: Silksong's Sea of Sorrow expansion, Team Cherry have gotten their Traditional Chinese and German translation ducks in a row
- We may have glimpsed Silksong's Sea of Sorrow expansion in a six-year-old trailer
- Hollow Knight: Silksong's first big expansion, Sea of Sorrow, flows into our lives for free next year
