
Hollow Knight Silksong walkthrough: Part 19 (Underworks)
Follow this walkthrough to find everything worth finding in the Underworks


Trying to make your way through the Underworks in Hollow Knight: Silksong? It's a tricky and often confusing journey through the Underworks of the Citadel, but the rewards are well worth it. The Underworks are home to Hornet's next movement skill: the Clawline Harpoon. The map is about to get bigger yet again.
In Part 19 of our Silksong walkthrough, I'll show you a great path through every part of the Underworks, including the Cauldron where you'll obtain the Clawline. Along the way, I'll also point out any key item, secret, and location of interest so you can be sure you've left no stone unturned when you finally head back up to the surface.
Want the walkthrough for a different area of the game? Check out our Hollow Knight: Silksong walkthrough hub!
Underworks walkthrough steps:
- Rest at the Bench before anything else.
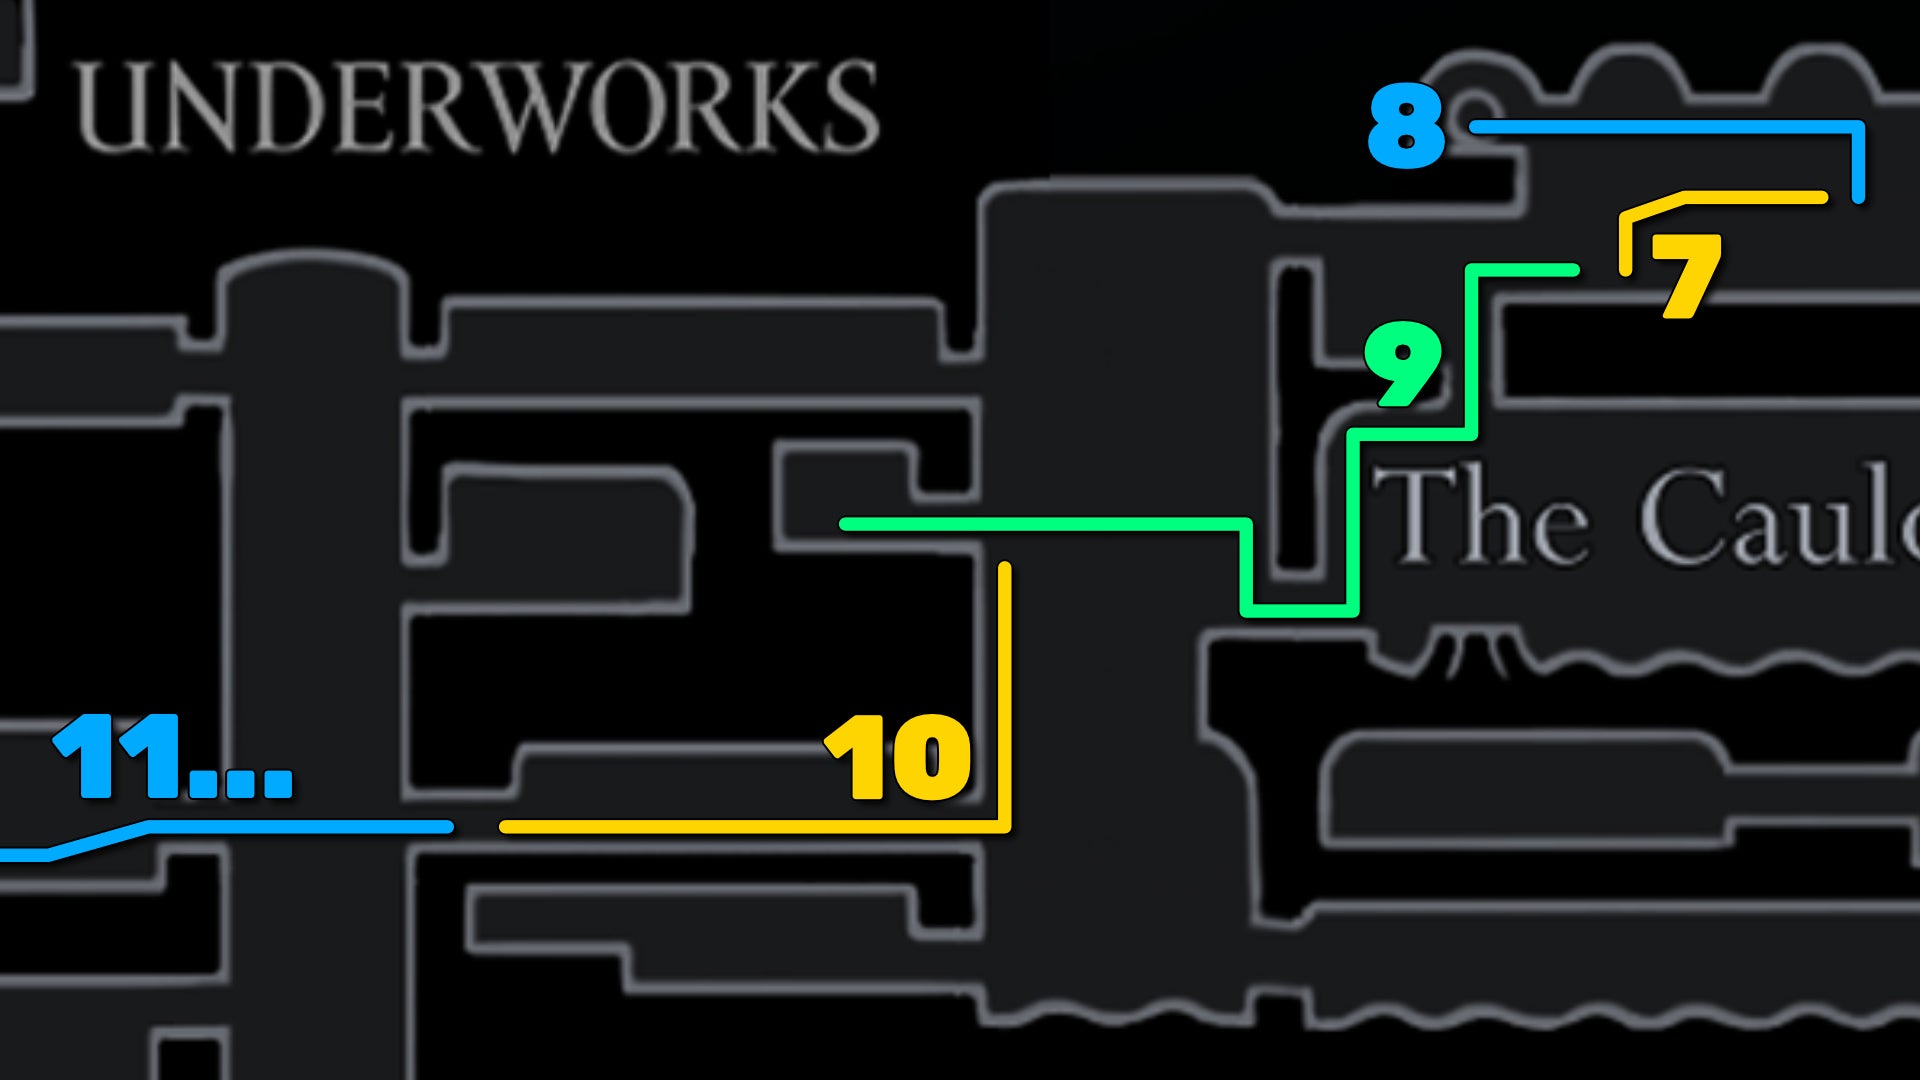
- Collect the Spool Fragment on the east side.
- Descend the shaft and rescue the Flea.
- Obtain the Craftmetal.
- Unlock the Clawline skill.
- Complete the Cauldron's gauntlet.
- Meet the Twelfth Architect.
- Bind the Architect Crest.
- Activate the Underworks Ventrica Station.
- Obtain the Spool Fragment below the Ventrica.
- Meet Loam.
- Acquire the Underworks map.
- Find the Memory Locket by the Confession Stand.
- Obtain the Delver's Drill.
- Exit up into the Choral Chambers.
- Enter the Underworks via the Grand Gate.
Note: There are two ways to enter the Underworks in Silksong. This walkthrough assumes you have entered the Underworks via the Whiteward (as described in the previous part). If you entered the Underworks via the Grand Gate, then the order in which you complete these steps will be pretty jumbled, and you won't have access to the entire eastern side of the Underworks until you make your way back above ground and into the Whiteward.

1. Rest at the Bench before anything else.


Assuming you've followed the previous part of our walkthrough, the last thing you did was drop from the Whiteward down into the Underworks, in front of a giant (lifeless) automaton. You can play your Needolin here in front of the automaton for some lore if you like!
Flick the lever on your left and exit down onto ground level. Head to the left before you do anything else, and rest at the ornate Bench. Otherwise, if you die, you'll have to go through all of the Whiteward again.

While you're here, flick the lever on the floor by the Bench and drop down for a Shell Shard cache. Then pop back up to ground level.
2. Collect the Spool Fragment on the east side.

Head to the right, past the automaton again. In the next room you'll find your first Underworks enemies - Underpokes. These flying critters behave much like the Roachfeeders of Sinner's Road, and shouldn't pose much of an issue.
Drop down immediately from the entryway and you'll find a little nook with a couple more Shard caches. Then - staying at the lowest level - jump over the spikes and drop down the hole beyond. The bottom of the hole is hot coals, so quickly jump to the ledge on your left, and you'll find a Spool Fragment.

Once that's done, make your way back up to the automaton. Anything further to the right is currently inaccessible and not worth looking at right now.
3. Descend the shaft and rescue the Flea.


Rest at the Bench again if you like, then head to the left, drop down, and spin up the wheel on your left to activate an air current. Ride the air current to the left-hand exit. This path takes you into a vertical shaft filled with small hanging ledges and a number of Cogwork Underflies.
By this point, these Underflies should die to a single strike, so make your way carefully down the shaft to the very bottom, and land on the left-hand ledge before you land in lava.

Head into the next room, and sprint straight past the various explosive Cogwork Haulers (they respawn quickly so there's no point in killing them). At the end of the room on the upper ledge you'll find a Flea to rescue. Once that's done, head back out of the room again.

4. Obtain the Craftmetal.
Head opposite the Flea room to the right. The room beyond has some periodic lavafalls, so time your jumps and dashes accordingly.

At the end of the corridor, make your way to the ledge above and then exit upwards. Then climb to the left-hand ledge and enter the next room (which is, I'll admit, quite a dangerous corridor).
I urge you to use tools to make this room easier, because it's very easy to take lots of chip damage as you progress. Take everything slowly, and make your way to the very end of the room where you can attack the rock at the far left for some Craftmetal.

Be aware that when you start attacking the rock, a large armoured Undercrank will spawn behind you. Try to give yourself enough room to dash in, attack, and dash out again to avoid his swings. Once he's dealt with, carefully make your way back out of this awful room.
5. Unlock the Clawline skill.
Once you're out of the room, climb the shaft to the left-hand ledge above you, and hit the lever to go through into the Cauldron - a room filled with lava and dangling rings (which we'll get to momentarily).

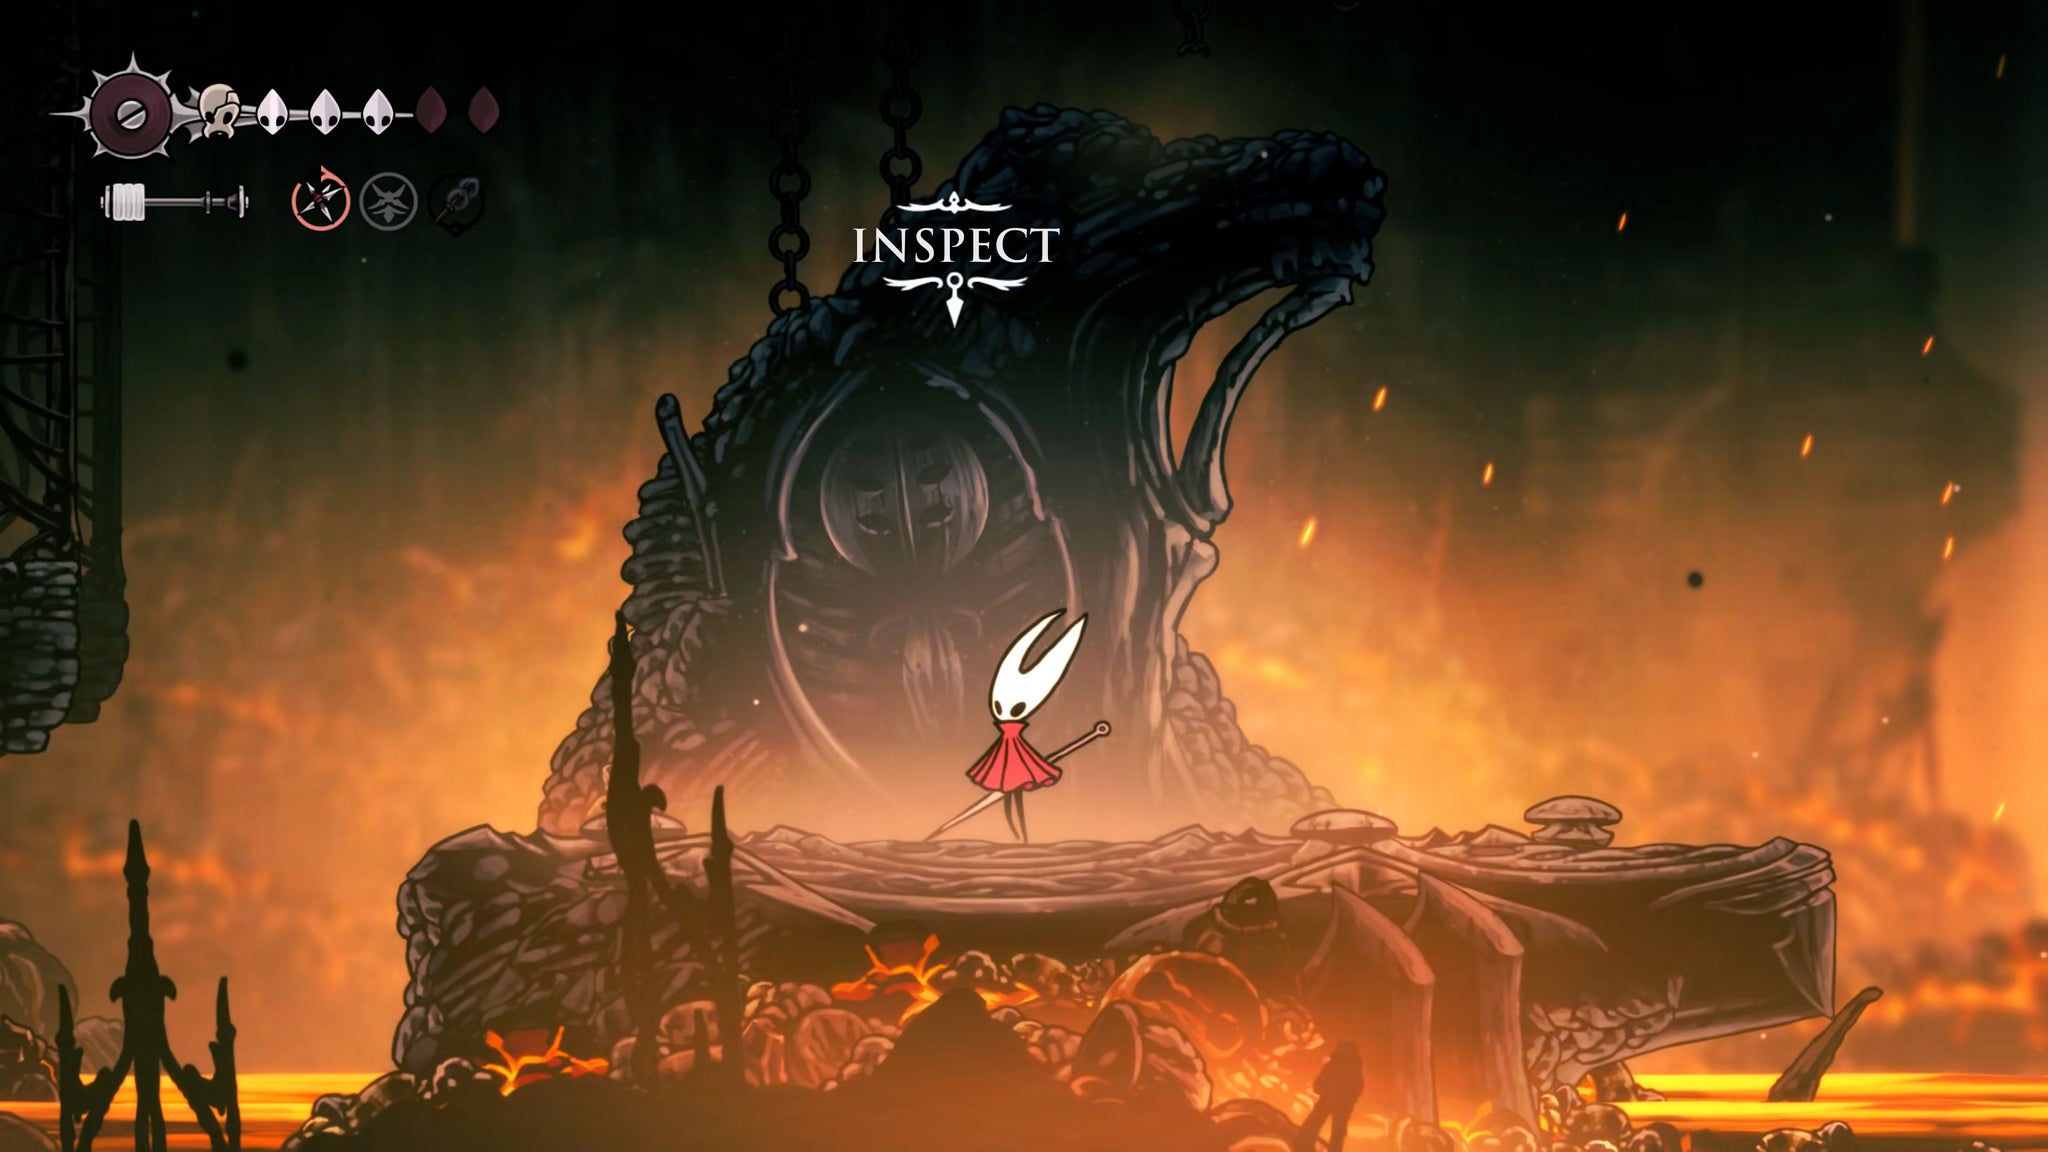
Use running jumps and dashes to make your way across the platforms in the lava to the other side, where you'll see a familiar-looking monument. Interact with it to at long last receive the reason you came down here through the Whiteward in the first place: the Clawline Harpoon!
6. Complete the Cauldron's gauntlet.

Now you must use the Clawline to escape the Cauldron. If you are the correct distance away from one of those hanging rings (and on roughly the same vertical level as it), you can Harpoon the ring to bring yourself to it, where Hornet will be able to hang indefinitely.
The other thing to understand about the Clawline is that you don't need to use it on those rings - you can simply use it to traverse great horizontal distances, more so than just run-jumping and dashing. And it's an attack, so you can aim at enemies to pull yourself towards them.

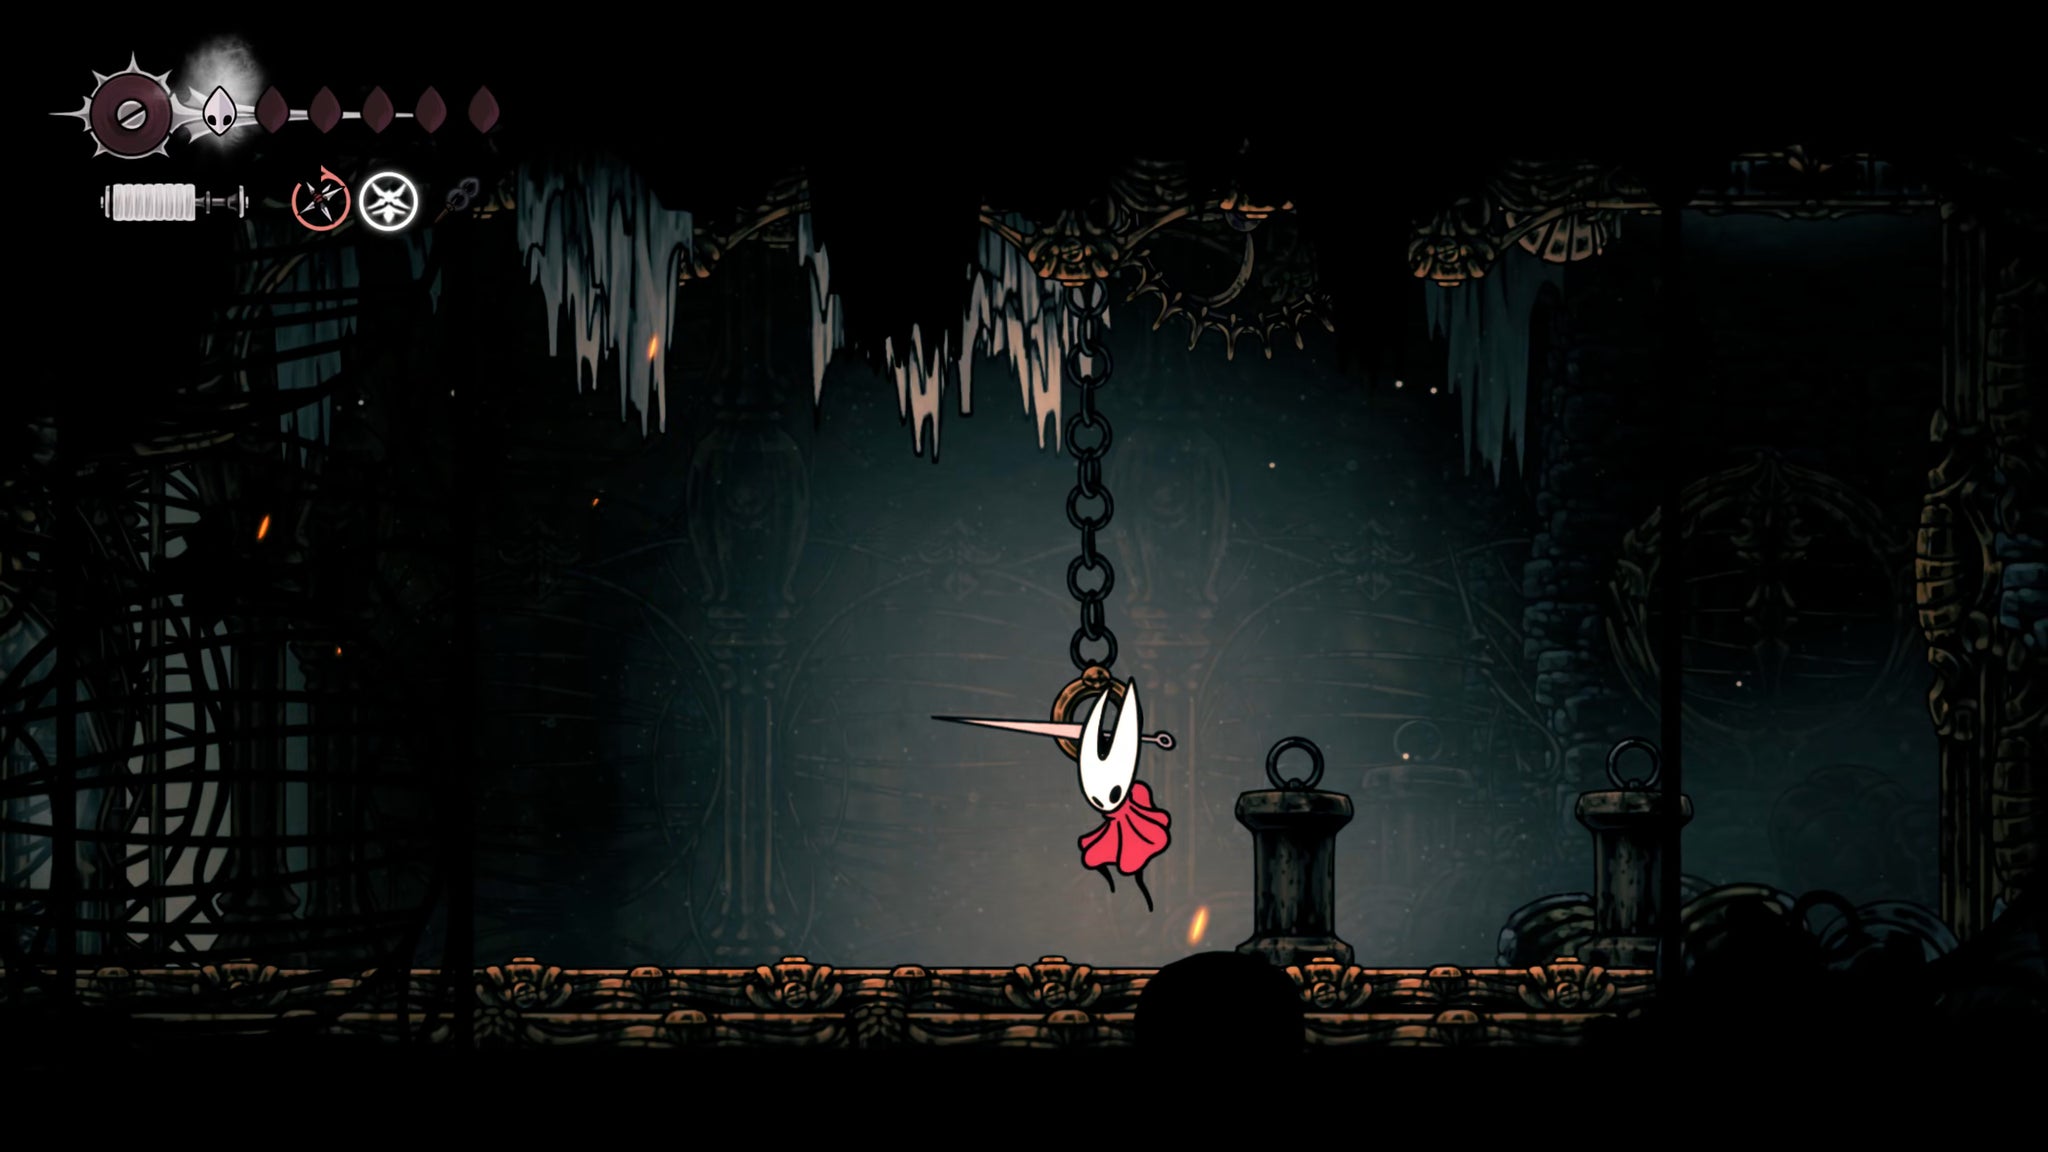
Combining these tricks, you'll need to make your way across all the rings and platforms in the Cauldron, and reach the ledge in the top-right corner of the room. Bear in mind that using the Clawline expends a bit of Silk, so make sure you rest for a few seconds if you run out of Silk entirely, so that Hornet can regenerate enough Silk to continue.

Once you reach the top, Clawline to the ring above the ledge to activate a gauntlet of Underworks enemies. The most dangerous of these waves is the final one, where two explosive Cogwork Haulers spawn either side of you. In a confined space like this, you'll likely need to knock one of them back so they're both on the same side in order to escape damage.
Once the arena battle is won, climb the right-hand wall to exit upwards.
7. Meet the Twelfth Architect.

Follow the brief tunnel to find yourself back at the feet of the automaton. Rest at the Bench if needed.
Now, with your shiny new Clawline, jump up and attach yourself to the hanging ring above the Bench. From there, you can jump onto the upper-right ledge, and head into the next room - whereupon you'll meet an intriguing and useful new NPC: The Twelfth Architect.

Speak with the Twelfth Architect and have a look at their shop - they have all sorts of interesting items for you to purchase. However, only one should be purchased right now - the Architect's Key, for 110 Rosaries. Go ahead and buy it now, because we're going to use it immediately.
8. Bind the Architect Crest.

Head out the right-hand exit from the Twelfth Architect, then climb up and to the left again to reach the upper ledge of the Architect's room. Jump across to the left-hand side, and follow the path to reach a locked doorway.
Use the Architect's Key on the doorway to open it up and head inside the Chapel Of The Architect. All that's in here is a single small room, with a glowing white nodule in the centre of the floor. Stand over the nodule and Bind to unlock the Architect Crest.

The Architect Crest has a couple of handy benefits: you can hold three weapon tools with it from the get-go, which is very nice; and you can fashion Shell Shards into tool uses at any time, without the use of a Bench. I still prefer to use the Reaper Crest in general, but it's a handy Crest worth playing around with.
9. Activate the Underworks Ventrica Station.
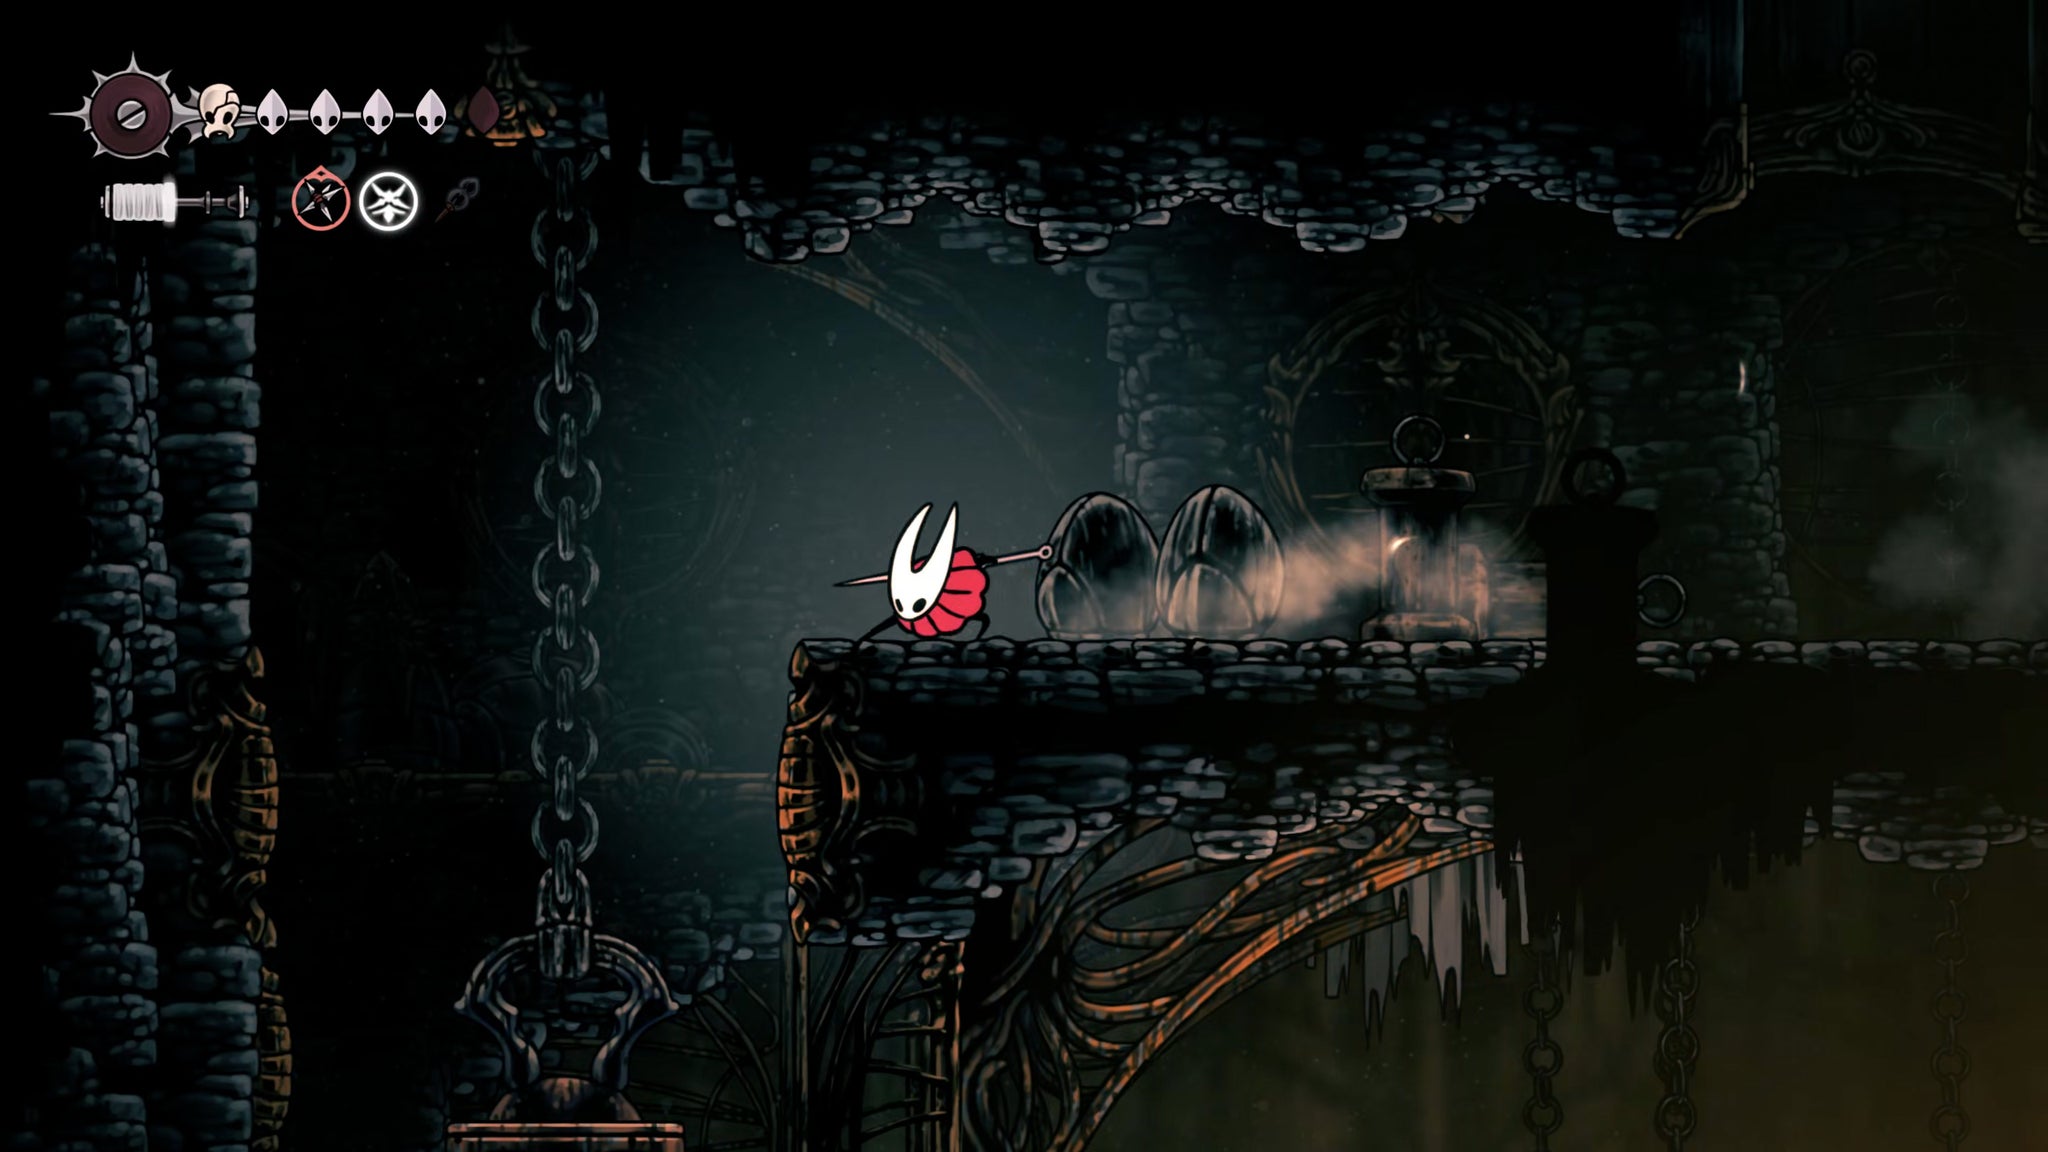
Go back to the Bench and rest there - and take a moment to equip tools to your Architect Crest, or switch back to a different Crest if you wish.
Drop down the hole to the left of the Bench again, but this time, exit via the hole to your right instead of riding the air current upwards. This will take you to a cordoned off section of the Cauldron, where you can head down to the ground and exit to the left.

In the next room (the same vertical shaft as before), climb upwards and then flick the lever at the top. This opens a tunnel across the shaft to the other side - the only way that you can access the western side of the Underworks from here.

Exit through the doorway immediately in front of you on the other side, and pay 80 Rosaries to unlock the Underworks Ventrica Station. You could leave now, but unfortunately there's still work to be done in the Underworks.
10. Obtain the Spool Fragment below the Ventrica.
Back out of the Ventrica room, then hit the lever on the floor. Cling to the left-hand wall as you go down, to avoid the steam blast at the bottom. Then make your way lower down and exit to the left.

Note: There are two ways to head further west into the next main shaft. This path is one of them. The other is easier - just go out the exit above the Ventrica Station. But we're going this way because it offers us a Spool Fragment. Just remember to explore the upper path as well at some point if you want to see every part of the Underworks.
The winding tunnel in the next room quickly leads into another arena fight against various Underworks enemies. The quirk of this gauntlet is that halfway through, a big Undercrank will fall from the ceiling and immediately cause the floor beneath him to crumble. The good news is it kills him instantly; the bad news is you need to be mindful of the hole in the floor for the rest of the battle.


Once the gauntlet is cleared, continue heading left to collect a Spool Fragment, and then hit the lever above to exit out into the main shaft.
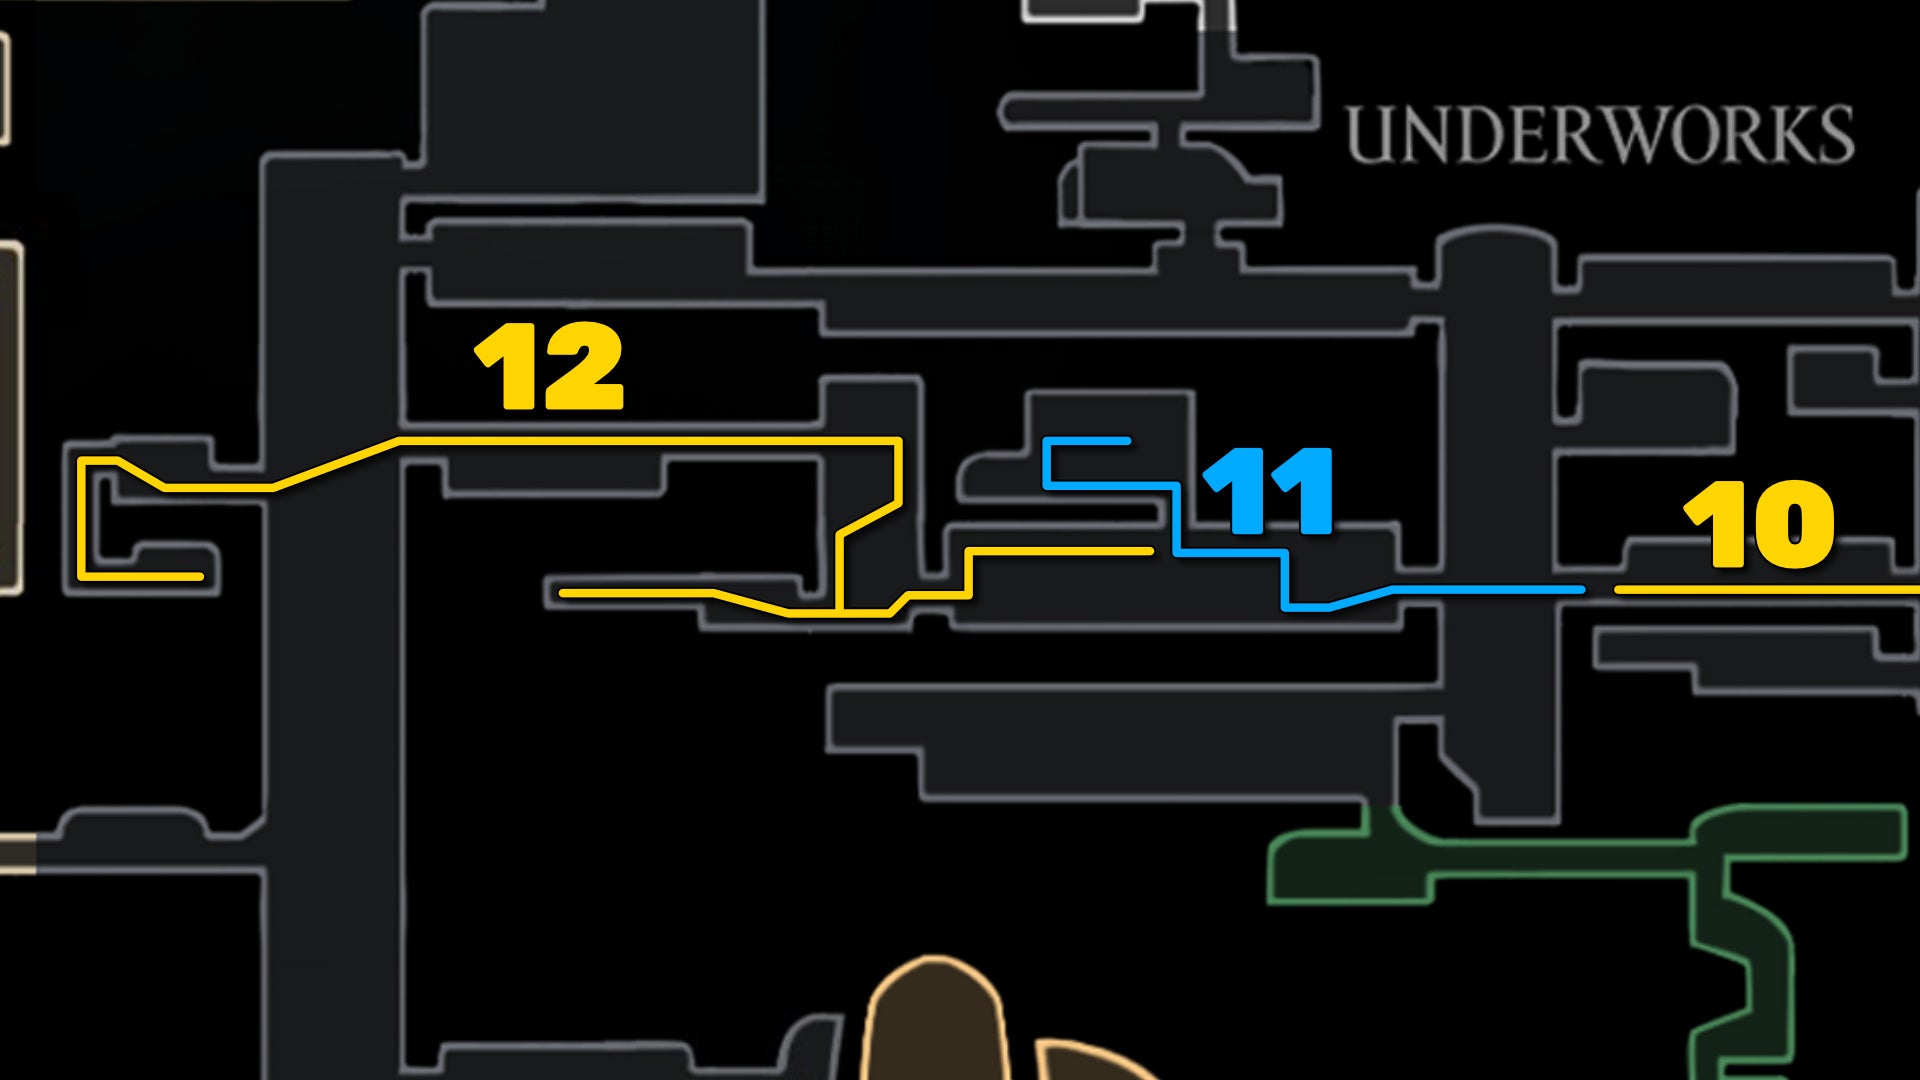
11. Meet Loam.
In the shaft, jump across the saws to the other side and enter the new room on your left. Carefully bait and kill the enemy on the wall above you, then jump over to the next platform.

Here you'll be faced with a scary-looking block of saws that moves along an L-shape track in front of you. Jump across the gap, and then climb up the left-hand wall at the right moment to reach the tunnel above.
Head left, kill the Undersweep in front of you, and then break the ceiling above you to climb up into a hidden room. Head left, and take the first upward path you're presented with to reach a new character - Loam.

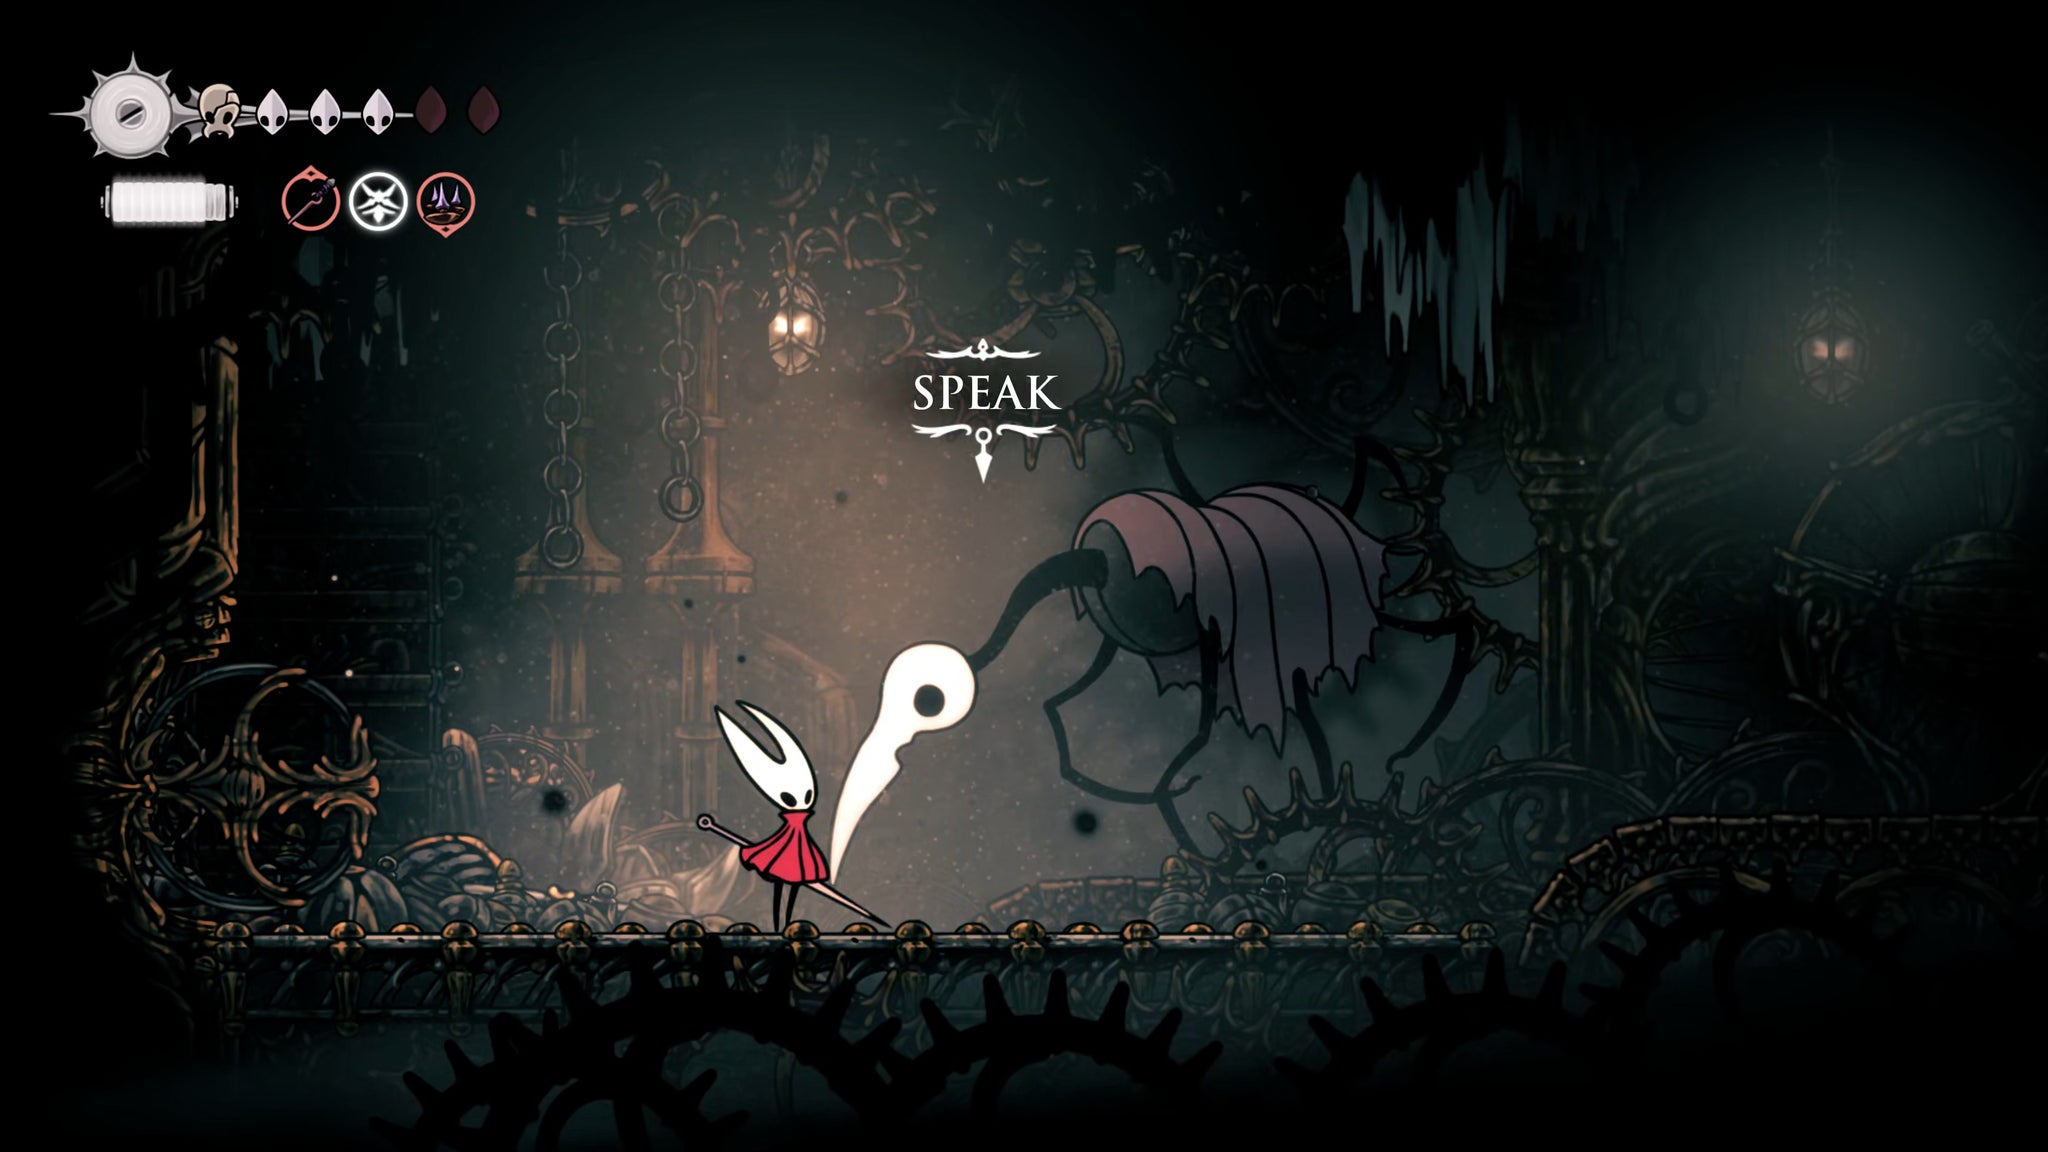
Speak with Loam for some sad lore about the Citadel. As an extra little easter egg, if you sprint on the treadmill to the right long enough, you'll be rewarded with a single measly Rosary Bead. Huzzah.
12. Acquire the Underworks map.
Head back into the previous room, and along the left path you'll quickly find a Shard cache for the taking. Part of the floor at the end will give away as you pass over it; drop down and float to the left-hand ledge, then exit the room.

Jump the next gap and head through the opposite doorway for a little room containing a big angry Undercrank to kill. Once he's dead, break the wall on the left-hand side and jump over the fan for a Shard Bundle.
Now head back into the previous room, and climb the wall right above you. Then jump onto the opposite wall and climb up to the right (obviously timing the jump so you don't get squished by the moving blocks). You can explore the very top area (which contains nothing but a Drapemite to kill), but then exit through the doorway to the left at the top of the block's path.
More careful timing is needed in this next room; wait for the temporary platforms to land from above, then hopscotch across them. After that, take the top path across to the left and exit out into another vertical shaft.

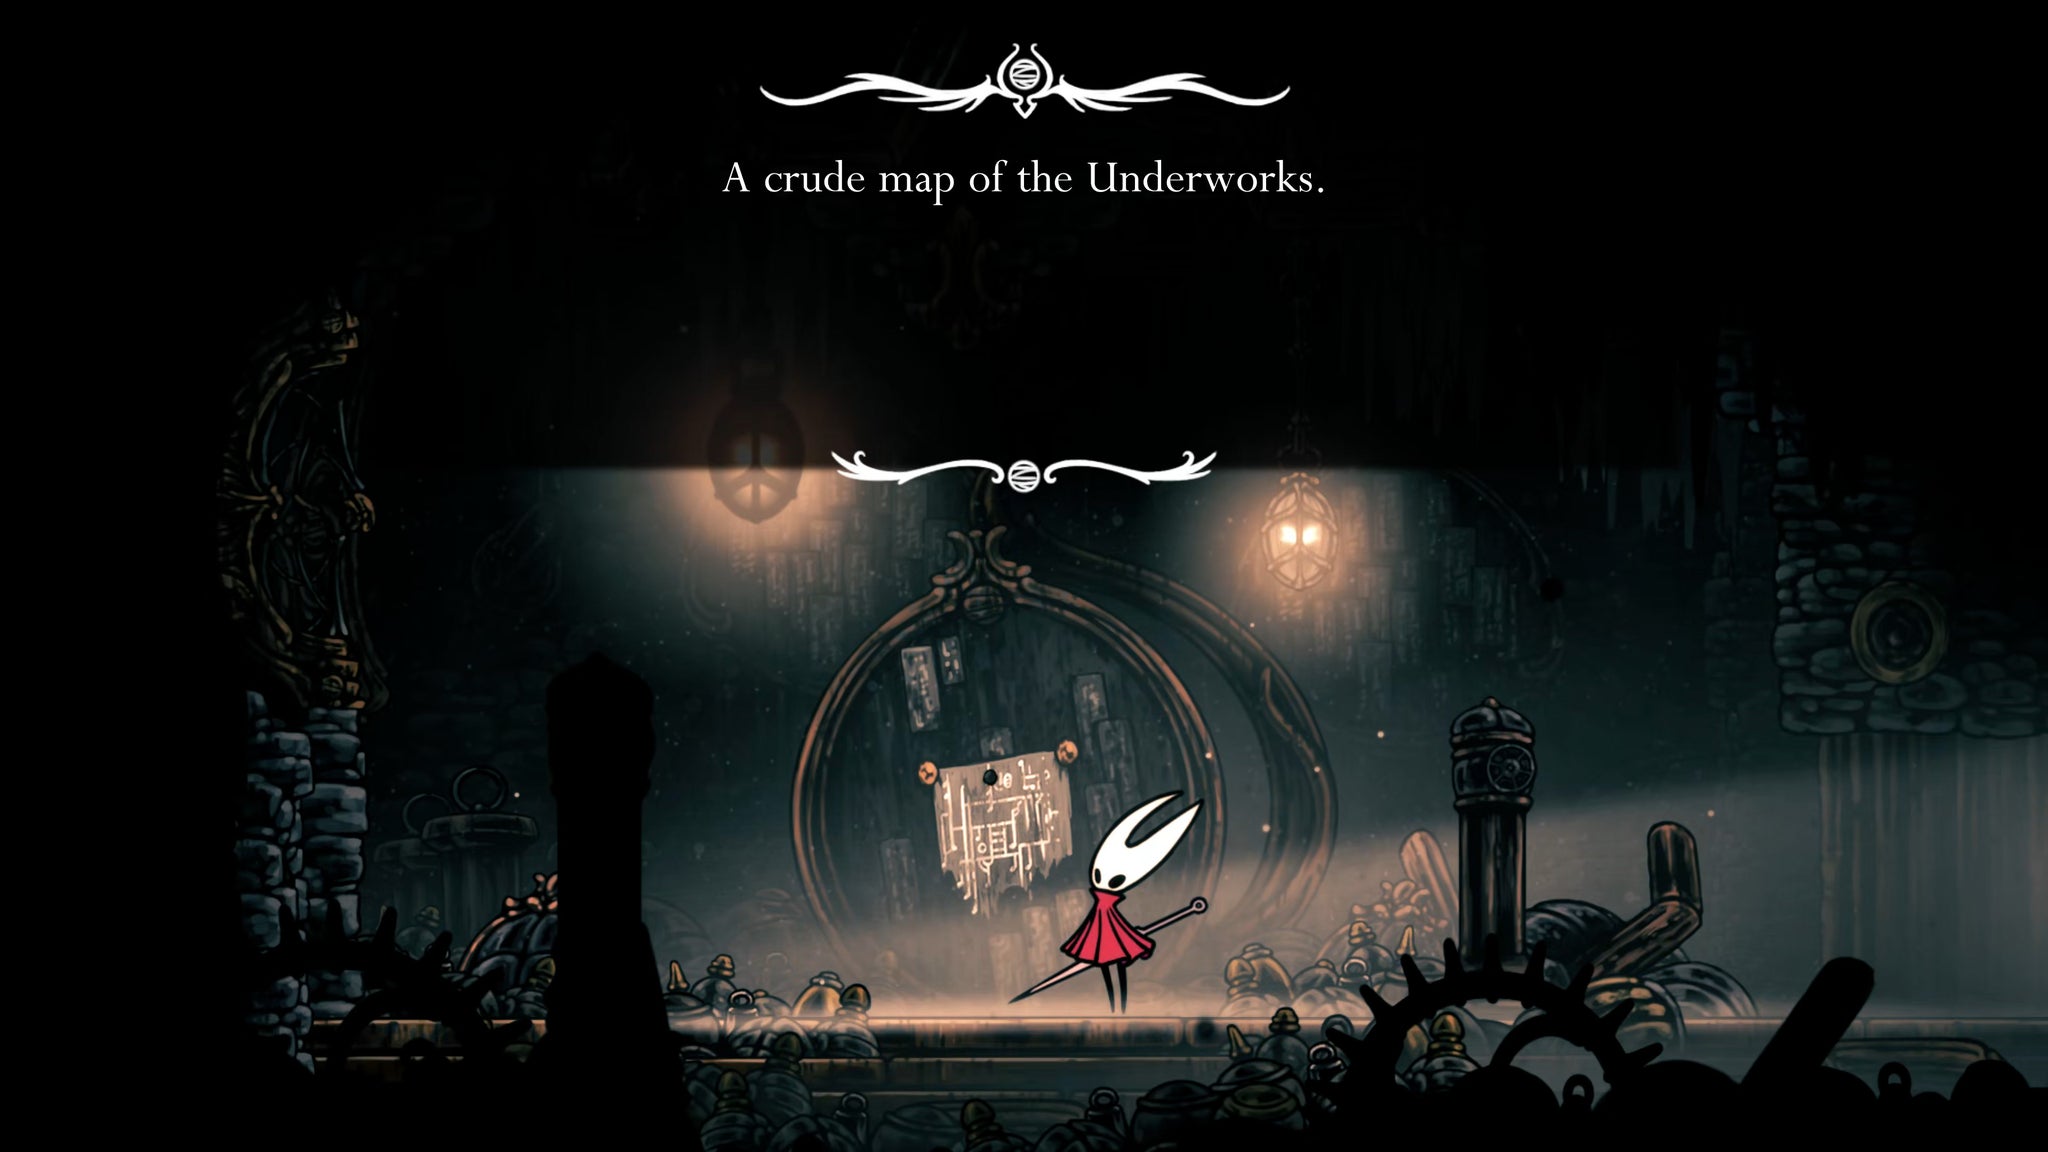
Jump over to the opposite side of the shaft, and take the exit marked by the sign. In here you can interact with the map pinned on the board to take it for your own. Finally, you have an in-game Underworks map - having explored most of the region already!
Before you leave the map room, break the upper wall on the left, and follow the path to find a Bone Scroll you can pass onto Scrounge back in Bellhart. Now head back out into the shaft.
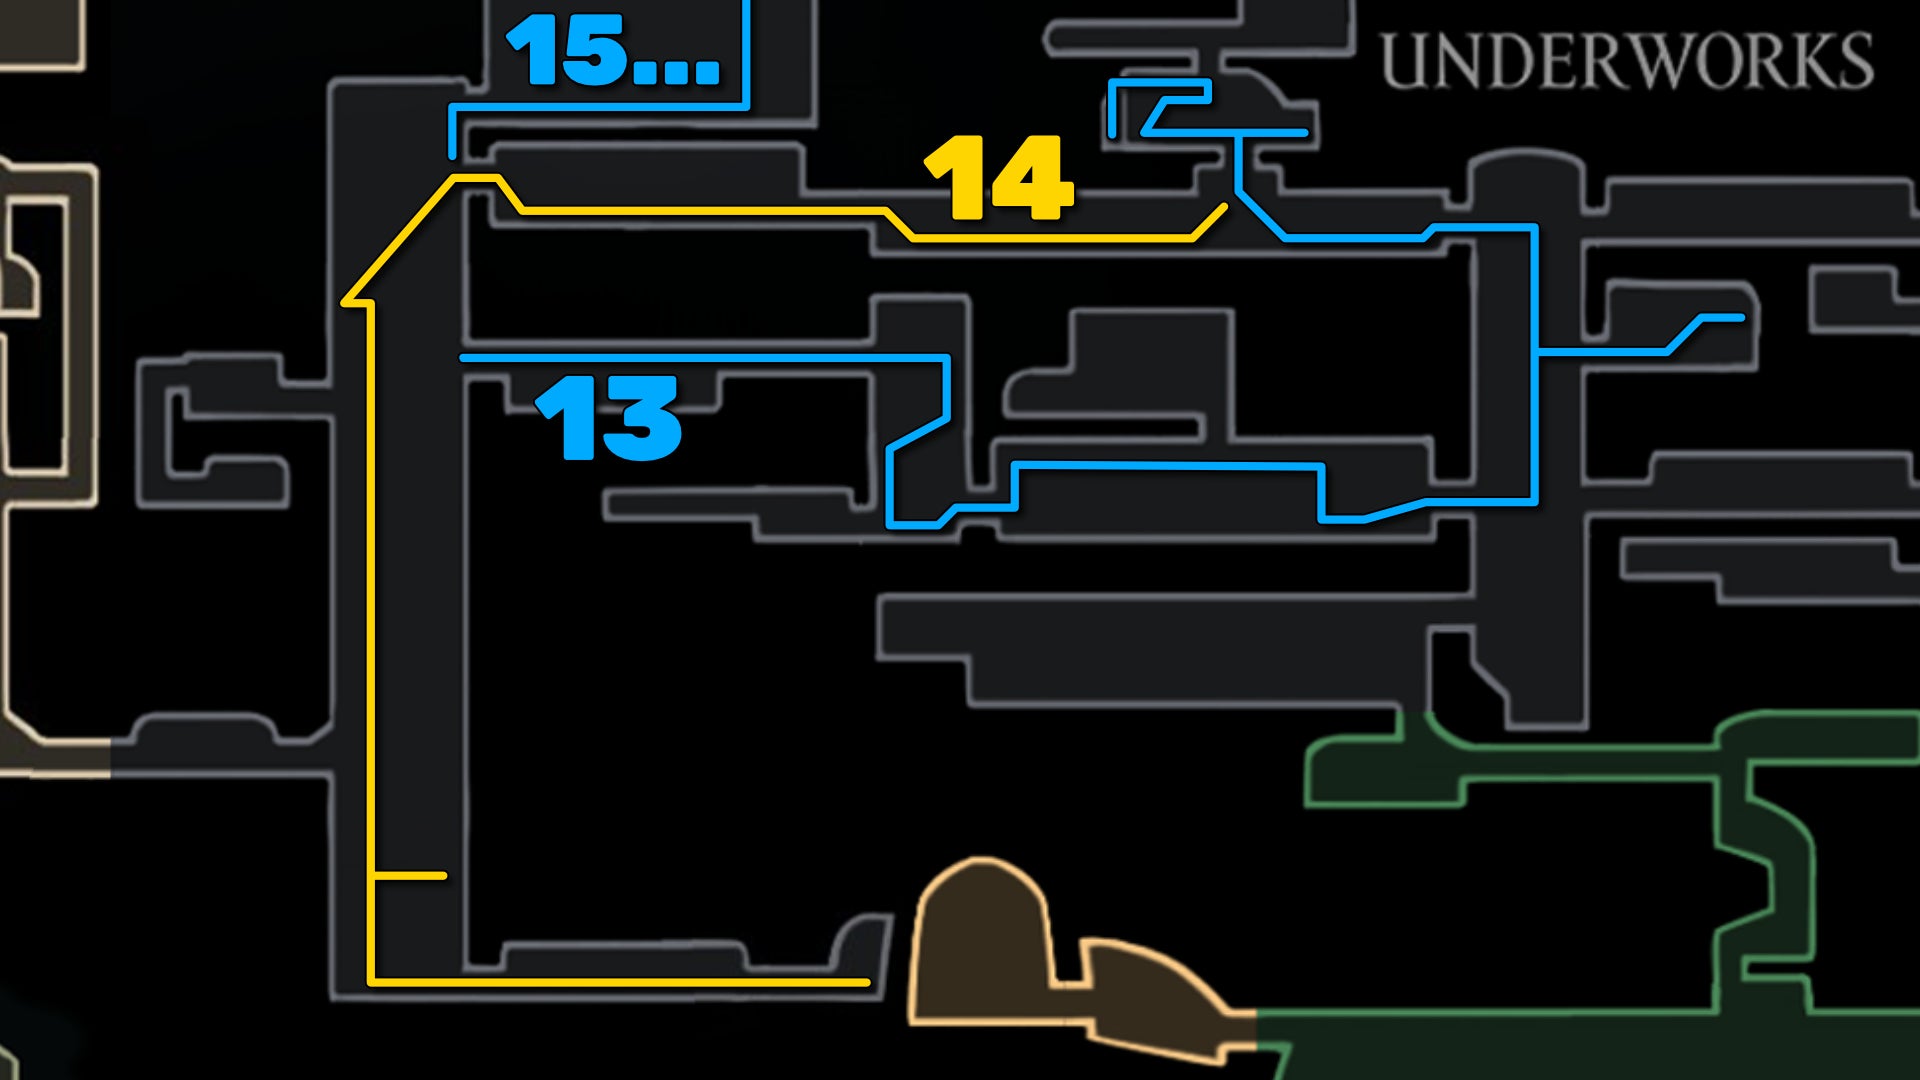
13. Find the Memory Locket by the Confession Stand.
Unfortunately the way up the shaft is blocked for now, so we need to retrace our steps. Head all the way back through the rooms you just bypassed, until you're back in the smaller shaft to the east.
Climb up to the exit on your right for a small room with a Frayed Rosary String guarded by two enemies; then head back into the shaft and climb to the very top so you can exit to the left marked by the Bench sign.
Make your way across the next obstacle course of falling debris, and then climb the wall by the next Bench sign to reach the room above. Here you can pay a toll of 15 Rosaries at any of the three booths for a temporary Bench to rest at. Be aware that you'll need to pay 15 Rosaries each time you want to use a Bench here.

You can also head to the right of the Benches for a fun little confession stand, and pay 25 Rosaries for the following inspirational message:
"You have confessed a sin most grave and must by works cleanse yourself. Return to your task and work off-cycle, neither eating nor supping until new-cycle begins. By the grace of Pharloom eternal may you never tire. Toil, and be forgiven."
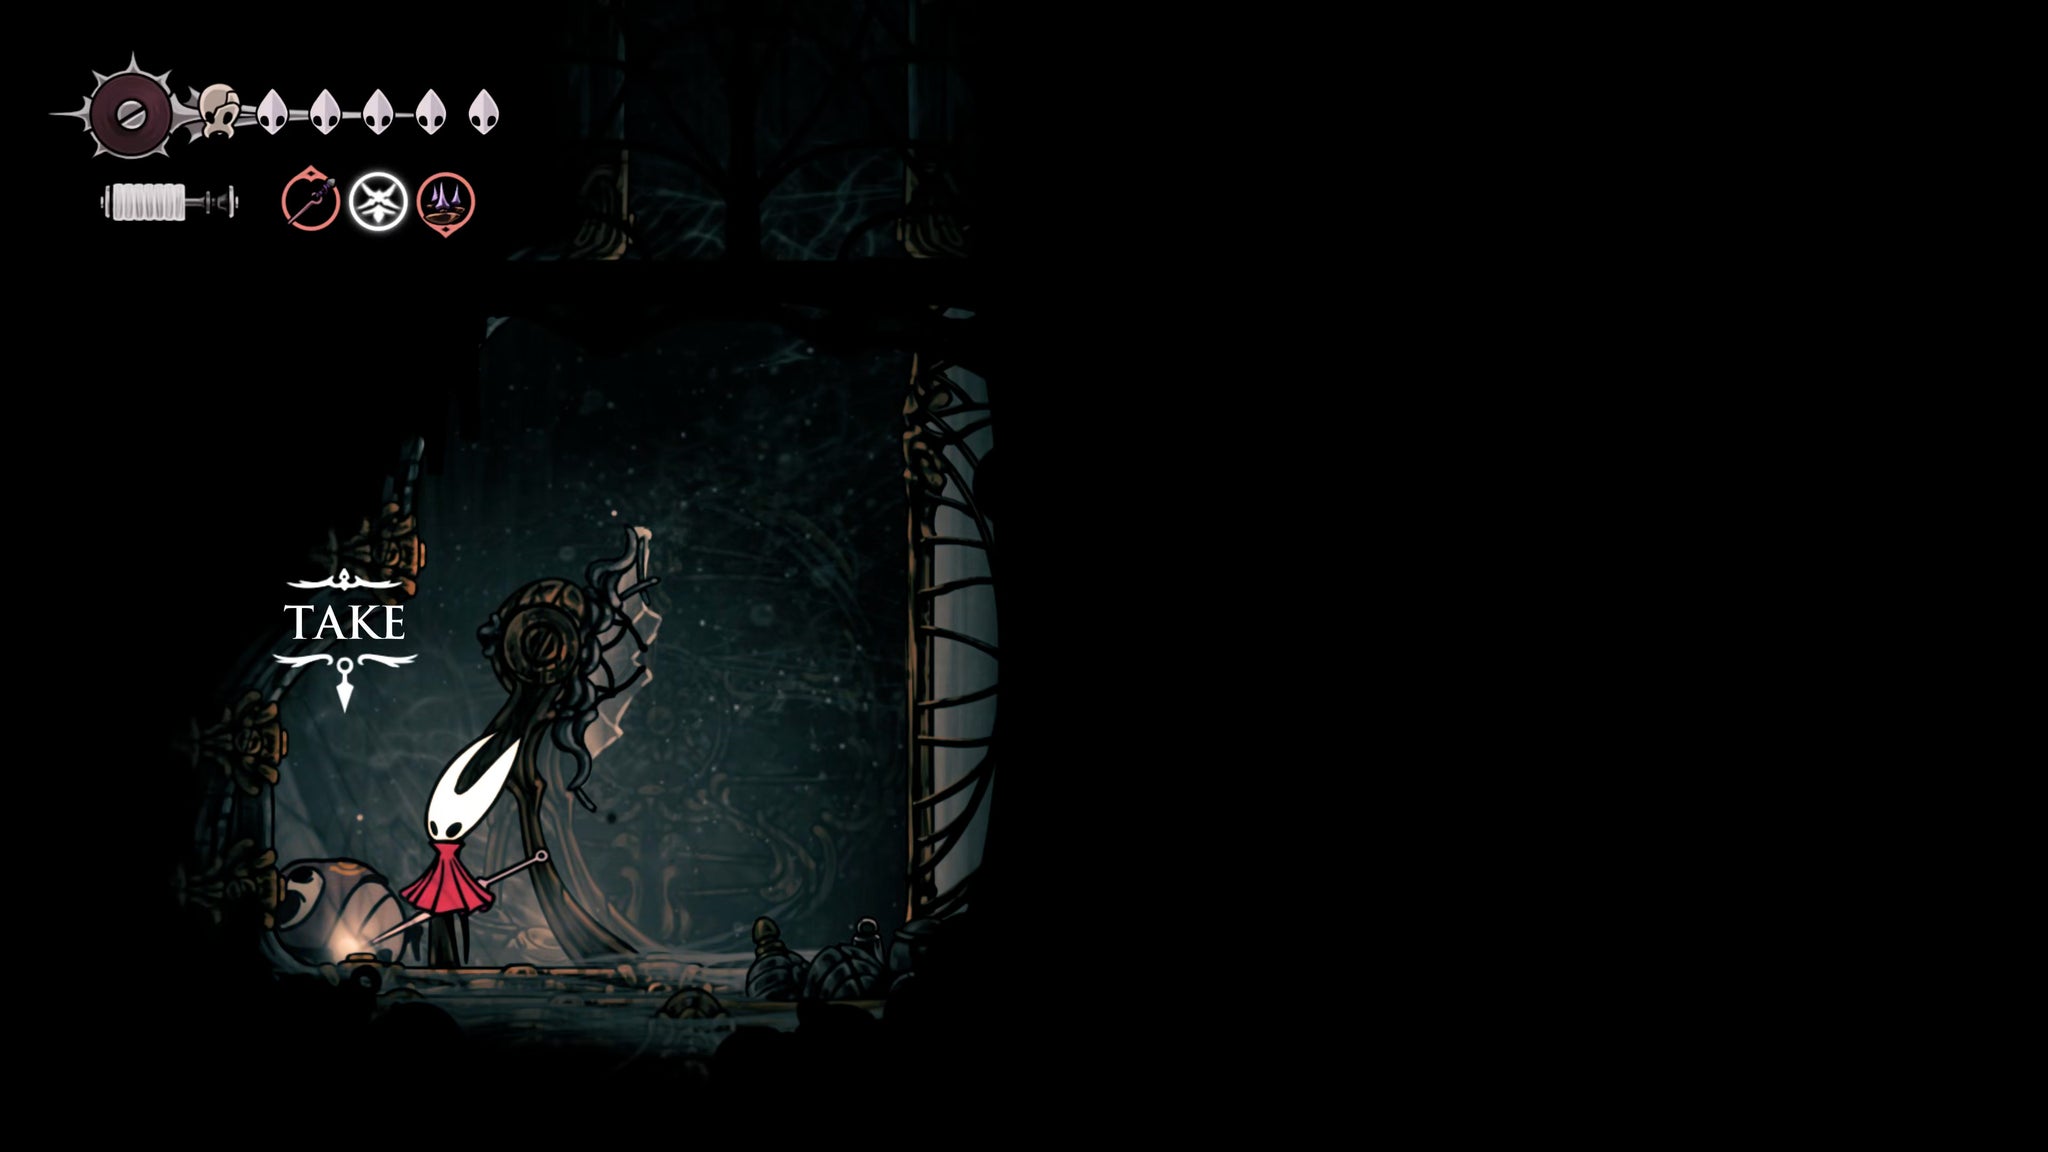
Before you leave, climb the glass and metal wall left of the Benches, and hop onto the upper ledge. Just above the Shell Shards at the end of the path, there's a hidden hole you can jump up into. Follow the path to the left and you'll drop into a small area where you can loot a Memory Locket from a Pilgrim's body.

14. Obtain the Delver's Drill.
Now exit back out of the Bench room, and head to the left, past more falling debris. Before long you'll be faced with another gauntlet of enemies to kill. Once they're dead, exit to the left, and you'll find yourself at the top of that shaft where you found the Underworks map earlier.

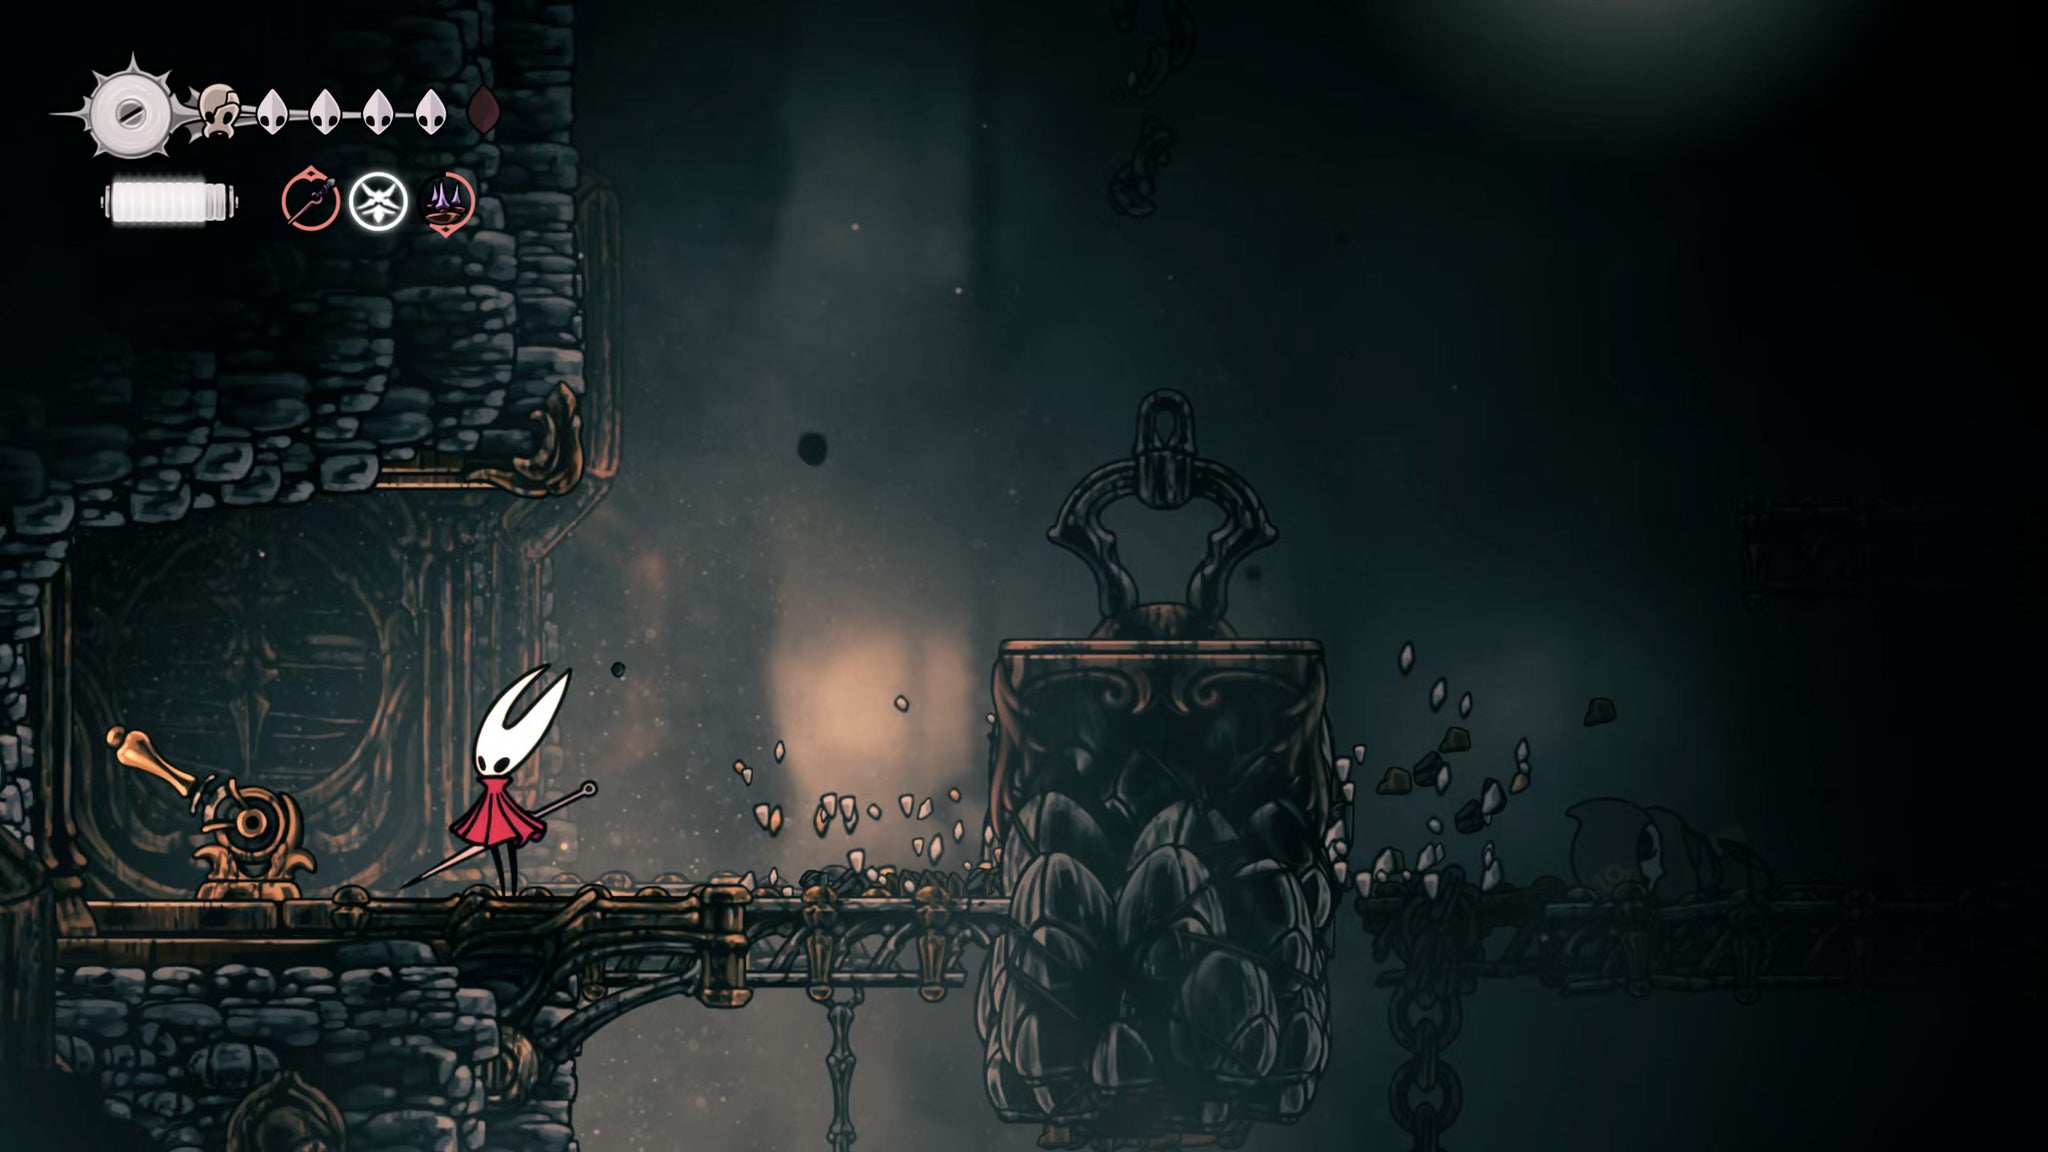
Drop down to ground level, and you'll see lever on the left. Activate it to drop a block down from above, smashing open a path all the way to the bottom of the shaft.
Now follow the block's path and drop all the way to the bottom (there are spiky vines at the very bottom, so try to take the block's exact path so that you land on it instead of the spikes). The path to the right is blocked by another big block, so climb slightly higher up and flick the lever on the ledge to the right to raise the block up out of the way. Then take that bottom-right exit.


More platforming! Make your way across the falling platforms, and at the end of this room you'll be able to pick up the Delver's Drill. The description of this weapon-tool may make it sound as though it's used for revealing secret passageways or similar, but put that thought to rest now - it's just a weapon. Still, it's a handy one.

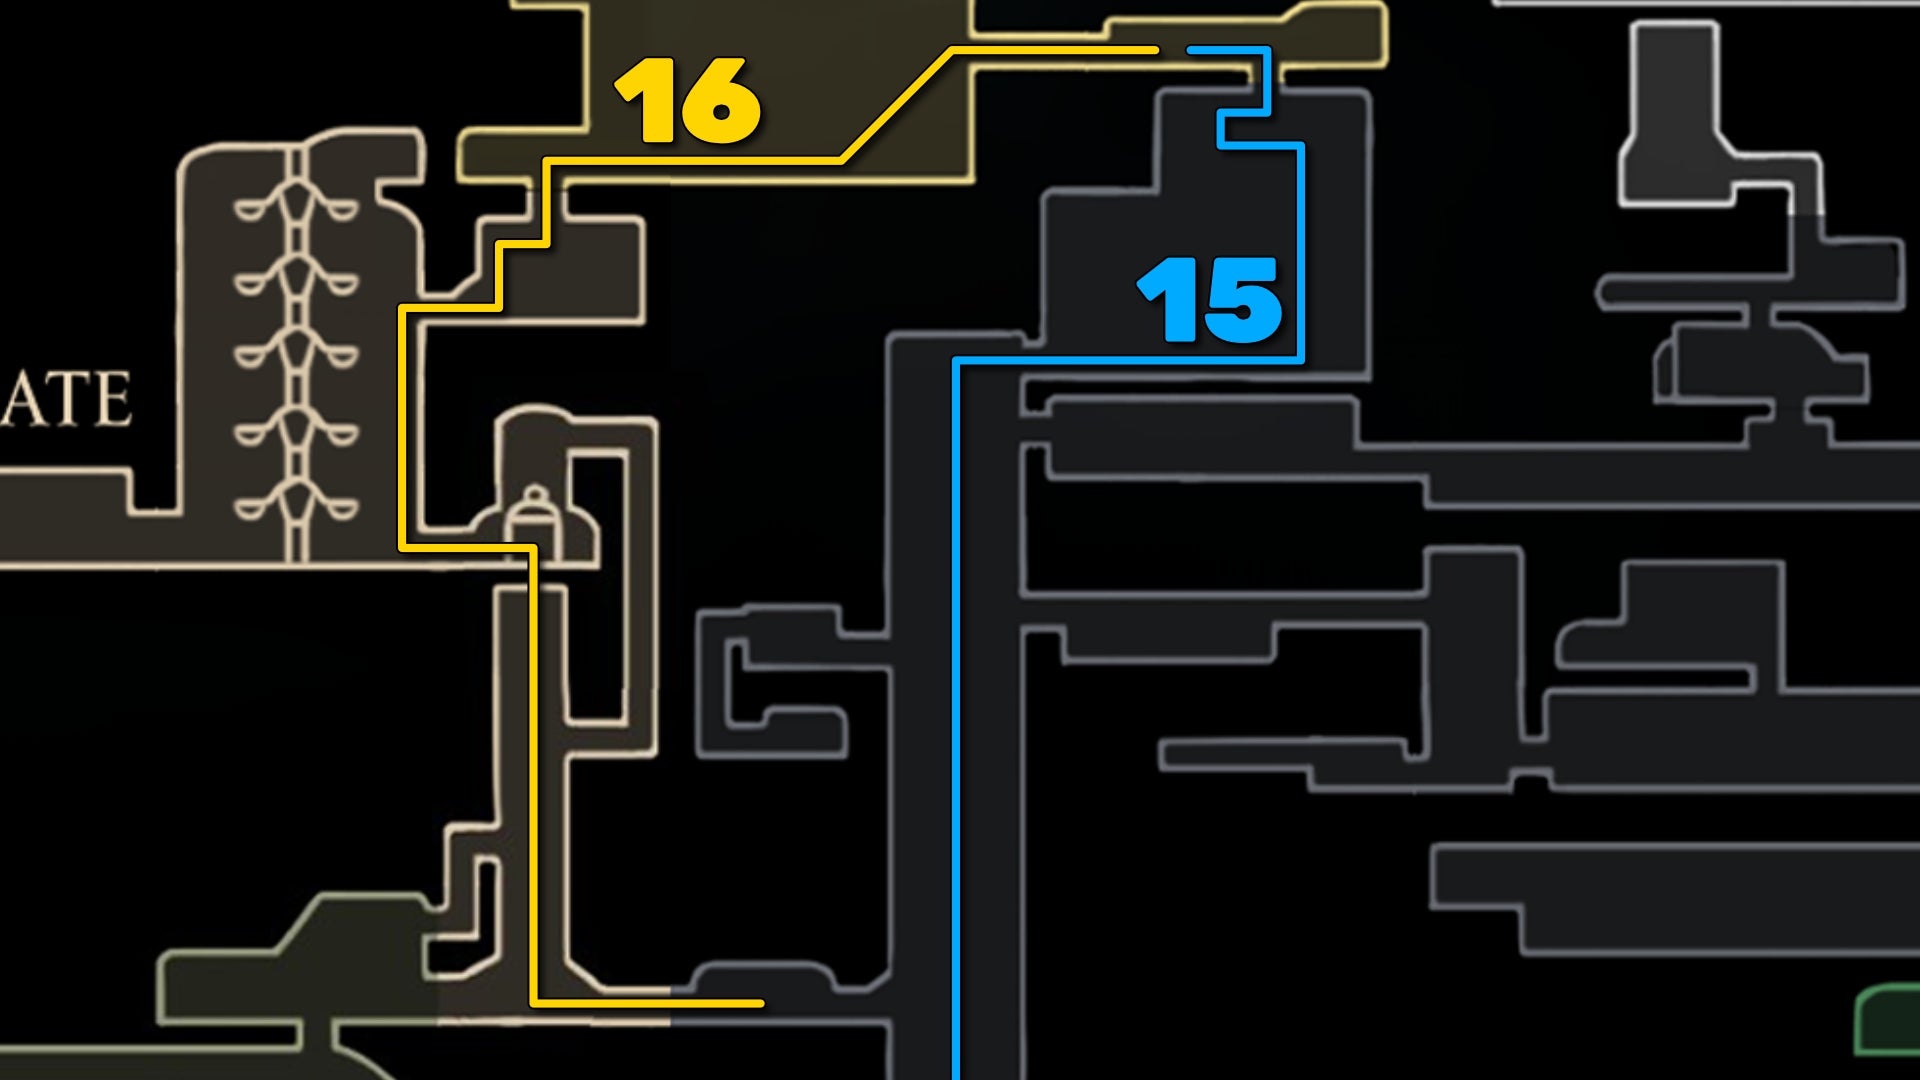
15. Exit up into the Choral Chambers.
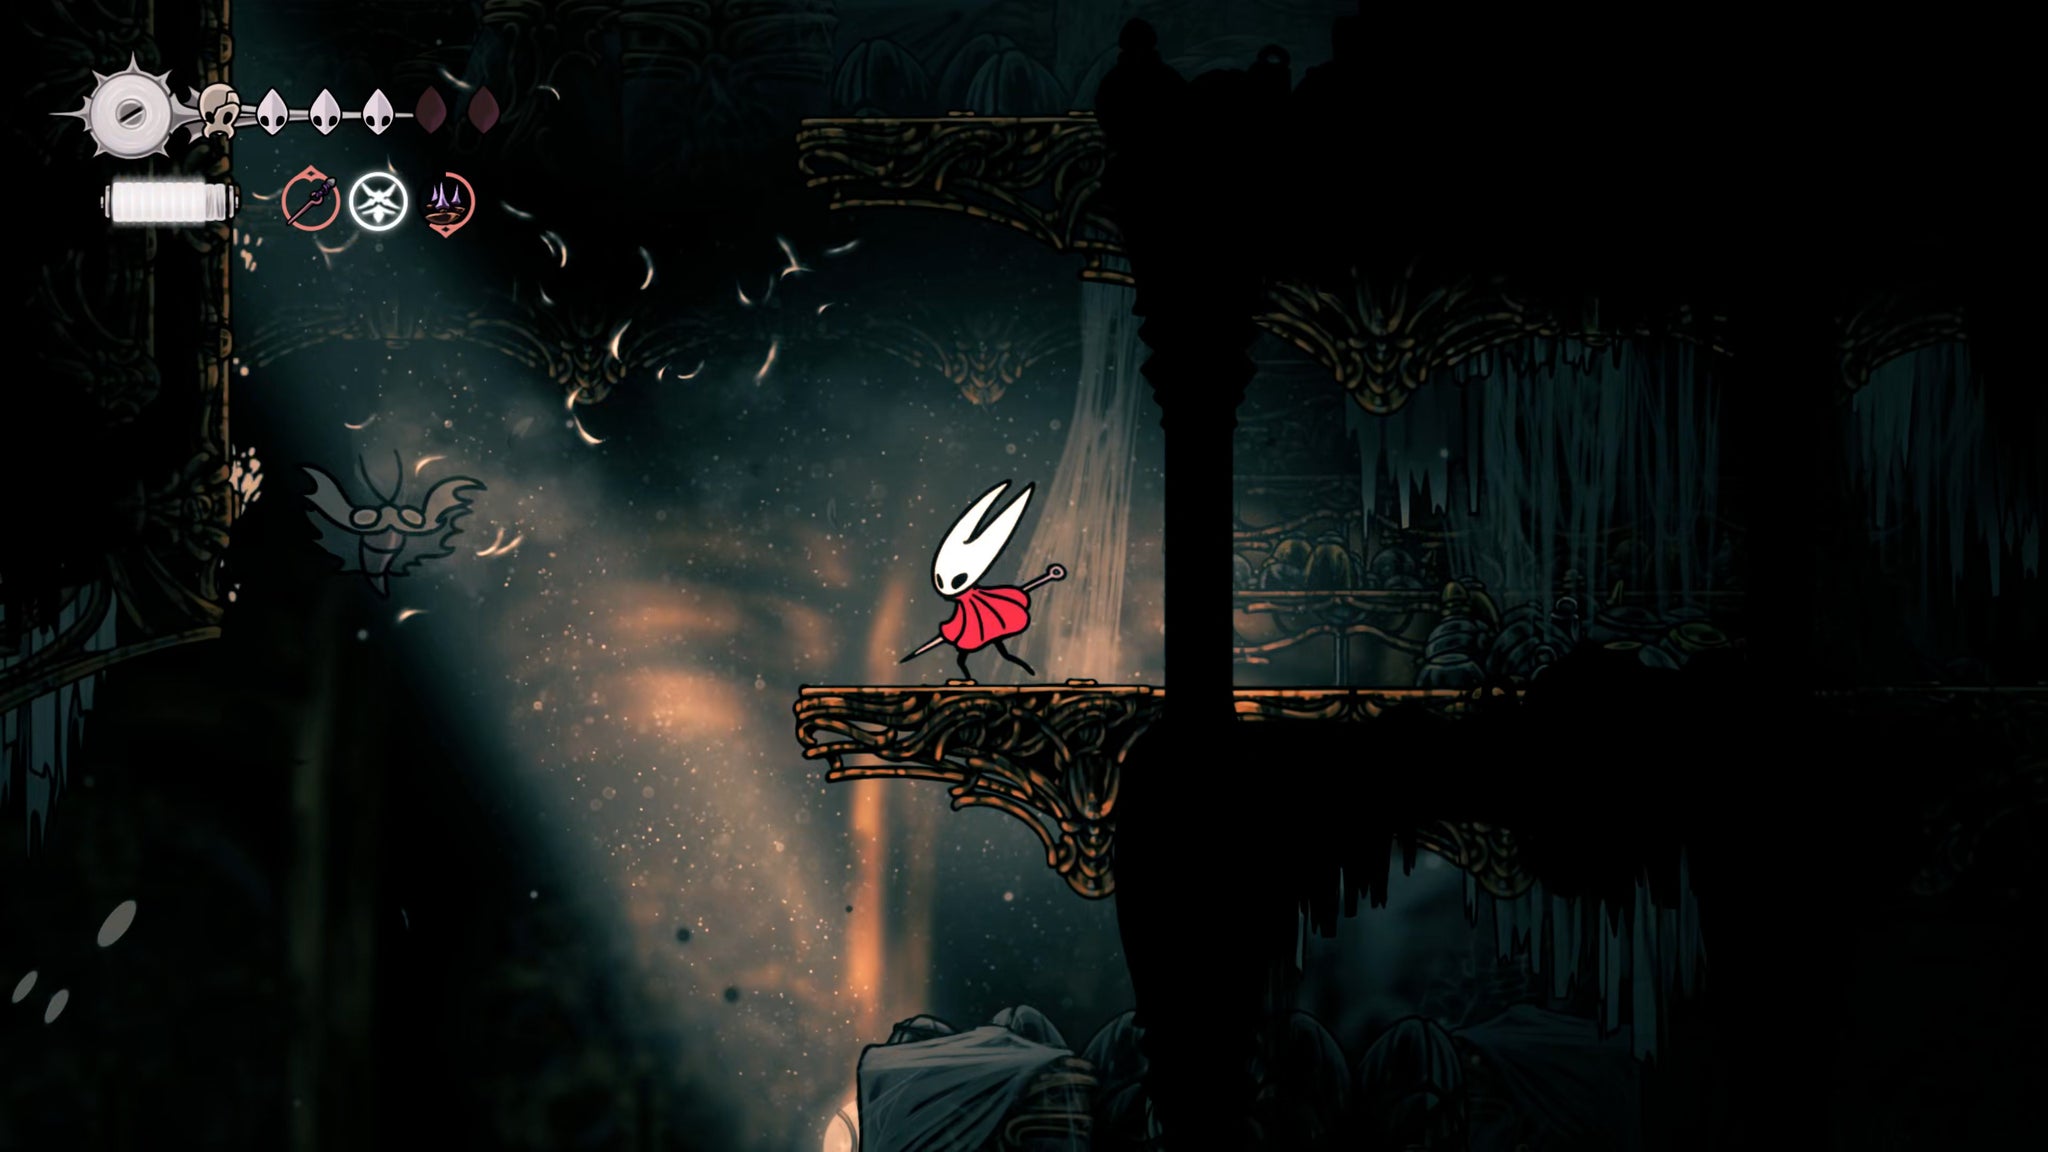
Almost done! Head back out into the shaft, and climb all the way to the very top, where you can take the top-right exit. This next room is a big old maze-like mess of tunnels, with a couple of side passages and breakable walls leading to little caches of resources.

Make your way up to the very top of the tunnels, and you'll find a lever hanging from the ceiling. Hit it, and then climb up out of the Underworks at last. You're back in the Choral Chambers, next to the far east Bench near the Grand Gate. Rest and relax!

16. Enter the Underworks via the Grand Gate.

One last little optional bit of the Underworks to do, more for completion's sake than anything else. From the Bench, head out to the left, and down the hole at ground level to reach the Grand Gate once again. There, you can drop to the floor, and enter the elevator to your right.
This is the other entrance to the Underworks which you could have taken, just after defeating the Last Judge. But doing it this way would've meant having to fight through the west half of the Underworks before you can make it up into the Choral Chambers. Still, it's good to see what happens.

Flick the switch for the elevator, and it'll travel down a small distance before grinding to a halt. Hit the lever several more times for slightly more of a descent. Then hit it even more, and eventually the whole thing will collapse to the bottom, leaving you stranded.
When Hornet gets up, coax her along to the right for another "pay-per-use" Bench. Then head out into the shaft once more, and climb up to the top again to re-enter the Choral Chambers.

That's the Underworks well and truly conquered, and you've made it out with a brand new Clawline Harpoon. Not bad! The Cogwork Core above and below the Cogwork Dancers arena awaits us next; follow along with Part 20 of our ever-growing Silksong walkthrough!
Read this next
- Ahead of Hollow Knight: Silksong's Sea of Sorrow expansion, Team Cherry have gotten their Traditional Chinese and German translation ducks in a row
- We may have glimpsed Silksong's Sea of Sorrow expansion in a six-year-old trailer
- Hollow Knight: Silksong's first big expansion, Sea of Sorrow, flows into our lives for free next year
